
PDF · A4 · 65 KB · Free, no sign-up. For home and classroom use.
How to draw a cake
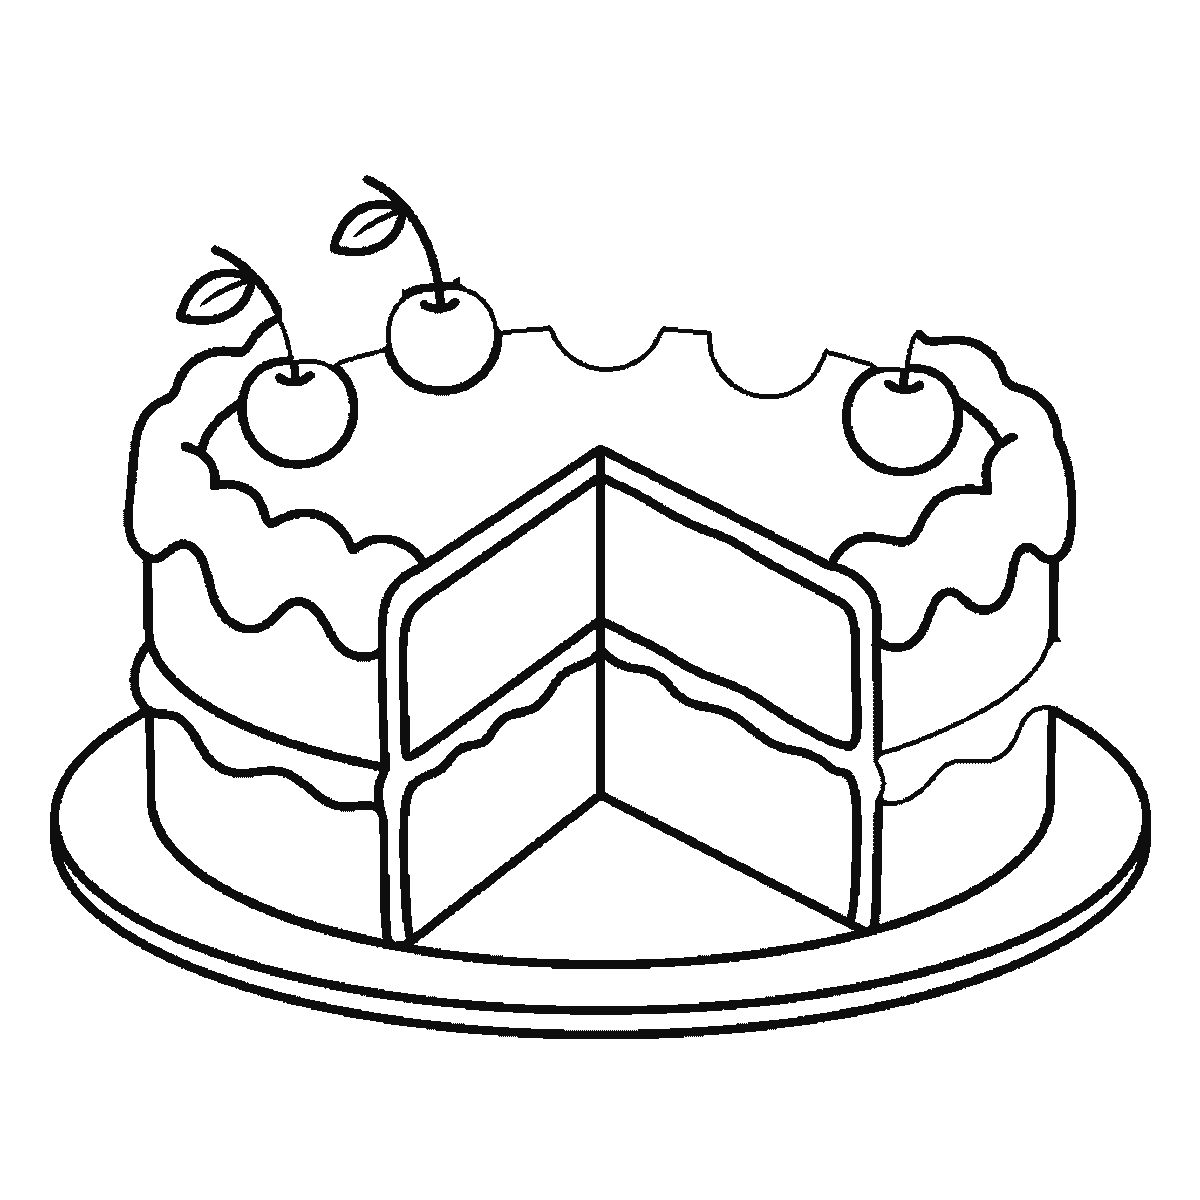
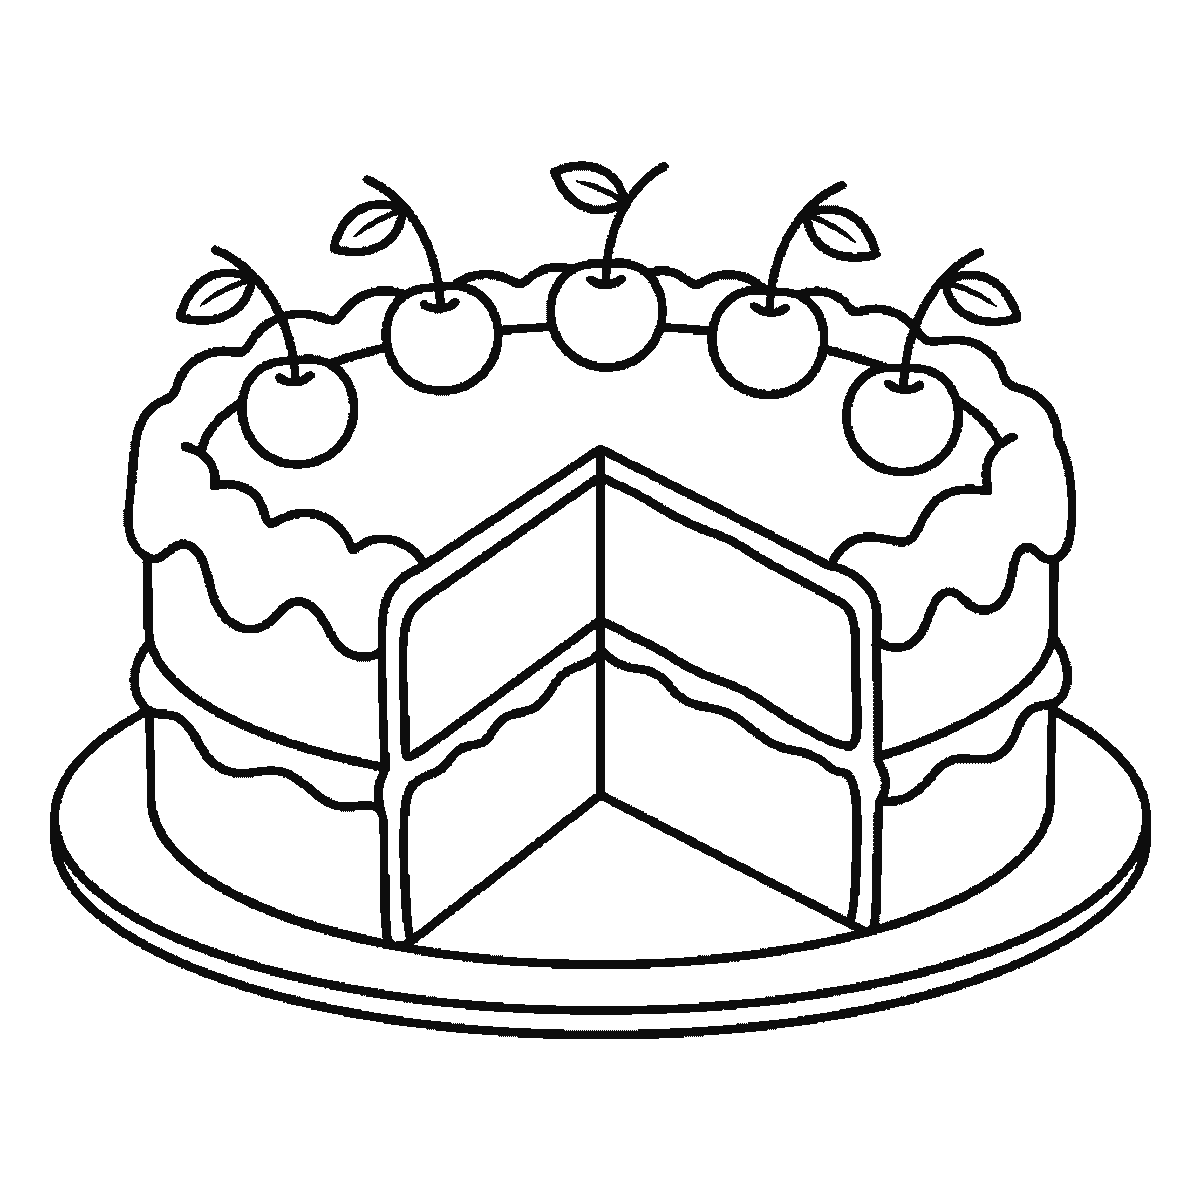
Six frames, one layer cake with a slice cut out. The wavy icing top first, then both cut faces showing the layers, and the five cherries at the end.
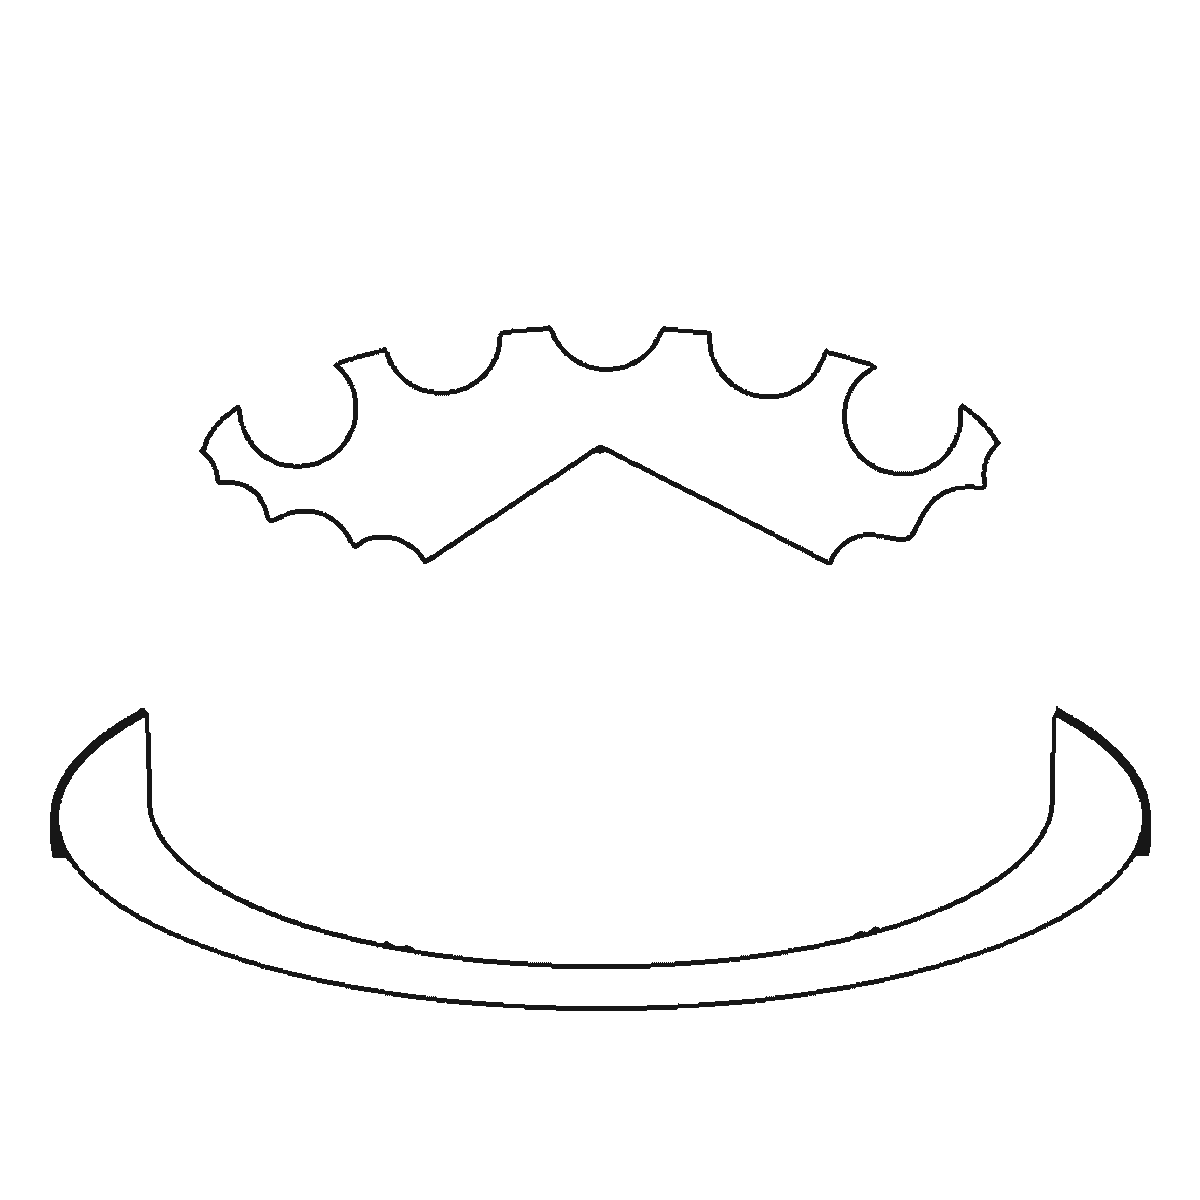
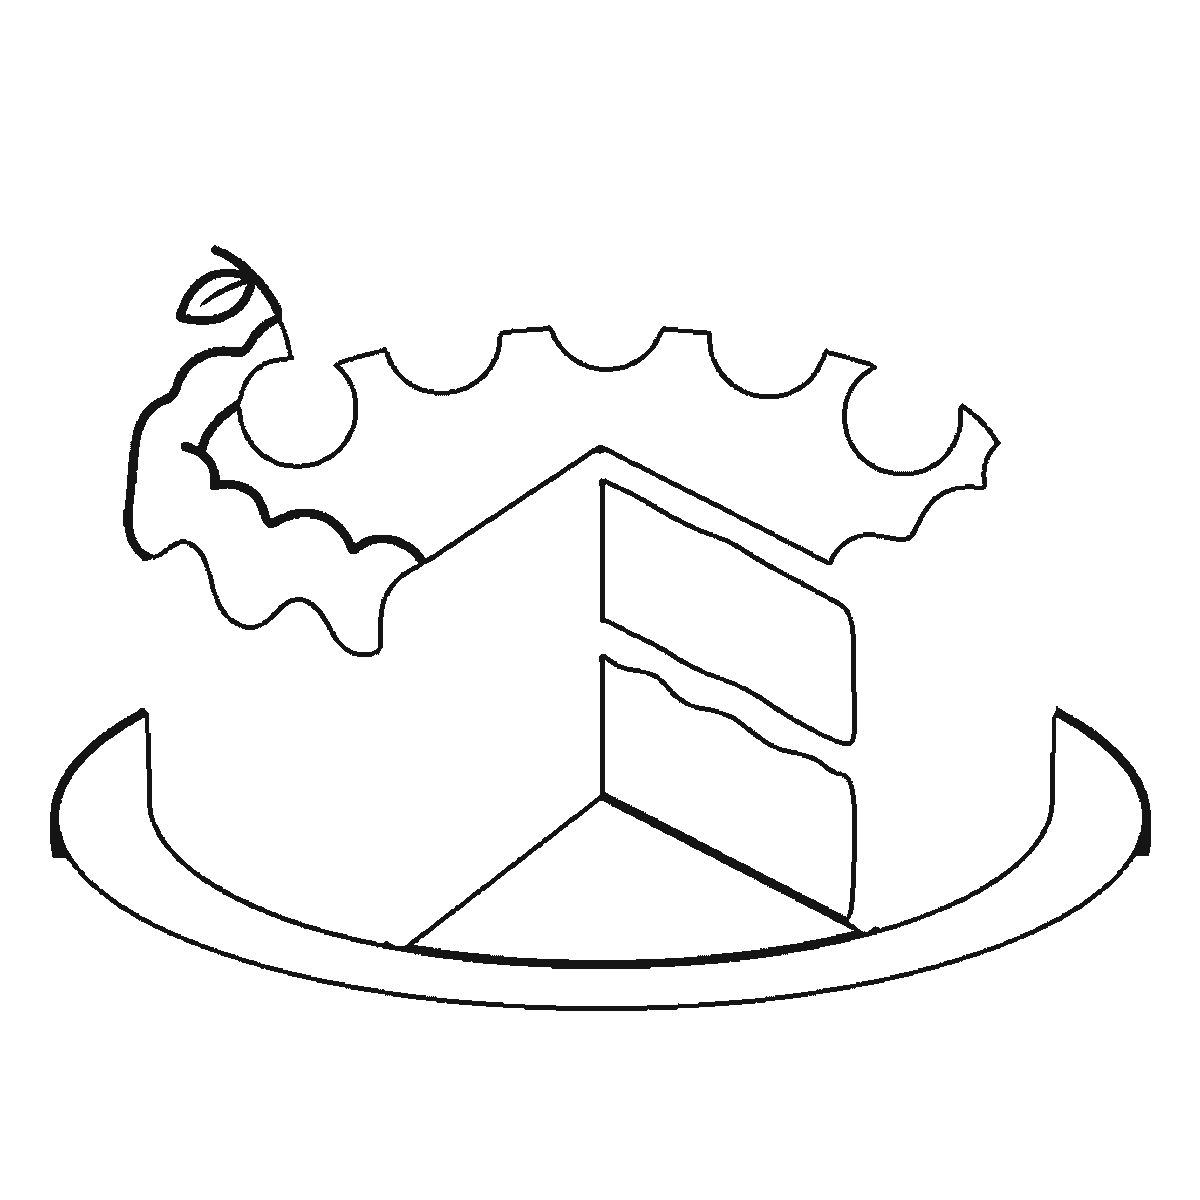
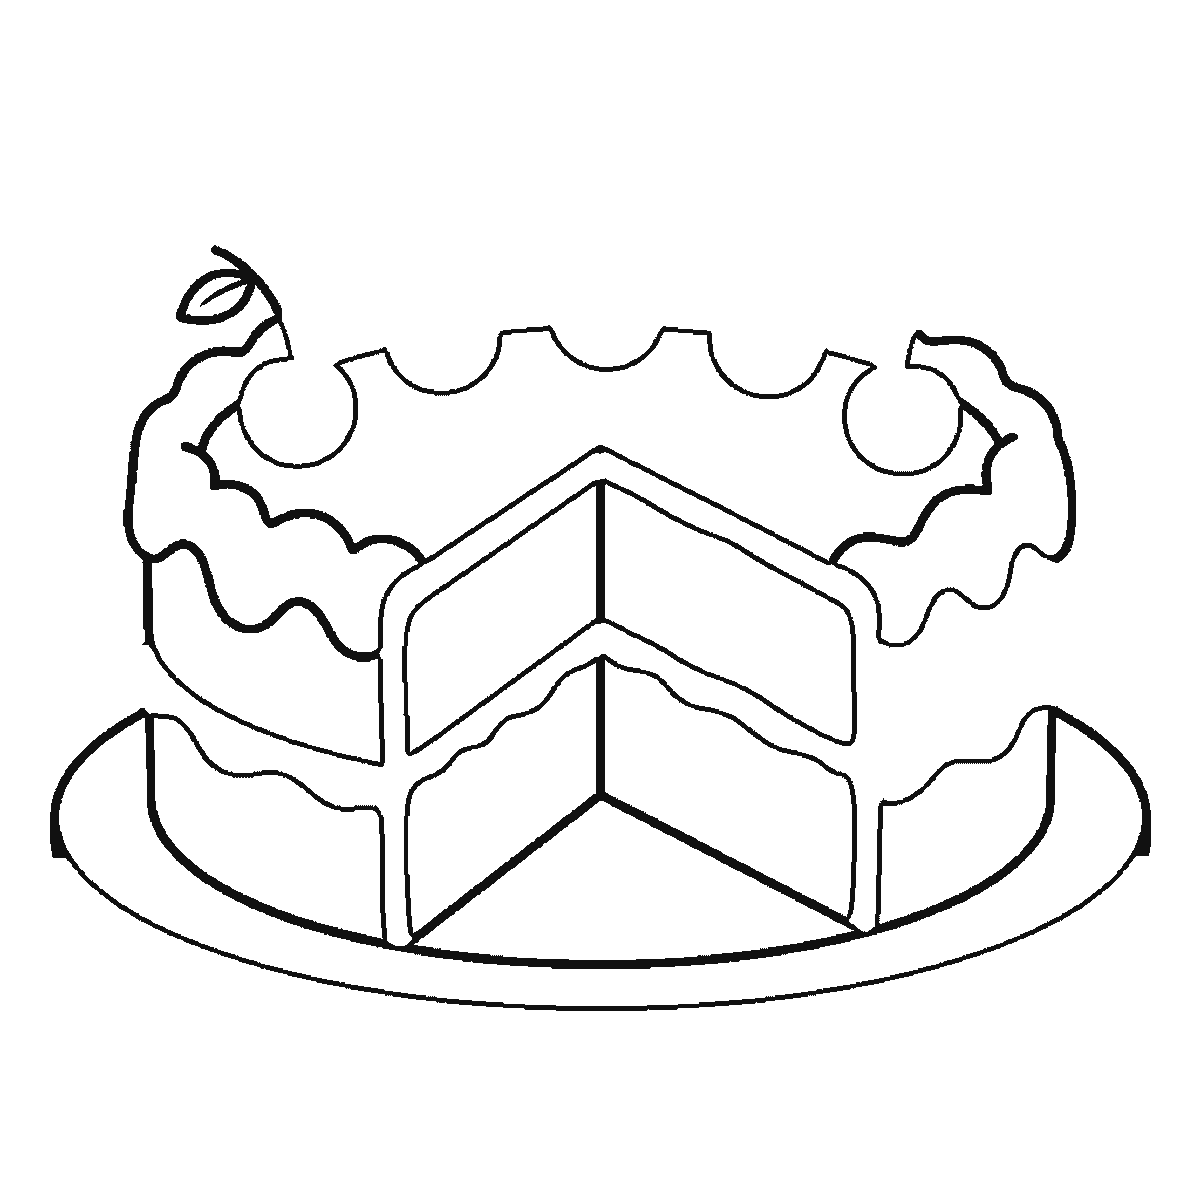
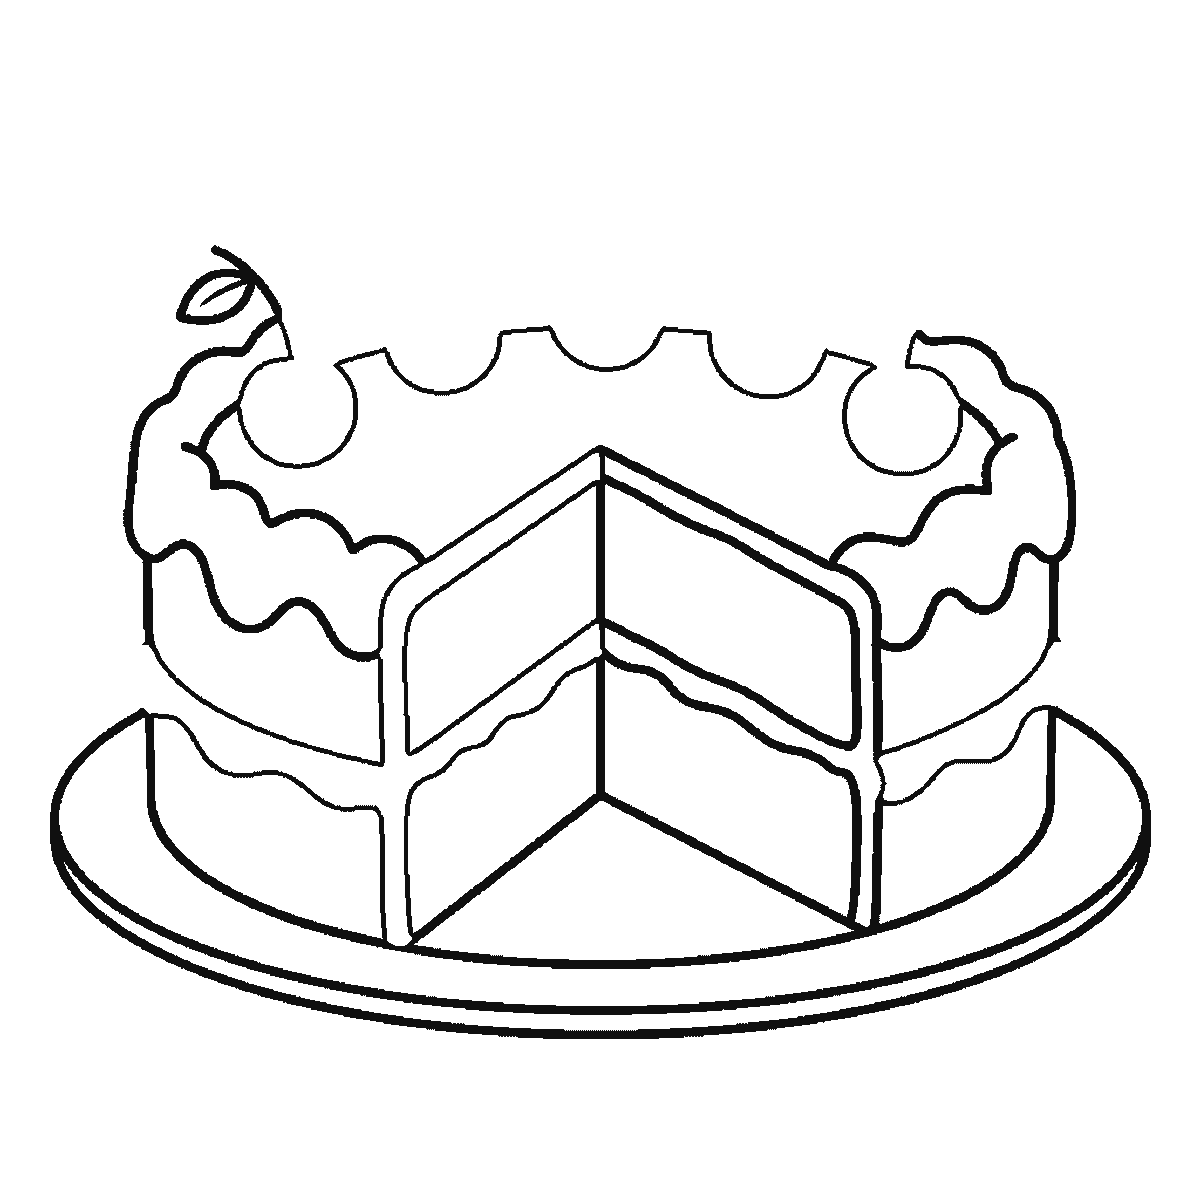
This sheet takes one drawing of a round two-layer cake on a plate, with a wedge already cut out of it, and shows the drawing six times over. Each frame carries the last one's lines and adds more. It is one of the more technical subjects on this site, because a cake is a drawing in perspective and a wobbly ellipse is much harder to hide than a wobbly animal.
Frame one is the top of the cake: the wavy scalloped rim of icing running around the upper edge, already notched where the slice has been taken out, plus the broad front rim of the plate lying underneath it with a wide gap between the two. That wavy ring is the drawing's single hardest line and the sheet puts it first, which is the right place for it. Draw the plain ellipse first, lightly, all the way round, and only then wave the icing along it. Trying to draw a scalloped ellipse in one pass is how the shape ends up lopsided.
The second and third frames are the cut. The missing wedge leaves two flat faces meeting at the centre of the cake, and each is divided across the middle to show the two layers of sponge with filling between them. Those two faces are the most interesting thing on the page and they are also where the perspective is decided: the horizontal division lines on both faces have to run parallel to the ellipse at the top, not level across the page. Get them level and the cake tips over.
Frame four adds the outer edge of the plate and the near vertical edge of the cut. The cherries then arrive last, a few in frame five and the rest in frame six, each with its stem and a small leaf. Five cherries sit in a ring around the top, and they are the easiest part of the drawing to place badly: spread them evenly along the icing ring in the same perspective as the ellipse, so that the ones at the back sit visibly higher on the page than the ones at the front.
That is the whole trick of drawing a cake, and this sheet makes it visible by revealing it in an order that keeps forcing you back to the same ellipse. The top rim, the layer lines, the plate rim and the ring of cherries are four different lines, all following one curve, and if they agree the drawing works even if every individual line is a little shaky.
The frames run from the largest closed shape to the smallest, which is why the top of the cake and the cut faces come first and the cherries come last. The sequence is easy to copy from and it is not a claim that it is how a cake should be drawn. Somebody who blocks in a cylinder and then carves the wedge out of it is using the method most illustrators use and will arrive at the same picture.
The download is one A4 page carrying all six frames in plain black outline on white, no shading. It prints on any printer and the finished frame colours in well — this is a subject where a coloured version really does look better than an outline.
When it works, try drawing the same cake with the slice put back in. All you have to remove is the two cut faces; everything else on the page stays. What you learn from doing it is how much of the interest in a drawing can come from one absence, and it is a lesson that transfers to almost every still-life subject there is.
Before you start
- Draw the top as a plain ellipse first and add the wavy icing to it afterwards. Waving and curving at the same time is what makes cakes lopsided.
- Keep the layer lines on the cut faces parallel to the top ellipse, not level across the page.
- Set the back cherries visibly higher on the page than the front ones, or the top of the cake flattens out.
- Draw the plate as one continuous ellipse behind the cake, then rub out the part the cake covers — it is much easier than fitting two arcs to a shape.
Published Updated 615 words
The six steps
The steps go from the largest shape to the smallest, which is an easy order to copy. It is not the only order, and it is not a rule — if you would rather start somewhere else on the sheet, do.
Step 1
Step 2
Step 3
Step 4
Step 5
Step 6
More in this section
How to draw a skull
Six frames, one decorated sugar skull. Almost the whole outline lands in the first frame — then the jaw, a flower in each eye socket, and the teeth last.
Step sequence made by us from a single drawing: each step keeps the lines of the one before it and adds to them.
How to draw a Halloween pumpkin
Six frames, one carved pumpkin. The middle rib with its face comes first, and the curling tendril last.
Step sequence made by us from a single drawing: each step keeps the lines of the one before it and adds to them.
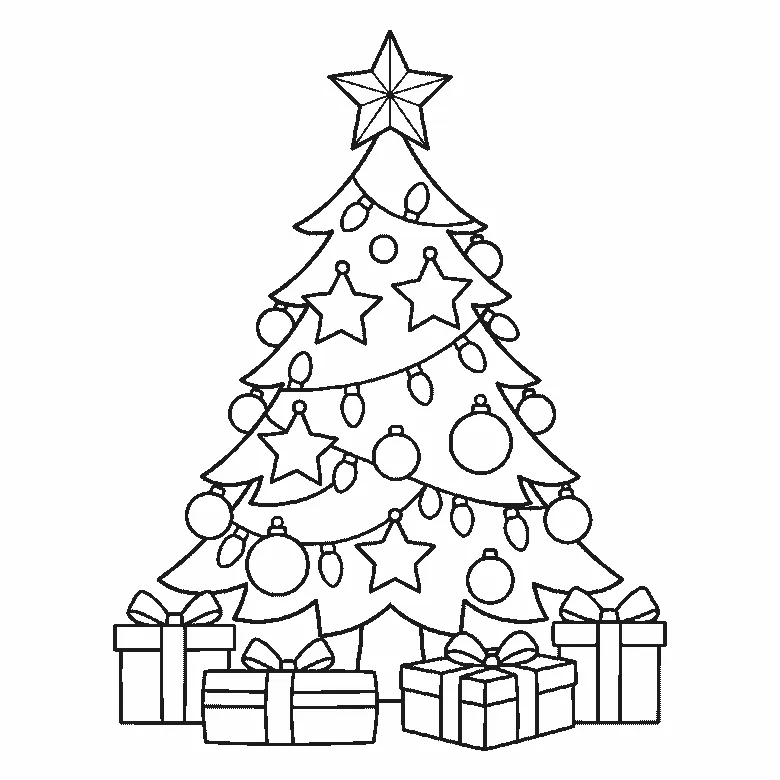
How to draw a Christmas tree
Six frames, a decorated tree with presents underneath. The tiers arrive by size and already decorated, the star halfway, the presents last.
Step sequence made by us from a single drawing: each step keeps the lines of the one before it and adds to them.
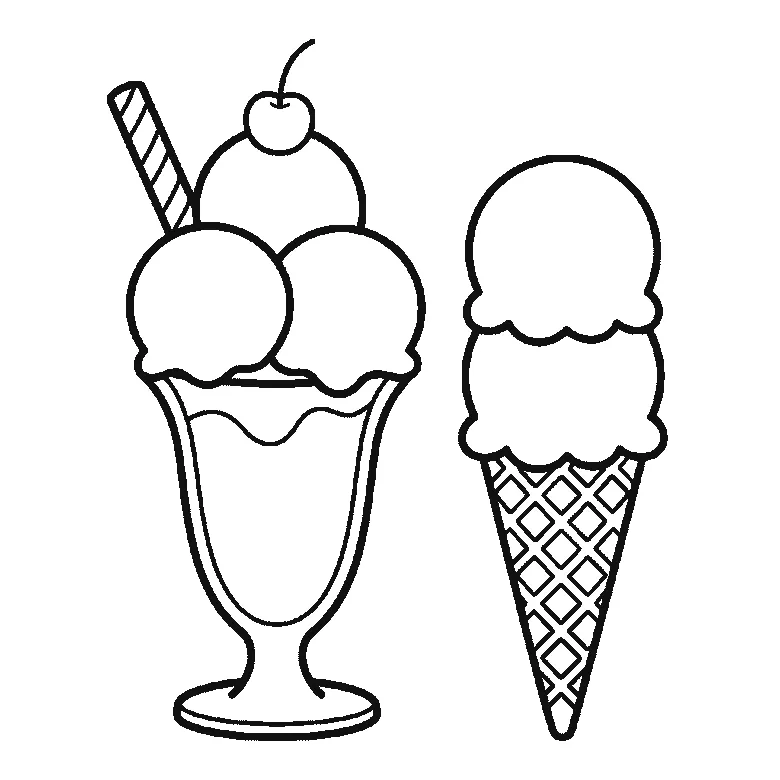
How to draw ice cream
Six frames, two ice creams: a three-scoop sundae in a tall glass beside a two-scoop cone. The cone's scoops first, the cherry last.
Step sequence made by us from a single drawing: each step keeps the lines of the one before it and adds to them.


