
PDF · A4 · 56 KB · Free, no sign-up. For home and classroom use.
How to draw a Halloween pumpkin
Six frames, one carved pumpkin. The middle rib with its face comes first, and the curling tendril last.
A carved pumpkin is the drawing most people want at the end of October and the one that goes wrong in a predictable way: it comes out as a circle with three holes in it. What makes a jack-o’-lantern read as a pumpkin rather than as a ball is that it is built from RIBS — separate vertical segments, each bulging out from the one behind — and this sheet takes one drawing of a carved pumpkin and builds it a rib at a time over six frames.
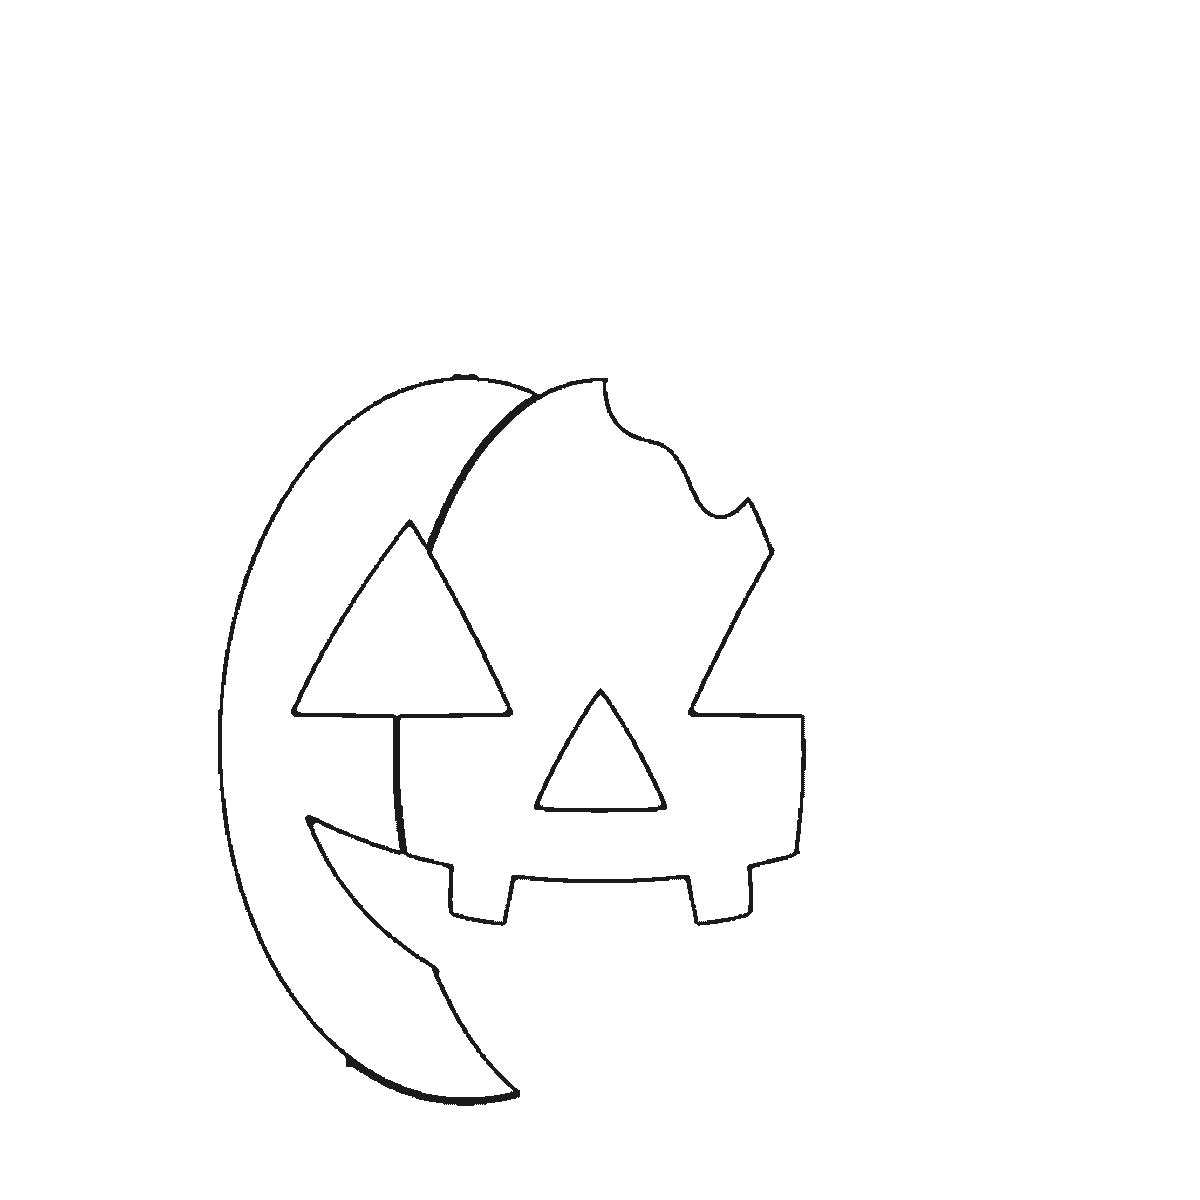
Frame one is the CENTRE RIB with the face already carved into it: two triangular eyes, a triangular nose between and below them, and the top edge of the mouth. Everything on this sheet hangs off that one shape. It is not a circle — it is a tall rounded segment, wider in the middle than at the top and bottom, and its edges are the two lines that everything else is drawn against.
The face is carved into the centre rib and not onto the whole pumpkin, which is the single most useful thing this sheet shows. Beginners draw the pumpkin first and then put a face on top of it, and the face ends up floating flat on a curved object. Here the eyes, the nose and the mouth belong to the middle segment from the very first frame, so they sit where they belong from the start.
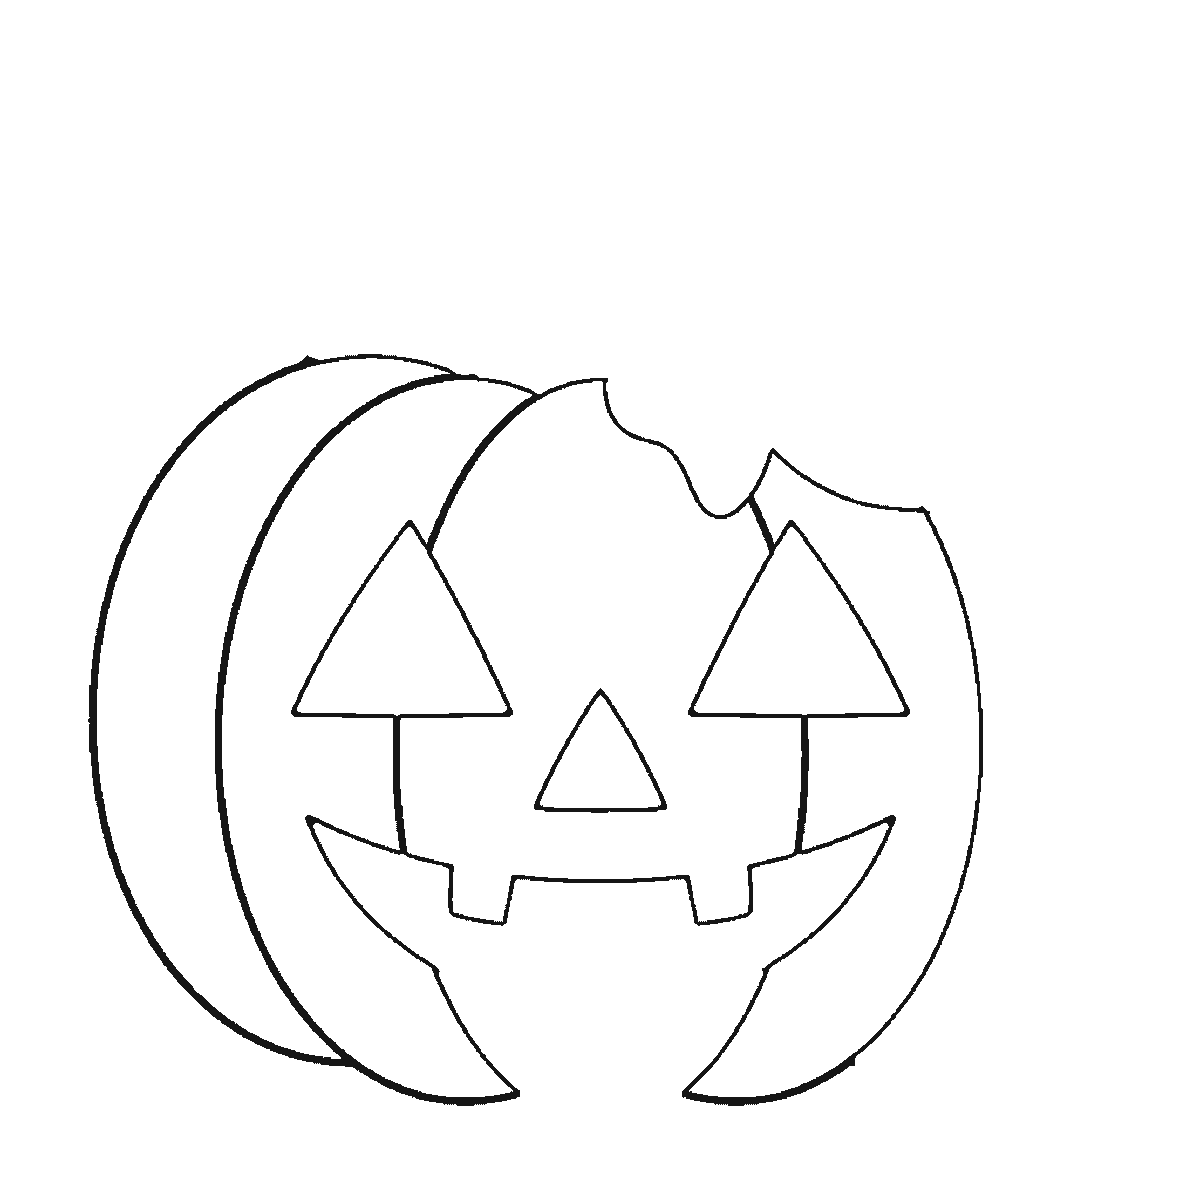
Frame two adds the two OUTER ribs, one on each side, and these are the shapes that turn the segment into a pumpkin. Each is a crescent: much narrower than the centre rib, curving from the top of the pumpkin to the bottom, and touching the centre rib along its whole length rather than overlapping it. Two ribs of the same width as the middle would give you three sausages; the narrowing is what makes them read as the sides of something round.
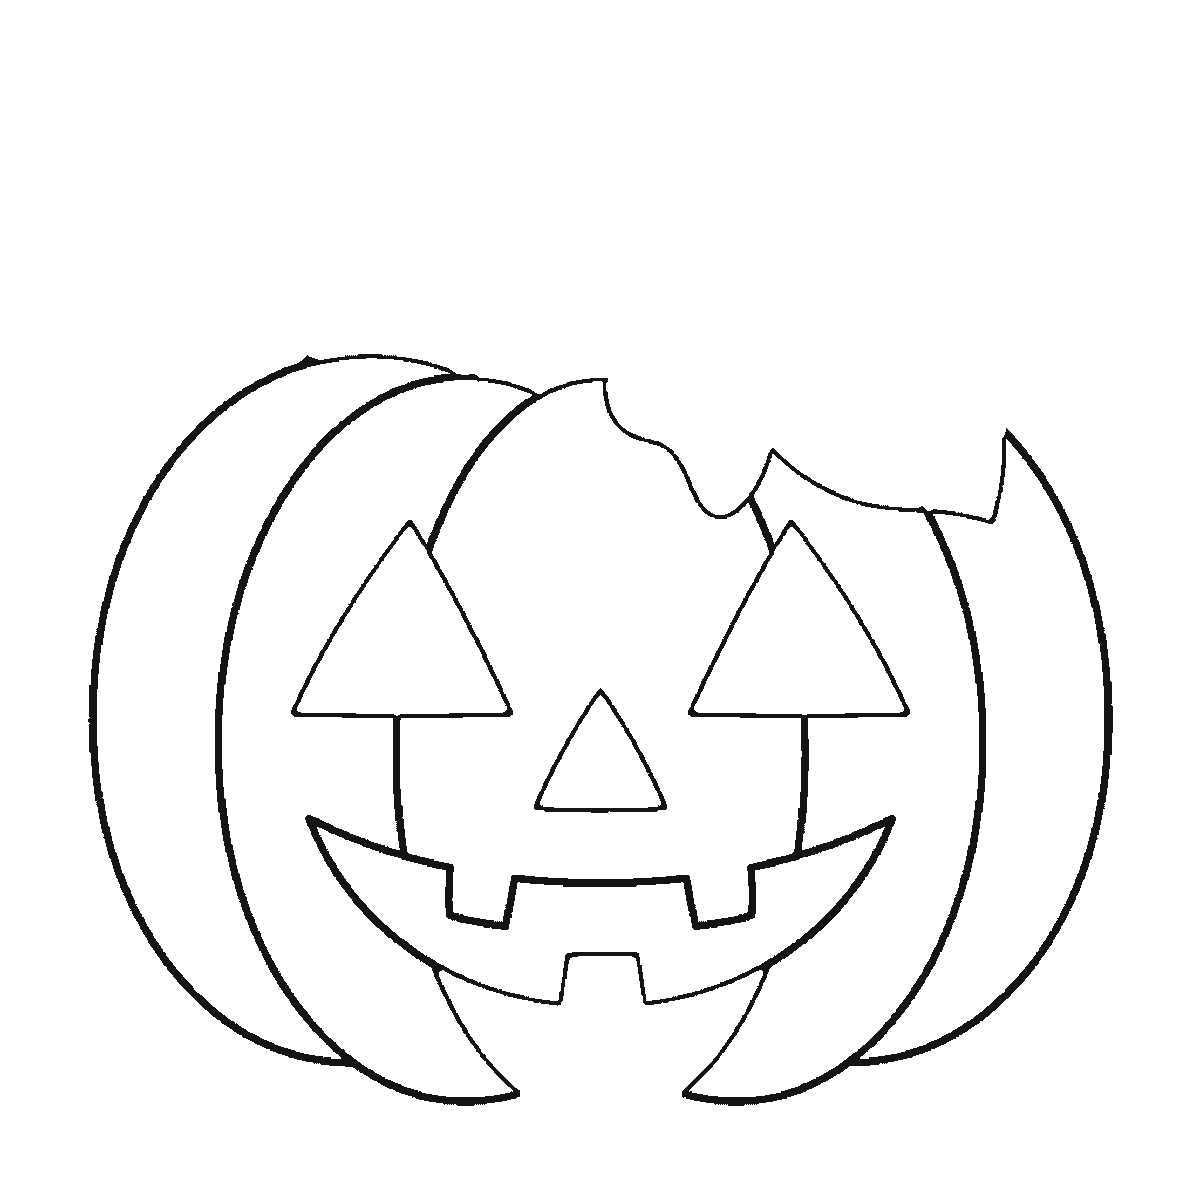
The mouth is completed in frame three, along with a fourth rib between the centre and the right. A carved mouth is a wide grin with square teeth left standing in it, and the teeth are the part worth slowing down for: they are gaps in the cut, not shapes added to it, and drawing them as separate squares sitting in the mouth is what makes a pumpkin look like it has dentures.
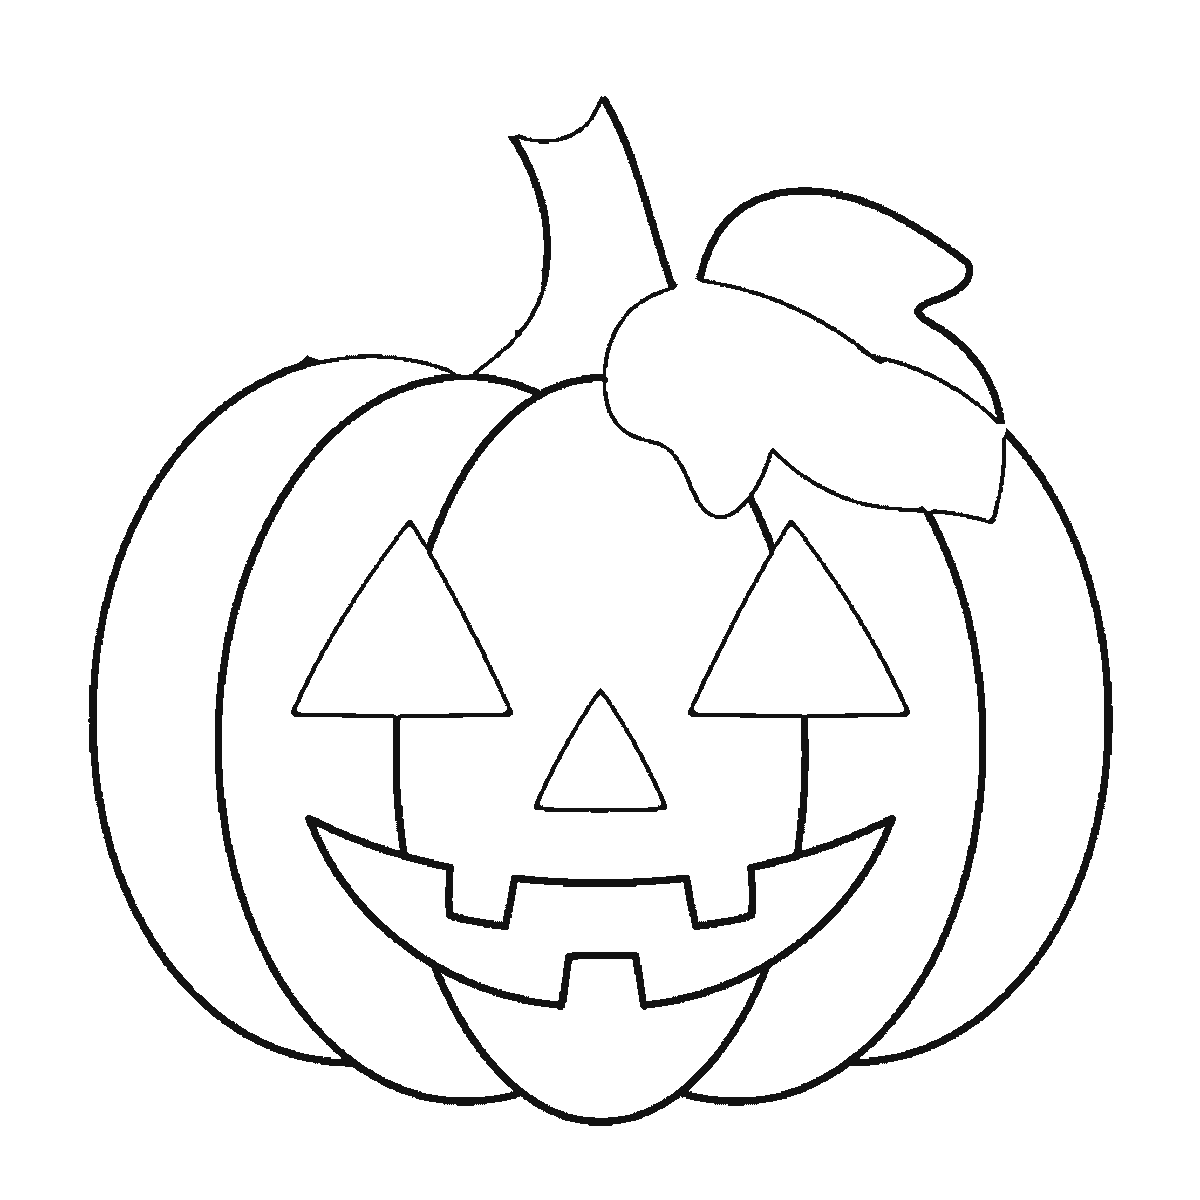
Frame four brings the STALK and the LEAF at the top and the chin below the mouth. A pumpkin stalk is short, thick and slightly bent, not a straight stick, and it is ribbed along its length. The leaf beside it is broad with a notched edge.
Frame five adds the leaf’s veins and brings the three carved holes up to their full weight. Like the highlight on the heart sheet, the eyes and the nose appear twice on this sheet — outlined in frame one and finished in frame five — because of how the frames are built. It is worth knowing so that a thin first pass does not look like a mistake.
The last frame is the CURLING TENDRIL that springs from beside the stalk, plus the small ellipse that caps the stalk itself. The tendril is the detail most people leave off and the one that most improves the drawing: a single line that spirals in on itself, drawn loosely rather than as a neat coil. It is also the only curve in the whole picture that is not part of something solid, which is why the drawing looks stiff without it.
The six frames run from the largest closed shape to the smallest, biggest rib first and the tendril last. It is not a claim about how anyone should draw a pumpkin, and starting with the outer silhouette is the way most people would do it. What the rib-first order shows is that the face and the middle segment are one shape, which is the part a drawing usually gets wrong.
The download is one A4 page with all six frames on it, plain black outline on white and nothing shaded, so it prints on any printer and photocopies cleanly for a class. Coloured in, the ribs take slightly different oranges very well, and the carved holes are the one place a pumpkin drawing can take a flat black.
Before you start
- Carve the face into the middle rib, not onto the finished pumpkin. That is what stops it floating on a curved surface.
- Make the outer ribs clearly narrower than the centre one. Three ribs of equal width read as sausages, not as a pumpkin.
- Draw the teeth as gaps left standing in the cut, not as squares added into the mouth.
- Keep the tendril loose and spiralling. It is the only line in the drawing that is not part of something solid.
Published Updated 718 words
The six steps
The steps go from the largest shape to the smallest, which is an easy order to copy. It is not the only order, and it is not a rule — if you would rather start somewhere else on the sheet, do.
Step 1
Step 2
Step 3
Step 4
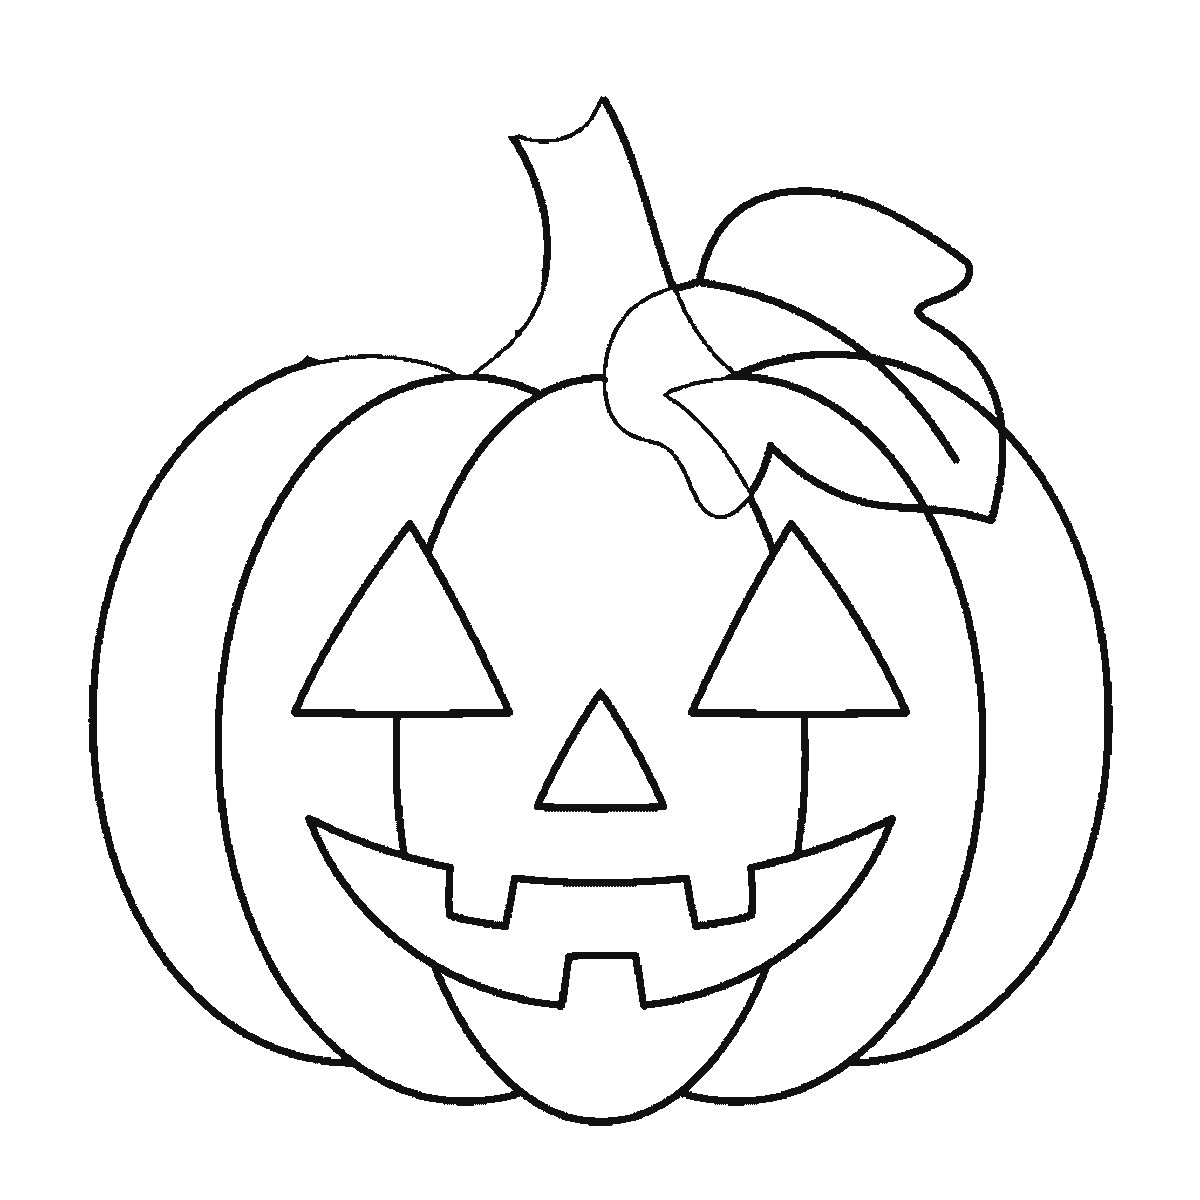
Step 5
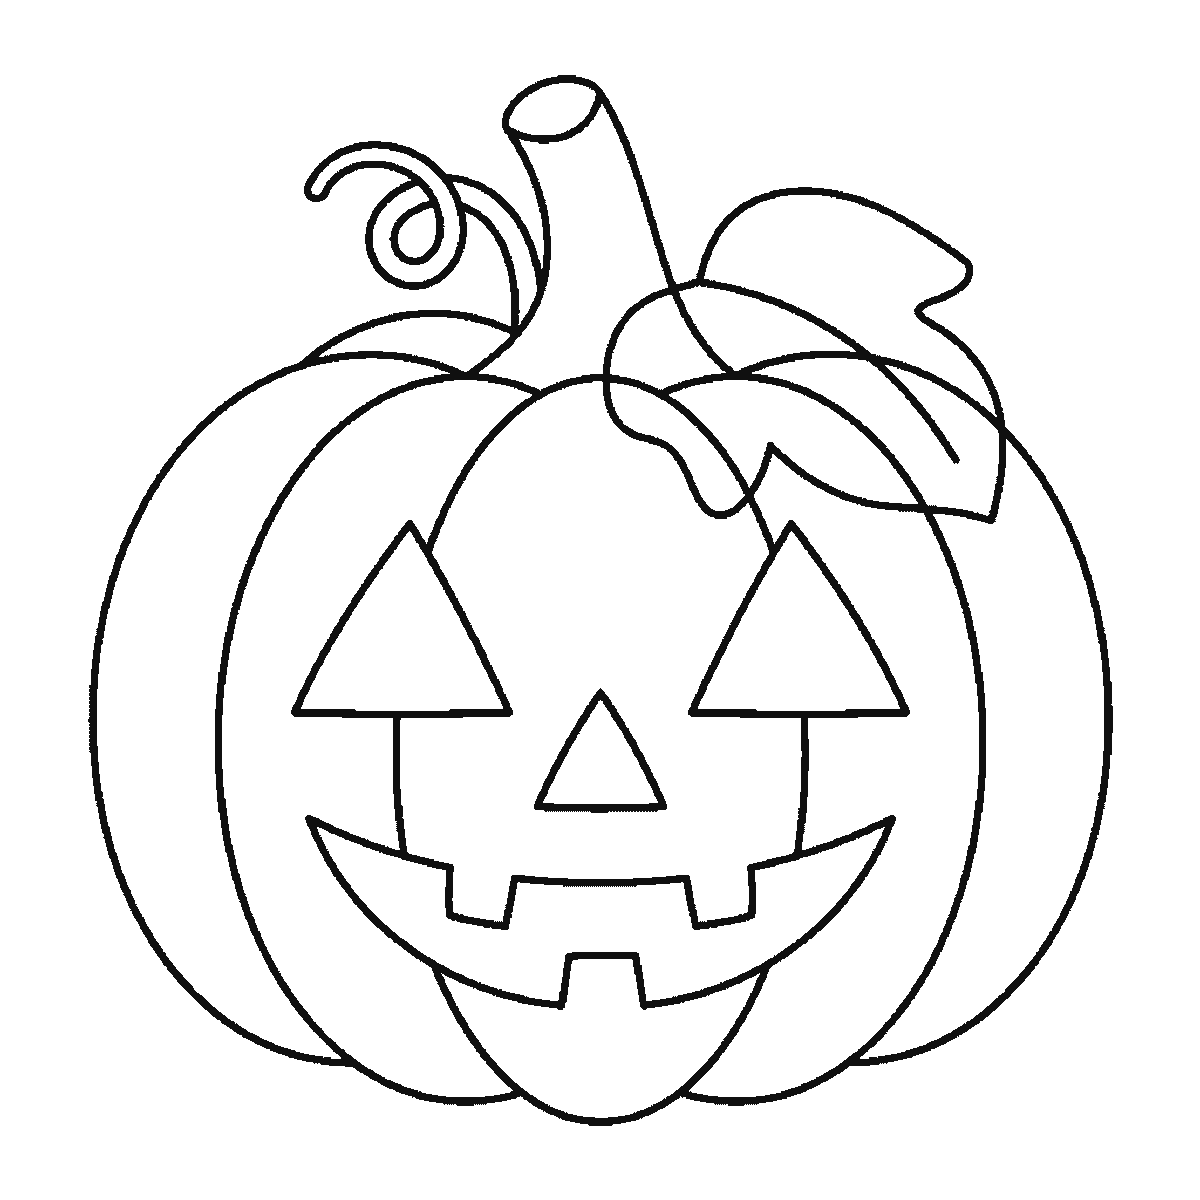
Step 6
More in this section
How to draw a Christmas tree
Six frames, a decorated tree with presents underneath. The tiers arrive by size and already decorated, the star halfway, the presents last.
Step sequence made by us from a single drawing: each step keeps the lines of the one before it and adds to them.
How to draw ice cream
Six frames, two ice creams: a three-scoop sundae in a tall glass beside a two-scoop cone. The cone's scoops first, the cherry last.
Step sequence made by us from a single drawing: each step keeps the lines of the one before it and adds to them.
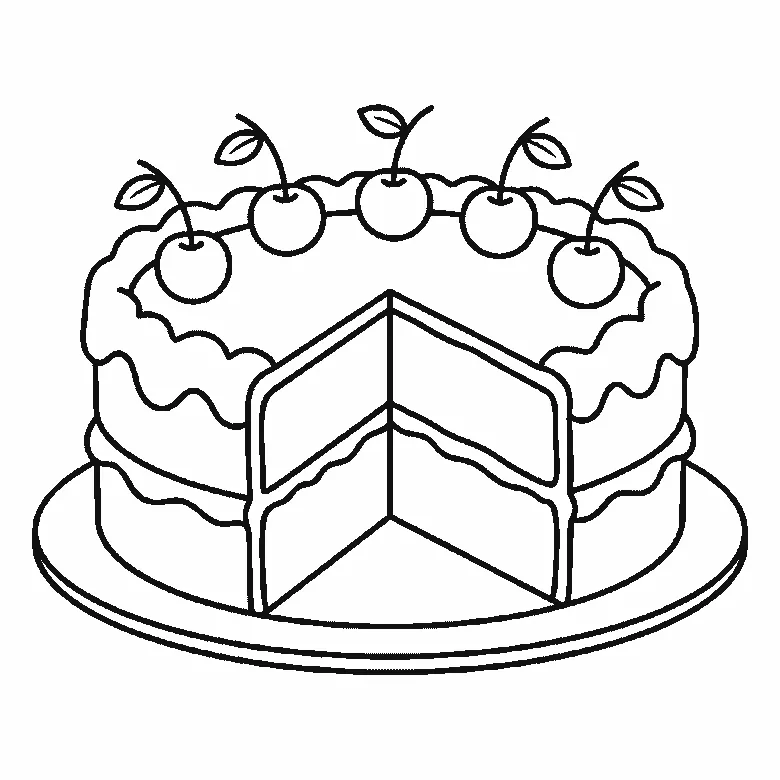
How to draw a cake
Six frames, one layer cake with a slice cut out. The wavy icing top first, then both cut faces showing the layers, and the five cherries at the end.
Step sequence made by us from a single drawing: each step keeps the lines of the one before it and adds to them.
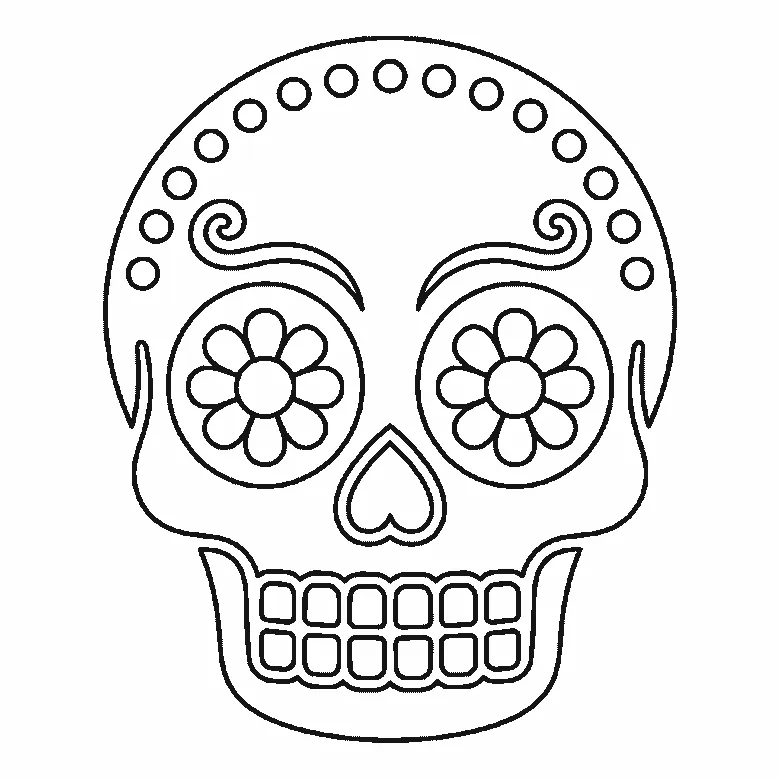
How to draw a skull
Six frames, one decorated sugar skull. Almost the whole outline lands in the first frame — then the jaw, a flower in each eye socket, and the teeth last.
Step sequence made by us from a single drawing: each step keeps the lines of the one before it and adds to them.


