
PDF · A4 · 66 KB · Free, no sign-up. For home and classroom use.
How to draw a Christmas tree
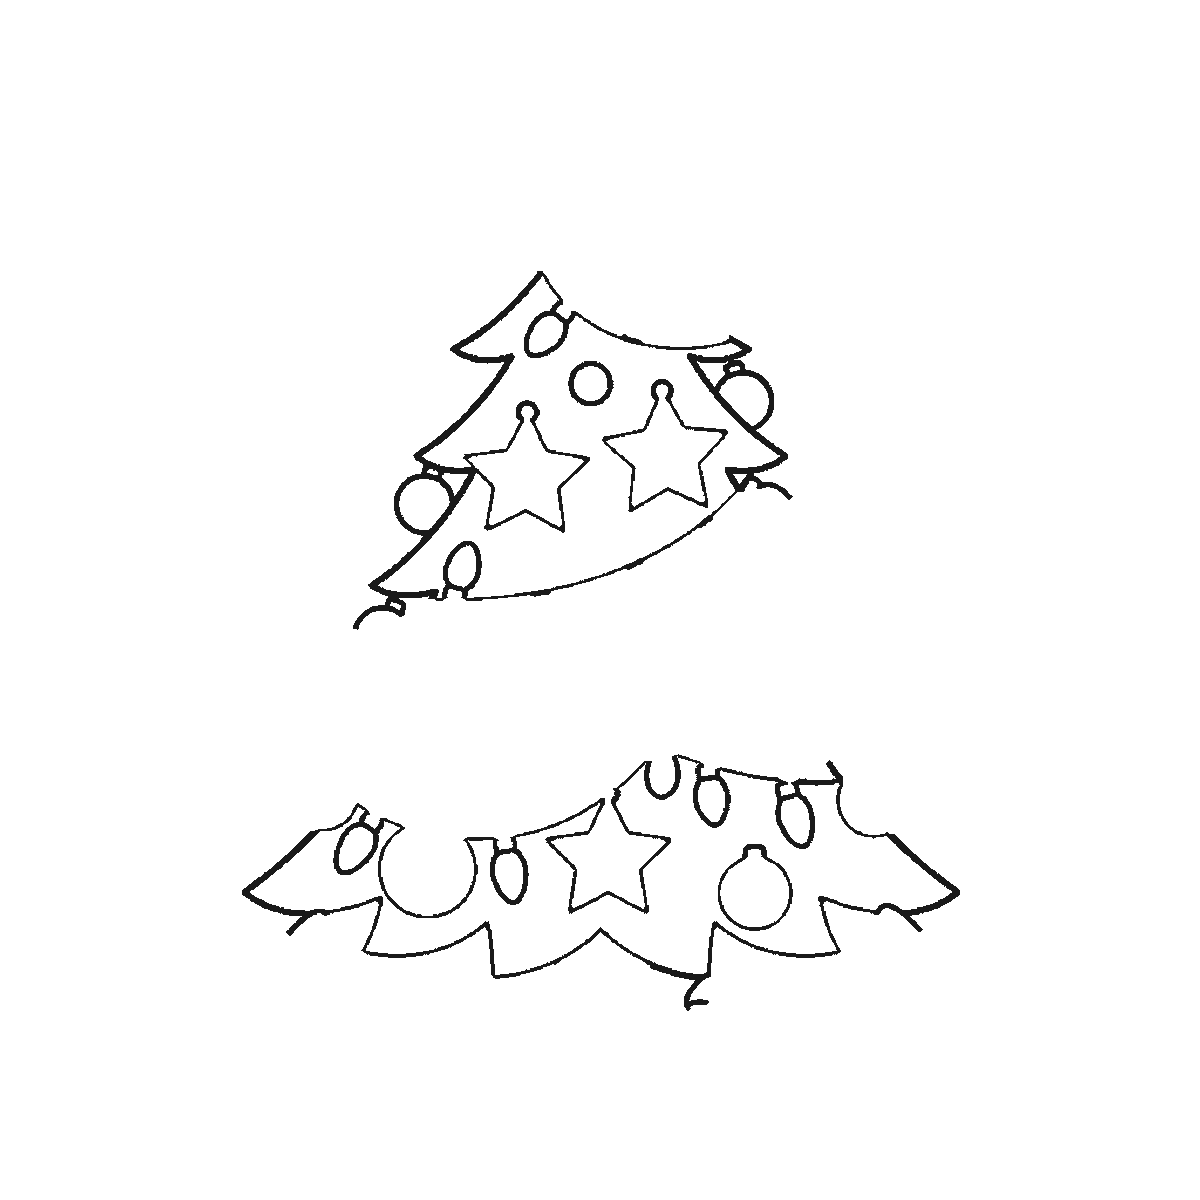
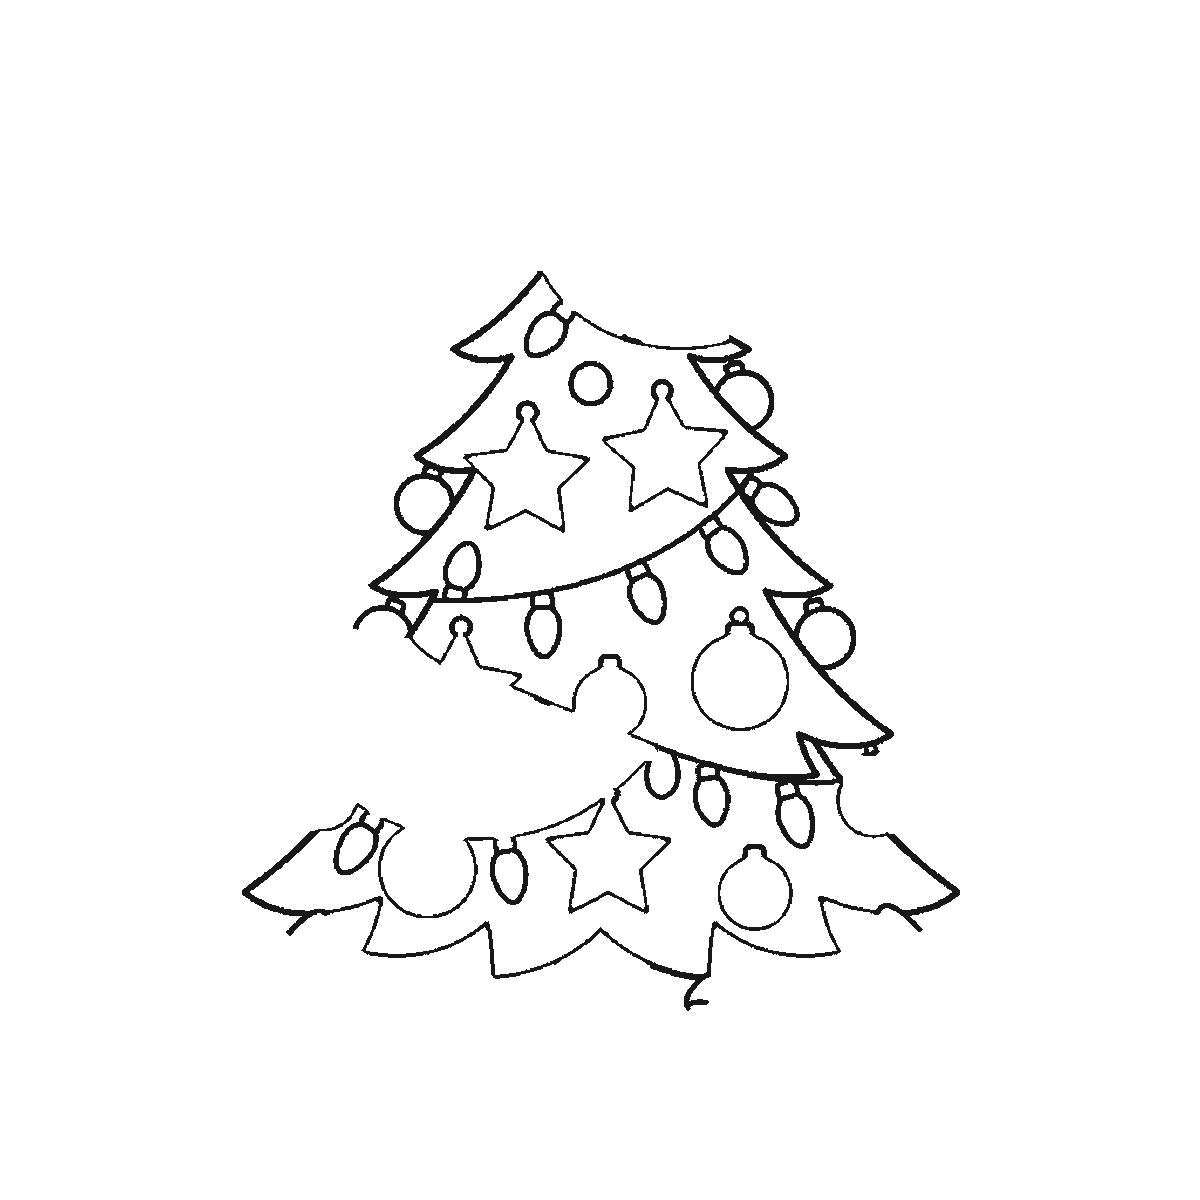
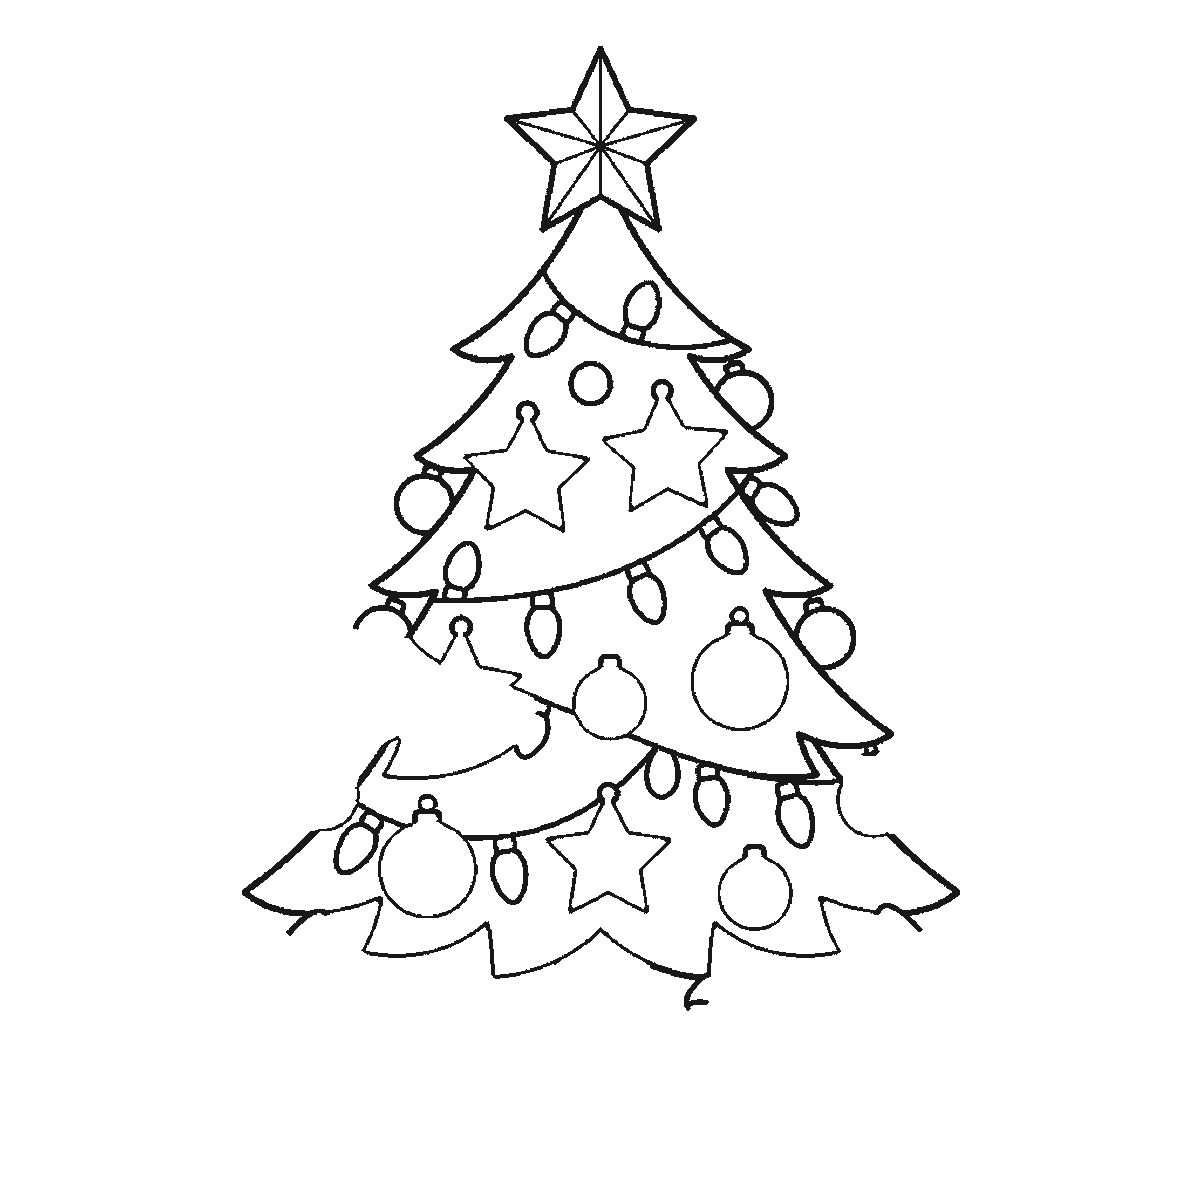
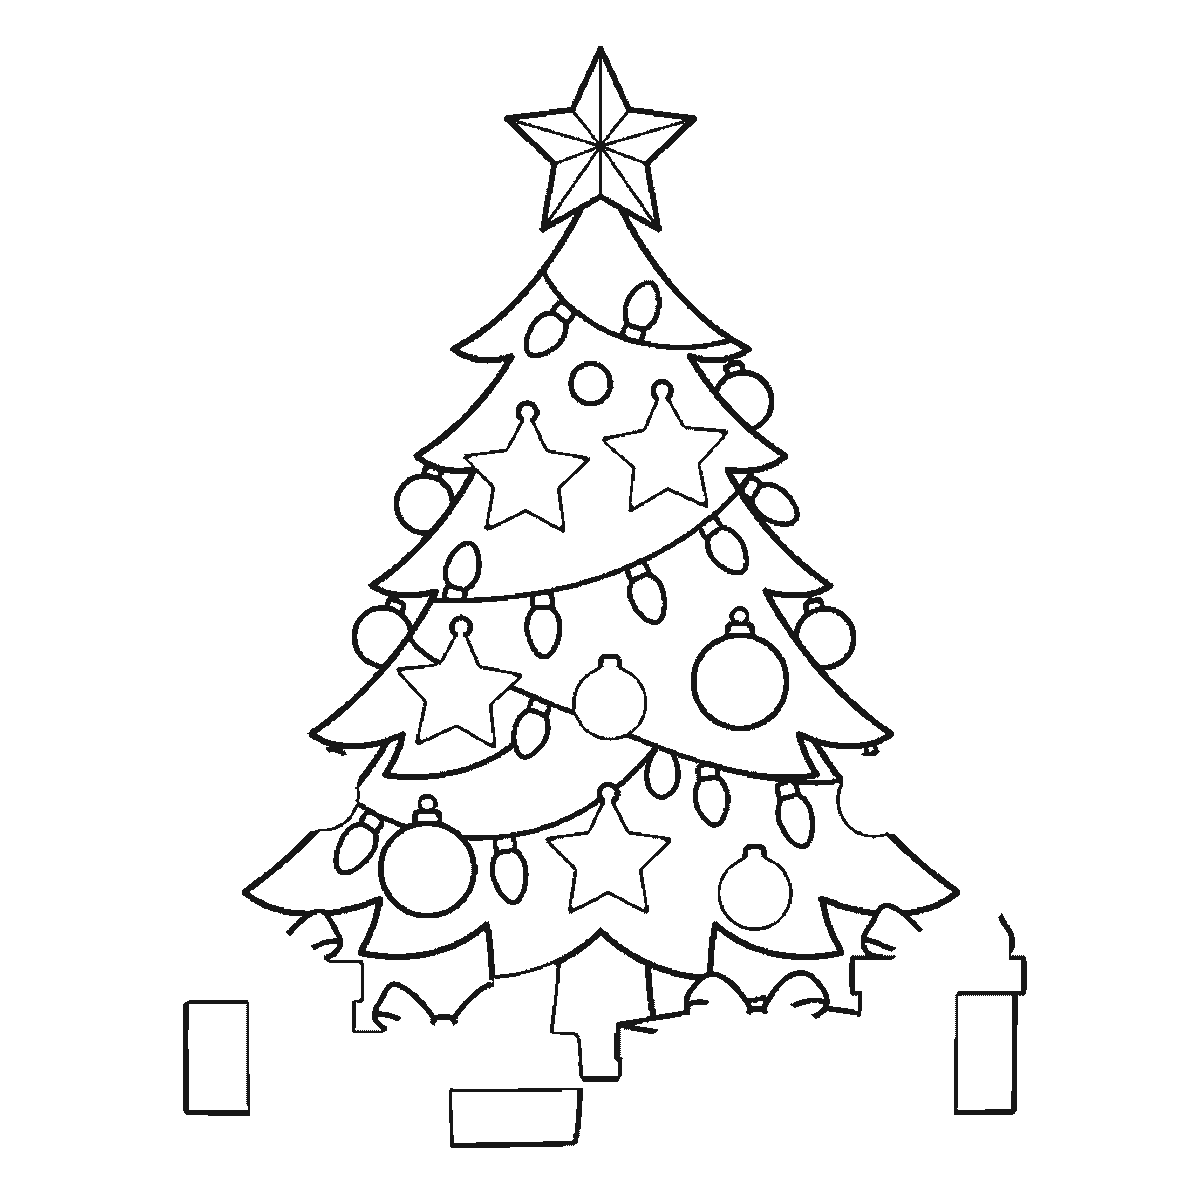
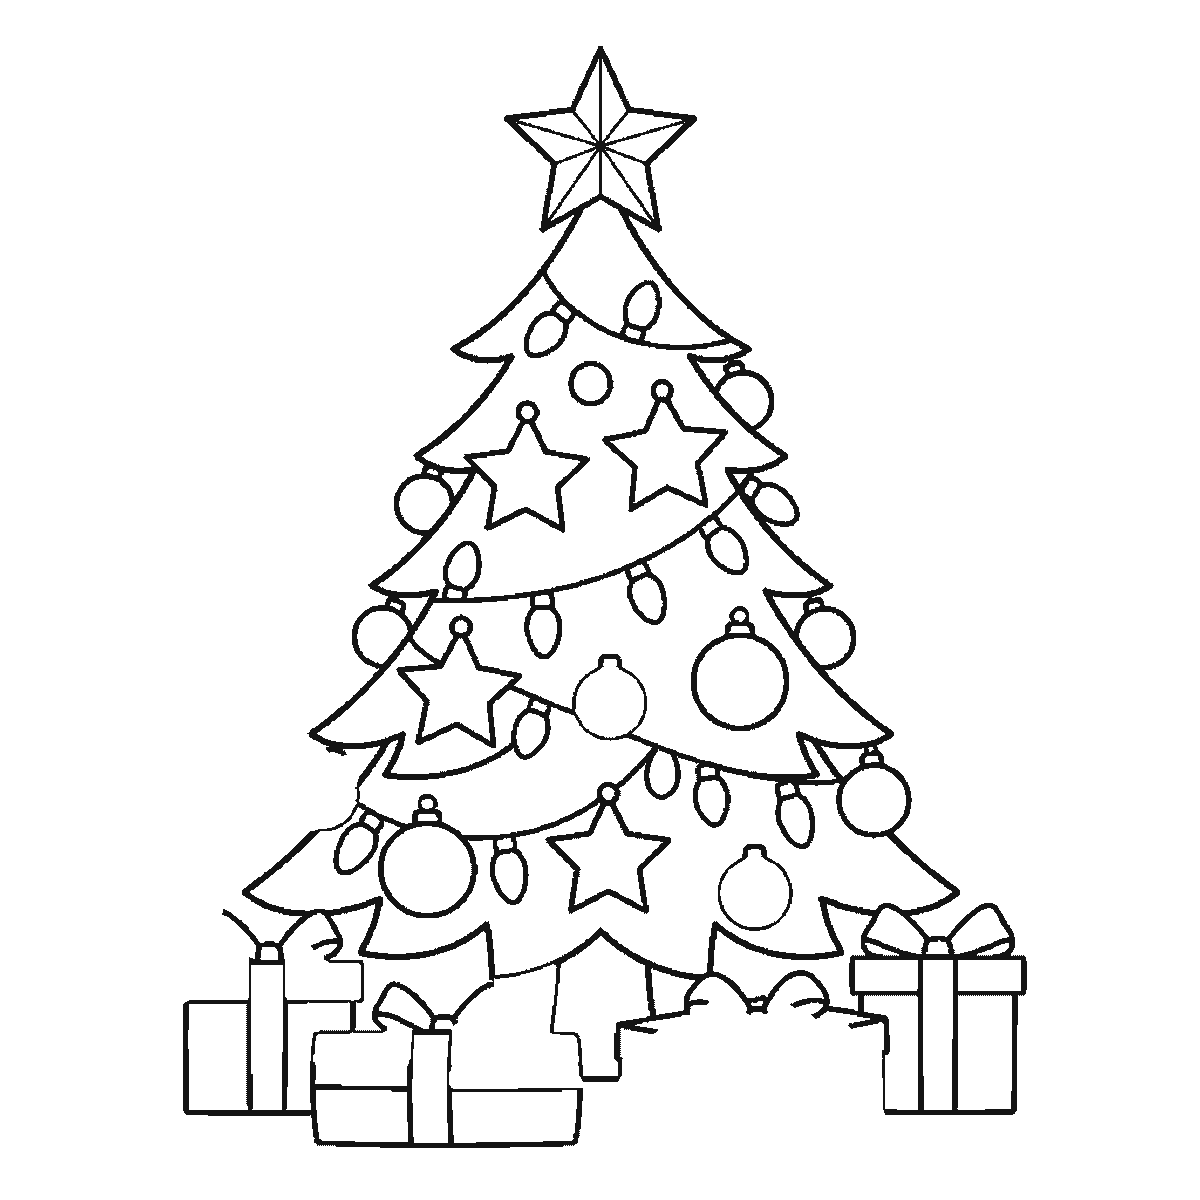
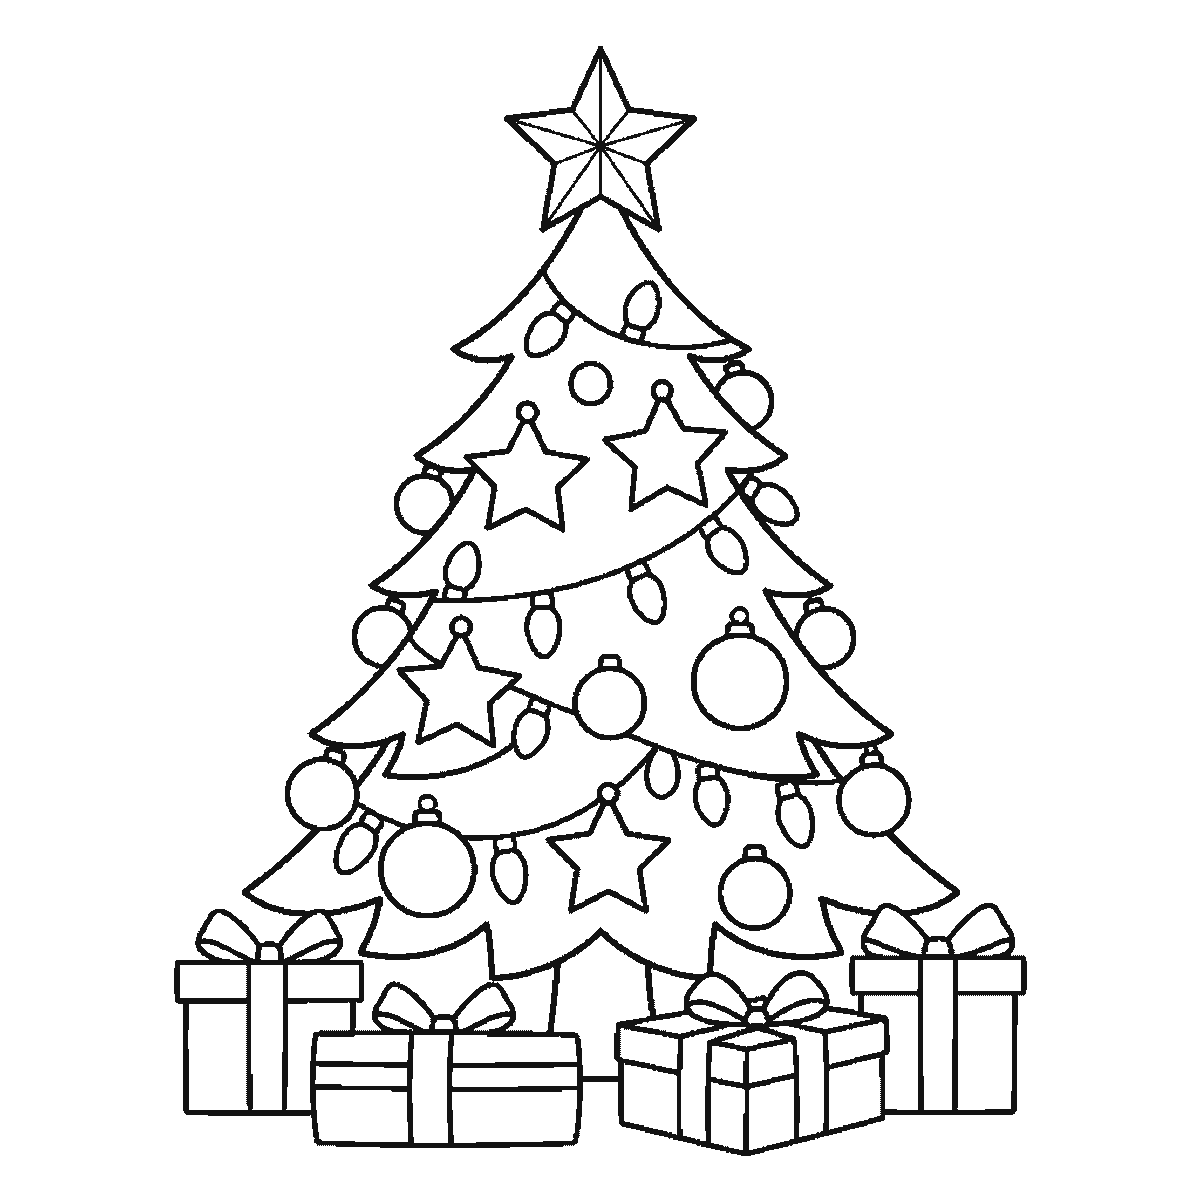
Six frames, a decorated tree with presents underneath. The tiers arrive by size and already decorated, the star halfway, the presents last.
Almost everybody draws a Christmas tree as a triangle, and a triangle is a perfectly good Christmas tree. This sheet builds a slightly better one, made of separate tiers of branches, and the extra effort is small: instead of two straight sides you get an outline that steps in and out, which is what an actual fir looks like.
Frame one is two tiers rather than one, and they are not the bottom ones: the sheet takes the two largest branch shapes wherever they happen to sit, so the tree grows outwards from the middle rather than upwards from the base. Each tier arrives with its baubles, its stars and its string of lights already on it. Draw each as a shallow shape with a scalloped or zig-zag lower edge rather than a straight line. That edge is the single change that moves the drawing from symbol towards tree.
The remaining tiers fill in around those first two, largest first, each narrower than the one below it and overlapping it slightly. The overlap is what stops the tree looking like a stack of separate hats. This tree has five tiers; three or four is plenty on one of your own, and more than that gets busy without getting better.
The tiers should not step in by equal amounts. A tree that narrows evenly from bottom to top is a cone with notches; one that narrows sharply near the top and gently near the bottom looks like something that grew. It is one decision, made once, and it costs nothing.
There is no trunk on this tree: the lowest branches meet the presents and that is the end of it. If you draw one, keep it short. A visible trunk with a lot of daylight around it makes the tree look like a lollipop — just enough to show below the lowest branches, and a base or a pot underneath if you want one.
The star goes on in frame three, halfway through rather than at the end, and it is worth drawing properly rather than as a scribble. A five-pointed star is easiest built from a small circle with five evenly spaced points around it — mark the five positions first, then draw the points. Freehanding one directly almost always produces a star with one sad short leg.
The baubles do not come last — every tier arrives already carrying them, which means the scatter is decided the moment you draw a branch. The temptation is still to fill the tree. Resist. A scatter of circles, varied in size, more of them low down than high up, and a few of them overlapping the branch edges rather than sitting neatly inside, reads far better than an even distribution.
The sheet varies what hangs on the tree and that is worth keeping: round baubles, flat five-pointed stars and the small oval bulbs of the light string, rather than circles alone. All circles reads as a pattern; a mix reads as a tree somebody actually decorated. The variation is what makes it look like an object rather than a diagram.
The lights are already here, looping across each tier as a line with small bulb shapes along it and disappearing behind the branches in places. That last part is the bit worth copying carefully: a garland drawn entirely on top of the tree looks stuck on, and one that goes behind and comes back out sits in the branches.
The six frames run from the largest closed shape to the smallest, which here means the widest tiers first wherever they sit, then the star, then the presents and the last few baubles. Three of the six frames are spent on the wrapped boxes under the tree, and they are as much of this drawing as the branches are. It is an easy order to copy and it is not the correct one; starting from the star and working down is a perfectly reasonable alternative.
Before you start
- Give each tier a scalloped or zig-zag lower edge rather than a straight line.
- Overlap each tier onto the one below so the tree is not a stack of hats.
- Mark the star's five points before drawing them. Freehanding one gives it a short leg.
- Scatter the baubles unevenly, more low than high, some overlapping the branch edges.
Published Updated 662 words
The six steps
The steps go from the largest shape to the smallest, which is an easy order to copy. It is not the only order, and it is not a rule — if you would rather start somewhere else on the sheet, do.
Step 1
Step 2
Step 3
Step 4
Step 5
Step 6
More in this section
How to draw ice cream
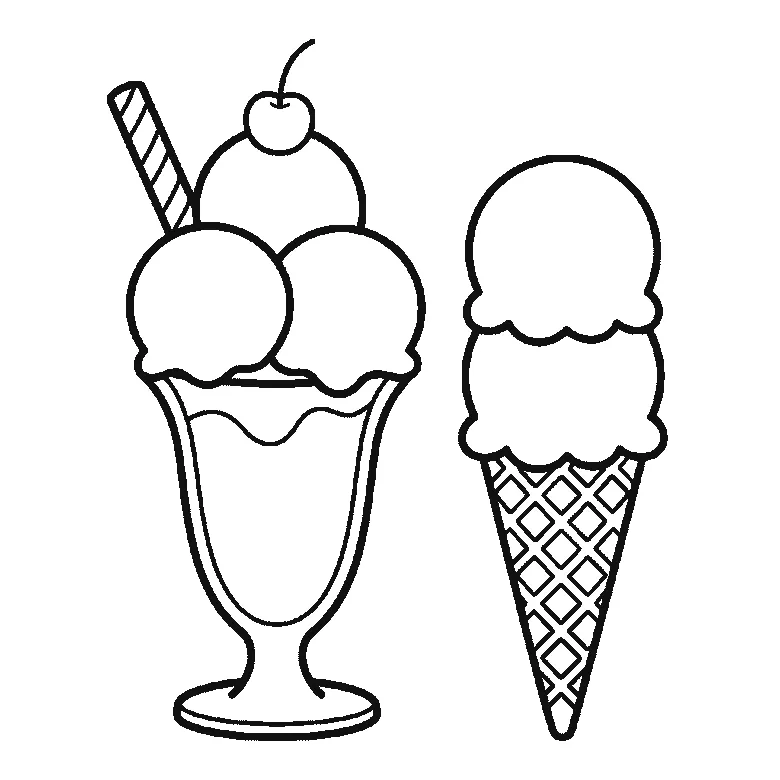
Six frames, two ice creams: a three-scoop sundae in a tall glass beside a two-scoop cone. The cone's scoops first, the cherry last.
Step sequence made by us from a single drawing: each step keeps the lines of the one before it and adds to them.
How to draw a cake
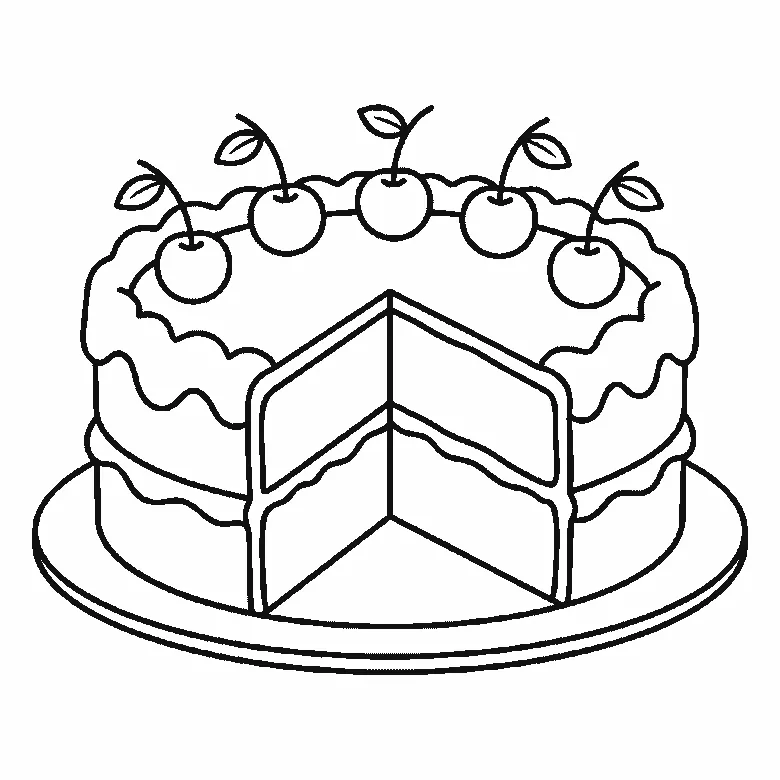
Six frames, one layer cake with a slice cut out. The wavy icing top first, then both cut faces showing the layers, and the five cherries at the end.
Step sequence made by us from a single drawing: each step keeps the lines of the one before it and adds to them.
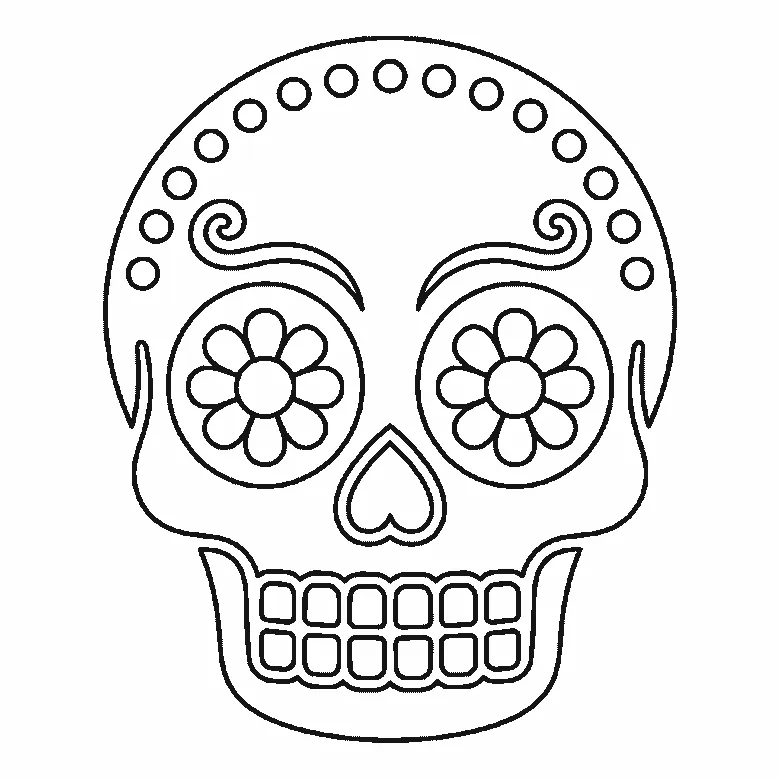
How to draw a skull
Six frames, one decorated sugar skull. Almost the whole outline lands in the first frame — then the jaw, a flower in each eye socket, and the teeth last.
Step sequence made by us from a single drawing: each step keeps the lines of the one before it and adds to them.
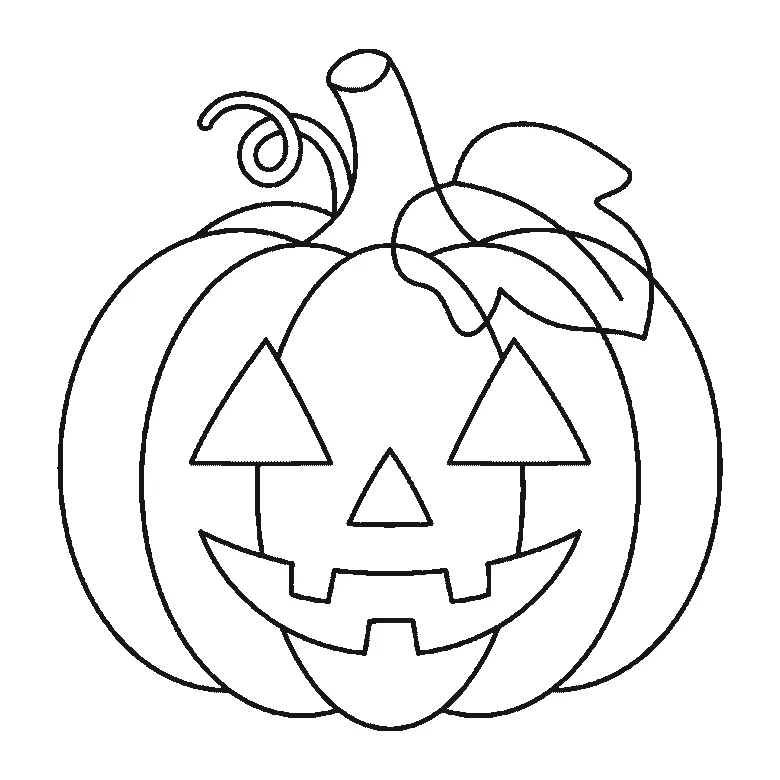
How to draw a Halloween pumpkin
Six frames, one carved pumpkin. The middle rib with its face comes first, and the curling tendril last.
Step sequence made by us from a single drawing: each step keeps the lines of the one before it and adds to them.


