
PDF · A4 · 33 KB · Free, no sign-up. For home and classroom use.
How to draw a car
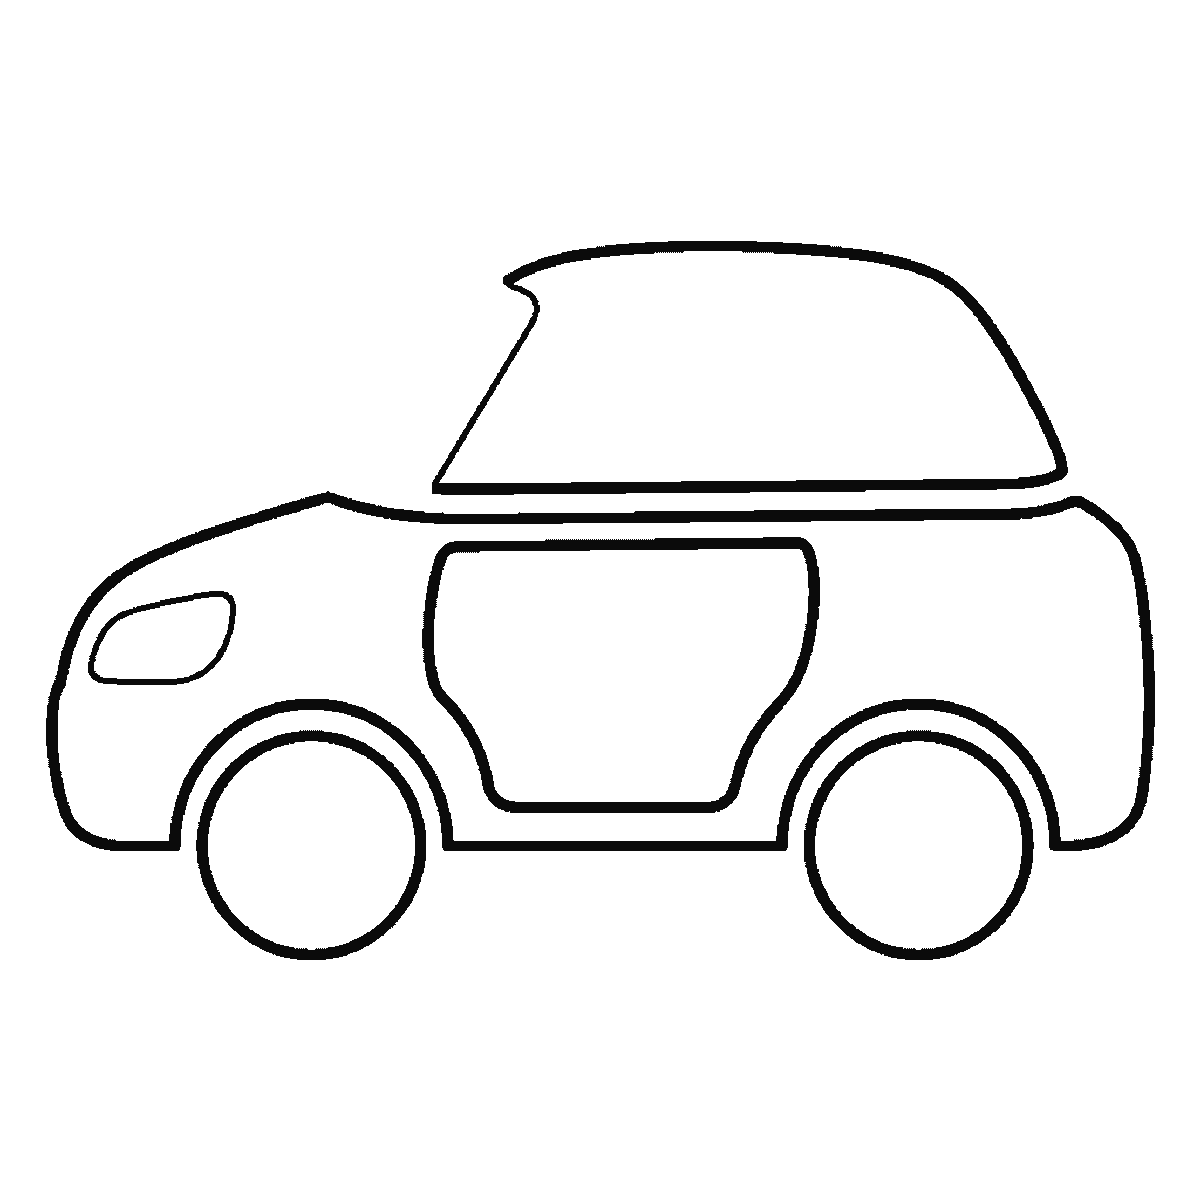
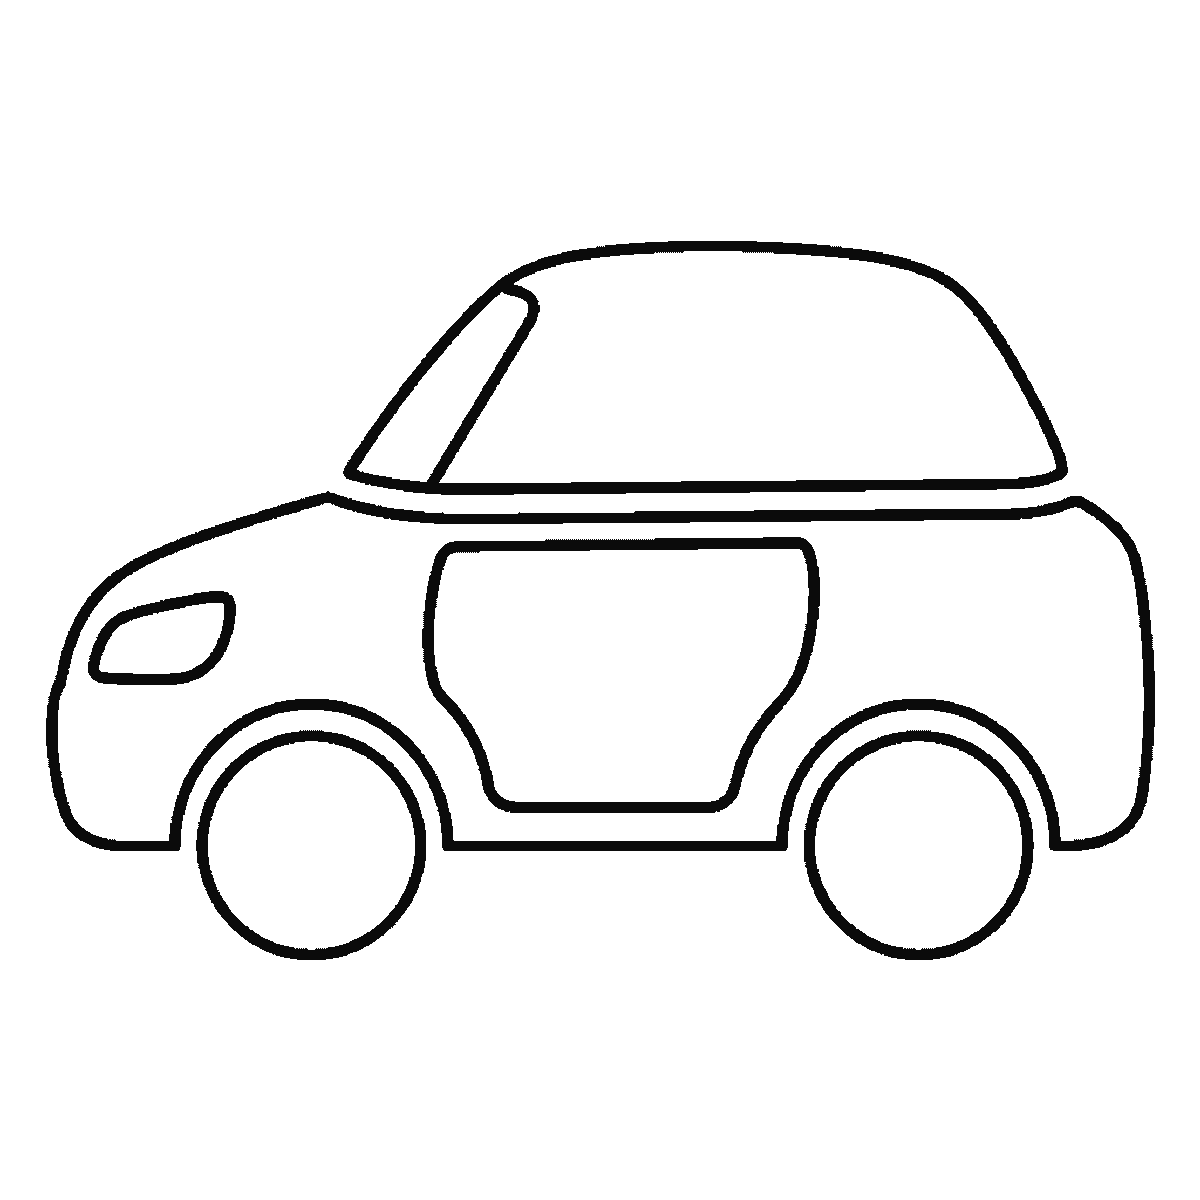
Six frames, one car seen from the side. The body first, then the roof, windows, wheels and lights.
Cars are drawn wrong in a specific and very common way: the wheels come out too small. It happens because a wheel drawn at its true size looks enormous on the page, and the hand quietly shrinks it. This sheet builds a side view over six frames and puts the wheels in early enough that you can check them before anything is committed.
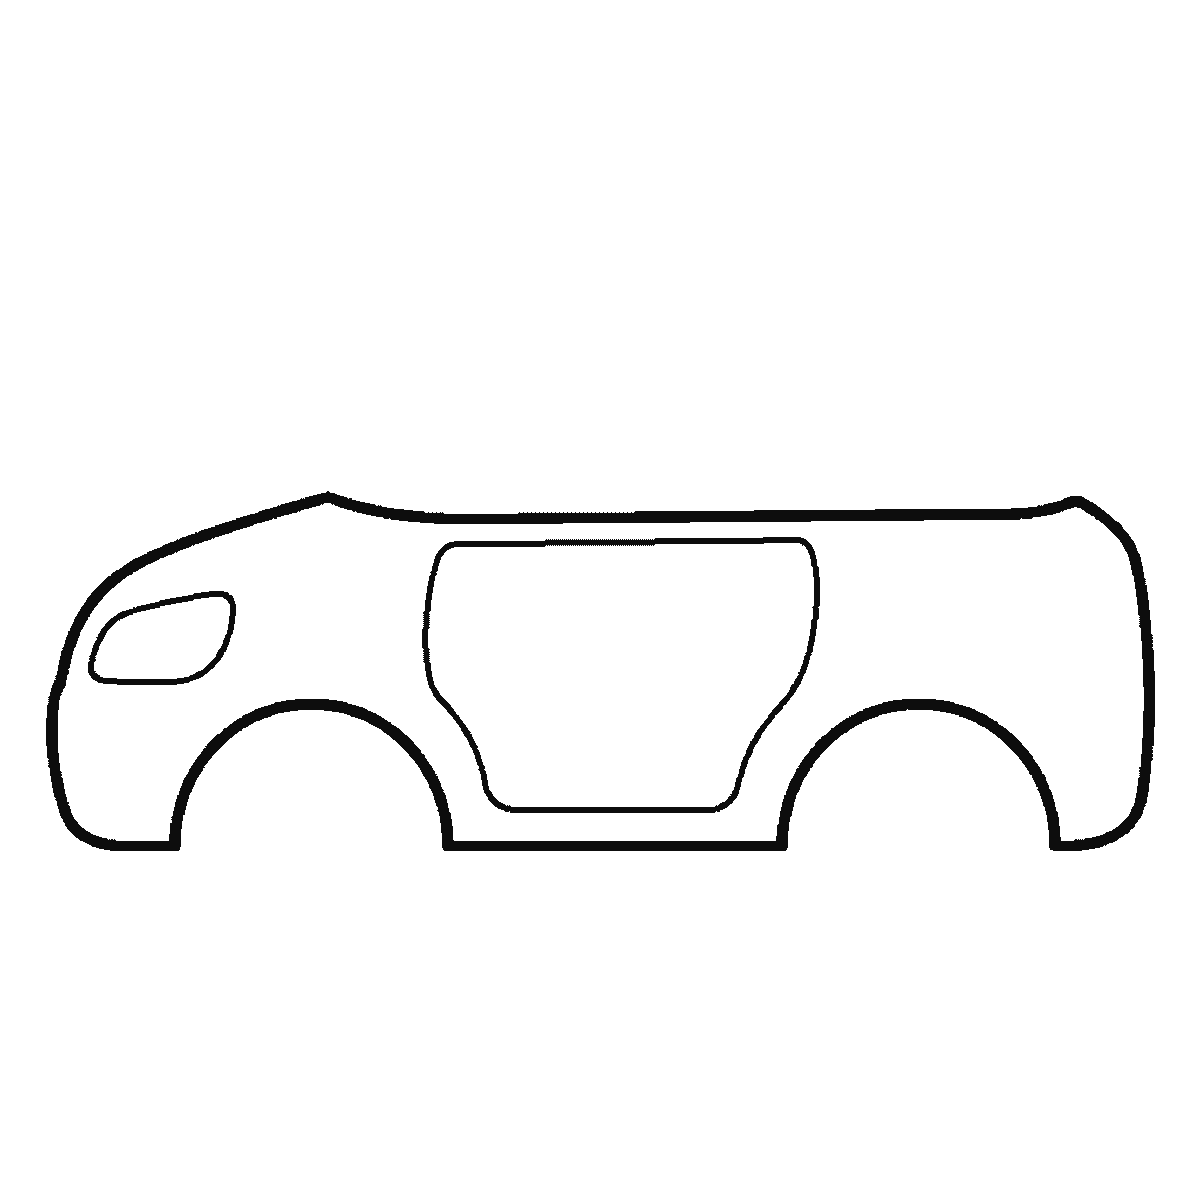
Frame one is the lower body — the long horizontal mass from the front bumper to the back, with the wheel arches cut into it. Drawing the arches now rather than later means the wheels have somewhere to go and cannot drift, which is the other half of the wheel problem.
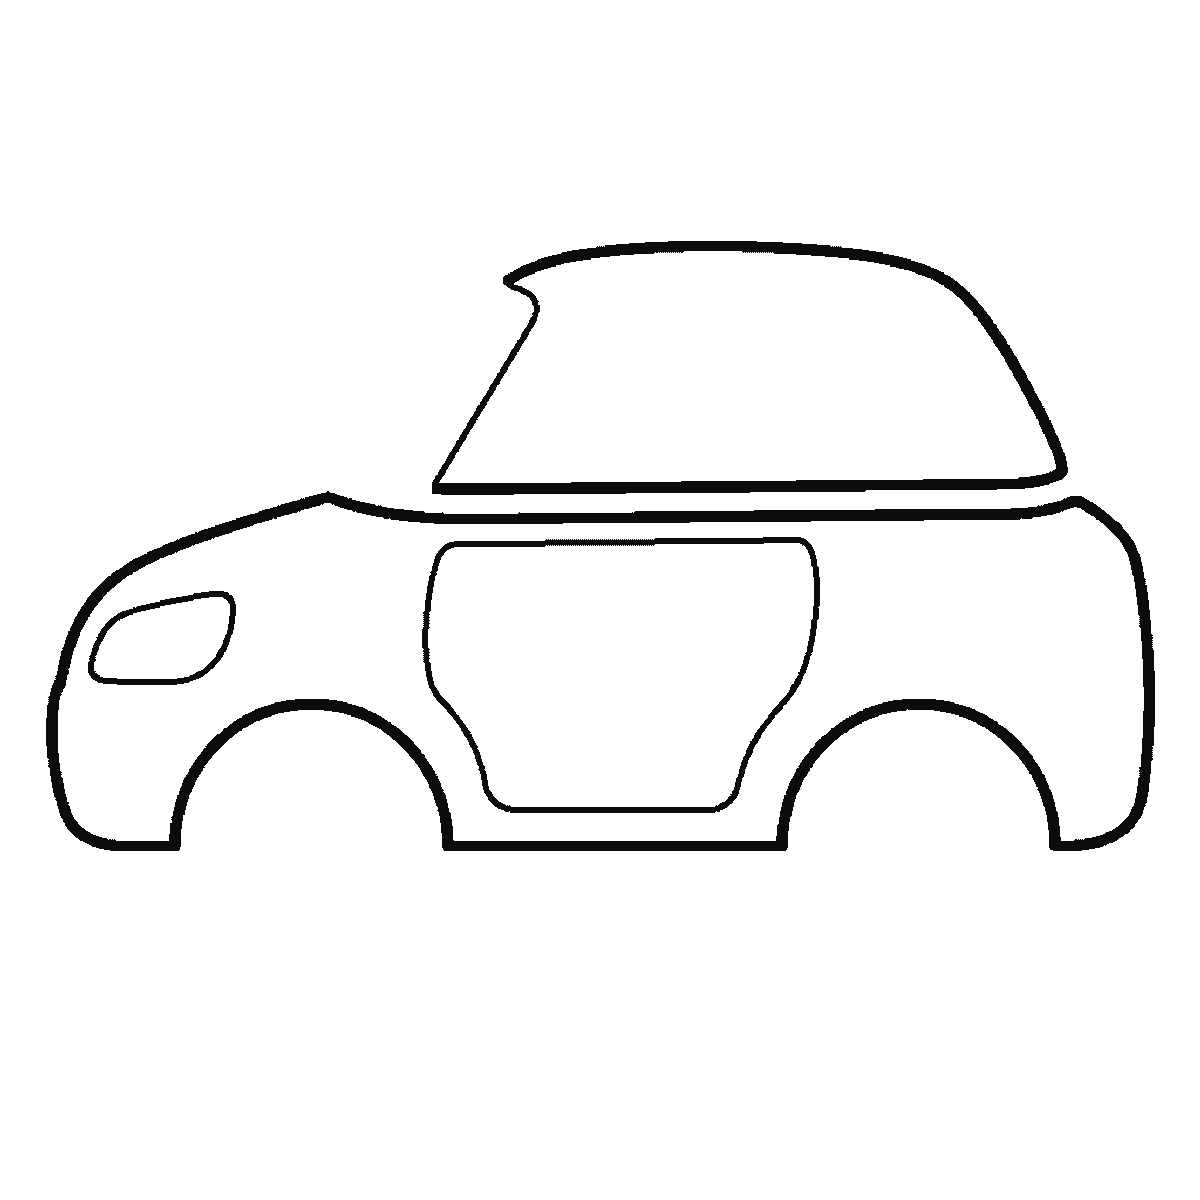
The roof comes next as a separate shape sitting on top, set back from the front of the car; the windscreen inside it is held right back to the last frame. The angle of that screen decides a great deal about what kind of car you have drawn: steeply raked reads as fast and modern, near-vertical reads as old or as a van. Pick deliberately.
The wheels arrive in the middle frames, and here is the check worth doing every time: the wheel's diameter should be roughly the same as the distance from the ground to the bottom of the windows. Hold your pencil against the drawing and compare. Almost every unsatisfying car drawing fails this test.
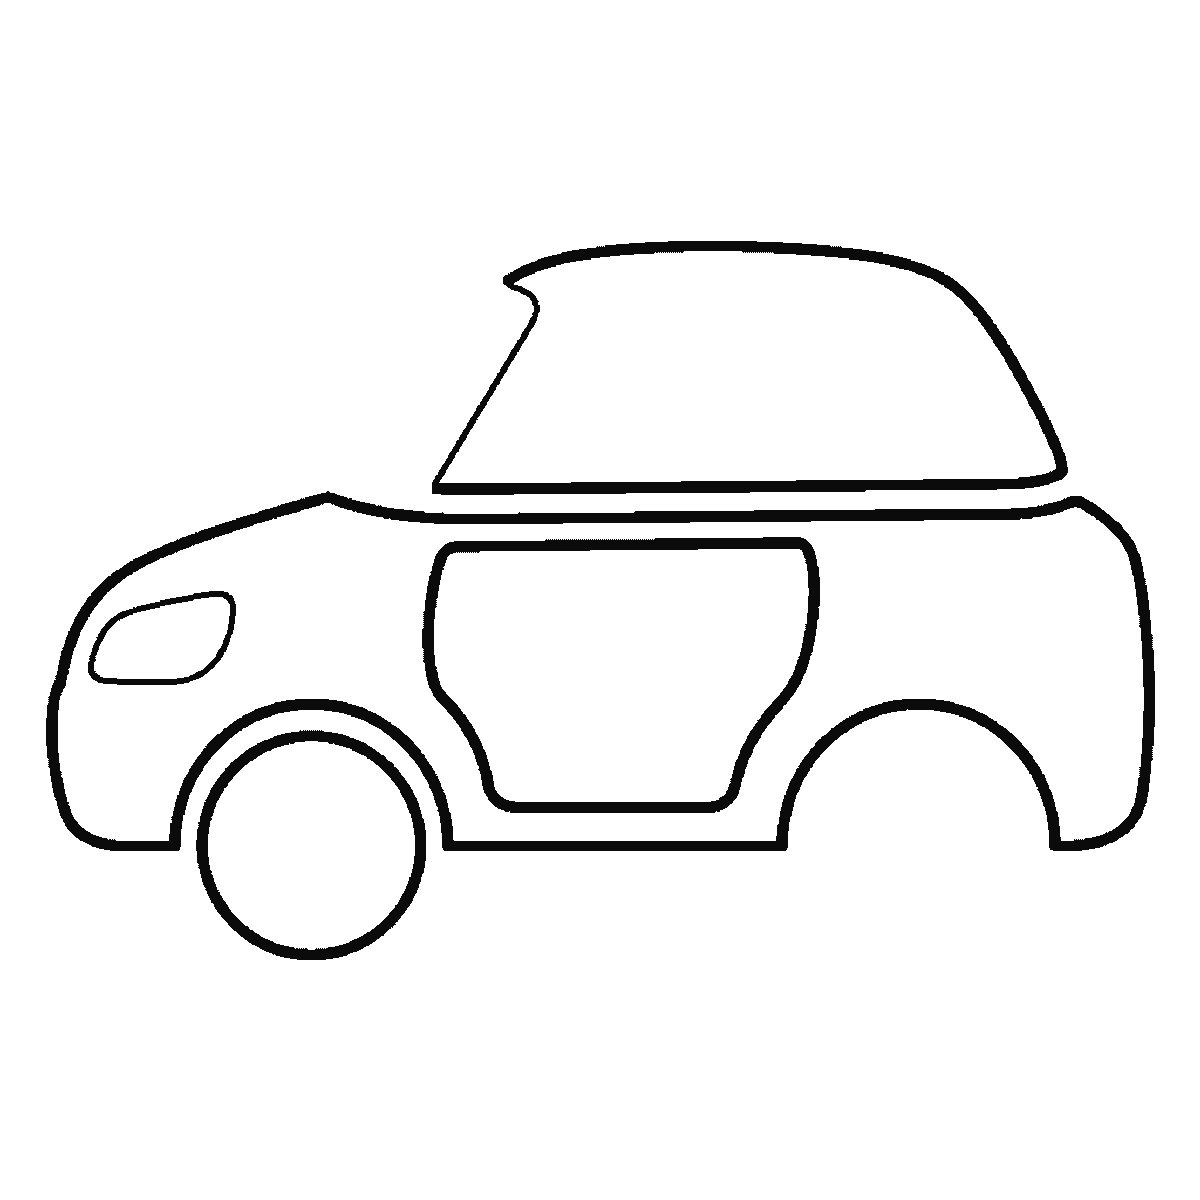
The two wheels arrive one to a frame, and each is a single plain circle — no hub, no spokes, nothing inside it at all. That is a deliberate simplicity, and it puts the whole weight on the circle being properly round. A slightly oval wheel is instantly readable as a mistake in a way that a slightly wrong roofline never is, which makes the wheels worth more care than any other part of the drawing. Adding an inner circle for the hub is the cheapest upgrade this drawing has.
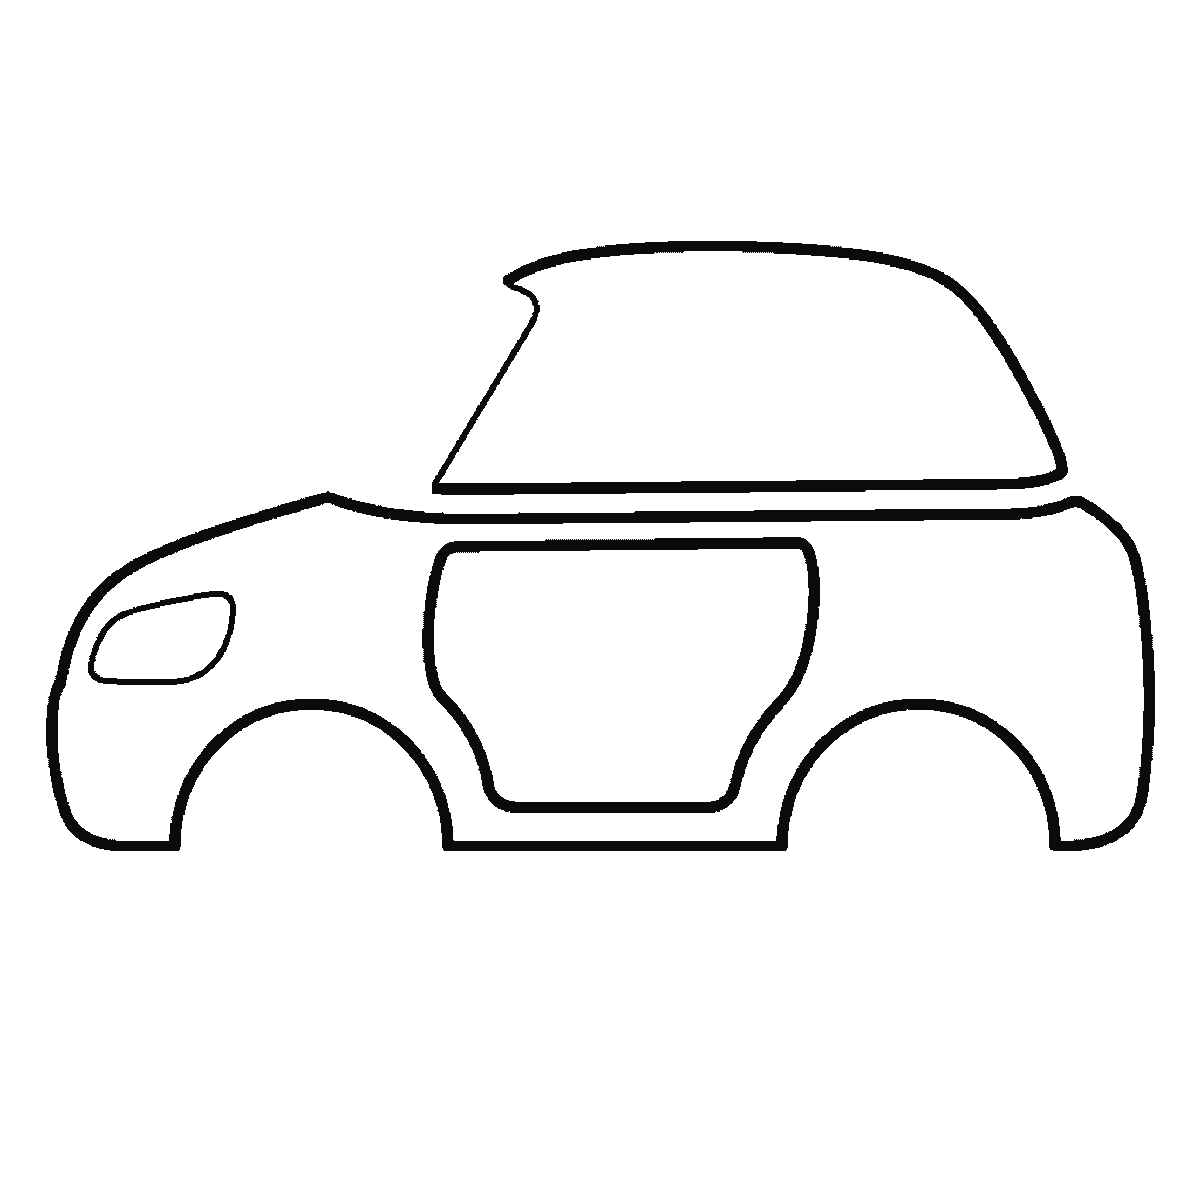
There is one side window on this car rather than a row of them, and it goes in at frame three as a rounded shape inside the opening the body already left for it. On a longer car you would draw two, separated by a visible pillar. That pillar is a small vertical shape and it does a surprising amount of work: without it the glasshouse looks like a bubble stuck on the body.
There is no door line and no handle anywhere on this drawing, which is worth noticing rather than assuming you have missed a frame. If you want one, it runs from under the window down to the sill with a small handle on it — one clean vertical-ish line and a short horizontal one. That is about the level of detail this drawing wants; anything more and you are drawing a specific model, which is a different and much harder exercise.
One light comes last, at the front, as a simple closed shape tucked into the corner of the body — the sheet draws no rear light at all. Keep it small. Oversized headlights are the fastest way to make a car look like a face, which is charming in a children's book and unhelpful if you were trying to draw a car.
For a car that looks like it is moving rather than parked, the two cheapest tricks are to lower the whole body slightly relative to the wheels, and to add two or three horizontal lines trailing off the back. Neither changes the construction and both change the impression completely.
The six frames run from the largest closed shape to the smallest, which is why the body arrives before the wheels it carries. That order is easy to copy and it is not the correct one; plenty of people place both wheels first and build the body around them, which is a perfectly good way to guarantee the proportion.
Before you start
- Check the wheel size against the distance from the ground to the bottom of the windows. They should be close.
- Cut the wheel arches into the body in the first frame so the wheels cannot drift.
- Keep the wheels properly round. An oval wheel reads as an error immediately.
- Keep the lights small. Big headlights turn the car into a face.
Published Updated 646 words
The six steps
The steps go from the largest shape to the smallest, which is an easy order to copy. It is not the only order, and it is not a rule — if you would rather start somewhere else on the sheet, do.
Step 1
Step 2
Step 3
Step 4
Step 5
Step 6
More in this section
How to draw a plane
Six frames, one aeroplane at a slight angle. The fuselage and all its windows first, then the near wing, the tail fin, the engine, and the far wing last.
Step sequence made by us from a single drawing: each step keeps the lines of the one before it and adds to them.
How to draw a train
Six frames, a steam locomotive and two carriages on a track. The carriages first, then the track, the funnel and dome, the cab and boiler, and the wheels last.
Step sequence made by us from a single drawing: each step keeps the lines of the one before it and adds to them.
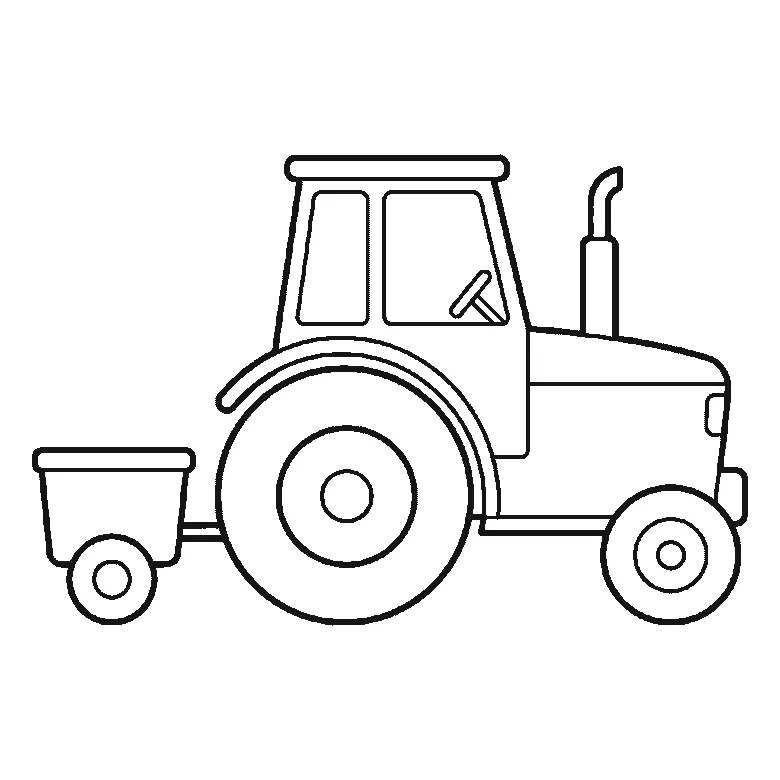
How to draw a tractor
Six frames, a tractor towing a small trailer, seen from the side. The big rear wheel first, then the cab, the trailer, the front wheel and the exhaust.
Step sequence made by us from a single drawing: each step keeps the lines of the one before it and adds to them.
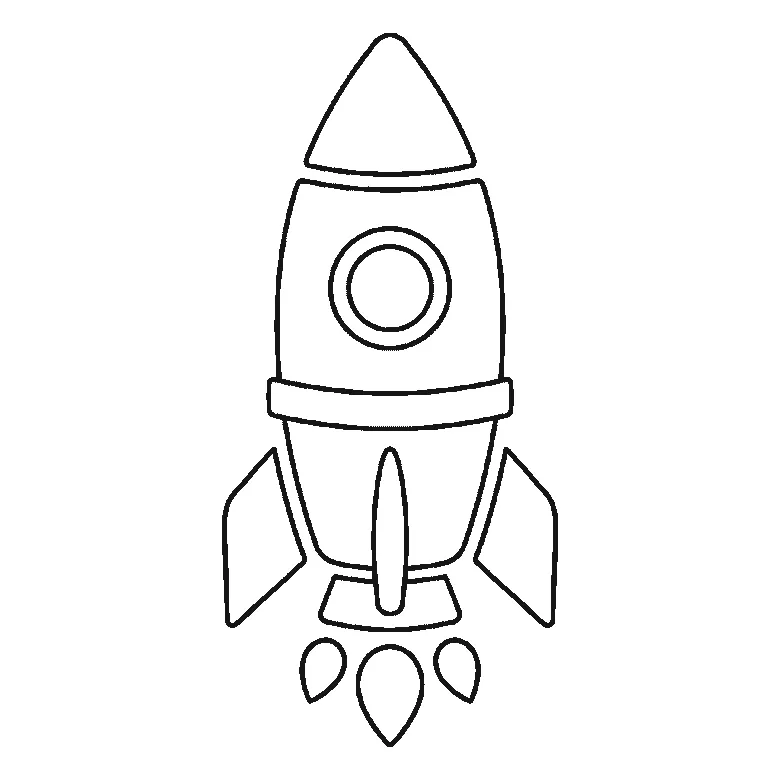
How to draw a rocket
Six frames, one cartoon rocket standing ready. The body panels first, the nose cone second, the fins one at a time, and the flames last.
Step sequence made by us from a single drawing: each step keeps the lines of the one before it and adds to them.


