
PDF · A4 · 29 KB · Free, no sign-up. For home and classroom use.
How to draw a rocket
Six frames, one cartoon rocket standing ready. The body panels first, the nose cone second, the fins one at a time, and the flames last.
This sheet takes one drawing of a cartoon rocket standing upright and shows it six times, each frame carrying everything the frame before it had and adding a little more. Print it, put it beside your paper, and copy one frame at a time — the point of the six is that you are never asked to draw the whole rocket at once.
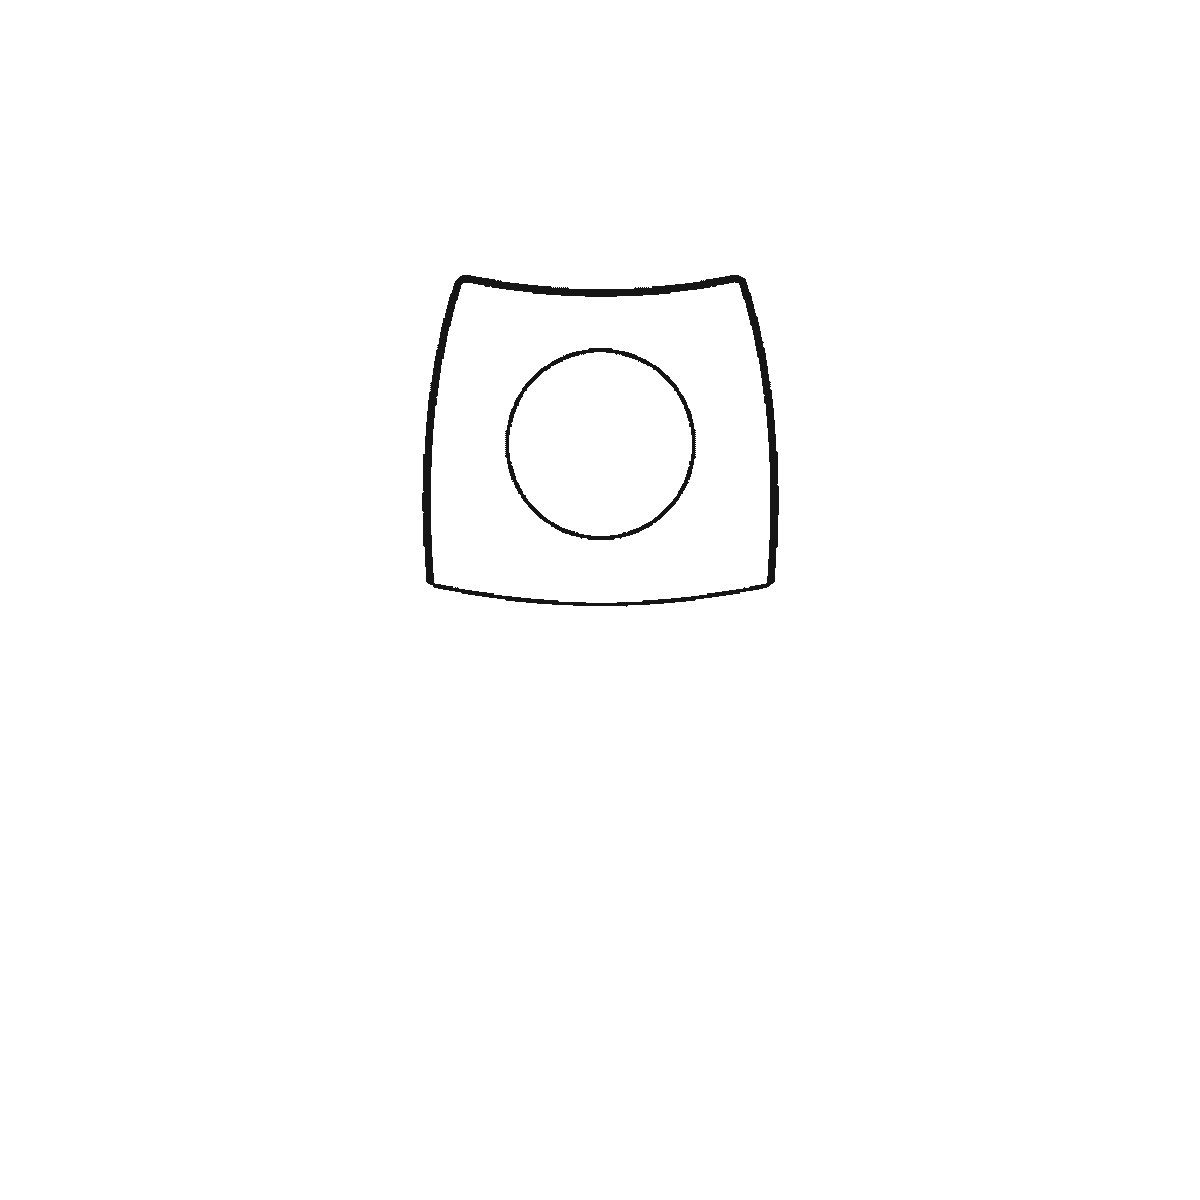
Frame one is the upper section of the body — the panel above the band around the middle — with the outer circle of the porthole already drawn on it. It is not the nose cone, and it is not the whole body. That matters more here than on most sheets, because a rocket is a tall thin thing and the temptation is to draw the point first and work down. This sheet does the opposite: it settles the widest part first and puts the tip on afterwards, which is a genuinely easier way round if you have ever run out of paper at the top of a drawing.
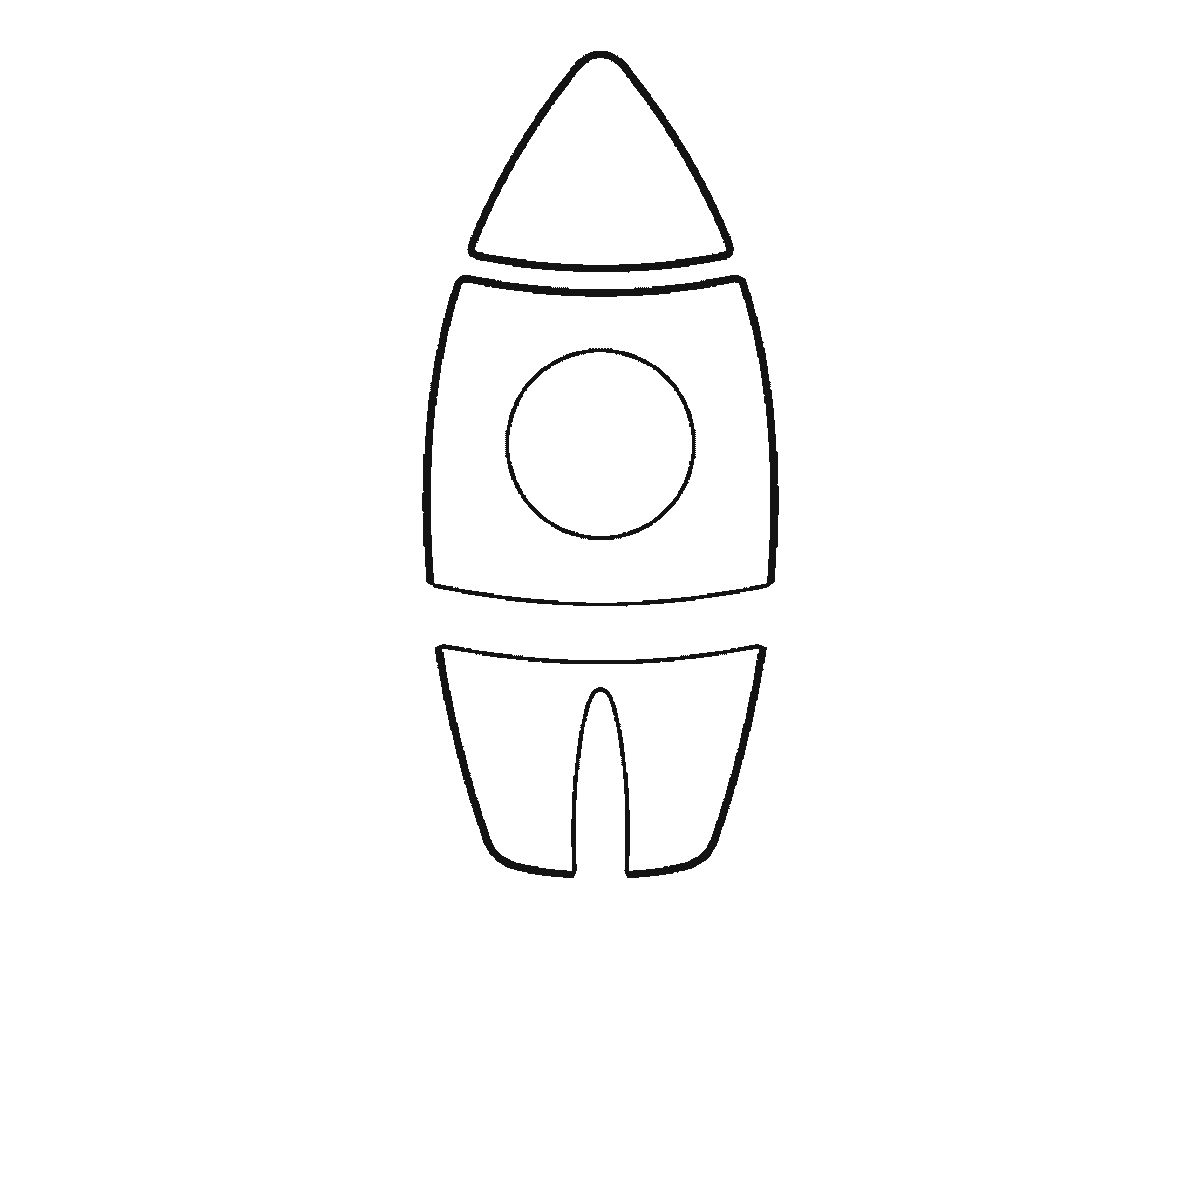
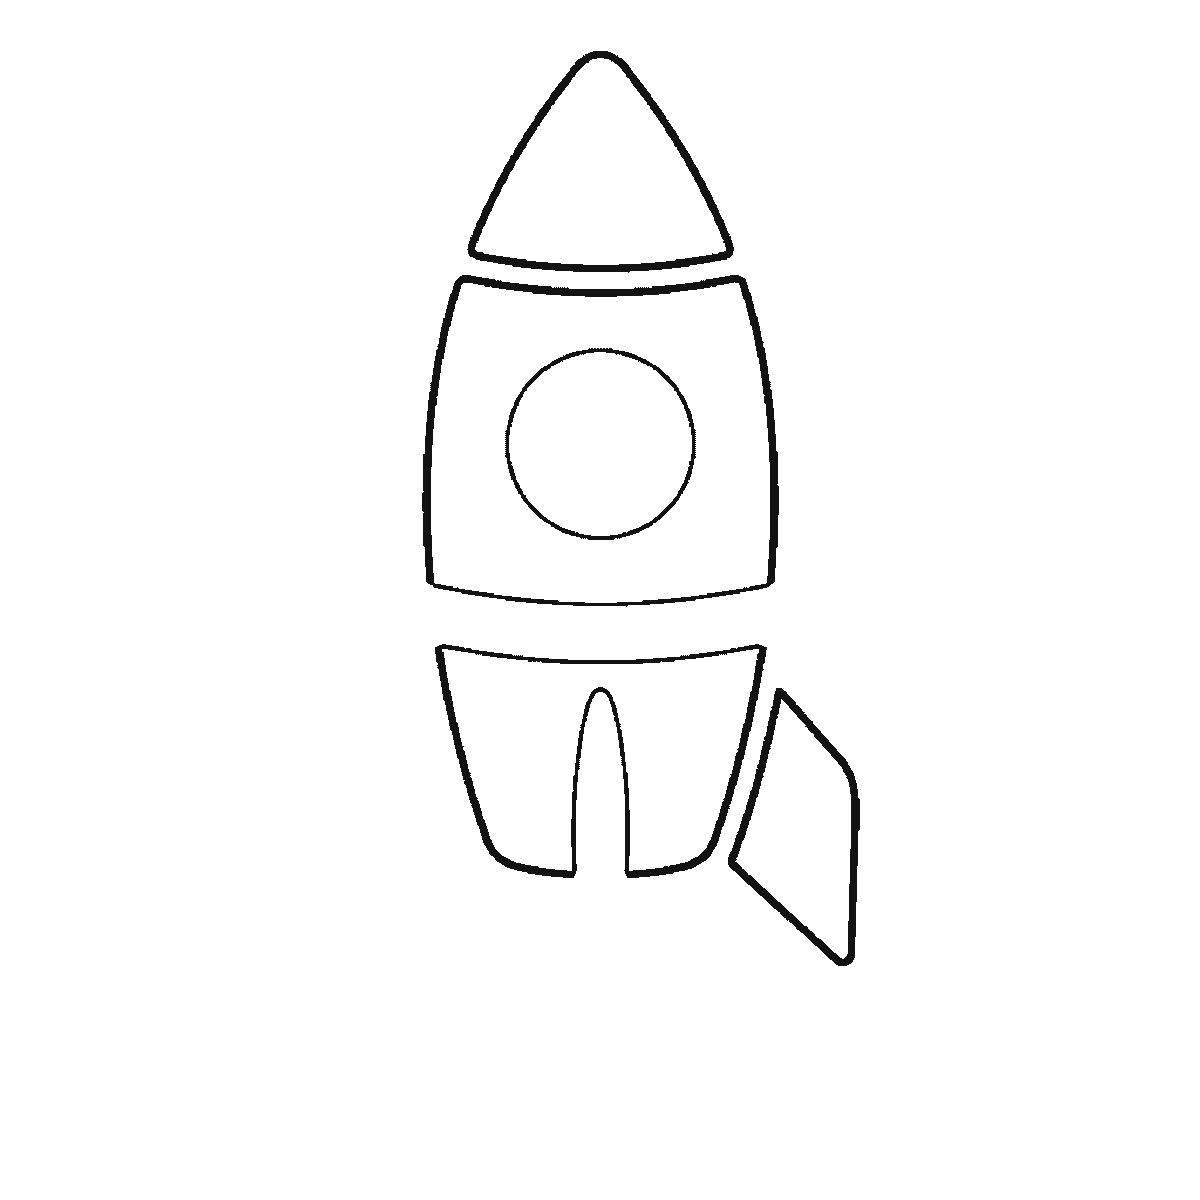
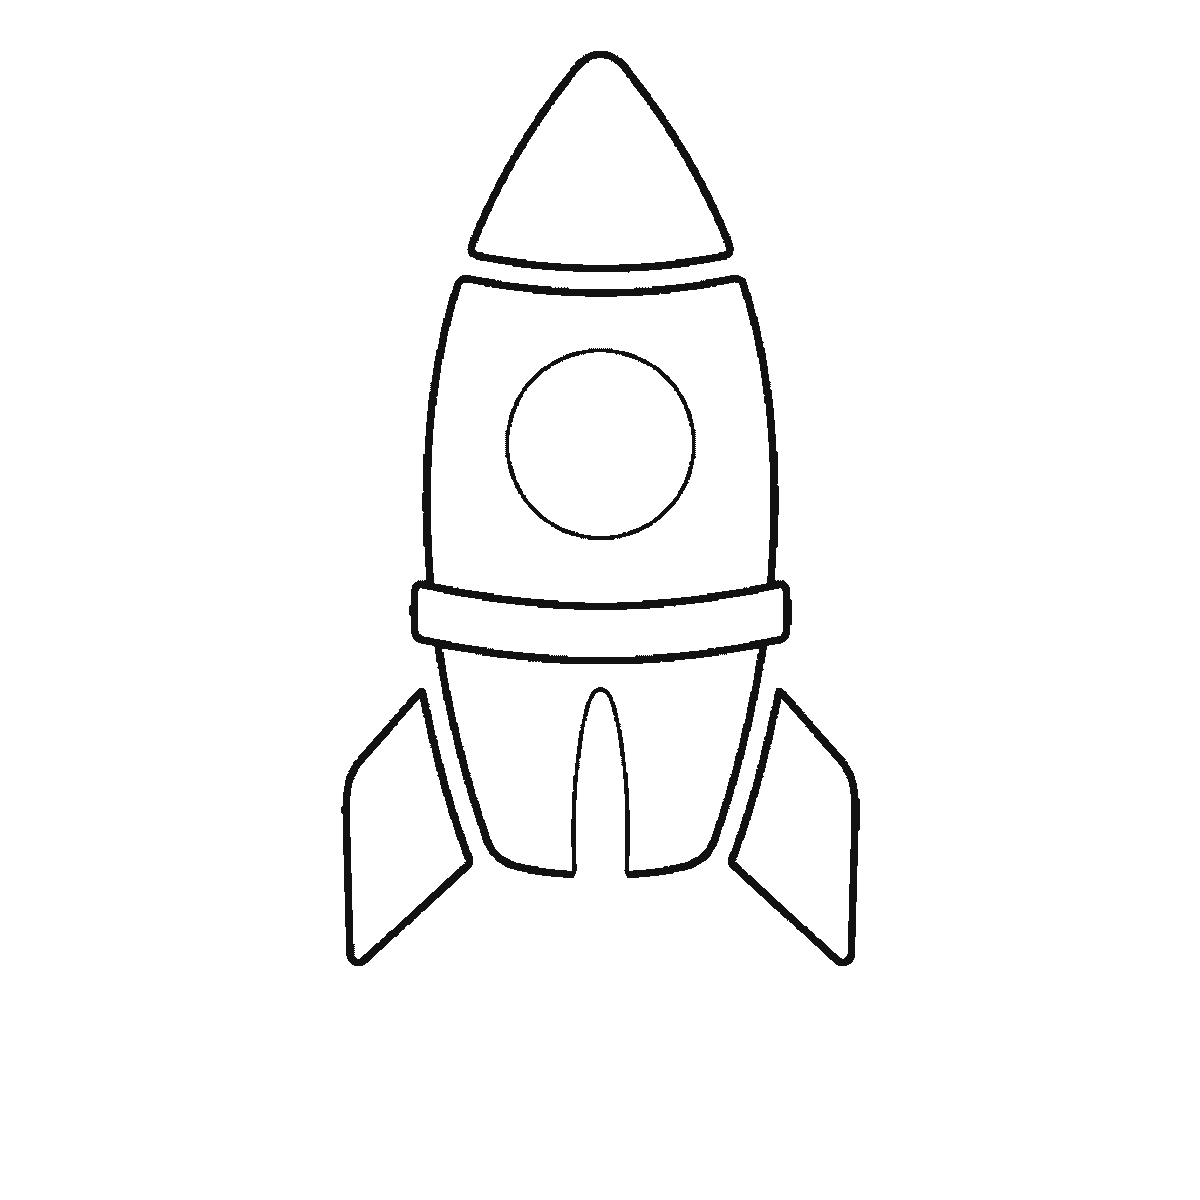
The nose cone arrives in frame two, together with the lower body panel below the band. From frame two onwards you have something that already reads as a rocket, and the four frames after it are all detail: the right fin in frame three, the left fin and the band around the middle in frame four, the porthole's inner ring and the engine nozzle in frame five, and the flames in frame six.
The porthole is the one part worth watching closely, because the sheet draws it twice. Its outer circle is in frame one; the thick inner ring that makes it look like a window rather than a spot is not added until frame five. So it is wrong to say the window arrives at the end and equally wrong to say it is finished in frame one. It is sketched early and brought up to weight late, and if you copy frame five without noticing you will end up with a plain circle.
The fins come one at a time, and this is the place to be careful about symmetry. Draw one fin, then hold the paper at arm's length before drawing the second — a rocket with mismatched fins is the commonest way this drawing goes wrong, and it is much easier to see the mistake from a distance than up close. The two fins in this drawing are the same shape mirrored, with the widest part at the bottom.
The three flames in the last frame are the part everybody enjoys and the part that is hardest to overdo. They are three separate teardrop shapes of clearly different sizes, the longest in the middle, and they hang below the nozzle rather than touching it. Leaving that small gap is what makes them read as flame rather than as a tassel.
The six frames are ordered by which closed shape is largest, biggest first and smallest last. It is an order that is easy to copy from and it is not a claim about how anyone ought to draw a rocket. If you would rather start at the nose and work down, the finished drawing is the same drawing.
The download is one A4 page with all six frames on it, so a class can work from a single sheet each rather than six. It is a plain black outline on white and prints on any printer. Once you have drawn it once, try it again with the rocket tilted rather than upright — the shapes are identical, and tilting them is the whole difference between a rocket standing on a launch pad and a rocket going somewhere.
Before you start
- Draw a light vertical line down the middle of your paper first and build both sides against it. A rocket that leans is much more obvious than a cat that leans.
- Make the nose cone about as tall as it is wide at the base. A cone drawn too long turns the whole thing into a pencil.
- Draw one fin, then turn the paper upside down to draw the second. It is far easier to match a shape you are copying than one you are remembering.
- Leave a gap between the nozzle and the flames. Flames drawn touching the rocket look like they are attached to it rather than coming out of it.
Published Updated 613 words
The six steps
The steps go from the largest shape to the smallest, which is an easy order to copy. It is not the only order, and it is not a rule — if you would rather start somewhere else on the sheet, do.
Step 1
Step 2
Step 3
Step 4
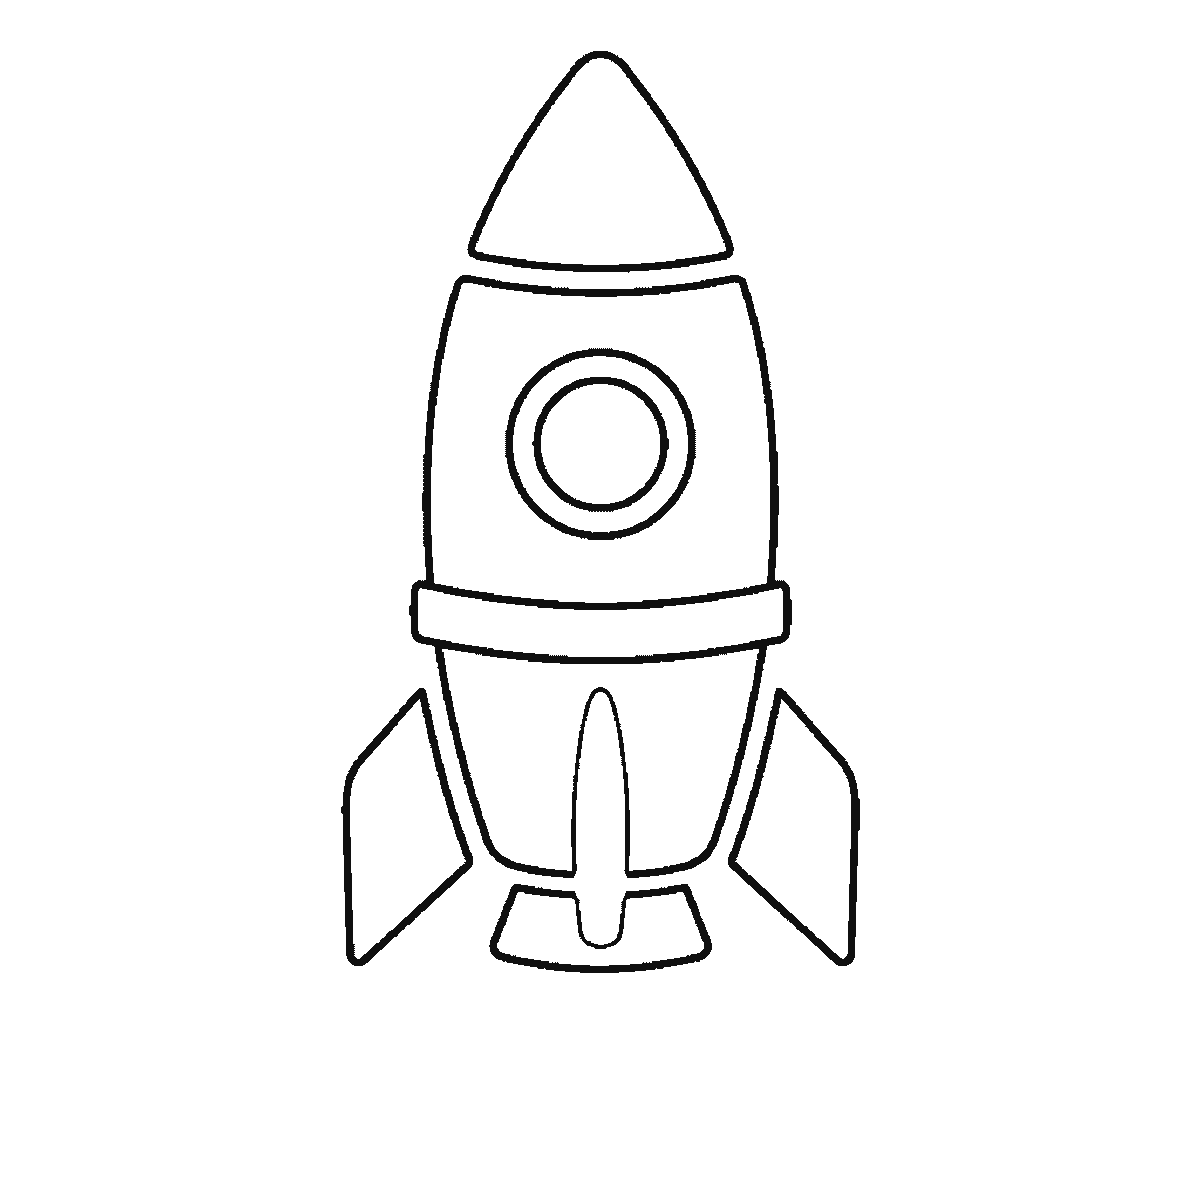
Step 5
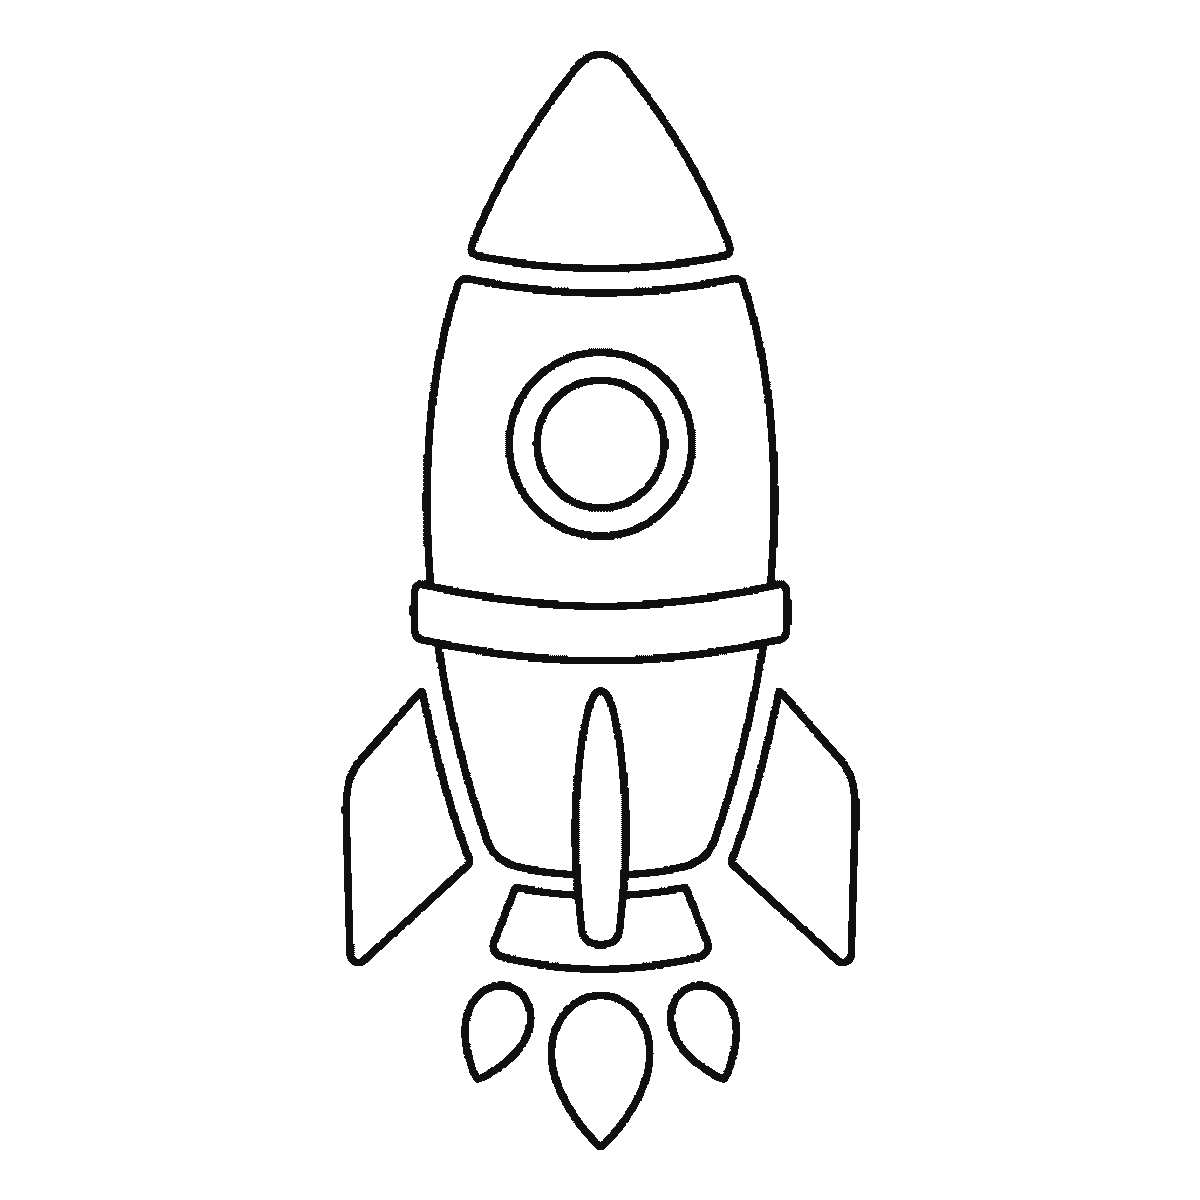
Step 6
More in this section
How to draw a car
Six frames, one car seen from the side. The body first, then the roof, windows, wheels and lights.
Step sequence made by us from a single drawing: each step keeps the lines of the one before it and adds to them.
How to draw a plane
Six frames, one aeroplane at a slight angle. The fuselage and all its windows first, then the near wing, the tail fin, the engine, and the far wing last.
Step sequence made by us from a single drawing: each step keeps the lines of the one before it and adds to them.
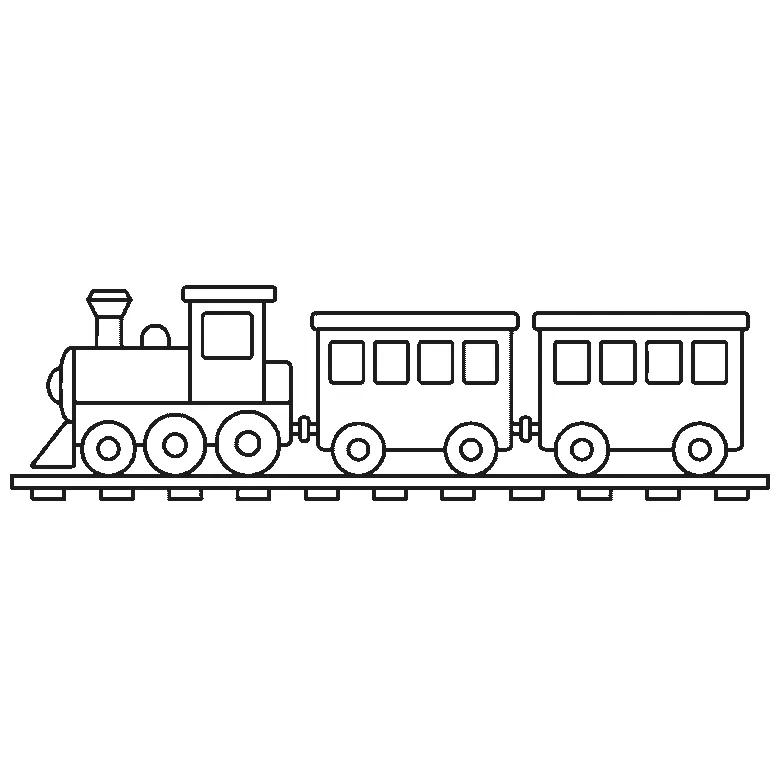
How to draw a train
Six frames, a steam locomotive and two carriages on a track. The carriages first, then the track, the funnel and dome, the cab and boiler, and the wheels last.
Step sequence made by us from a single drawing: each step keeps the lines of the one before it and adds to them.
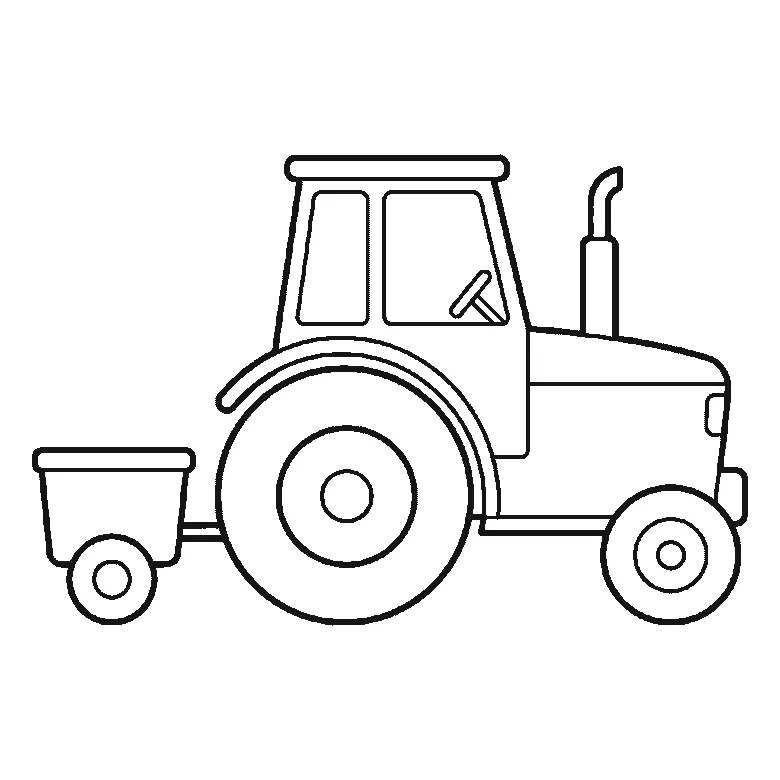
How to draw a tractor
Six frames, a tractor towing a small trailer, seen from the side. The big rear wheel first, then the cab, the trailer, the front wheel and the exhaust.
Step sequence made by us from a single drawing: each step keeps the lines of the one before it and adds to them.


