
PDF · A4 · 29 KB · Free, no sign-up. For home and classroom use.
How to draw a plane
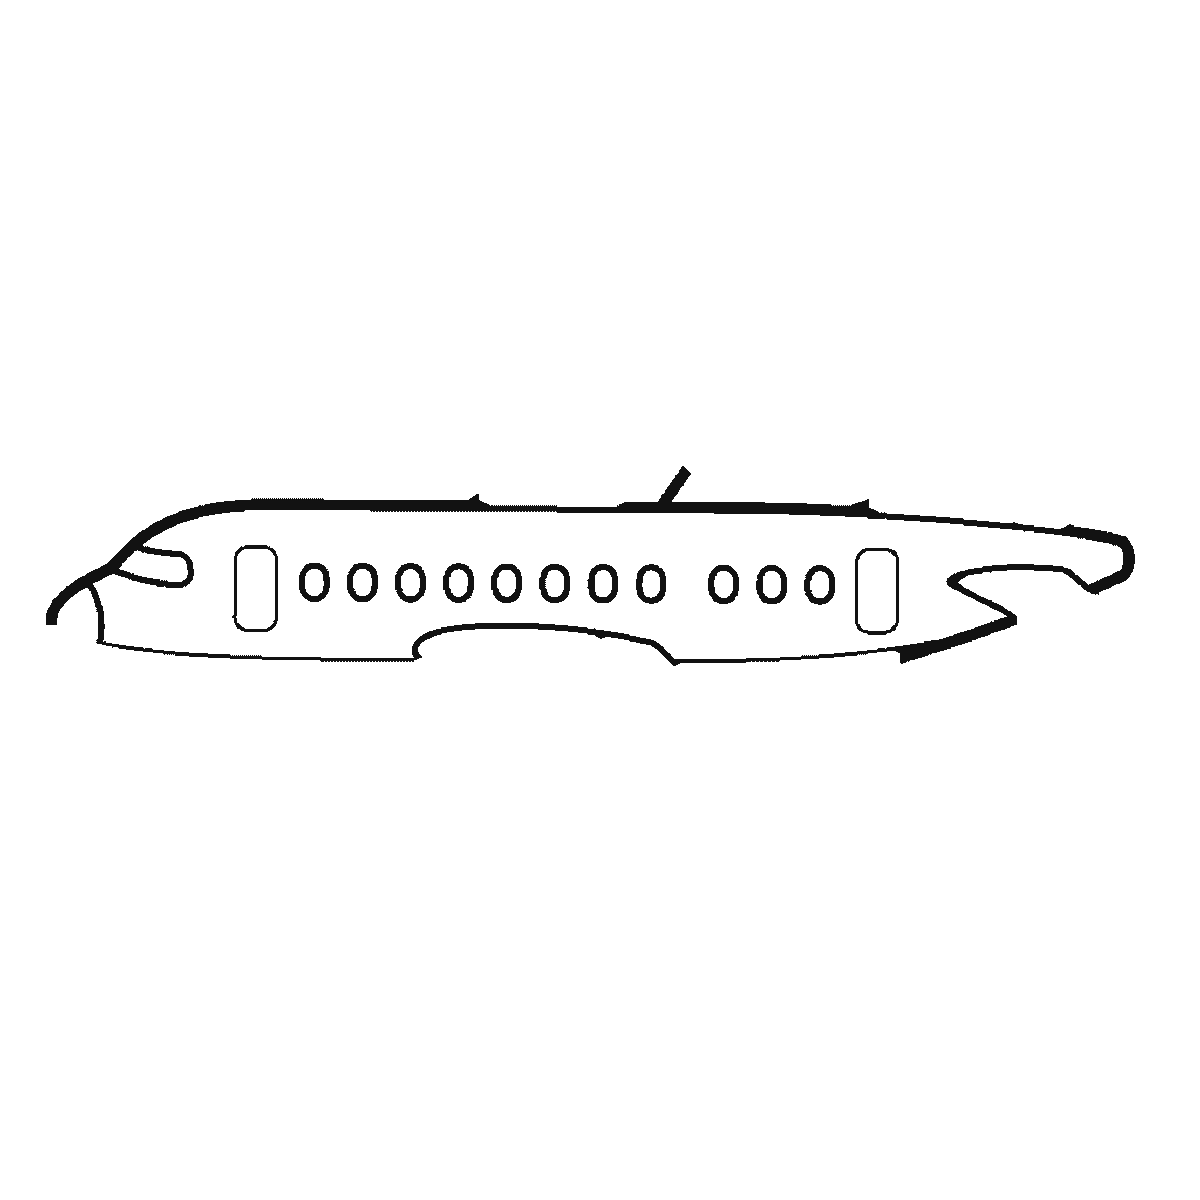
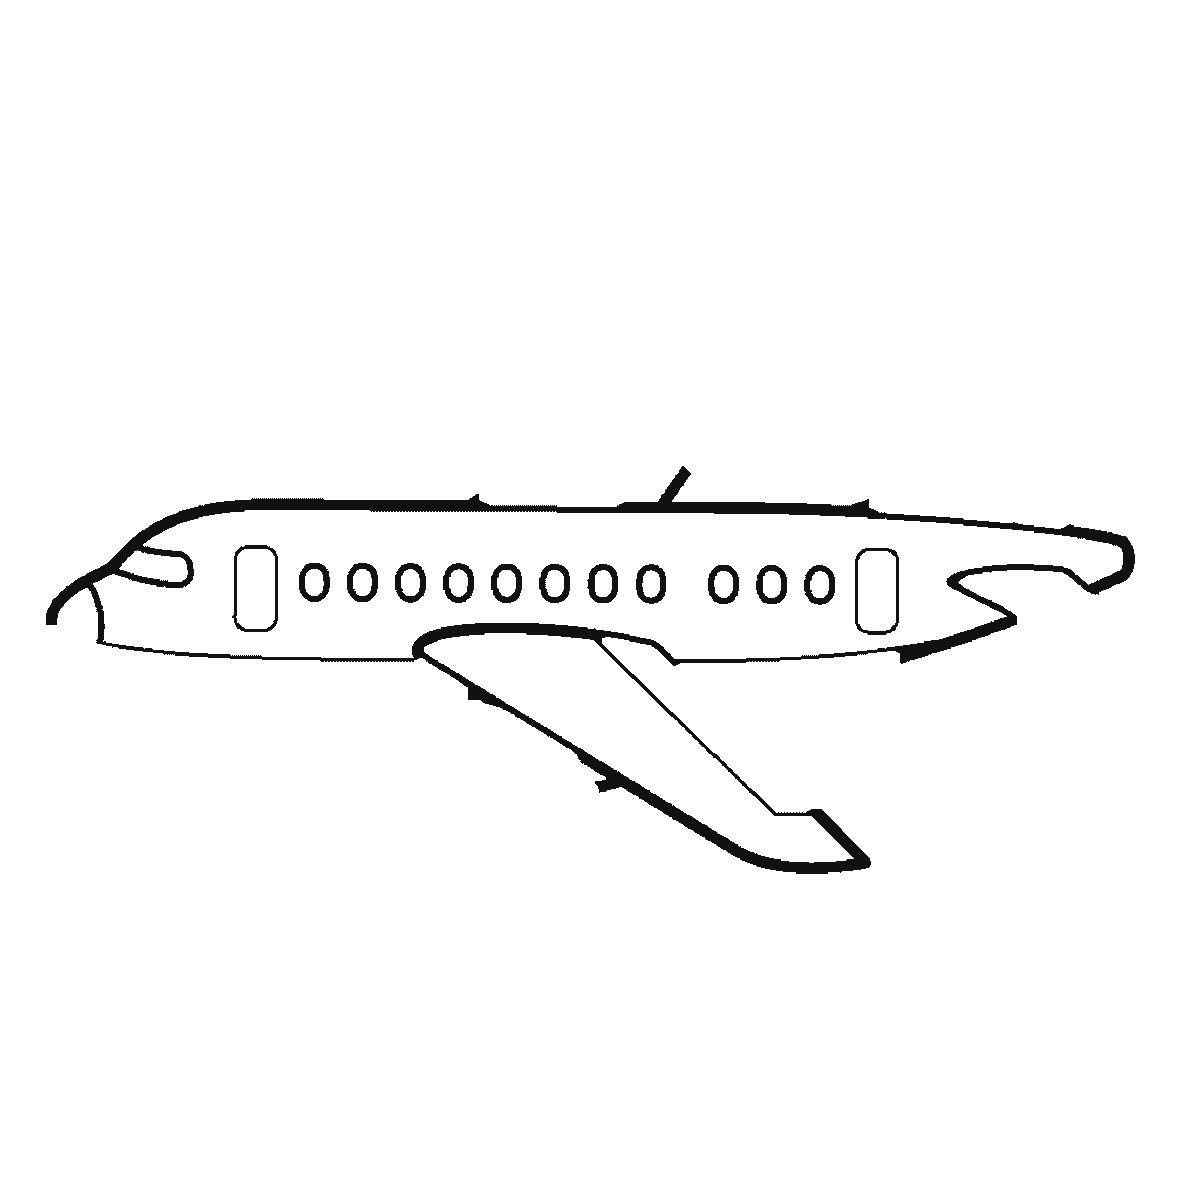
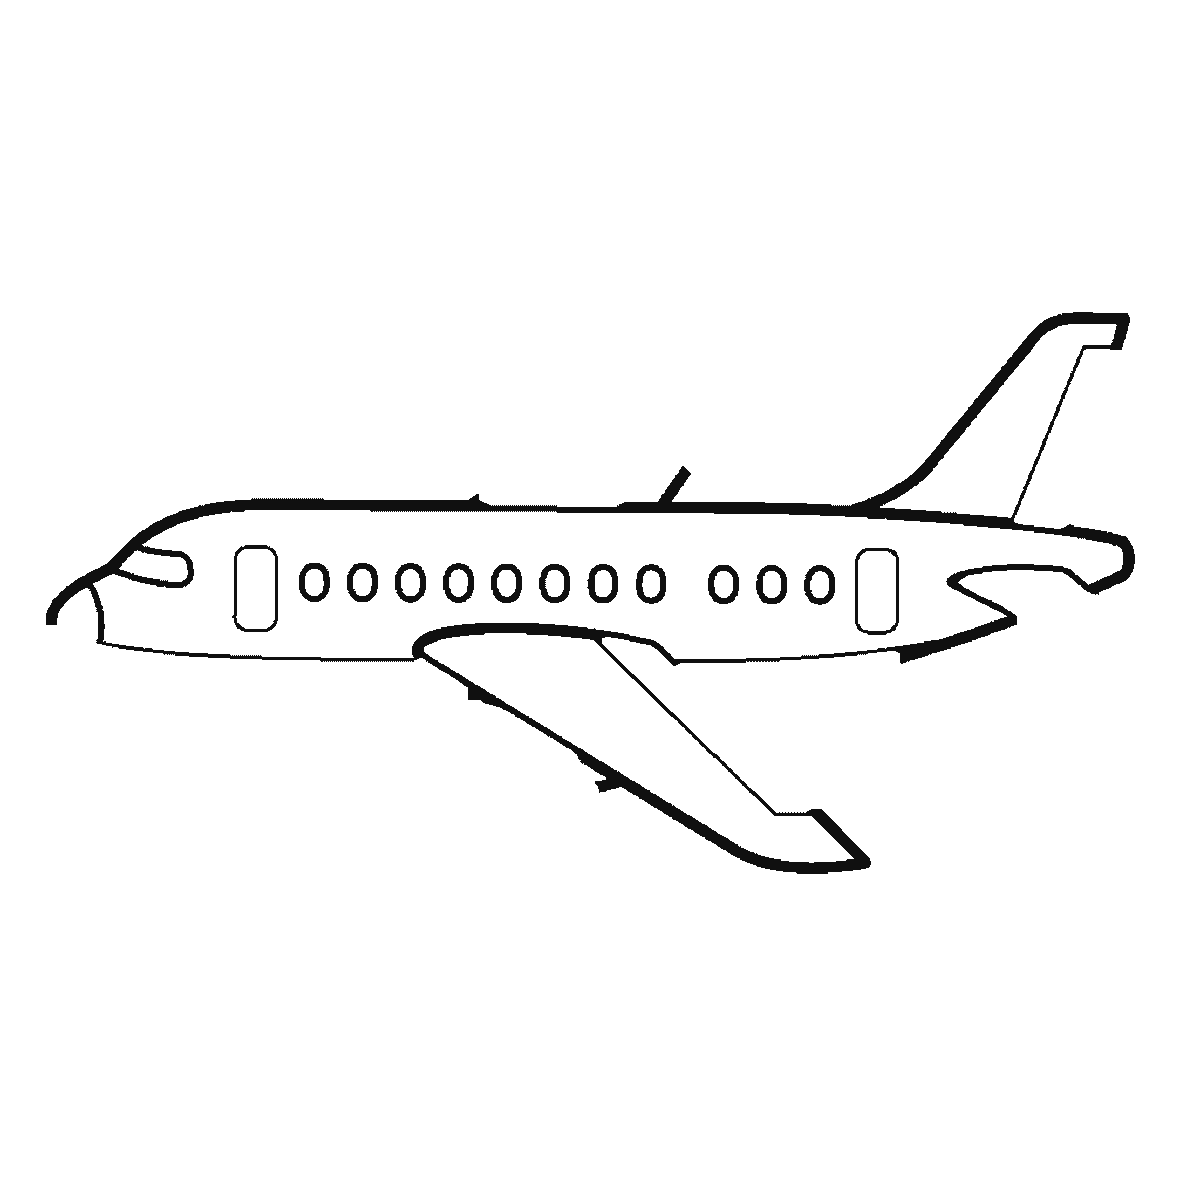
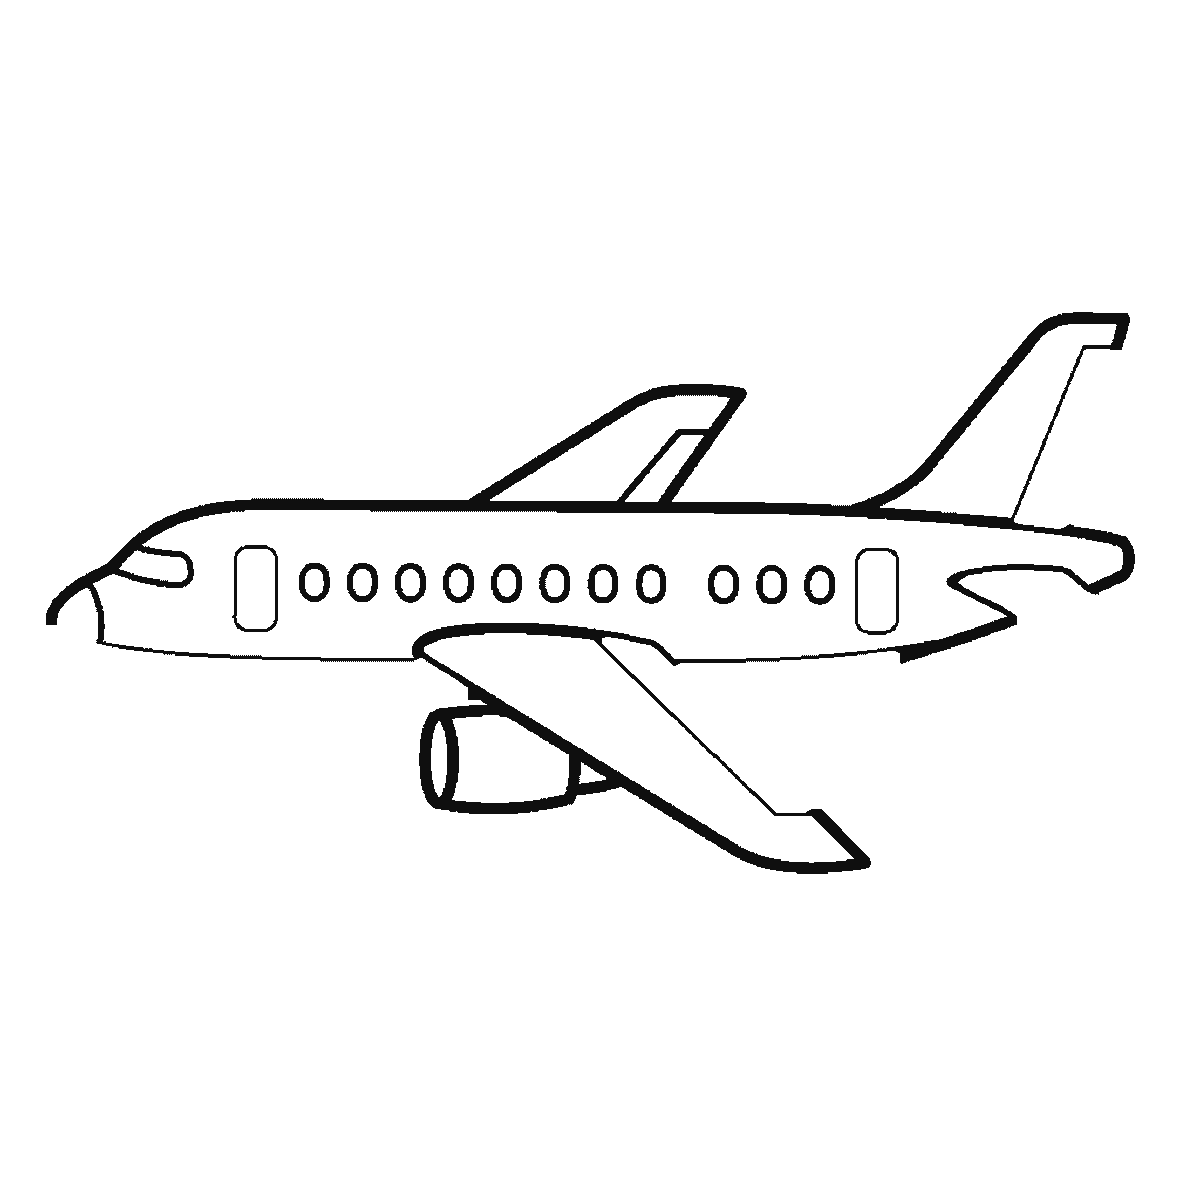
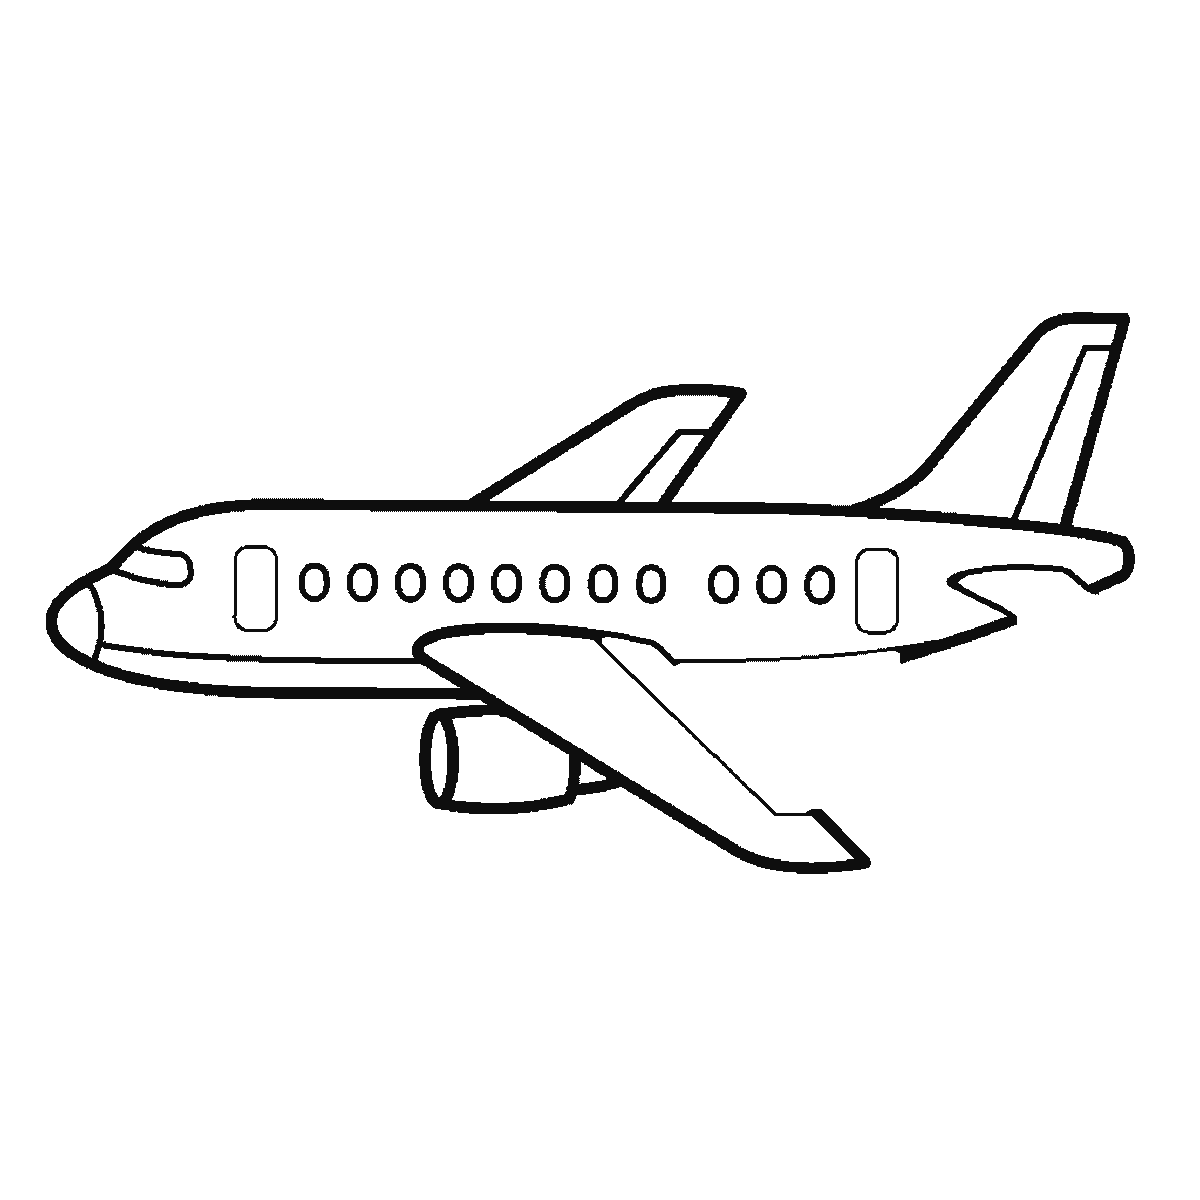
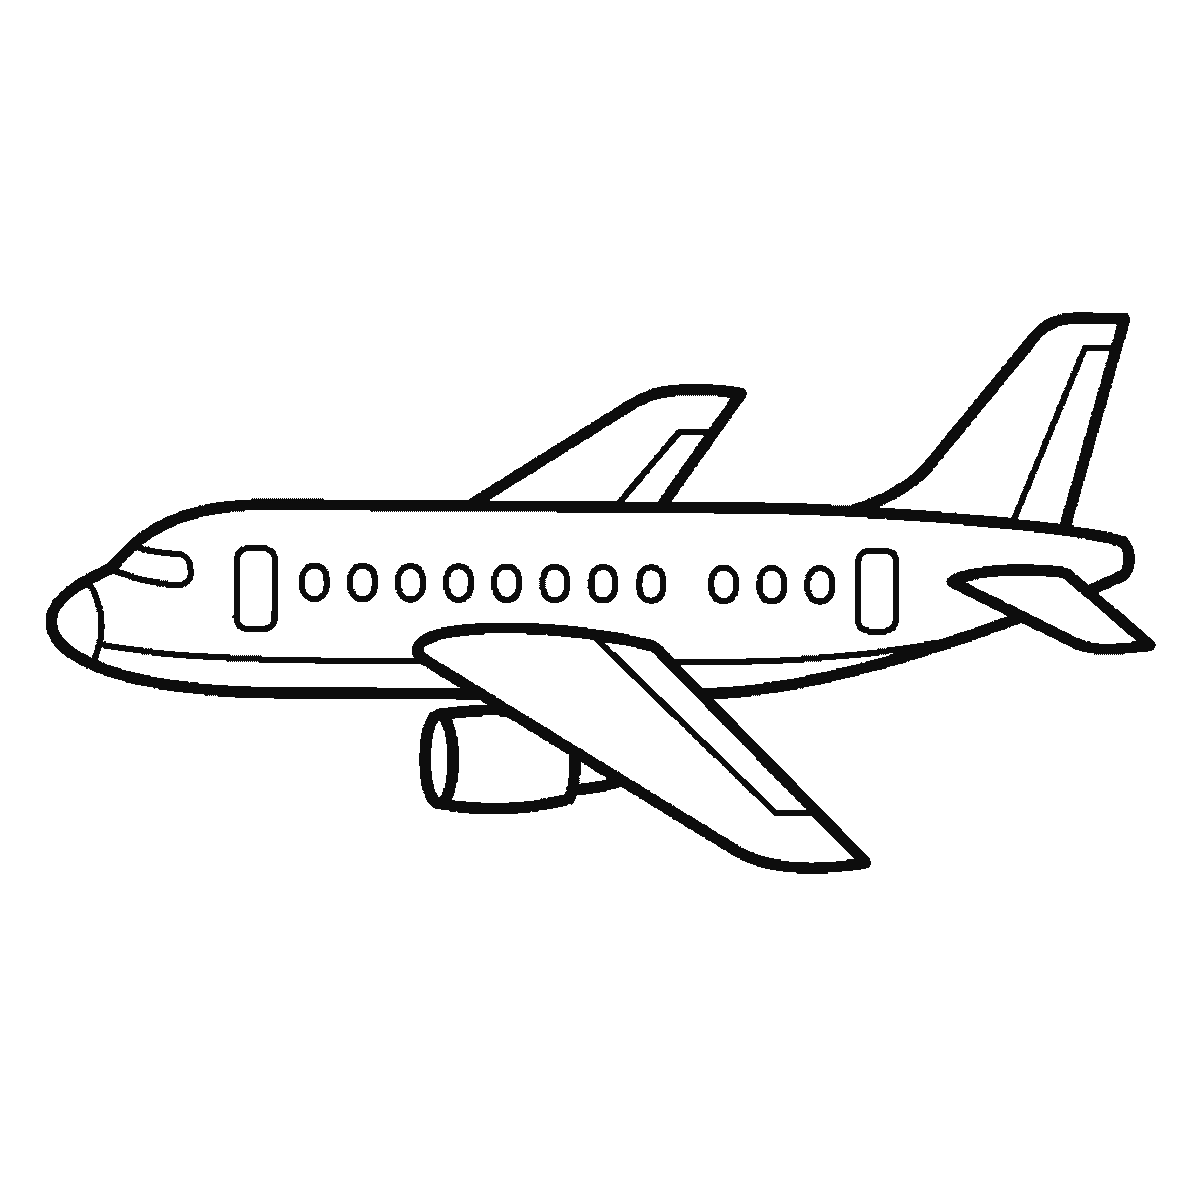
Six frames, one aeroplane at a slight angle. The fuselage and all its windows first, then the near wing, the tail fin, the engine, and the far wing last.
An aeroplane is a good subject for anyone who wants to practise straight lines and simple perspective without committing to a whole street scene. This one is drawn at a slight angle rather than dead side-on, which is more interesting to look at and only marginally harder to build.
Frame one is the fuselage, and it arrives fully detailed rather than as a bare tube: rounded at the nose, tapering towards the tail, with the cockpit window, the entire row of cabin windows, two door panels and the far tailplane already drawn into it. The proportion worth checking is the length against the depth — an airliner's body is far longer relative to its thickness than instinct suggests, and a fuselage drawn too fat reads as a cartoon.
The wings arrive next, and the single most useful fact about them is that they are swept back. A wing at right angles to the body reads as a light aircraft or a toy; a wing angled backwards from root to tip reads as a jet. The sweep costs nothing and it is the difference between the two drawings.
Because the plane is seen at an angle, the near wing and the far wing are not the same shape on the page. The near one is longer and lower, the far one shorter and partly hidden behind the fuselage. Drawing them as a matched pair is what flattens the whole thing back into a side view — which is presumably why the far wing is the very last shape on this sheet, small enough to underplay and easy to forget.
The tail comes in pieces rather than as a set: the far tailplane is in frame one with the body, the vertical fin is frame three, and the near tailplane frame four. The fin is taller than most people draw it. It is also the part of an aircraft that carries the airline's markings, which makes it the natural place to put a simple invented logo if you want the drawing to have some character.
One engine is visible on this drawing, in frame four, and it sits tucked close under the wing rather than slung forward on a pylon. On a real airliner the engine hangs below and clearly forward of the wing, and that placement is one of those details nobody consciously notices and everybody registers. Moving it forward a little as you copy is the single change that would make this the more convincing drawing.
The cabin windows do not go on near the end — they are in frame one, a row of small ovals running the length of a fuselage that has nothing else attached to it yet. They are evenly spaced and much smaller than feels right, and two larger door panels break the row. Copying that break rather than running an unbroken line of windows is a small piece of observation that lifts the drawing.
The cockpit window is in that first frame too, and it is a different shape from the cabin ones — larger and angled, set into the nose rather than sitting in the row. Drawing it as simply another cabin window is a missed opportunity, because the cockpit is the only part of the front of the aircraft with any character in it.
This plane is flying rather than parked, and the reason is something that is missing: there is no landing gear anywhere on the sheet. An aeroplane drawn level with its wheels down is on the ground, and that is a different and much less interesting picture. Tilting the whole drawing a few degrees nose-up pushes it further the same way, and costs nothing.
The six frames run largest closed shape first, smallest last — fuselage, near wing, fin, then the tailplane and engine, then panel lines and the far wing. It is an easy order to copy and there is no reason it has to be yours.
Before you start
- Sweep the wings backwards. A wing at right angles makes a toy.
- Draw the near and far wings differently — the far one shorter and partly hidden.
- Hang the engines below and forward of the wing, not against it.
- Leave the landing gear off and tilt the nose up slightly if you want it flying.
Published Updated 659 words
The six steps
The steps go from the largest shape to the smallest, which is an easy order to copy. It is not the only order, and it is not a rule — if you would rather start somewhere else on the sheet, do.
Step 1
Step 2
Step 3
Step 4
Step 5
Step 6
More in this section
How to draw a train
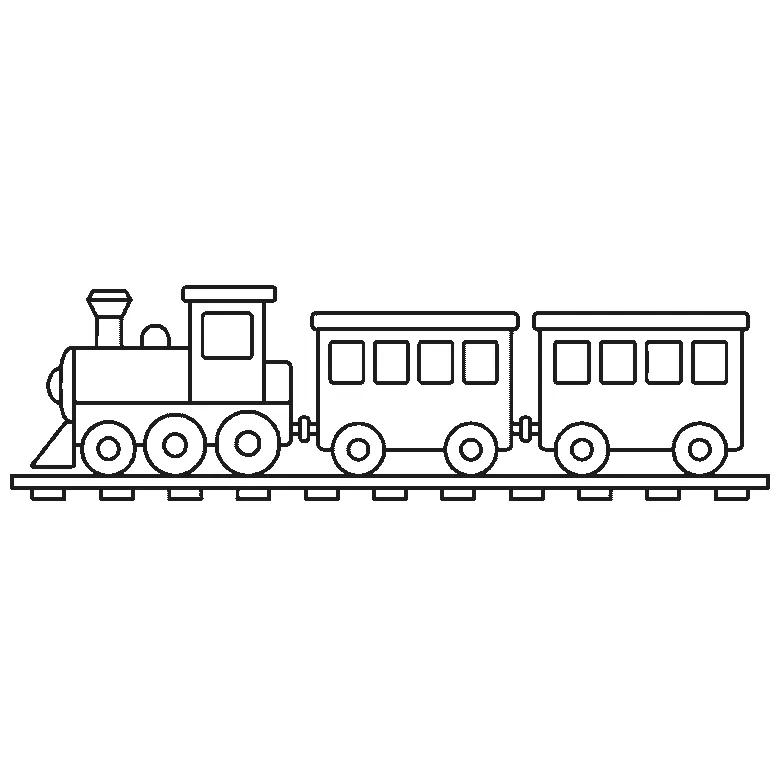
Six frames, a steam locomotive and two carriages on a track. The carriages first, then the track, the funnel and dome, the cab and boiler, and the wheels last.
Step sequence made by us from a single drawing: each step keeps the lines of the one before it and adds to them.
How to draw a tractor
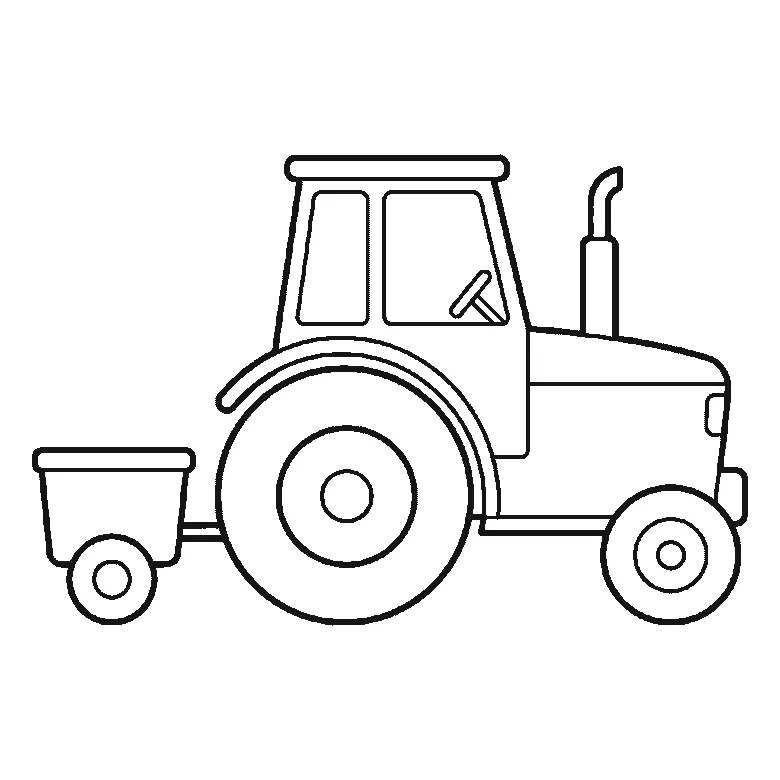
Six frames, a tractor towing a small trailer, seen from the side. The big rear wheel first, then the cab, the trailer, the front wheel and the exhaust.
Step sequence made by us from a single drawing: each step keeps the lines of the one before it and adds to them.
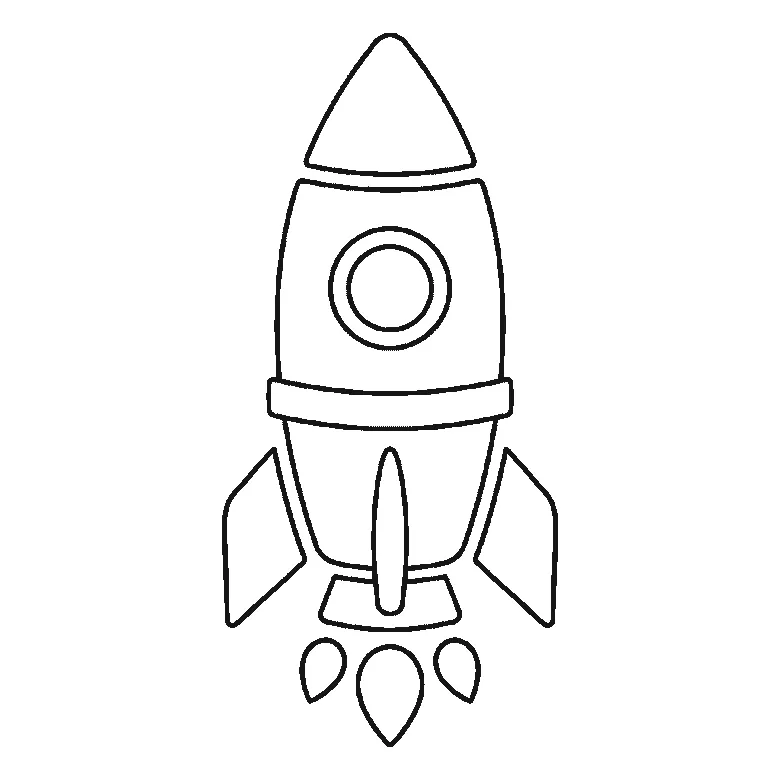
How to draw a rocket
Six frames, one cartoon rocket standing ready. The body panels first, the nose cone second, the fins one at a time, and the flames last.
Step sequence made by us from a single drawing: each step keeps the lines of the one before it and adds to them.
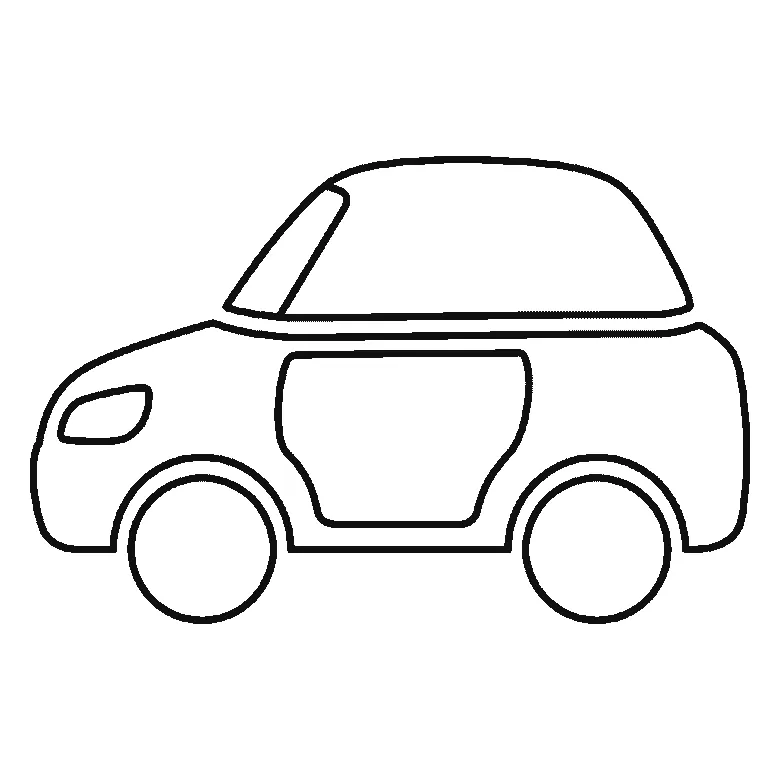
How to draw a car
Six frames, one car seen from the side. The body first, then the roof, windows, wheels and lights.
Step sequence made by us from a single drawing: each step keeps the lines of the one before it and adds to them.


