
PDF · A4 · 37 KB · Free, no sign-up. For home and classroom use.
How to draw a tractor
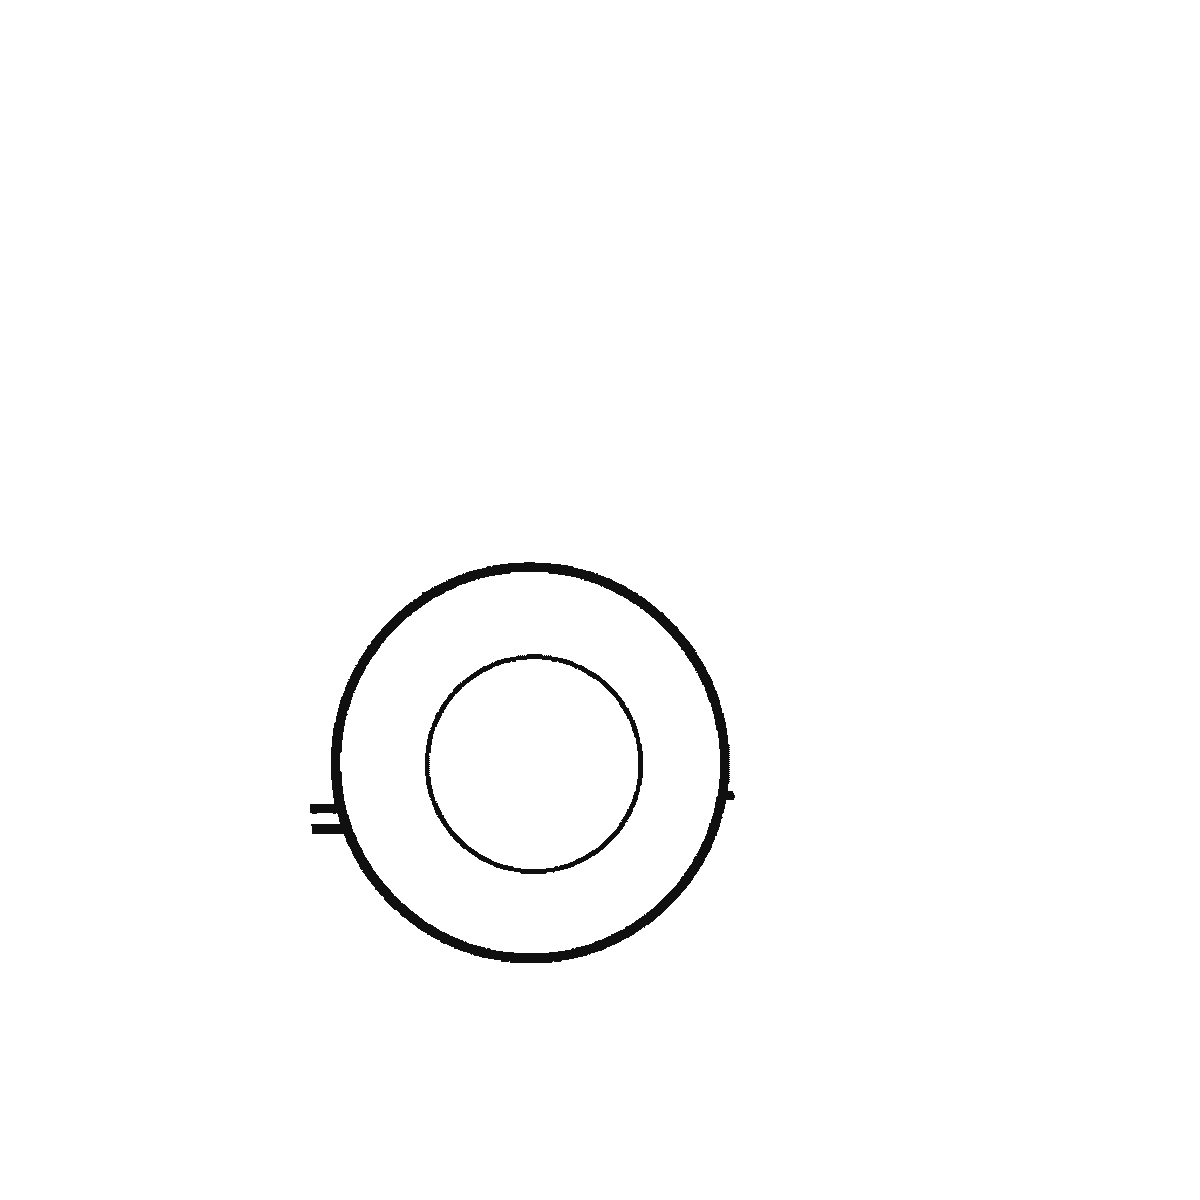
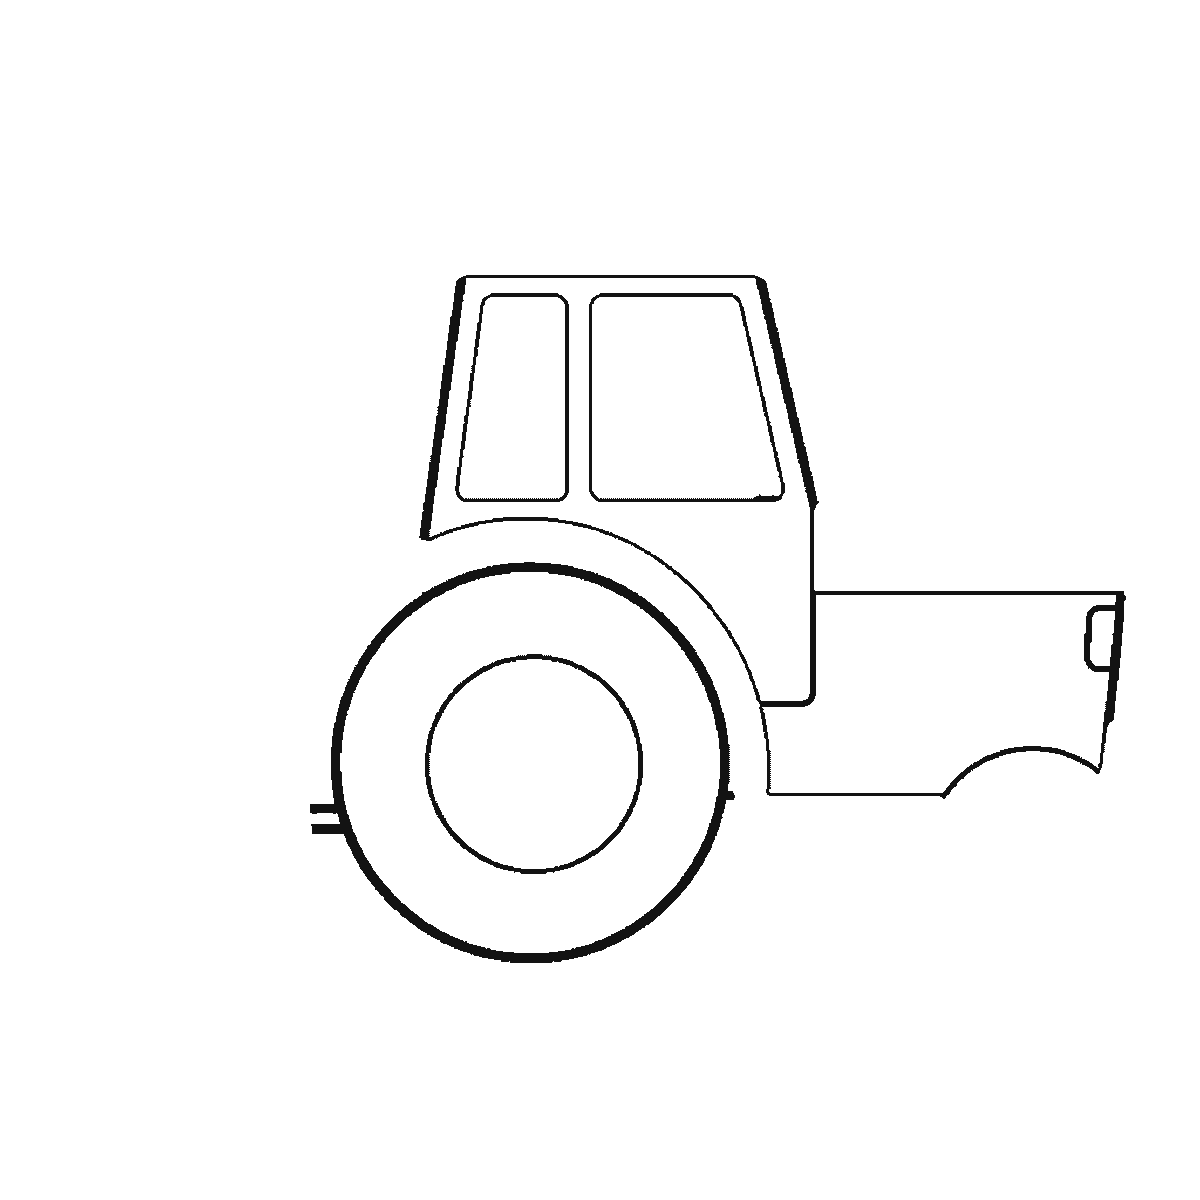
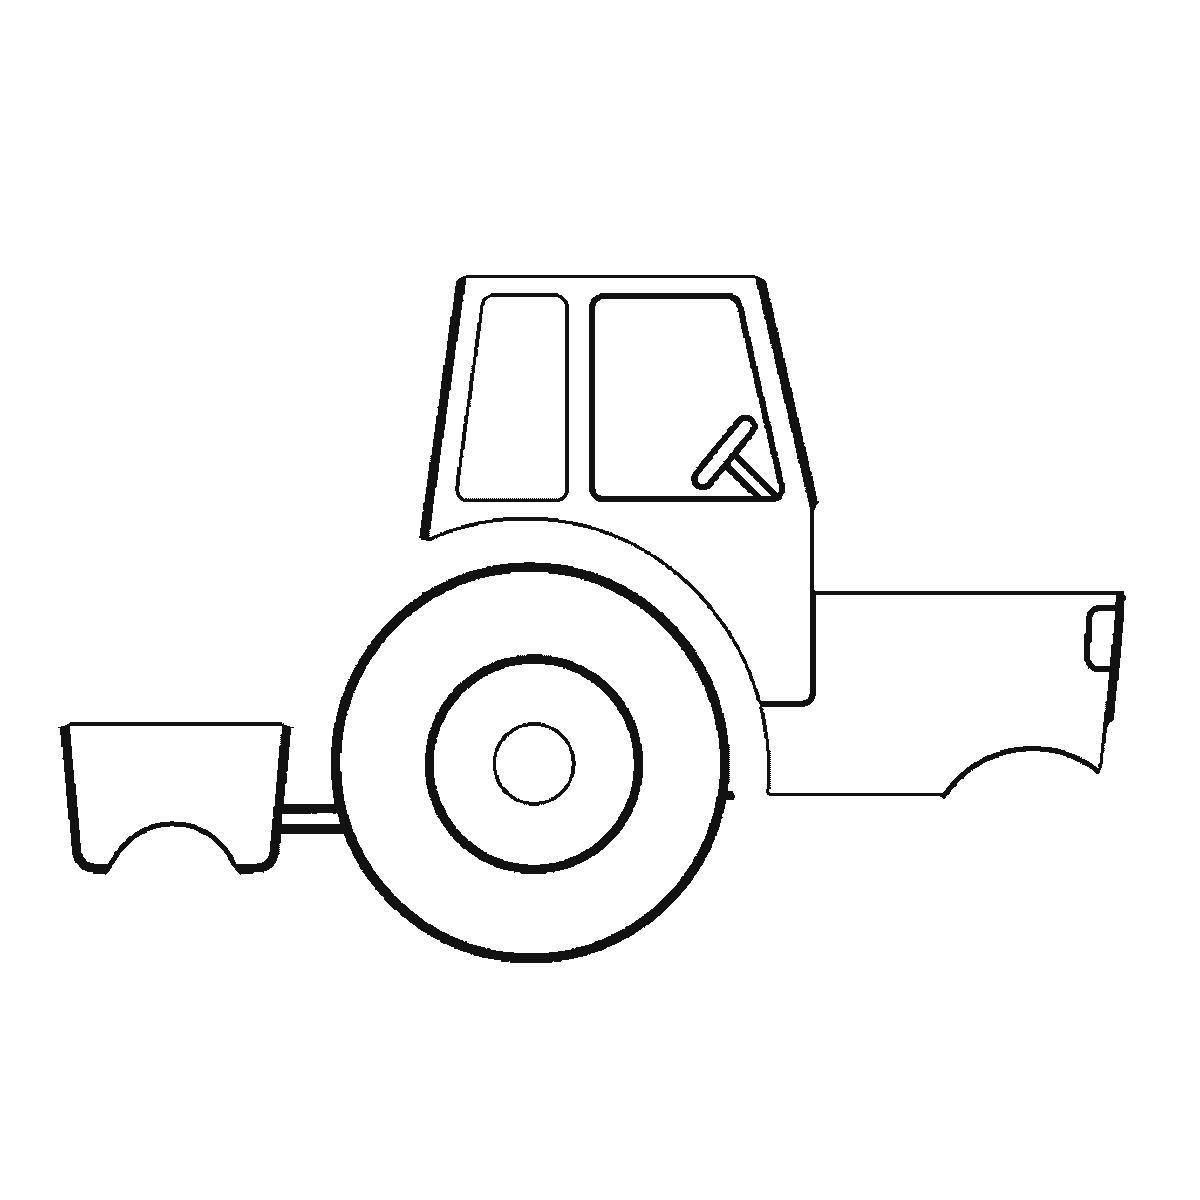
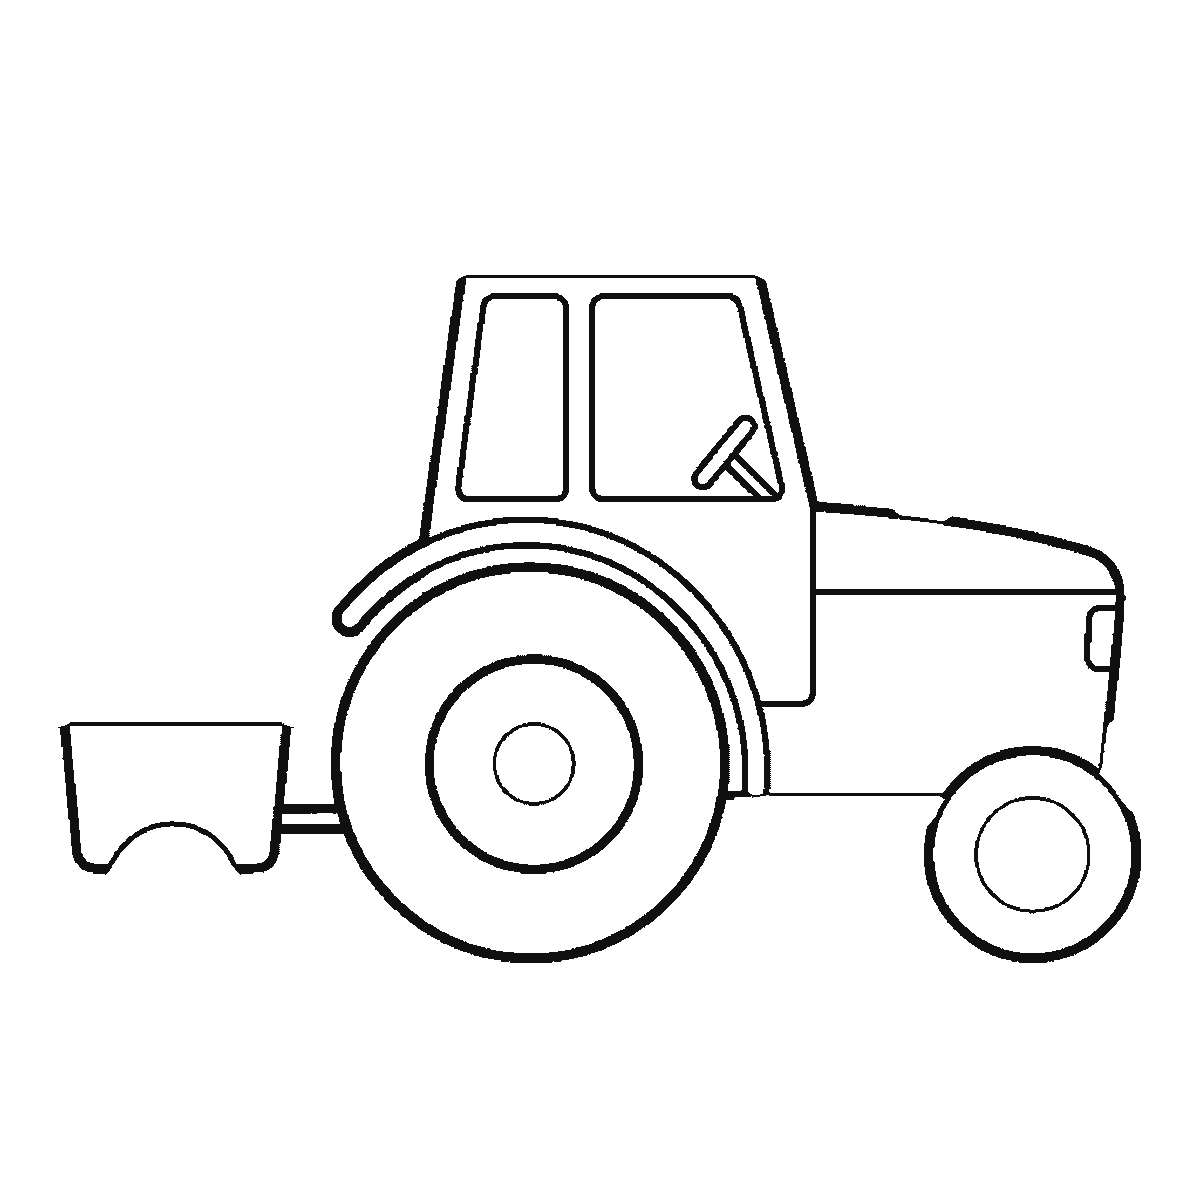
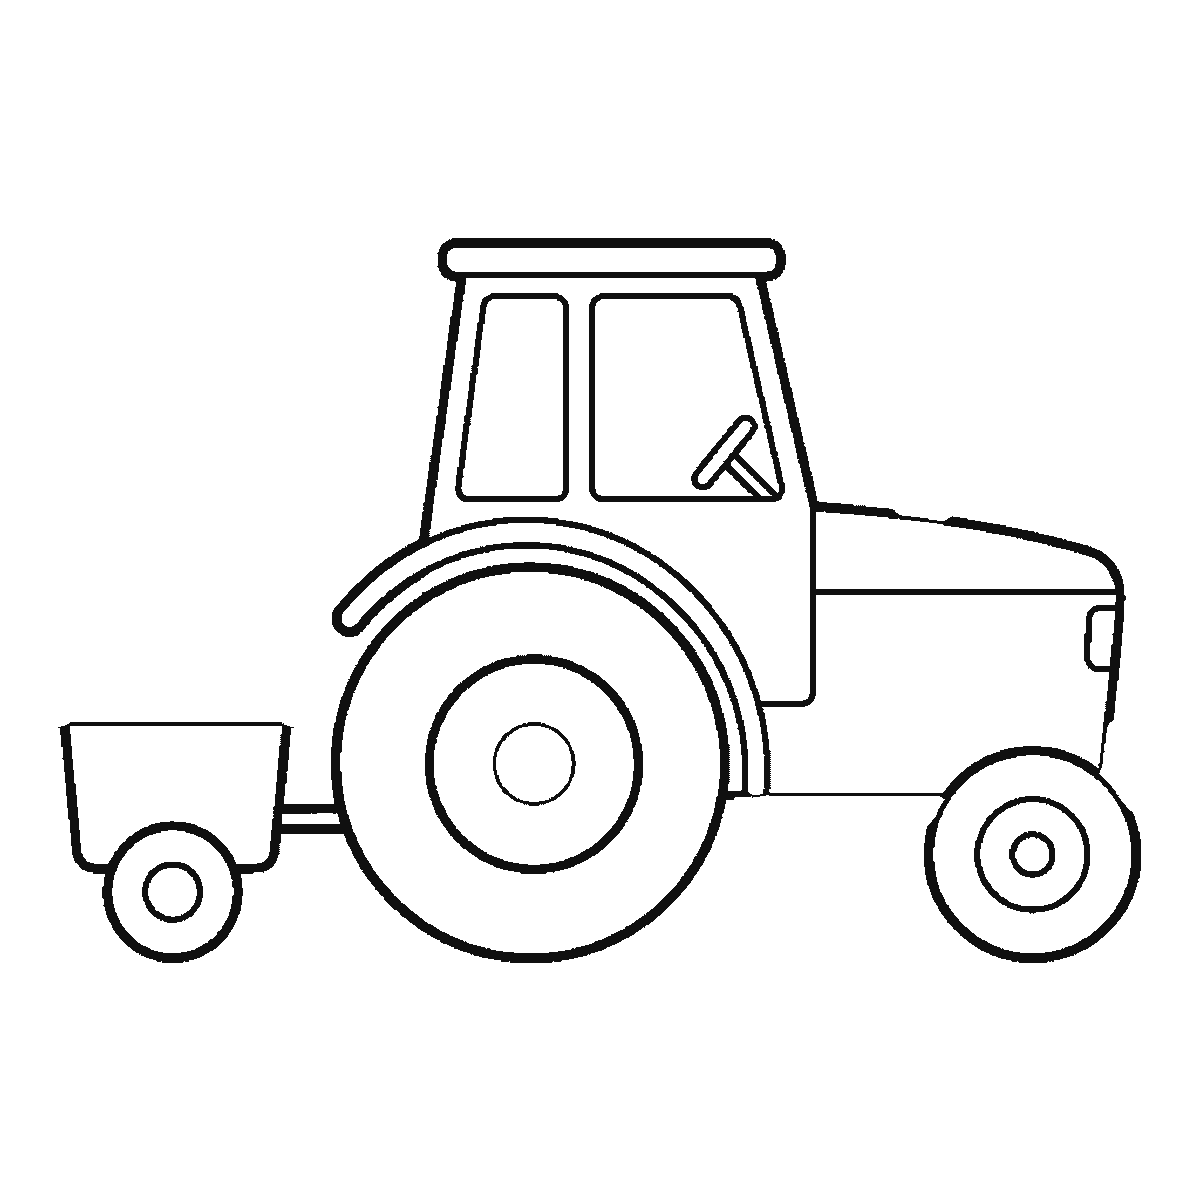
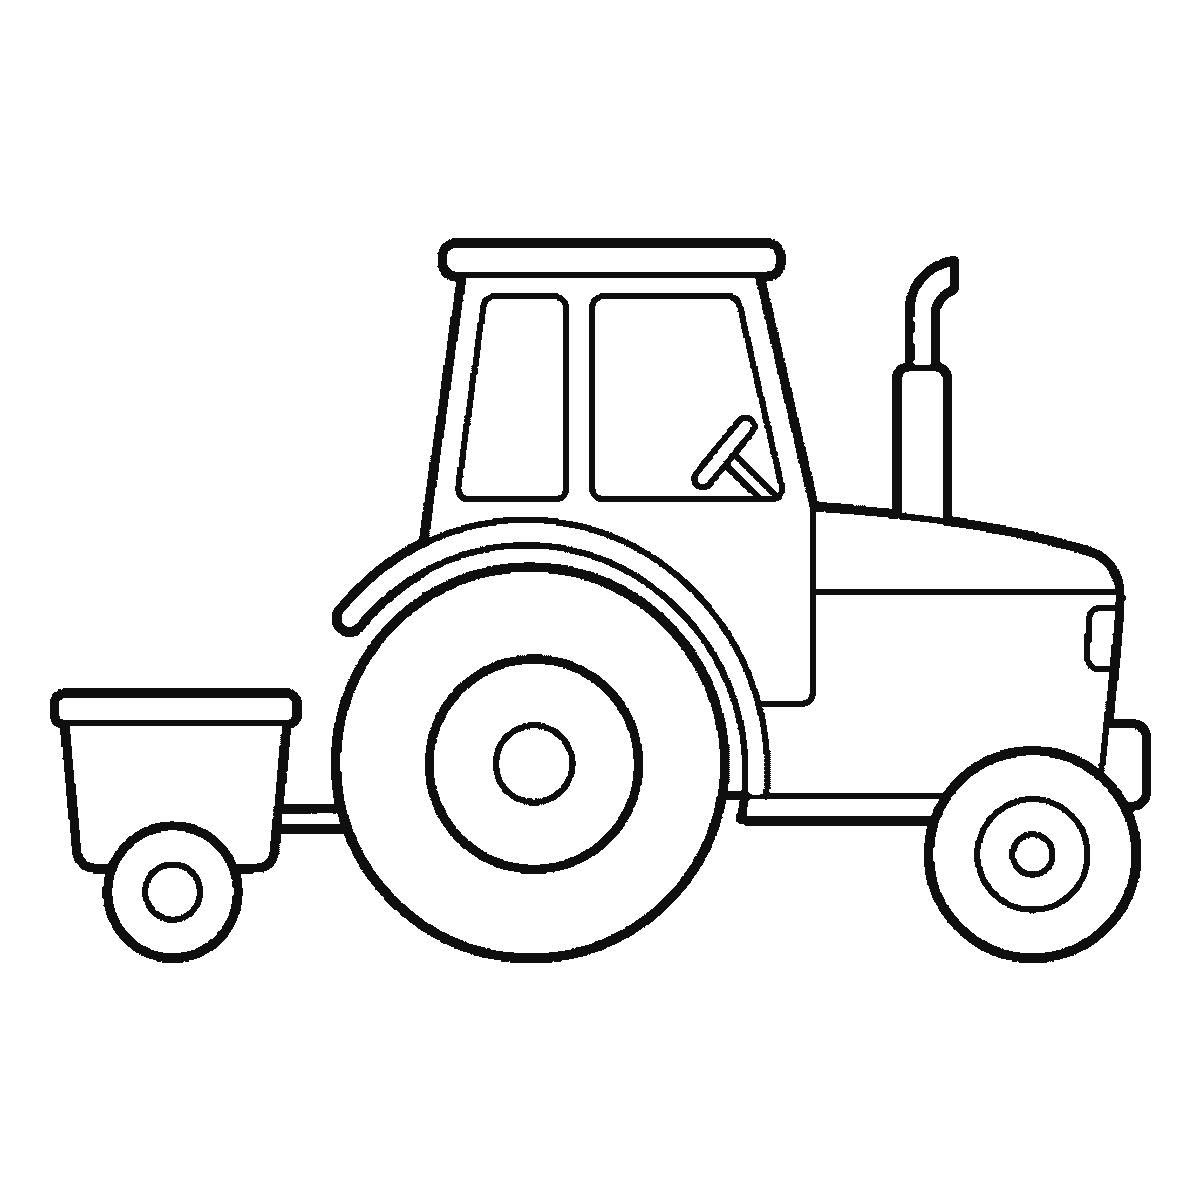
Six frames, a tractor towing a small trailer, seen from the side. The big rear wheel first, then the cab, the trailer, the front wheel and the exhaust.
A tractor is defined by one thing before anything else: the difference in size between its front and rear wheels. Get that contrast right and almost anything else you draw around it reads as a tractor. Get it wrong and you have drawn a small lorry. This sheet therefore starts where the identity is.
Frame one is the rear wheel, and it is the largest closed shape on the page — larger than the cab, larger than the engine, and much larger than beginners expect. Drawing it first, at full size, means everything else is measured against it rather than squeezed in afterwards.
The body arrives next, running forward from the rear wheel as a fairly narrow shape. A tractor is surprisingly slim between its wheels; the bulk is all in the tyres and the cab. Drawing a wide body between them produces something closer to a bulldozer.
The cab sits above and behind, roughly over the rear axle, as a box with large windows and a visible frame. The driver sits high and well back, and that rearward placement is another of the small proportional facts that makes the vehicle read correctly.
The front wheel comes in the following frame and it should be dramatically smaller — somewhere around half the diameter of the rear one, sometimes less. This is the moment to check the contrast. If the two wheels look like they could be swapped, the drawing is not a tractor yet.
Both tyres on this sheet are drawn perfectly smooth — a plain circle, a rim and a hub, and no tread at all. That is the one place the drawing is doing less than it could. Deep angled bars running across the rear tyre, arranged in a V pattern, are unmistakable and take very little time, and adding them is the cheapest way to put this tractor back in a field.
The exhaust pipe rises vertically from the bonnet just in front of the cab, usually with a small cap on top. It is a thin shape and it is easy to leave out, but it is one of the strongest silhouette cues the vehicle has, and a tractor without one looks oddly bare.
The bonnet itself slopes down towards the front, narrower than the cab, often with a grille at the end and a headlight either side. Keeping it low is what lets the driver see forward, and drawing it high turns the tractor into a truck.
The tractor is already pulling something, and it is easy to miss on a first look: a small tipping trailer behind it, built across frames three, five and six — the body, then its single wheel, then the rail along its top. That is what turns the sheet from a vehicle study into a scene, and it is why a drawbar is already there in frame one, sticking out behind a tractor with nothing yet attached to it.
The six frames run from the largest closed shape to the smallest, which is why the rear wheel arrives before the body it is attached to. It is easy to copy, and it is not a claim about how a tractor should be drawn.
Tractors are also one of the few vehicles where mud is an improvement. A few short irregular marks along the lower edge of the body and around the tyre tread, and a suggestion of churned ground under the wheels, makes the machine look used. A spotless tractor looks like a model of a tractor, which is a different subject.
Before you start
- Draw the rear wheel first and full size. Everything else is measured against it.
- Make the front wheel about half the rear wheel's diameter, or smaller.
- Keep the body narrow between the wheels — the bulk is all tyre and cab.
- Both drawn tyres are smooth. Adding a V-pattern tread to the rear one is the cheapest single improvement to this sheet.
Published Updated 593 words
The six steps
The steps go from the largest shape to the smallest, which is an easy order to copy. It is not the only order, and it is not a rule — if you would rather start somewhere else on the sheet, do.
Step 1
Step 2
Step 3
Step 4
Step 5
Step 6
More in this section
How to draw a rocket
Six frames, one cartoon rocket standing ready. The body panels first, the nose cone second, the fins one at a time, and the flames last.
Step sequence made by us from a single drawing: each step keeps the lines of the one before it and adds to them.
How to draw a car
Six frames, one car seen from the side. The body first, then the roof, windows, wheels and lights.
Step sequence made by us from a single drawing: each step keeps the lines of the one before it and adds to them.
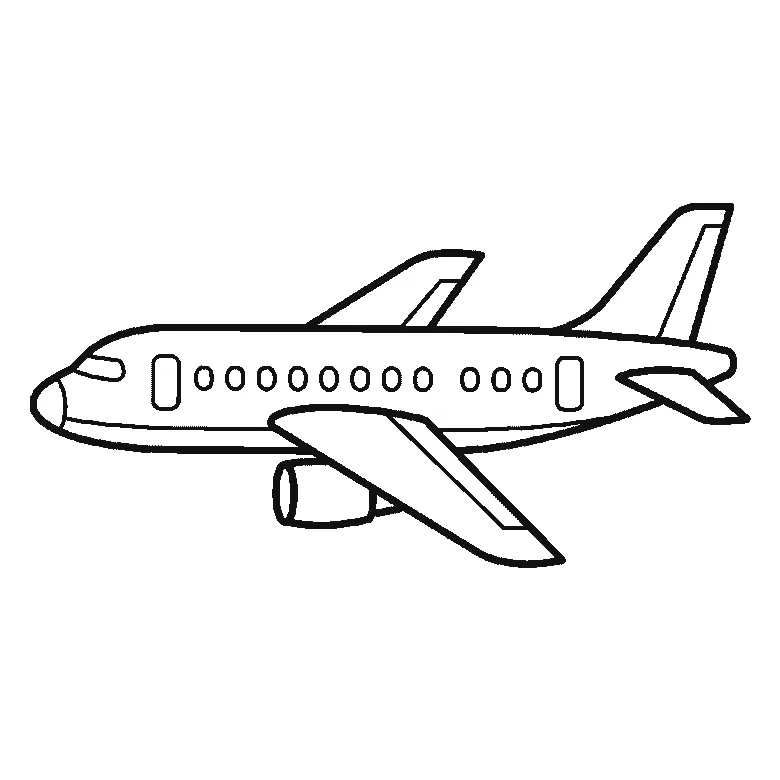
How to draw a plane
Six frames, one aeroplane at a slight angle. The fuselage and all its windows first, then the near wing, the tail fin, the engine, and the far wing last.
Step sequence made by us from a single drawing: each step keeps the lines of the one before it and adds to them.
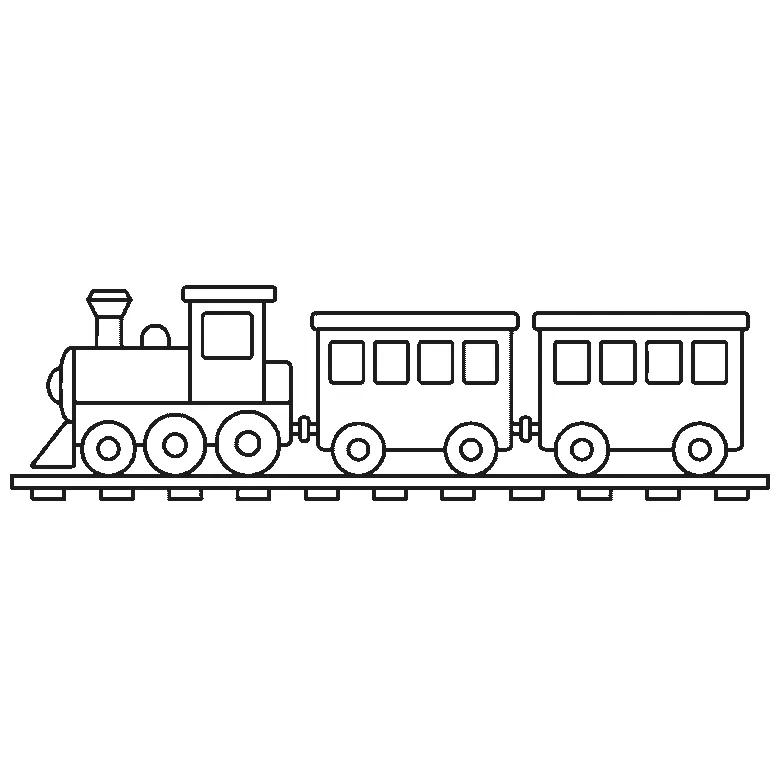
How to draw a train
Six frames, a steam locomotive and two carriages on a track. The carriages first, then the track, the funnel and dome, the cab and boiler, and the wheels last.
Step sequence made by us from a single drawing: each step keeps the lines of the one before it and adds to them.


