
PDF · A4 · 86 KB · Free, no sign-up. For home and classroom use.
How to draw a dragon
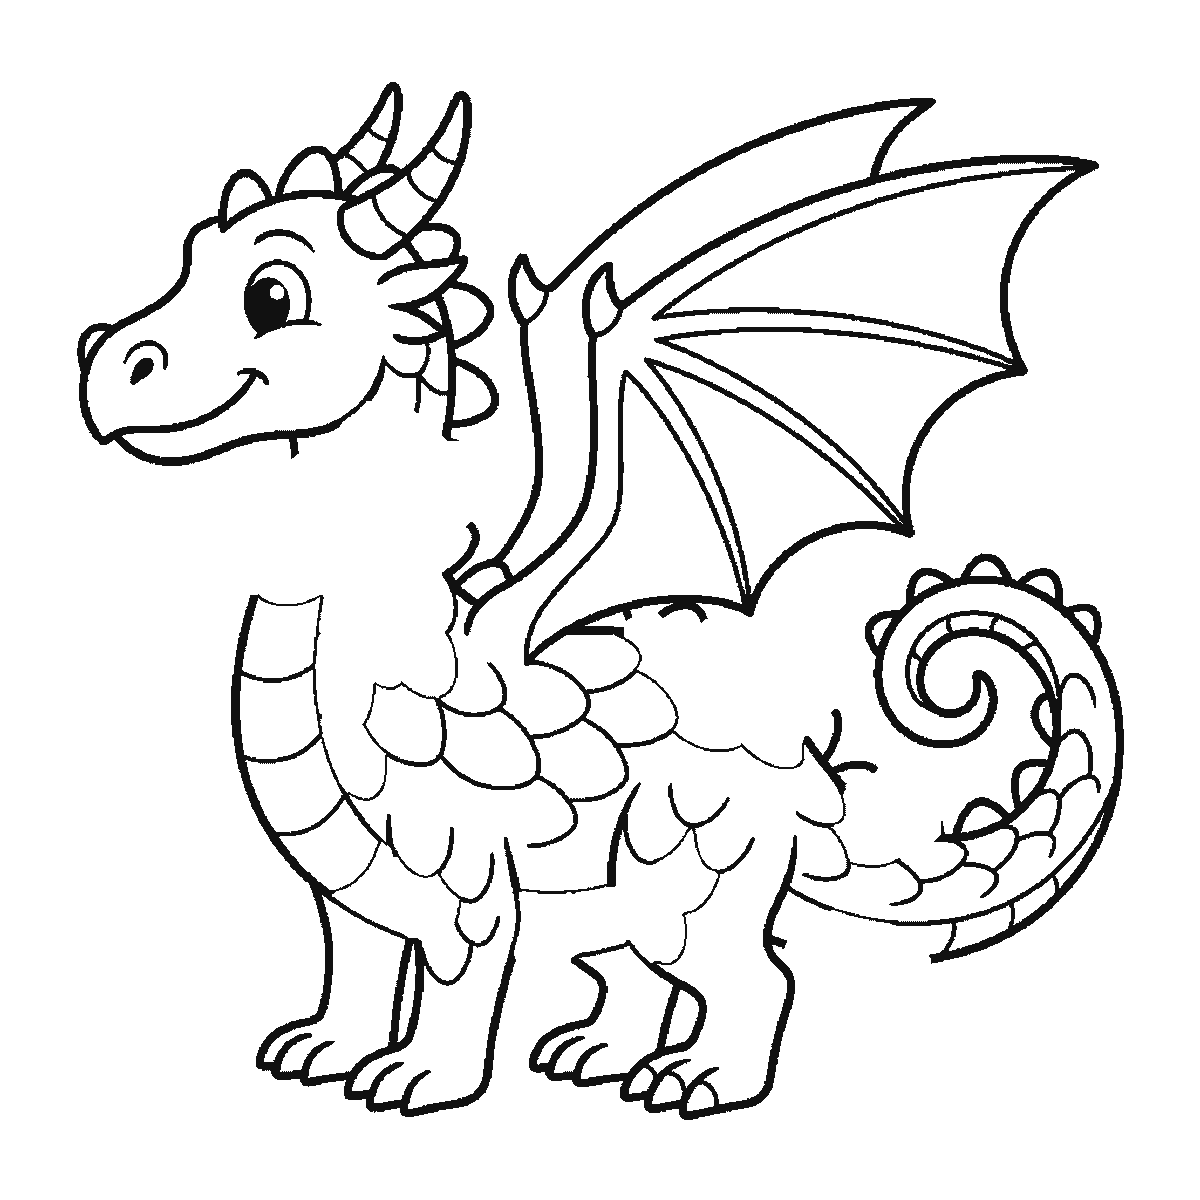
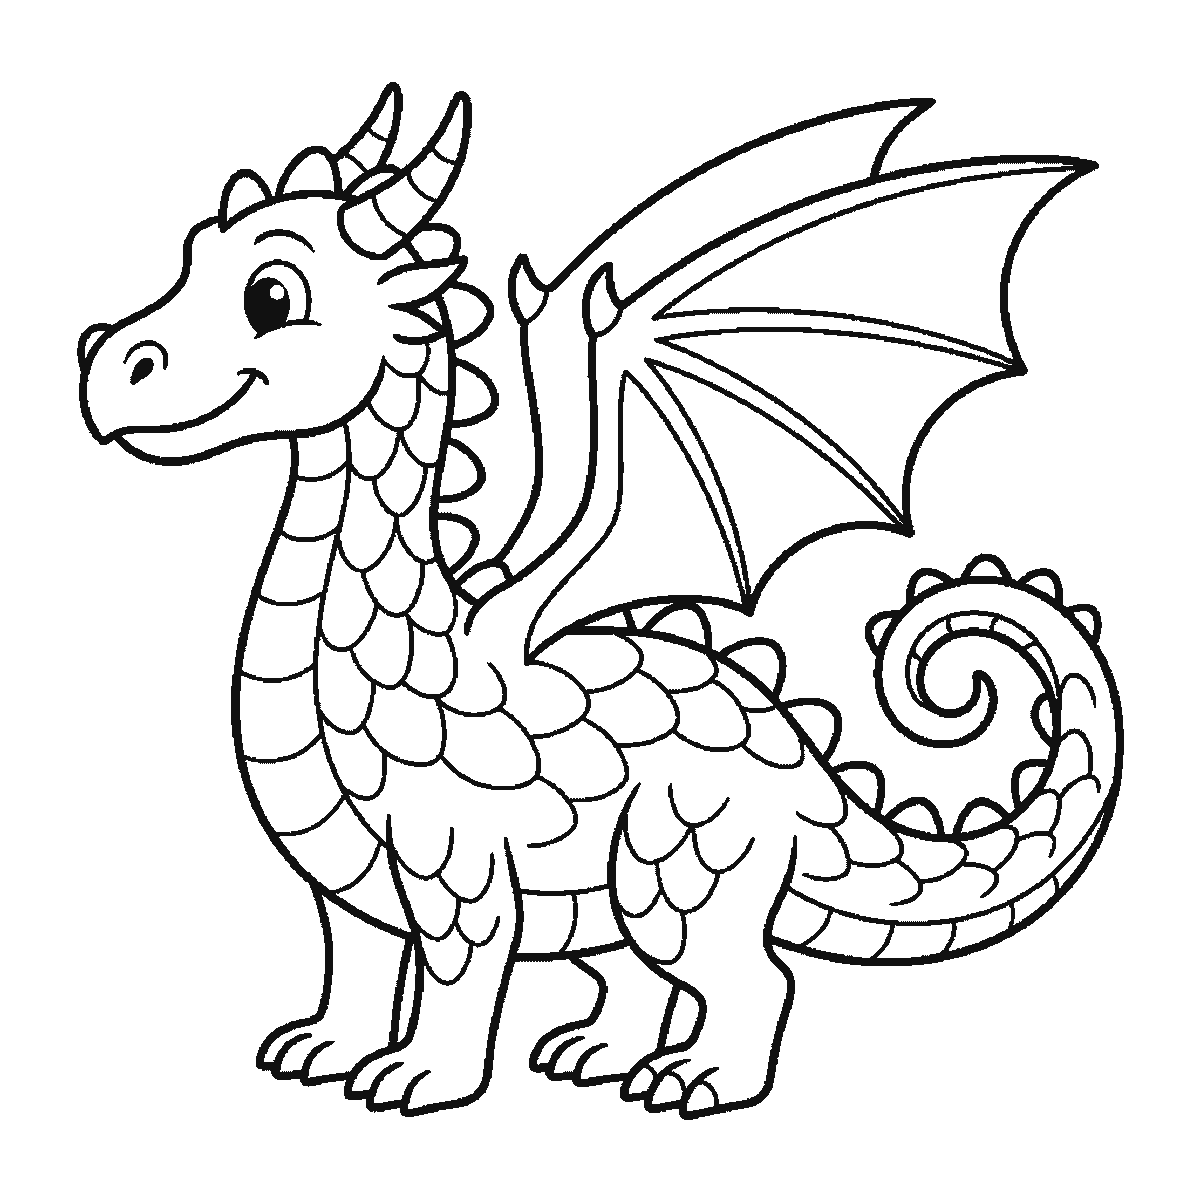
Six frames, one friendly dragon in profile. The body, legs and curled tail first, then the head, the wing, and the scaled neck last.
A dragon is the best possible subject for a beginner, because there is no dragon to be wrong about. Nobody can tell you the neck is too long or the wings are the wrong shape. What you are actually learning here is how to assemble a convincing animal out of parts borrowed from real ones, and that skill transfers to everything else.
This one is built like a lizard with a long neck. Frame one gives you the body — a solid rounded mass sitting low, its belly already plated, the legs down to their clawed feet, and the tail curled into a spiral behind. The neck is not in it: that is the last thing on the sheet, banded in frame five and scaled in frame six. Its curve matters more than its length, so leave room for one. A neck that curves reads as a living animal, and a neck drawn as a straight tube reads as a piece of plumbing with a head on it.
The head arrives in frame two, floating above a neck that does not yet exist, and it comes complete: muzzle, smile, eye, horns and the spiked frill behind the skull. It is small relative to the body, which is a choice worth understanding. A large head makes a dragon look young and cartoonish; a small one on a long neck reads as something ancient and slightly dangerous even when, as here, it is smiling. Either is fine, but the sheet picks the second.
The wings arrive in the middle frames and they are the shape people most often get wrong. Draw them as a bat's: an arm along the top edge with several long fingers running back from it, and skin stretched between the fingers in shallow curves. Wings drawn as a solid triangle read as a paper aeroplane strapped to a lizard.
The legs are not a step of their own — they come down with the body in frame one, short and thick with the hind pair heavier than the front, and only their upper edges are redrawn later. Toes are worth taking slowly rather than treating as a blunt foot: three forward and one back, with visible claws, is a small amount of work that does a lot for the animal's character.
This dragon has no row of back spines, and it is worth saying so because most drawn dragons do. What it has instead is a spiked frill immediately behind the head, drawn in frame two, and a run of small scallops along the top of the curled tail, drawn in frame one. If you add spines of your own, vary them — largest over the shoulders and hips, smallest at each end. A row of identical triangles looks like a garden fence, and the variation costs nothing but the decision.
The tail is in frame one with the body rather than saved for the end, and it does not taper to a point — it curls right round into a flat spiral, scalloped along its upper edge. A curled tail fills space, balances the composition and makes the whole drawing look deliberate. A straight tail running off the edge of the page makes it look like the drawing ran out of room.
The scales are not optional on this drawing and they are not last: the belly plates are in frame one, and the neck's rows are what frames five and six are for. That is a deliberately scaly dragon, and copying it means committing to the pattern. On a dragon of your own the opposite advice usually serves better — a patch along the neck and down the spine, a few on the shoulder, and bare outline everywhere else reads as scaly without burying the shapes underneath.
In profile one eye is visible, and on a dragon that eye is where the whole personality sits. A round eye with a large pupil is friendly. A narrower one with a small pupil is not. It is one line's difference and it changes the entire drawing.
The six frames run largest shape to smallest, which is why the body and its tail arrive before the head, and why the neck — a long thin shape made of many small scales — comes after the wing rather than before it. It is an easy order to copy and it is not the right order, because for an invented animal there cannot be one.
Before you start
- Leave room for the neck in frame one and curve it when it arrives at the end. A straight neck is plumbing.
- Draw the wings as a bat's — an arm along the top with fingers running back, not a solid triangle.
- There are no back spines on this dragon — a frill behind the head and scallops along the tail do that work instead.
- This dragon is scaled all over by design. On one of your own, a few patches read as scaly without burying the shapes.
Published Updated 744 words
The six steps
The steps go from the largest shape to the smallest, which is an easy order to copy. It is not the only order, and it is not a rule — if you would rather start somewhere else on the sheet, do.
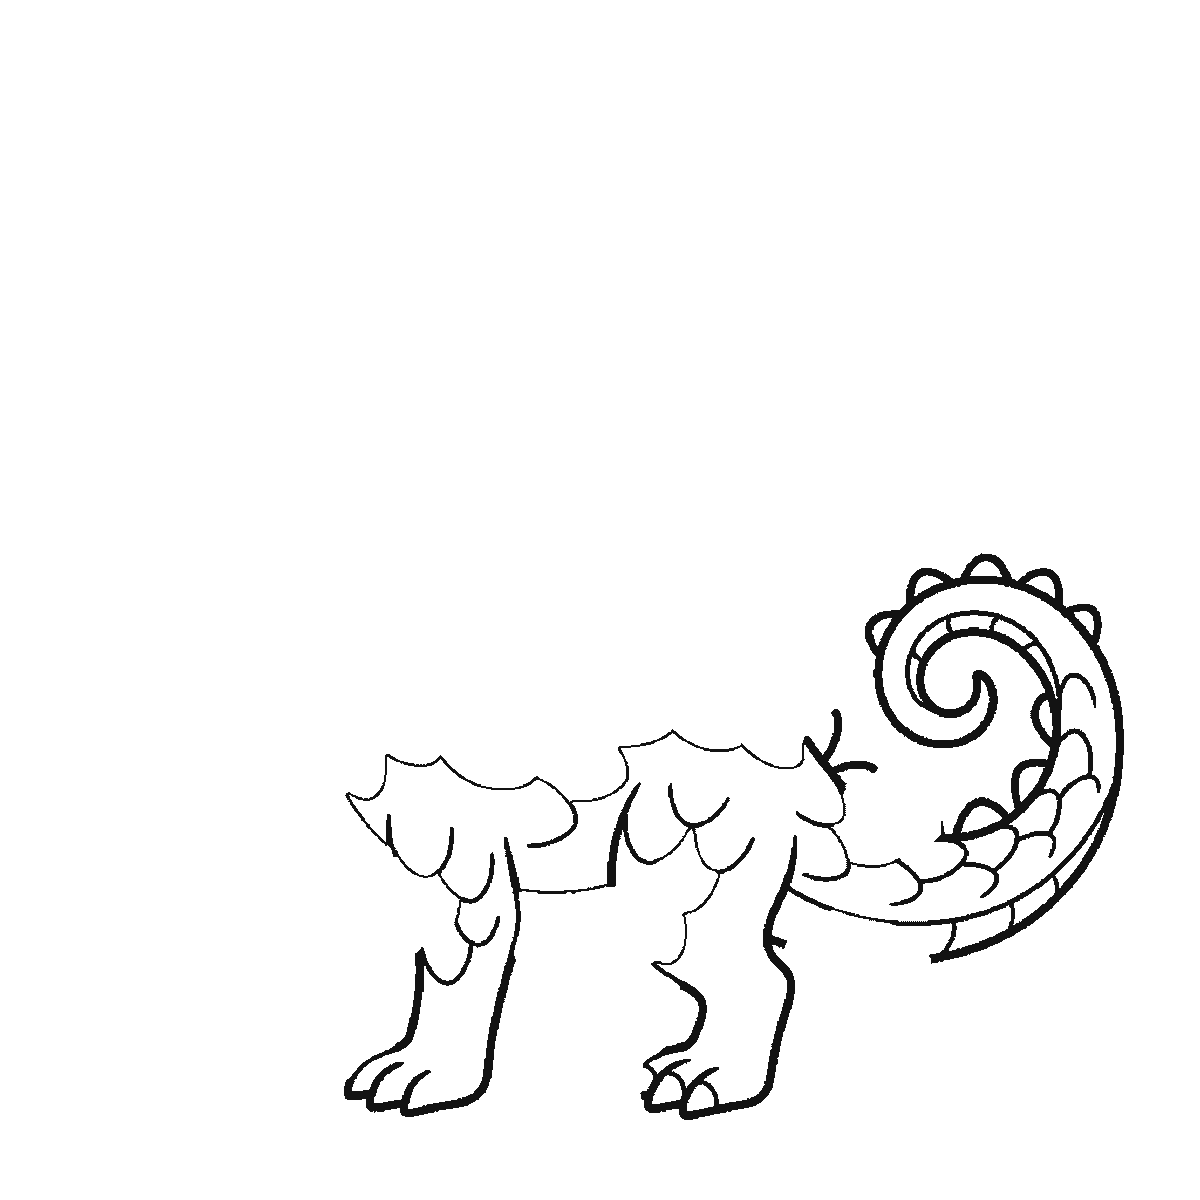
Step 1
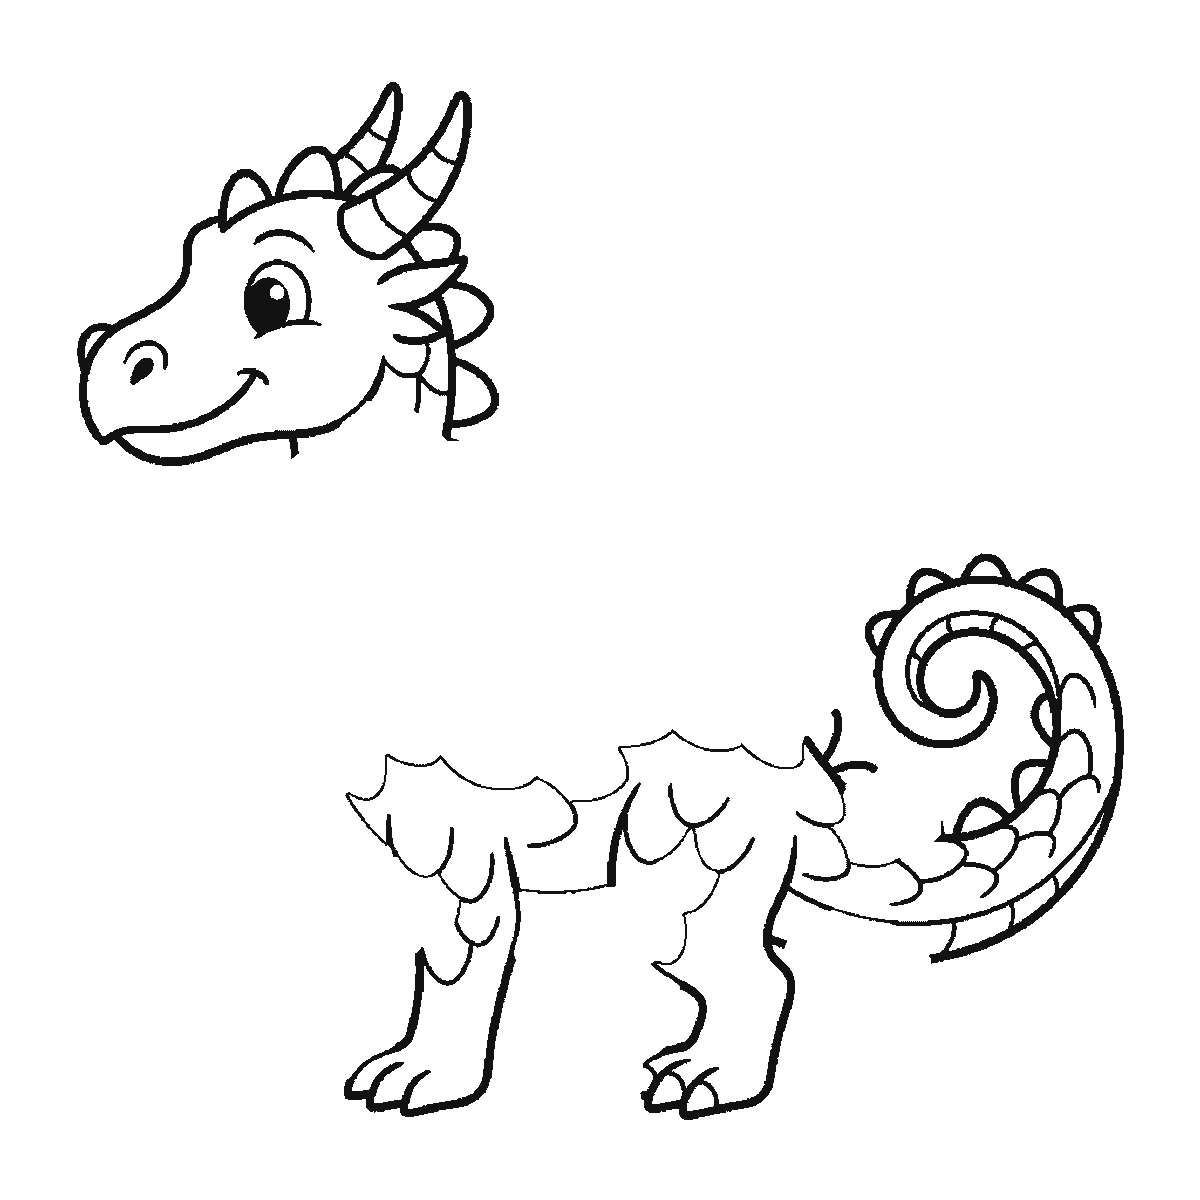
Step 2
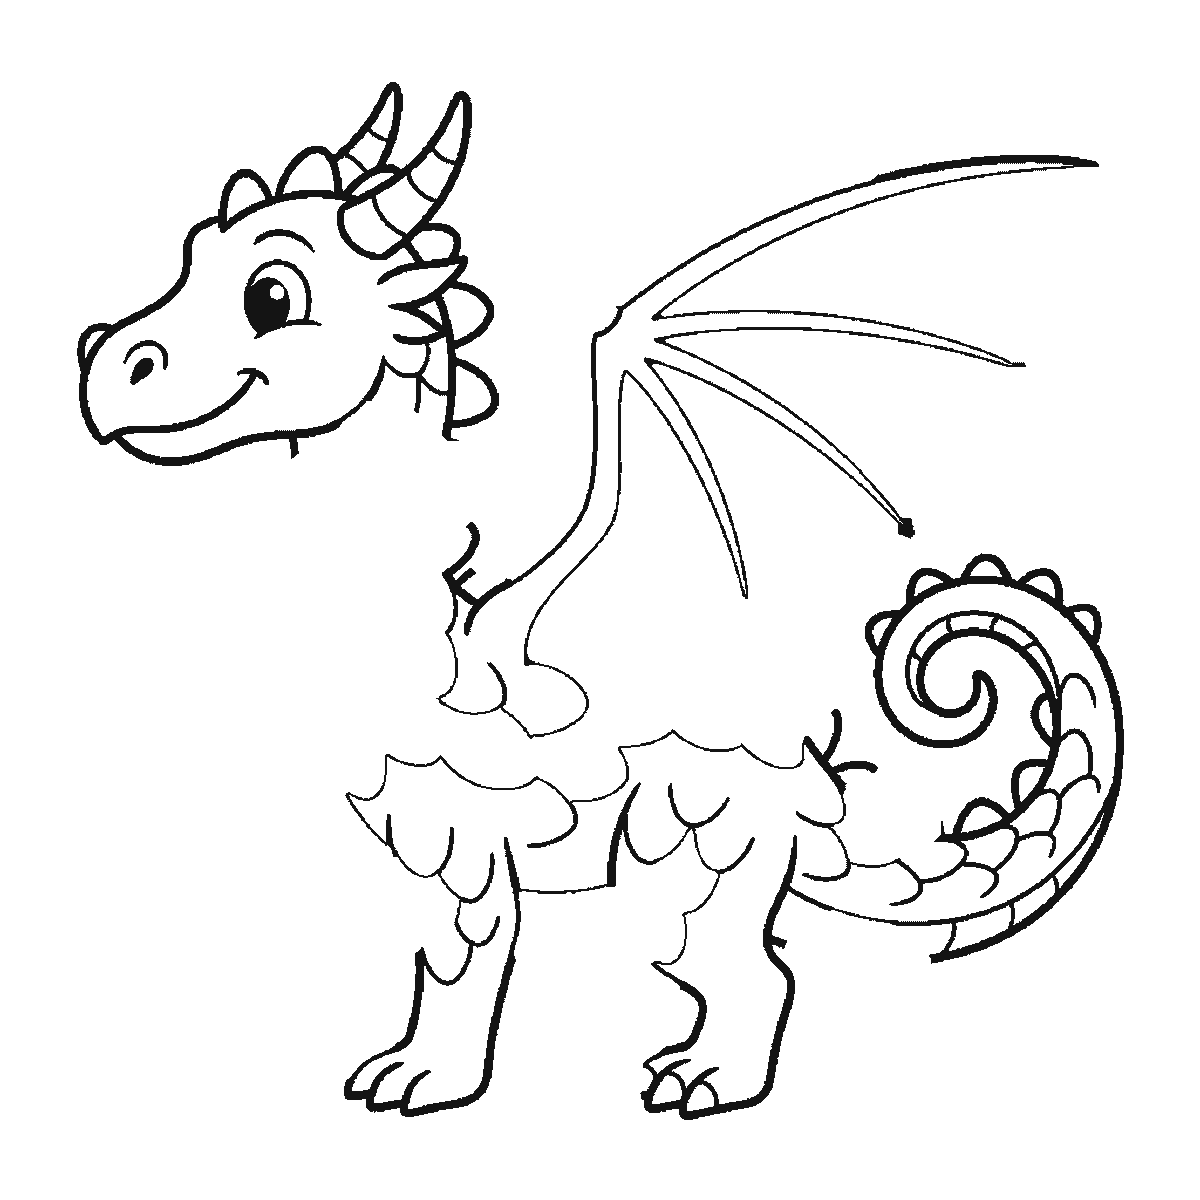
Step 3
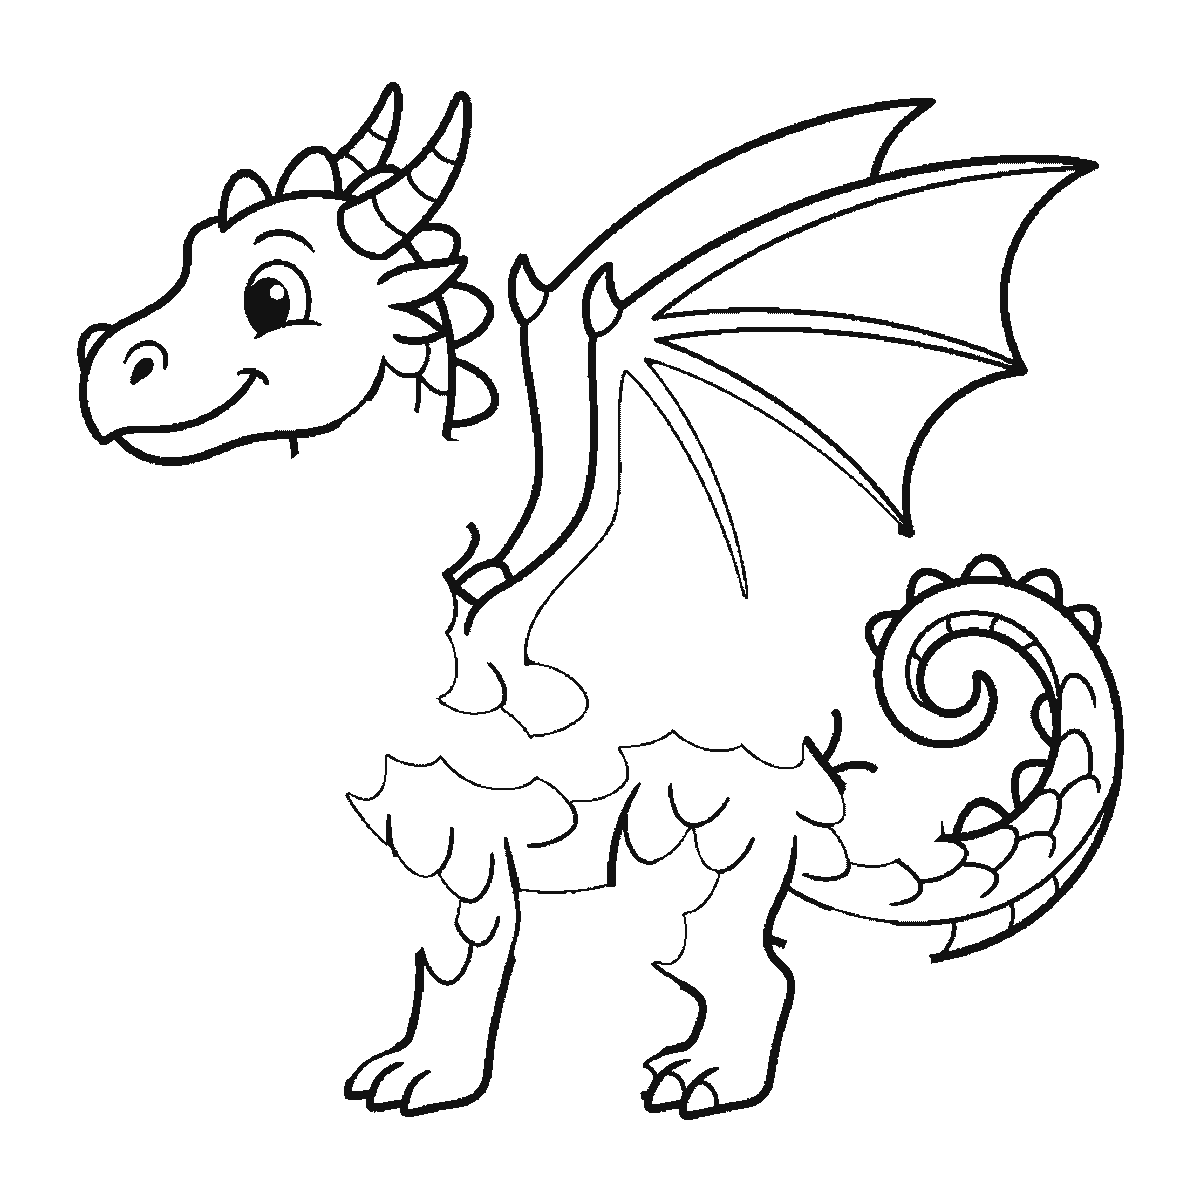
Step 4
Step 5
Step 6
More in this section
How to draw a dinosaur
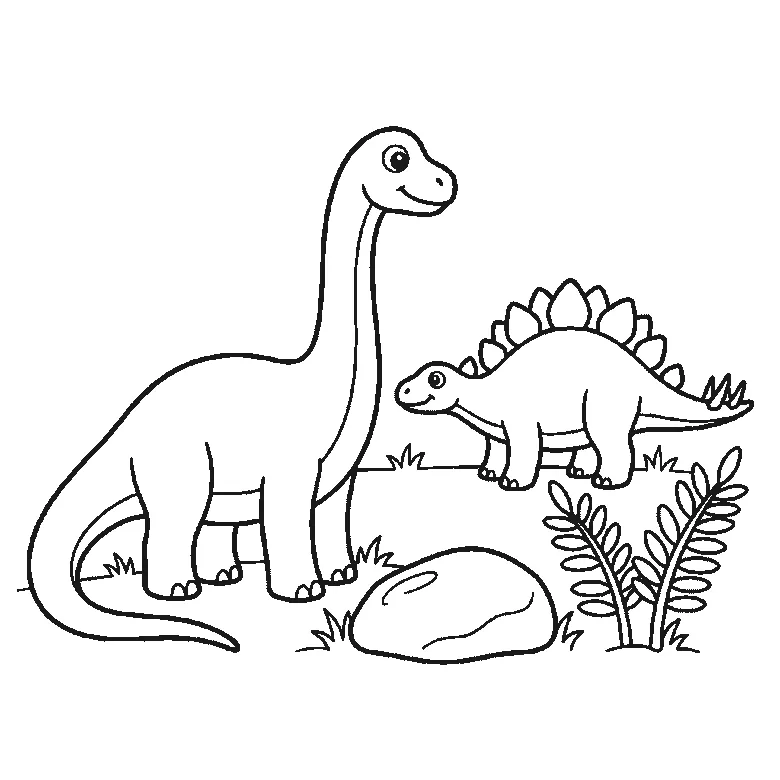
Six frames, two dinosaurs in a landscape. The whole long-necked one in the first frame, then a plated one behind it, a boulder, ferns and grass.
Step sequence made by us from a single drawing: each step keeps the lines of the one before it and adds to them.
How to draw a unicorn
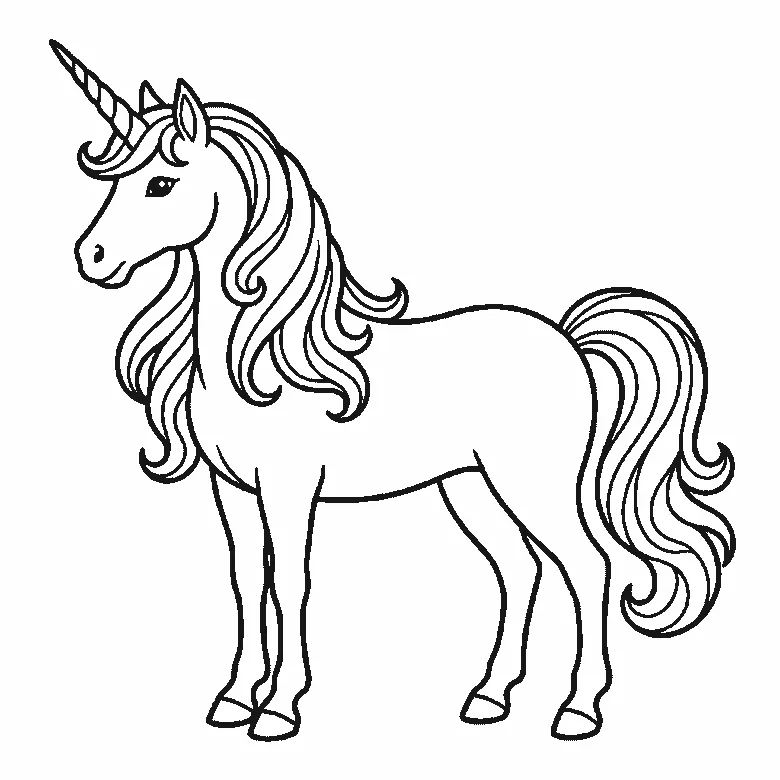
Six frames, one unicorn in profile. Body, head and spiral horn together first, then the two far legs, and the mane and tail last.
Step sequence made by us from a single drawing: each step keeps the lines of the one before it and adds to them.
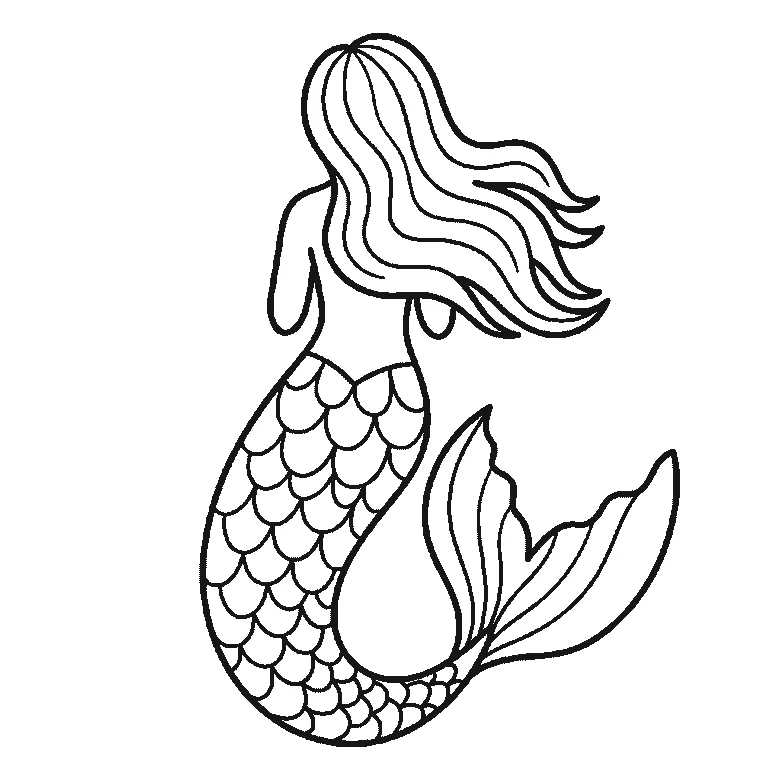
How to draw a mermaid
Six frames, one mermaid seen from behind. The body and hair first, then the fin, and the scaled tail last.
Step sequence made by us from a single drawing: each step keeps the lines of the one before it and adds to them.
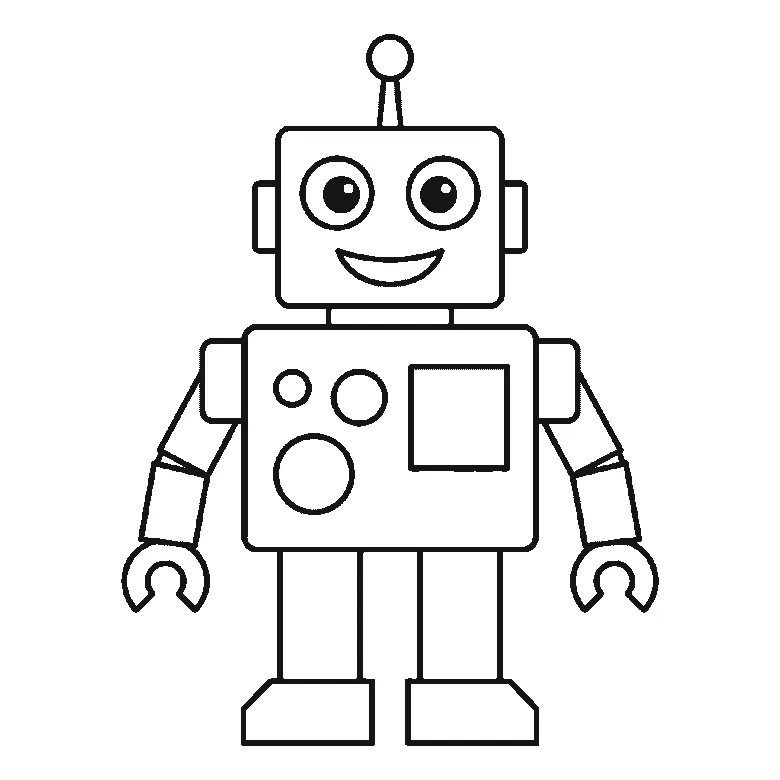
How to draw a robot
Six frames, one boxy robot facing you. The body first, then the head and face, the legs, the arms, and the antenna last.
Step sequence made by us from a single drawing: each step keeps the lines of the one before it and adds to them.
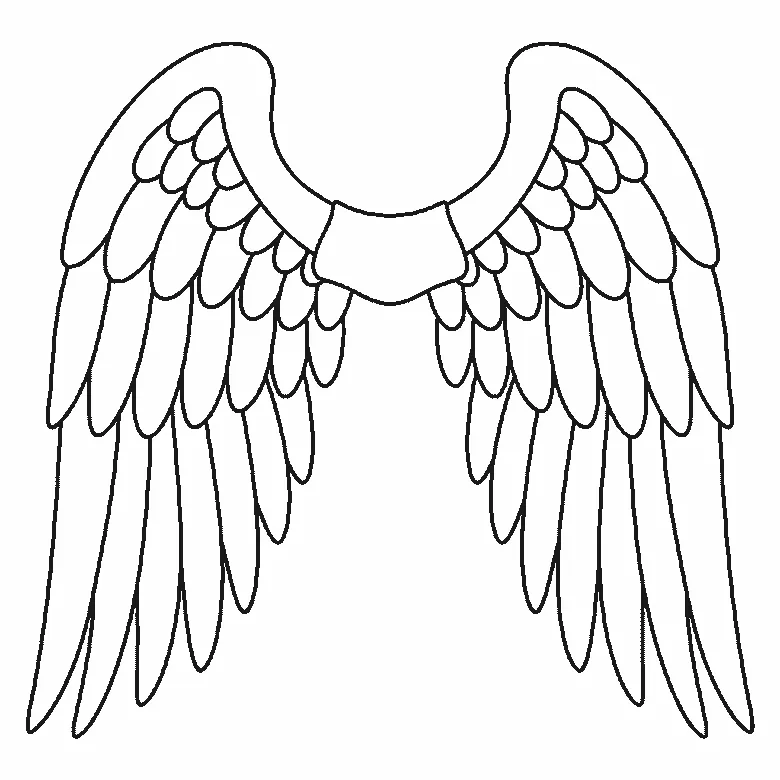
How to draw wings
Six frames, one pair of feathered wings. The leading edge first, then the shoulder — then the feathers, outside in and longest first, the same one on both wings.
Step sequence made by us from a single drawing: each step keeps the lines of the one before it and adds to them.


