
PDF · A4 · 26 KB · Free, no sign-up. For home and classroom use.
How to draw a robot
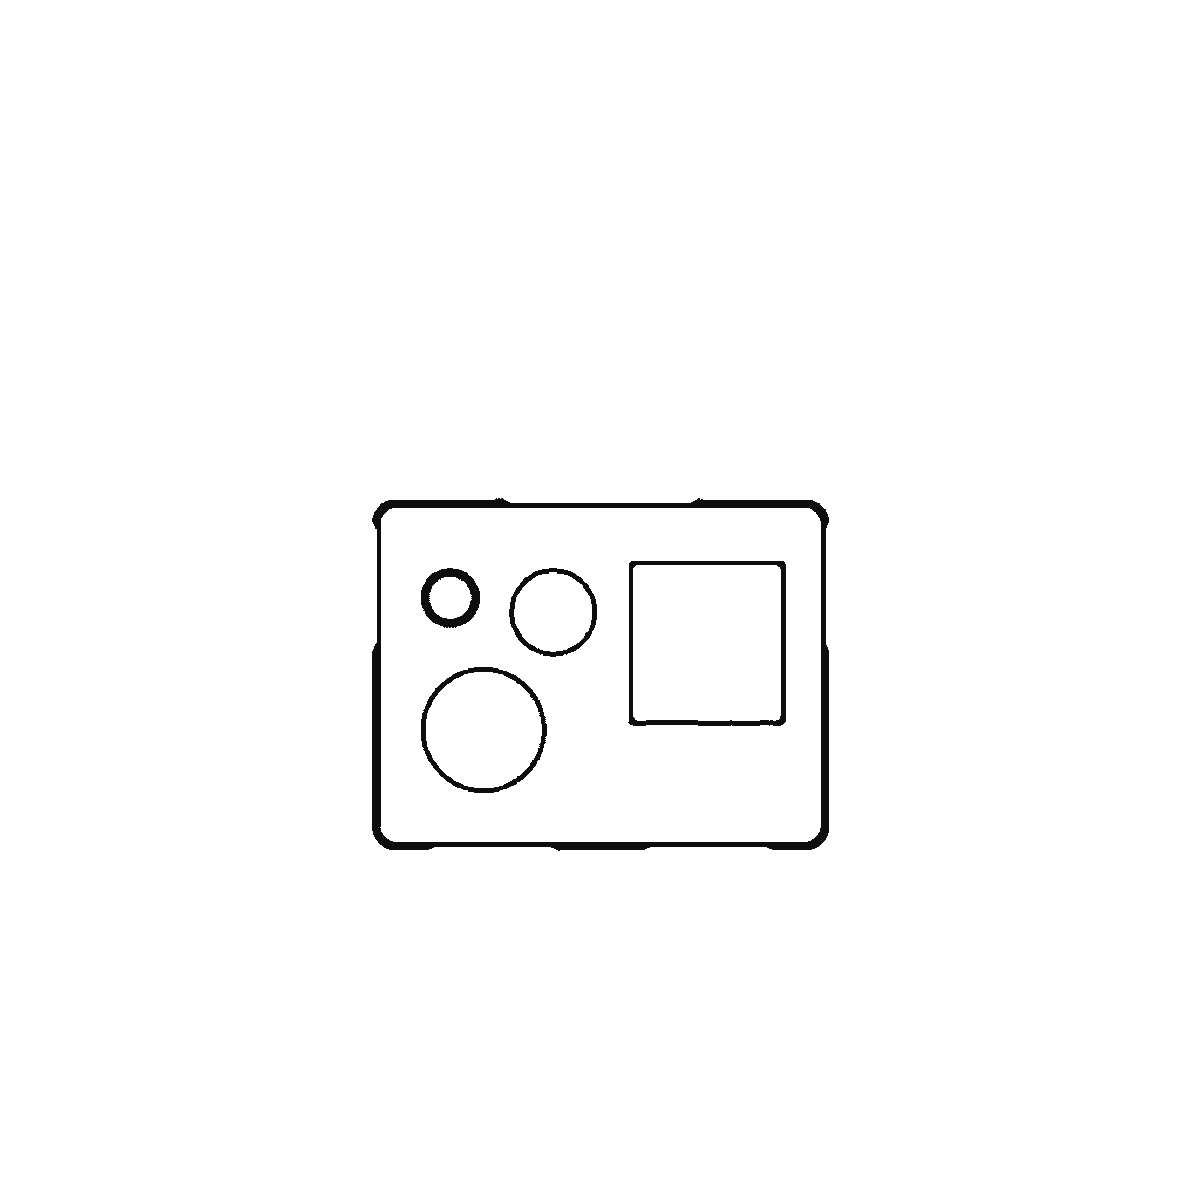
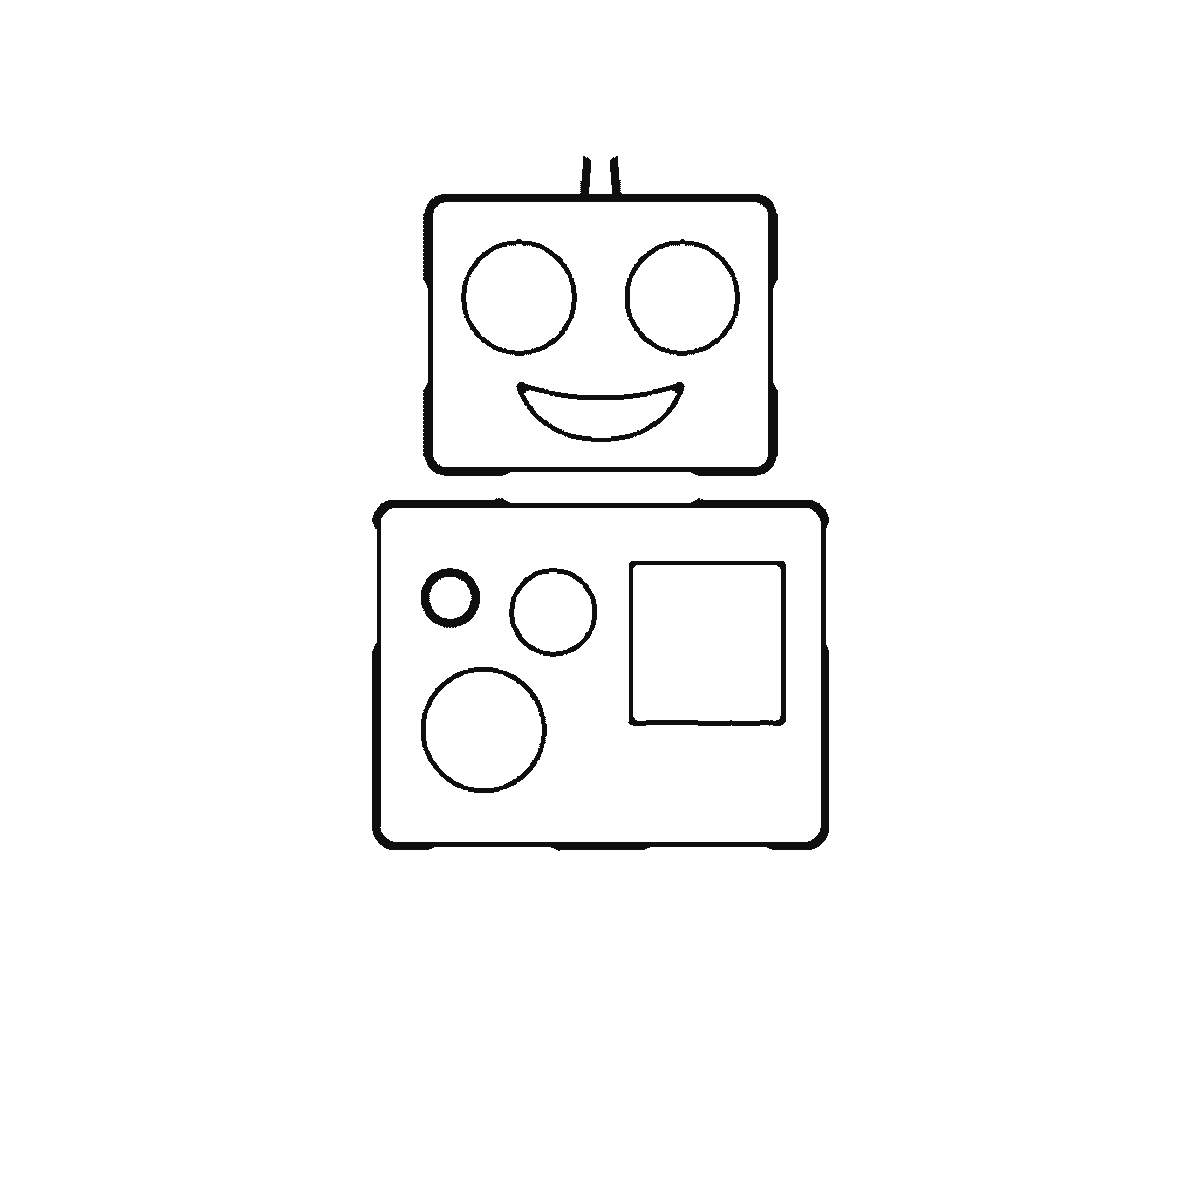
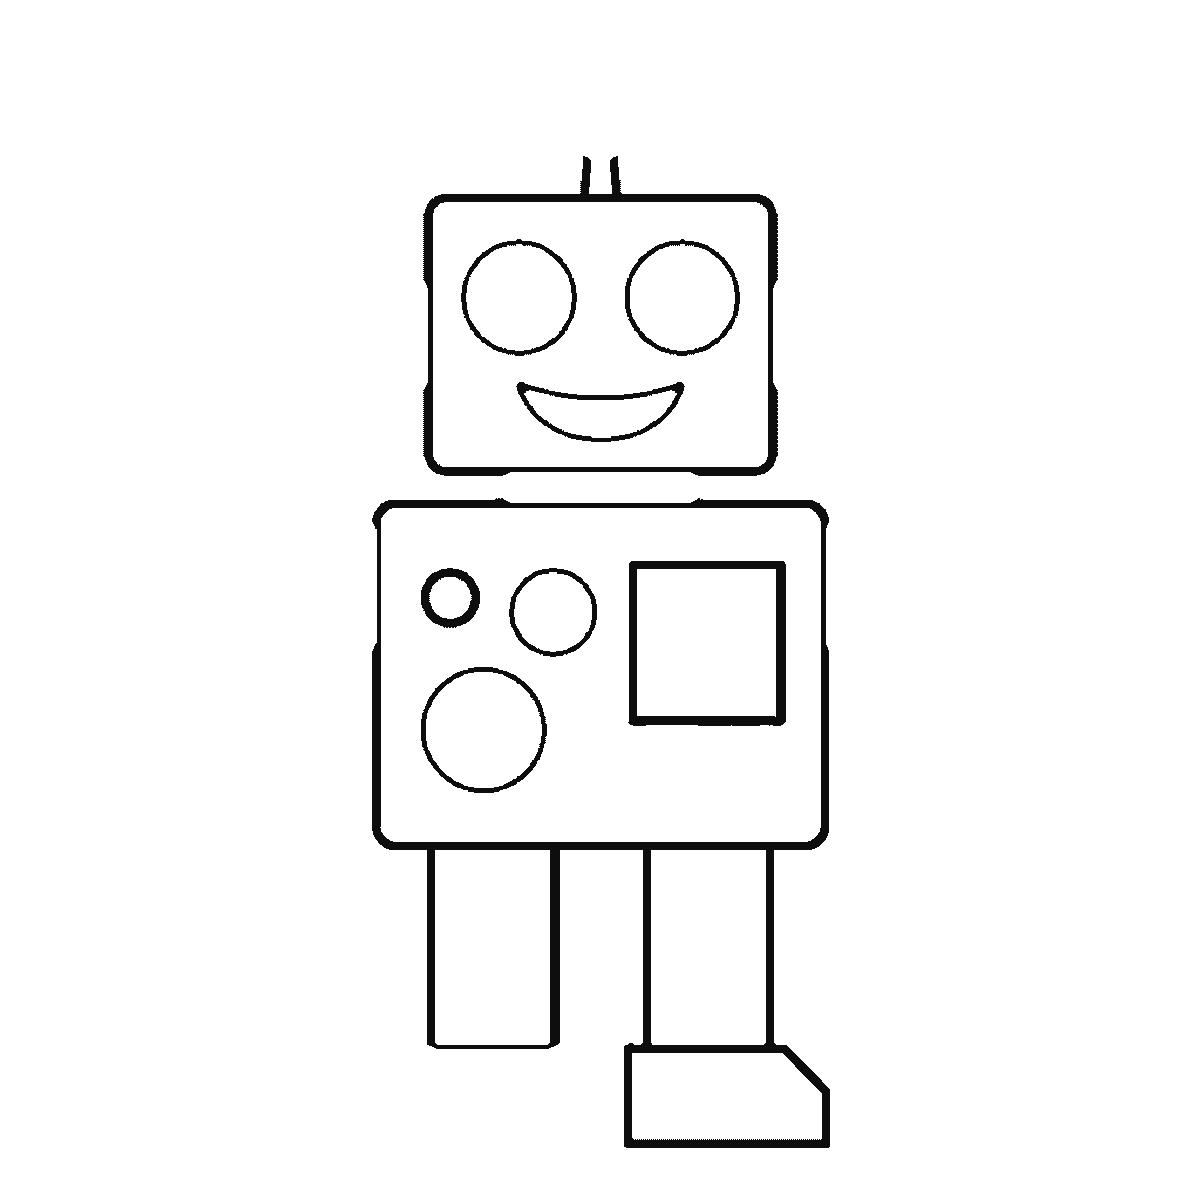
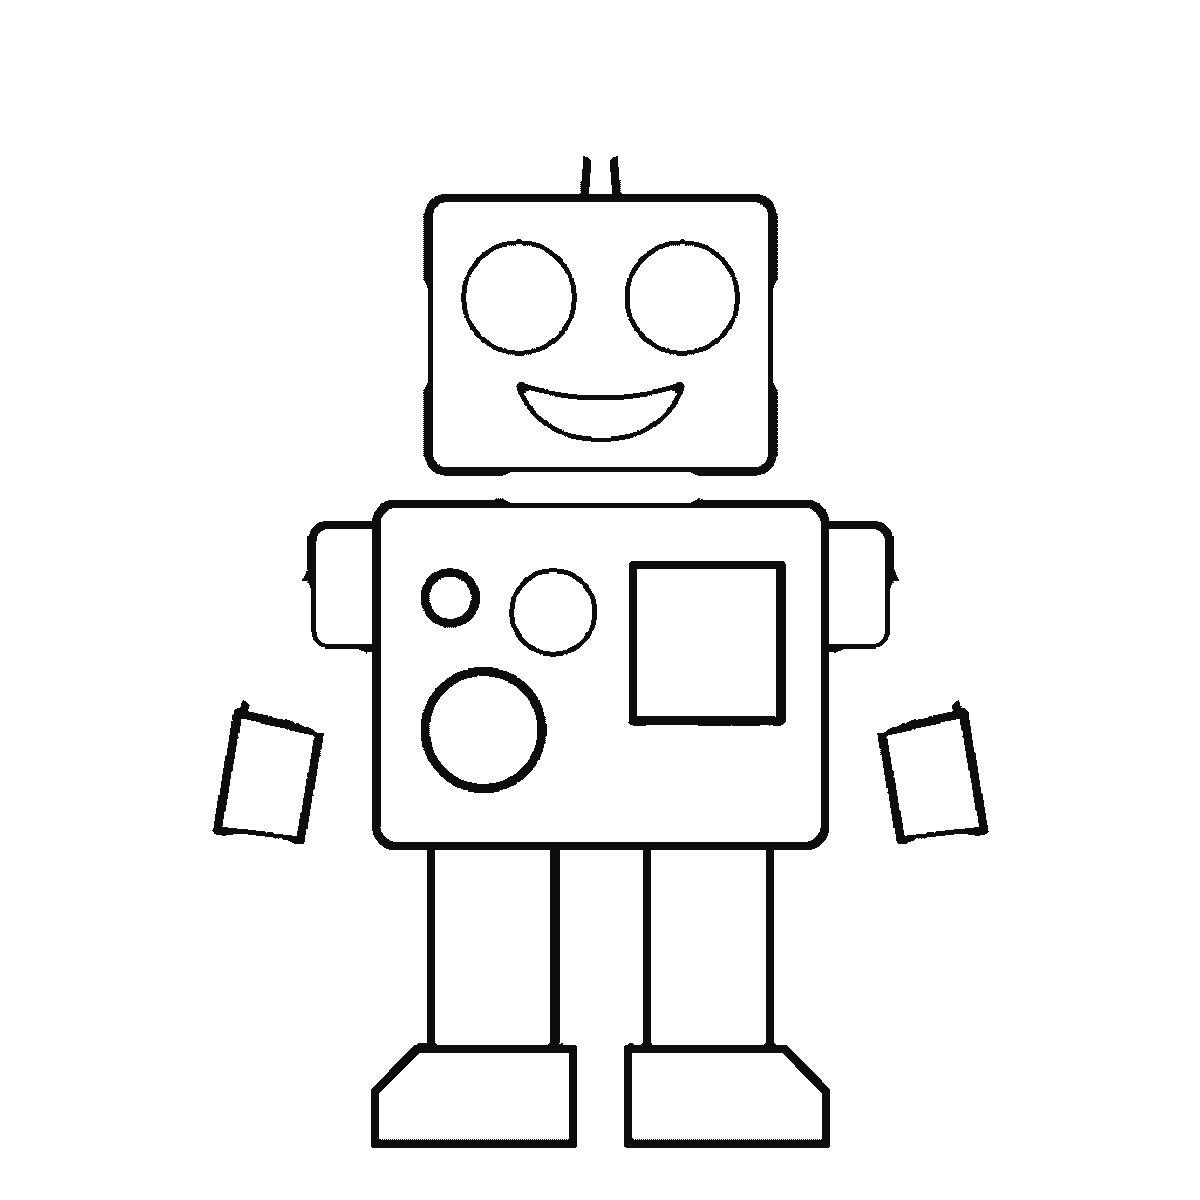
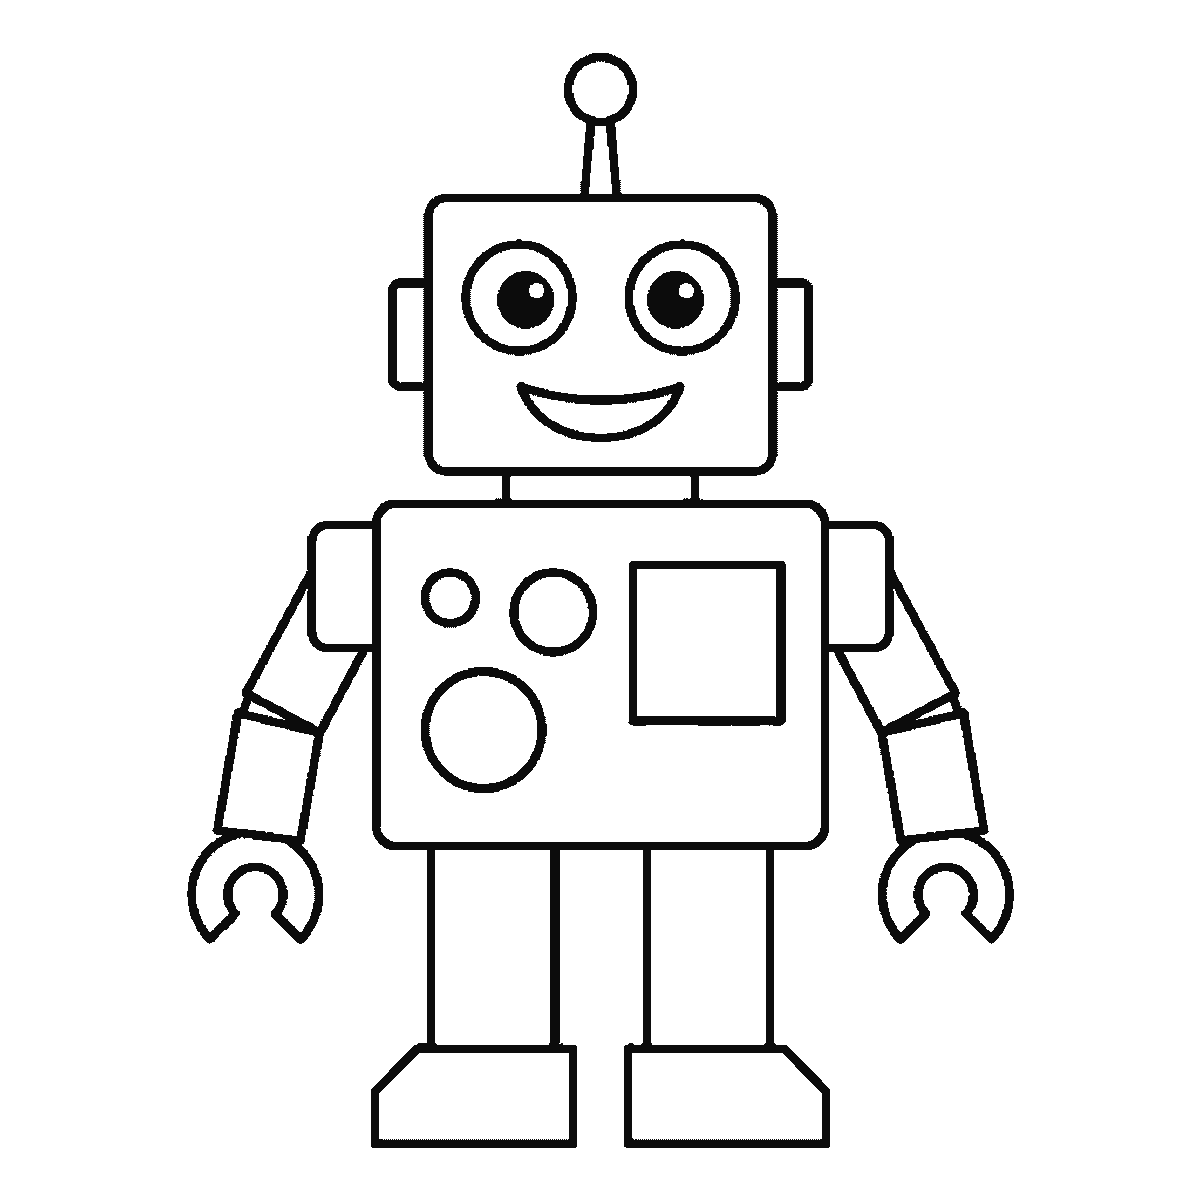
Six frames, one boxy robot facing you. The body first, then the head and face, the legs, the arms, and the antenna last.
A robot is the one subject on this site where a ruler is allowed and straight lines are the point. It is also unusually good practice, because everything is built from rectangles and circles and the whole drawing is really an exercise in getting things to line up — which is a skill that quietly improves every other drawing you make.
Frame one is the body, and it is not a plain rectangle: it arrives with its three dials and its square panel already drawn into it. Keep it wider than a human torso would be; a robot built on human proportions reads as a person in a costume rather than as a machine. Slightly squat is better than slightly tall.
The head follows as a smaller rectangle sitting above it, and here is the decision that gives the robot its character: how much of a neck there is. None at all reads as heavy and industrial. A short thick neck reads as friendly. A long thin one reads as comic. All three are correct and the sheet picks the middle.
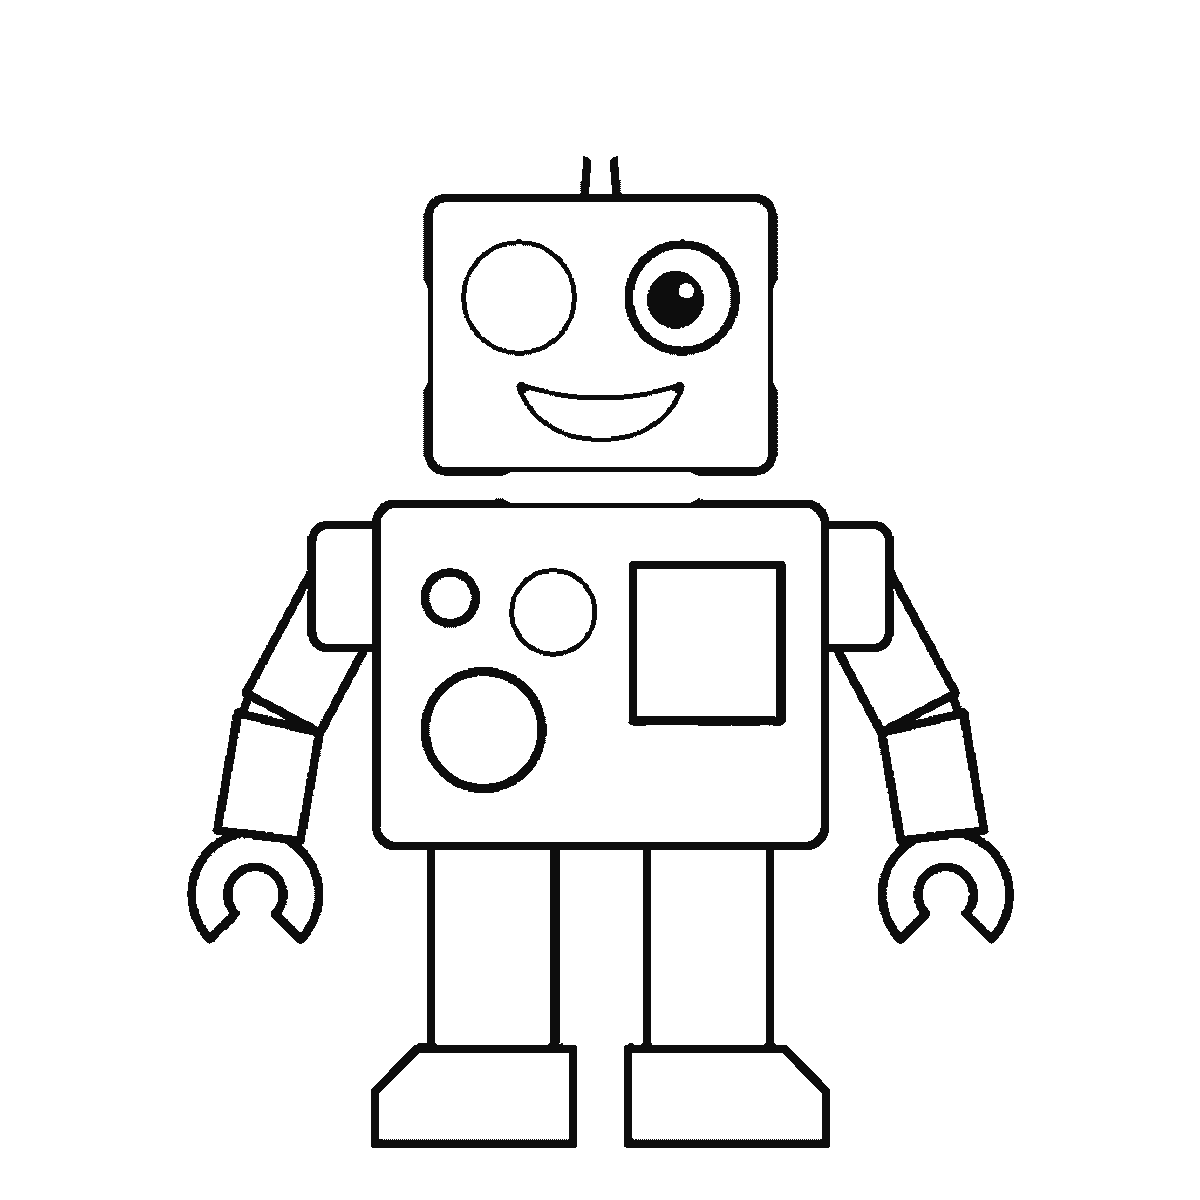
The face is two round eyes and a simple mouth, drawn with the head in frame two, and simple is the whole instruction — only the two pupils are held back, one to frame five and one to frame six. A grille of straight vertical lines, or a single horizontal slot, does more than any amount of detail. Robots are read from their silhouette and their eyes, and a busy face fights both.
The arms come after the legs rather than before them, and they arrive in pieces: shoulder blocks and forearms in frame four, upper arms and the claw hands in frame five. That is the segmented construction rather than a pair of straight rectangles, and it is worth the extra effort because the joints are what make the arm look like it can move. Two straight tubes with hands on the end look welded on.
Hands can be almost anything: a rounded block, a simple three-fingered claw, a circle. This is one of the few places on the sheet where invention is genuinely free, and it is worth trying several before settling. A claw reads as a working machine and a block reads as a friendly one.
The legs are frame three, before the arms rather than after them, and they are plain columns ending in broad flat feet. Make the feet wider than the legs. A robot balanced on narrow feet looks like it is about to fall over, and unlike a real animal it has no way of catching itself.
The antenna does go on at the very end, in frame six alongside the two side ears and the second pupil, and it is a small shape doing a large amount of work. A single line rising from the top of the head with a circle at the tip is the most economical way to say machine that exists. The one drawn here is dead straight; bending yours slightly is the cheapest change you can make to it.
Panel lines and rivets are easy to overdo, and this robot has made the decision for you: three dials and one square panel, all of them in the very first frame. That is about the right amount. The temptation is to keep adding detail until the robot looks complicated, but a complicated robot usually just looks noisy.
The six frames go from the biggest closed shape to the smallest, which for a machine built of boxes means body, head, legs, then the arm segments, then the antenna and the ears. It is an easy order to copy and there is no reason it has to be yours.
Before you start
- Keep the body wider than a human torso. Human proportions make a person in a costume.
- Use round joints between the arm segments — they are what make the limbs look movable. The legs on this sheet are plain columns and read perfectly well that way.
- Make the feet wider than the legs, or the robot looks like it is toppling.
- Bend the antenna slightly. A dead straight one looks like a mistake.
Published Updated 620 words
The six steps
The steps go from the largest shape to the smallest, which is an easy order to copy. It is not the only order, and it is not a rule — if you would rather start somewhere else on the sheet, do.
Step 1
Step 2
Step 3
Step 4
Step 5
Step 6
More in this section
How to draw wings
Six frames, one pair of feathered wings. The leading edge first, then the shoulder — then the feathers, outside in and longest first, the same one on both wings.
Step sequence made by us from a single drawing: each step keeps the lines of the one before it and adds to them.
How to draw a dragon
Six frames, one friendly dragon in profile. The body, legs and curled tail first, then the head, the wing, and the scaled neck last.
Step sequence made by us from a single drawing: each step keeps the lines of the one before it and adds to them.
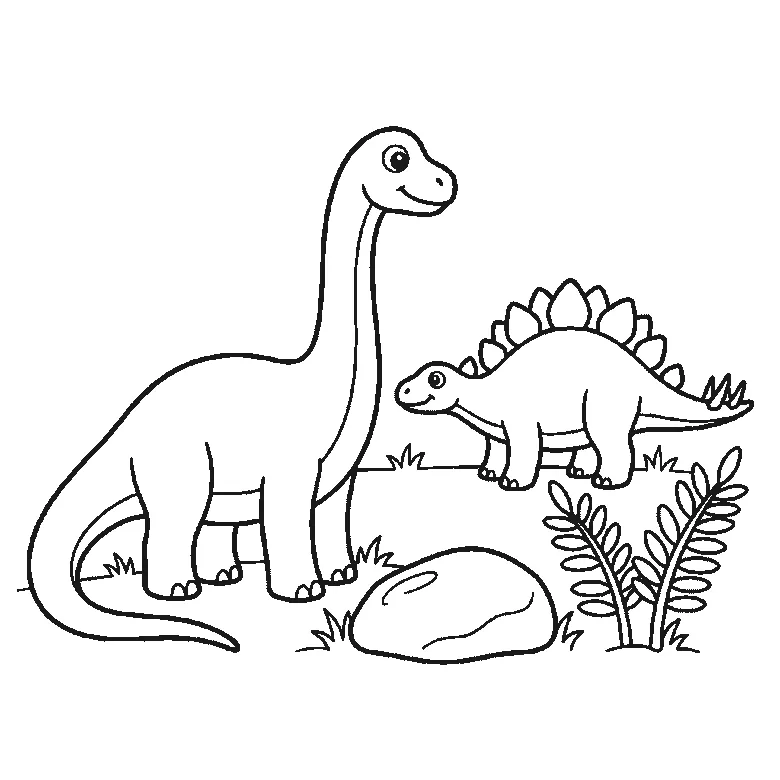
How to draw a dinosaur
Six frames, two dinosaurs in a landscape. The whole long-necked one in the first frame, then a plated one behind it, a boulder, ferns and grass.
Step sequence made by us from a single drawing: each step keeps the lines of the one before it and adds to them.
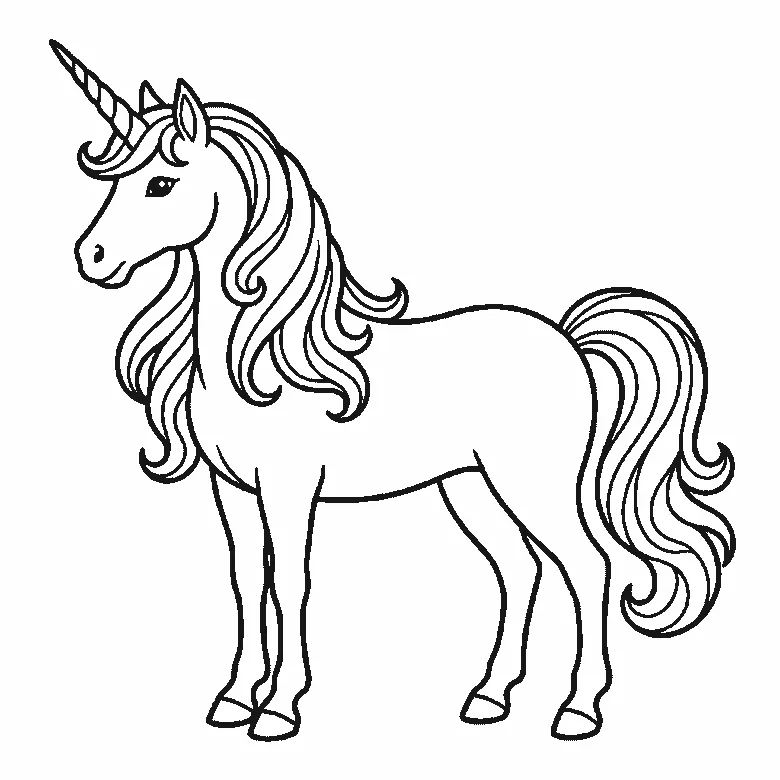
How to draw a unicorn
Six frames, one unicorn in profile. Body, head and spiral horn together first, then the two far legs, and the mane and tail last.
Step sequence made by us from a single drawing: each step keeps the lines of the one before it and adds to them.
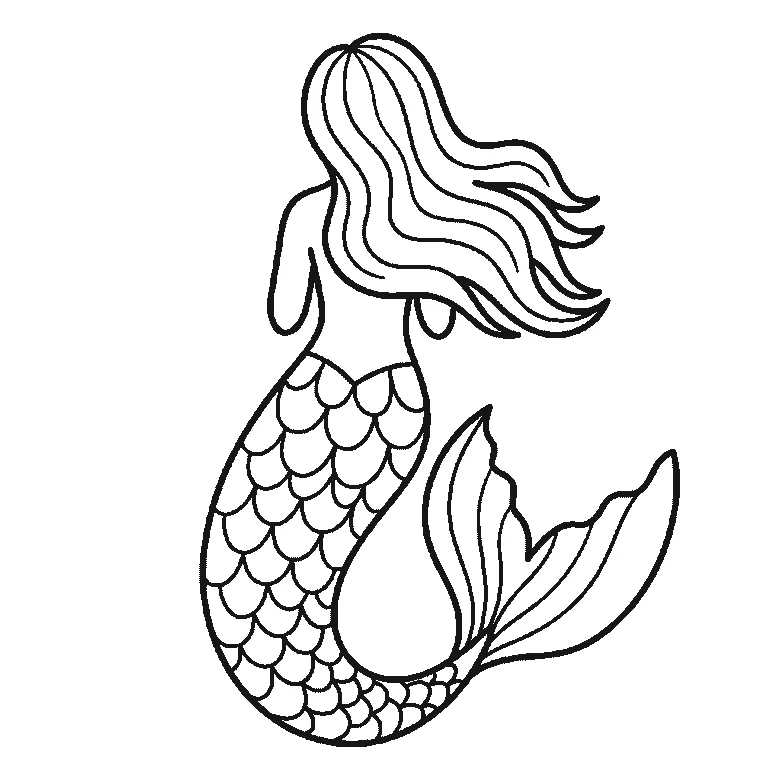
How to draw a mermaid
Six frames, one mermaid seen from behind. The body and hair first, then the fin, and the scaled tail last.
Step sequence made by us from a single drawing: each step keeps the lines of the one before it and adds to them.


