
PDF · A4 · 66 KB · Free, no sign-up. For home and classroom use.
How to draw wings
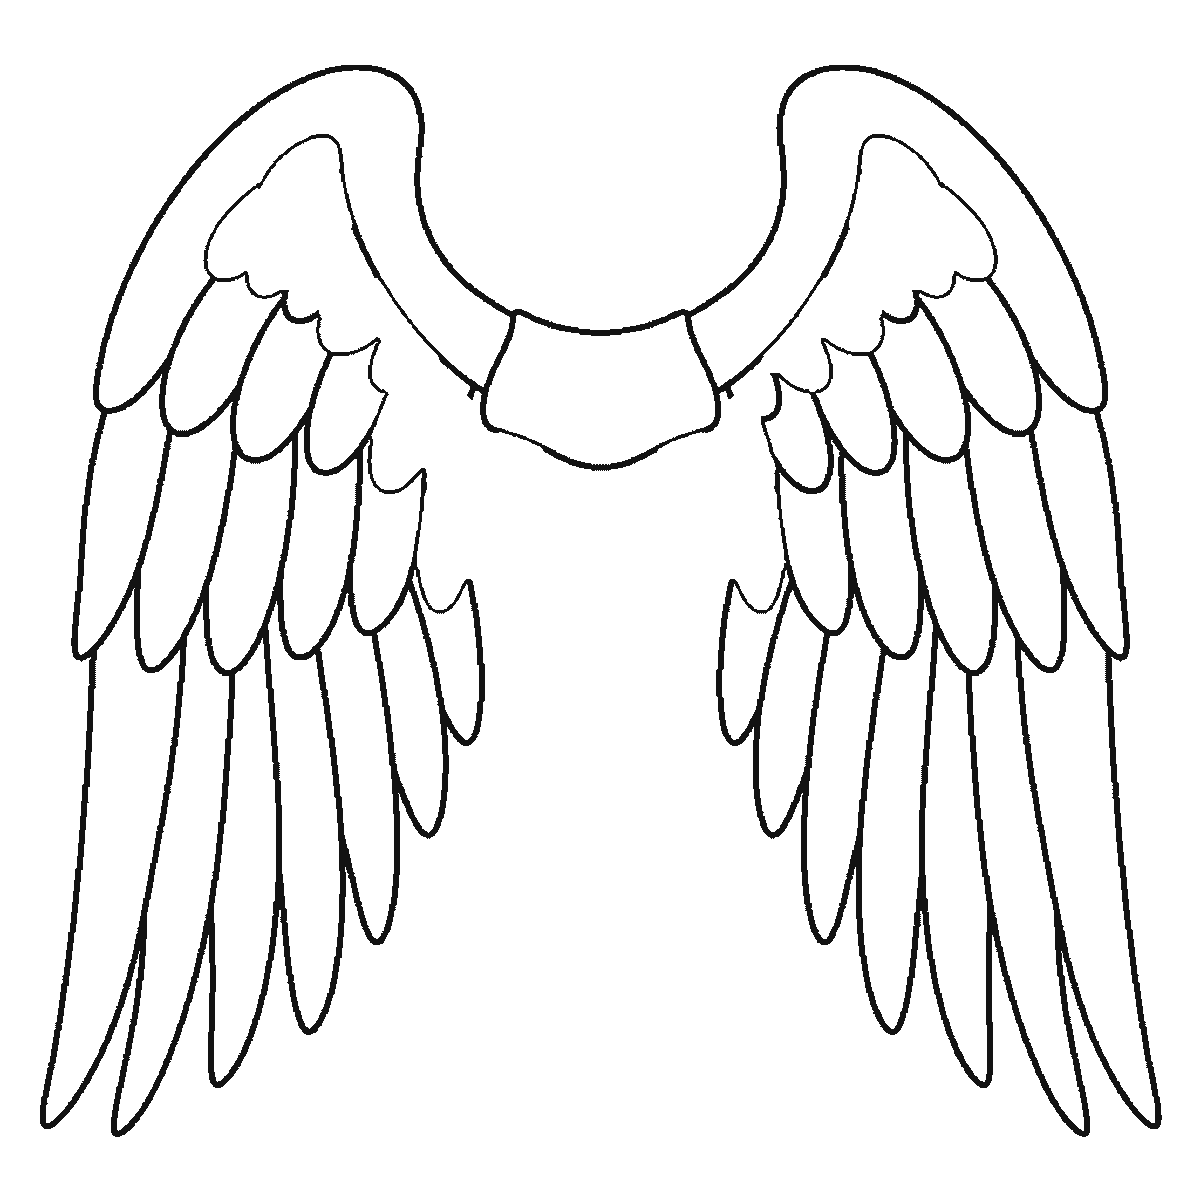
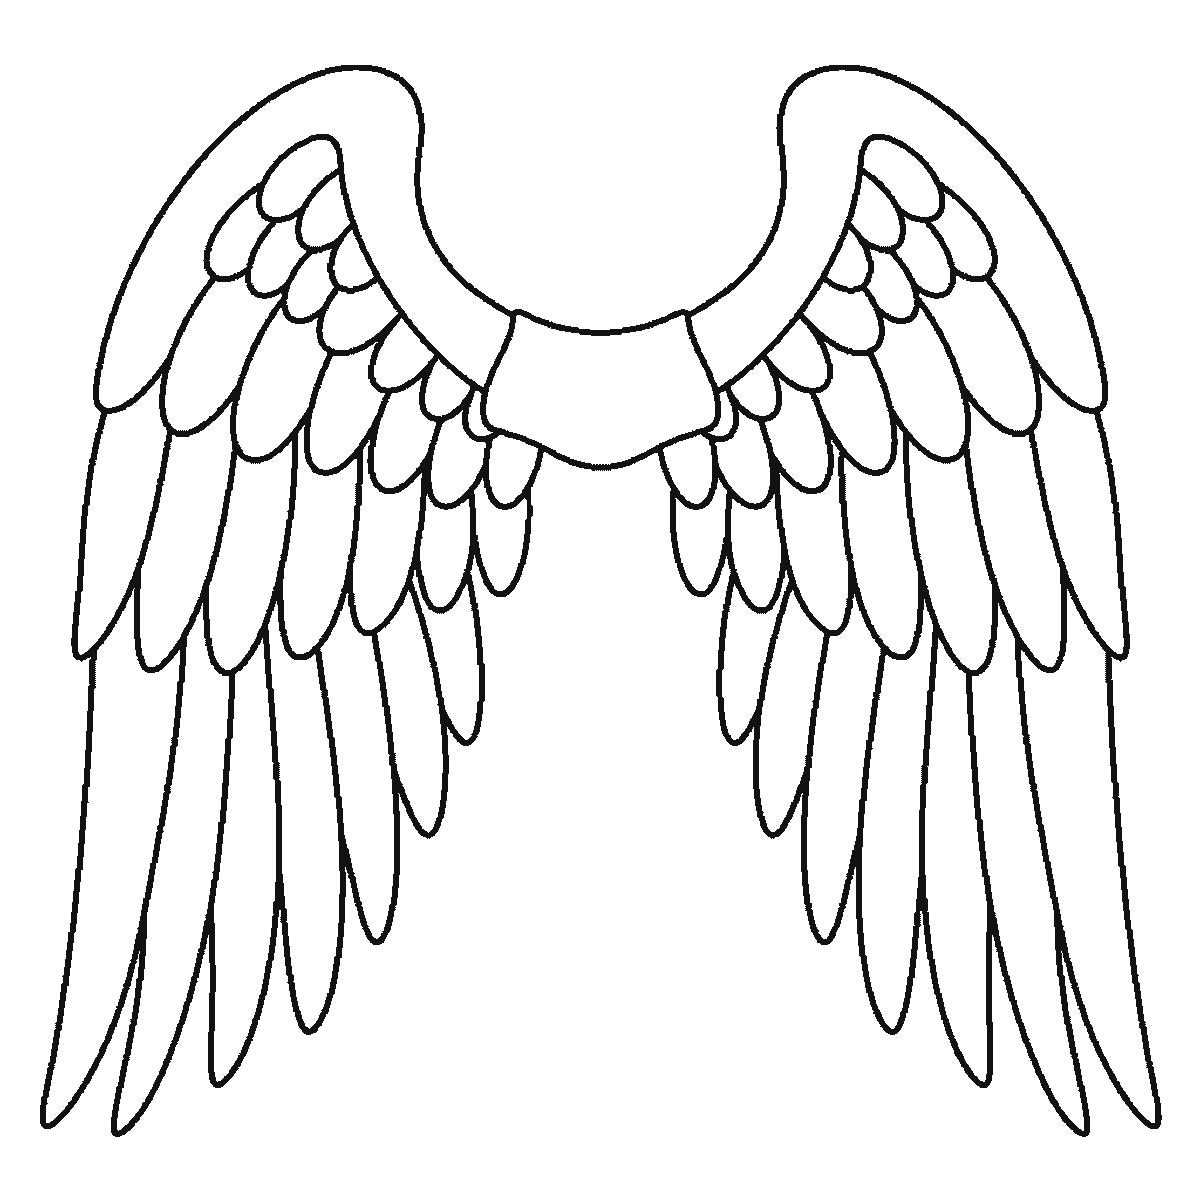
Six frames, one pair of feathered wings. The leading edge first, then the shoulder — then the feathers, outside in and longest first, the same one on both wings.
This sheet takes one drawing of a pair of feathered wings, spread wide and joined at a shoulder panel in the middle, and shows it six times. Each frame keeps everything the last one had and adds more. It is the only subject in this section that is not a creature, and it is here because a pair of wings is what people actually search for and draw — on their own, without anything attached to them.
Frame one is the leading edge: the long curve that runs from the centre out over the top of each wing and round to the tip, on both sides, plus one of the outermost flight feathers. Frame two adds the shoulder panel in the middle where the two wings meet, and the outermost long feathers on both sides.
From there the sheet works inwards and downwards, and it does it symmetrically. Every frame adds the same feather on the left as on the right: the next pair of long flight feathers in frame three, the row of medium feathers in frame four, more mediums and the first of the small coverts in frame five, and in the last frame the little rounded covert feathers that run along the top of each wing.
That symmetry is the most useful thing about this drawing and it is worth copying as a method rather than just as a result. Wings drawn one at a time almost never match: by the time you start the second one you are trying to mirror twenty shapes at once, and the eye is very good at spotting where you failed. Drawing them a feather at a time, left then right, keeps the two halves honest with almost no effort.
The other principle the sheet demonstrates is largest feather first. The long flight feathers at the bottom go in before the medium row, and the medium row before the small round coverts at the top. That is the opposite of how it feels natural to work — the instinct is to start at the shoulder and work out — and it is much better, because the long feathers set the outline and everything else fits inside a shape that is already correct.
Each feather is drawn as its own closed shape overlapping the one beside it, tucked under its neighbour on one side. Rows of separate unconnected feathers with gaps between them read as a fan; overlapping them is what reads as a wing. The coverts at the top should be short and rounded, the middles longer and more oval, the flight feathers long and pointed, and the transition between the three rows should be gradual.
The reveal order runs from the largest closed shape to the smallest, which on this drawing produces something very close to a sensible teaching order — outline first, then structure, then detail. It is still not being offered as the correct method. Somebody who draws the whole silhouette of each wing first and then divides it into feathers is using the approach most illustrators use, and it makes the outline easier to control.
One A4 page carries all six frames in plain black outline on white with no shading. Once the spread pair works, the version worth attempting is a single wing seen from the side, folded. Every feather shape is the same; only the overlap changes, because a folded wing is the same rows stacked instead of fanned. Getting from one to the other without a new reference is a real test of whether the structure went in or only the picture.
Before you start
- Draw the same feather on the left and the right before moving on. Wings done one at a time never match.
- Start with the long flight feathers at the bottom and work up to the small coverts — the long ones set the outline.
- Overlap every feather with its neighbour. Separated feathers with gaps read as a fan.
- Keep the three rows clearly different: short and round at the top, long and pointed at the bottom, with a gradual change between.
Published Updated 598 words
The six steps
The steps go from the largest shape to the smallest, which is an easy order to copy. It is not the only order, and it is not a rule — if you would rather start somewhere else on the sheet, do.
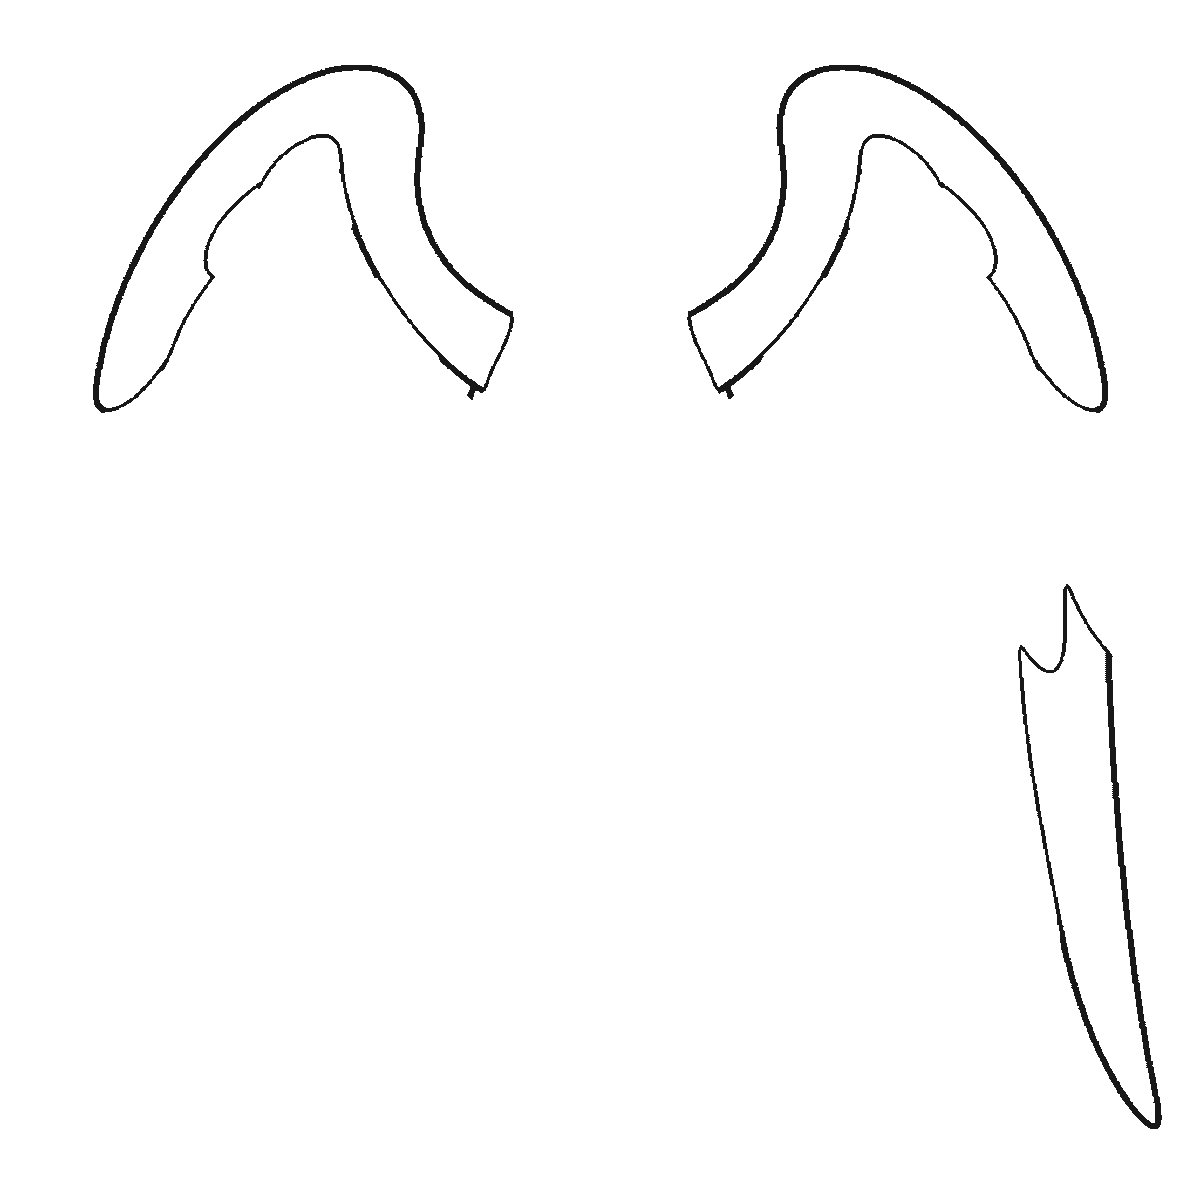
Step 1
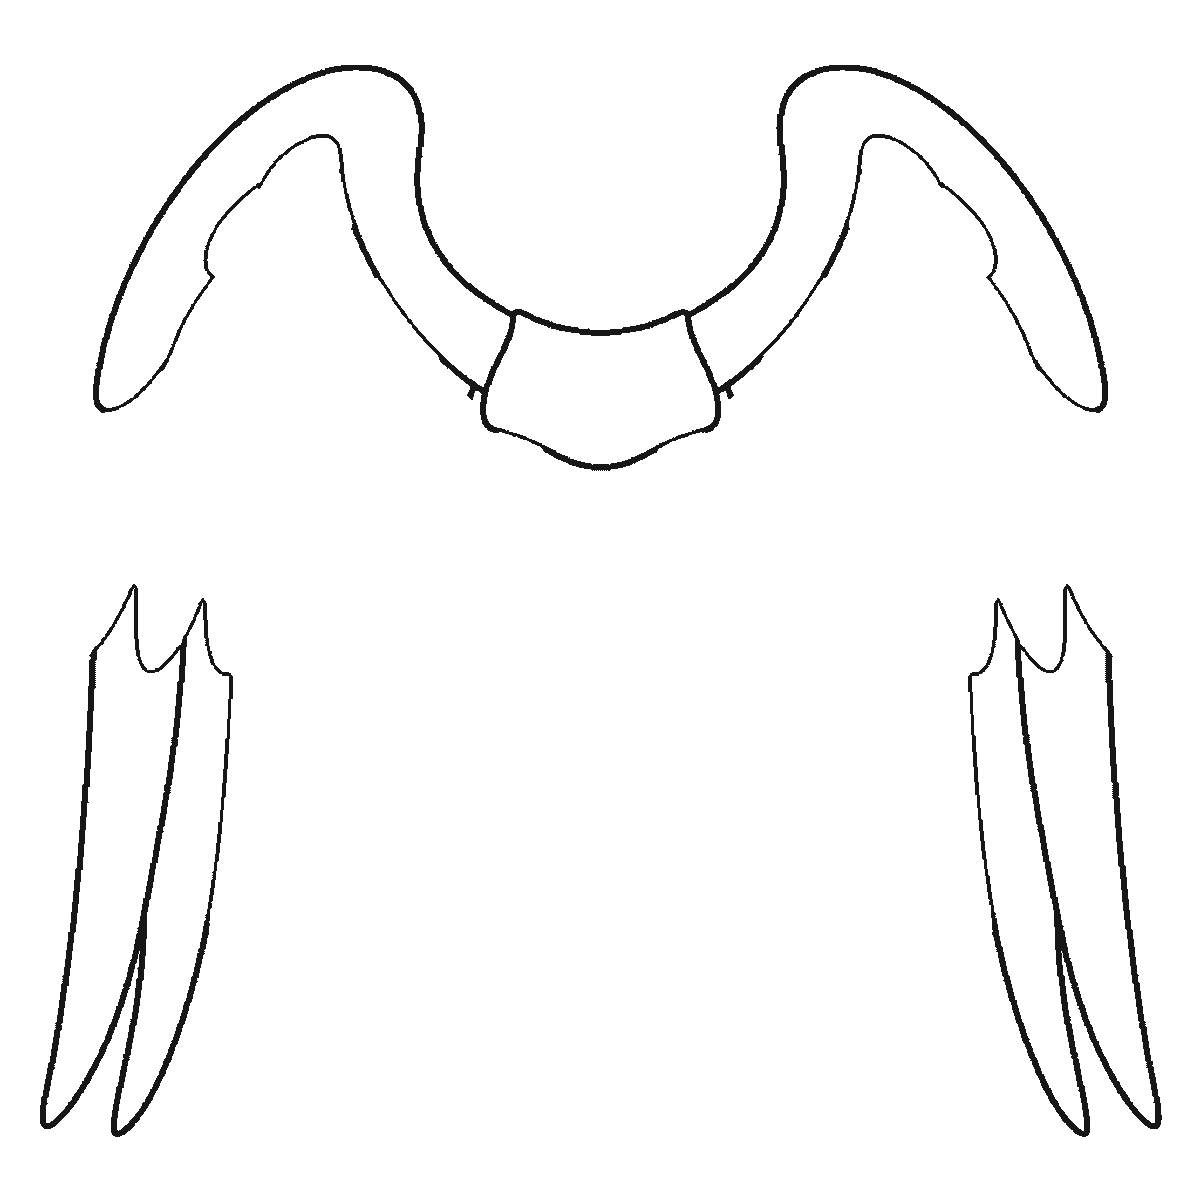
Step 2
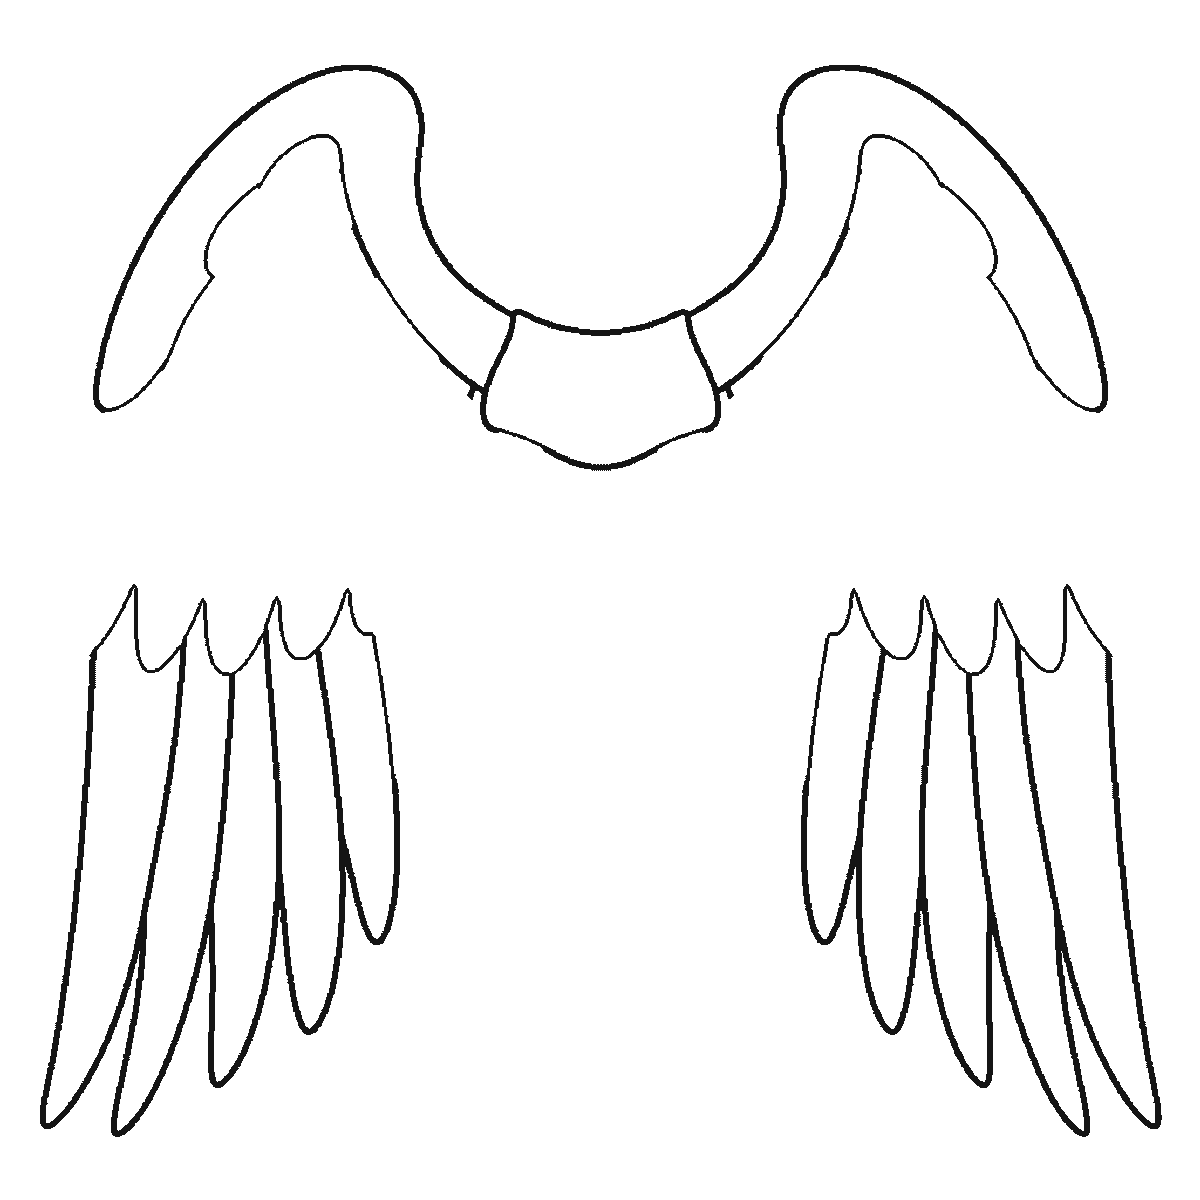
Step 3
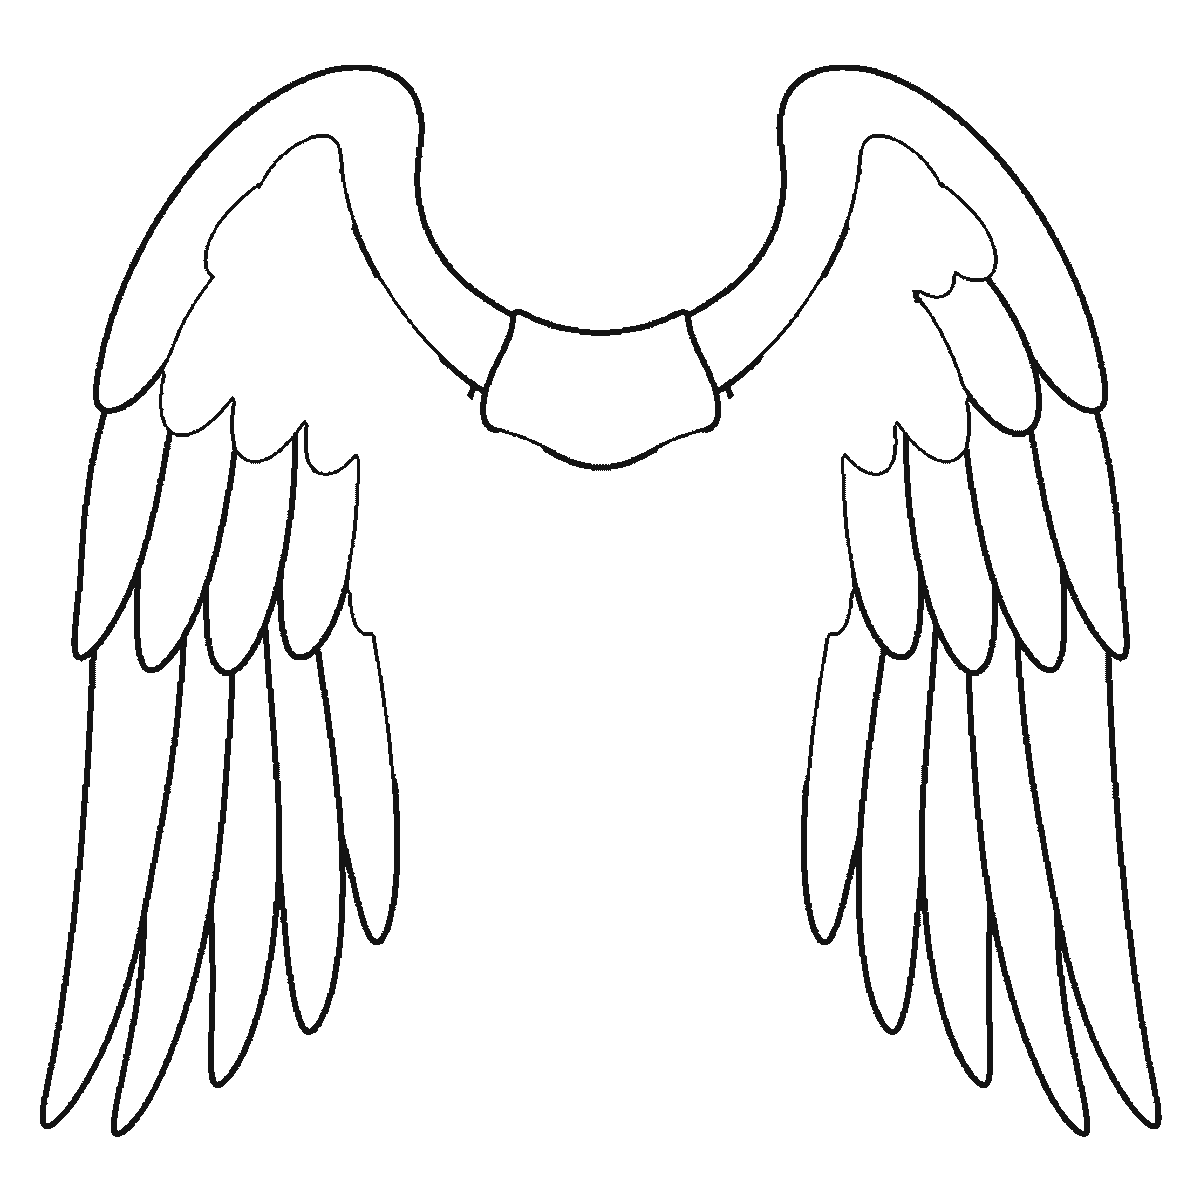
Step 4
Step 5
Step 6
More in this section
How to draw a dragon
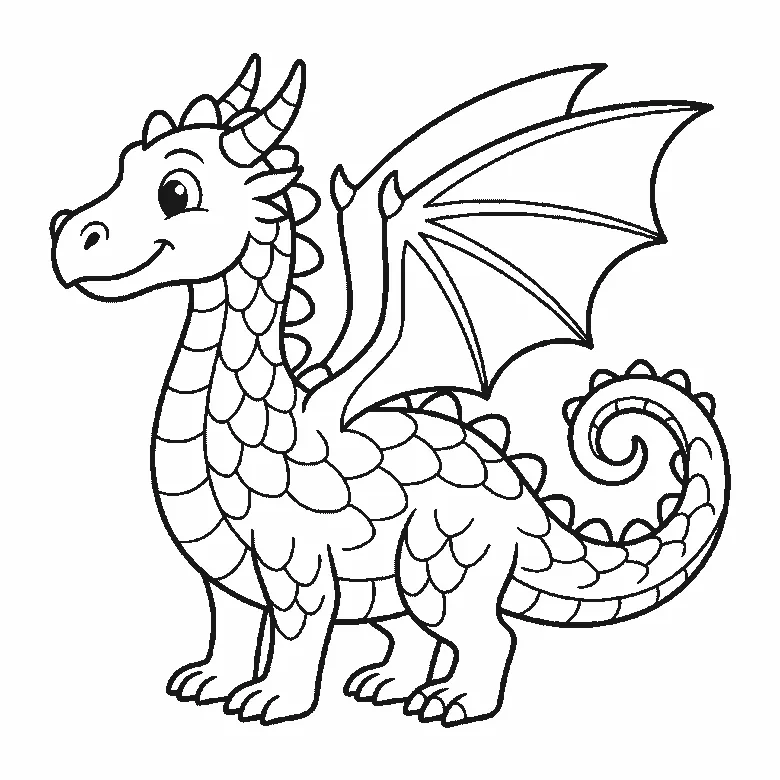
Six frames, one friendly dragon in profile. The body, legs and curled tail first, then the head, the wing, and the scaled neck last.
Step sequence made by us from a single drawing: each step keeps the lines of the one before it and adds to them.
How to draw a dinosaur
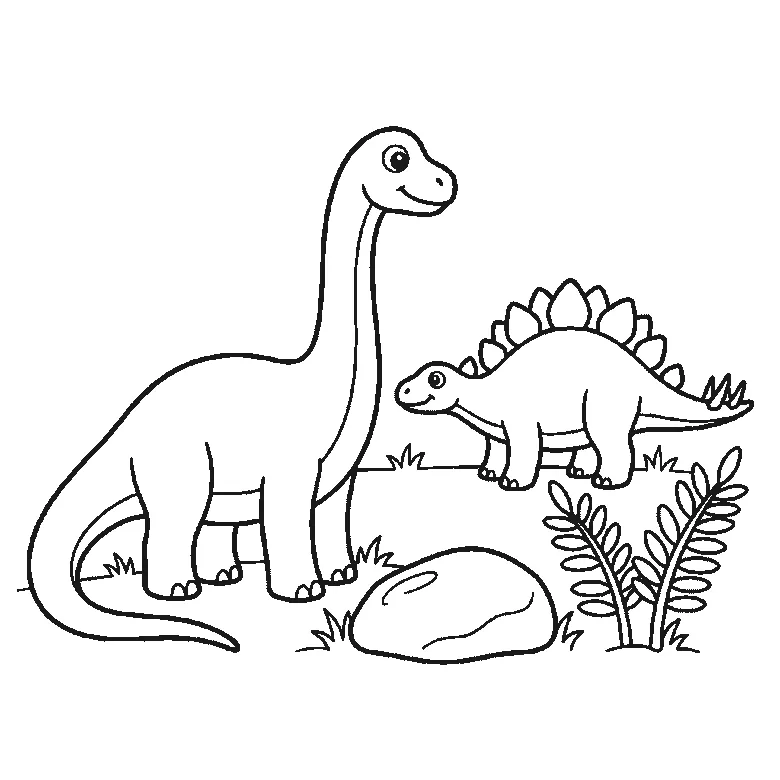
Six frames, two dinosaurs in a landscape. The whole long-necked one in the first frame, then a plated one behind it, a boulder, ferns and grass.
Step sequence made by us from a single drawing: each step keeps the lines of the one before it and adds to them.
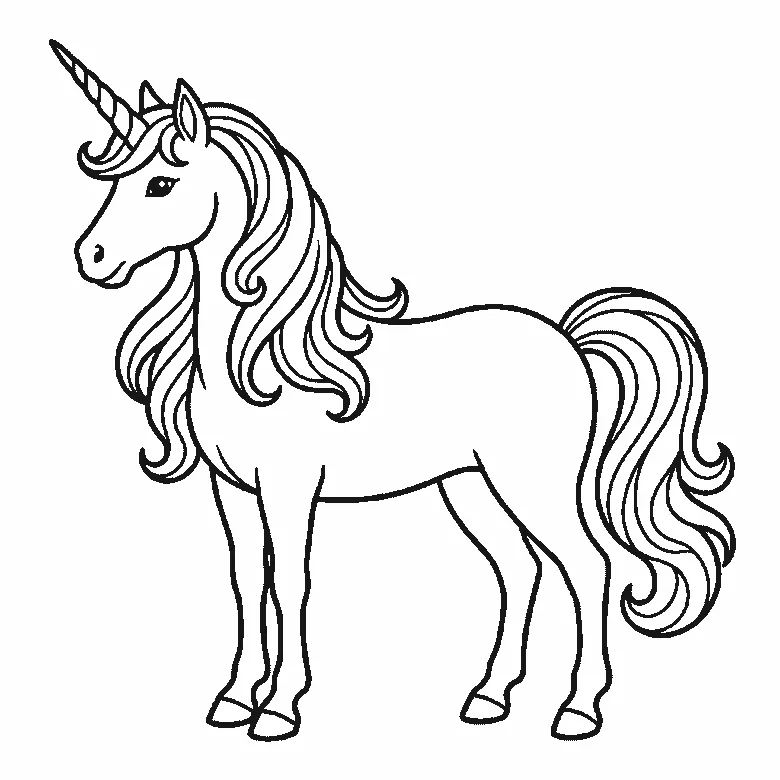
How to draw a unicorn
Six frames, one unicorn in profile. Body, head and spiral horn together first, then the two far legs, and the mane and tail last.
Step sequence made by us from a single drawing: each step keeps the lines of the one before it and adds to them.
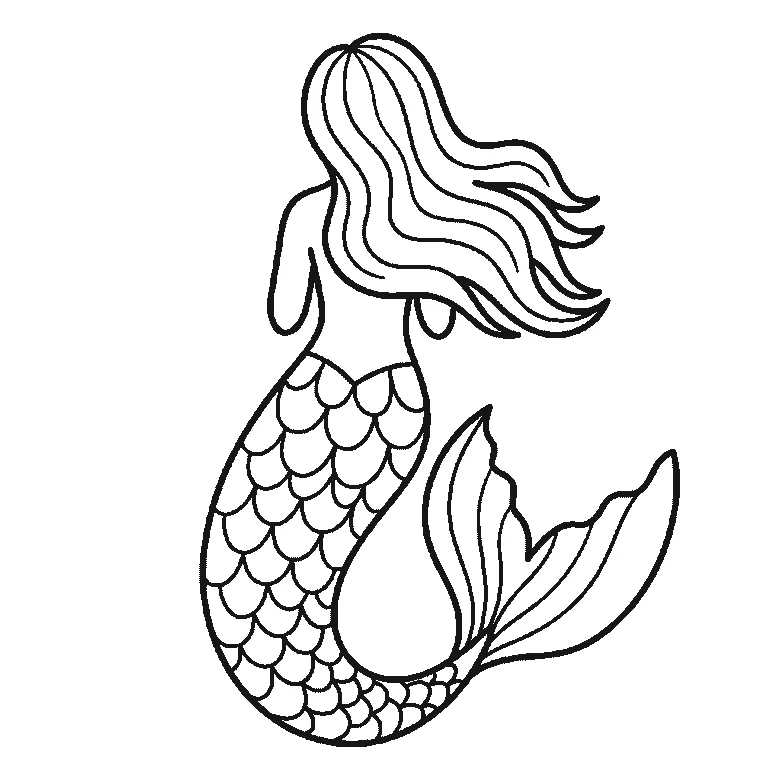
How to draw a mermaid
Six frames, one mermaid seen from behind. The body and hair first, then the fin, and the scaled tail last.
Step sequence made by us from a single drawing: each step keeps the lines of the one before it and adds to them.

How to draw a robot
Six frames, one boxy robot facing you. The body first, then the head and face, the legs, the arms, and the antenna last.
Step sequence made by us from a single drawing: each step keeps the lines of the one before it and adds to them.


