
PDF · A4 · 61 KB · Free, no sign-up. For home and classroom use.
How to draw a mermaid
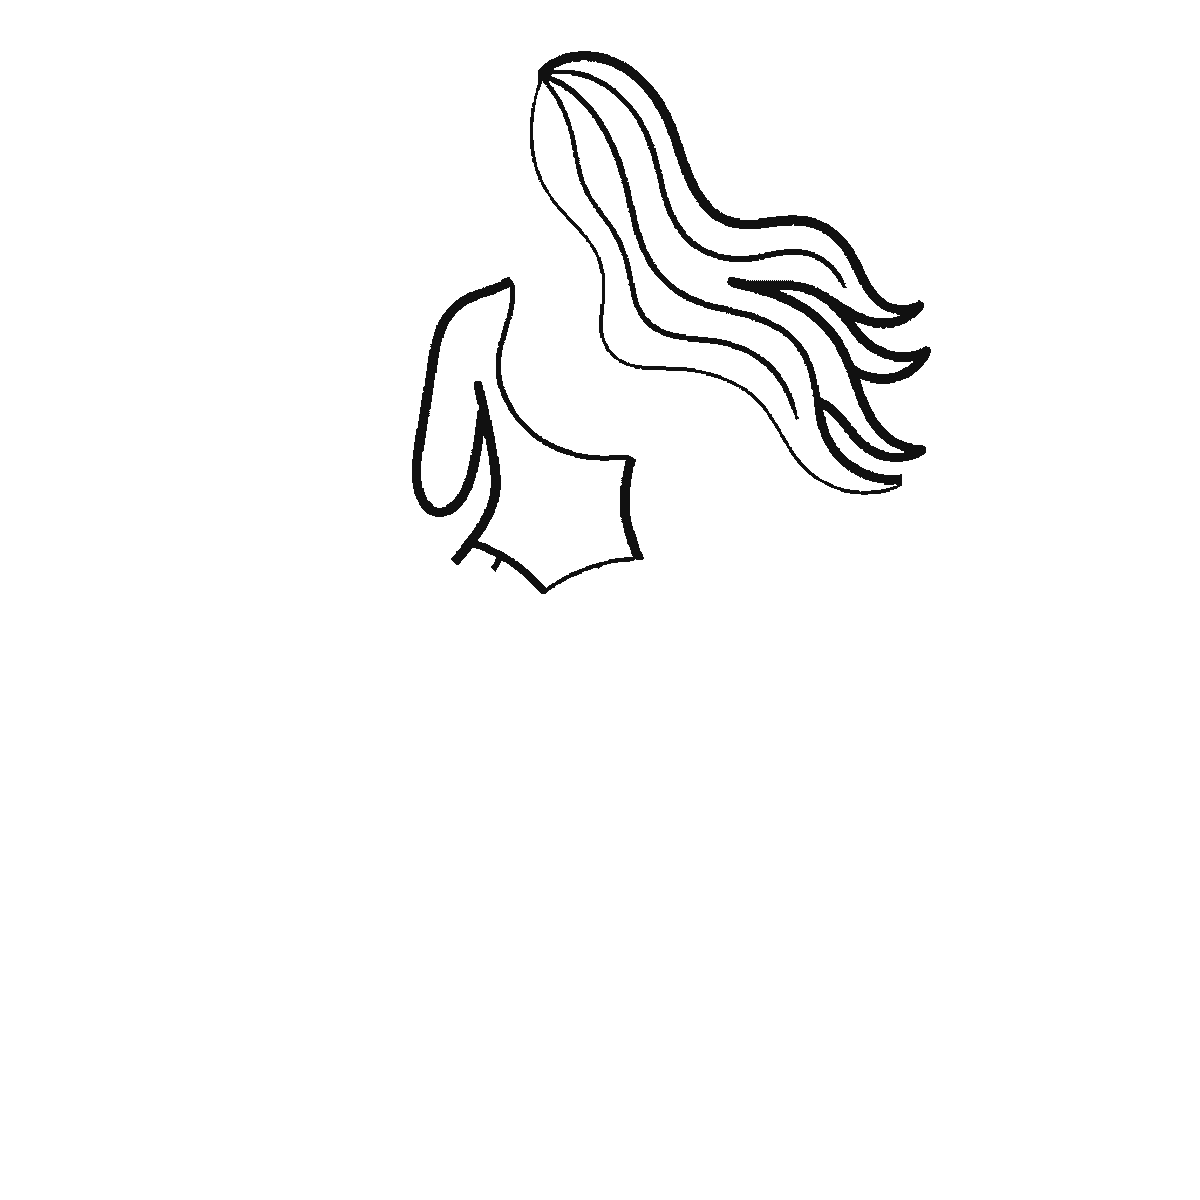
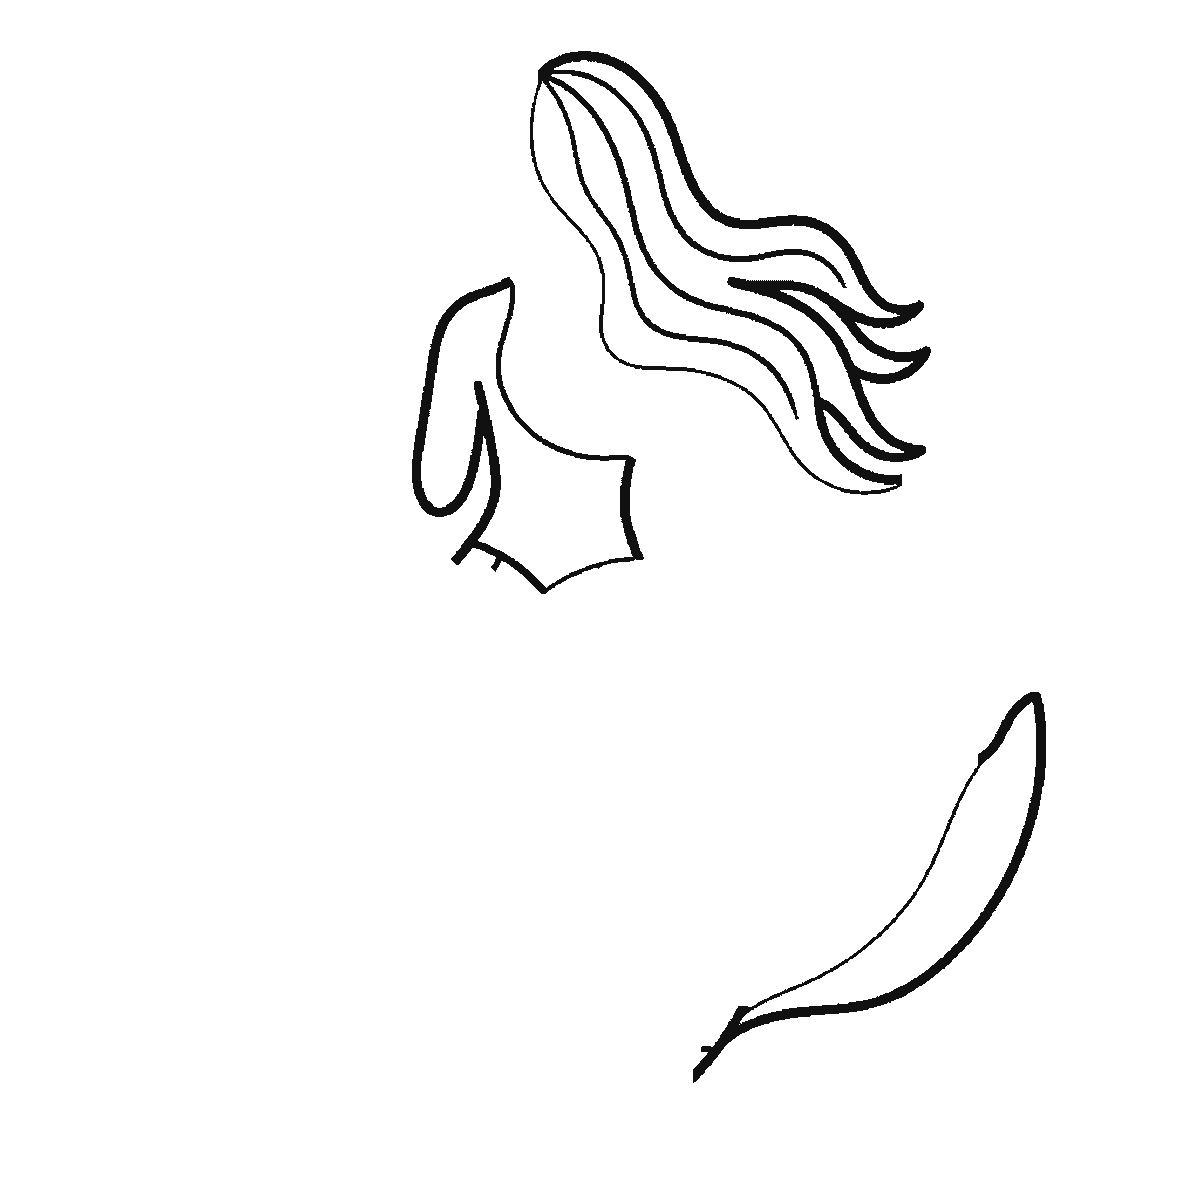
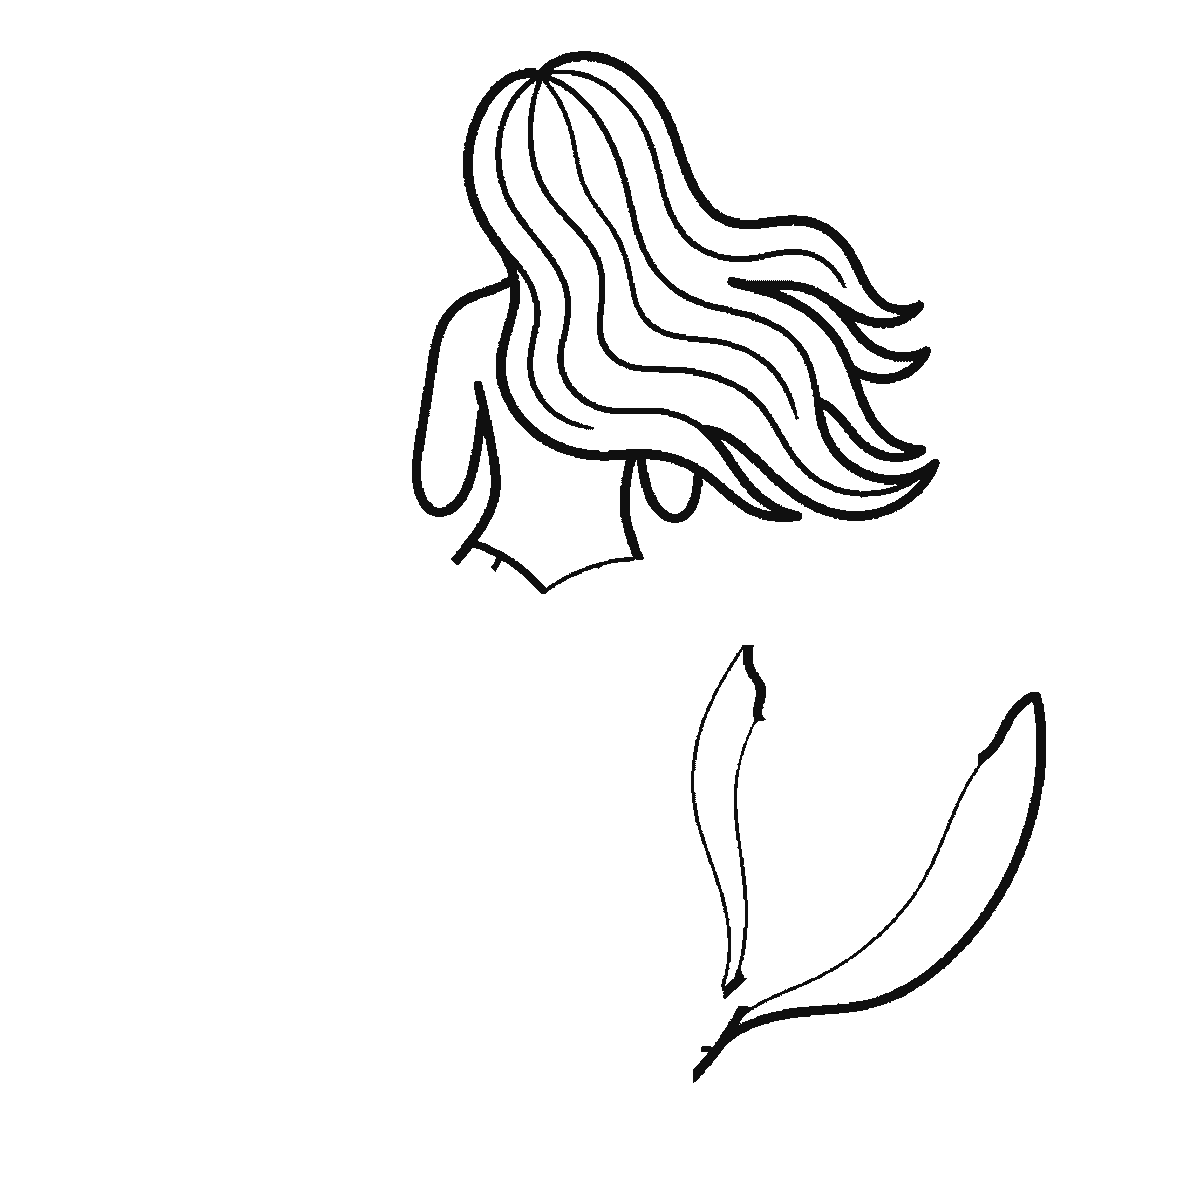
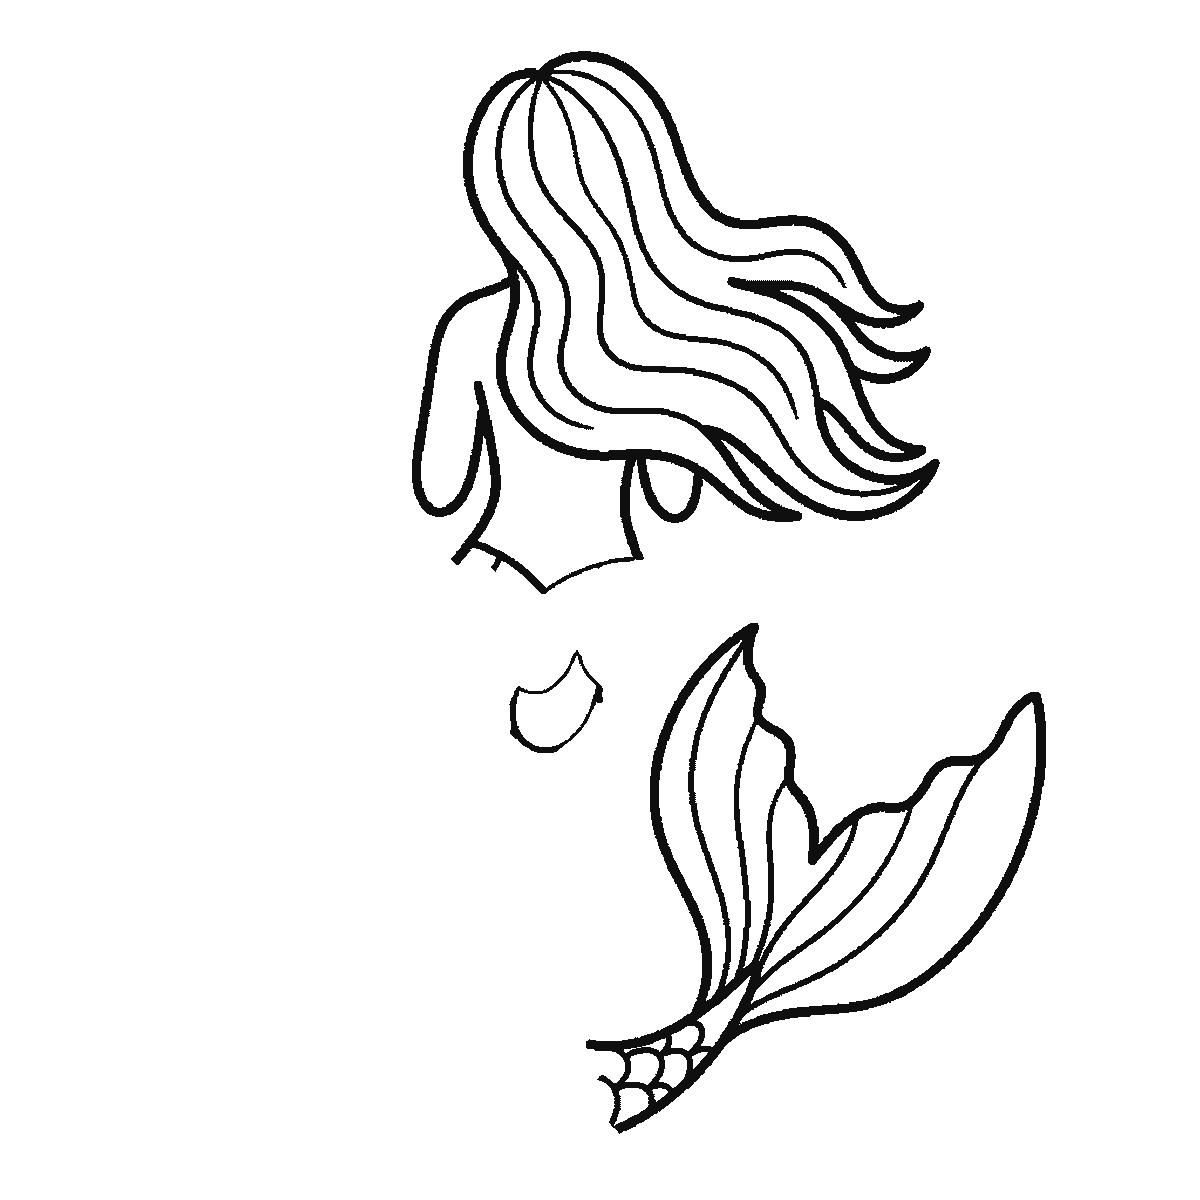
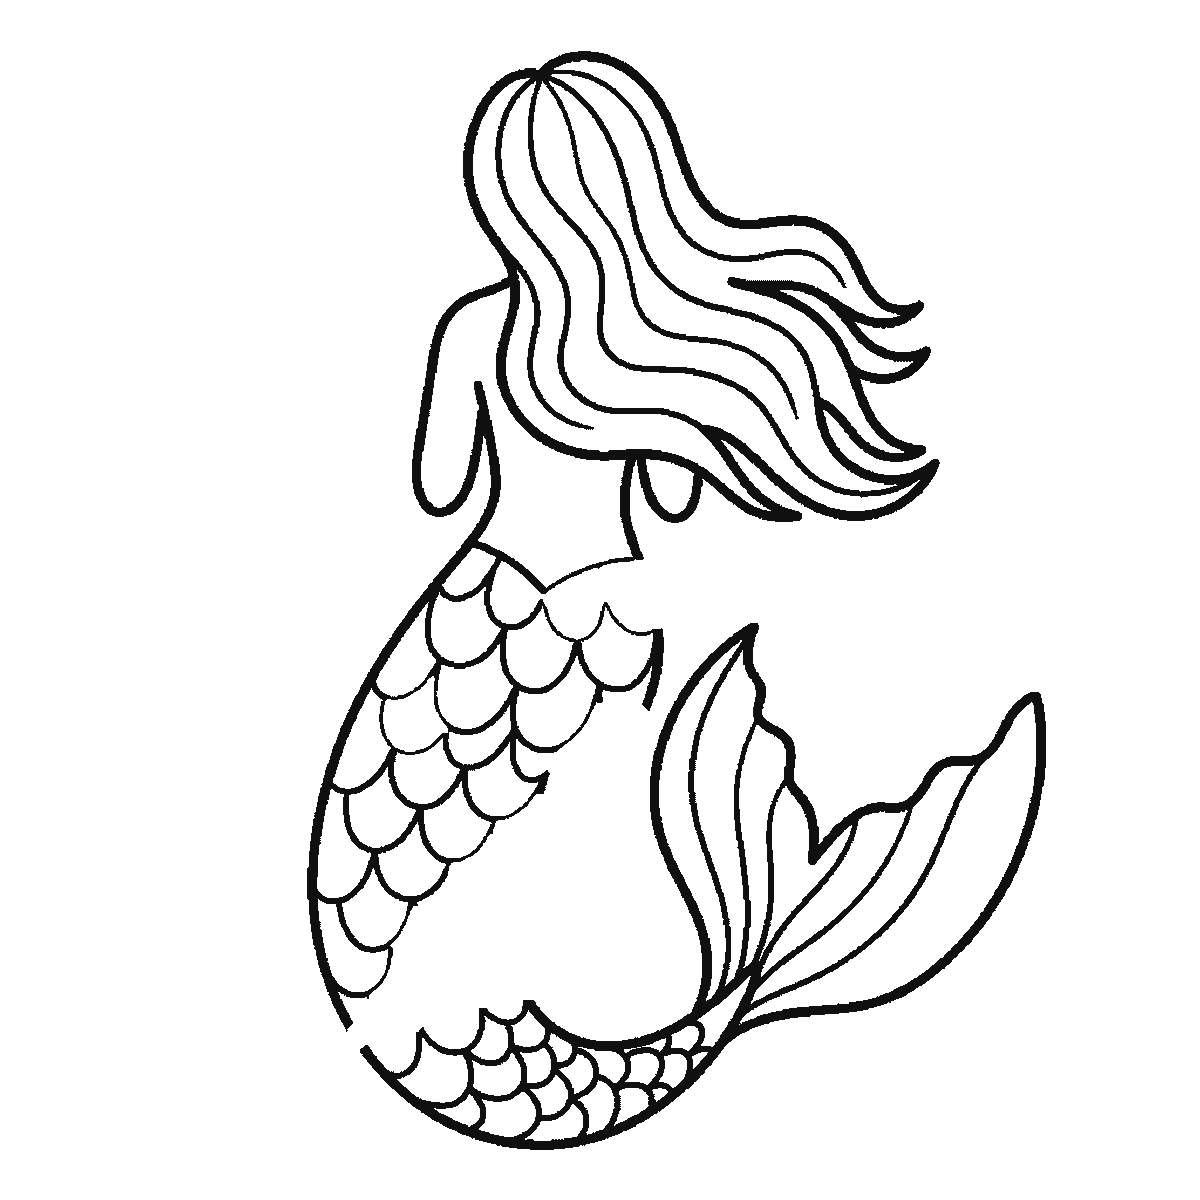
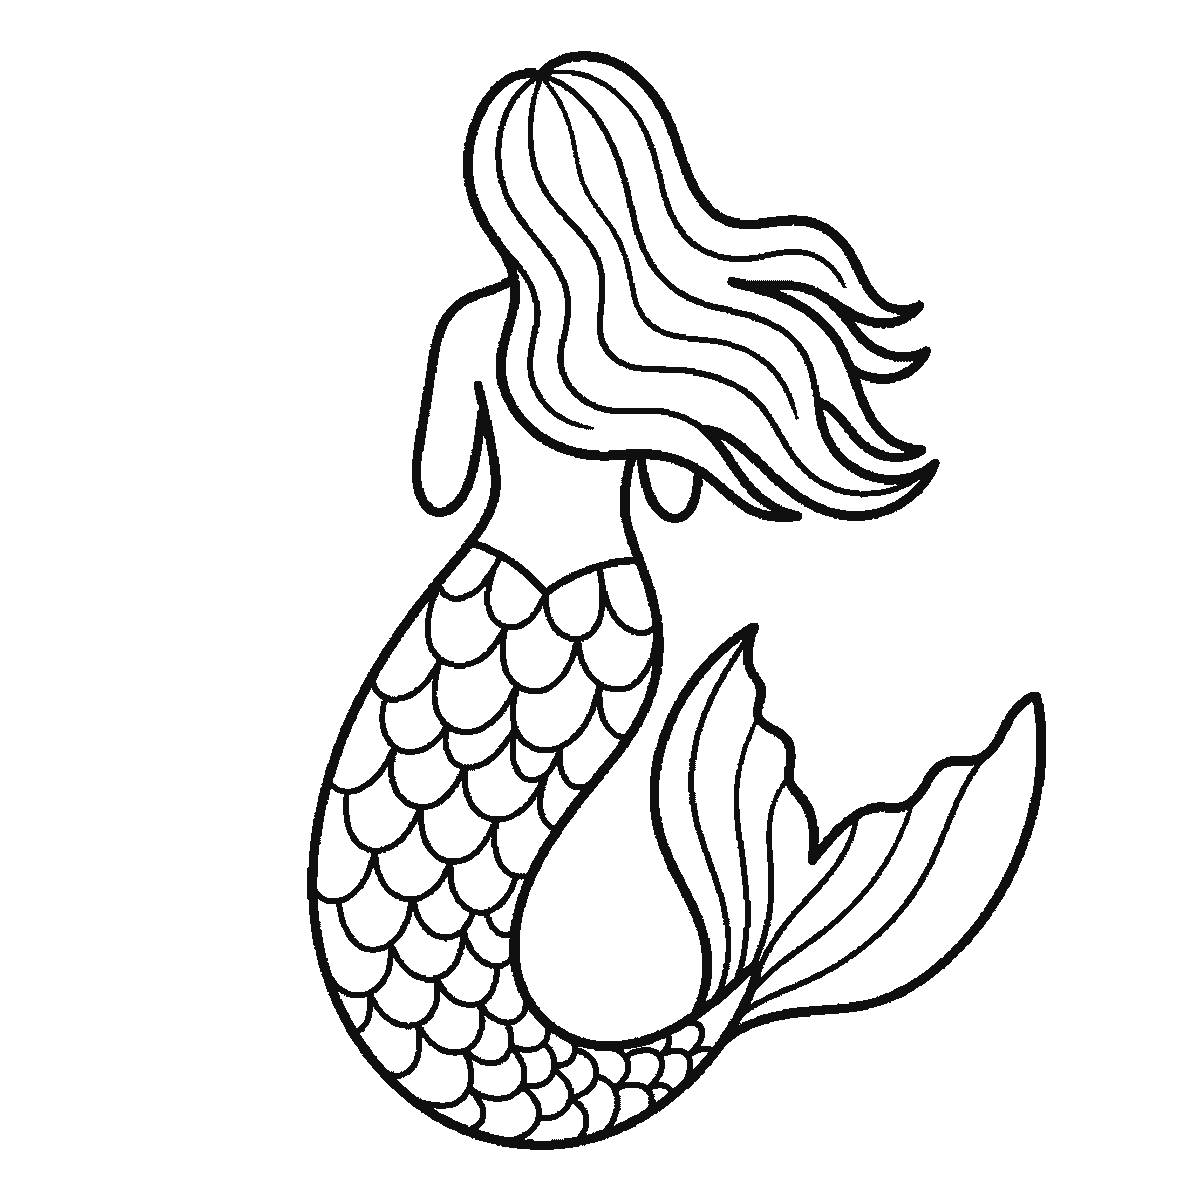
Six frames, one mermaid seen from behind. The body and hair first, then the fin, and the scaled tail last.
This mermaid is drawn from behind, and that is a deliberate choice rather than a limitation. A face is the hardest thing on any figure and the first thing a viewer judges, so a back view lets you learn the pose, the tail and the hair — which is most of the drawing — without the part that usually stops people finishing.
Frame one is the figure, not the tail: the back, the shoulders, one arm, and the long mass of hair falling to the right. The tail is the largest shape on the page by a wide margin and it is the last thing drawn — its outline and its scales are frames five and six — so leave the room for it from the start. It curves round in a long C, thick where it joins the body and narrowing towards the fin, and when you reach it the curve is worth drawing in one movement. A tail built from short cautious strokes reads as stiff, and stiffness is the one thing a mermaid cannot afford.
Because the body comes first here, its proportion is the decision everything else inherits. Keep the torso short relative to the tail that has not arrived yet. The usual mistake is to draw a full-length human body and attach a tail to the bottom of it, which produces something very tall and rather sad. The join sits at roughly the hip.
The hair arrives in two goes — the right-hand mass with the body in frame one, the rest of it in frame three. Long, flowing, drawn as several large masses rather than as individual strands, and moving in one general direction as though there were a current. Hair drawn strand by strand takes ten times as long and looks worse, which is an unusually clear trade.
The scales are the last two frames of the sheet, and the tail arrives as they do: its outline and first rows in frame five, the rest in frame six. There are two ways to handle them. Either cover the whole tail in overlapping arcs, which is slow, very satisfying, and what this drawing does, or put a band of scales at the top and let them thin out towards the fin. The second is quicker and arguably reads better, because it leaves the eye somewhere to rest.
The fin is not last — its upper blade is frame two and its lower blades frame four, both of them before the tail they belong to exists — and it should be generous. A wide fin with a wavy edge and a few radiating lines gives the whole drawing somewhere to end. A small neat fin makes the tail look like it has been cut off, and this is the shape most worth being bold with on the entire sheet.
This drawing has no face, and that is worth stating rather than leaving as an accident: a figure seen from behind is a complete drawing, not an unfinished one. If you want a face later, the same tail and hair will carry a three-quarter view, and by then you will have had the practice.
The pose is doing a lot of quiet work. The C-curve of the tail, the tilt of the shoulders and the sweep of the hair all run in related directions, and that shared direction is what makes the figure look like it is moving through water rather than sitting in a chair.
If you want a setting, a few horizontal lines behind the figure and a scatter of small circles rising past it is enough to say underwater. It takes about a minute and it changes the drawing from a figure on white paper into a scene.
The six frames run from the largest closed shape to the smallest, and because the tail is drawn as dozens of small overlapping scales rather than as one closed area, it arrives last despite being the biggest thing on the page. That is easy to copy, and it is not a claim about the order a figure ought to be drawn in.
Before you start
- Draw the tail's curve in one movement. Short cautious strokes make it stiff.
- Keep the torso short. The join sits at about the hip, not below a full-length body.
- Draw hair as a few large masses moving in one direction, never as individual strands.
- Make the fin generous and wavy. A small one makes the tail look cut off.
Published Updated 687 words
The six steps
The steps go from the largest shape to the smallest, which is an easy order to copy. It is not the only order, and it is not a rule — if you would rather start somewhere else on the sheet, do.
Step 1
Step 2
Step 3
Step 4
Step 5
Step 6
More in this section

How to draw a robot
Six frames, one boxy robot facing you. The body first, then the head and face, the legs, the arms, and the antenna last.
Step sequence made by us from a single drawing: each step keeps the lines of the one before it and adds to them.
How to draw wings
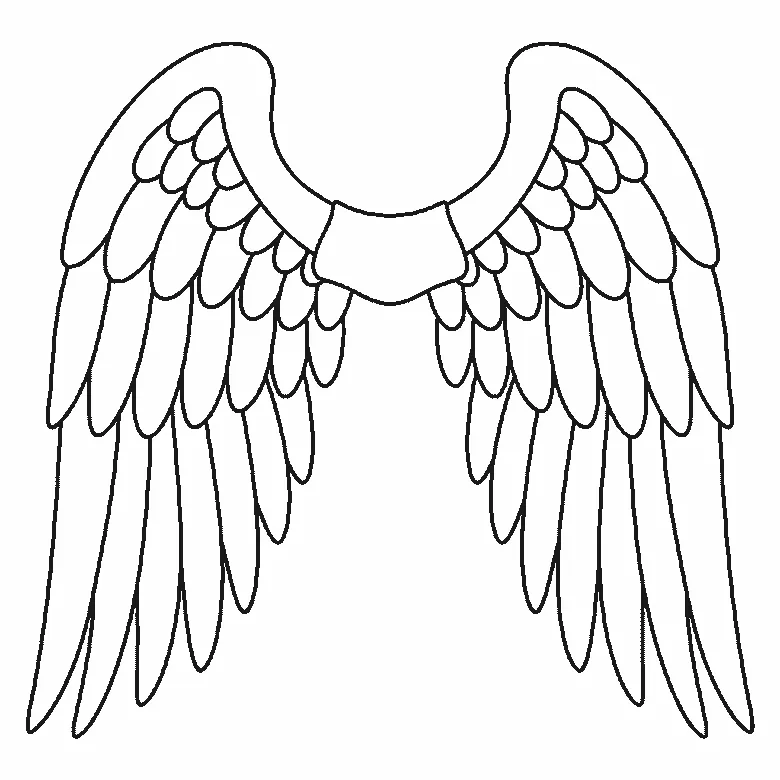
Six frames, one pair of feathered wings. The leading edge first, then the shoulder — then the feathers, outside in and longest first, the same one on both wings.
Step sequence made by us from a single drawing: each step keeps the lines of the one before it and adds to them.
How to draw a dragon
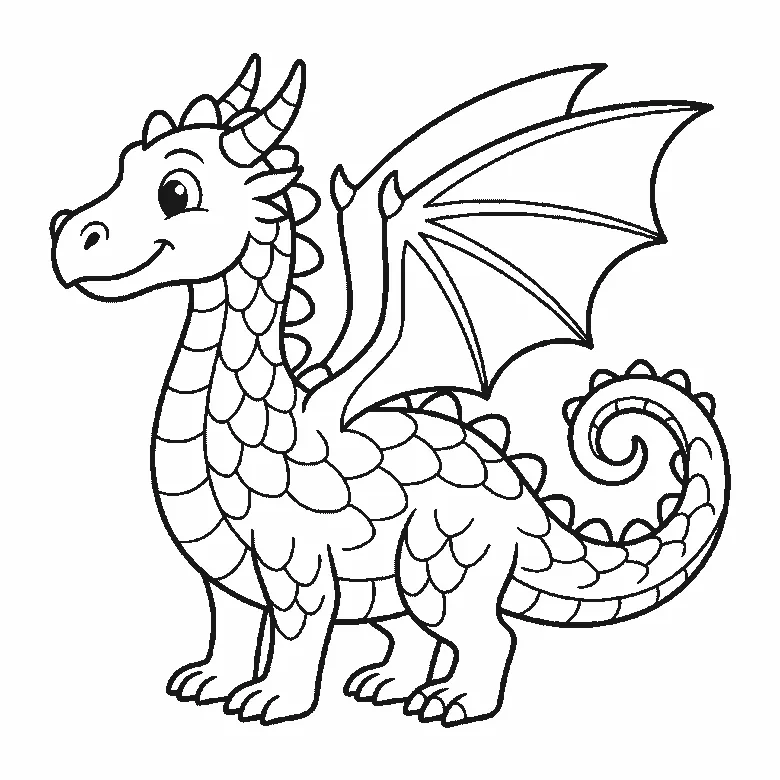
Six frames, one friendly dragon in profile. The body, legs and curled tail first, then the head, the wing, and the scaled neck last.
Step sequence made by us from a single drawing: each step keeps the lines of the one before it and adds to them.
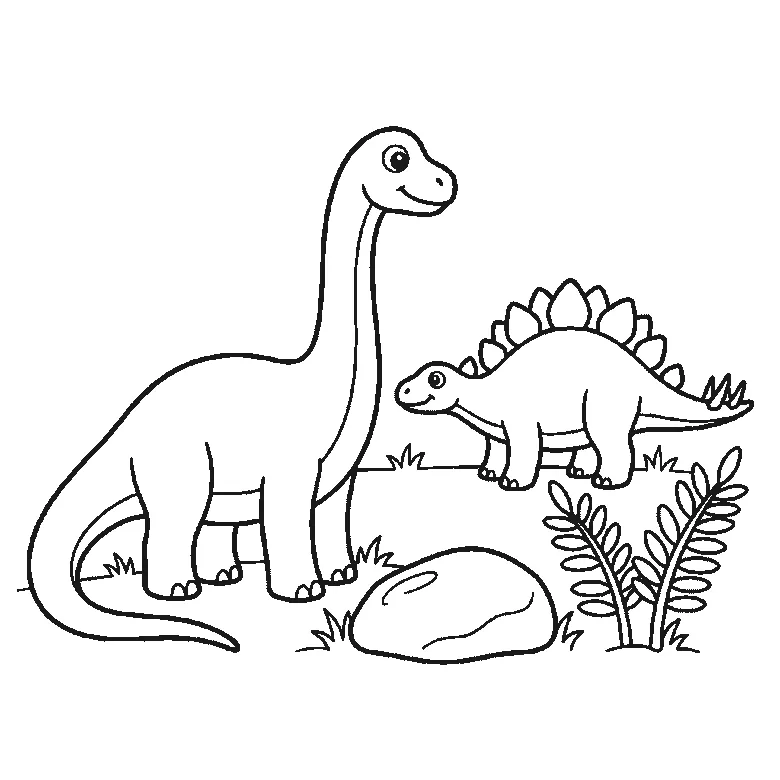
How to draw a dinosaur
Six frames, two dinosaurs in a landscape. The whole long-necked one in the first frame, then a plated one behind it, a boulder, ferns and grass.
Step sequence made by us from a single drawing: each step keeps the lines of the one before it and adds to them.
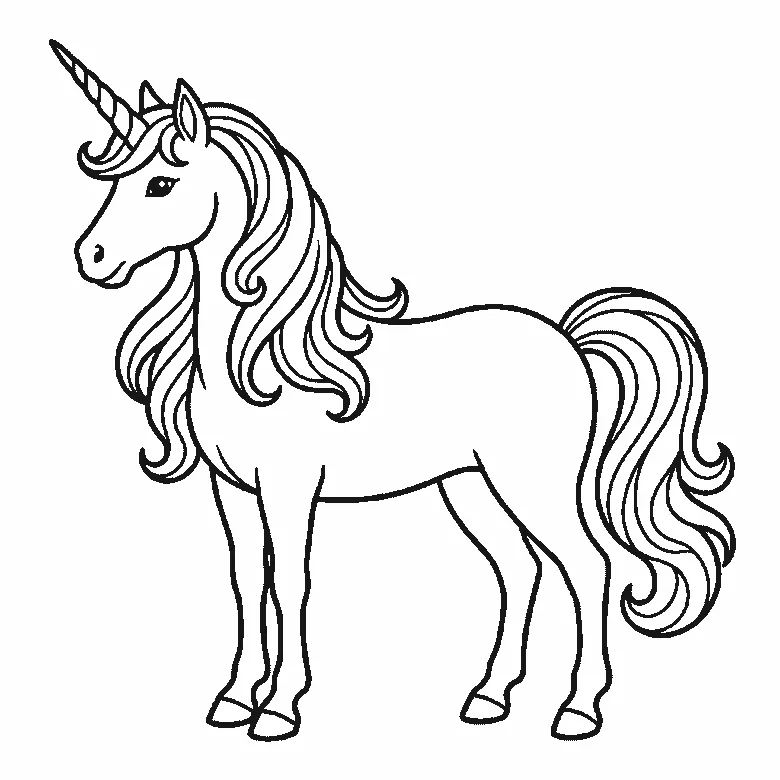
How to draw a unicorn
Six frames, one unicorn in profile. Body, head and spiral horn together first, then the two far legs, and the mane and tail last.
Step sequence made by us from a single drawing: each step keeps the lines of the one before it and adds to them.


