
PDF · A4 · 52 KB · Free, no sign-up. For home and classroom use.
How to draw a bow
Six frames, one tied ribbon bow. The hanging tails first, then the loops, the knot and the folds.
A ribbon bow is a small lesson in drawing something soft. Every other shape on this site has a structure underneath it — bones, panels, walls — and a bow has none. It is a flat strip of fabric that has been pulled into a shape and is being held there by tension, and drawing it well is entirely about suggesting that tension.
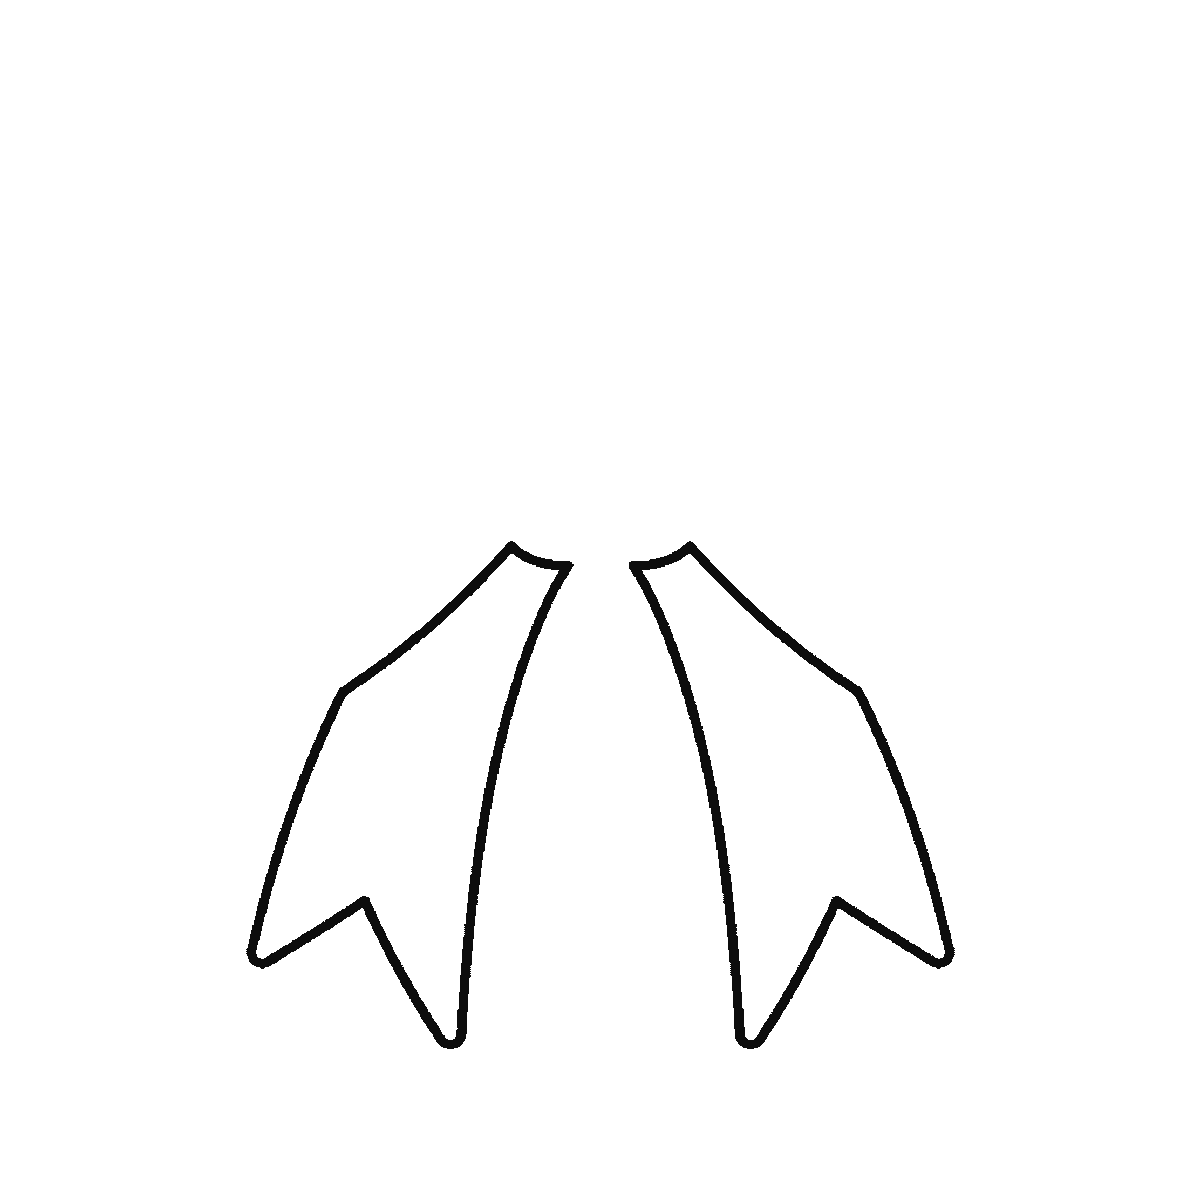
Frame one gives you the two hanging TAILS, before there is a bow above them for the ribbon to be tied into. They are the largest closed shapes on the page, so they come first. Copy them where the frame shows them and leave the space above them empty; the loops fill it in the very next frame.
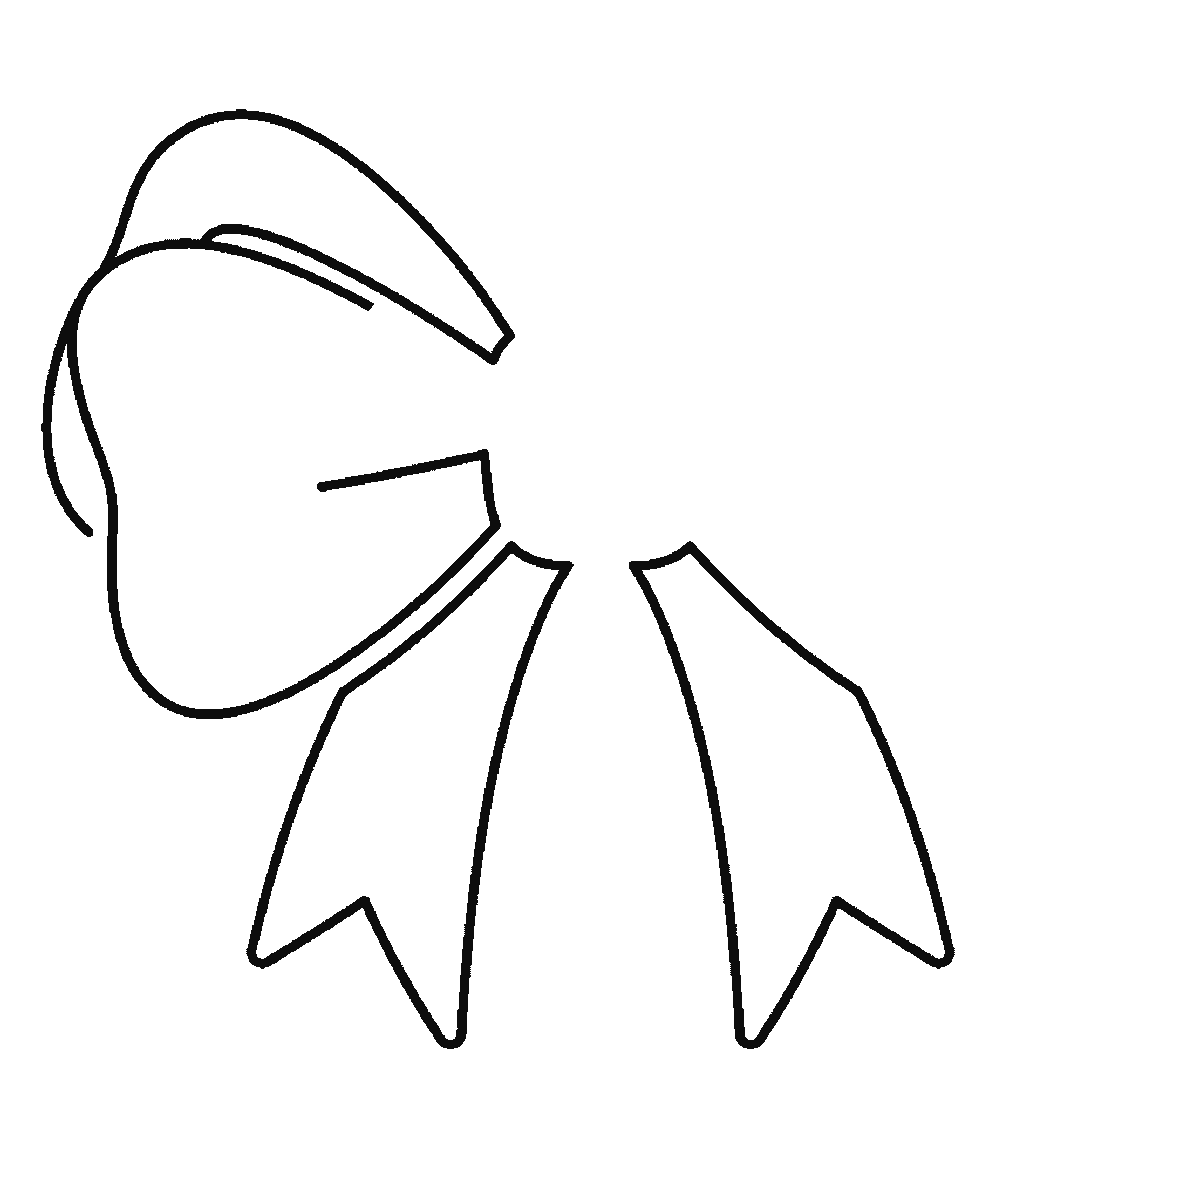
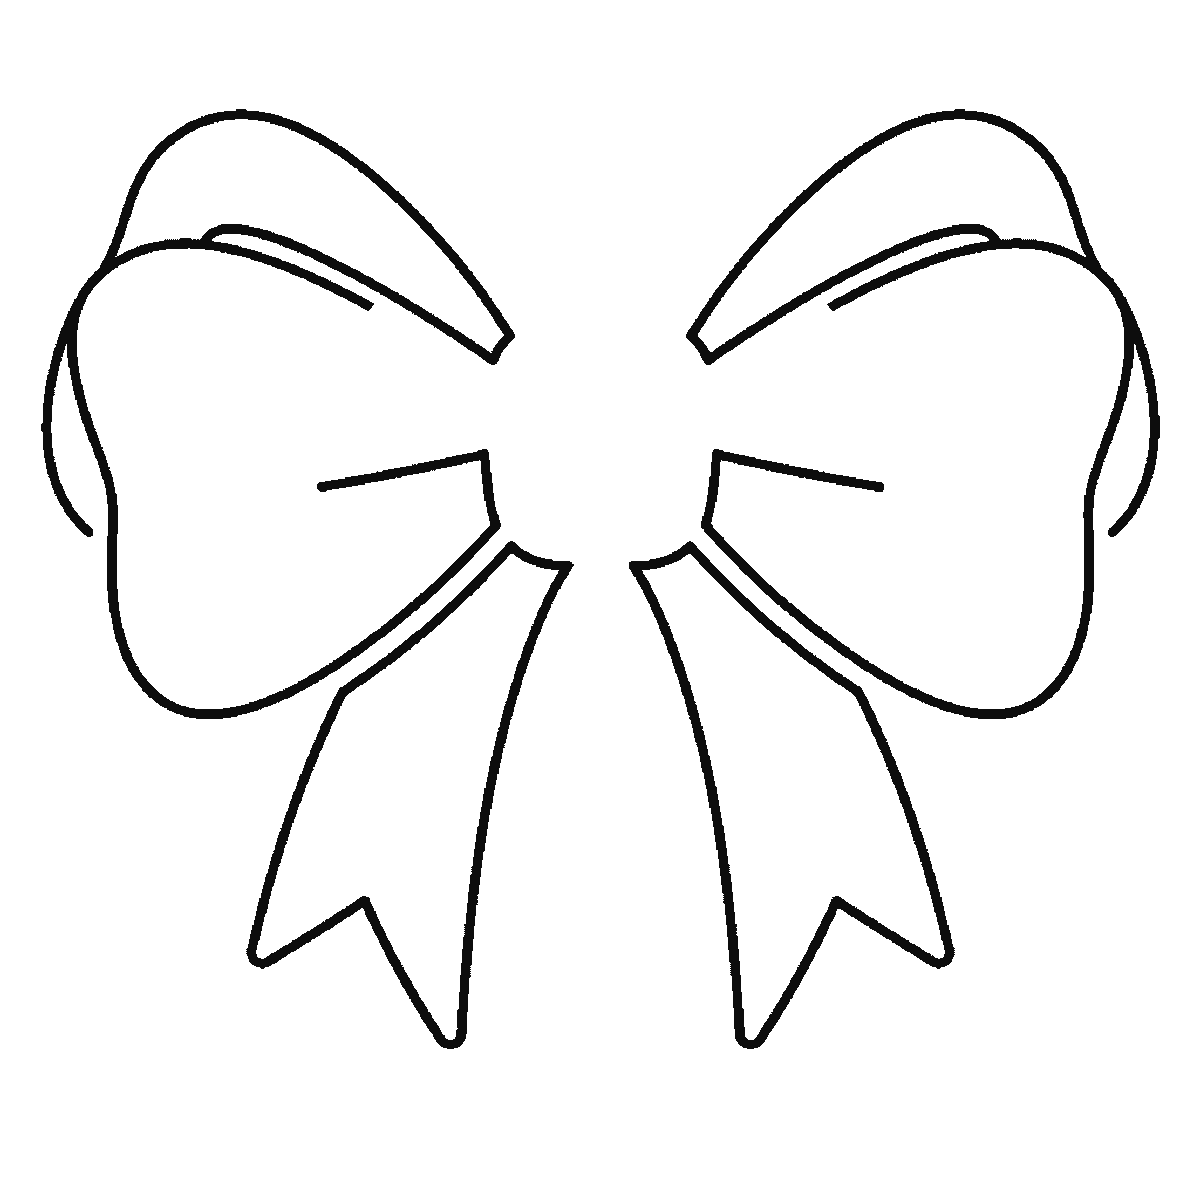
The loops arrive second, and the first thing to notice is that they are not circles: each is wider than it is tall, tilted upwards and outwards, and slightly flattened along its lower edge where the fabric folds over on itself. Two round loops make a bow look like a pair of ears. Make the pair slightly different from each other, too — one a little larger, or a degree higher, or with a marginally different curve along its top. Perfect symmetry is what makes a drawn bow look like a sticker, and real fabric never obliges.
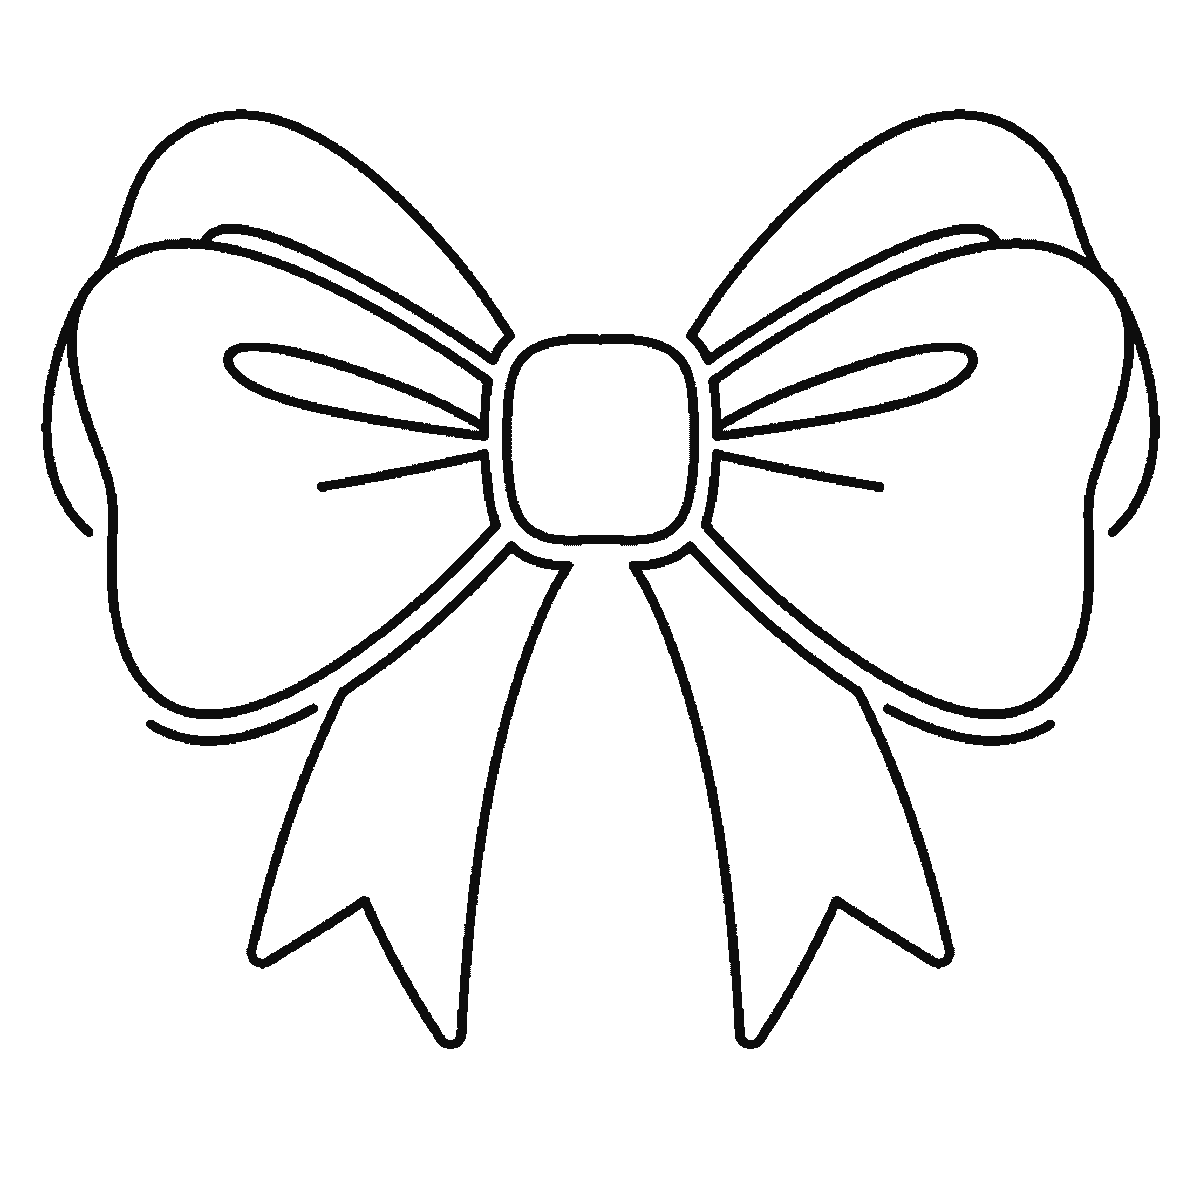
Inside each loop, a narrow inner fold is drawn as a long thin shape near the top edge. That fold is the single most valuable line in the drawing. It is the far side of the ribbon showing through the loop, and it turns a flat closed shape into something with a front and a back and a hollow in the middle. Without it the loops are two leaves.
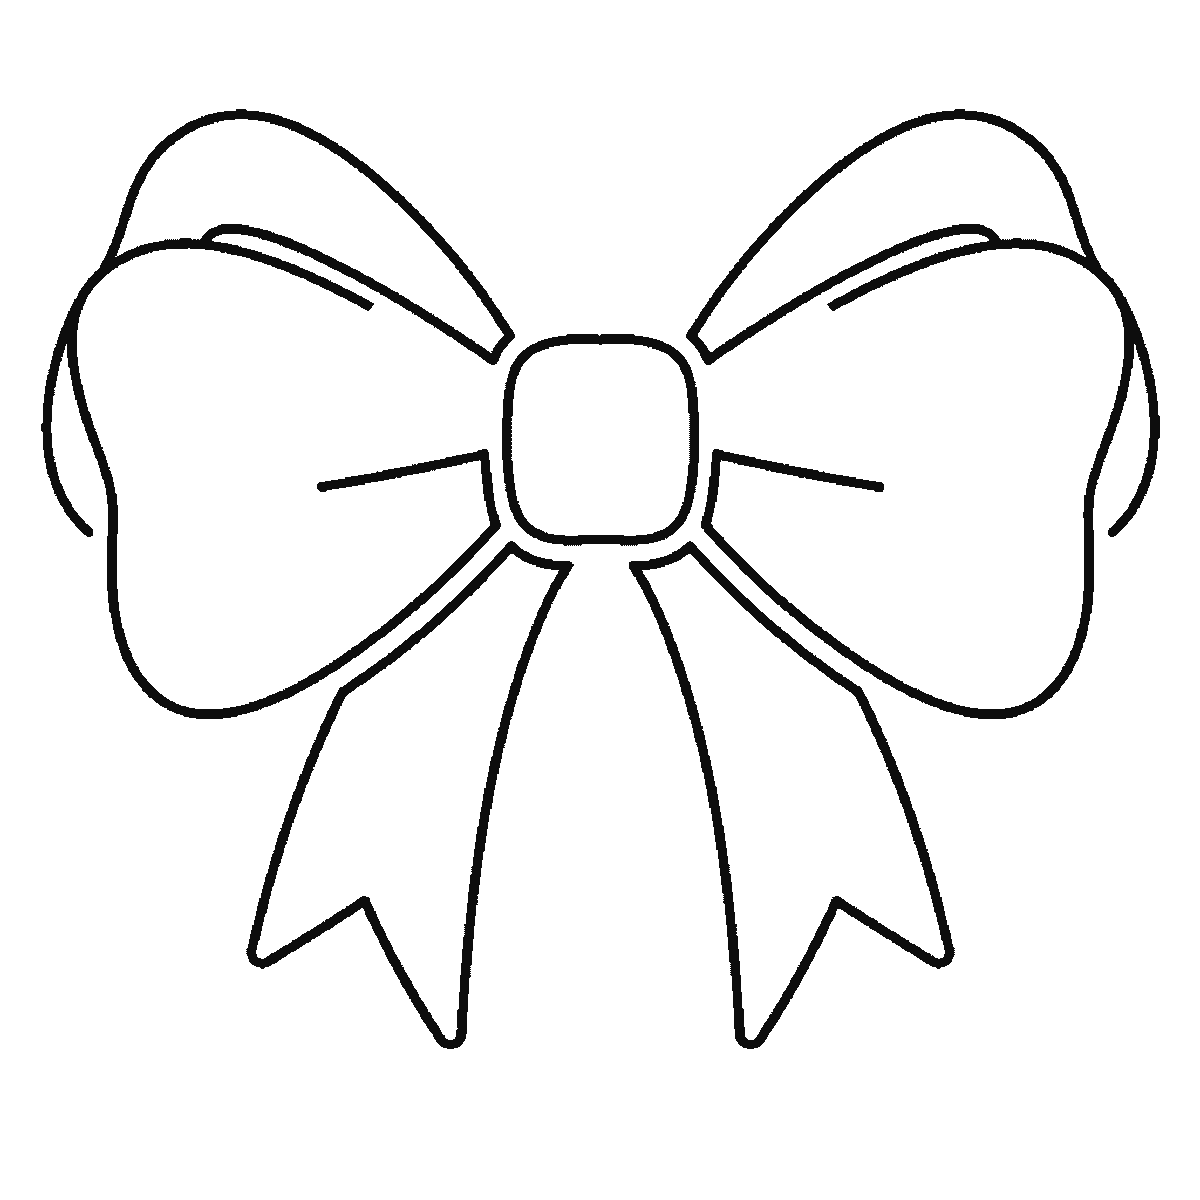
The knot goes in the centre, and it should be small, roughly square with rounded corners, and clearly overlapping both loops. It is the thing holding everything together, so it must sit in front. Drawing it too large is a common mistake and it makes the bow look strangled; the knot on a real ribbon is barely bigger than the width of the ribbon itself.
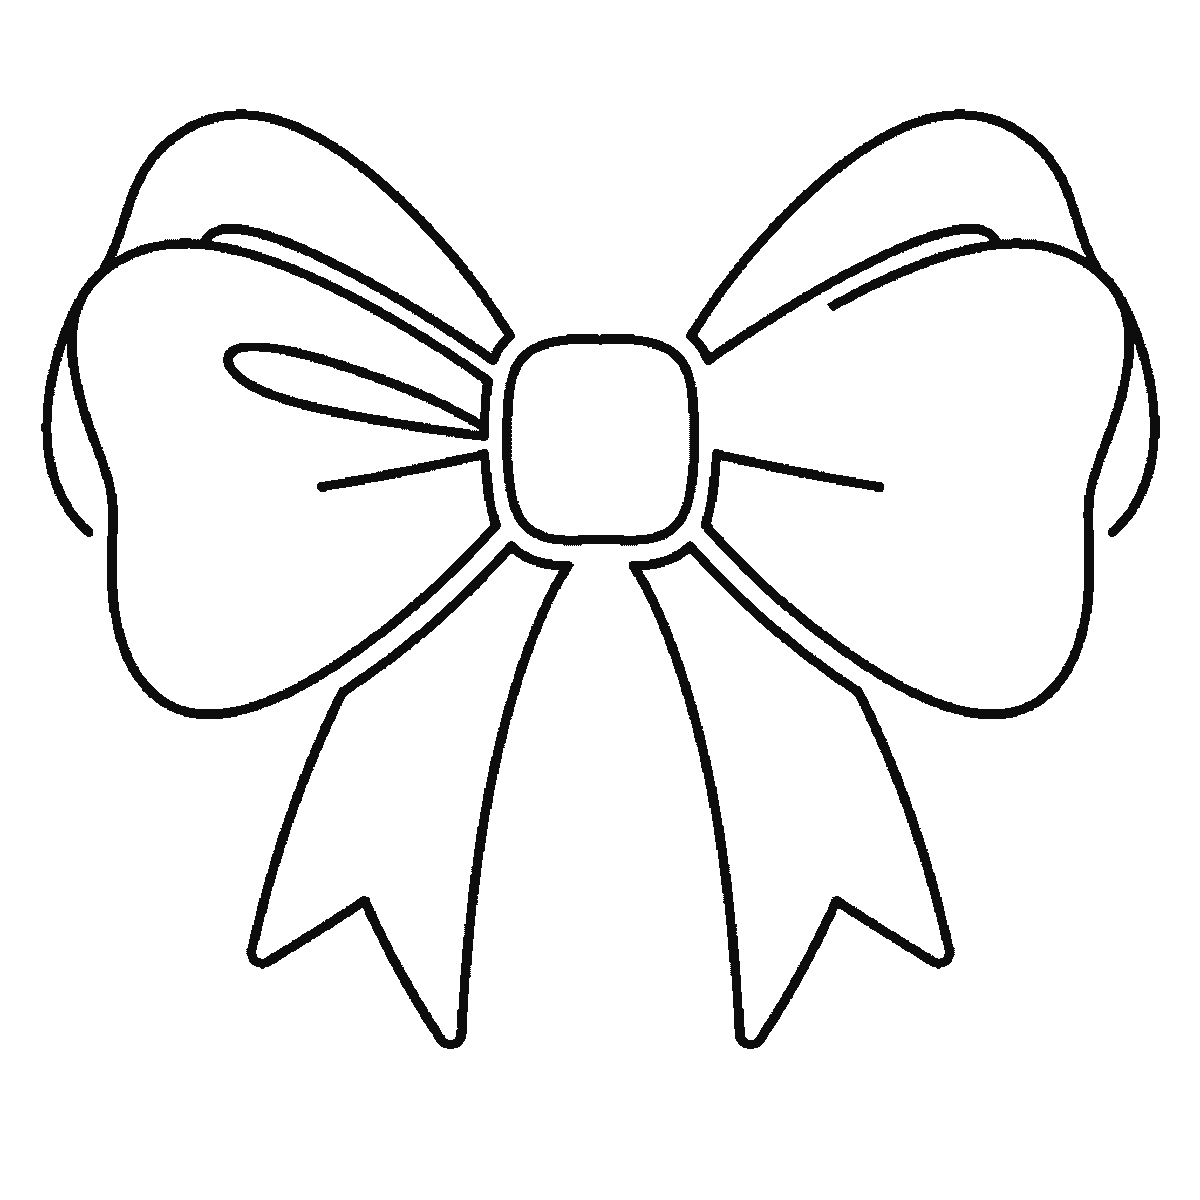
Short creases radiate from the knot into each loop, three or four a side, drawn as short lines that fade out rather than reaching the loop's edge. These are the gathers where the fabric is pulled tight, and they are the clearest signal in the whole drawing that this thing is under tension. They are also easy to overdo — stop at four.
The two tails hang down from behind the knot, and they should not be mirror images. One longer than the other, one crossing slightly in front of the other, and both curving rather than dropping straight. A ribbon that has been tied and released falls in a soft S, not a straight line.
Each tail ends in a notch — a V cut into the end, which is how ribbon is actually finished. Angle the notch to match the direction the tail is falling rather than cutting it square across, and the tail immediately looks like fabric rather than a strap.
A bow is worth practising because it teaches the one thing that transfers to every soft subject: cloth is drawn by showing what is pulling it. Once you can see that the creases point at the knot, that the loops bulge away from it, and that the tails fall from it, you can draw a curtain, a flag or a scarf with the same reasoning.
The six frames run from the largest closed shape to the smallest, which for this drawing means tails, then loops, then more of the loops, then the knot, then the inner folds, then the creases. It is a straightforward order to copy and it is not a rule about the right way to draw a bow — starting from the knot, which is where a real ribbon is actually tied, is more logical and would give you the same picture. Tying an actual ribbon and looking at it beats any sequence, and costs nothing.
Before you start
- Make the loops wider than they are tall, and never draw them as circles.
- Give each loop a narrow inner fold near its top edge — it is what makes the loop hollow.
- Keep the knot small. An oversized knot makes the bow look strangled.
- Notch the tail ends with a V angled to match the way the tail falls.
Published Updated 675 words
The six steps
The steps go from the largest shape to the smallest, which is an easy order to copy. It is not the only order, and it is not a rule — if you would rather start somewhere else on the sheet, do.
Step 1
Step 2
Step 3
Step 4
Step 5
Step 6
More in this section
How to draw fire
Six frames, one campfire. The main flame first, then the logs, the smaller flames and the sparks.
Step sequence made by us from a single drawing: each step keeps the lines of the one before it and adds to them.
How to draw a teddy bear
Six frames, one teddy sitting upright. A plain head circle first, then the body with the nose and mouth — and the ears one at a time, with the eyes right at the end.
Step sequence made by us from a single drawing: each step keeps the lines of the one before it and adds to them.
How to draw a guitar
Six frames, one acoustic guitar standing upright. The body first, the headstock and tuning pegs second — and no strings anywhere, which is deliberate.
Step sequence made by us from a single drawing: each step keeps the lines of the one before it and adds to them.
How to draw a heart
Six frames, one plain symmetrical heart with a wide border and six smaller ones. The inside comes first and the outline second.
Step sequence made by us from a single drawing: each step keeps the lines of the one before it and adds to them.
How to draw a knight
Six frames, one suit of plate armour with the visor down. The shield and the sword come first, and the helmet almost last.
Step sequence made by us from a single drawing: each step keeps the lines of the one before it and adds to them.
How to draw a house
Six frames, one detached house with a garden. The walls and roofline first, then the windows, the door, the fence and the tiles.
Step sequence made by us from a single drawing: each step keeps the lines of the one before it and adds to them.
How to draw a football
Six frames, one football above the grass. The panels first, then the outline that closes round them, then the grass.
Step sequence made by us from a single drawing: each step keeps the lines of the one before it and adds to them.


