
PDF · A4 · 45 KB · Free, no sign-up. For home and classroom use.
How to draw fire
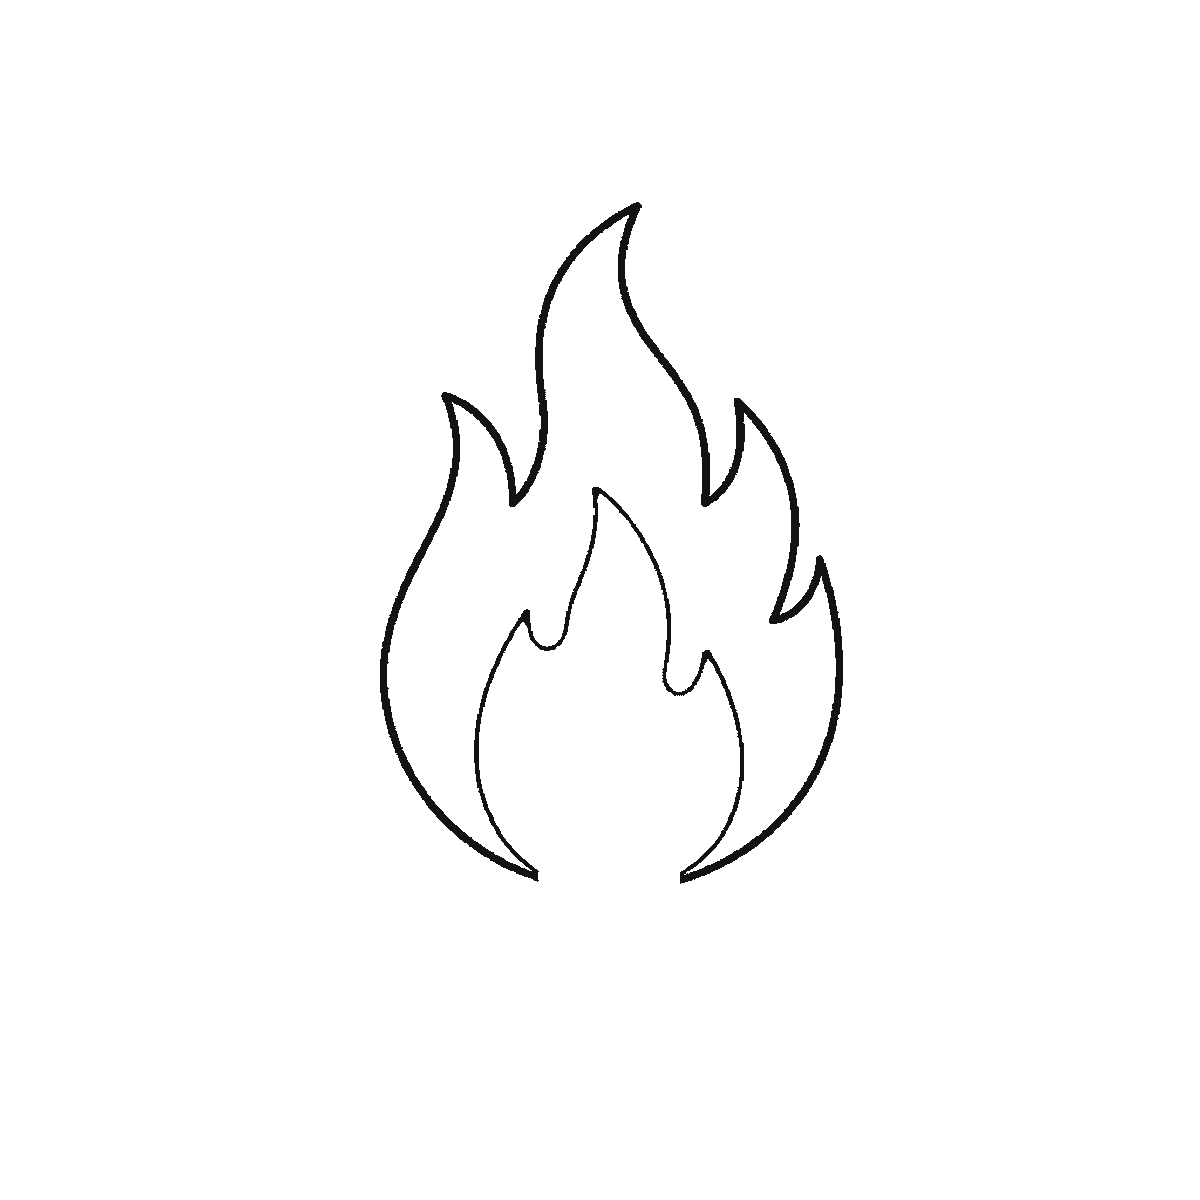
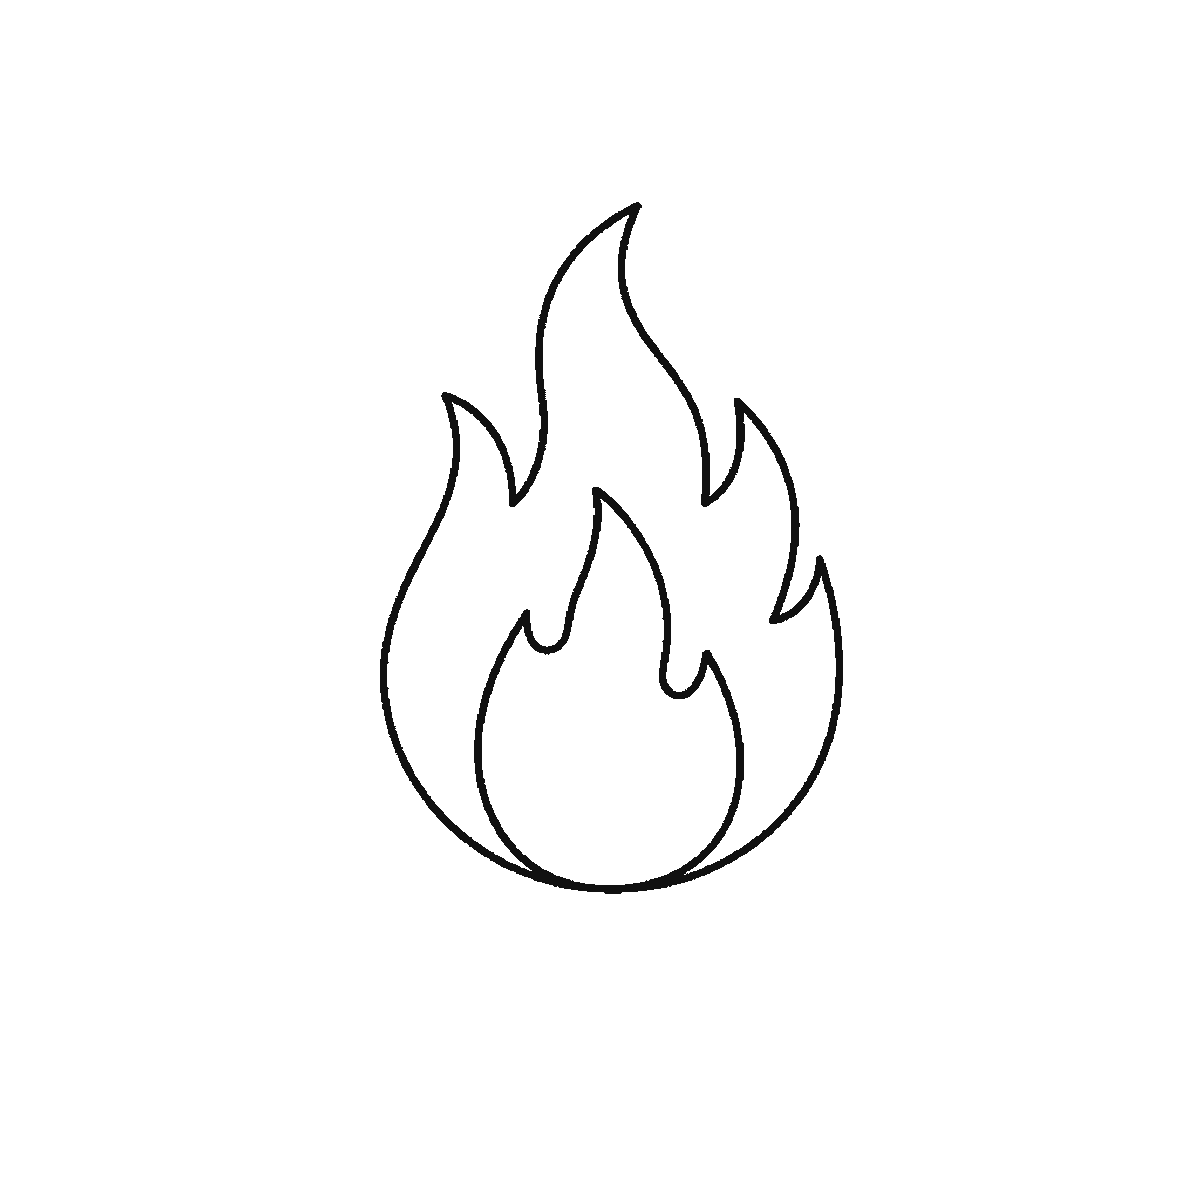
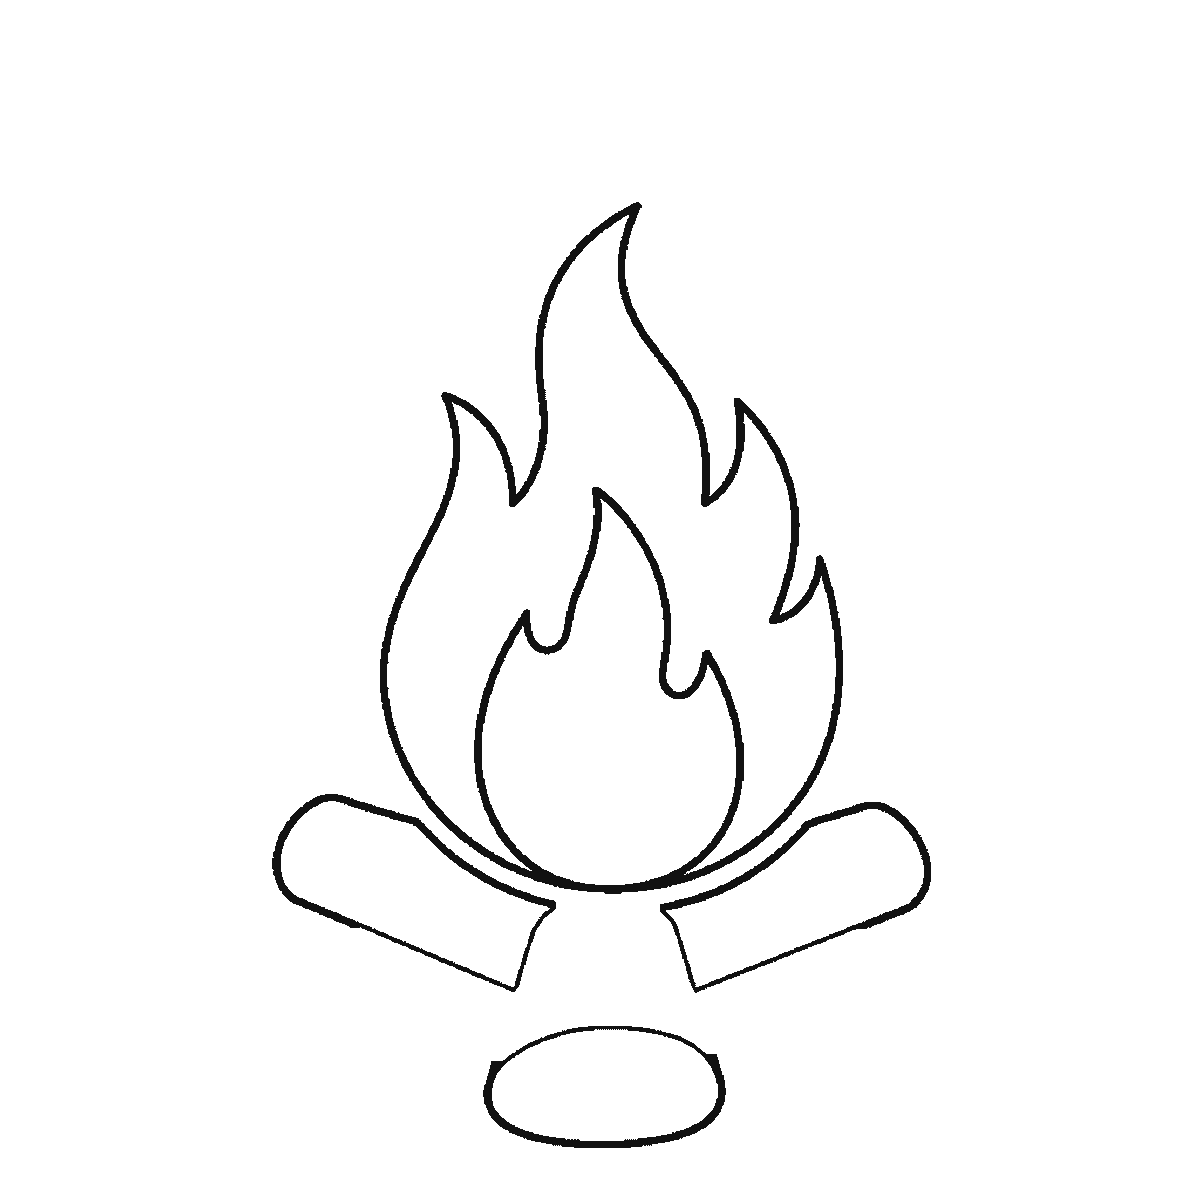
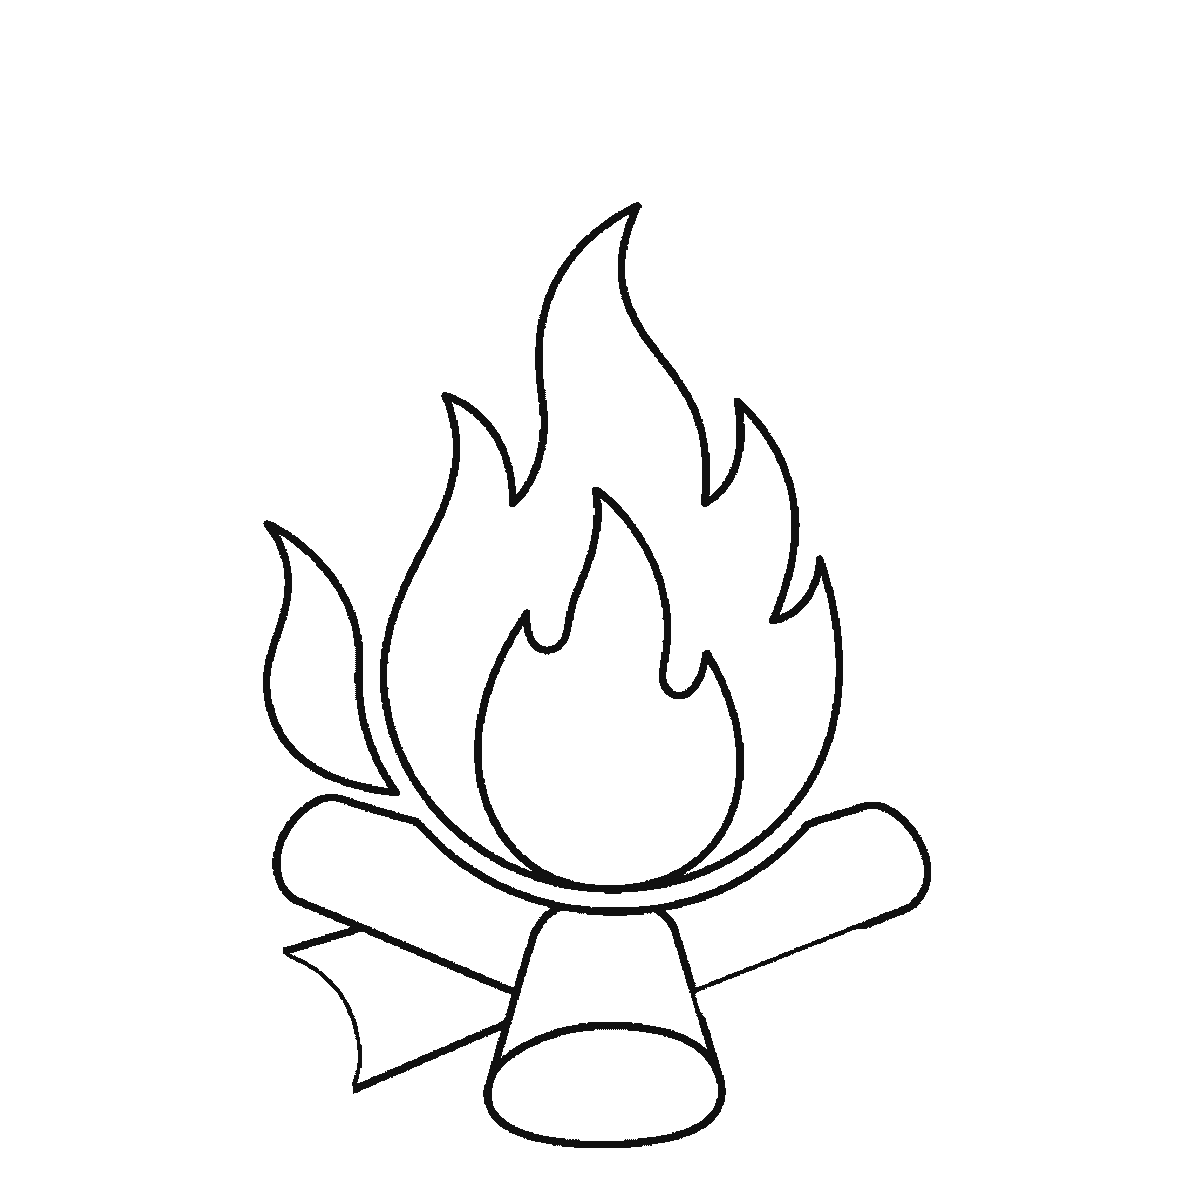
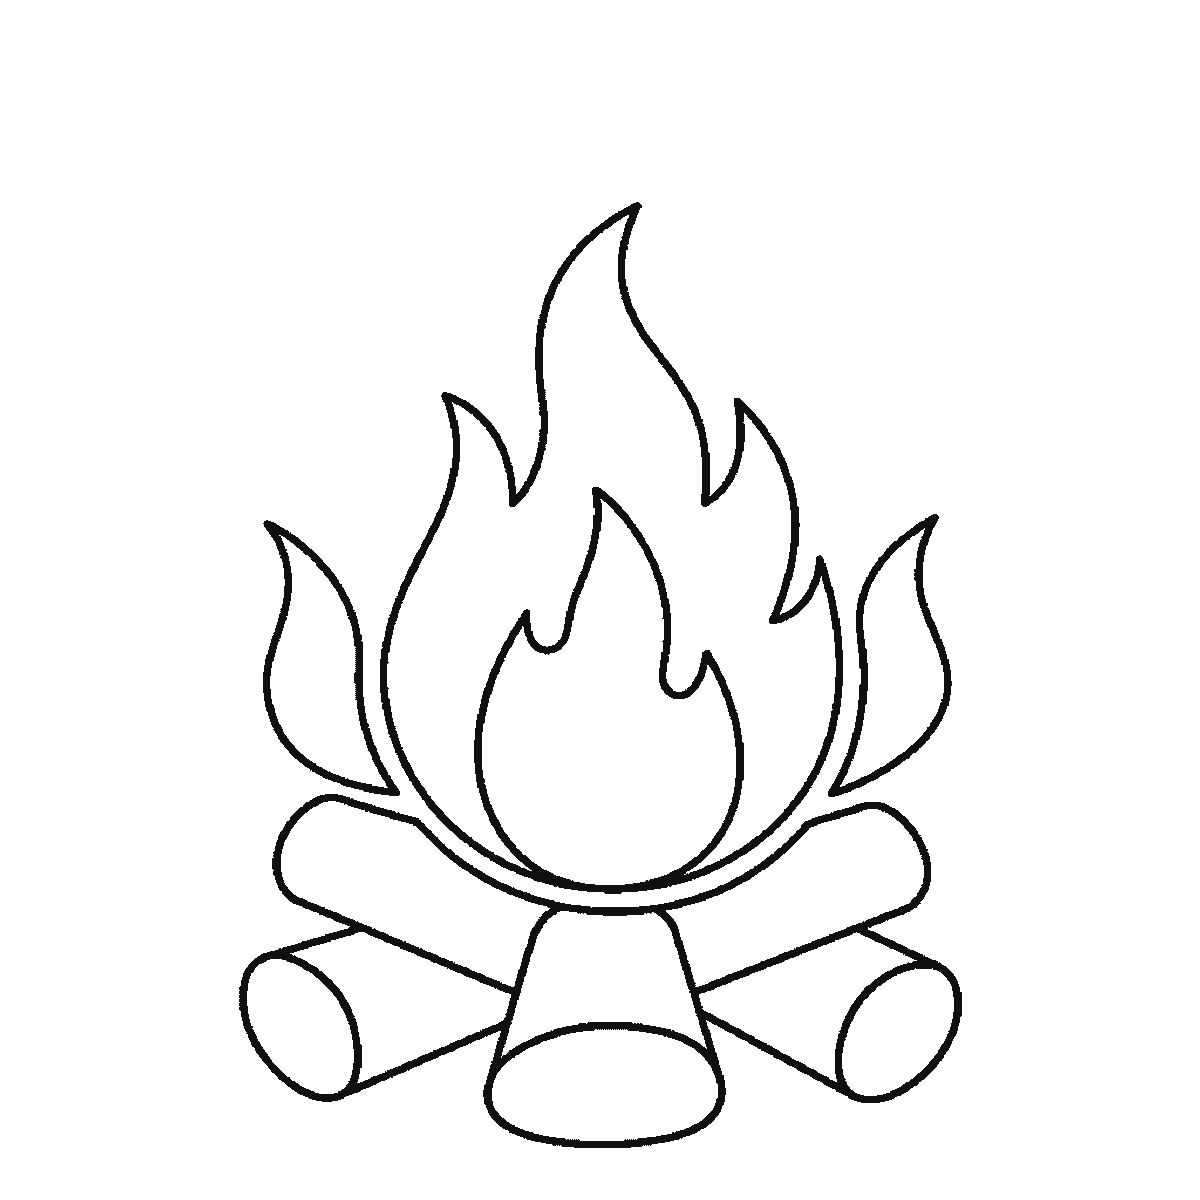
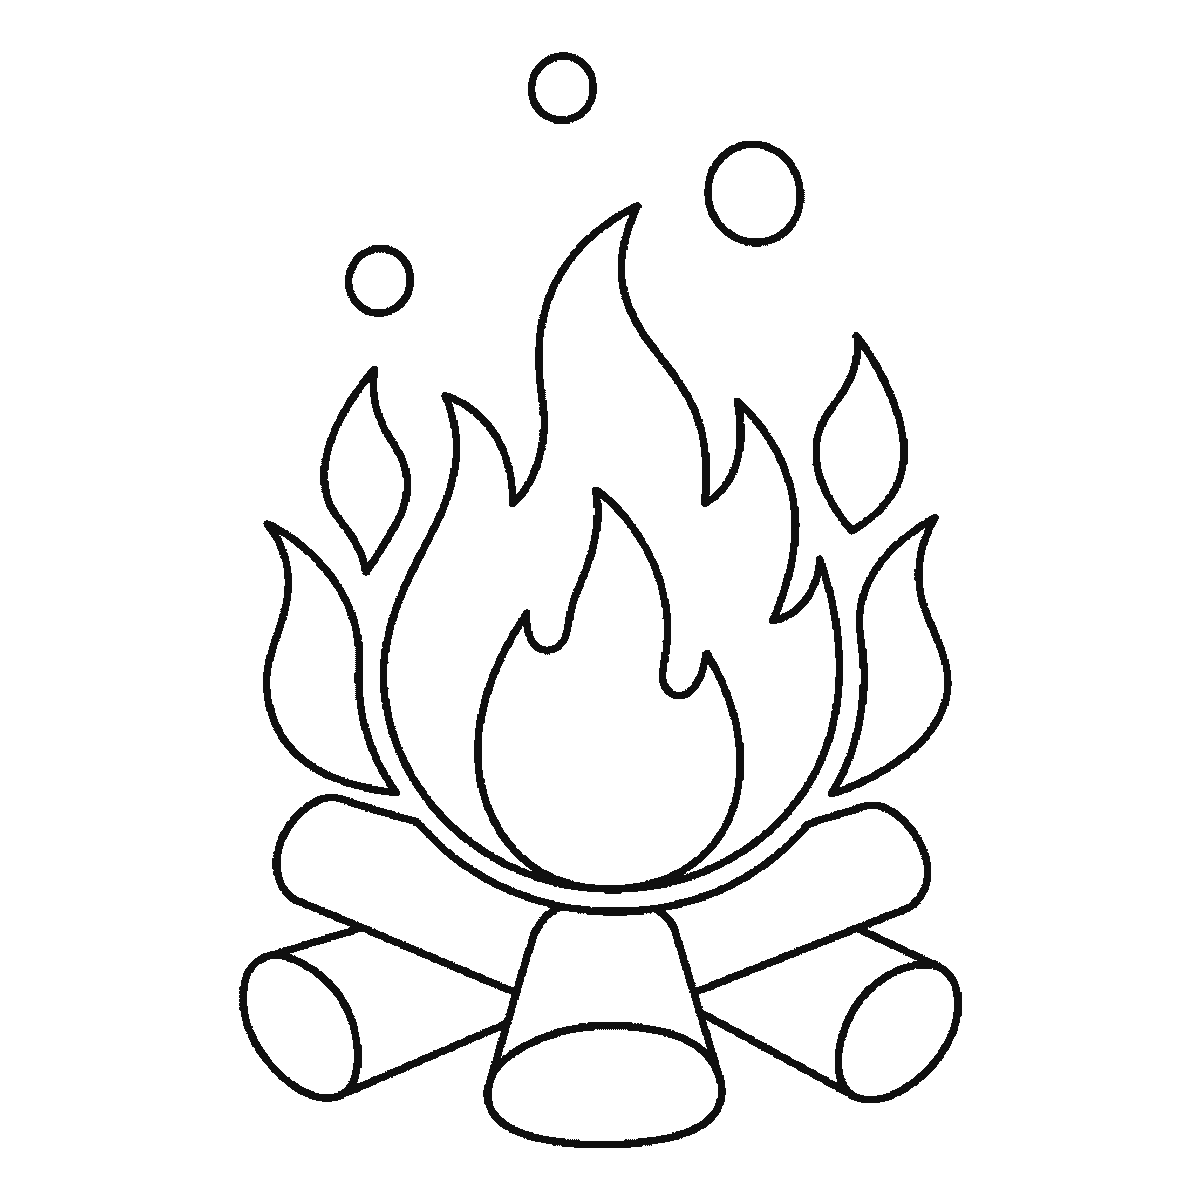
Six frames, one campfire. The main flame first, then the logs, the smaller flames and the sparks.
Fire has no edges, no fixed shape and never holds still, which sounds like an argument against drawing it at all. The way round that is not to draw fire — it is to draw a small number of flame-shaped closed forms and let a viewer do the rest. That is what this sheet does, and it works because everybody already knows what a flame looks like.
Frame one is the main flame, on its own in the middle of the page with nothing under it. The logs do not appear until the third frame. That is the reverse of how you would build a real fire and it is the right way round for a drawing, because the flame is the shape that has to be right — the logs are placed underneath it afterwards, which is much easier than placing a flame on top of a stack that is already committed.
When the logs come, there are three of them, crossed in a rough stack, each drawn as a cylinder with a visible oval end. Draw those oval ends properly: a log drawn as a rectangle is a plank, and a log with a small ellipse on its end is a log. It is one extra shape per log and it is the entire difference. Cross the three at different angles rather than stacking them neatly, because a tidy stack looks like firewood and a crossed one looks lit.
The main flame comes next and it is the largest of the fire shapes. It rises from behind the logs as a tall form that is wide and rounded at the base and narrows to a point that leans to one side. That lean matters — a perfectly vertical, perfectly symmetrical flame reads as a leaf or a teardrop. Fire always leans somewhere.
The flame's edges should curve in and out rather than running smoothly from base to tip. Two or three shallow waves down each side is enough. Those waves are what make the shape read as something moving, and they are the reason a flame drawn as a smooth almond looks inert.
An inner flame sits inside the main one, a smaller version of the same shape sharing the same base. This is the hot centre, and in a colouring drawing it is where the yellow goes against the orange outside. Even uncoloured it gives the fire depth, because a flame with something visible inside it looks translucent.
The smaller flames arrange themselves around the main one at different heights, leaning outwards away from the centre. Four or five of them, all different sizes, none the same height as its neighbour. This is the shape rule that governs the whole drawing: a fire is a cluster of unequal things leaning apart. Equal flames in a row look like a crown.
Let some of the smaller flames overlap the main one and let others stand clear of it. That variation in depth is what stops the fire looking like a flat cut-out shape pasted behind the logs.
The sparks finish the sheet — three small circles rising above the flames at clearly different heights and sizes. Scatter them. Sparks in a neat arc look like decoration; sparks at random heights, with the highest one smallest and furthest off to one side, look like something is actually rising off the fire.
The six frames go from the biggest closed shape to the smallest, which for this drawing means the main flame, then its inner flame, then the first log, then the second, then the side flames, then the last flames and the sparks. It is an easy order to copy from and it is not a claim about how fire ought to be drawn — laying the logs first and building the flame up out of them is exactly as reasonable.
Before you start
- Draw an oval on the end of each log. A rectangle is a plank; an oval makes it a log.
- Lean the main flame to one side. A symmetrical vertical flame reads as a leaf.
- Wave the flame edges in and out two or three times down each side.
- Make every small flame a different height and let them lean away from the centre.
Published Updated 642 words
The six steps
The steps go from the largest shape to the smallest, which is an easy order to copy. It is not the only order, and it is not a rule — if you would rather start somewhere else on the sheet, do.
Step 1
Step 2
Step 3
Step 4
Step 5
Step 6
More in this section
How to draw a teddy bear
Six frames, one teddy sitting upright. A plain head circle first, then the body with the nose and mouth — and the ears one at a time, with the eyes right at the end.
Step sequence made by us from a single drawing: each step keeps the lines of the one before it and adds to them.
How to draw a guitar
Six frames, one acoustic guitar standing upright. The body first, the headstock and tuning pegs second — and no strings anywhere, which is deliberate.
Step sequence made by us from a single drawing: each step keeps the lines of the one before it and adds to them.
How to draw a heart
Six frames, one plain symmetrical heart with a wide border and six smaller ones. The inside comes first and the outline second.
Step sequence made by us from a single drawing: each step keeps the lines of the one before it and adds to them.
How to draw a knight
Six frames, one suit of plate armour with the visor down. The shield and the sword come first, and the helmet almost last.
Step sequence made by us from a single drawing: each step keeps the lines of the one before it and adds to them.
How to draw a house
Six frames, one detached house with a garden. The walls and roofline first, then the windows, the door, the fence and the tiles.
Step sequence made by us from a single drawing: each step keeps the lines of the one before it and adds to them.
How to draw a football
Six frames, one football above the grass. The panels first, then the outline that closes round them, then the grass.
Step sequence made by us from a single drawing: each step keeps the lines of the one before it and adds to them.
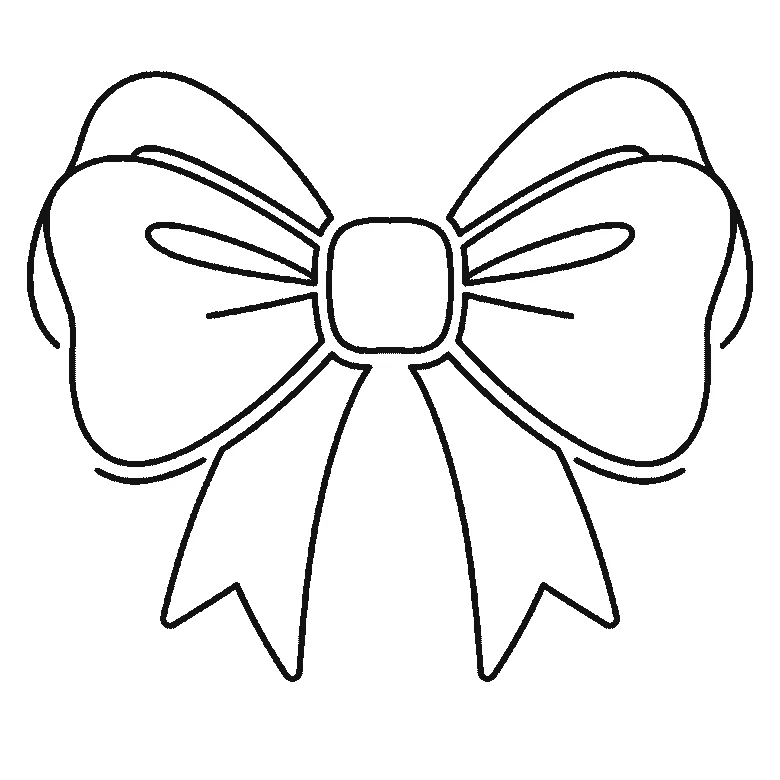
How to draw a bow
Six frames, one tied ribbon bow. The hanging tails first, then the loops, the knot and the folds.
Step sequence made by us from a single drawing: each step keeps the lines of the one before it and adds to them.


