
PDF · A4 · 53 KB · Free, no sign-up. For home and classroom use.
How to draw a teddy bear
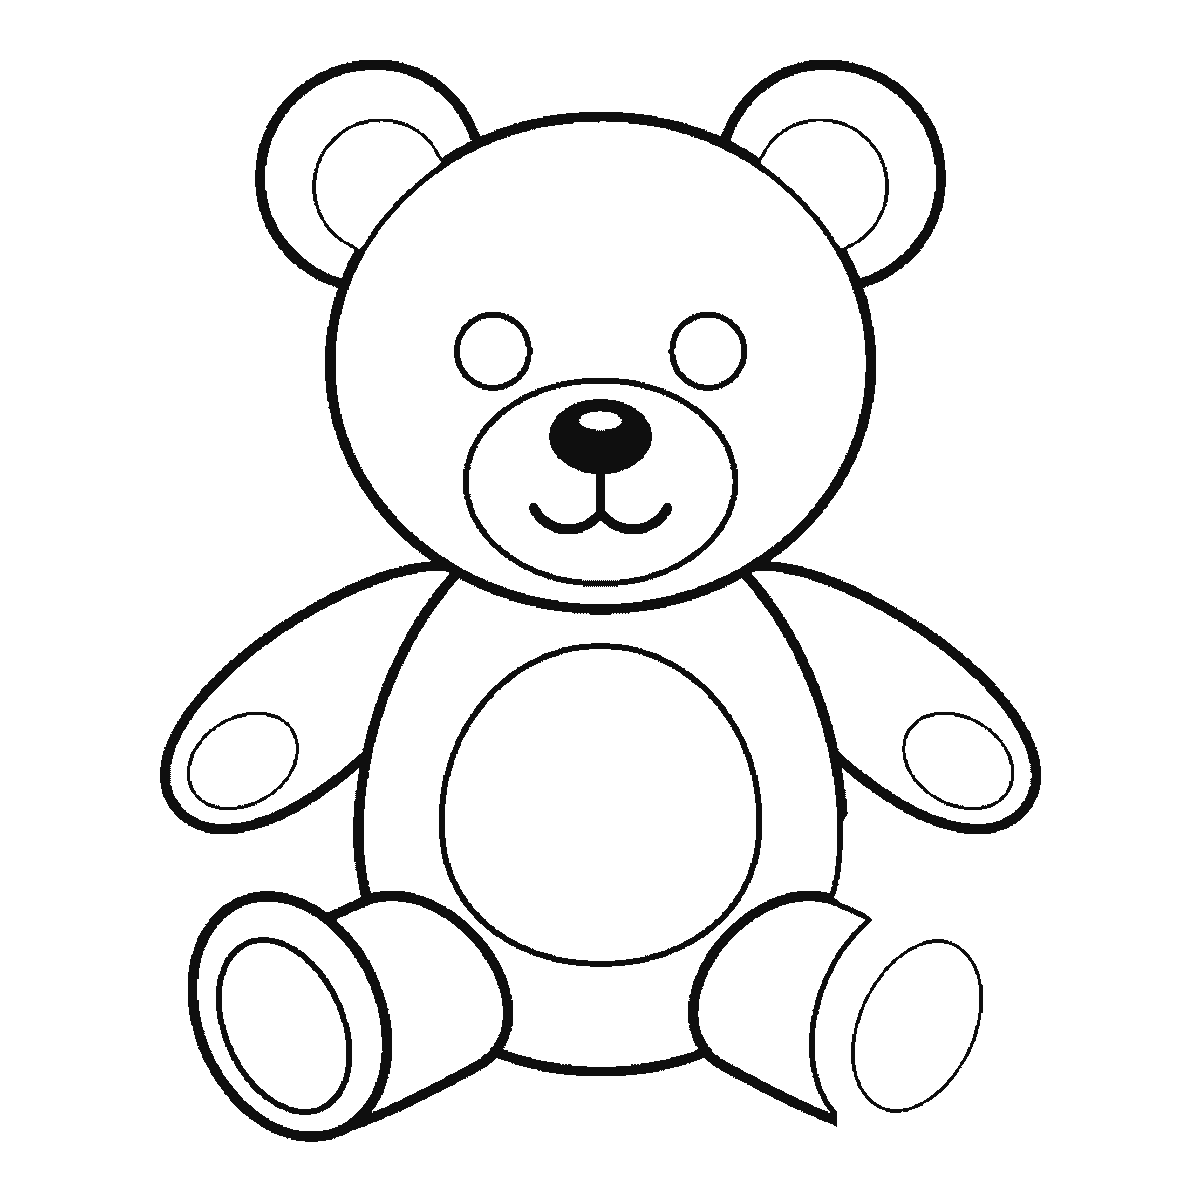
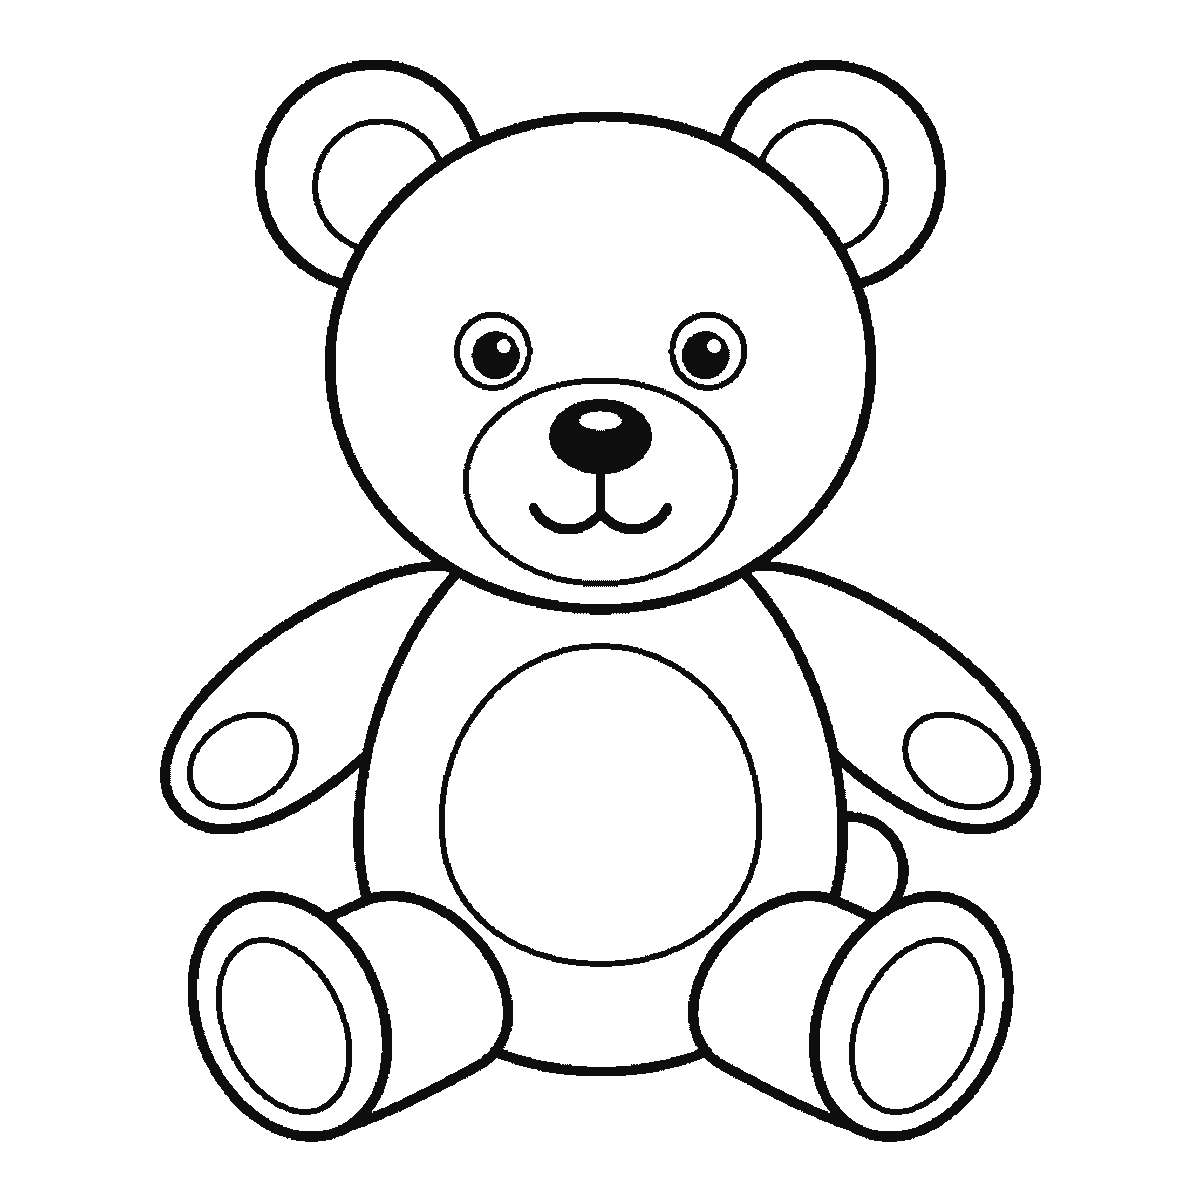
Six frames, one teddy sitting upright. A plain head circle first, then the body with the nose and mouth — and the ears one at a time, with the eyes right at the end.
This sheet takes one drawing of a teddy bear sitting facing you and shows it six times, each frame adding to the one before it. Print it, put it beside your paper, and copy a frame at a time. A teddy is a good subject to learn on because it is built entirely out of ovals, and there is no anatomy to get wrong — a teddy bear is allowed to be any shape a teddy bear is sewn in.
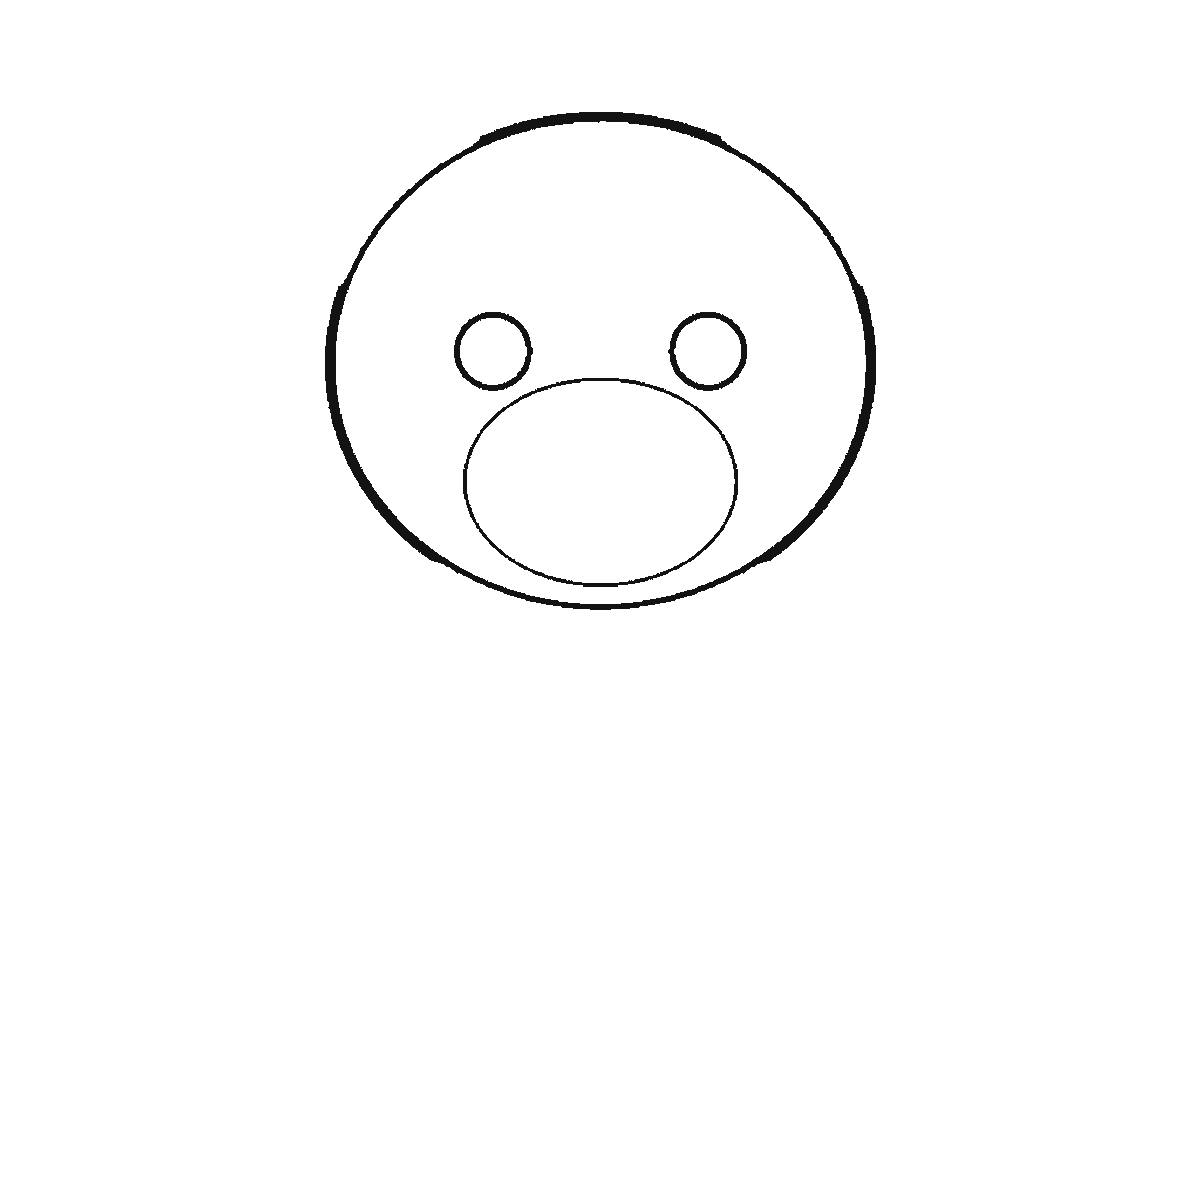
Frame one is the head: the outer circle, the oval muzzle overlapping the lower half of it, and two small empty circles where the eyes will go. No ears, no nose, no mouth — just the three shapes that set the face out. Draw the outer circle high on the page and slightly larger than you think you need, because a teddy's head is close to the same size as its body, and that ratio is most of what makes it read as a toy rather than as an animal. Place the two eye circles while the head is still empty; it is far easier than fitting them in later, which is presumably why the sheet does it here.
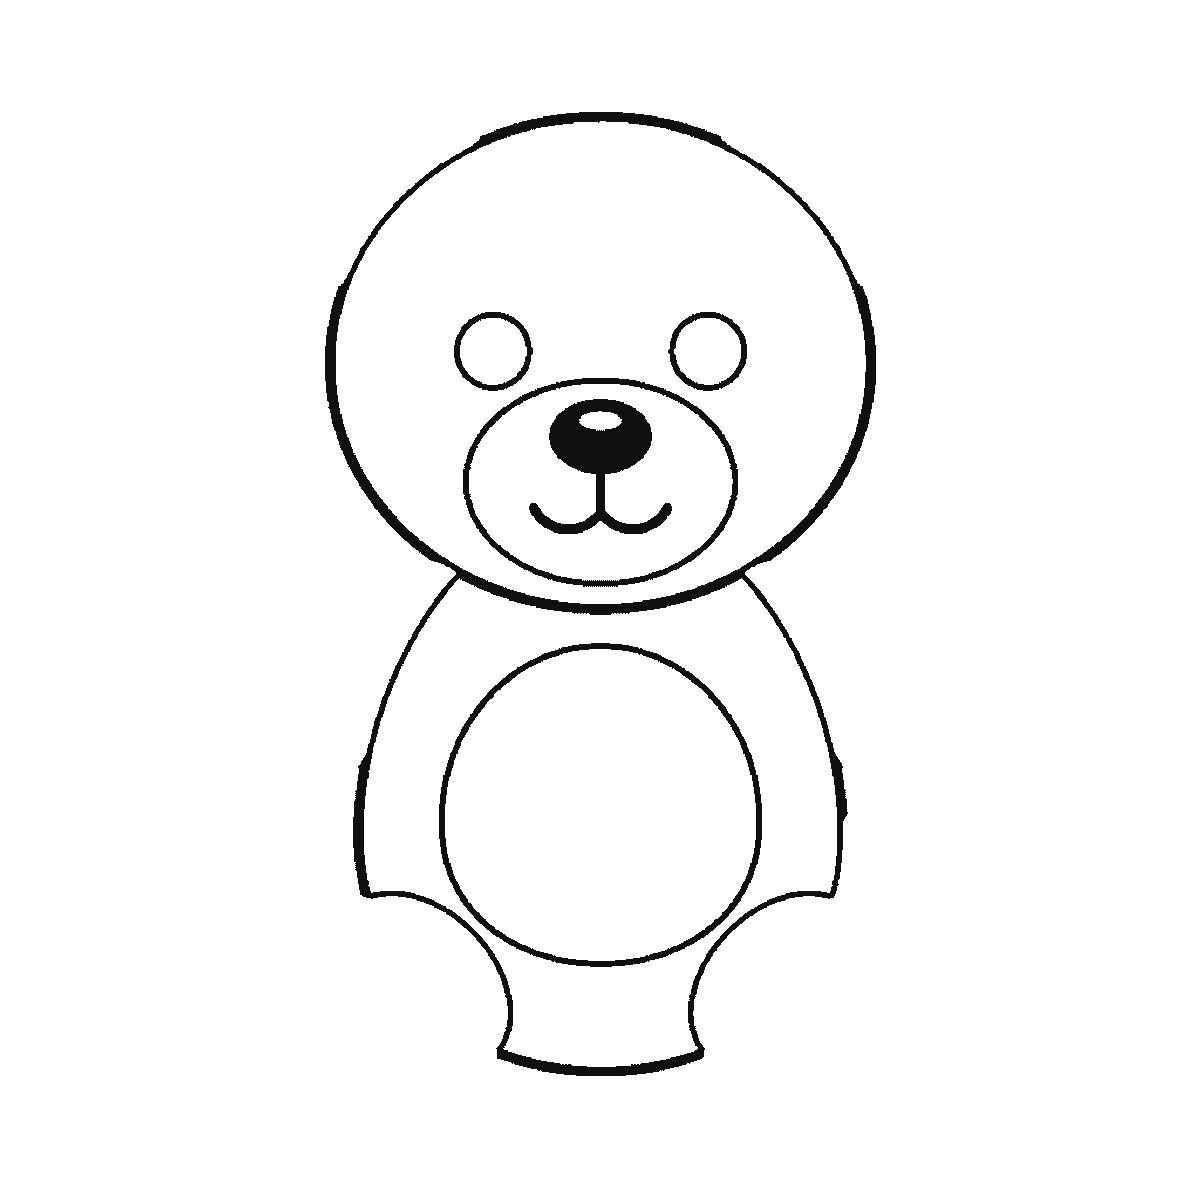
The second frame brings the body with its round belly patch, and — unexpectedly — the filled nose and the stitched mouth inside the muzzle that was already there. So the face is assembled in three separate instalments: the outlines in frame one, the nose and mouth in frame two, and the filled pupils not until frame six. That split is the thing to watch for on this sheet. Resist blacking the pupils in when you draw the nose; they read very differently once the ears have set the true width of the head, and two dots put in early are the hardest marks on the page to move.
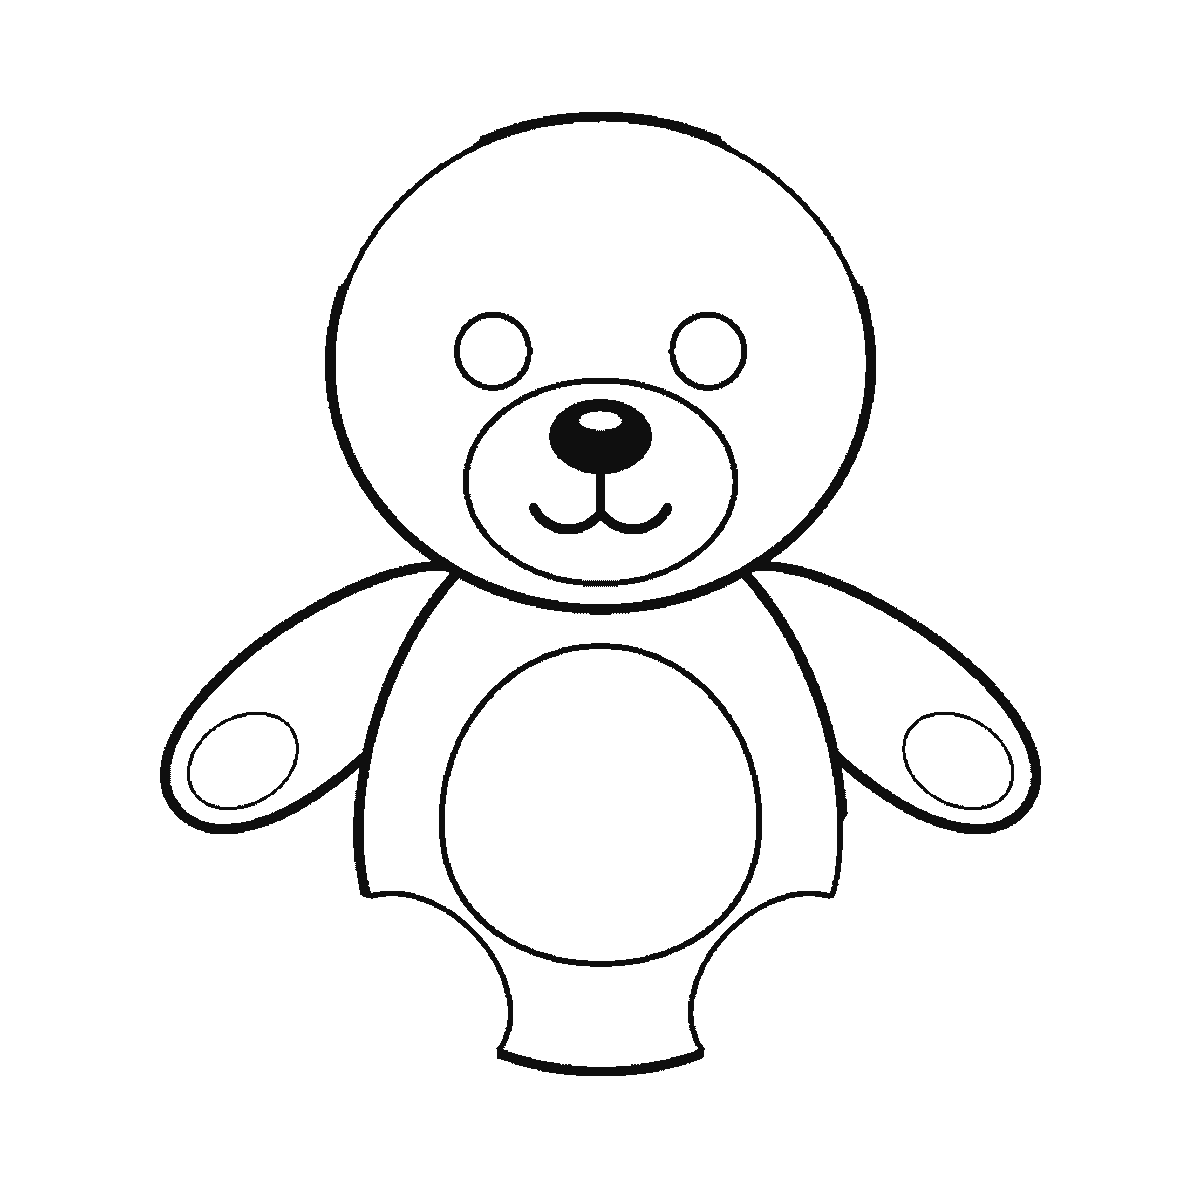
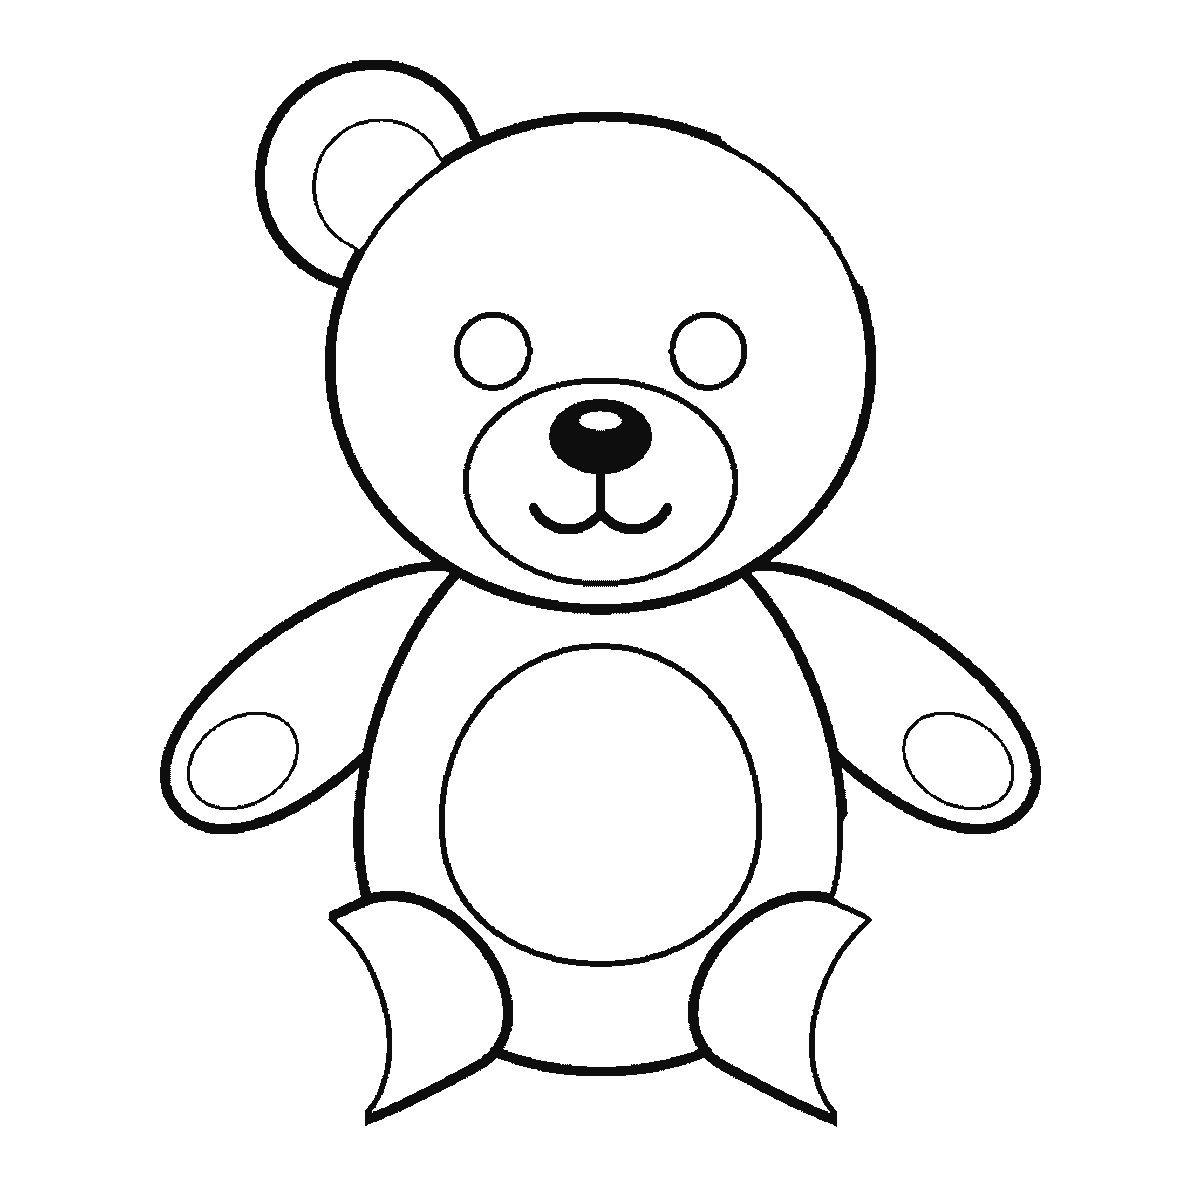
The arms arrive in frame three, both together, each a soft oval hanging from the shoulder with a paw pad shape inside it. Frame four adds the first ear and both legs. Frame five adds the second ear and the outer rims of the feet. The ears coming one at a time, in separate frames and after the limbs, is the oddest thing about the order, and it happens because on this drawing the ears are smaller closed shapes than the legs are.
The last frame fills in the two pupils, the inner shape of each ear and the paw pads. The eye circles have been sitting empty since frame one, so what happens to them here is only that they darken — but it is the step that brings the bear to life. Keep the pupils small inside their circles and leave a rim of white showing. Large eyes make the bear look like a cartoon animal; small round eyes set well apart are what read as stitched-on buttons, which is what they are meant to be.
The sequence runs from the largest closed shape to the smallest, which is why a leg comes before an ear. It is an order that is easy to copy and it is not a claim about how a teddy ought to be drawn. Anybody who draws both ears immediately after the head, so that the silhouette is right from the start, is working sensibly and will end up here anyway.
The download is one A4 page with the six frames on it, plain black outline, no shading, so it prints on any printer and the finished frame colours in without the lines closing up.
The proportion worth experimenting with is the limb length. Draw the same bear again with the arms and legs half as long and everything else identical: it stops being a bear and becomes a much younger, rounder toy. Then draw it with the limbs a third longer and it reads as an old-fashioned jointed bear. Neither is more correct than the other, and being able to move a drawing between them on purpose is a more useful skill than being able to copy one of them accurately.
Before you start
- Make the head nearly as big as the body. Realistic bear proportions make a teddy look like a real bear cub.
- Keep the eyes small and set them wide. Big eyes turn a stitched toy into a cartoon animal.
- Draw the muzzle as a clear separate oval overlapping the head circle rather than as lines drawn on the face.
- The paw pads read best as ovals set slightly off-centre on each paw — dead-centre pads look printed on.
Published Updated 677 words
The six steps
The steps go from the largest shape to the smallest, which is an easy order to copy. It is not the only order, and it is not a rule — if you would rather start somewhere else on the sheet, do.
Step 1
Step 2
Step 3
Step 4
Step 5
Step 6
More in this section
How to draw a guitar
Six frames, one acoustic guitar standing upright. The body first, the headstock and tuning pegs second — and no strings anywhere, which is deliberate.
Step sequence made by us from a single drawing: each step keeps the lines of the one before it and adds to them.
How to draw a heart
Six frames, one plain symmetrical heart with a wide border and six smaller ones. The inside comes first and the outline second.
Step sequence made by us from a single drawing: each step keeps the lines of the one before it and adds to them.
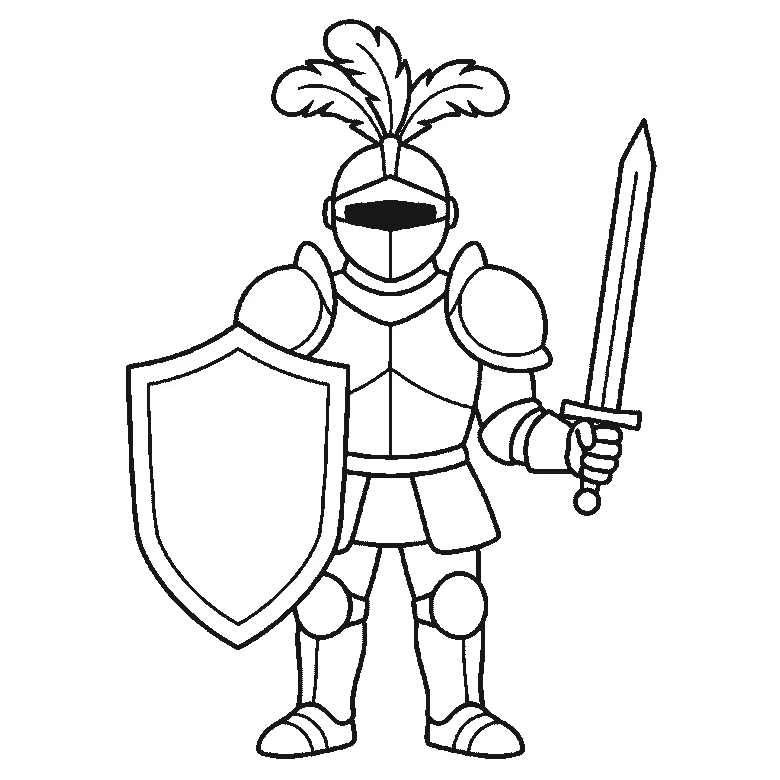
How to draw a knight
Six frames, one suit of plate armour with the visor down. The shield and the sword come first, and the helmet almost last.
Step sequence made by us from a single drawing: each step keeps the lines of the one before it and adds to them.
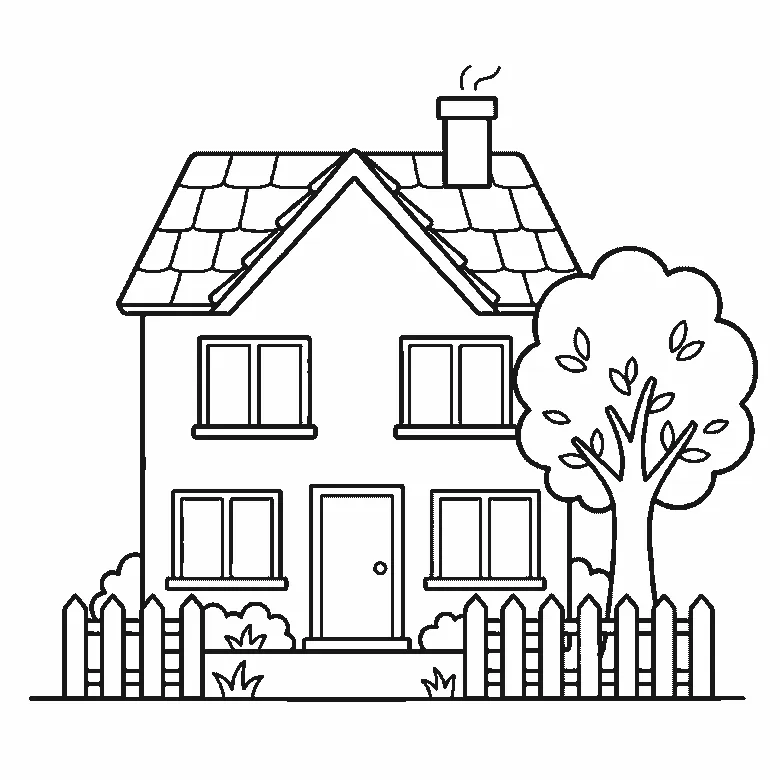
How to draw a house
Six frames, one detached house with a garden. The walls and roofline first, then the windows, the door, the fence and the tiles.
Step sequence made by us from a single drawing: each step keeps the lines of the one before it and adds to them.
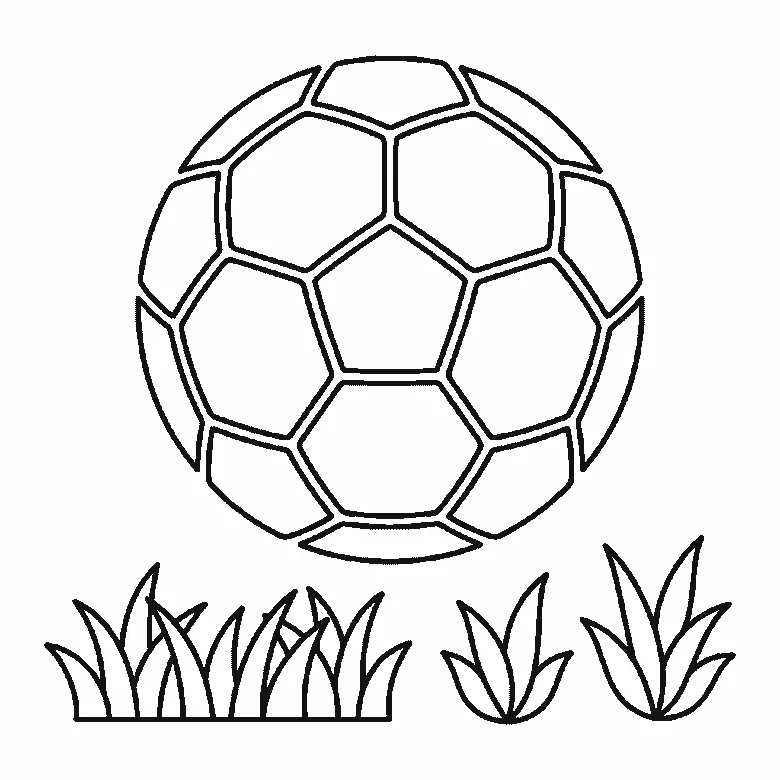
How to draw a football
Six frames, one football above the grass. The panels first, then the outline that closes round them, then the grass.
Step sequence made by us from a single drawing: each step keeps the lines of the one before it and adds to them.
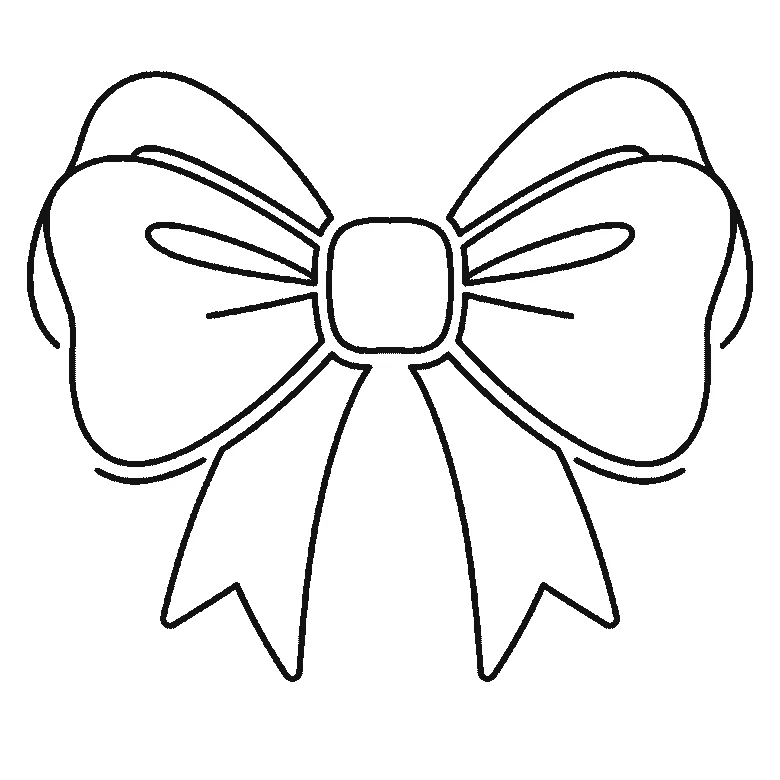
How to draw a bow
Six frames, one tied ribbon bow. The hanging tails first, then the loops, the knot and the folds.
Step sequence made by us from a single drawing: each step keeps the lines of the one before it and adds to them.
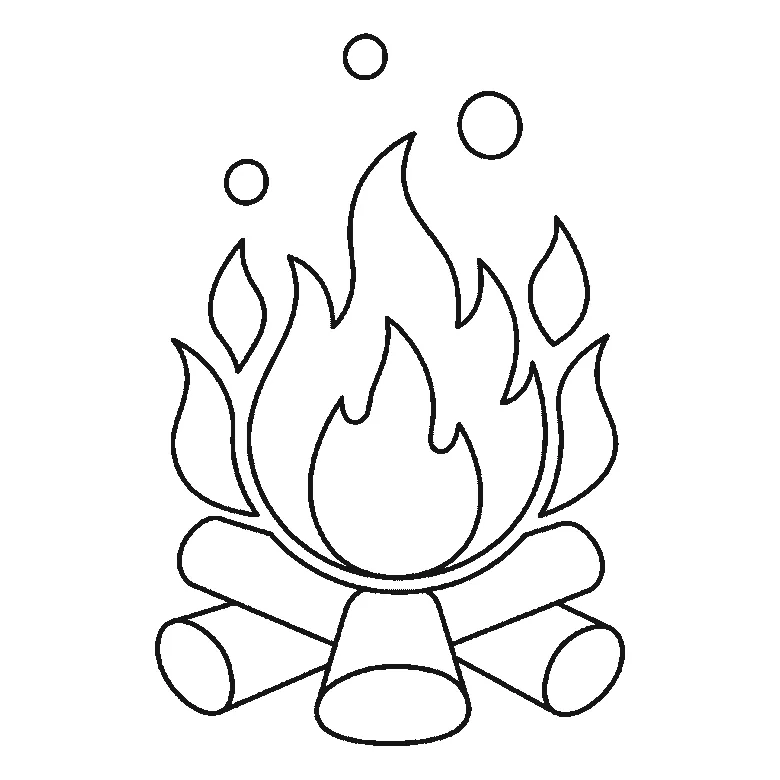
How to draw fire
Six frames, one campfire. The main flame first, then the logs, the smaller flames and the sparks.
Step sequence made by us from a single drawing: each step keeps the lines of the one before it and adds to them.


