
PDF · A4 · 102 KB · Free, no sign-up. For home and classroom use.
How to draw a heart
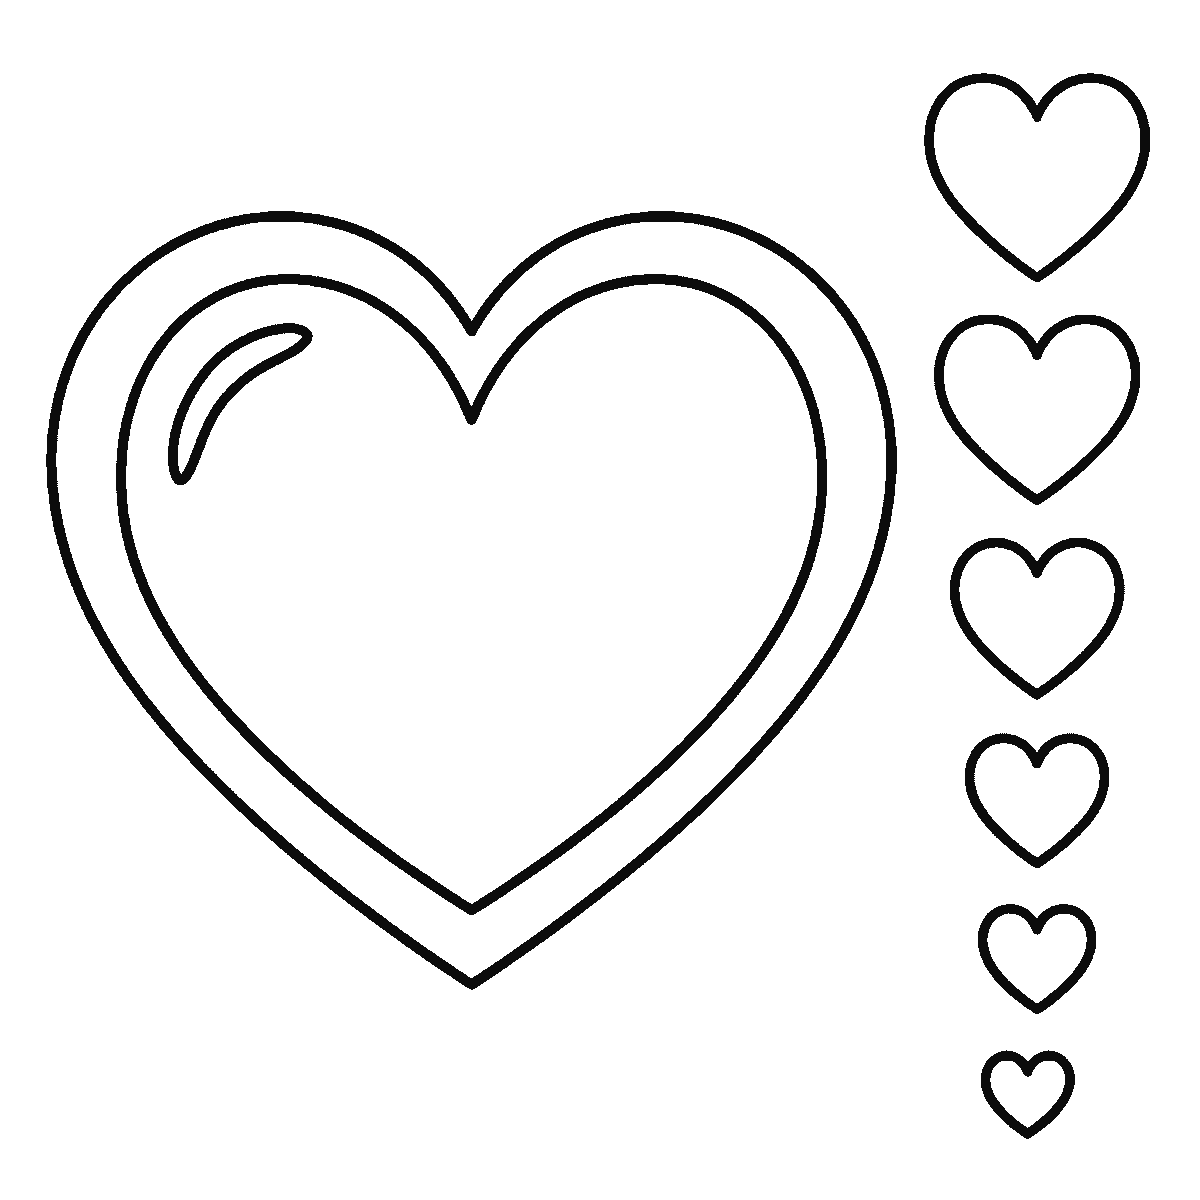
Six frames, one plain symmetrical heart with a wide border and six smaller ones. The inside comes first and the outline second.
A heart is the first thing most people try to draw freehand and one of the hardest to get symmetrical, which is an odd combination. There is no anatomy to fall back on and no detail to hide behind: two lobes, two curves down to a point, and any wobble in one half is immediately obvious against the other. This sheet takes one drawing of a heart and shows it six times, each frame carrying everything the frame before it had and adding a little more.
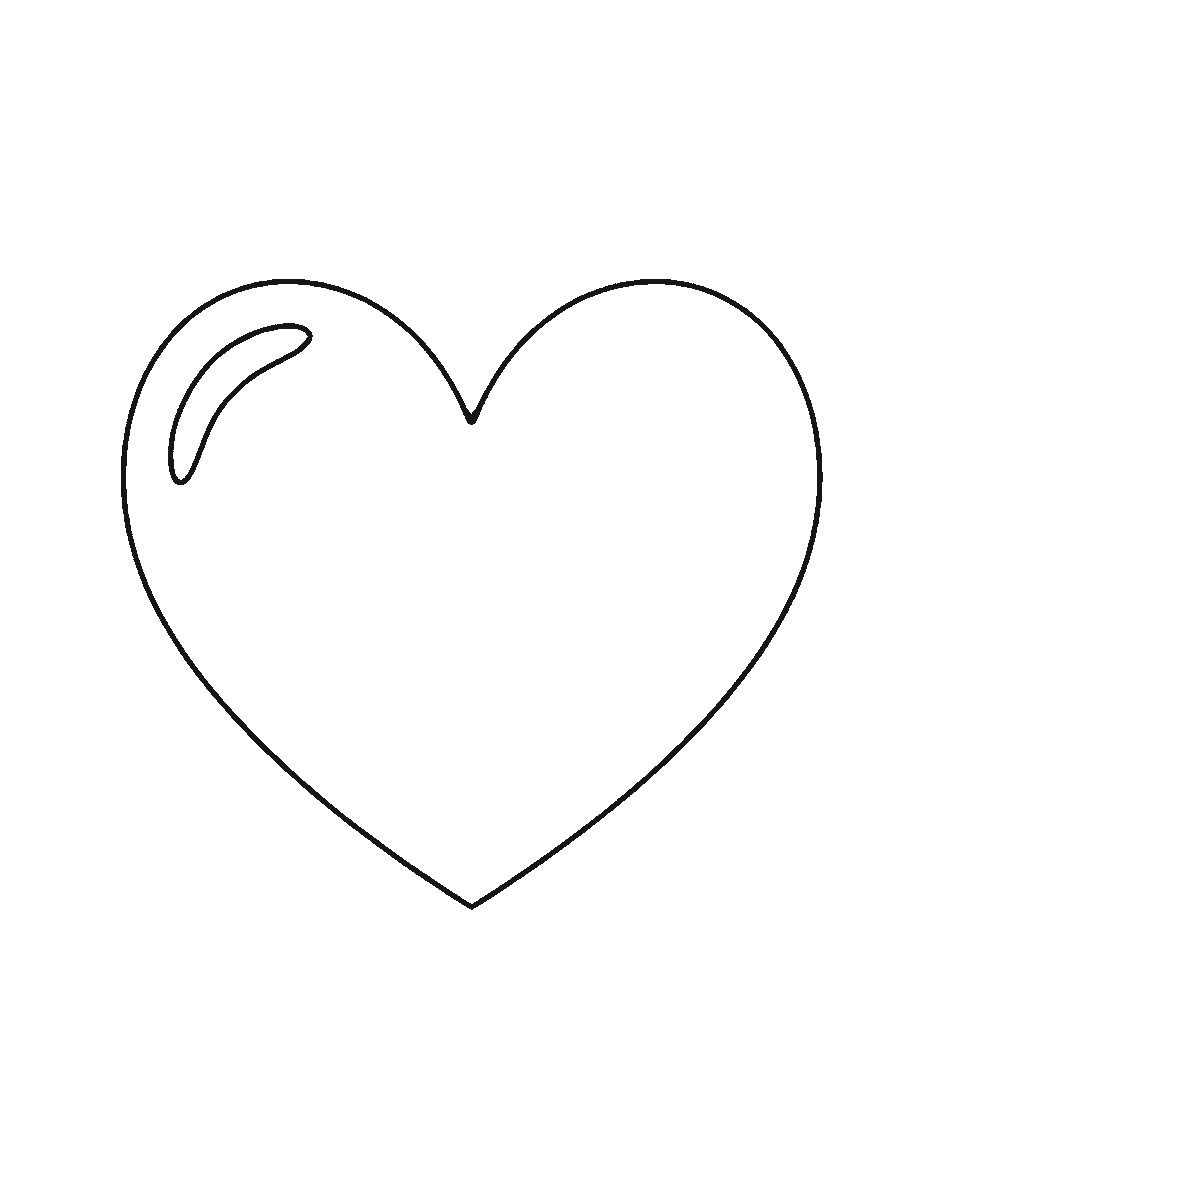
Frame one is the INNER heart — the smaller of the two outlines — drawn on its own, with the first faint stroke of the highlight inside it. That is worth knowing before you start, because the shape you copy first is not the outside edge of the finished drawing. It is a complete plain heart in its own right, and if you stop after frame one you have one.
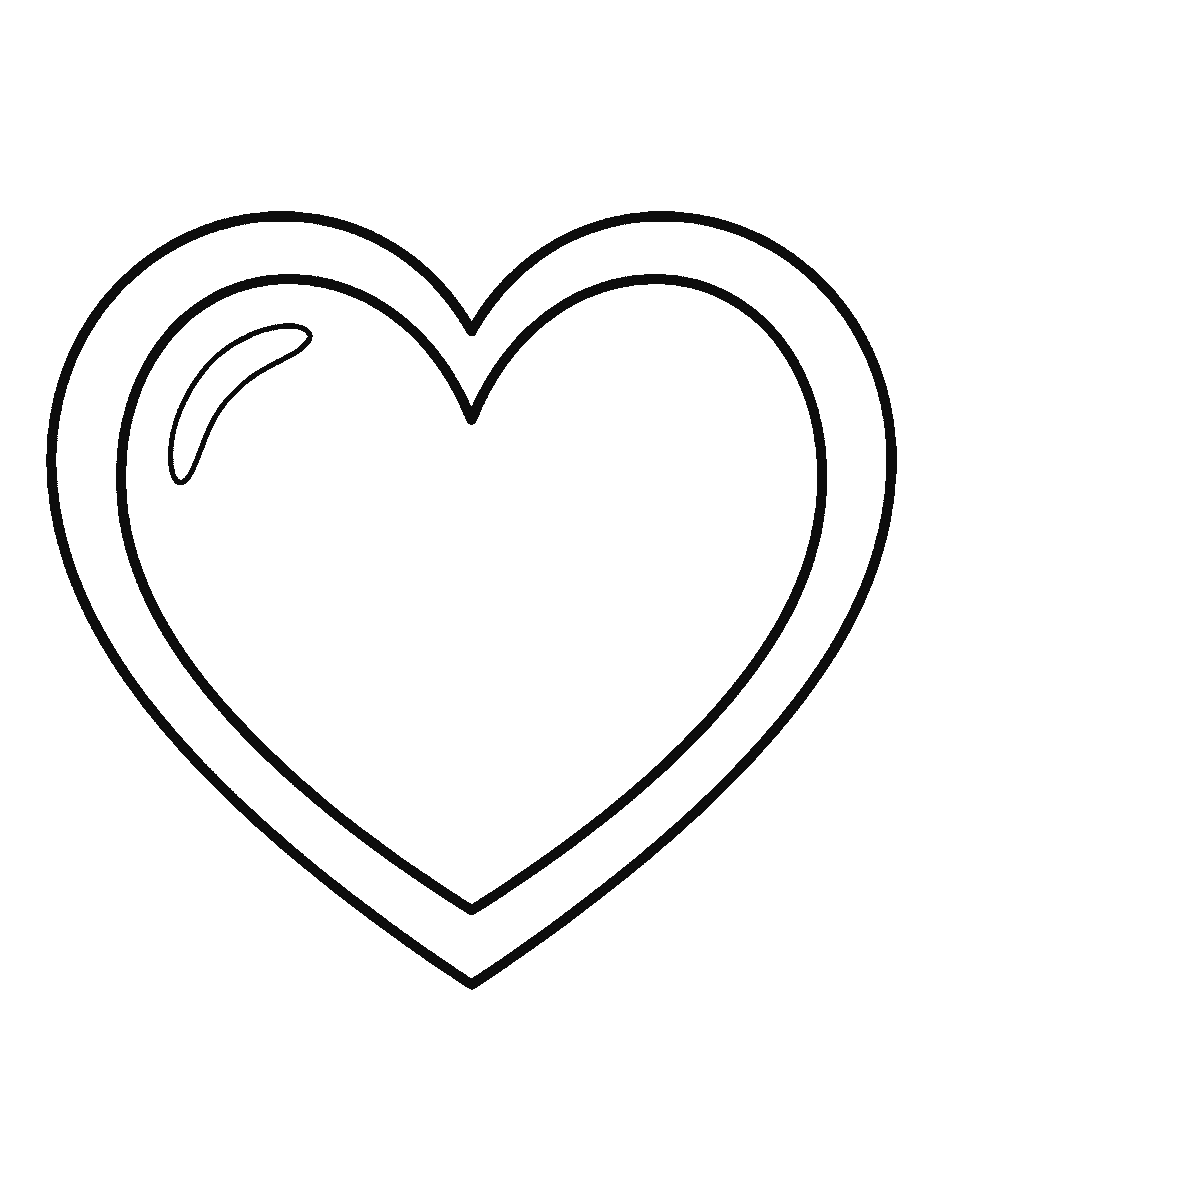
The outer outline arrives in frame two, drawn all the way round the first at an even distance, and this is by a wide margin the biggest single addition on the sheet: it adds nearly half of all the ink in the drawing. Copy the gap rather than the line. Pick a distance — a finger’s width works — and keep it constant from the point, up one side, round both lobes and back down. A band that narrows at the point and widens at the lobes is the commonest way this drawing goes wrong, and it happens because people follow the curve by eye instead of measuring the gap.
For the heart itself, the trick that helps most is to stop thinking of it as one shape. Draw a light vertical line down the middle of your paper first. Then draw one half — the lobe, the outward swell, the long curve in to the point — and use the centre line to place the mirror of it. Working from a centre line is how you avoid the lopsided heart where one lobe sits higher than the other, and it costs one pencil stroke you rub out at the end.
The point matters more than the lobes. A heart reads as a heart because the two long curves meet at a single sharp point, and beginners routinely round it off or let the two sides cross. Bring both curves in on a straight-ish run for the last stretch and let them meet cleanly. If one arrives lower than the other you can see it from across a room.
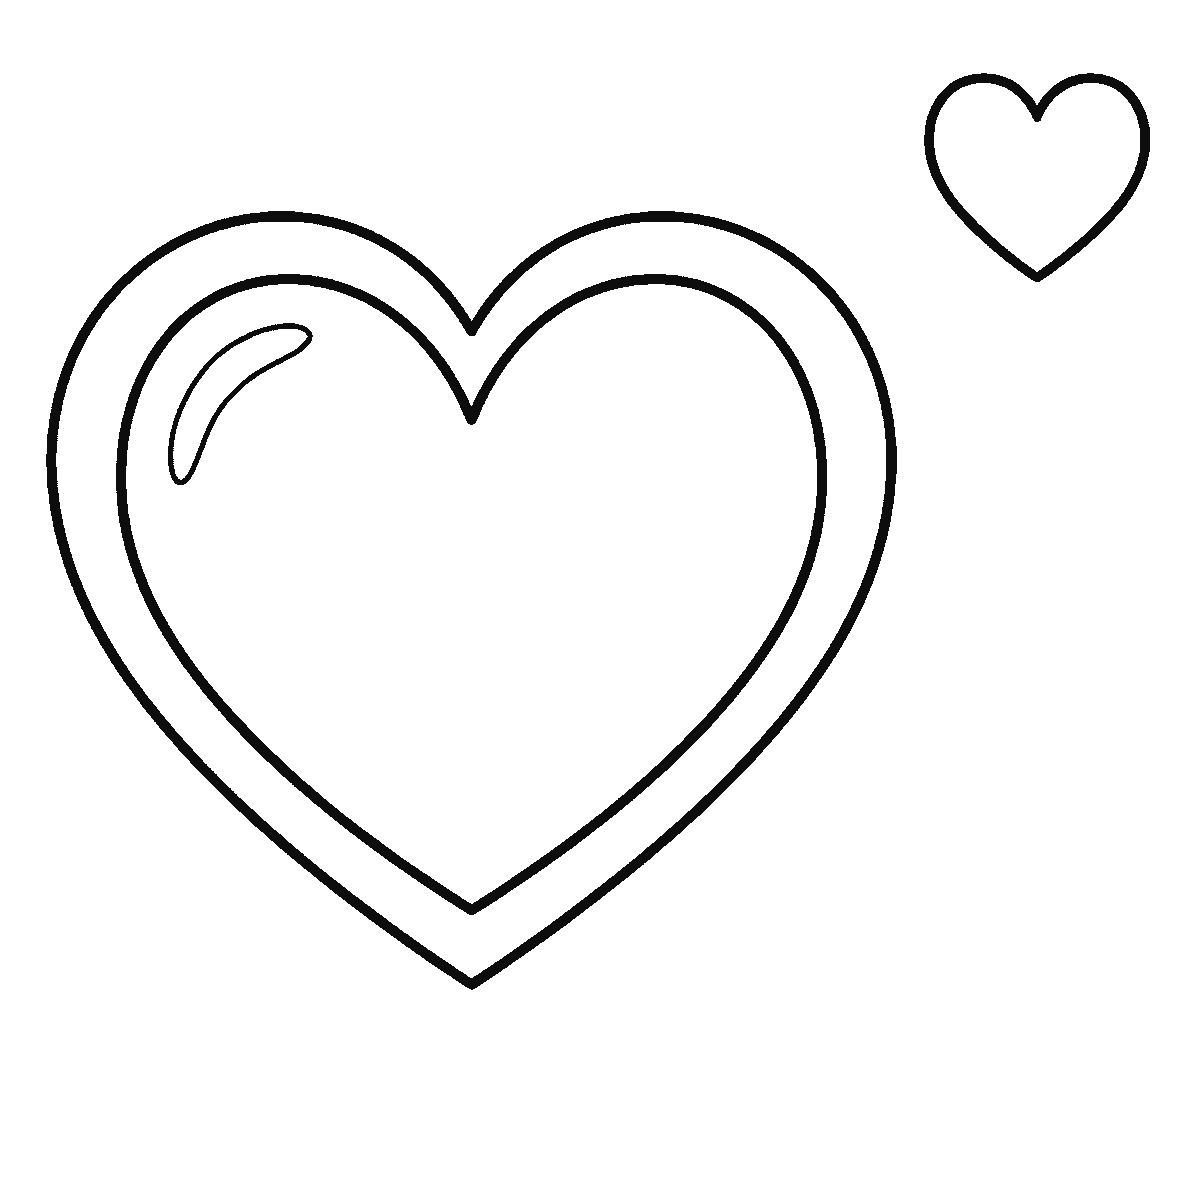
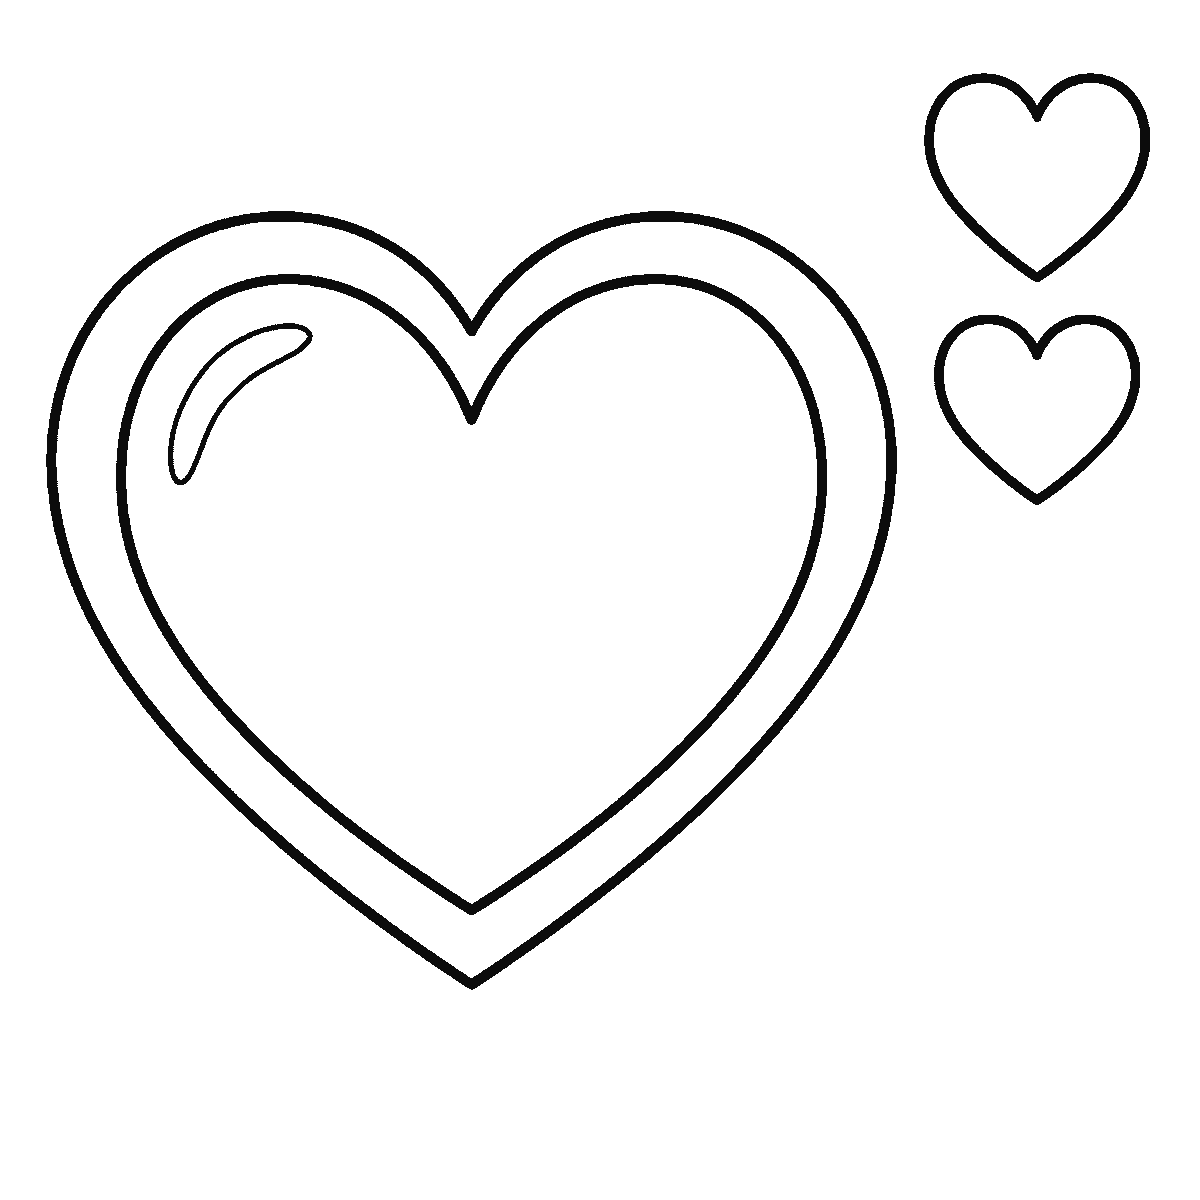
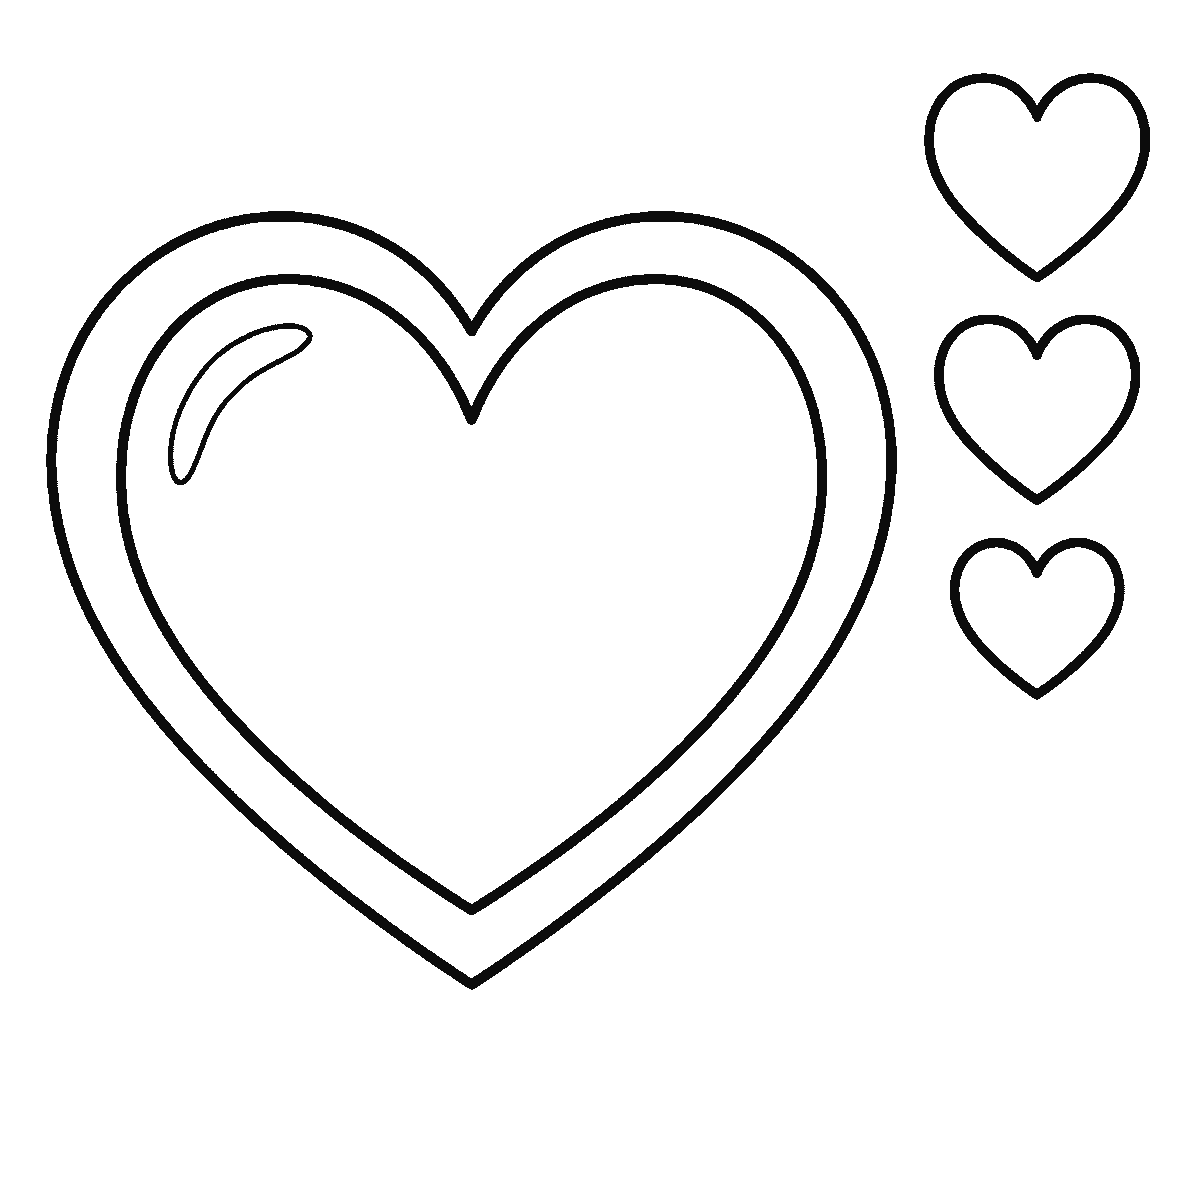
Frames three, four and five each bring in ONE of the smaller hearts beside the main one, largest first. They are plain single outlines with no band, and they are all clearly different sizes. That difference is the point: a row of equal hearts reads as a border pattern, and hearts at different sizes read as something scattered.
The last frame does three things at once. It brings the highlight up to its full weight, and it adds the three SMALLEST hearts together rather than one at a time. The highlight is worth a sentence of its own, because it appears twice on this sheet: a fine line in frame one and the finished stroke in frame six. That is not a mistake in the sheet — it is how the frames are built, and it means the shape is there from the start and only gets its proper weight at the end.
The highlight is also the one part of the drawing that is optional and the one that does the most work. It is a short curved streak set inside the upper left of the inner heart, following the curve of the lobe rather than cutting across it. It reads as a shine on a rounded surface, and it is what stops the heart looking like a flat cut-out. Put it in the wrong place — centred, or on the point — and the effect vanishes entirely.
The six frames run from the largest closed shape to the smallest, which for this drawing means inner heart, outer band, then the smaller hearts by size. It is not a claim that this is the right way to draw a heart; starting from the outer edge and working in is at least as sensible and gives you the same picture. What the order does show is that the band is a shape in its own right and not a decoration added to a line.
The download is one A4 page with all six frames on it, so a class can work from one sheet each. It is a plain black outline on white with nothing shaded, and it prints on any printer. Coloured in, the band and the inner heart take different shades well, and the six small hearts give a colourist somewhere to try six of them.
Before you start
- Rule a light vertical line down the middle first and draw one half against it. Nothing else fixes a lopsided heart.
- Copy the GAP between the two outlines, not the outer line itself. Pick a width and hold it all the way round.
- Let the two long curves meet at a genuine point. A rounded bottom stops reading as a heart at any distance.
- Make the six small hearts obviously different sizes. Equal ones turn into a border pattern.
Published Updated 813 words
The six steps
The steps go from the largest shape to the smallest, which is an easy order to copy. It is not the only order, and it is not a rule — if you would rather start somewhere else on the sheet, do.
Step 1
Step 2
Step 3
Step 4
Step 5
Step 6
More in this section
How to draw a knight
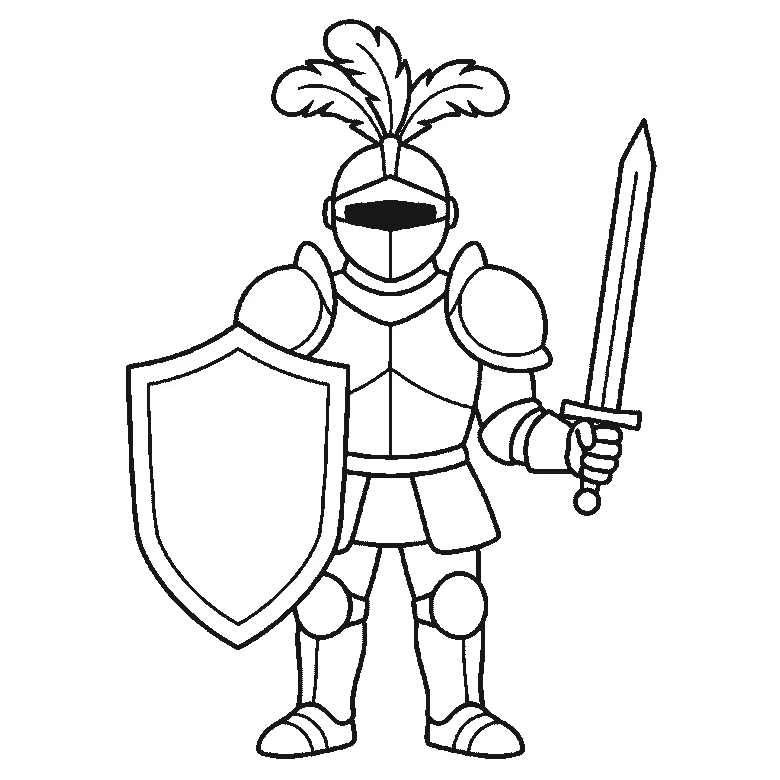
Six frames, one suit of plate armour with the visor down. The shield and the sword come first, and the helmet almost last.
Step sequence made by us from a single drawing: each step keeps the lines of the one before it and adds to them.
How to draw a house
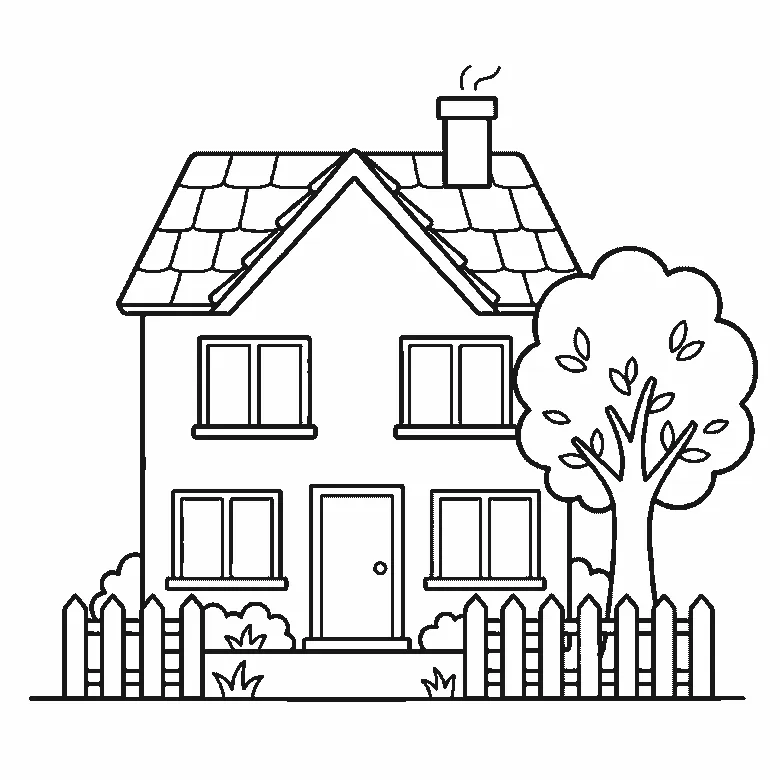
Six frames, one detached house with a garden. The walls and roofline first, then the windows, the door, the fence and the tiles.
Step sequence made by us from a single drawing: each step keeps the lines of the one before it and adds to them.
How to draw a football
Six frames, one football above the grass. The panels first, then the outline that closes round them, then the grass.
Step sequence made by us from a single drawing: each step keeps the lines of the one before it and adds to them.
How to draw a bow
Six frames, one tied ribbon bow. The hanging tails first, then the loops, the knot and the folds.
Step sequence made by us from a single drawing: each step keeps the lines of the one before it and adds to them.
How to draw fire
Six frames, one campfire. The main flame first, then the logs, the smaller flames and the sparks.
Step sequence made by us from a single drawing: each step keeps the lines of the one before it and adds to them.
How to draw a teddy bear
Six frames, one teddy sitting upright. A plain head circle first, then the body with the nose and mouth — and the ears one at a time, with the eyes right at the end.
Step sequence made by us from a single drawing: each step keeps the lines of the one before it and adds to them.
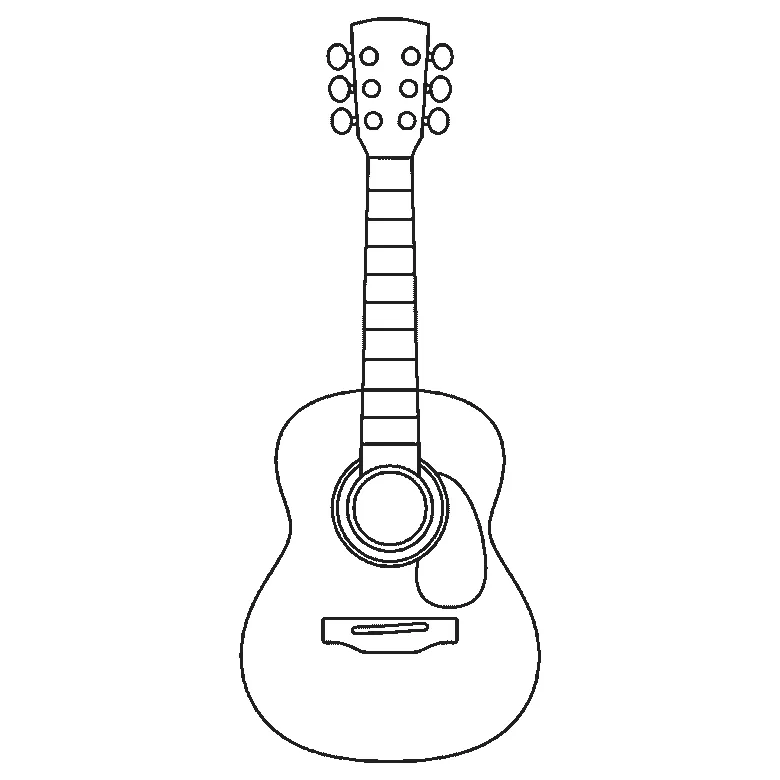
How to draw a guitar
Six frames, one acoustic guitar standing upright. The body first, the headstock and tuning pegs second — and no strings anywhere, which is deliberate.
Step sequence made by us from a single drawing: each step keeps the lines of the one before it and adds to them.


