
PDF · A4 · 31 KB · Free, no sign-up. For home and classroom use.
How to draw a guitar
Six frames, one acoustic guitar standing upright. The body first, the headstock and tuning pegs second — and no strings anywhere, which is deliberate.
This sheet takes one drawing of an acoustic guitar standing upright and shows it six times, each frame carrying everything the frame before it had and adding a little more. Print it, put it beside your paper, and copy one frame at a time.
There is one thing to say before anything else, because it is a decision rather than an accident: this guitar has no strings on it. The sheet draws the body, the sound hole, the neck, the frets, the headstock and the tuning pegs, and it leaves the six strings for you to add at the end with a ruler. That is partly because six fine parallel lines are the hardest thing on a page for a child to copy and the easiest thing to add once everything else is in place, and partly because strings drawn across the sound hole hide the shape underneath them while you are still learning it.
Frame one is the body — the whole waisted outline, with the bridge block already sitting on it. It is the biggest shape on the page and it is the one to get right, because everything else hangs off it. Frame two is the headstock at the top with all six tuning pegs, together with the upper edges of the neck. By the end of frame two you have the instrument's whole silhouette from top to bottom, which is exactly the stage at which it is still easy to fix.
The last four frames are the details, and unlike some sheets they are not an afterthought: the pickguard in frame three, the sound hole and the bridge's saddle bar in frame four, the rosette ring around the sound hole and the first fret bands in frame five, and the rest of the fret bands up the neck in frame six.
The frets are worth watching because of how the sheet draws them. Each band's outline is shared with the neck it sits inside, so the bands are sketched faintly along with the neck and only brought up to full weight in frames five and six. If you copy frame four you will already have most of the fret lines without having drawn them on purpose. It is a normal thing on these sheets and it surprises everybody the first time.
The body shape is where a guitar drawing is won or lost. It is not an oval with a bite out of it — it is two rounded lobes, the lower one distinctly bigger than the upper one, joined by a waist. Draw a light centre line first, mark how wide the lower bout is, then the upper bout at about four fifths of that, and pull the waist in between them. Getting that ratio right matters more than every detail on the rest of the page.
The six frames are ordered by which closed shape is largest, biggest first and smallest last. That is why the body comes before the headstock, and it is not a claim that this is the order a person ought to draw in. Plenty of people would start at the top of the neck and work down.
The download is one A4 page with all six frames on it, so a class can work from one sheet each. It is a plain black outline on white and prints on any printer. When you have copied the last frame, lay a ruler from the bridge to the headstock and draw six evenly spaced lines: that is the guitar finished, and doing it yourself at full size is a better lesson in spacing than copying it would have been.
Before you start
- Draw a light vertical centre line down the whole page first. A guitar is symmetrical about that line and almost nothing else on this site is.
- Make the lower bout wider than the upper one. Two equal lobes give you a figure of eight, not a guitar.
- Put the sound hole where the neck meets the body, not in the middle of the body. It is higher than most people remember.
- Add the strings last, with a ruler, and space them by eye rather than measuring. Six lines that fan very slightly look more like strings than six perfectly parallel ones.
Published Updated 608 words
The six steps
The steps go from the largest shape to the smallest, which is an easy order to copy. It is not the only order, and it is not a rule — if you would rather start somewhere else on the sheet, do.
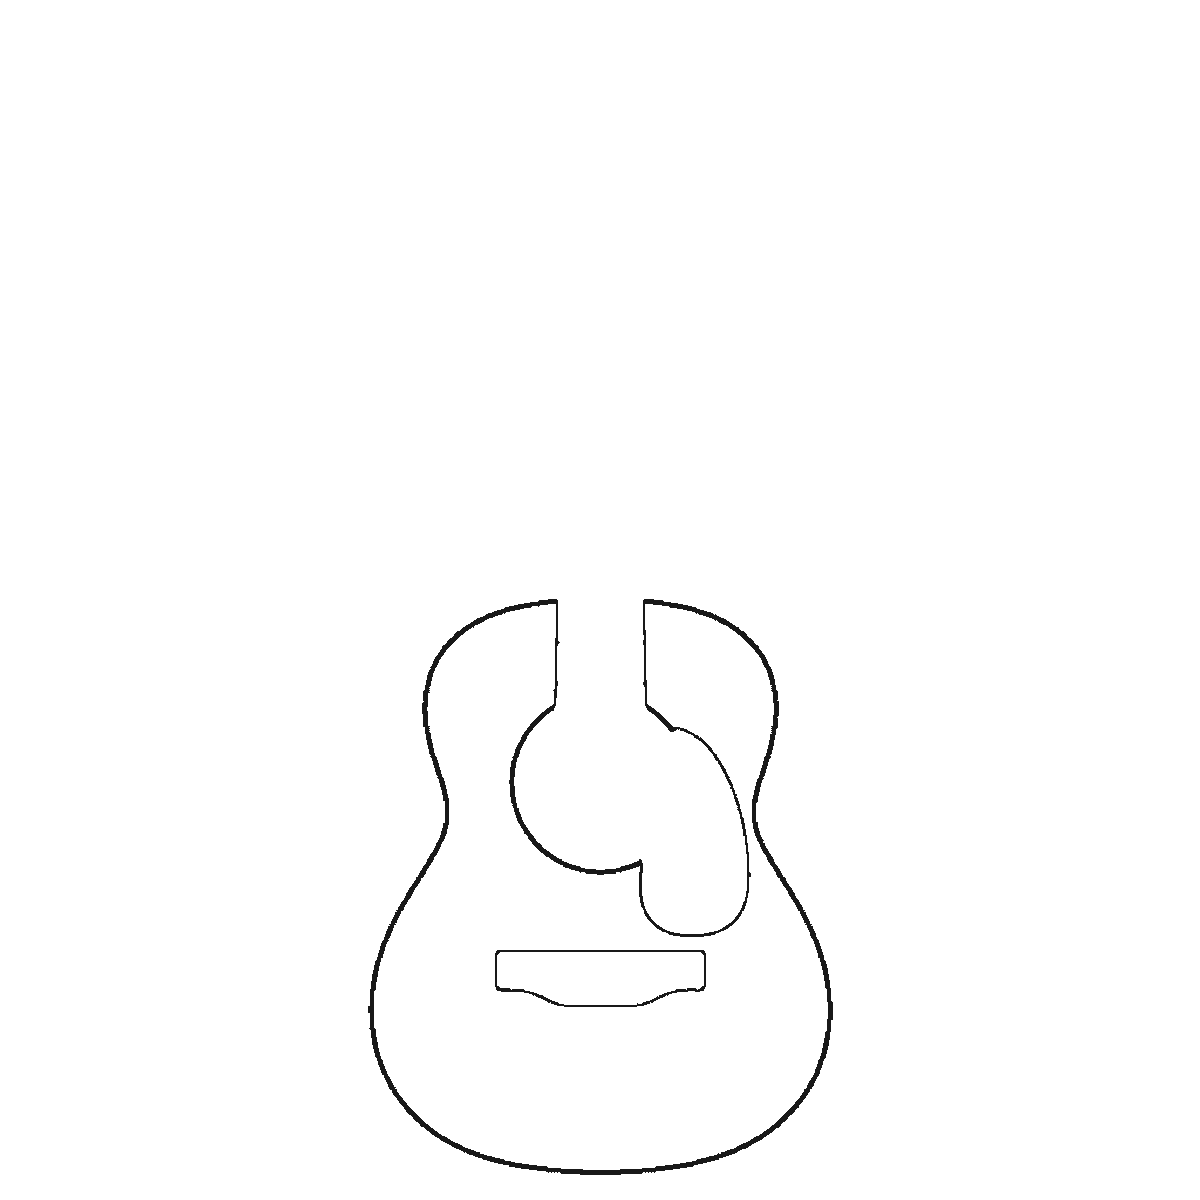
Step 1
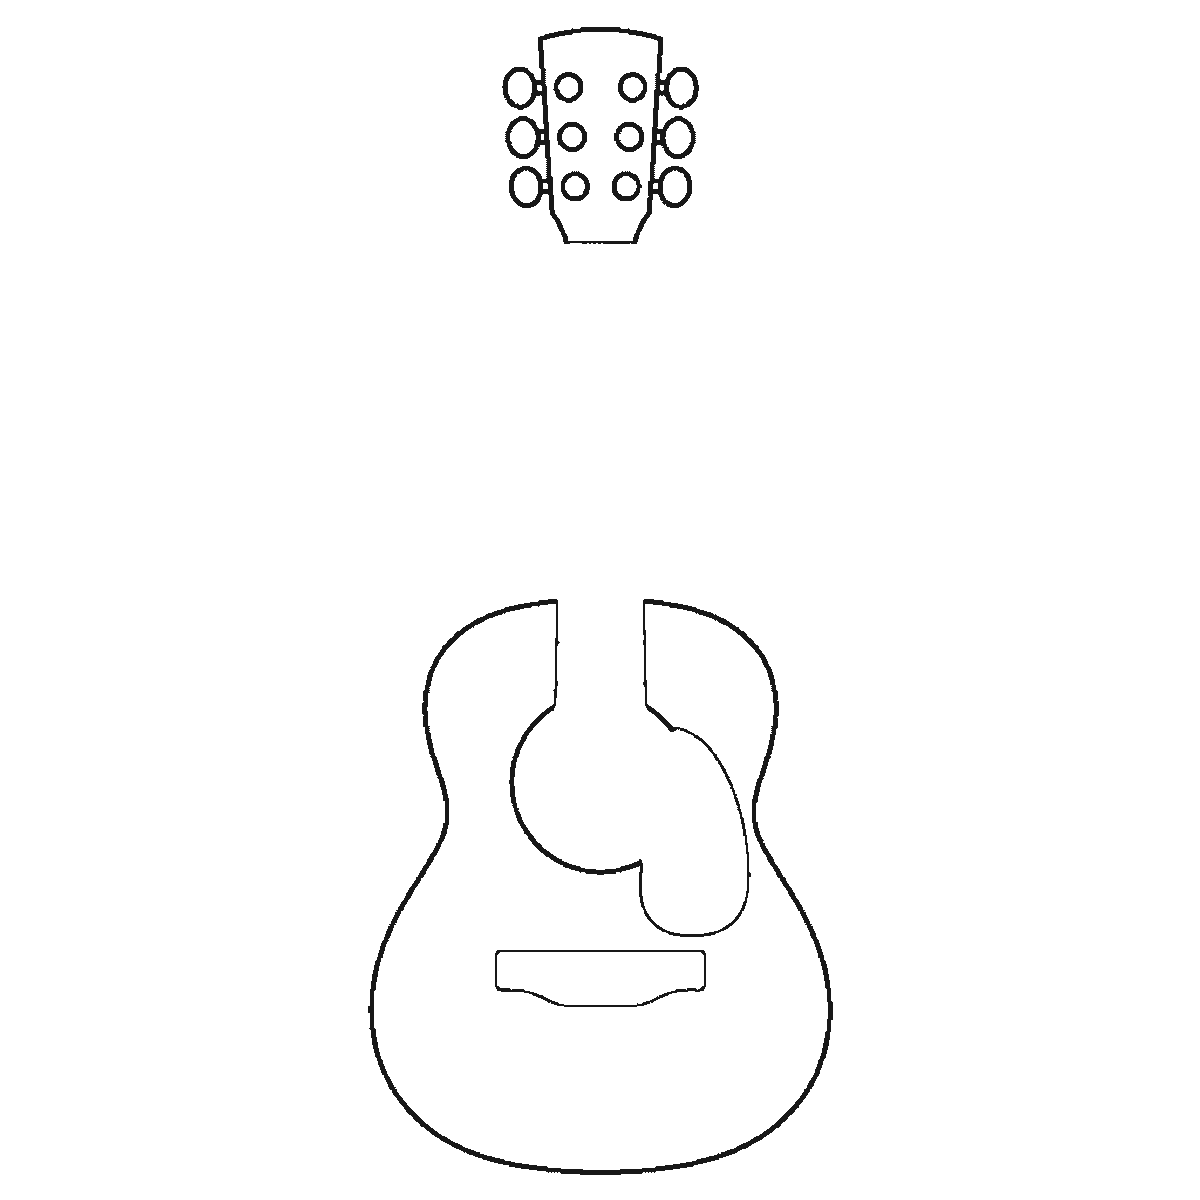
Step 2
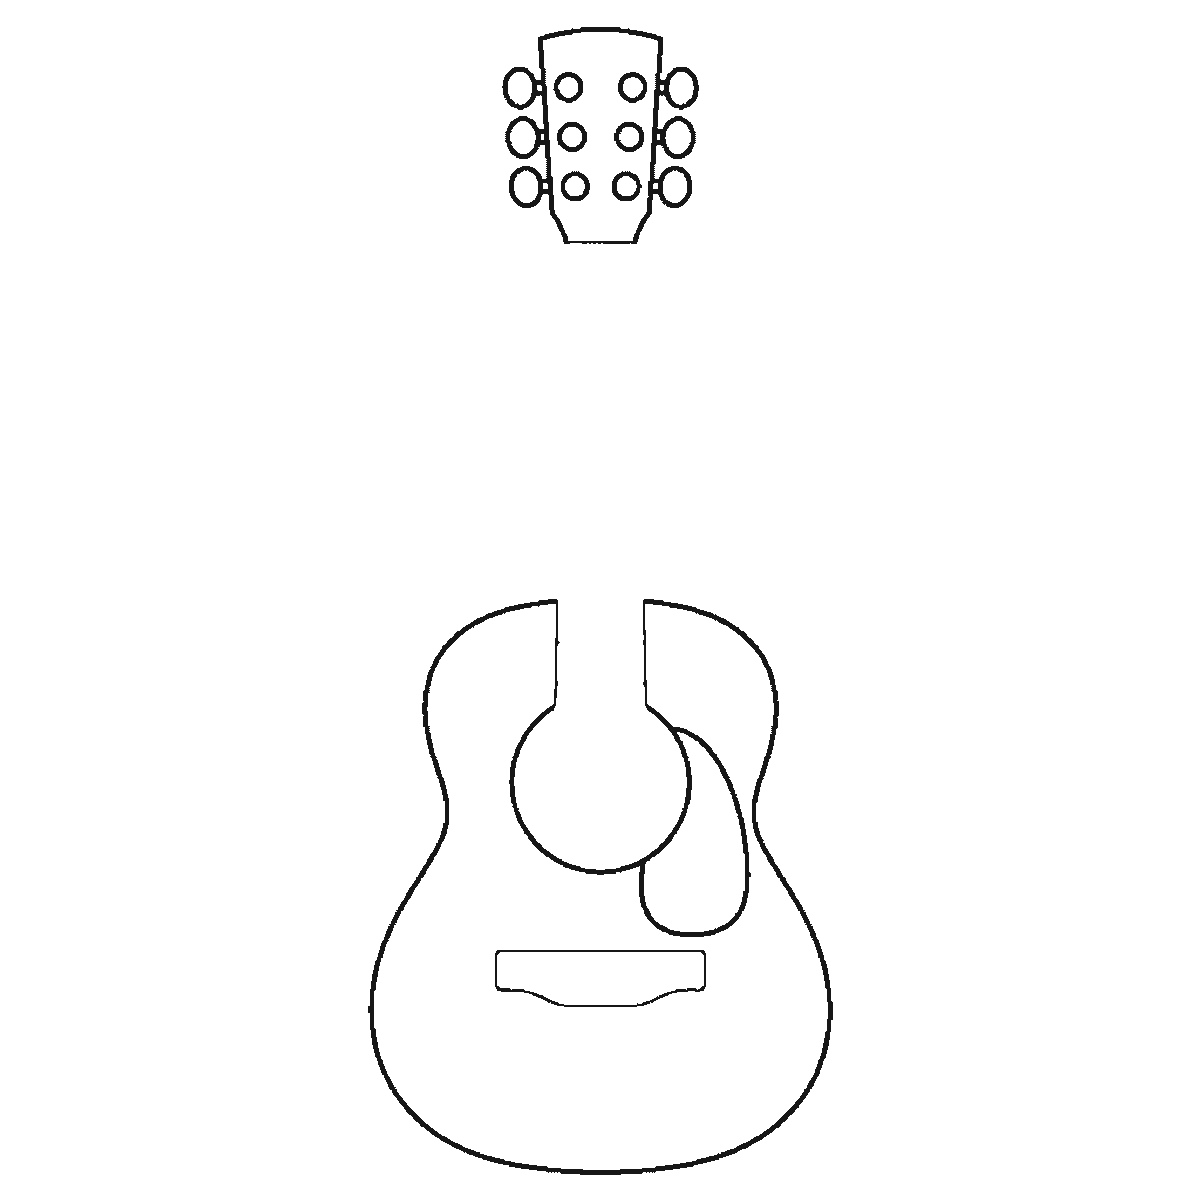
Step 3
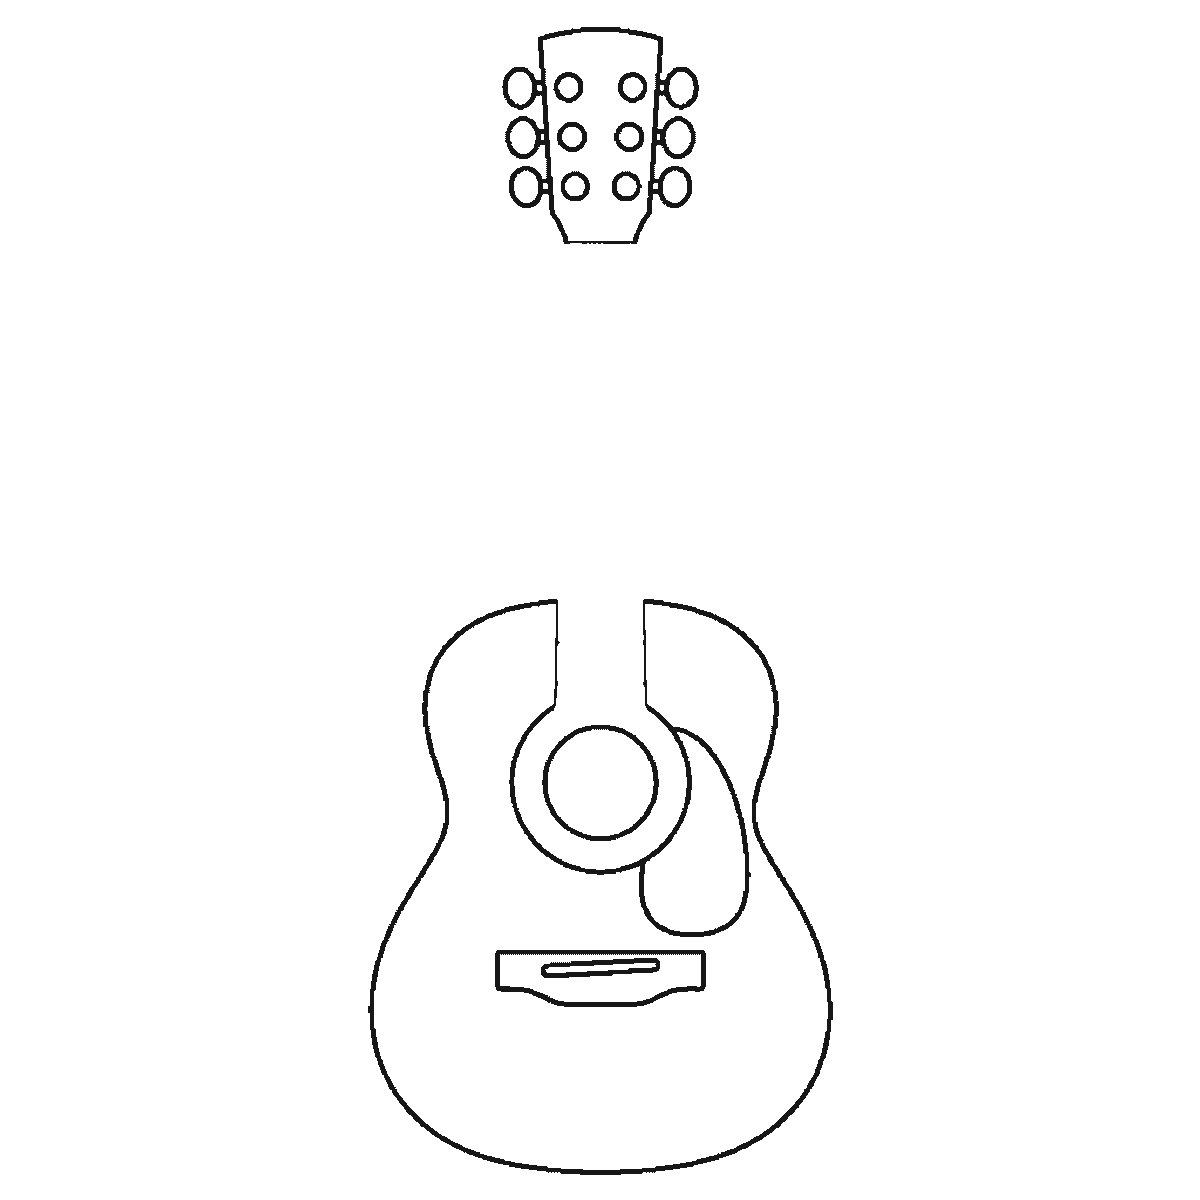
Step 4
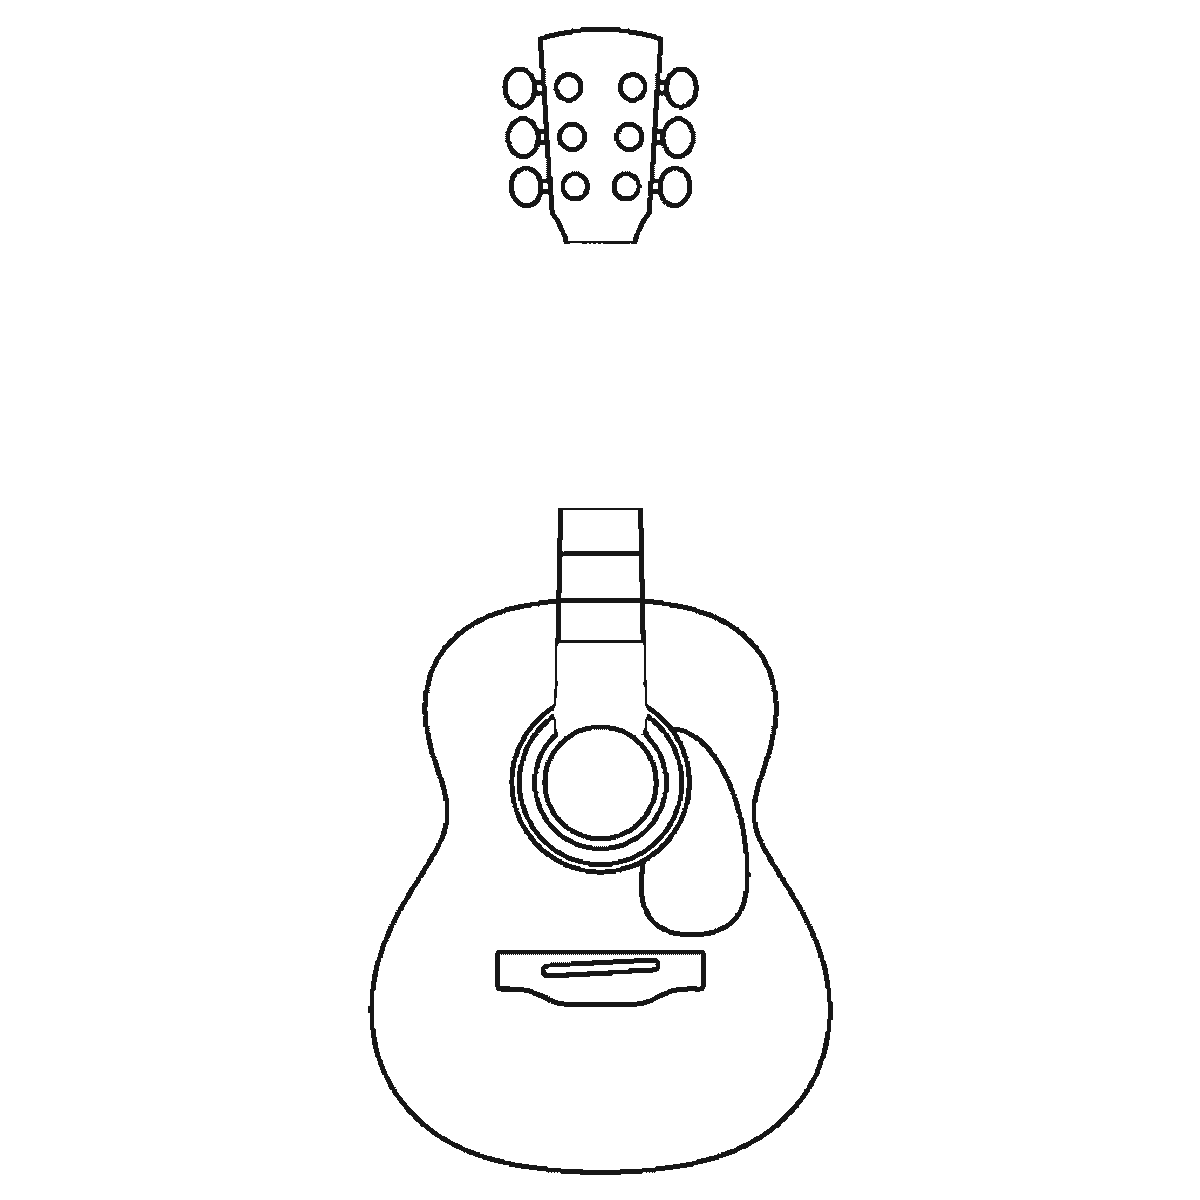
Step 5
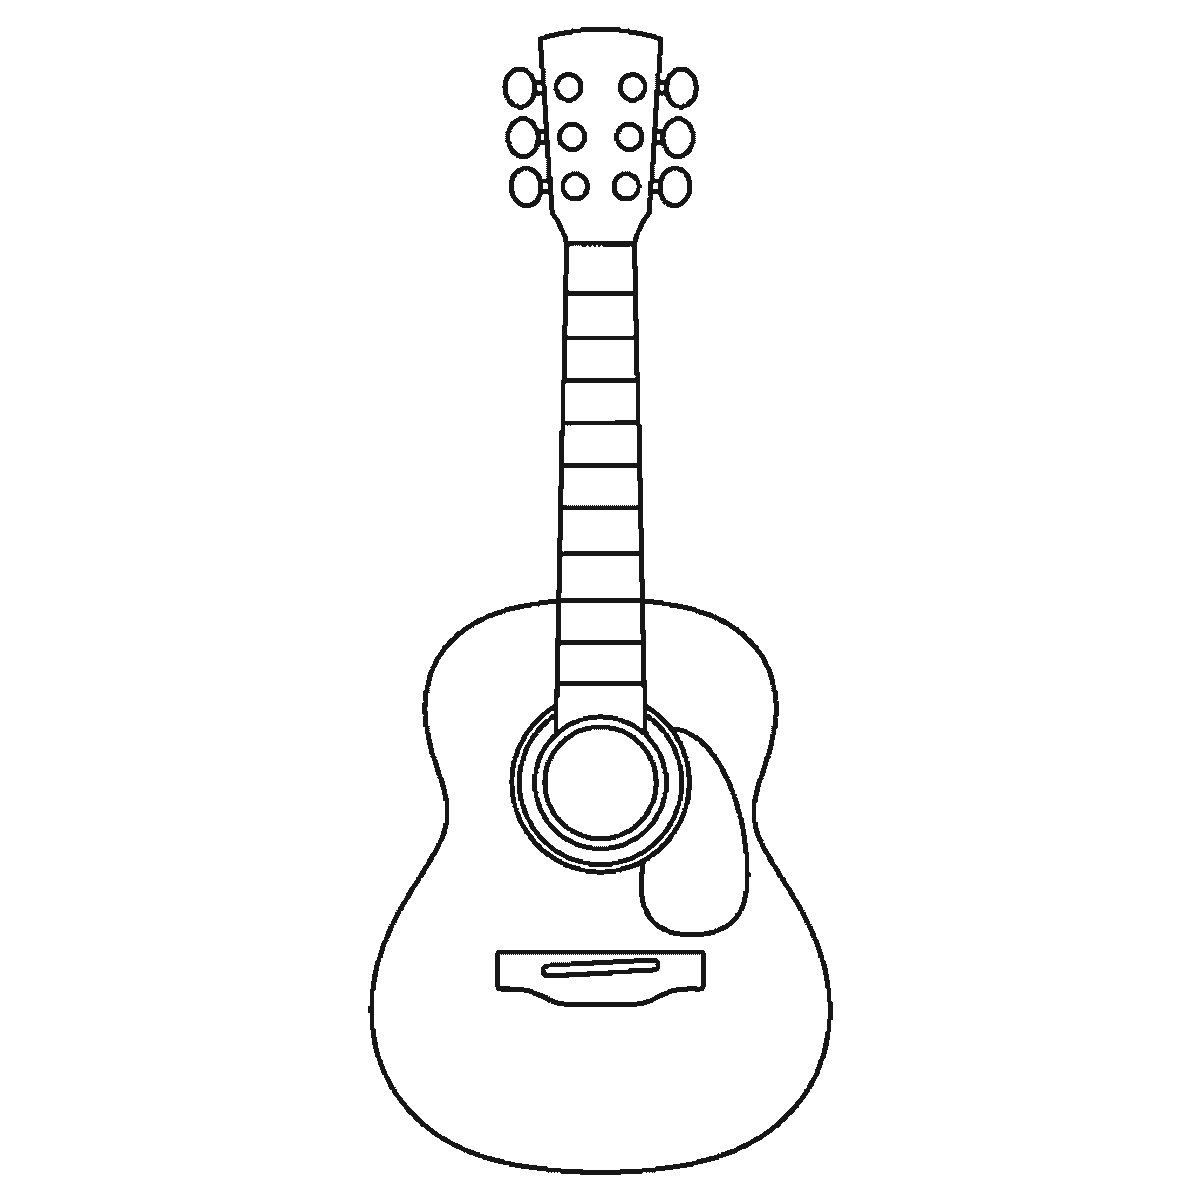
Step 6
More in this section
How to draw a heart
Six frames, one plain symmetrical heart with a wide border and six smaller ones. The inside comes first and the outline second.
Step sequence made by us from a single drawing: each step keeps the lines of the one before it and adds to them.
How to draw a knight
Six frames, one suit of plate armour with the visor down. The shield and the sword come first, and the helmet almost last.
Step sequence made by us from a single drawing: each step keeps the lines of the one before it and adds to them.
How to draw a house
Six frames, one detached house with a garden. The walls and roofline first, then the windows, the door, the fence and the tiles.
Step sequence made by us from a single drawing: each step keeps the lines of the one before it and adds to them.
How to draw a football
Six frames, one football above the grass. The panels first, then the outline that closes round them, then the grass.
Step sequence made by us from a single drawing: each step keeps the lines of the one before it and adds to them.
How to draw a bow
Six frames, one tied ribbon bow. The hanging tails first, then the loops, the knot and the folds.
Step sequence made by us from a single drawing: each step keeps the lines of the one before it and adds to them.
How to draw fire
Six frames, one campfire. The main flame first, then the logs, the smaller flames and the sparks.
Step sequence made by us from a single drawing: each step keeps the lines of the one before it and adds to them.
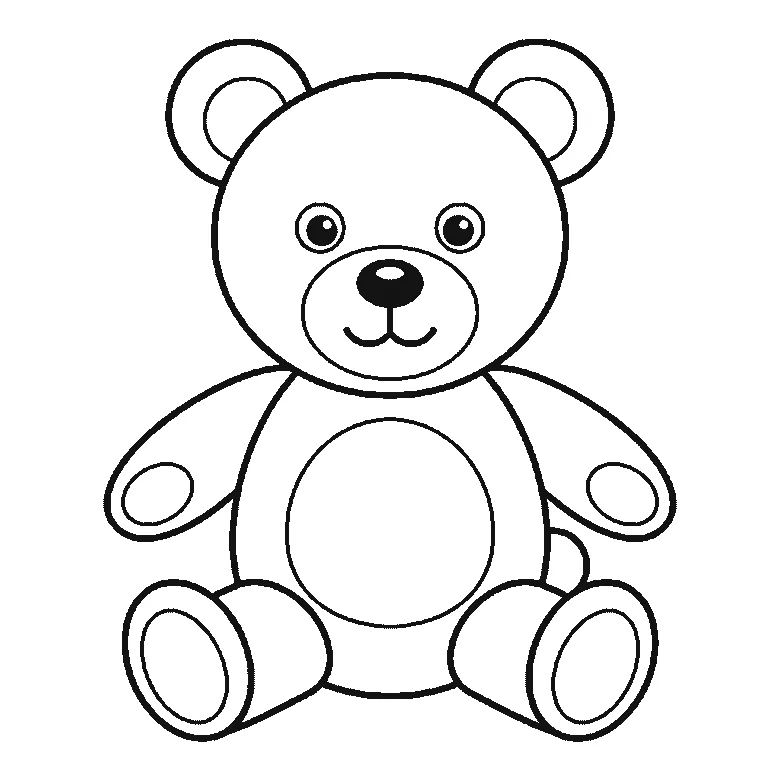
How to draw a teddy bear
Six frames, one teddy sitting upright. A plain head circle first, then the body with the nose and mouth — and the ears one at a time, with the eyes right at the end.
Step sequence made by us from a single drawing: each step keeps the lines of the one before it and adds to them.


