
PDF · A4 · 54 KB · Free, no sign-up. For home and classroom use.
How to draw a knight
Six frames, one suit of plate armour with the visor down. The shield and the sword come first, and the helmet almost last.
What this sheet draws is a SUIT OF ARMOUR standing upright, not a person. The visor is closed, there is no face anywhere in the drawing, and every part of it is a plate — which is exactly what makes it a good subject to build up frame by frame. Armour is already divided into pieces by the thing itself, so a drawing of it can be assembled the way the armour was.
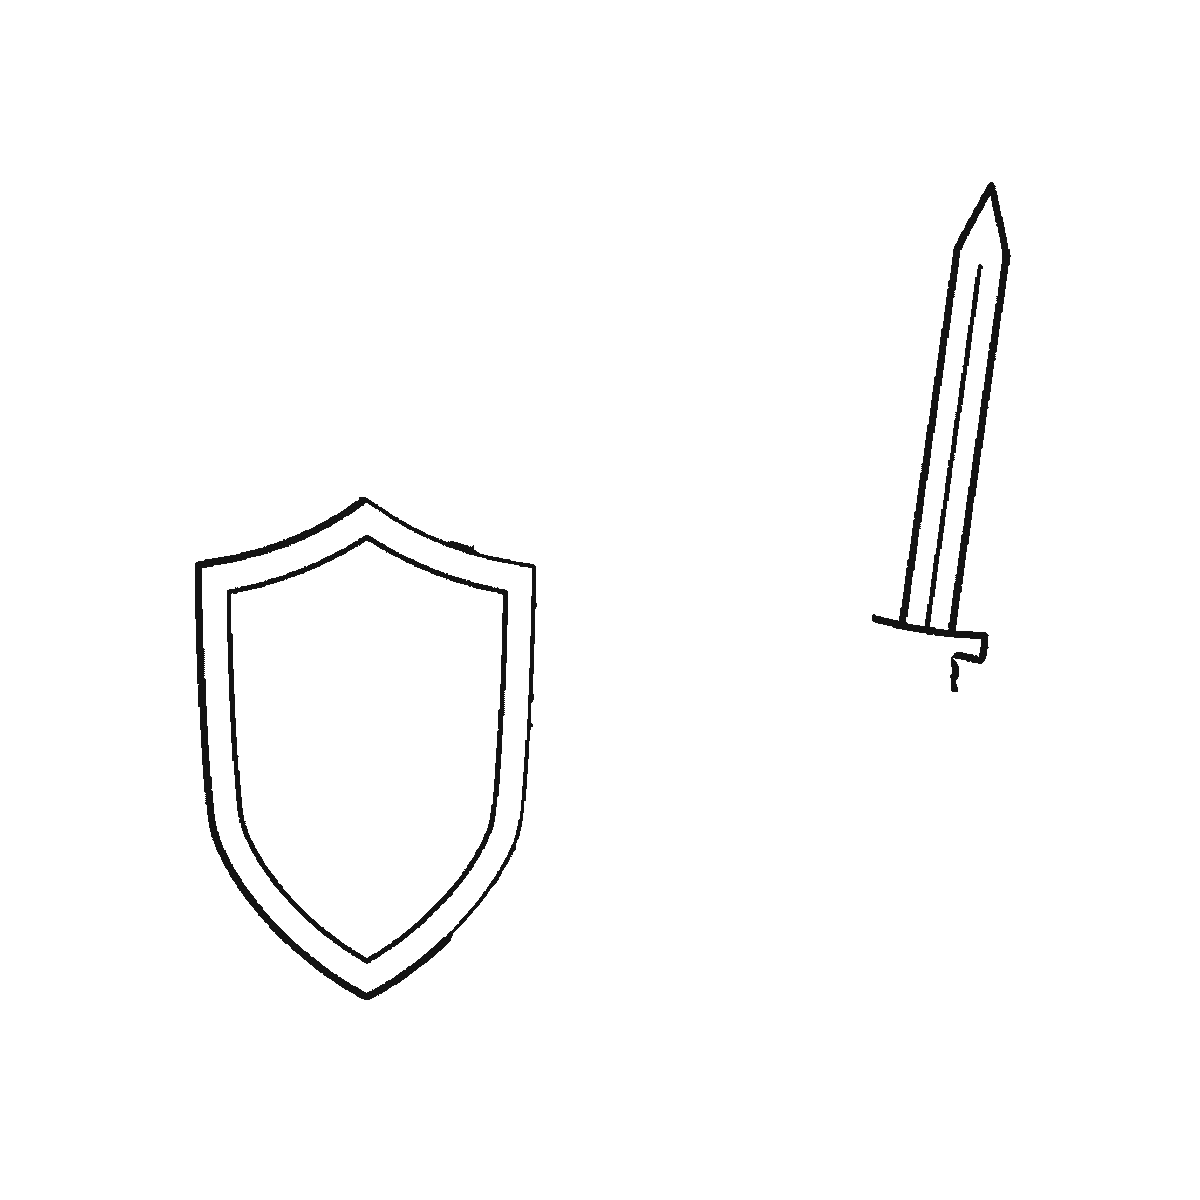
Frame one is the SHIELD and the SWORD, and nothing else. No armour at all: the two objects the knight is holding, floating where they will end up. That is a genuinely useful opening, because the shield and the raised sword set the full width and the full height of the finished drawing before you commit to anything in between. Copy both, leave the middle of the paper empty, and let the armour fill it.
The shield is worth care because it is the largest single shape on the page and its centre panel is deliberately blank. It is drawn as a tall shape, flat across the top and coming to a point at the bottom, with a second outline inside it a short distance in from the edge. That inner line is the whole of the shield’s decoration and it is what stops the shape reading as a plain slab.
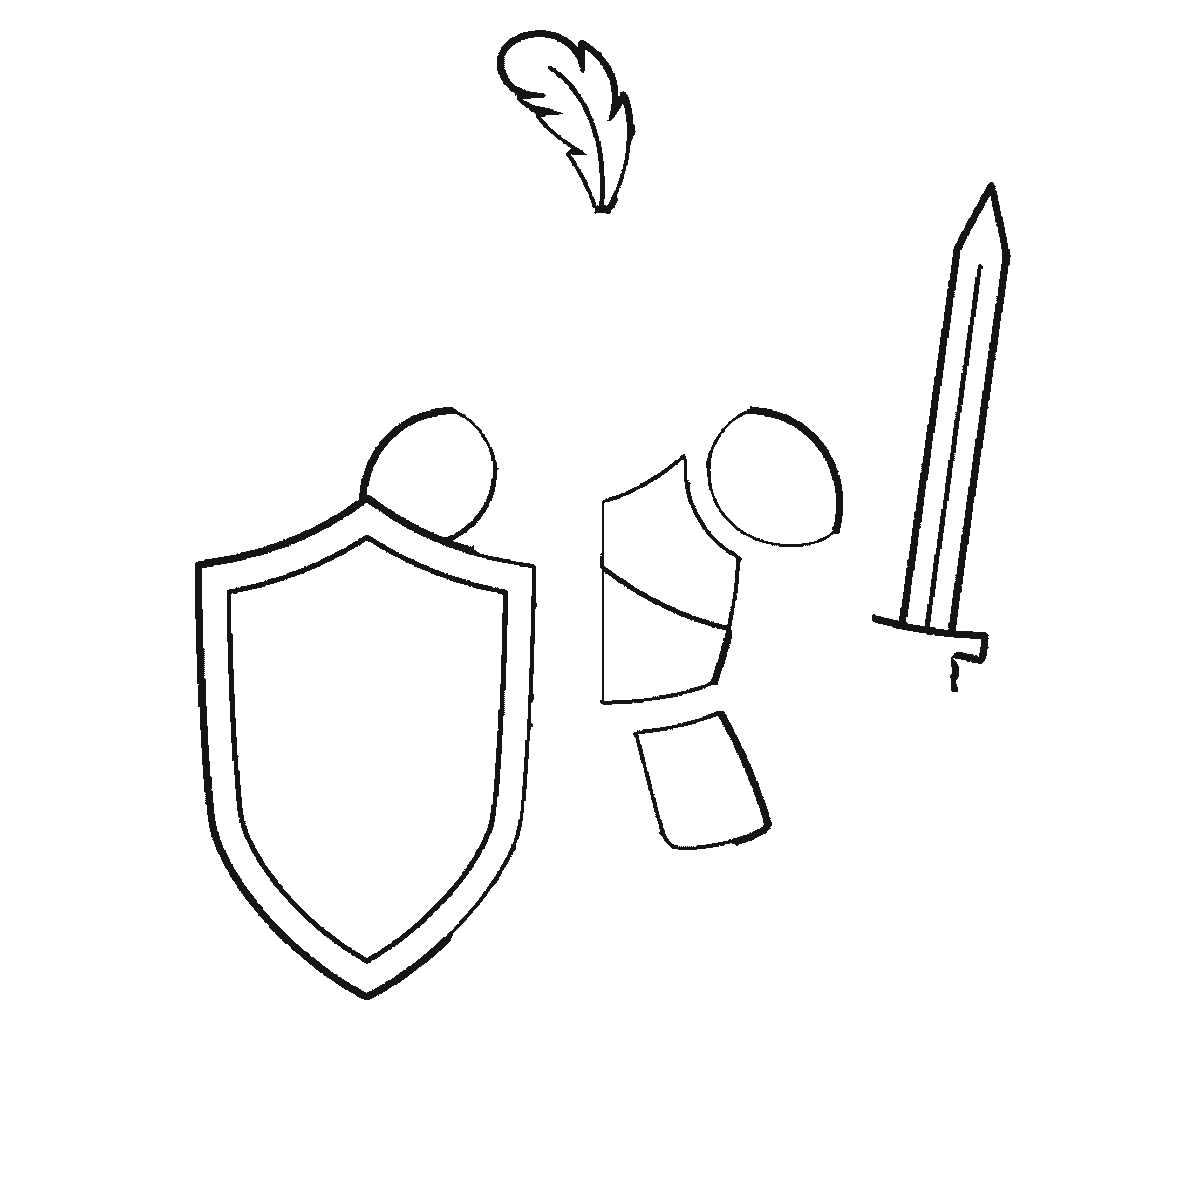
Frame two starts the armour: the centre feather of the plume, both rounded shoulder plates and the upper half of the breastplate, plus one plate of the skirt. Note that the plume arrives before the helmet it sits on. The pieces are placed against the shield and sword you have already drawn rather than against each other, which is why frame one is worth copying accurately.
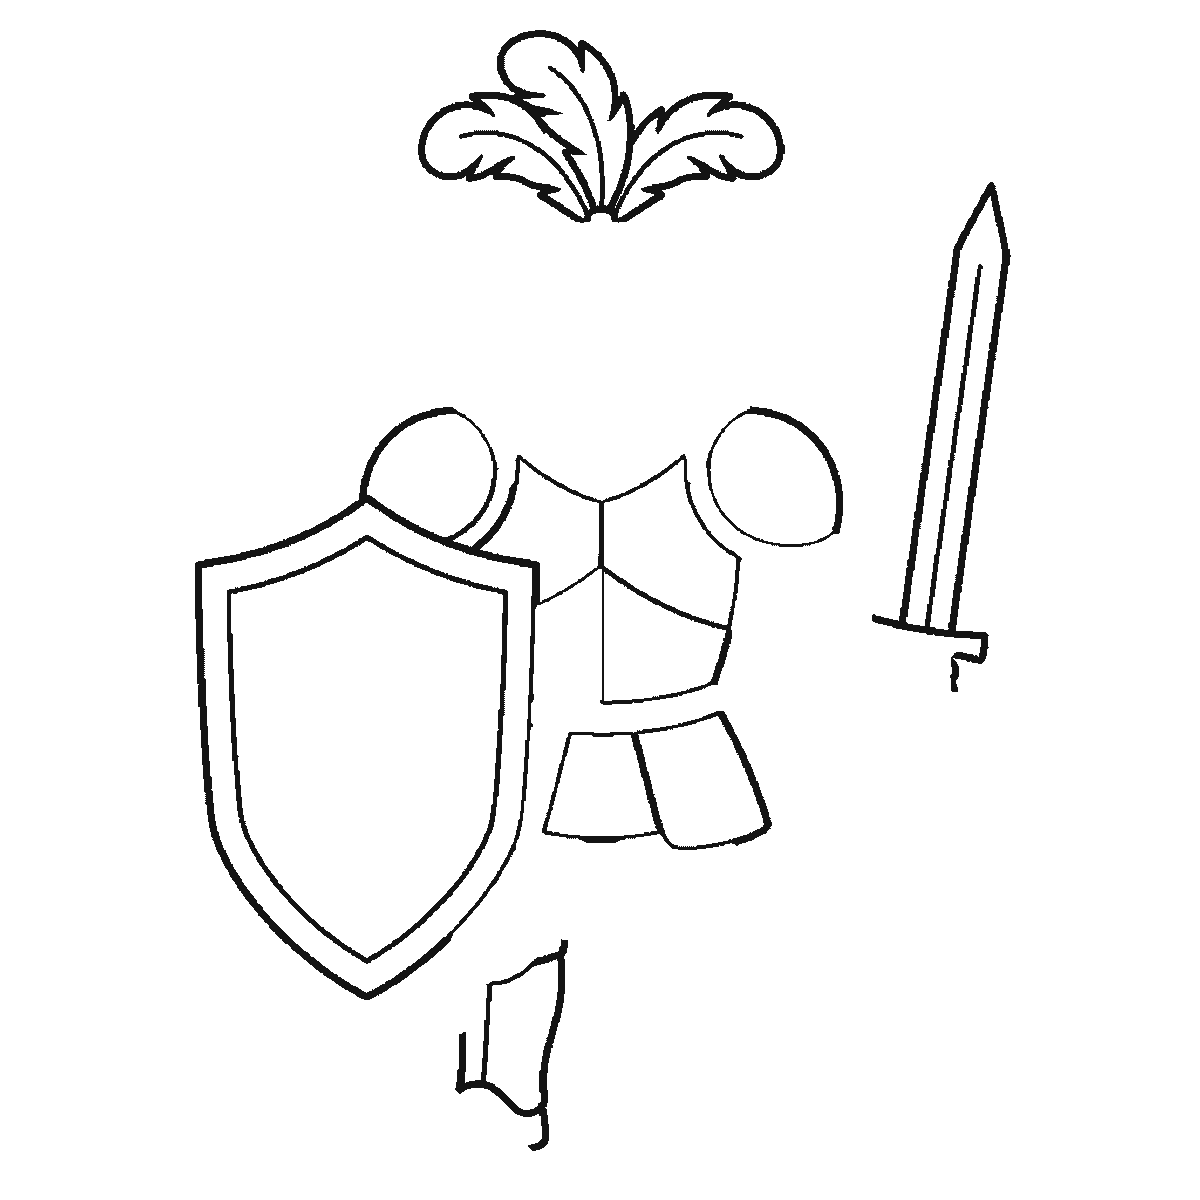
The plume is finished in frame three, where the two outer feathers go on either side of the first, along with more of the breastplate, the centre of the skirt and one leg plate. A plume is three separate feathers, each drawn with a notched edge rather than a smooth one, and the notches are what make it read as feather rather than as a leaf.
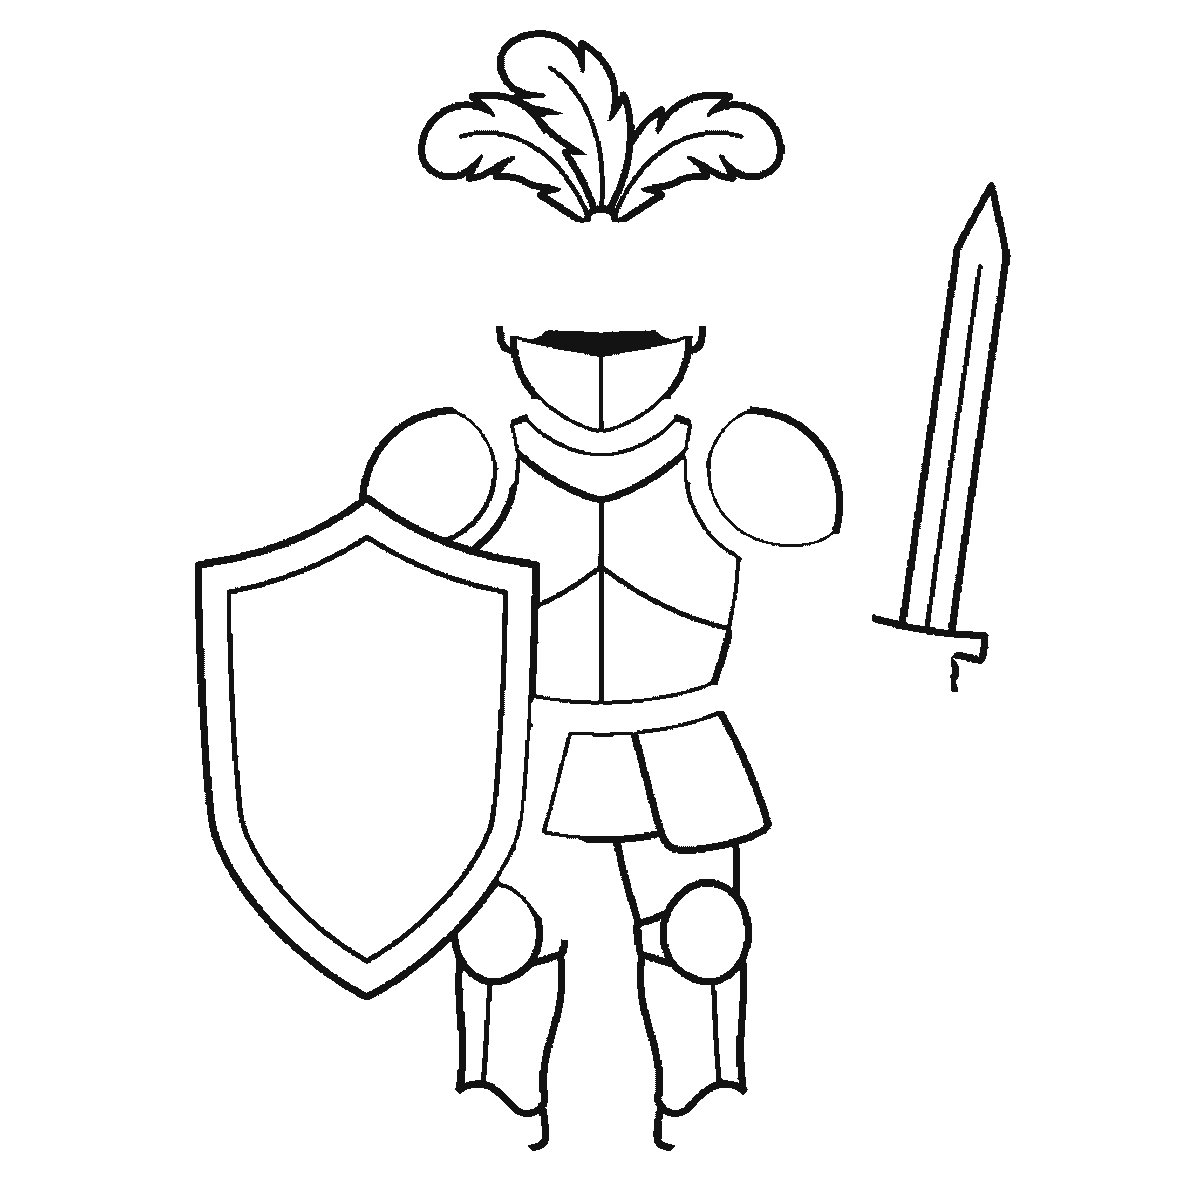
The helmet does not arrive as a helmet. Frame four gives you the VISOR SLIT — a solid black horizontal bar — with the curved gorget below it, and frame five gives you the brow band above the slit. The dome of the helmet itself is in frame six, together with the two boots. So the top and the bottom of the figure are finished in the same frame, four frames after the shield.
That visor slit is the single most important mark on the drawing and it is the only solid black area on the whole sheet. It is what tells a viewer there is nothing behind it. Draw it as a real filled bar with width, not as a scored line: a thin line reads as a scratch, and a filled slot reads as a helmet with nobody looking out of it.
The gauntlet is in frame five, and it is the fiddliest part of the sheet — a fist of separate fingers wrapped round the sword grip, drawn as four small closed shapes rather than a mitten. If you find it awkward, draw the grip first and the fingers across it afterwards, which is how it is constructed here.
The six frames run from the largest closed shape to the smallest, which is why a shield outranks a helmet and why the boots and the helmet dome share the last frame. It is not a claim about how anyone should draw a knight; drawing the figure as one silhouette and dividing it into plates afterwards is the more usual way and gives the same picture. What the plate-by-plate order does show is that armour has no outline of its own — it is a stack of separate pieces, and that is why it can be drawn without ever drawing a body.
The download is one A4 page with all six frames, black outline on white apart from the visor slit, so it prints on any printer. It has more separate closed areas than almost any other sheet here, which makes it the one to reach for if the point is colouring rather than copying.
Before you start
- Copy the shield and the sword first and leave the middle empty. They set the width and the height of everything that follows.
- Fill the visor slit solid. It is the only black area on the sheet and it is what makes the helmet read as empty.
- Give the plume three separate feathers with notched edges. A smooth outline turns it into a leaf.
- Draw the sword grip before the fingers round it, as the sheet does. A gauntlet drawn as one mitten loses the whole hand.
Published Updated 713 words
The six steps
The steps go from the largest shape to the smallest, which is an easy order to copy. It is not the only order, and it is not a rule — if you would rather start somewhere else on the sheet, do.
Step 1
Step 2
Step 3
Step 4
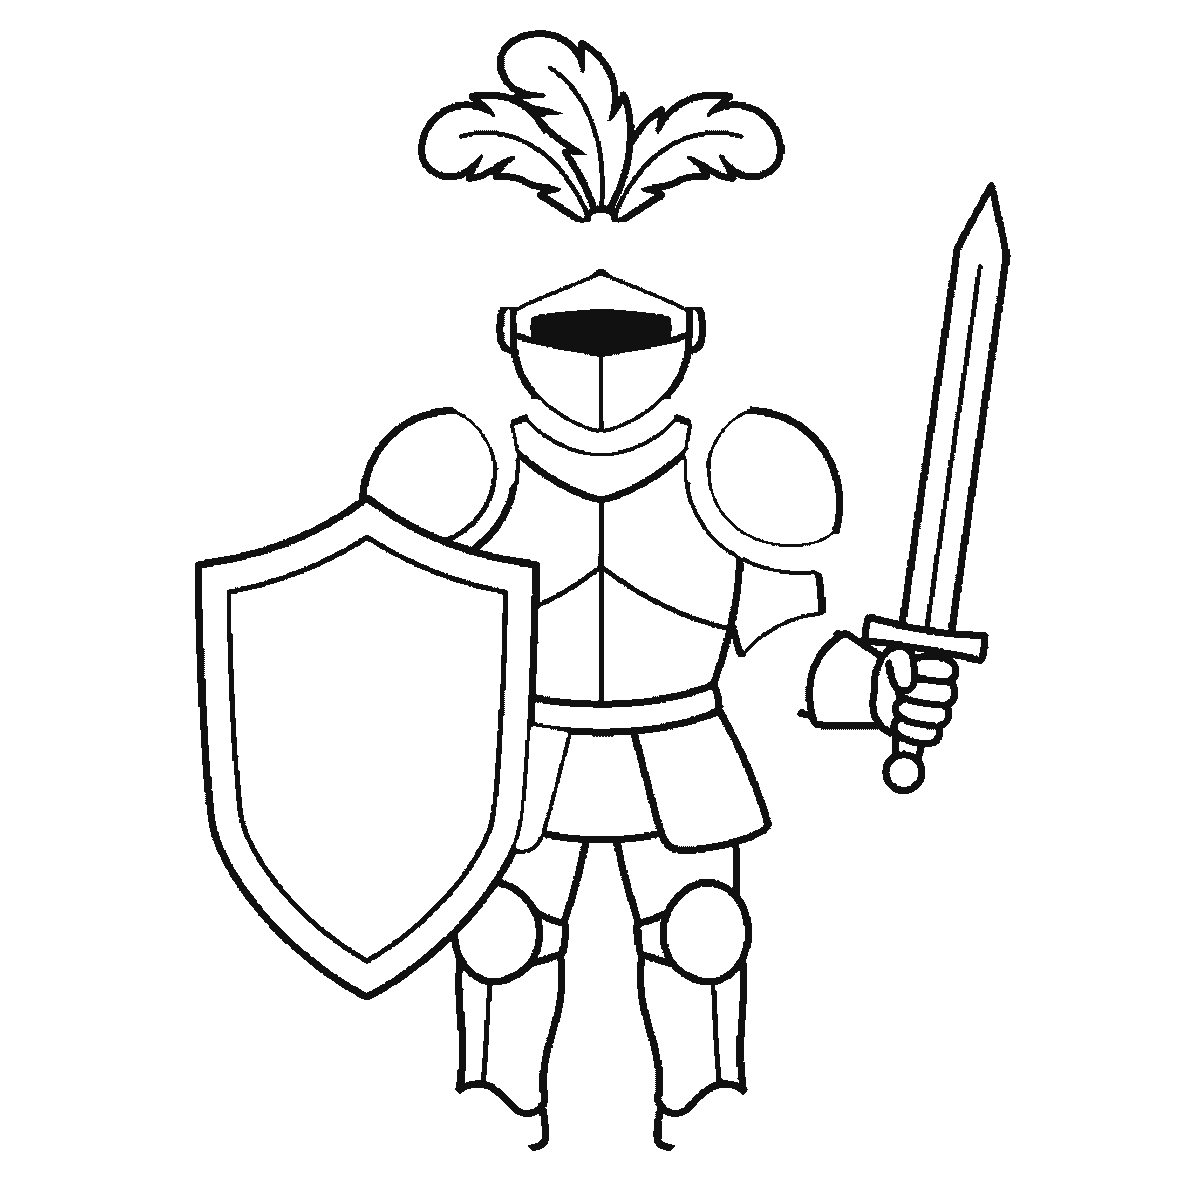
Step 5
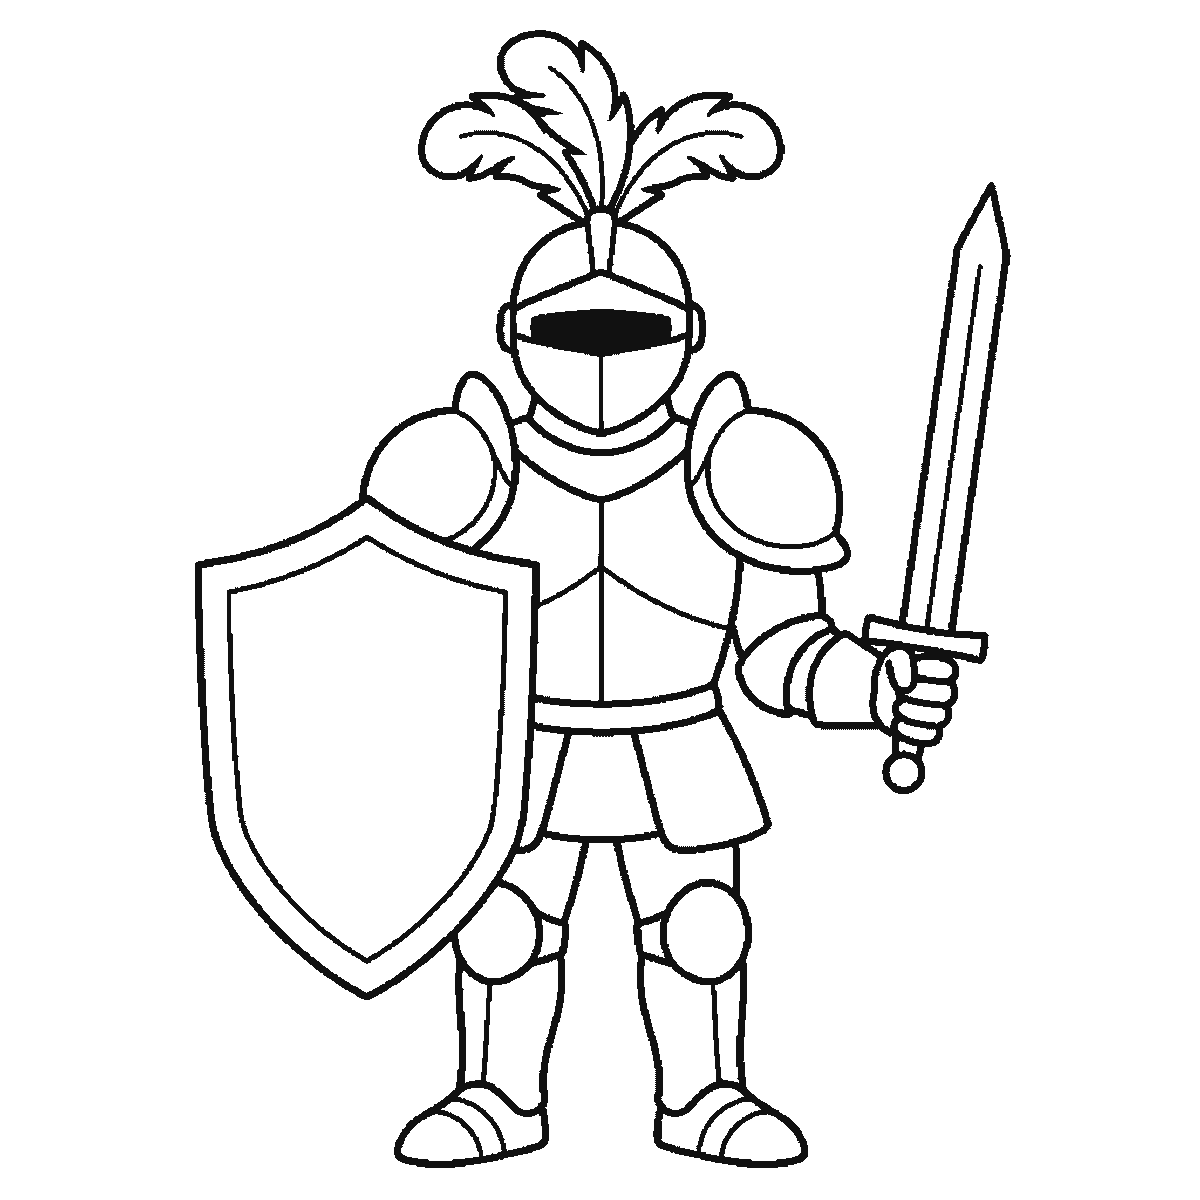
Step 6
More in this section
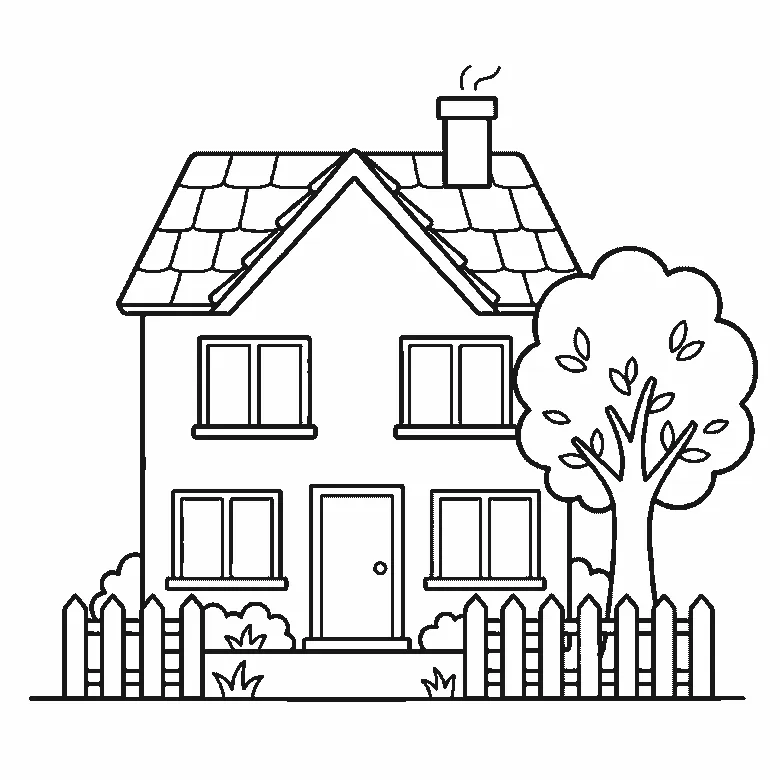
How to draw a house
Six frames, one detached house with a garden. The walls and roofline first, then the windows, the door, the fence and the tiles.
Step sequence made by us from a single drawing: each step keeps the lines of the one before it and adds to them.
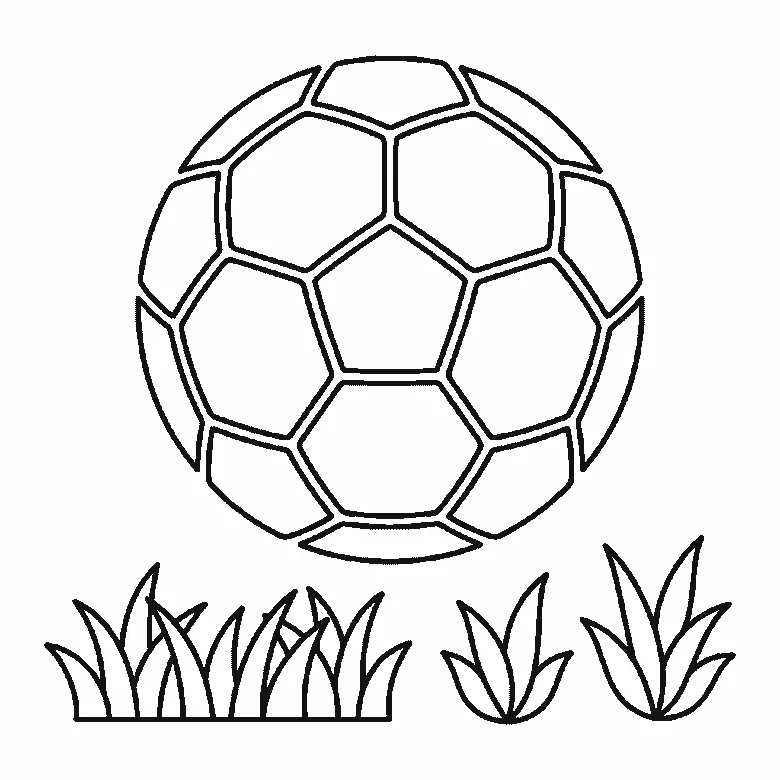
How to draw a football
Six frames, one football above the grass. The panels first, then the outline that closes round them, then the grass.
Step sequence made by us from a single drawing: each step keeps the lines of the one before it and adds to them.
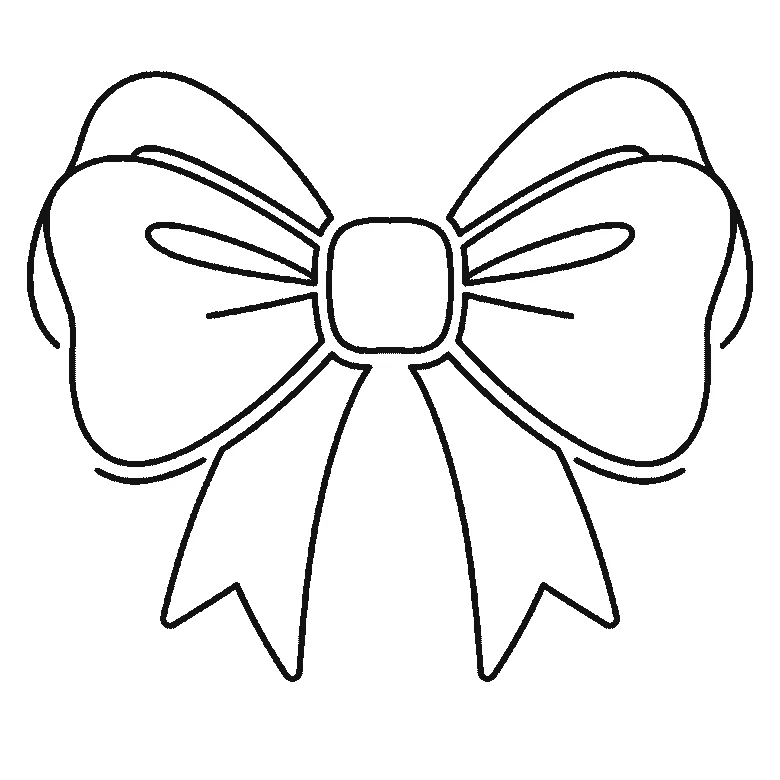
How to draw a bow
Six frames, one tied ribbon bow. The hanging tails first, then the loops, the knot and the folds.
Step sequence made by us from a single drawing: each step keeps the lines of the one before it and adds to them.
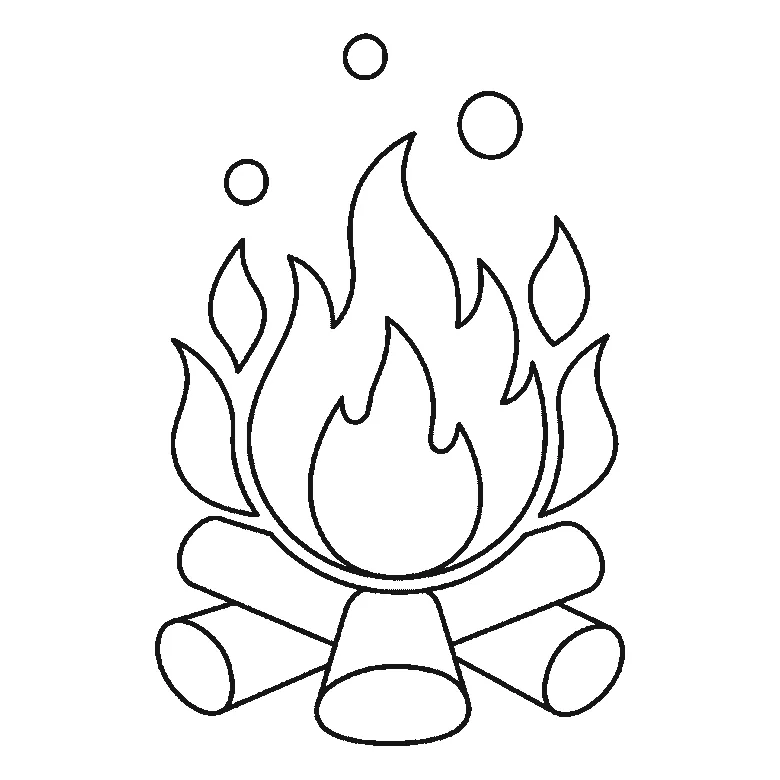
How to draw fire
Six frames, one campfire. The main flame first, then the logs, the smaller flames and the sparks.
Step sequence made by us from a single drawing: each step keeps the lines of the one before it and adds to them.
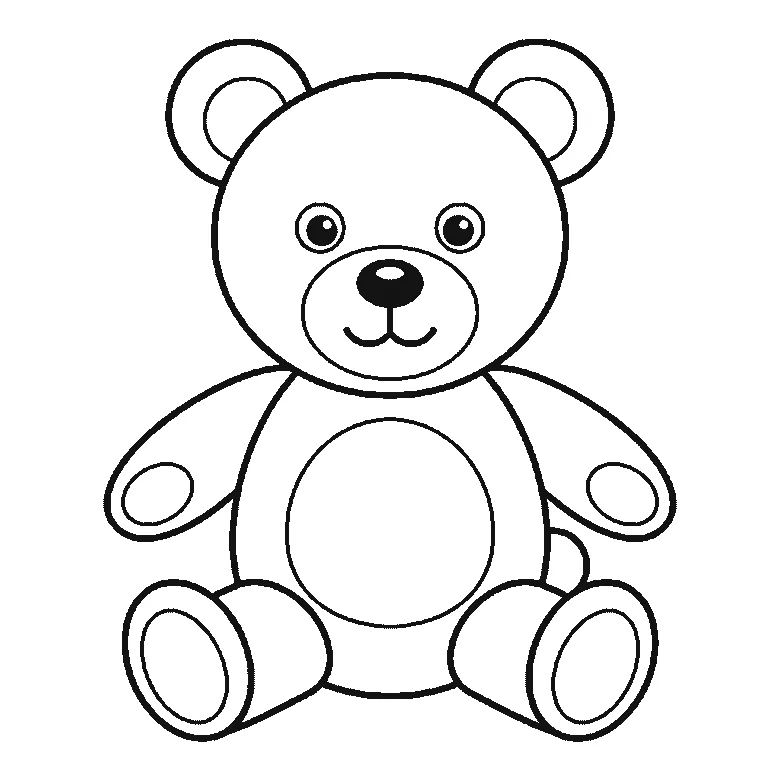
How to draw a teddy bear
Six frames, one teddy sitting upright. A plain head circle first, then the body with the nose and mouth — and the ears one at a time, with the eyes right at the end.
Step sequence made by us from a single drawing: each step keeps the lines of the one before it and adds to them.
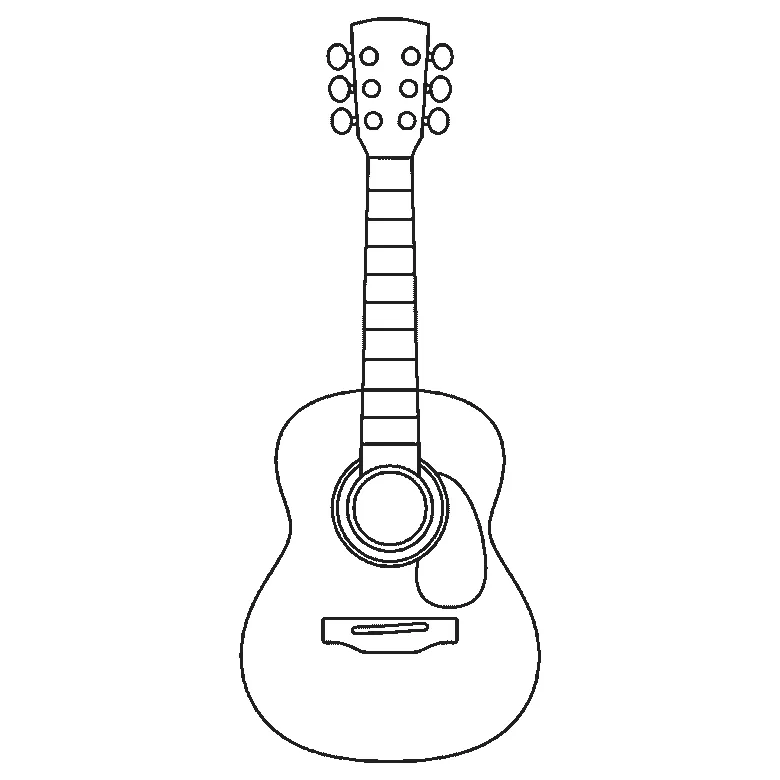
How to draw a guitar
Six frames, one acoustic guitar standing upright. The body first, the headstock and tuning pegs second — and no strings anywhere, which is deliberate.
Step sequence made by us from a single drawing: each step keeps the lines of the one before it and adds to them.
How to draw a heart
Six frames, one plain symmetrical heart with a wide border and six smaller ones. The inside comes first and the outline second.
Step sequence made by us from a single drawing: each step keeps the lines of the one before it and adds to them.


