
PDF · A4 · 46 KB · Free, no sign-up. For home and classroom use.
How to draw a chicken
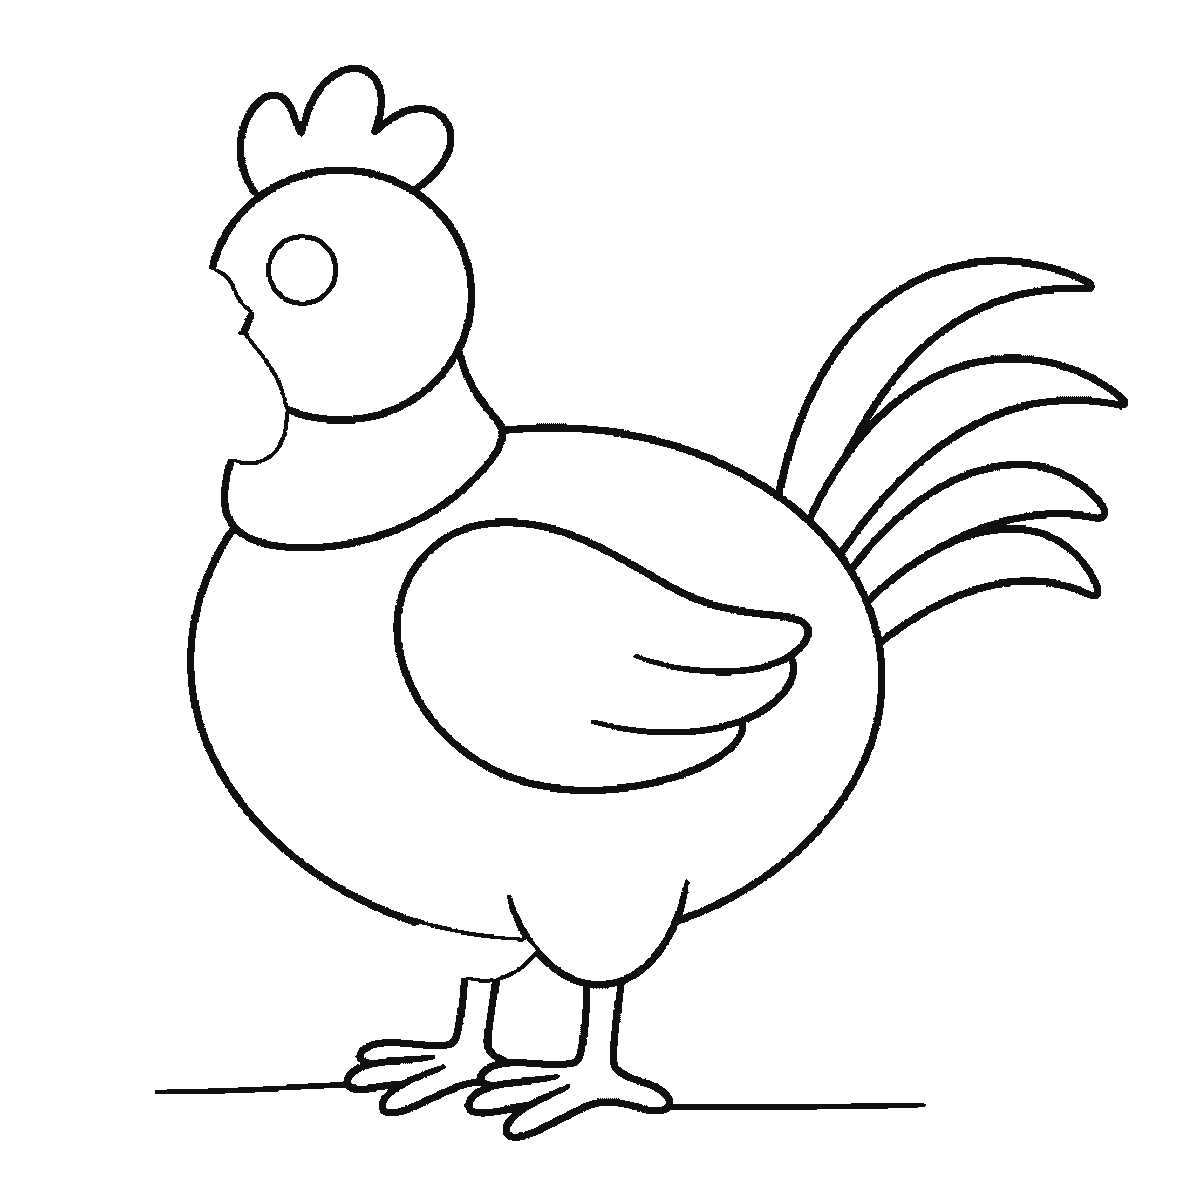
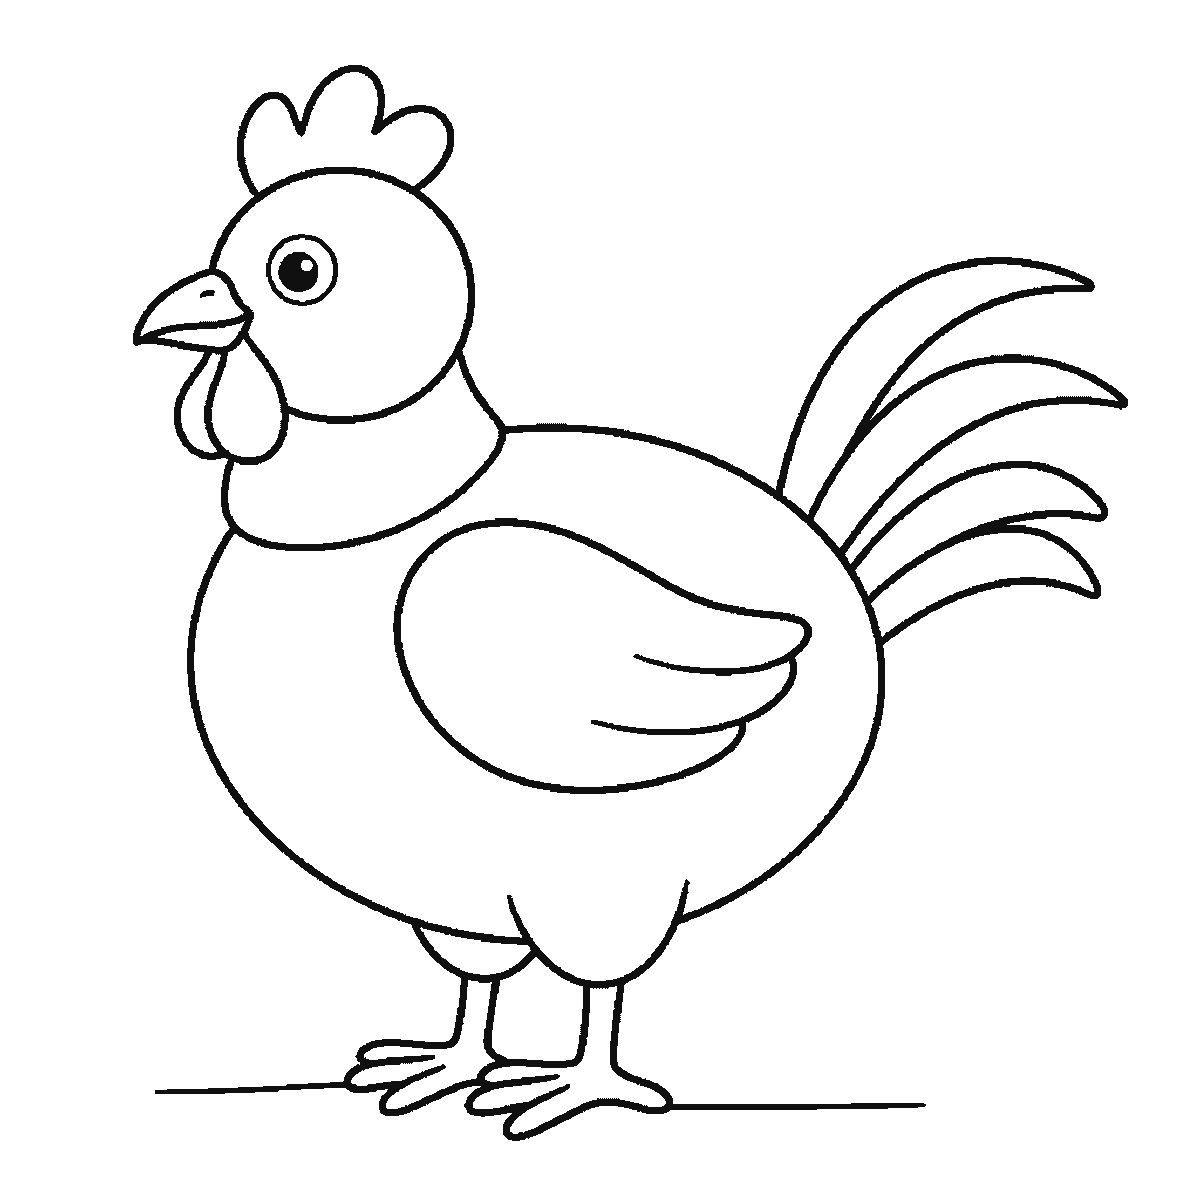
Six frames, one plump hen standing side-on. The body first with no head at all, then the head and the folded wing, and the beak, wattle and eye right at the end.
This sheet is one drawing of a hen seen from the side, built up over six frames so that each one adds a few lines to the last. Print it, put it beside your paper and copy a frame at a time. The finished bird is in the sixth frame; the first five are the road there.
Frame one is the body and nothing else: a big rounded oval with the top edge of the folded wing marked on it and a small tuft under the tail. There is no head, no neck and no legs. Start it low and central on your paper, because a hen is a bird that is mostly body, and if the oval goes in too high the legs have nowhere to stand.
The head arrives in frame two, as a plain circle set forward and slightly above the body, and the folded wing is completed at the same time. Note the gap between the two shapes: they do not touch yet. The neck that joins them is a separate collar shape and it does not arrive until frame three. Drawing the head and body as two clearly separated shapes and joining them afterwards is much easier than trying to draw the whole silhouette in one continuous line, and it is the reason this drawing comes out looking like a hen rather than a rugby ball with a lump on it.
The comb goes on in frame four, three rounded points along the top of the head, together with two of the tail feathers. The tail builds up one long curved feather at a time from frame three onwards, so by the end there are four of them sweeping up and back. Frame five brings both legs, the toes, and the ground line the bird is standing on.
The whole face is in the last frame: the pointed beak, the rounded wattle hanging under it and the filled pupil in the eye. That is the opposite of how most people draw a chicken, and it is worth pausing over. On this sheet you spend five frames on a headless, faceless body and then the bird appears in about six pencil strokes. If you find that uncomfortable, draw the eye lightly in frame two as a placeholder and firm it up at the end — the sheet is a guide, not an instruction.
The reveal order here runs from the biggest closed shape down to the smallest, which is why a body outranks a head and a comb outranks a beak. It makes for a sequence that is easy to copy and it is not an argument that this is the right or the best way to draw a hen. If you would rather start with the head and work backwards, you will arrive at the same bird.
The download is a single A4 page holding all six frames as plain black outlines on white. Nothing on it is shaded, so it prints on any printer and the last frame doubles as a colouring page once you have finished copying.
Once the standing hen works, the same shapes will give you most of a farmyard. Stretch the neck, lengthen the tail feathers and raise the comb and you have a cockerel. Shrink the whole thing, round it off and drop the tail and you have a chick. The body oval barely changes in either case, which is the useful lesson: with birds it is the neck, the tail and the comb that do the identifying, and the body is nearly always the same egg.
Before you start
- Draw the body oval and the head circle as two separate shapes with a gap, then join them. Trying to draw the outline in one line is what makes hens come out shapeless.
- The comb sits forward on the head, over the beak, not centred on top. It is the fix that turns a generic bird into a chicken.
- Keep the legs short and set them well forward under the body, or the hen looks like it is about to fall over backwards.
- Make the four tail feathers different lengths and let them fan slightly. Four identical curves read as a fern.
Published Updated 598 words
The six steps
The steps go from the largest shape to the smallest, which is an easy order to copy. It is not the only order, and it is not a rule — if you would rather start somewhere else on the sheet, do.
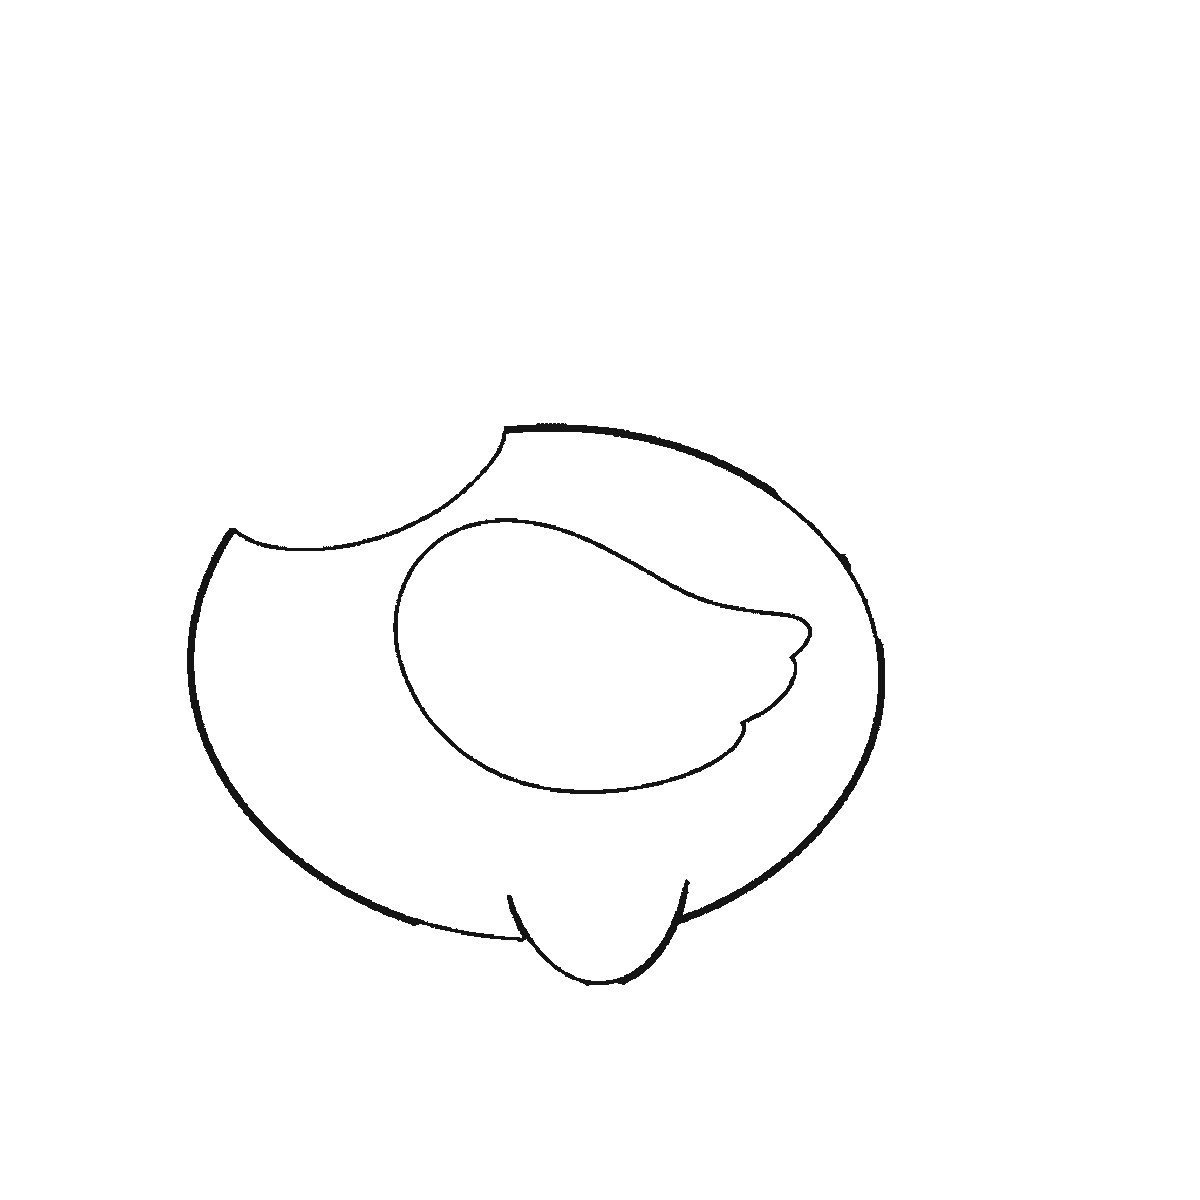
Step 1
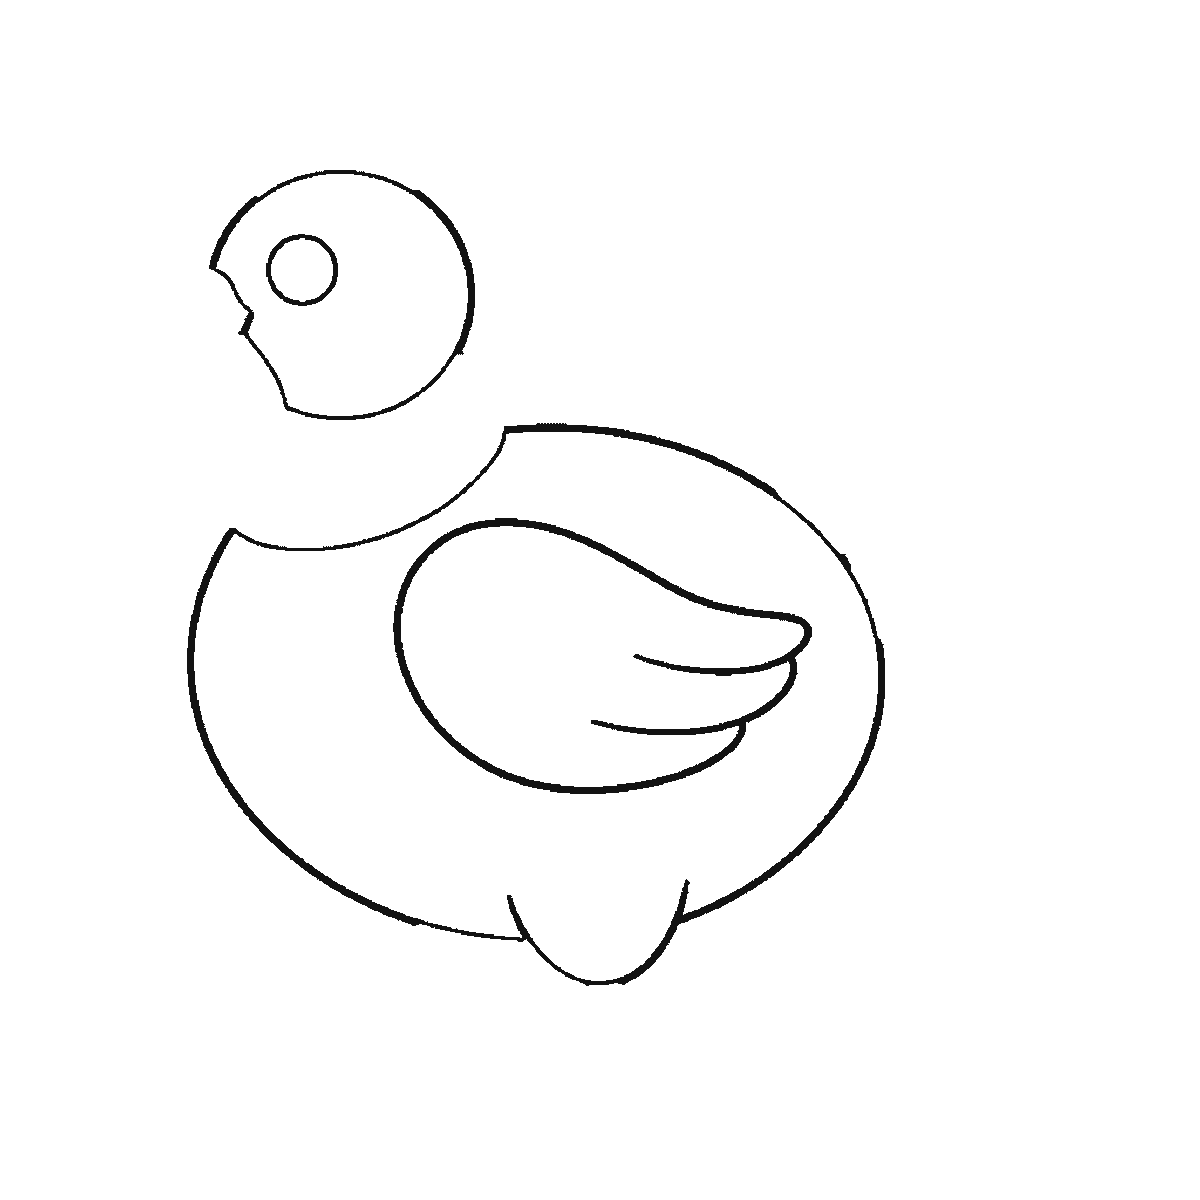
Step 2
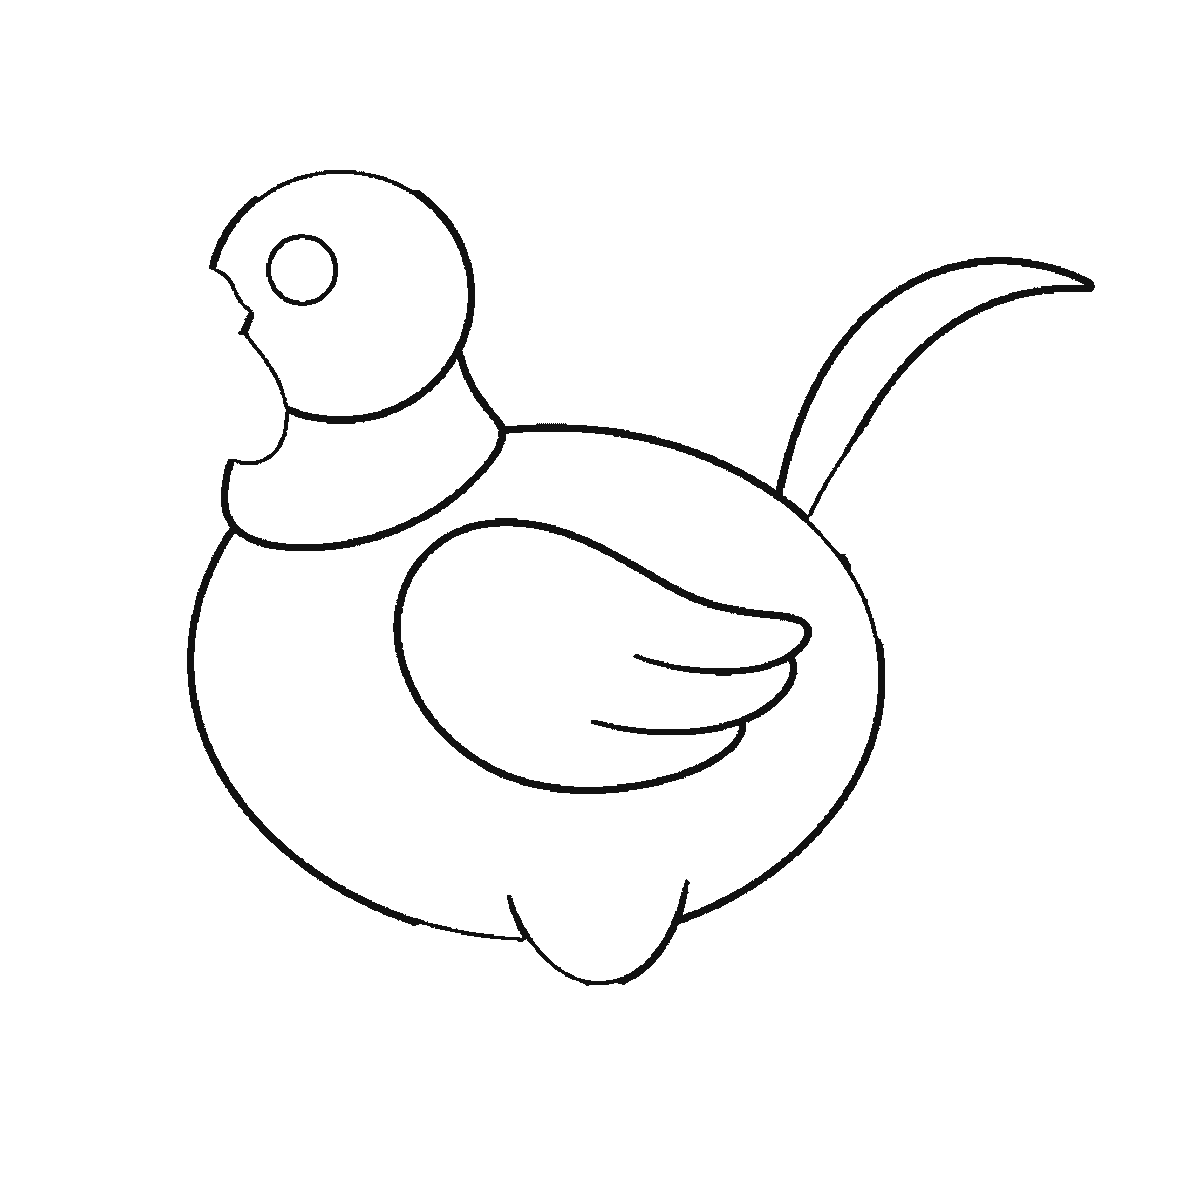
Step 3
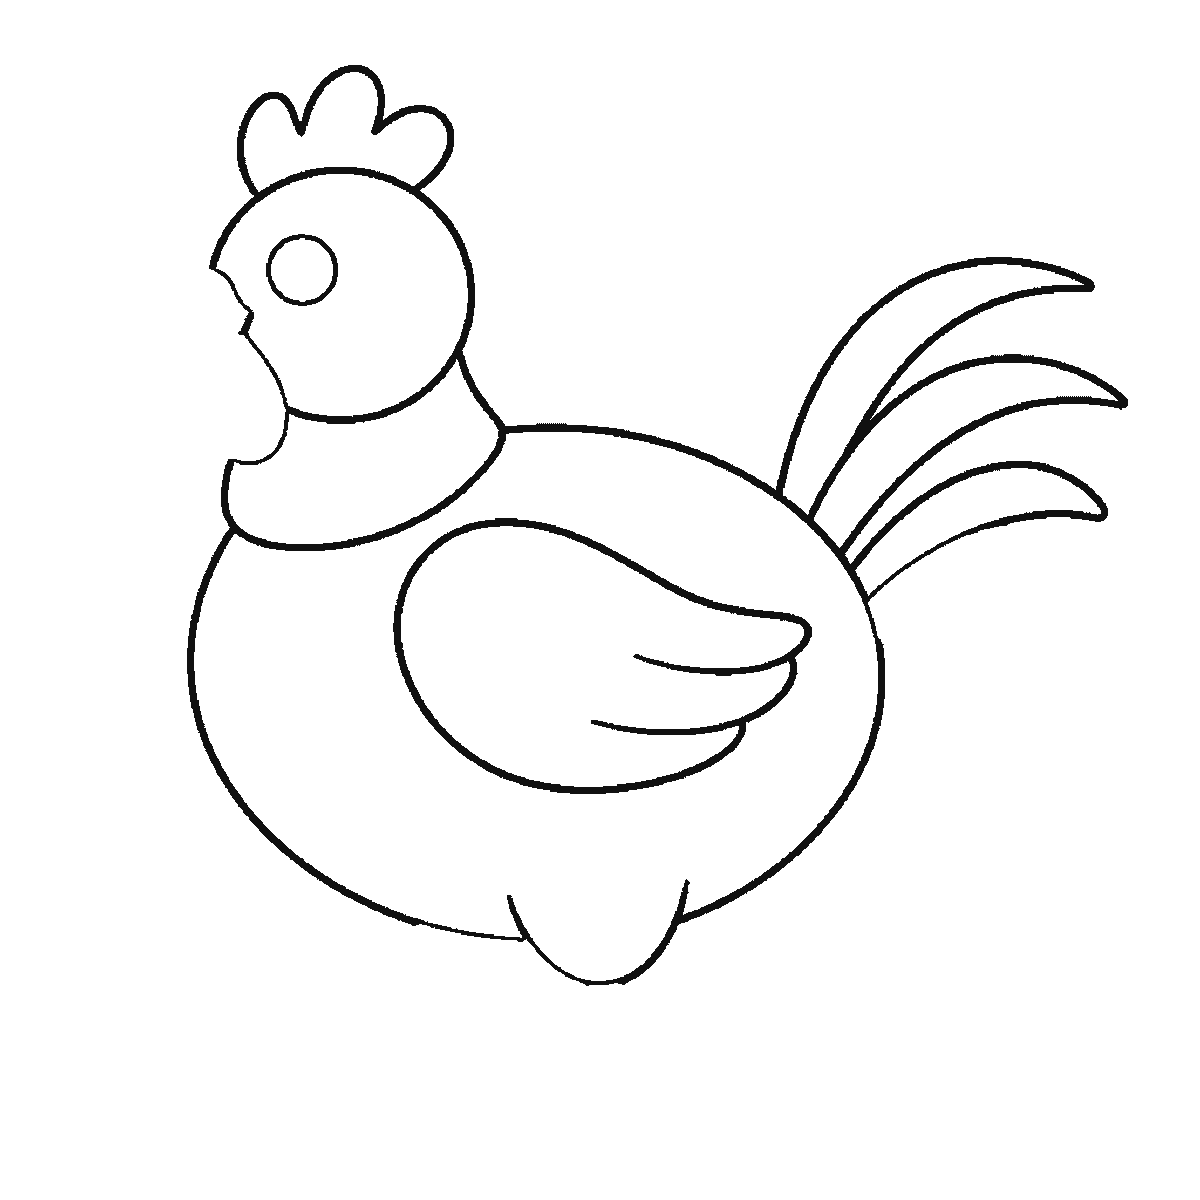
Step 4
Step 5
Step 6
More in this section
How to draw a puppy
Six frames, one round puppy lying down with a ball. The back and haunch first — no head until the second frame — and the nose, eye and tail last.
Step sequence made by us from a single drawing: each step keeps the lines of the one before it and adds to them.
How to draw a whale
Six frames, one whale above the waves. The whole body first with the eye left blank, then the tail and the big flipper, and the spout and the filled pupil last.
Step sequence made by us from a single drawing: each step keeps the lines of the one before it and adds to them.
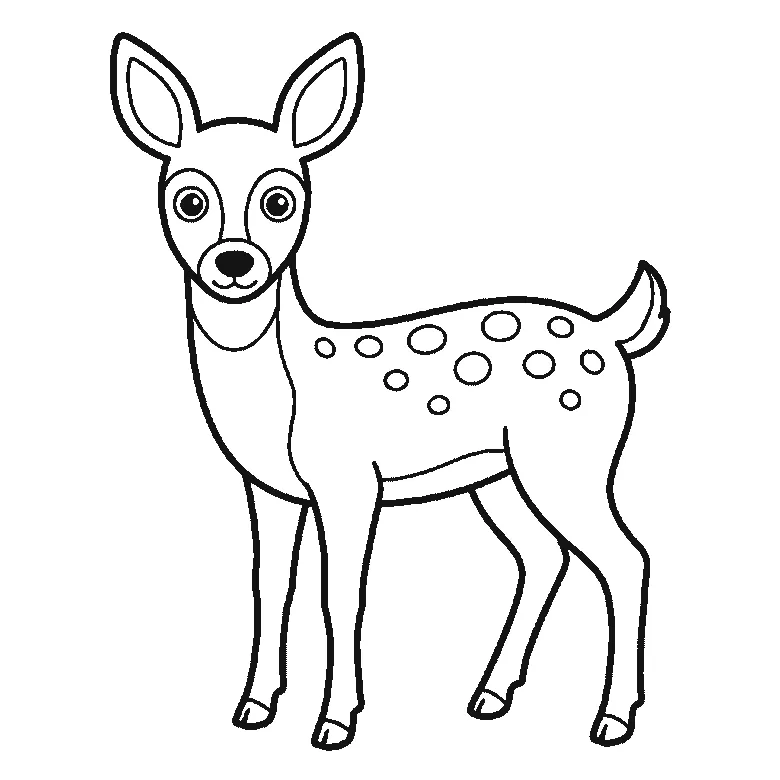
How to draw a deer
Six frames, one young deer standing side-on. The spotted body first with no head at all, then the ears — and the entire face arrives in the last frame.
Step sequence made by us from a single drawing: each step keeps the lines of the one before it and adds to them.
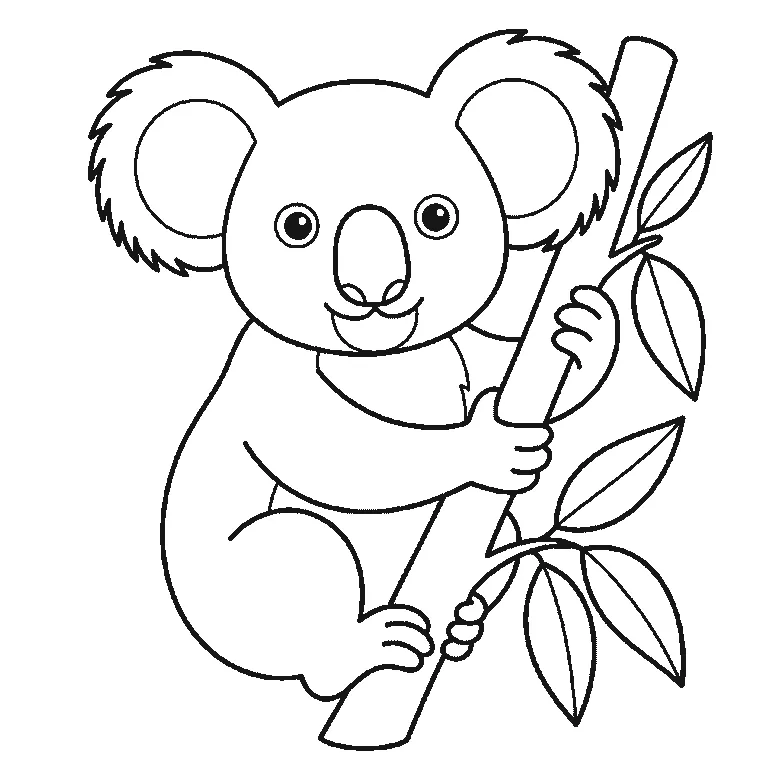
How to draw a koala
Six frames, one koala hugging a branch. The whole head and both fringed ears first, then the body, then the branch — and the eyes and the last leaves at the end.
Step sequence made by us from a single drawing: each step keeps the lines of the one before it and adds to them.
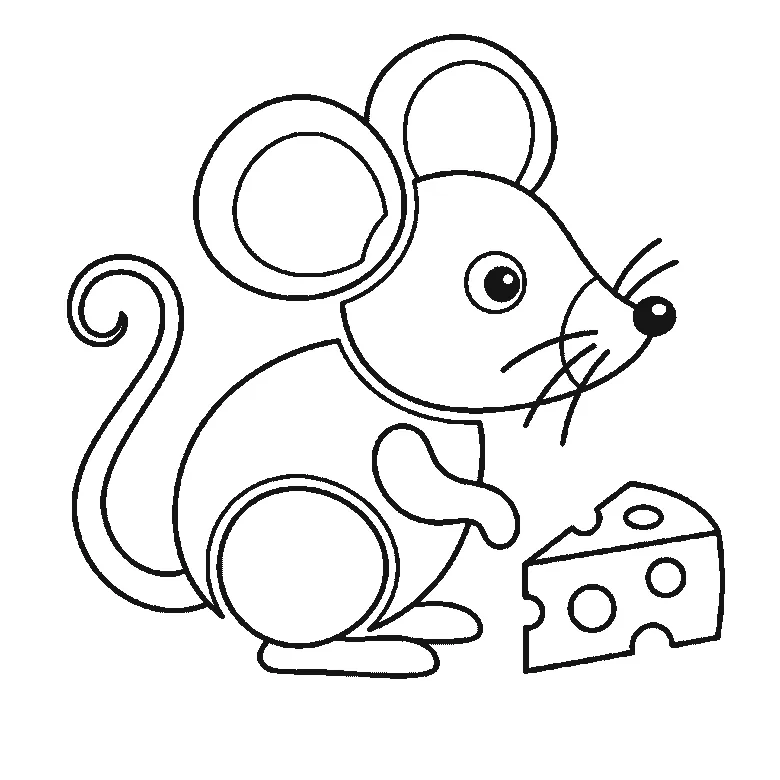
How to draw a mouse
Six frames, one mouse beside a wedge of cheese. The head and the back together first, then the ears, then the cheese — with the tail, whiskers and eye last.
Step sequence made by us from a single drawing: each step keeps the lines of the one before it and adds to them.
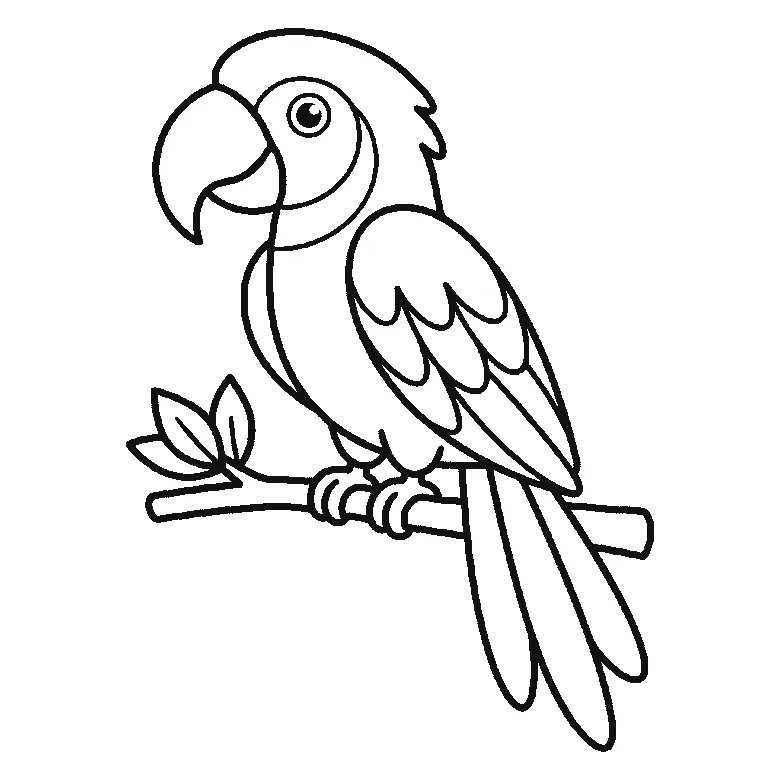
How to draw a parrot
Six frames, one parrot on a leafy branch. The head crest and the breast first, then the beak with the wing, and the eye and the gripping feet last.
Step sequence made by us from a single drawing: each step keeps the lines of the one before it and adds to them.
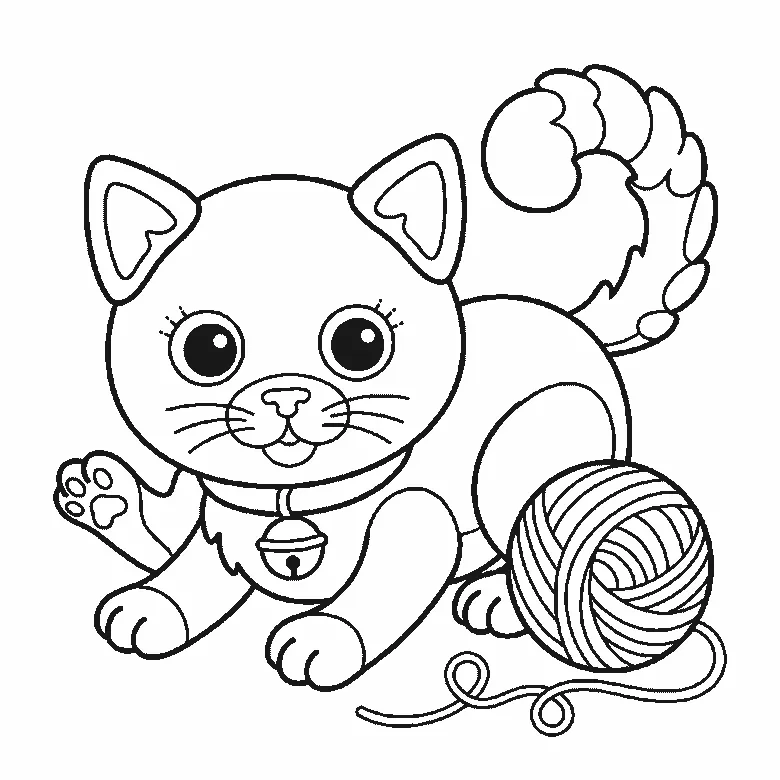
How to draw a kitten
Six frames, one kitten crouching over a ball of wool. The head and collar first, the ears one at a time after it, and the filled pupils near the end.
Step sequence made by us from a single drawing: each step keeps the lines of the one before it and adds to them.
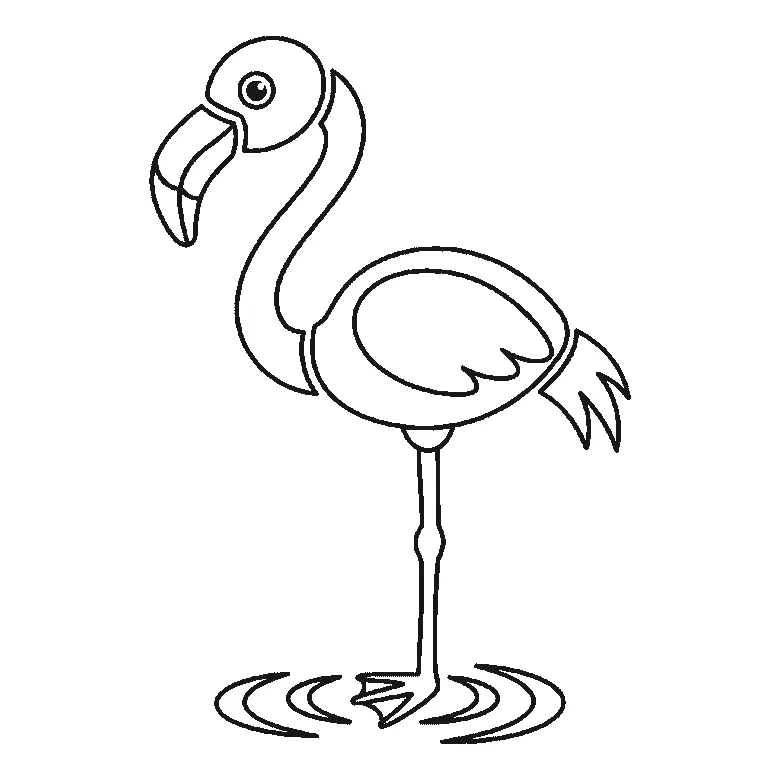
How to draw a flamingo
Six frames, one flamingo standing in shallow water. The body first, the neck second, and the beak — the thing that says flamingo — not until frame five.
Step sequence made by us from a single drawing: each step keeps the lines of the one before it and adds to them.
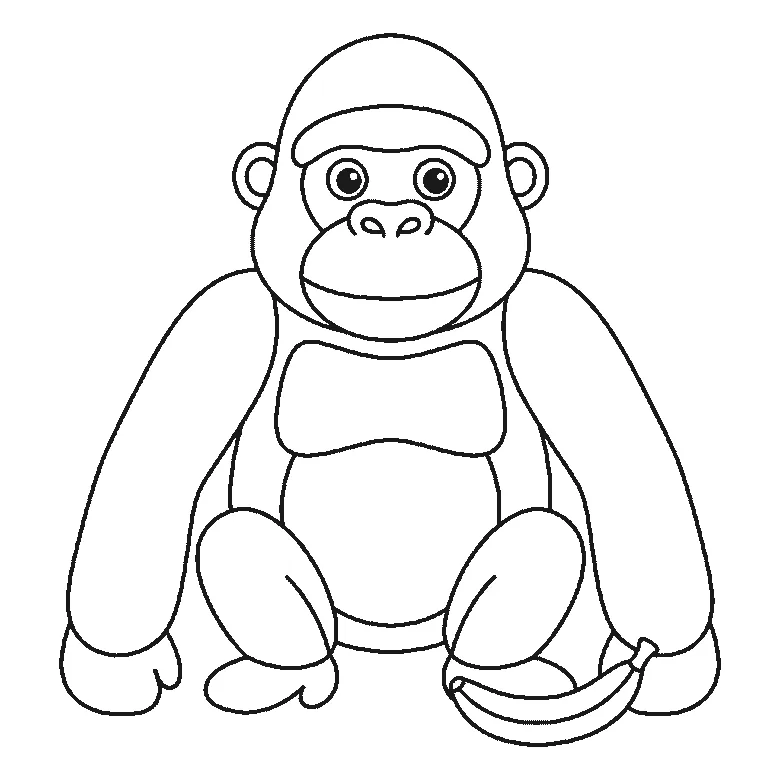
How to draw a gorilla
Six frames, one gorilla sitting with a banana beside it. Frame one is the two arms and nothing else — the head does not arrive until frame two.
Step sequence made by us from a single drawing: each step keeps the lines of the one before it and adds to them.
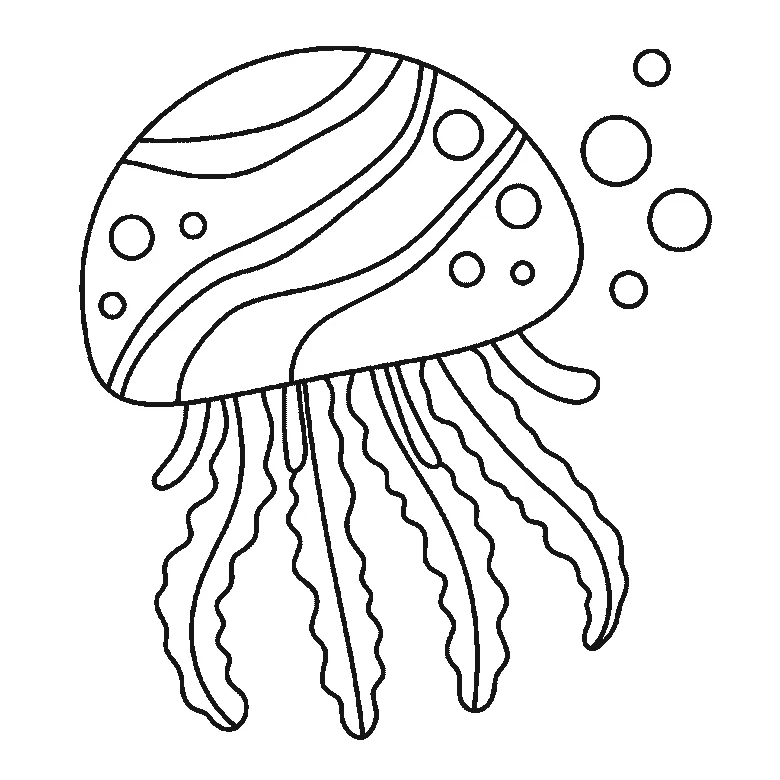
How to draw a jellyfish
Six frames, one jellyfish drifting with bubbles beside it. The bell is built panel by panel, the tentacles arrive a few at a time, and the bubbles are last.
Step sequence made by us from a single drawing: each step keeps the lines of the one before it and adds to them.
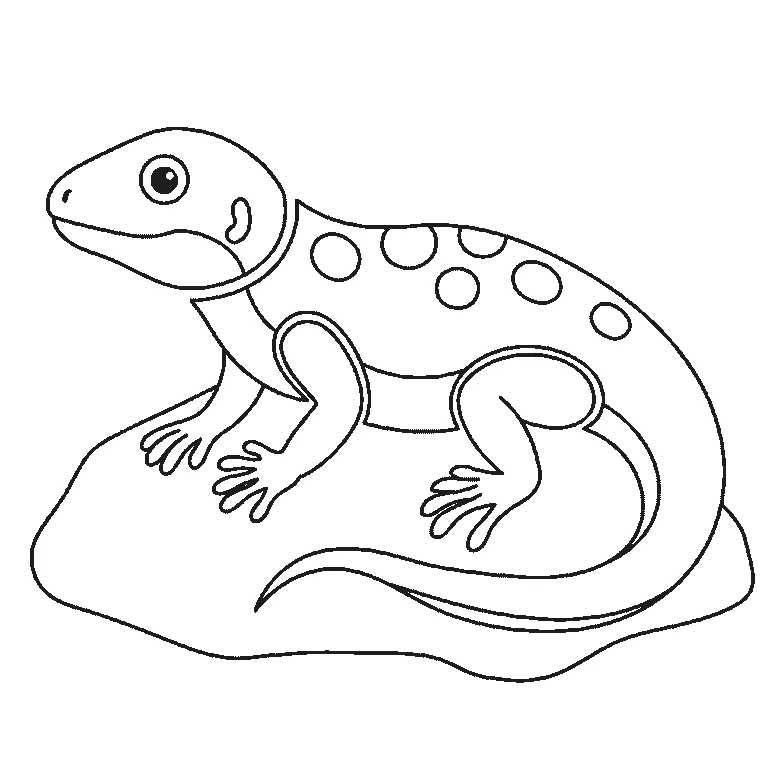
How to draw a lizard
Six frames, one lizard basking on a rock. Frame one is the rock and two legs; the body comes second and the head not until frame three.
Step sequence made by us from a single drawing: each step keeps the lines of the one before it and adds to them.
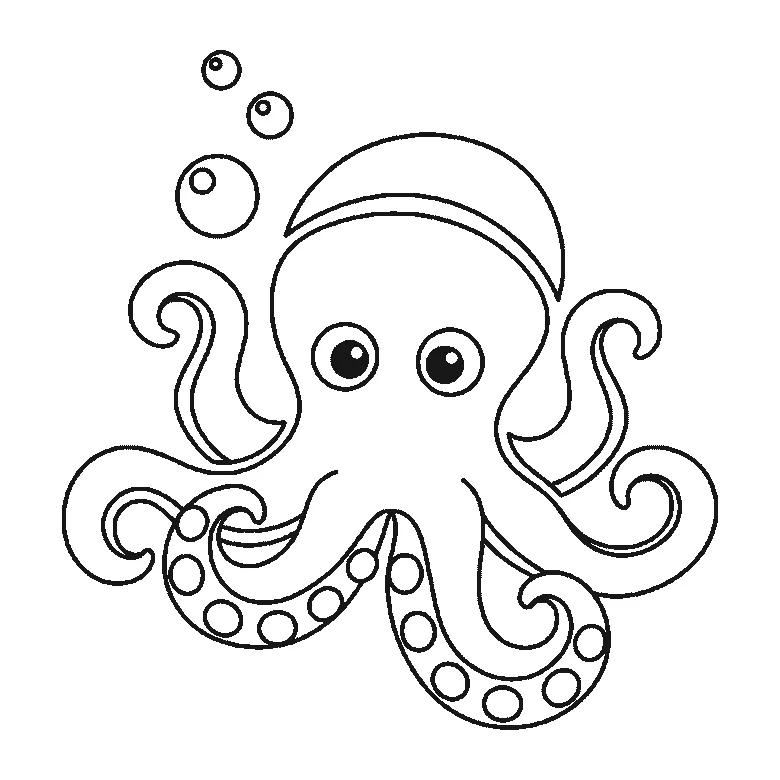
How to draw an octopus
Six frames, one octopus with bubbles rising beside it. The head and two outer arms first, the remaining arms one or two at a time, the pupils last.
Step sequence made by us from a single drawing: each step keeps the lines of the one before it and adds to them.


