
PDF · A4 · 43 KB · Free, no sign-up. For home and classroom use.
How to draw a puppy
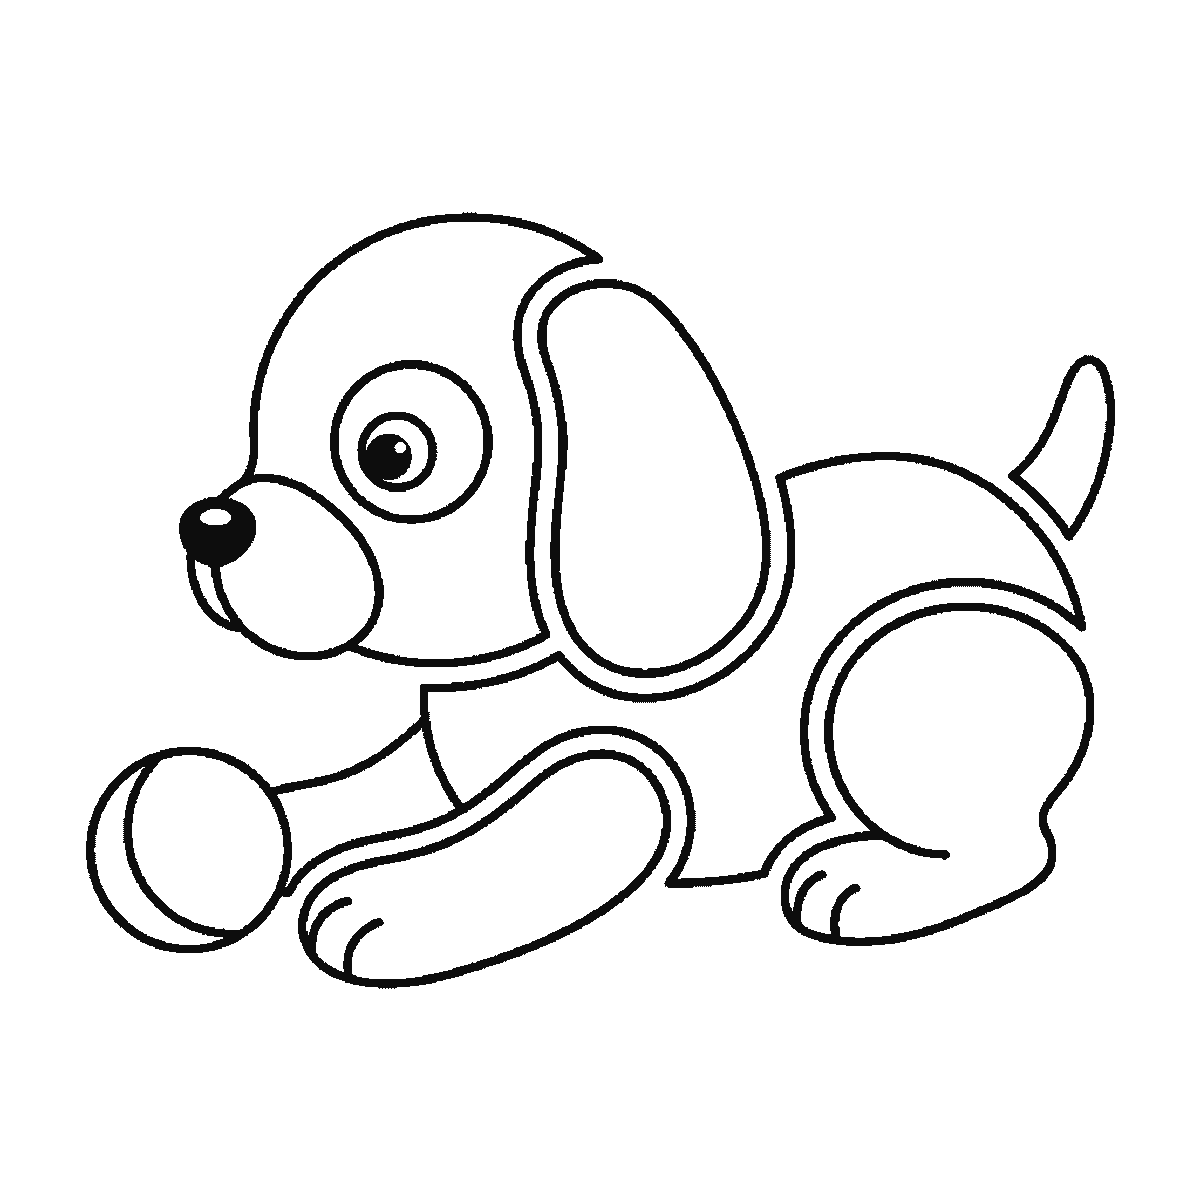
Six frames, one round puppy lying down with a ball. The back and haunch first — no head until the second frame — and the nose, eye and tail last.
This sheet takes one drawing of a small puppy lying down with its front paws stretched out, and shows it six times, each frame keeping everything the last one had and adding to it. It is a different animal from the sitting dog elsewhere on this site, drawn from the side rather than the front, and the two sheets are worth doing one after the other for exactly that reason.
Frame one is the back and the haunch: one long curve rising from the shoulders over the rump, with the chest wedge below it. There is no head. That is the thing to know before you start, because a puppy is a head with a body attached in most people's minds, and this sheet asks you to commit to the body first. It is a good discipline. A puppy drawn head-first almost always ends up with a body too small for it.
The head comes in frame two as a rounded dome with the big pale ring of the eye already inside it, and the long floppy ear follows in frame three along with the folded back leg. Keep the head large. On a grown dog the head is roughly a fifth of the body length; on a puppy it is closer to a third, and that single proportion does more to make the drawing read as young than anything else you can do to it.
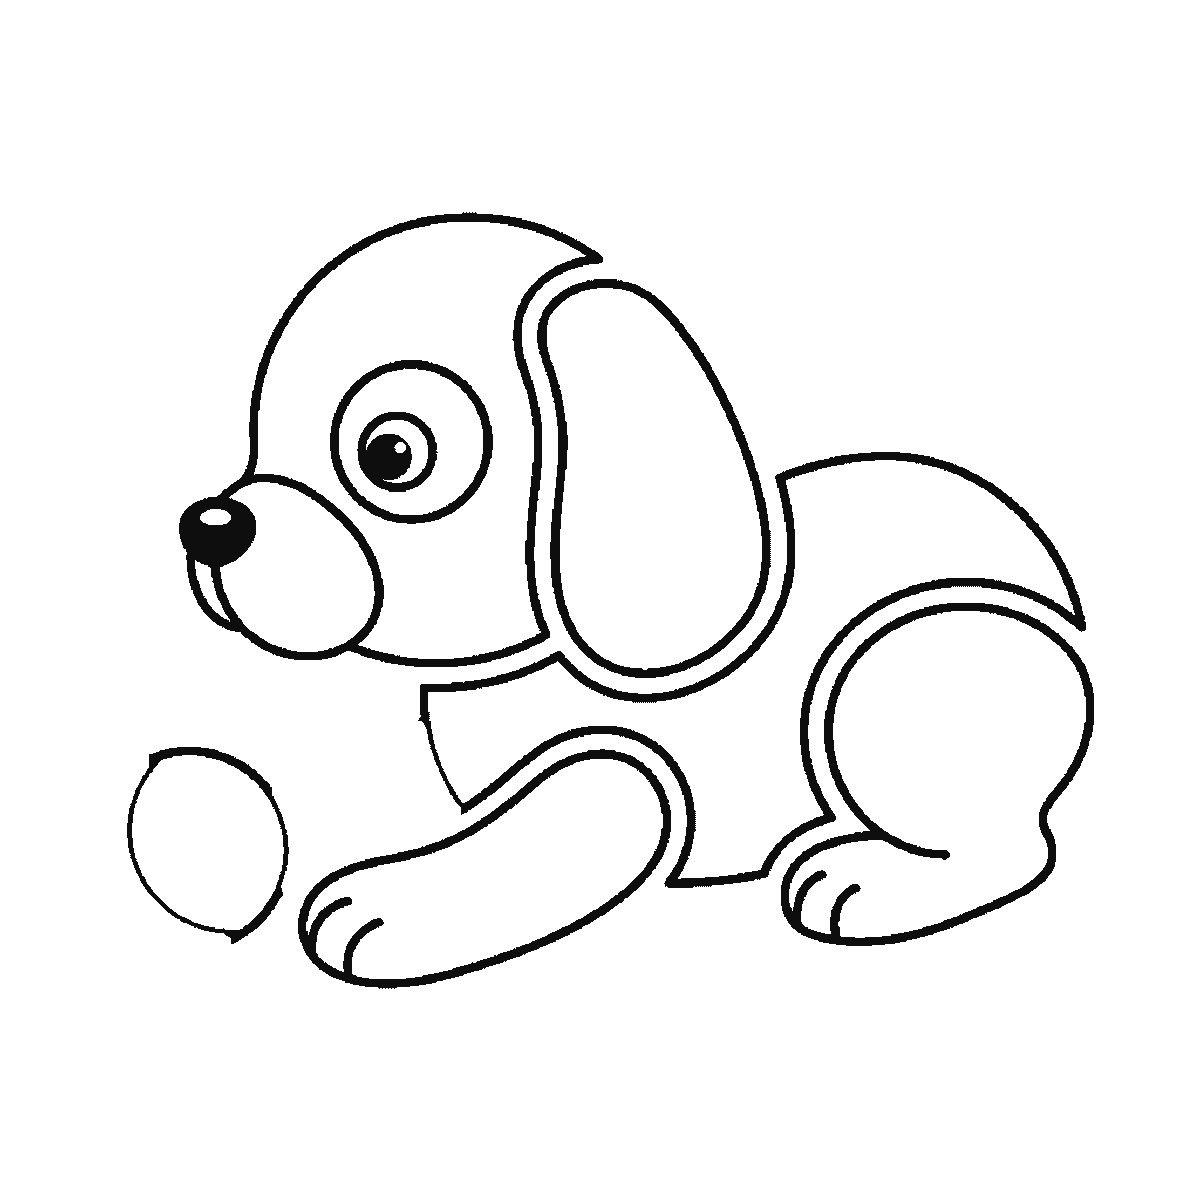
Frame four is the stretched front paw, drawn as one long soft shape reaching out towards the ball. Frame five brings the rest of the face — the muzzle with its filled black nose, and the inner ring and pupil that turn the empty circle from frame two into an eye — plus the outline of the ball. The sixth and last frame adds the raised tail, the second front paw and the line that divides the ball into panels.
So the tail is genuinely the final mark on the sheet, and the pupil arrives only one frame before it. If you are copying and the drawing feels lifeless around frame four, that is why: the head has been sitting there since frame two with a blank ring where its eye should be, and everything that gives it expression is still to come. Placing the ring early and filling it late is worth copying as a habit — the ring is easy to move while it is empty and almost impossible to move once there is a pupil in it.
The frames run from the largest closed shape to the smallest, which is how a back outranks a head and a head outranks an ear. That order is easy to follow and it is not a claim about the correct way to draw a puppy. Somebody who blocks in a circle for the head and an oval for the body before anything else is using a perfectly good method and will finish with the same animal.
It is one A4 sheet with the six frames on it, all in plain black outline, so it prints on a tired printer and the finished frame takes a felt tip without the outlines closing up.
The single change that will teach you most here is the ear. Draw the puppy again with the ear standing up instead of hanging and everything else identical, and the animal stops being a spaniel and becomes something closer to a terrier. Nothing else on the page has moved. Doing that twice — once floppy, once upright — is worth more than drawing two different breeds from two different sheets, because it isolates the one shape that is carrying the difference.
Before you start
- Make the head about a third of the body length. Adult proportions are what make a drawn puppy look like a small dog instead of a young one.
- The stretched front paws should reach clearly past the nose. Paws tucked under the chest read as a cat.
- Draw the ball before the second paw, as the sheet does — it gives you something to aim the paw at.
- Keep the back one smooth curve. A back drawn in short strokes gives the puppy a hunched, anxious look.
Published Updated 609 words
The six steps
The steps go from the largest shape to the smallest, which is an easy order to copy. It is not the only order, and it is not a rule — if you would rather start somewhere else on the sheet, do.
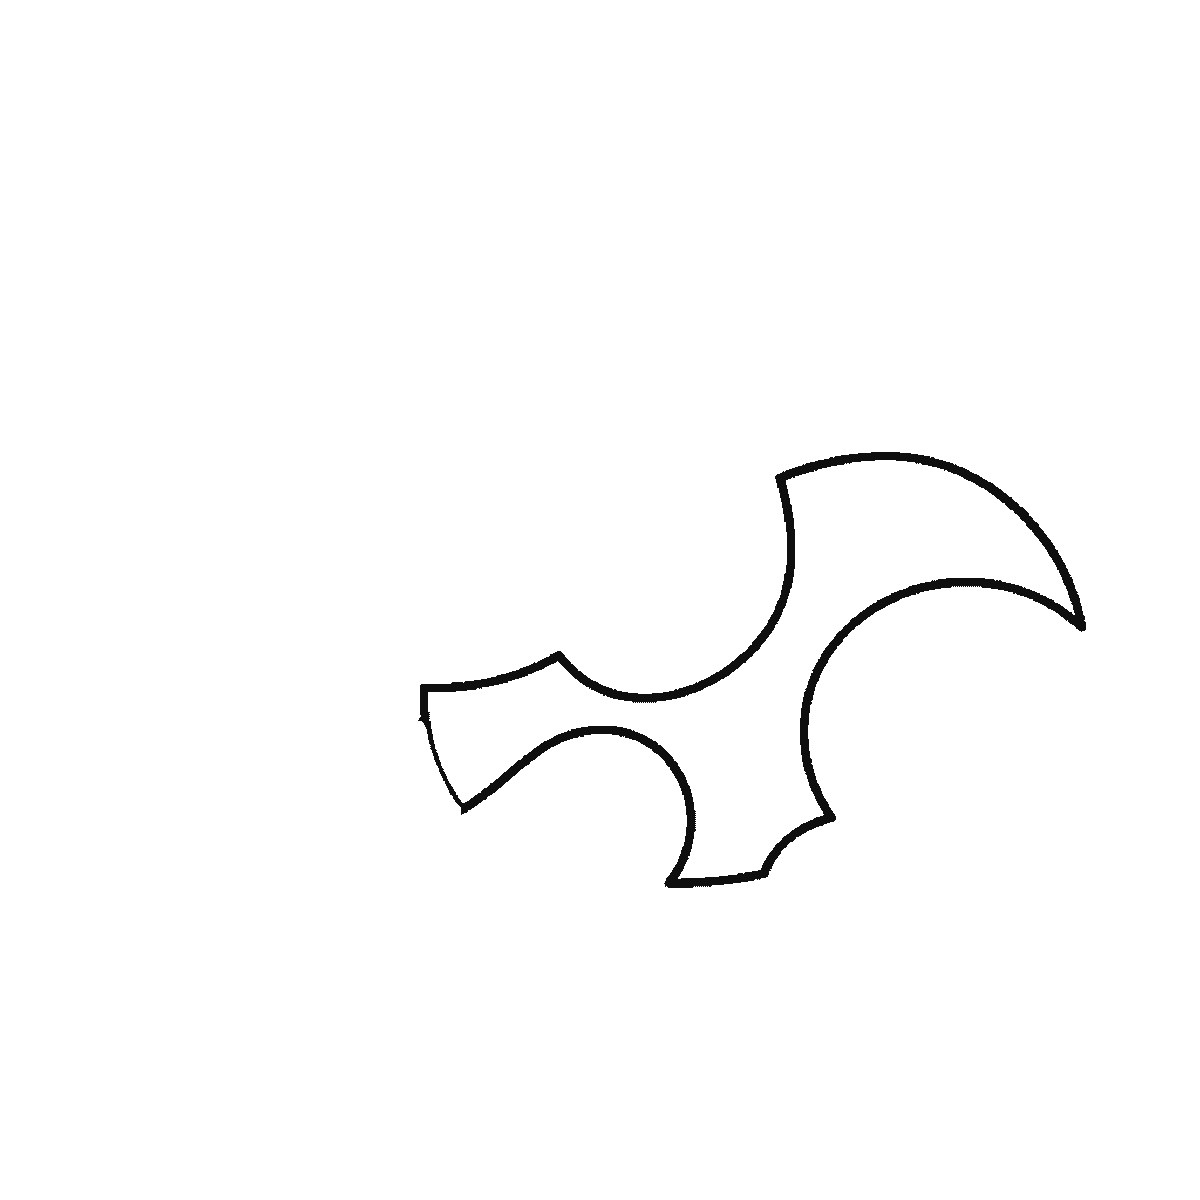
Step 1
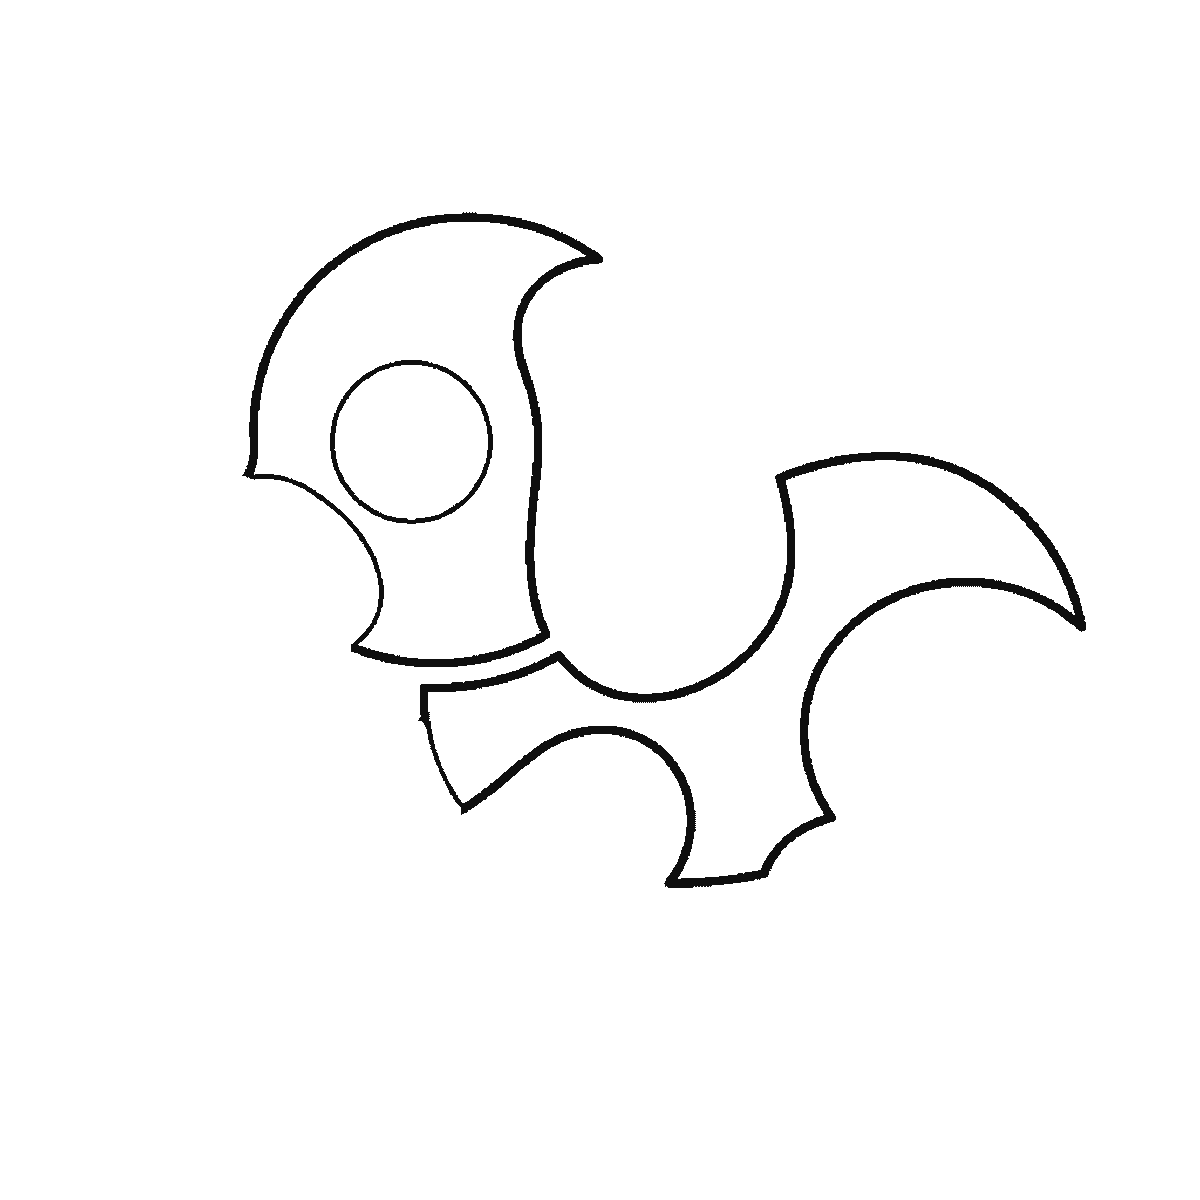
Step 2
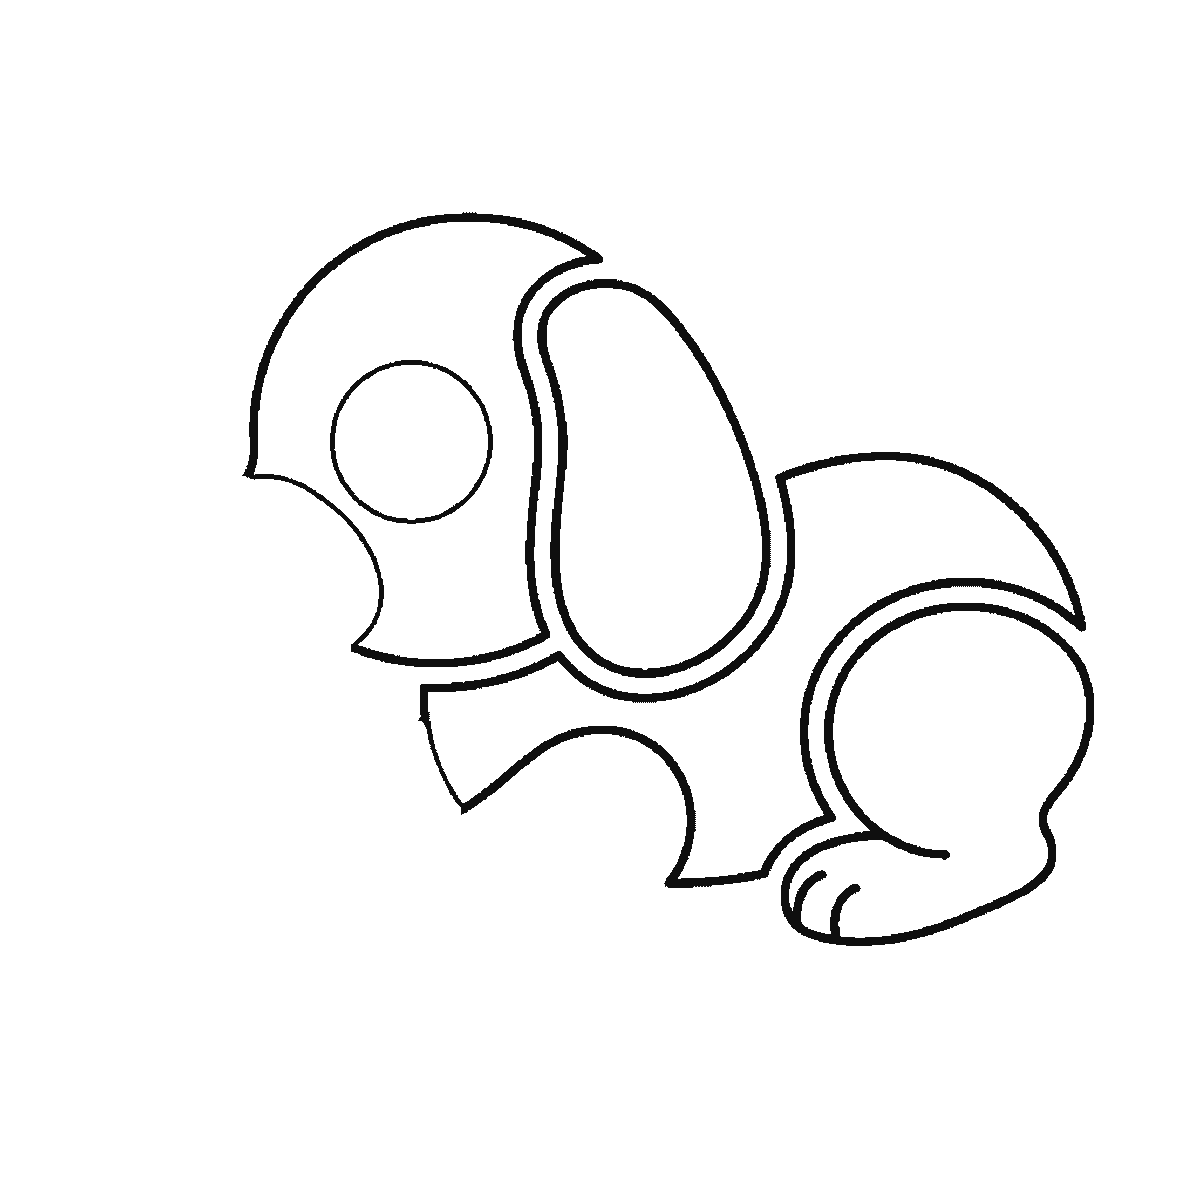
Step 3
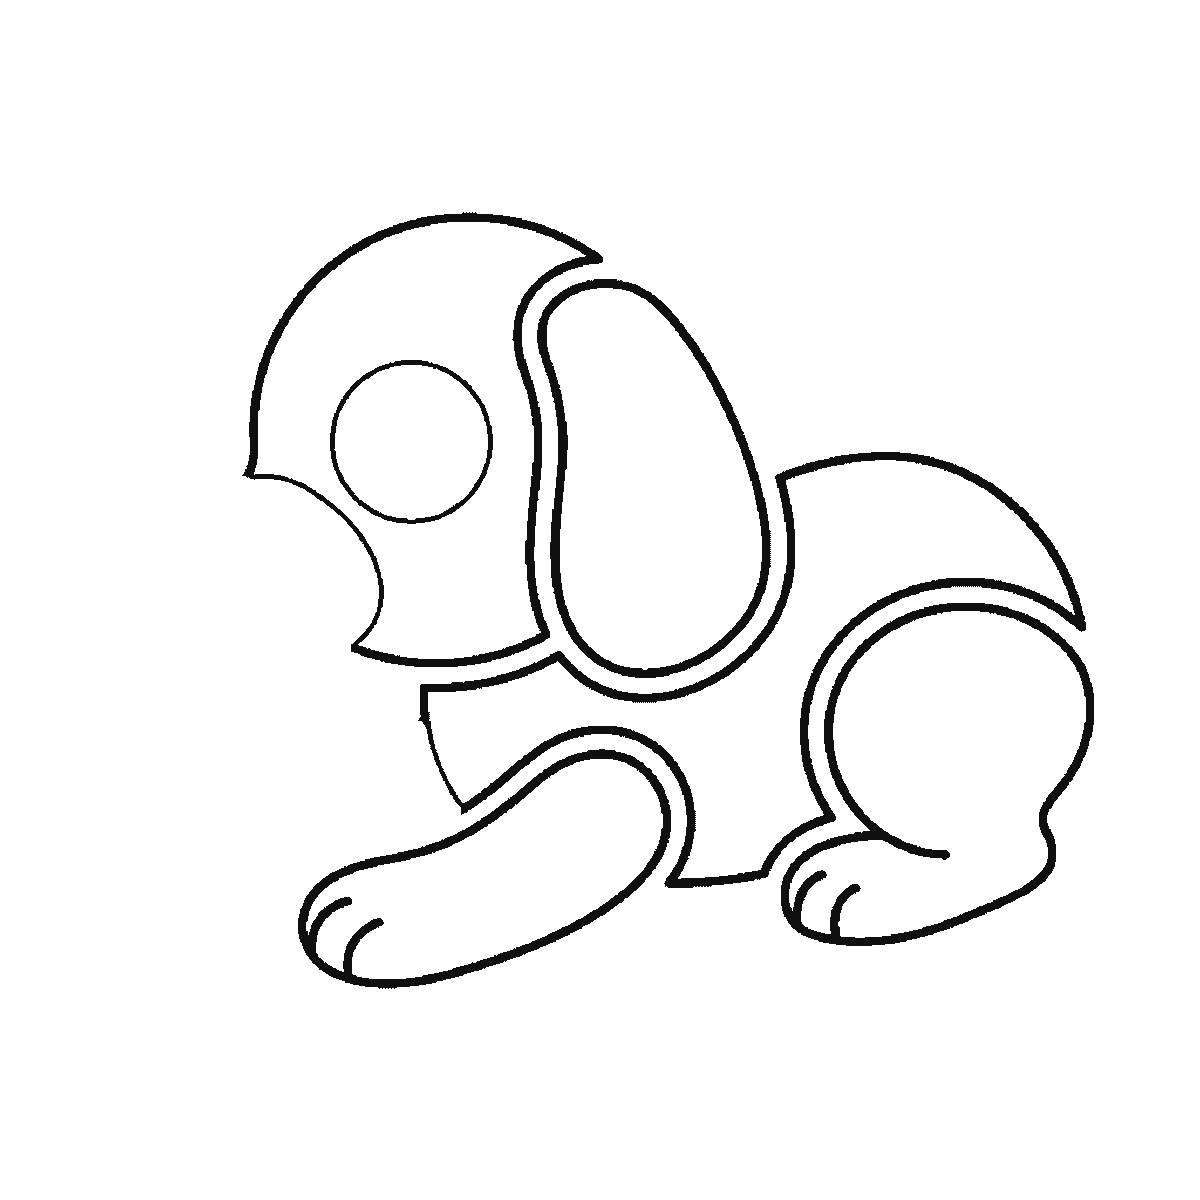
Step 4
Step 5
Step 6
More in this section
How to draw a whale
Six frames, one whale above the waves. The whole body first with the eye left blank, then the tail and the big flipper, and the spout and the filled pupil last.
Step sequence made by us from a single drawing: each step keeps the lines of the one before it and adds to them.
How to draw a deer
Six frames, one young deer standing side-on. The spotted body first with no head at all, then the ears — and the entire face arrives in the last frame.
Step sequence made by us from a single drawing: each step keeps the lines of the one before it and adds to them.
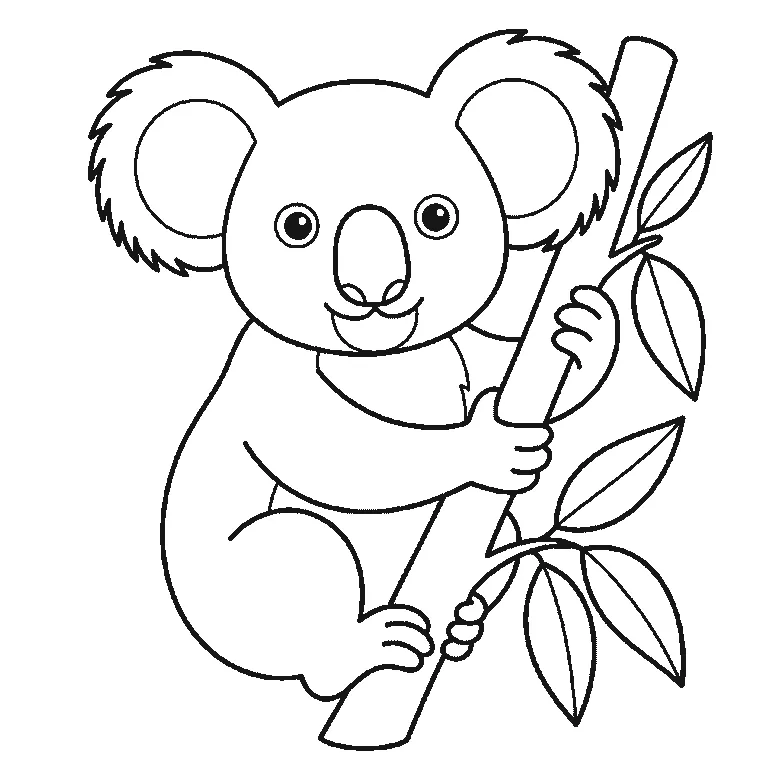
How to draw a koala
Six frames, one koala hugging a branch. The whole head and both fringed ears first, then the body, then the branch — and the eyes and the last leaves at the end.
Step sequence made by us from a single drawing: each step keeps the lines of the one before it and adds to them.
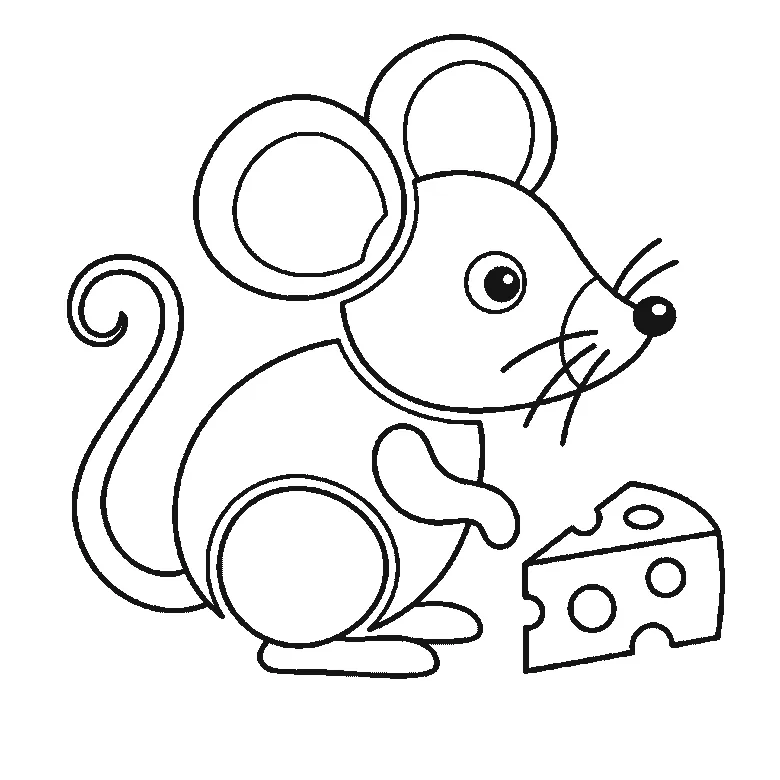
How to draw a mouse
Six frames, one mouse beside a wedge of cheese. The head and the back together first, then the ears, then the cheese — with the tail, whiskers and eye last.
Step sequence made by us from a single drawing: each step keeps the lines of the one before it and adds to them.
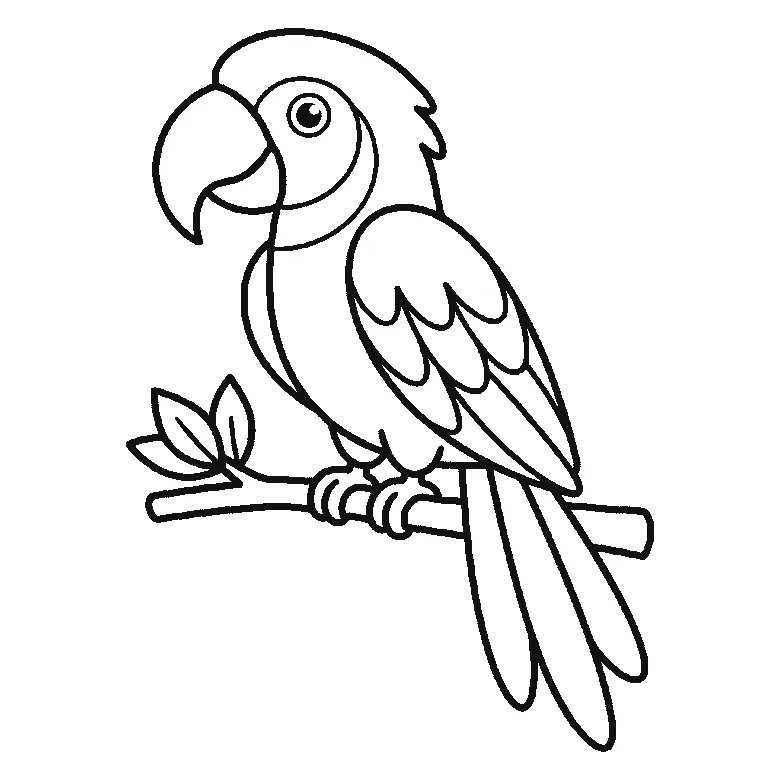
How to draw a parrot
Six frames, one parrot on a leafy branch. The head crest and the breast first, then the beak with the wing, and the eye and the gripping feet last.
Step sequence made by us from a single drawing: each step keeps the lines of the one before it and adds to them.
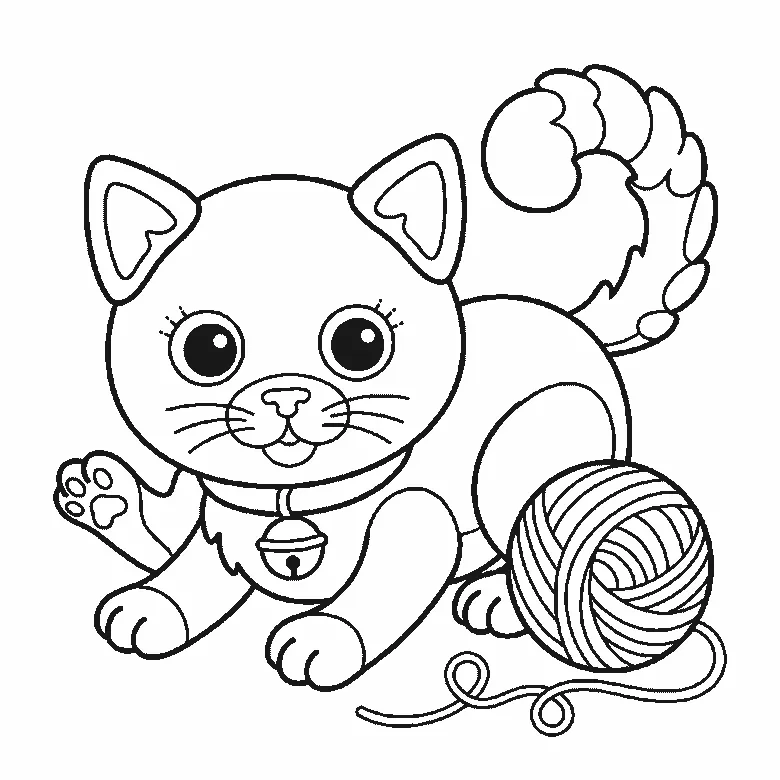
How to draw a kitten
Six frames, one kitten crouching over a ball of wool. The head and collar first, the ears one at a time after it, and the filled pupils near the end.
Step sequence made by us from a single drawing: each step keeps the lines of the one before it and adds to them.
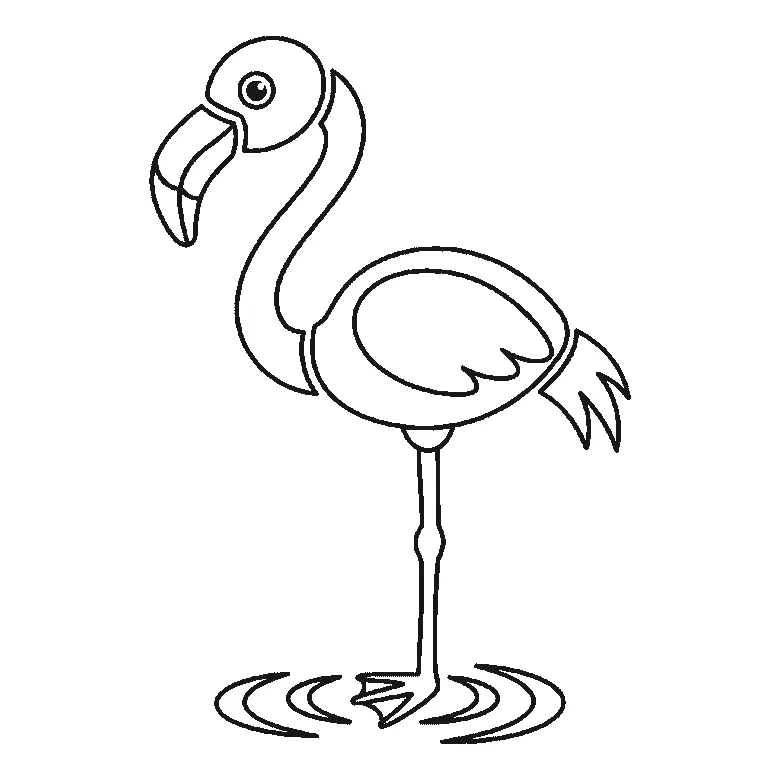
How to draw a flamingo
Six frames, one flamingo standing in shallow water. The body first, the neck second, and the beak — the thing that says flamingo — not until frame five.
Step sequence made by us from a single drawing: each step keeps the lines of the one before it and adds to them.
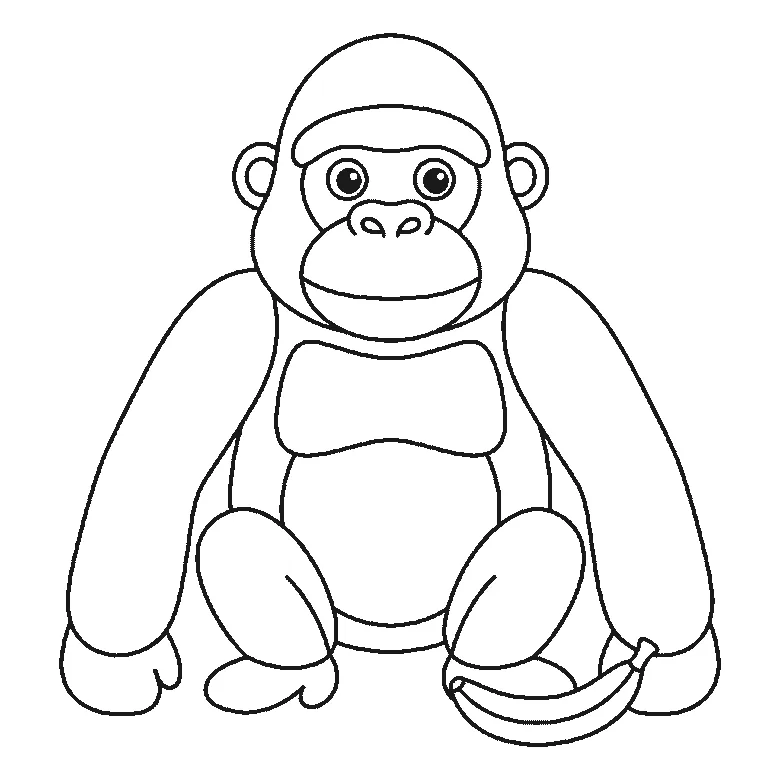
How to draw a gorilla
Six frames, one gorilla sitting with a banana beside it. Frame one is the two arms and nothing else — the head does not arrive until frame two.
Step sequence made by us from a single drawing: each step keeps the lines of the one before it and adds to them.
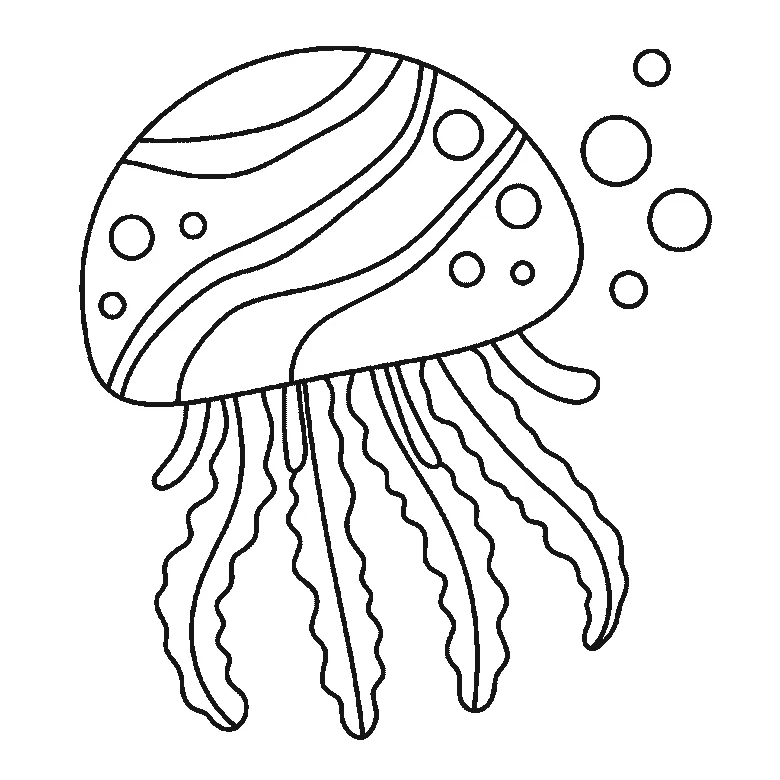
How to draw a jellyfish
Six frames, one jellyfish drifting with bubbles beside it. The bell is built panel by panel, the tentacles arrive a few at a time, and the bubbles are last.
Step sequence made by us from a single drawing: each step keeps the lines of the one before it and adds to them.
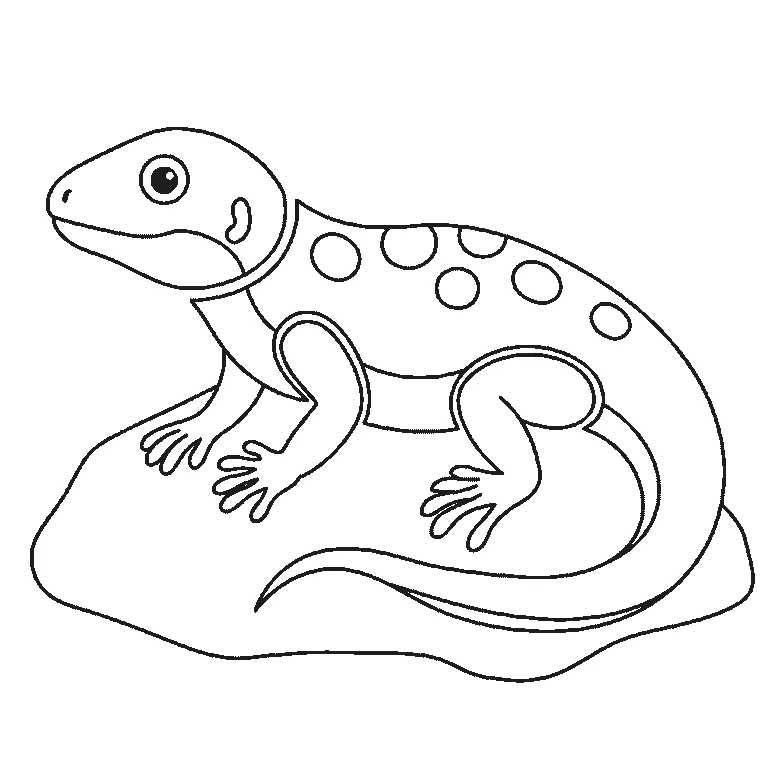
How to draw a lizard
Six frames, one lizard basking on a rock. Frame one is the rock and two legs; the body comes second and the head not until frame three.
Step sequence made by us from a single drawing: each step keeps the lines of the one before it and adds to them.
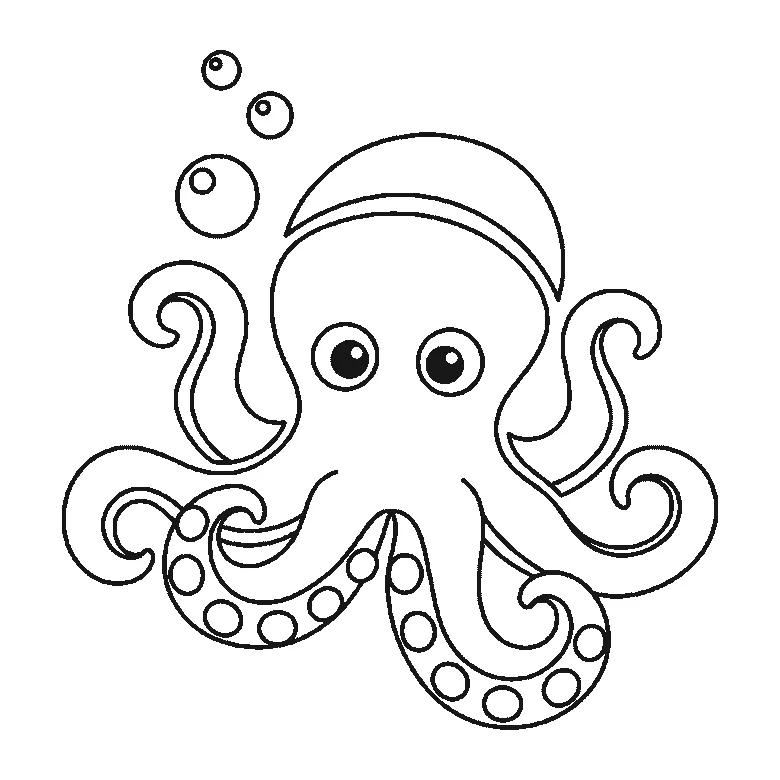
How to draw an octopus
Six frames, one octopus with bubbles rising beside it. The head and two outer arms first, the remaining arms one or two at a time, the pupils last.
Step sequence made by us from a single drawing: each step keeps the lines of the one before it and adds to them.
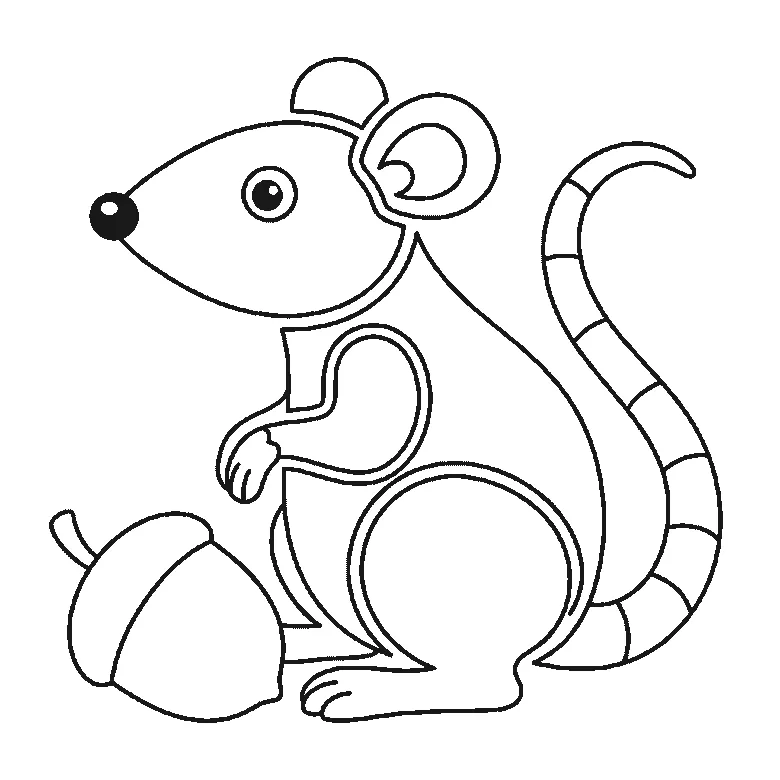
How to draw a rat
Six frames, one rat sitting up beside an acorn. The head and haunch first, the ear third, and the long banded tail not until frame five.
Step sequence made by us from a single drawing: each step keeps the lines of the one before it and adds to them.


