
PDF · A4 · 56 KB · Free, no sign-up. For home and classroom use.
How to draw a rat
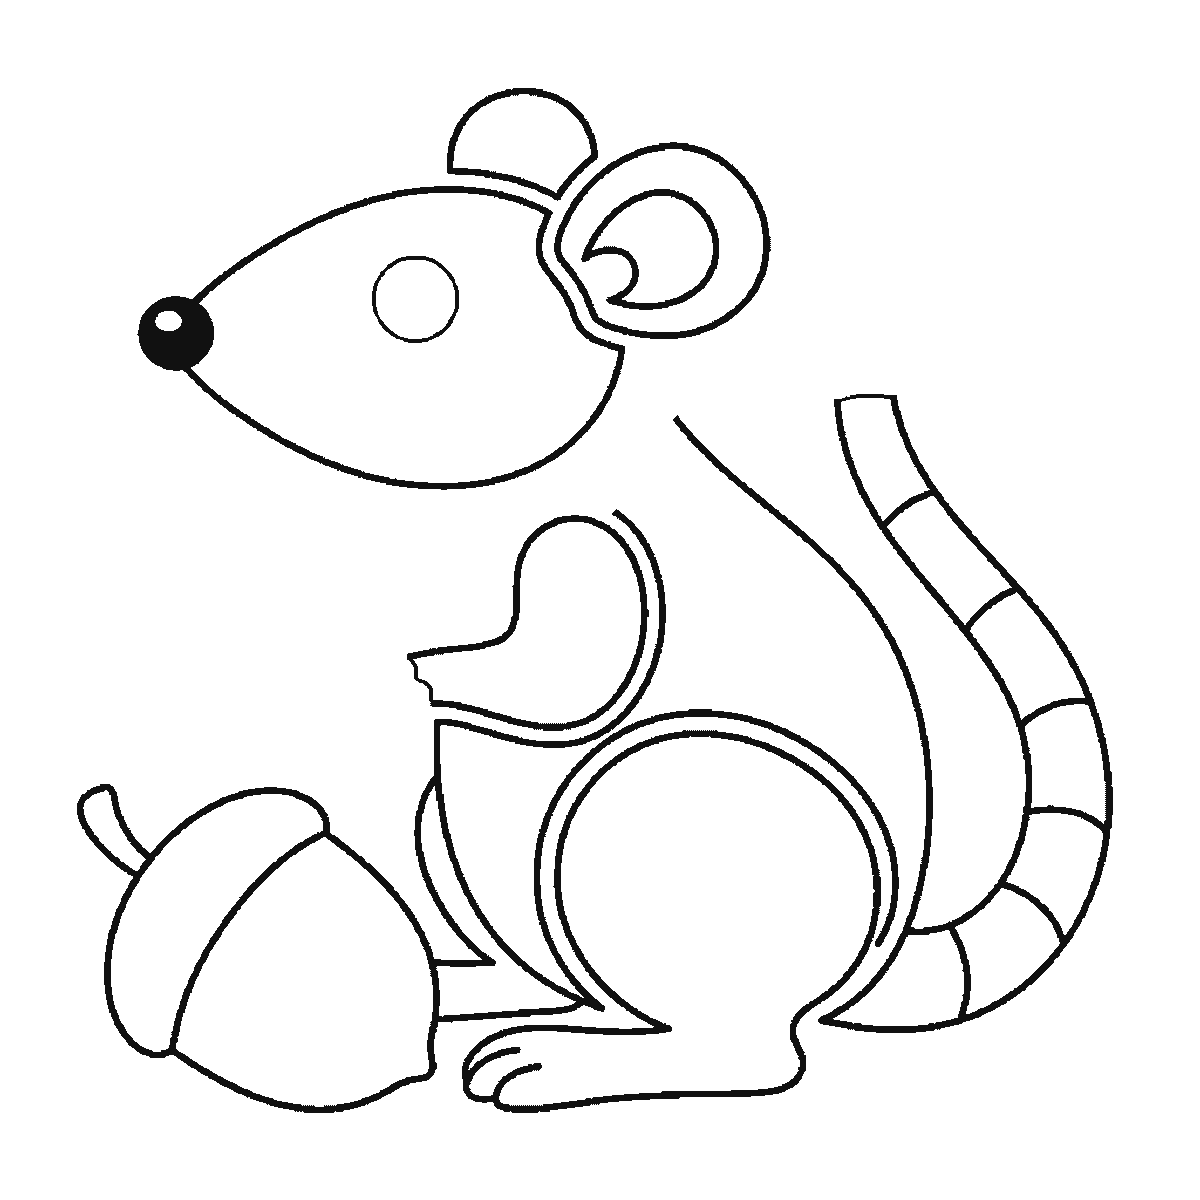
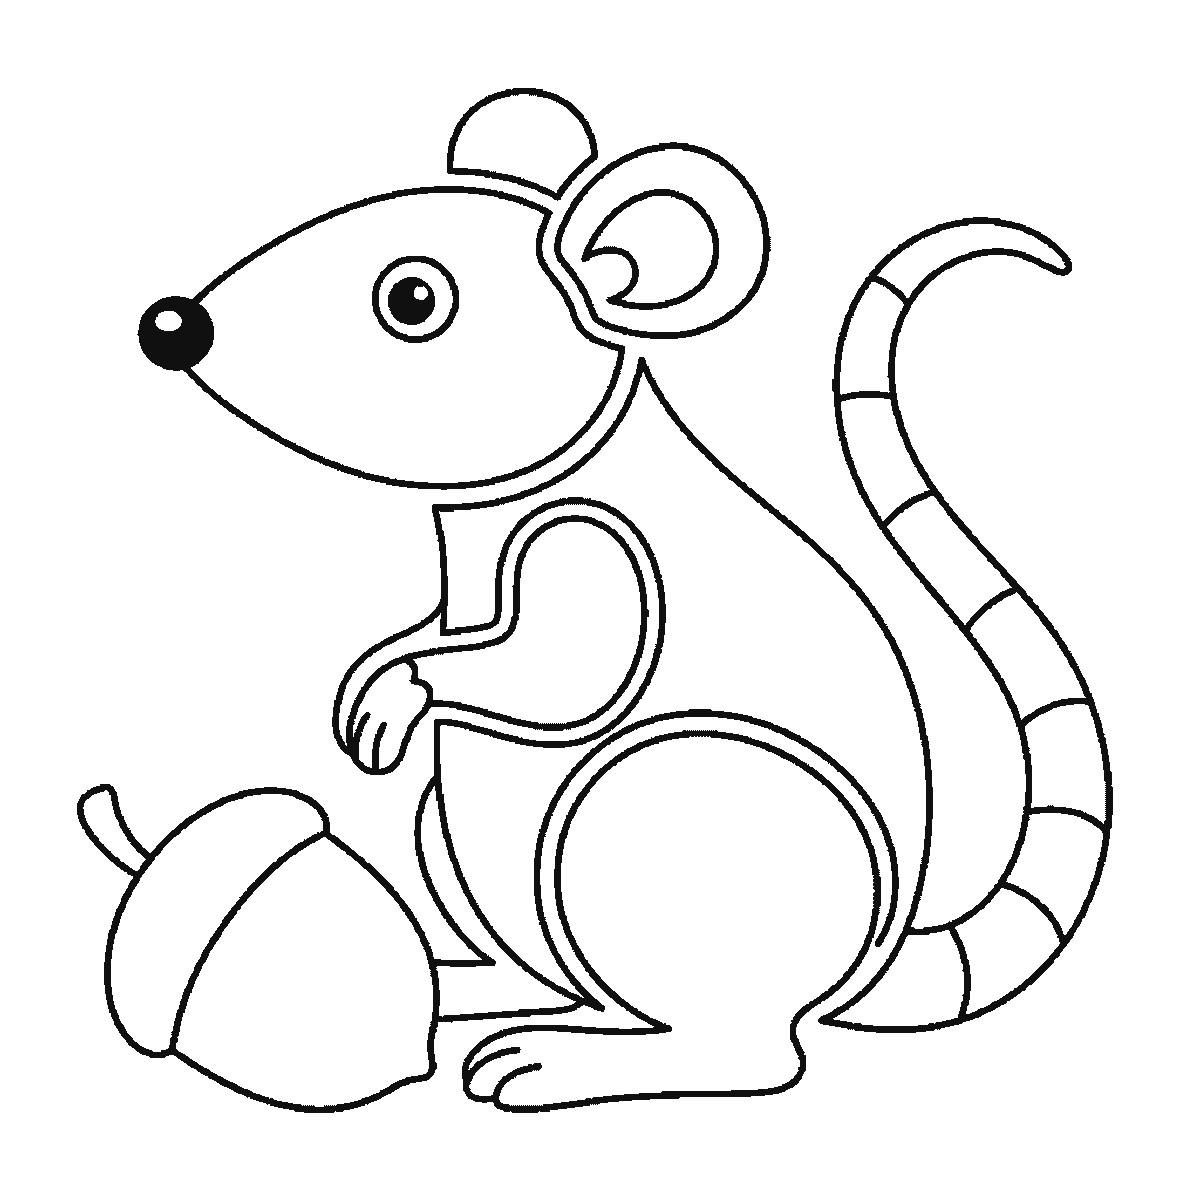
Six frames, one rat sitting up beside an acorn. The head and haunch first, the ear third, and the long banded tail not until frame five.
This sheet takes one drawing of a rat sitting up on its haunches and shows it six times, each frame carrying everything the frame before it had and adding a little more. Print it, put it beside your paper, and copy one frame at a time.
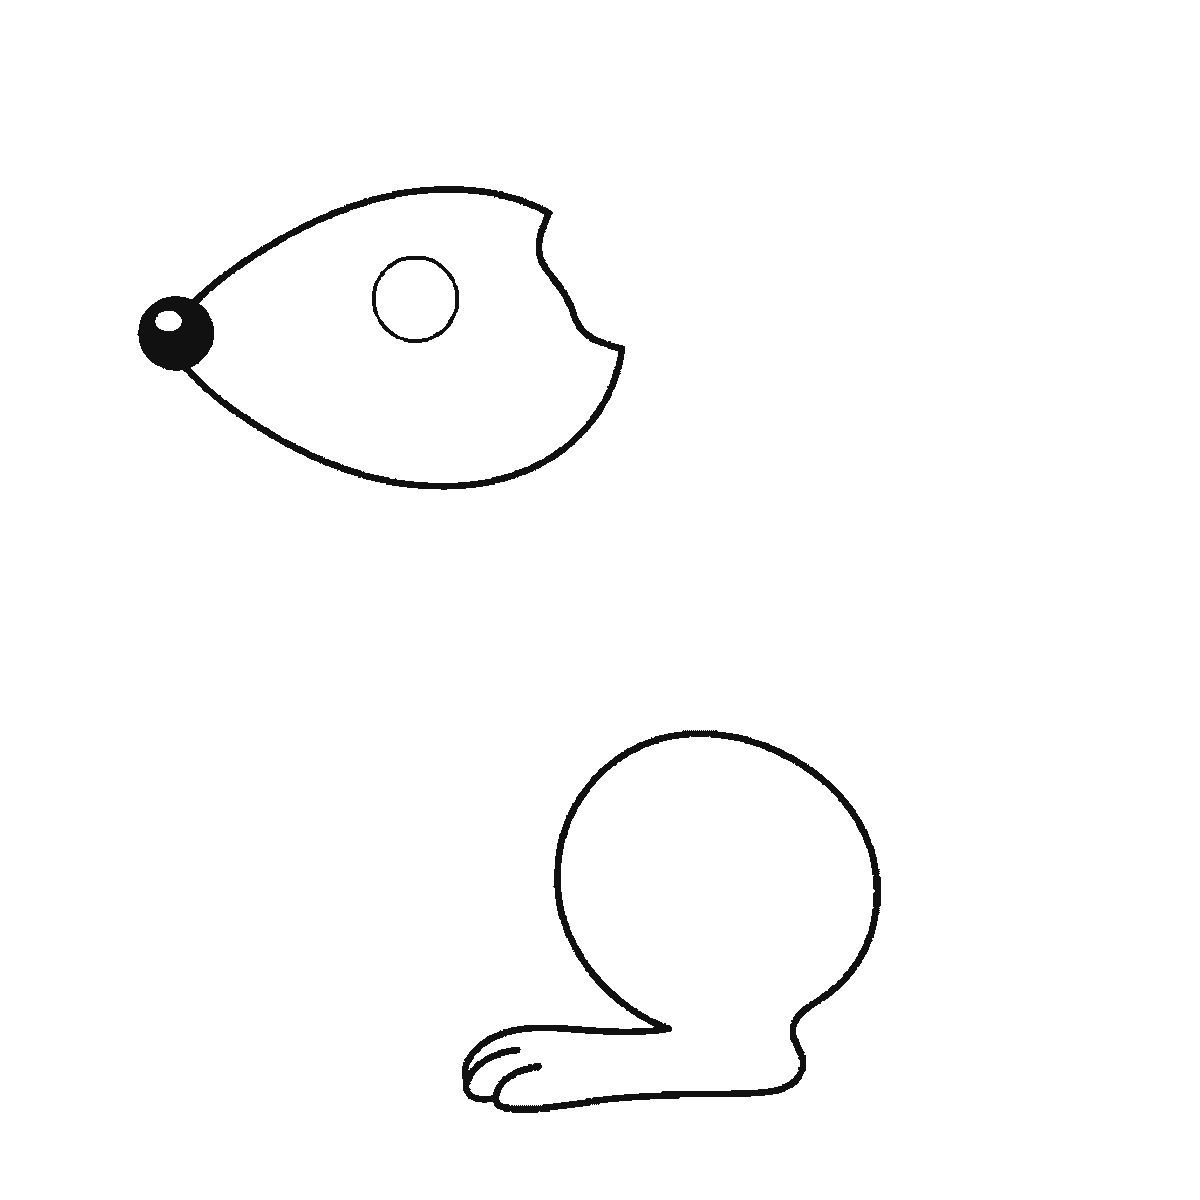
Frame one is two shapes that are not next to each other: the head, drawn as a long wedge with the nose already filled in solid black and the eye already marked as an open ring, and the big round haunch at the back with its hind foot and toes. The middle of the animal is missing. Drawing two disconnected pieces and trusting that they will join up later feels wrong the first time, but it is the most useful part of this sheet — those two shapes fix the length of the rat before you commit to anything between them.
The filled nose in frame one is unusual. On almost every other sheet here the solid black marks arrive at the end, and on this one the nose is there from the start while the eye's pupil waits until frame six. If you copy the first frame exactly you will have a black nose and a hollow eye, which looks odd for four frames and then comes right.
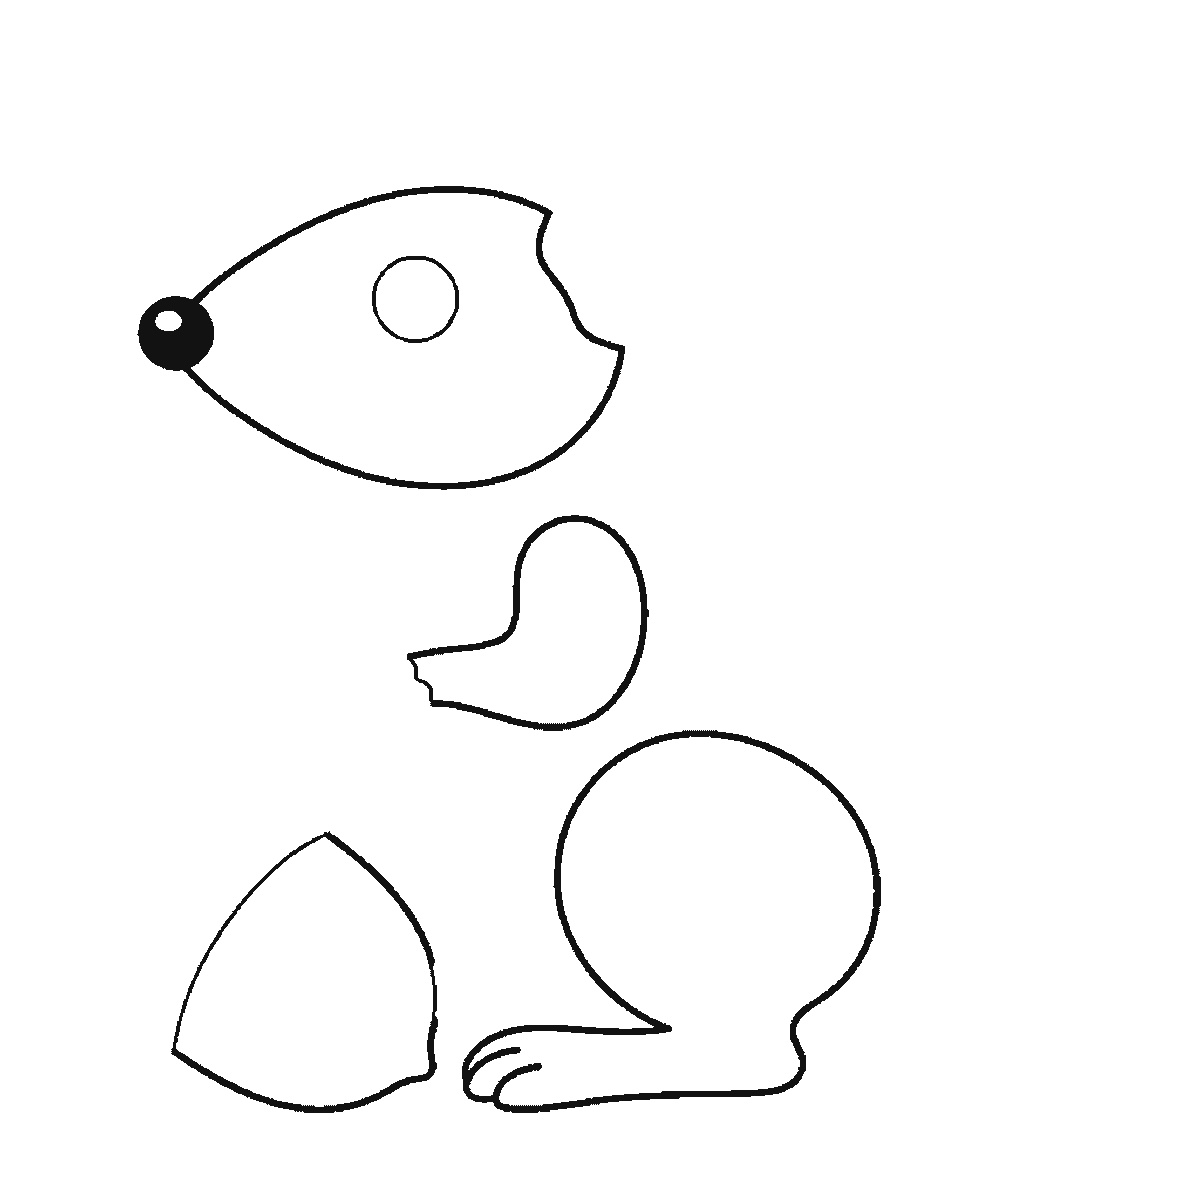
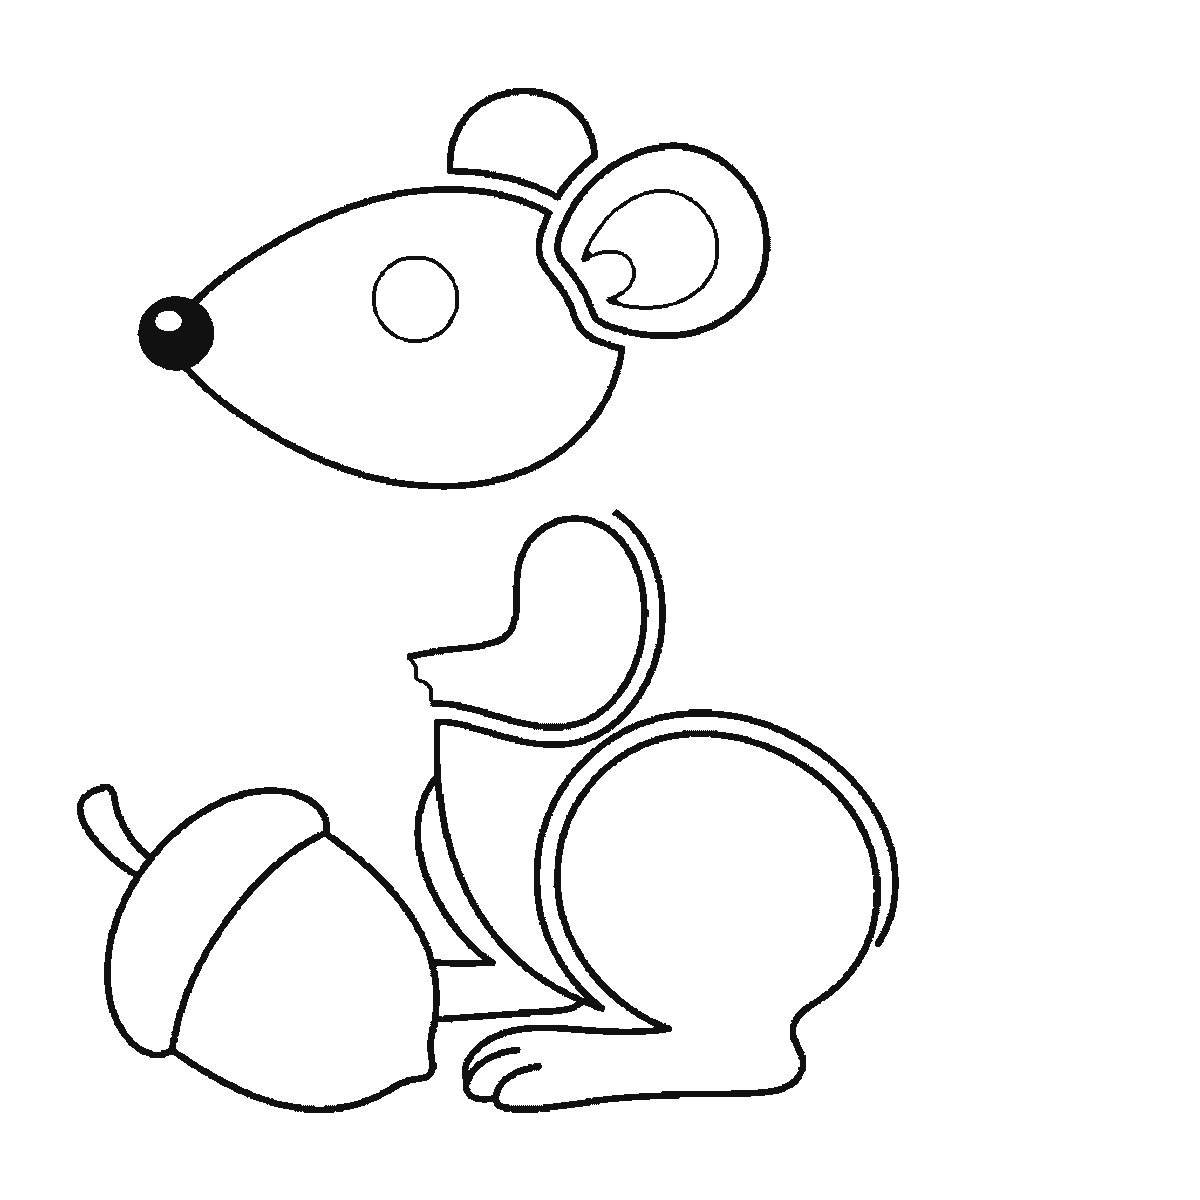
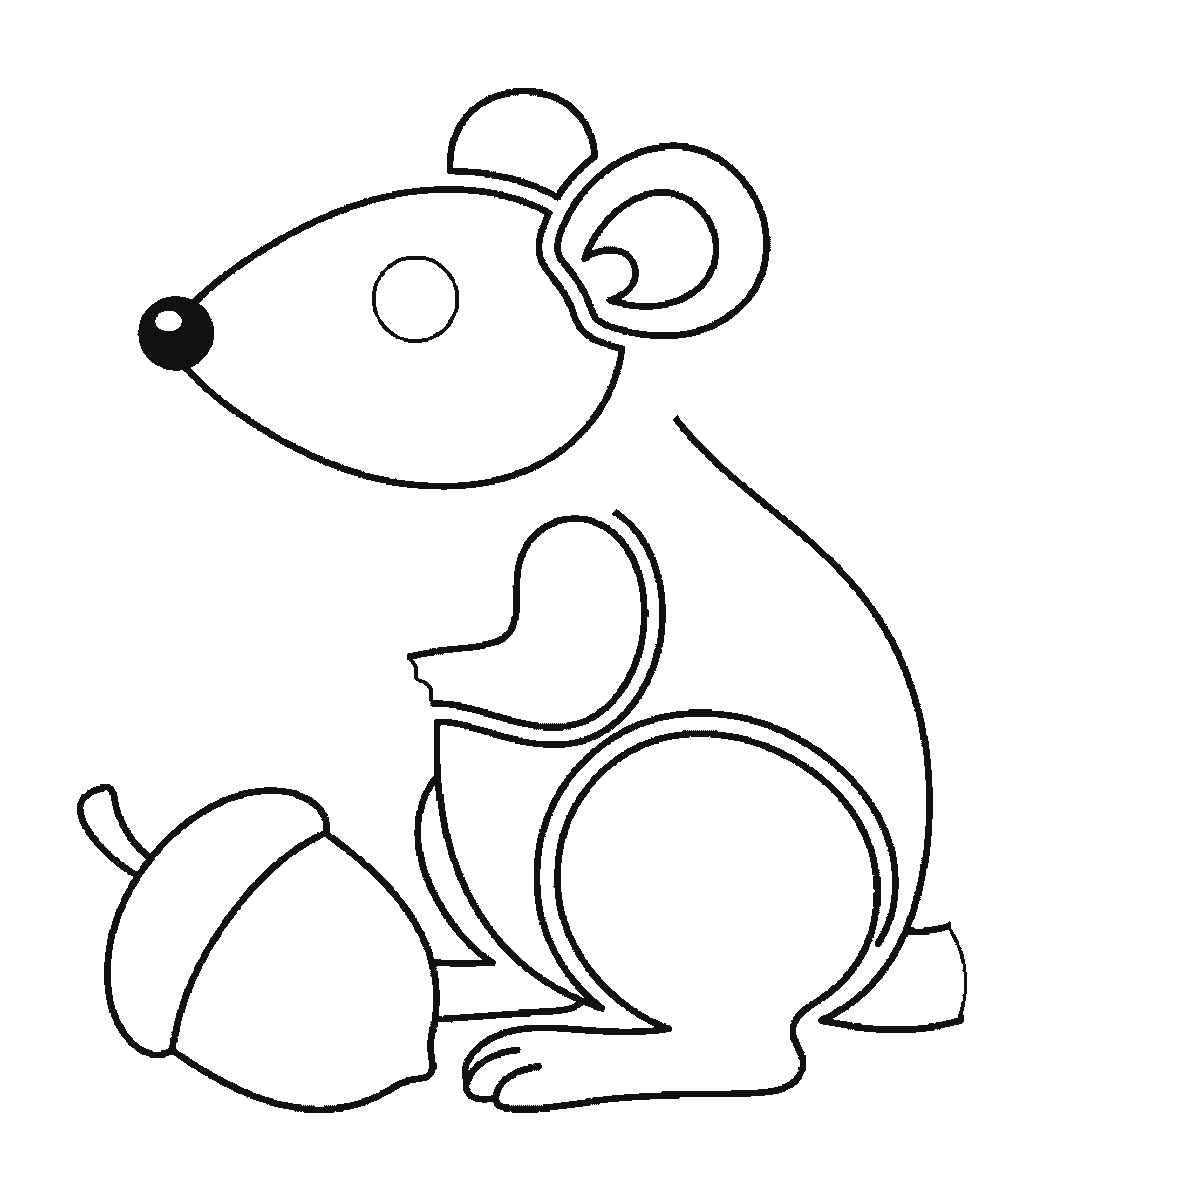
Frame two brings the front leg's upper shape and the body of the acorn lying beside the rat. Frame three is the ear — a round outer shape with its inner curve — plus the acorn's cap and the chest panel. Frame four is the long line of the back and the hind heel. The tail, banded along its length, is the whole of frame five, and frame six adds the filled pupil, the front paw with its toes, and the tail's tip.
The ear is the feature to get right, and it is where a rat and a mouse part company. A rat's ears are round but modest — noticeably smaller relative to the head than a mouse's, which look almost comically large. If your animal is coming out looking like a mouse, shrink the ear rather than changing anything else. The other tell is the snout, which on a rat is longer and blunter.
The tail deserves its own frame and gets one. It is drawn as a closed band with a real thickness, divided into segments along its length, rather than as a single line, and it is as long as the rat's head and body together. Beginners draw it too short and too thin almost without exception. Copy the length from the sheet with a finger before you start it.
The six frames are ordered by which closed shape is largest, biggest first and smallest last. That is why a disconnected head and haunch come first and the tail comes fifth, and it is not a claim that this is how anyone ought to draw a rat. If you would rather draw a continuous outline from nose to tail, the finished drawing is the same drawing.
The download is one A4 page with all six frames on it, so a class can work from a single sheet each. It is a plain black outline on white and prints on any printer, because there is nothing shaded anywhere on the page. The acorn is there to give the drawing a scale, and it is the easiest part to colour.
Before you start
- Draw the head and the haunch as two separate shapes first, exactly as the sheet does, and leave the gap between them empty. That gap is the rat’s length and it is the hardest thing to fix later.
- Keep the ear round but small. A big round ear is a mouse; this is the one measurement that separates them.
- Draw the tail as two lines with a thickness between them, not as a single stroke. A line-thin tail reads as a piece of string.
- Make the tail as long as the head and body together. Almost every beginner stops it about half way.
Published Updated 567 words
The six steps
The steps go from the largest shape to the smallest, which is an easy order to copy. It is not the only order, and it is not a rule — if you would rather start somewhere else on the sheet, do.
Step 1
Step 2
Step 3
Step 4
Step 5
Step 6
More in this section
How to draw a dog
Six frames, one dog sitting upright. The head alone first, then the body and front legs, and the ears, tail and eyes last.
Step sequence made by us from a single drawing: each step keeps the lines of the one before it and adds to them.
How to draw a cat
Six frames, one cat sitting upright. The whole face first — ears, eyes and whiskers together — then the tail on its own, the body and the legs.
Step sequence made by us from a single drawing: each step keeps the lines of the one before it and adds to them.
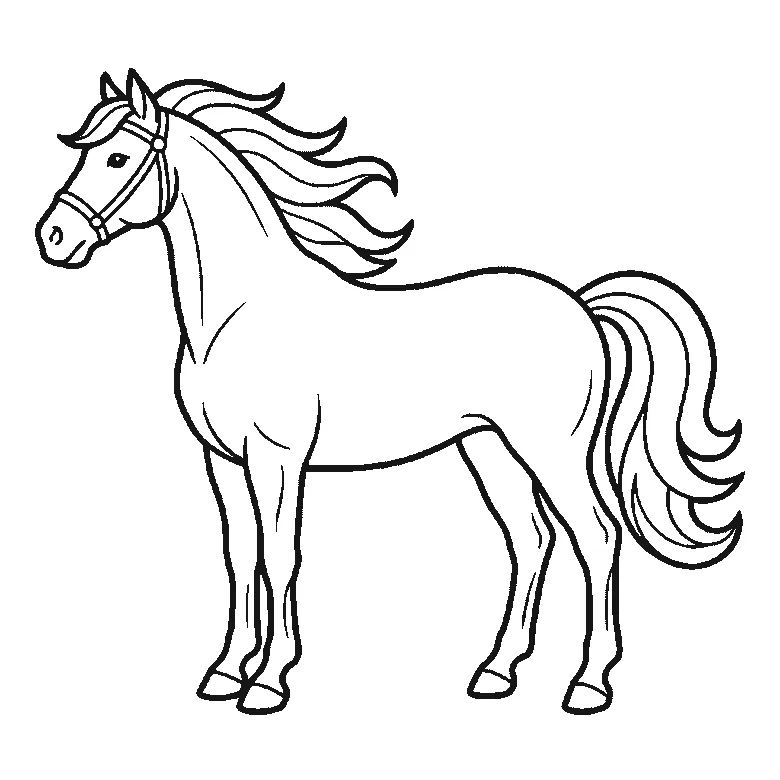
How to draw a horse
Six frames, one horse in profile. Almost the whole body first, then the far legs, the tail, and the head and mane last.
Step sequence made by us from a single drawing: each step keeps the lines of the one before it and adds to them.
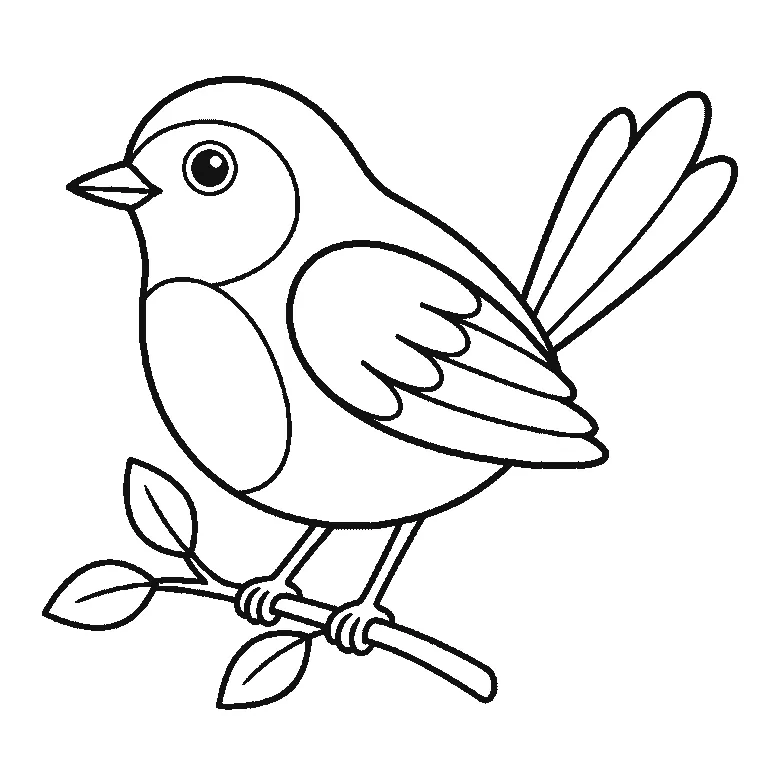
How to draw a bird
Six frames, one small bird on a branch. The body outline first, then the head, beak and wing together, the tail feathers, the branch, and the feet last.
Step sequence made by us from a single drawing: each step keeps the lines of the one before it and adds to them.
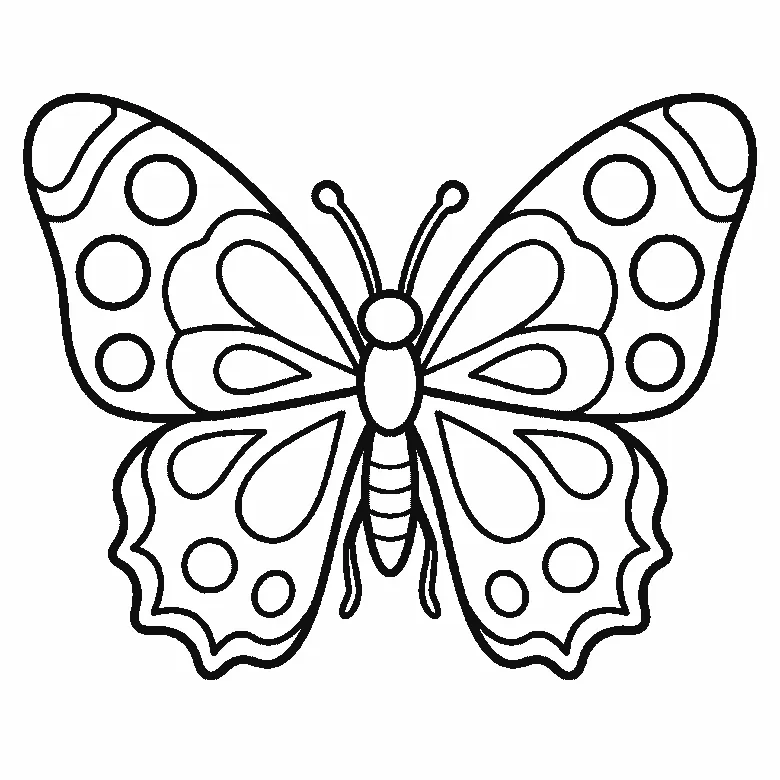
How to draw a butterfly
Six frames, one butterfly seen from above. The lower wings first, then the upper pair, their markings, and the body and antennae last.
Step sequence made by us from a single drawing: each step keeps the lines of the one before it and adds to them.
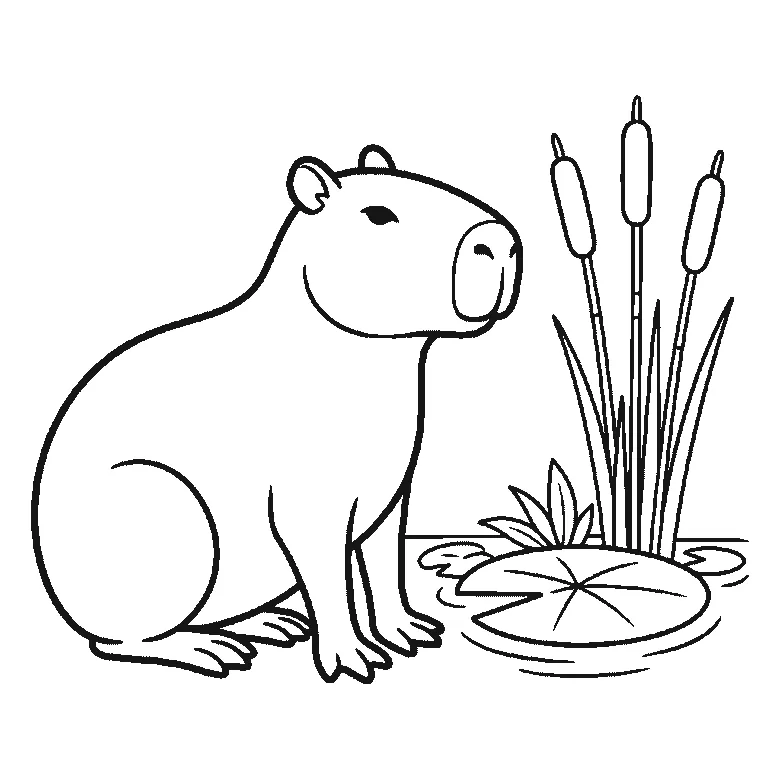
How to draw a capybara
Six frames, one capybara sitting in profile beside water. The whole animal in the first frame, then the lily pad, the bulrushes and the water.
Step sequence made by us from a single drawing: each step keeps the lines of the one before it and adds to them.
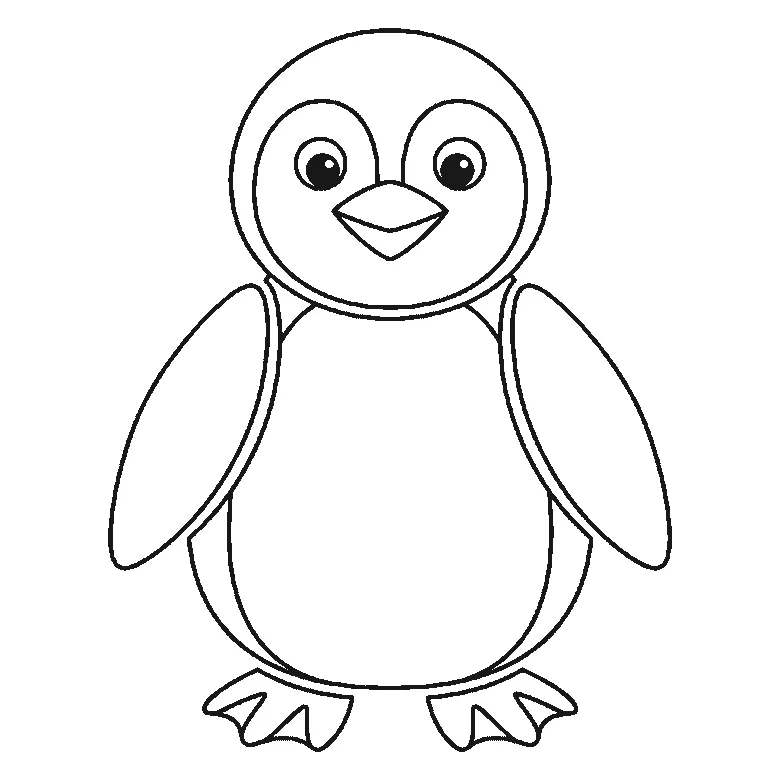
How to draw a penguin
Six frames, one penguin standing and facing you. The body and the whole face first, then the head's outline, one flipper at a time, and the feet.
Step sequence made by us from a single drawing: each step keeps the lines of the one before it and adds to them.
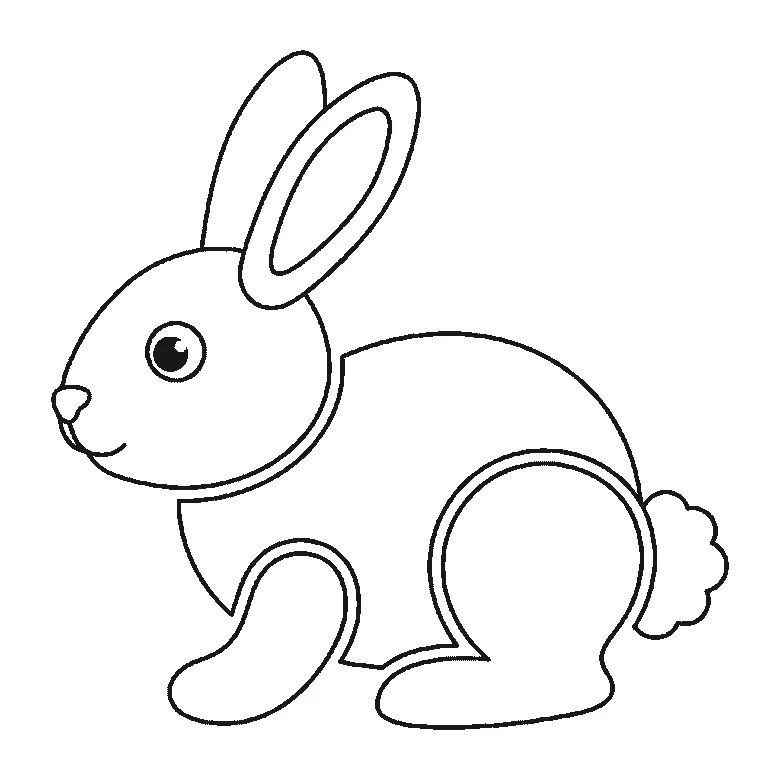
How to draw a rabbit
Six frames, one rabbit in profile. The body first, then the folded hind leg, the head, the front paw, and the ears and tail last.
Step sequence made by us from a single drawing: each step keeps the lines of the one before it and adds to them.
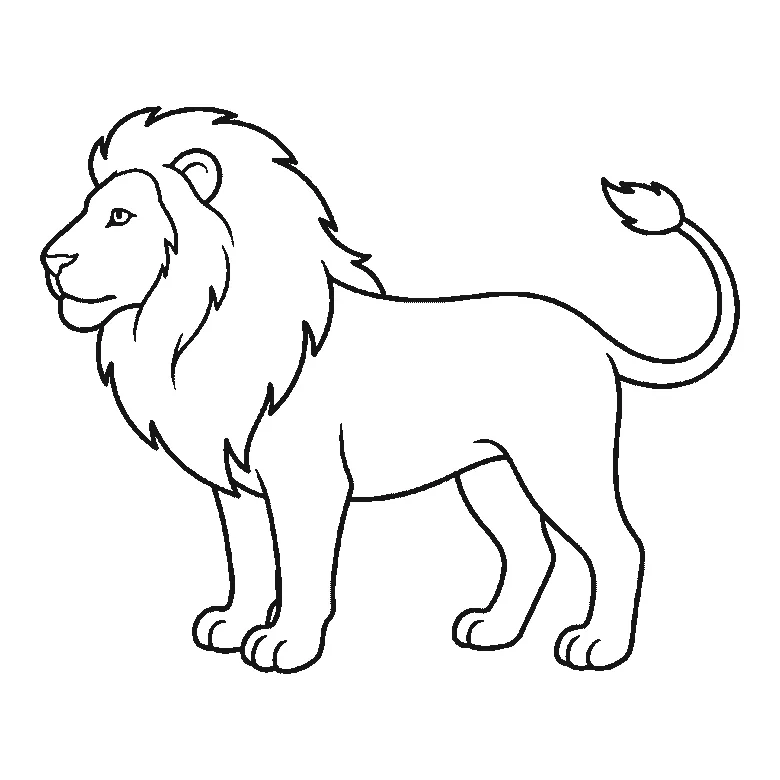
How to draw a lion
Six frames, one lion standing in profile. The body first, then the mane, the face, the two far legs, and the ear and tail tuft last.
Step sequence made by us from a single drawing: each step keeps the lines of the one before it and adds to them.
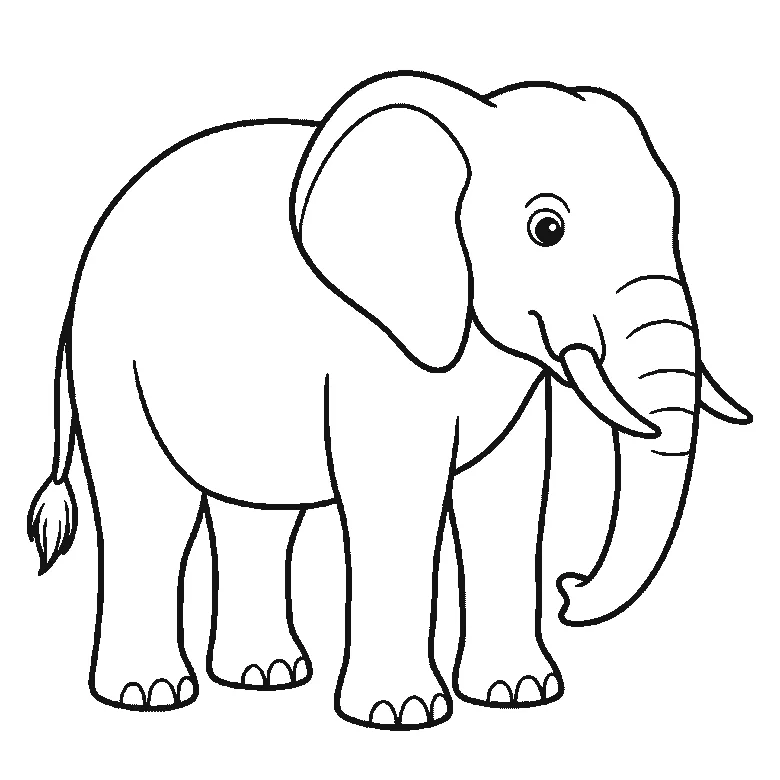
How to draw an elephant
Six frames, one elephant in profile. The body and near legs first, then the head, trunk, tusk and eye together, the big ear, the far legs, and the tail last.
Step sequence made by us from a single drawing: each step keeps the lines of the one before it and adds to them.
How to draw a fox
Six frames, one fox sitting and facing you. The head and the bushy tail together first, then the chest and legs, and the ears last.
Step sequence made by us from a single drawing: each step keeps the lines of the one before it and adds to them.
How to draw a tiger
Six frames, one tiger standing in profile. The striped flank first, then the head, the legs one at a time, and the tail last.
Step sequence made by us from a single drawing: each step keeps the lines of the one before it and adds to them.


