
PDF · A4 · 58 KB · Free, no sign-up. For home and classroom use.
How to draw an elephant
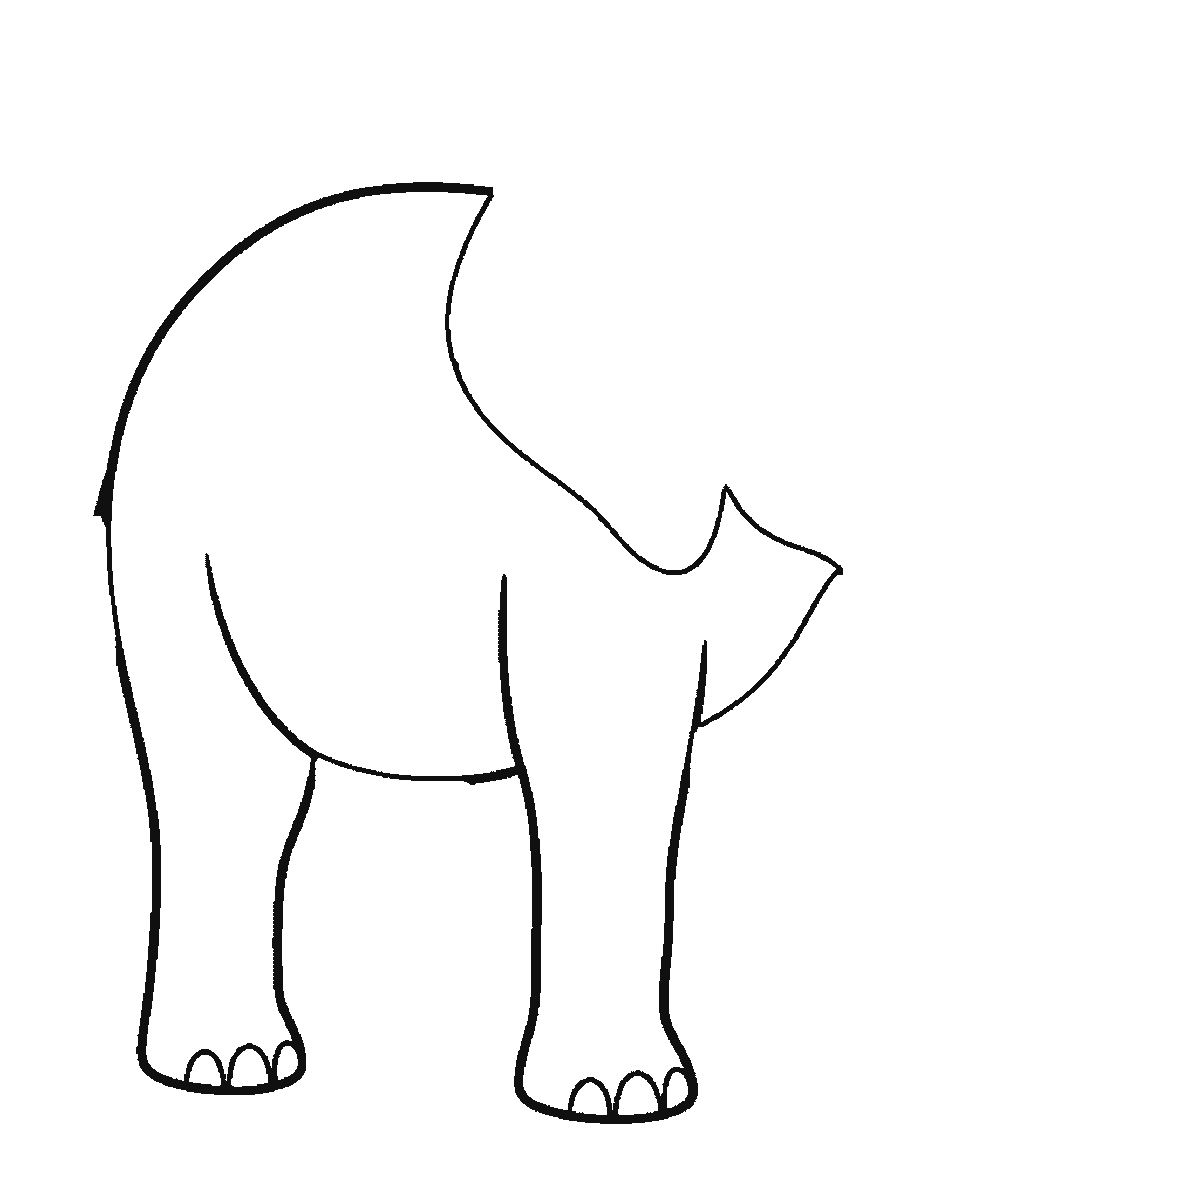
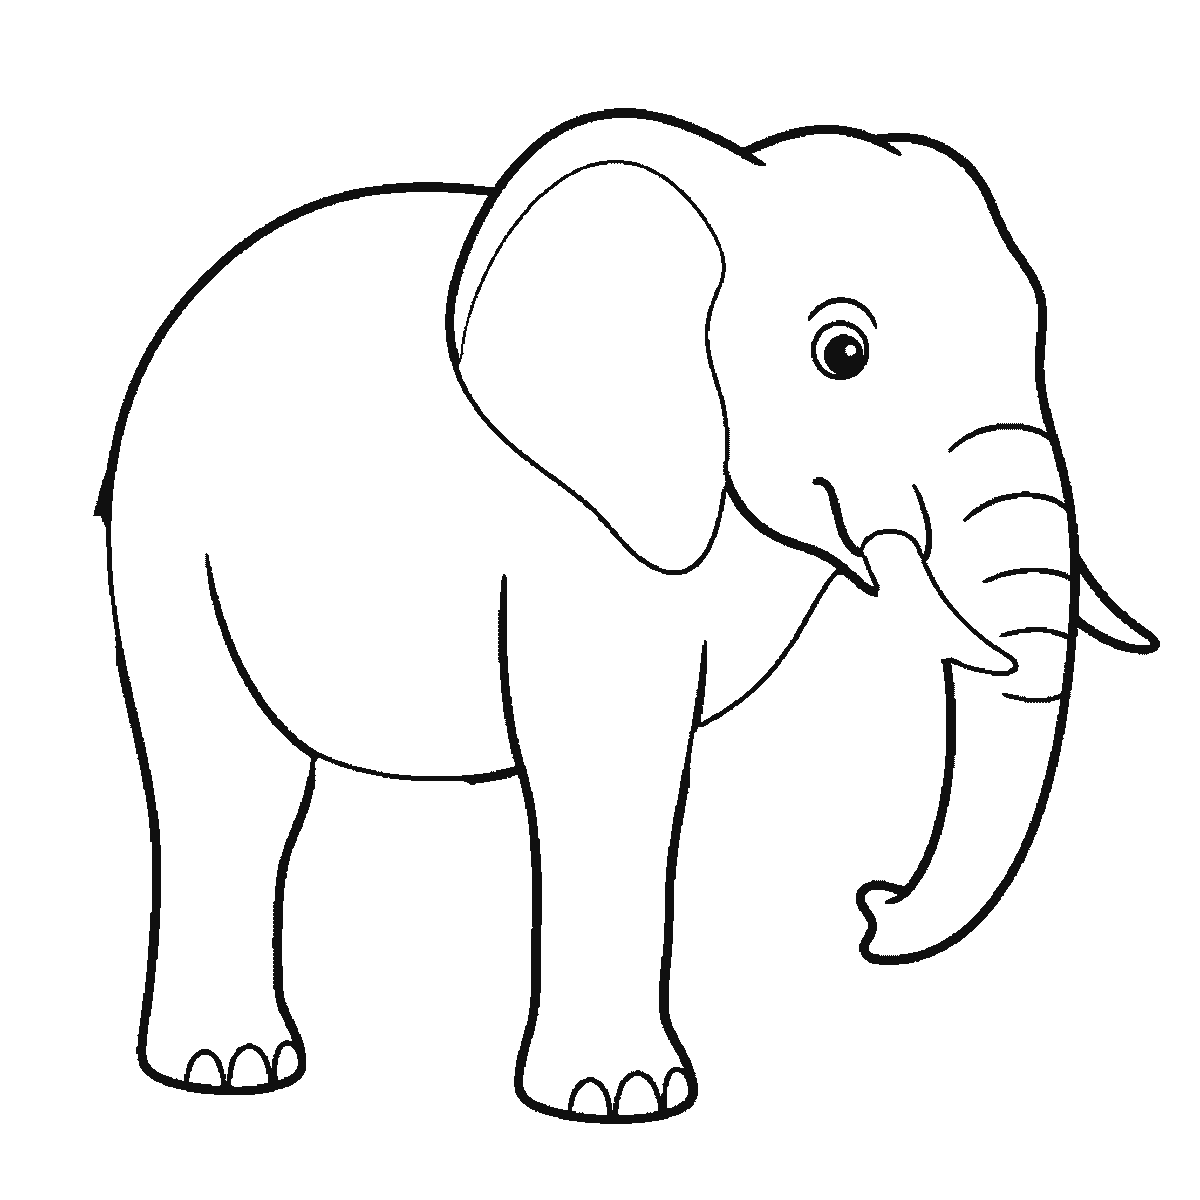
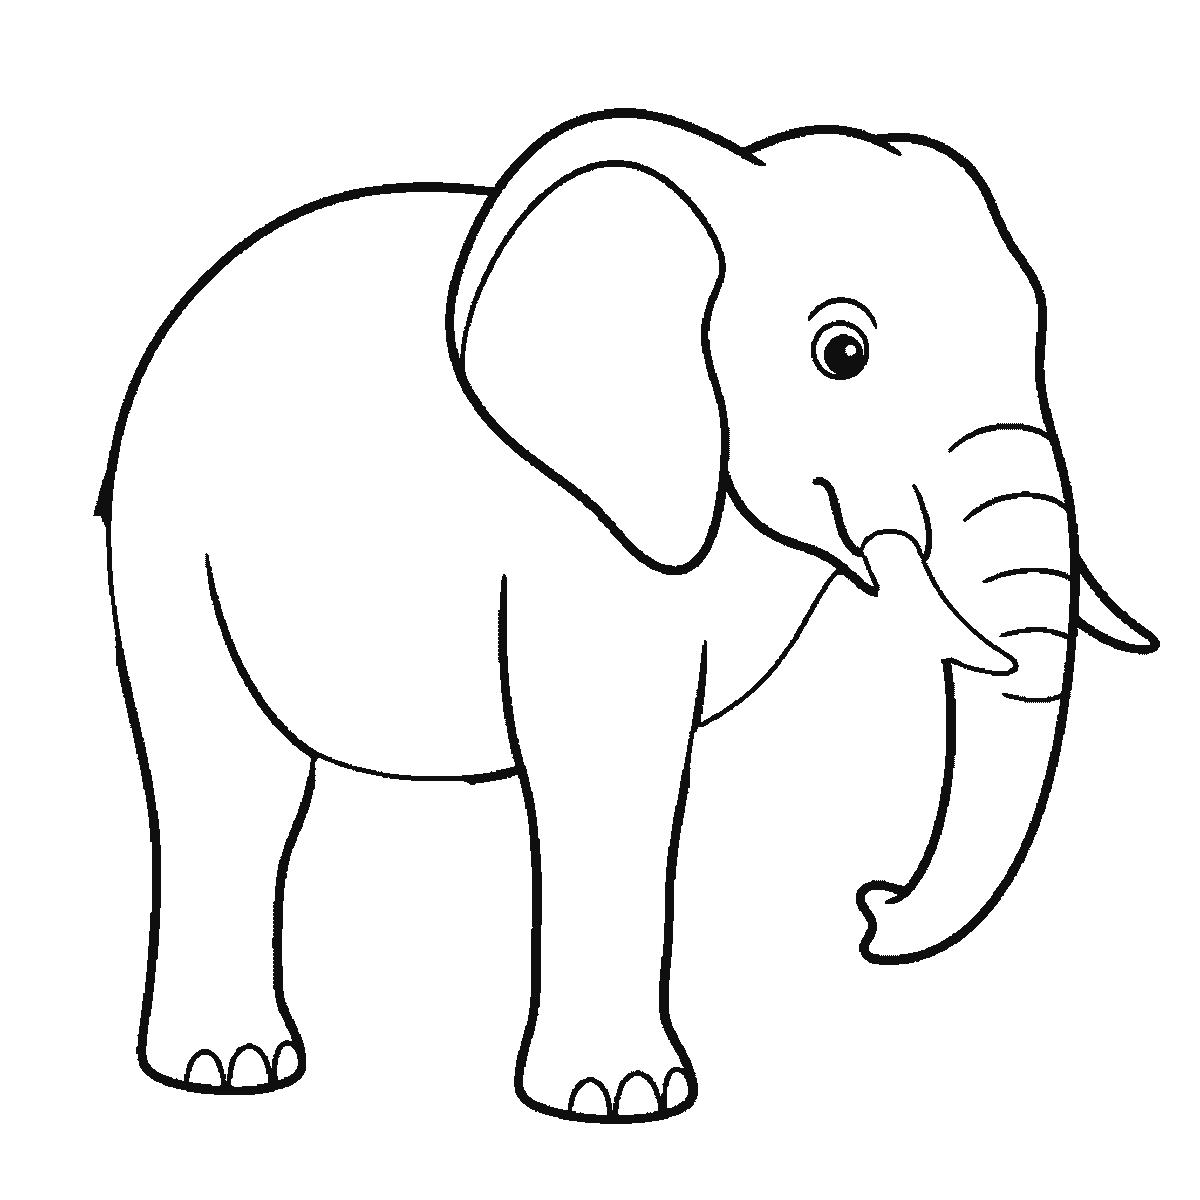
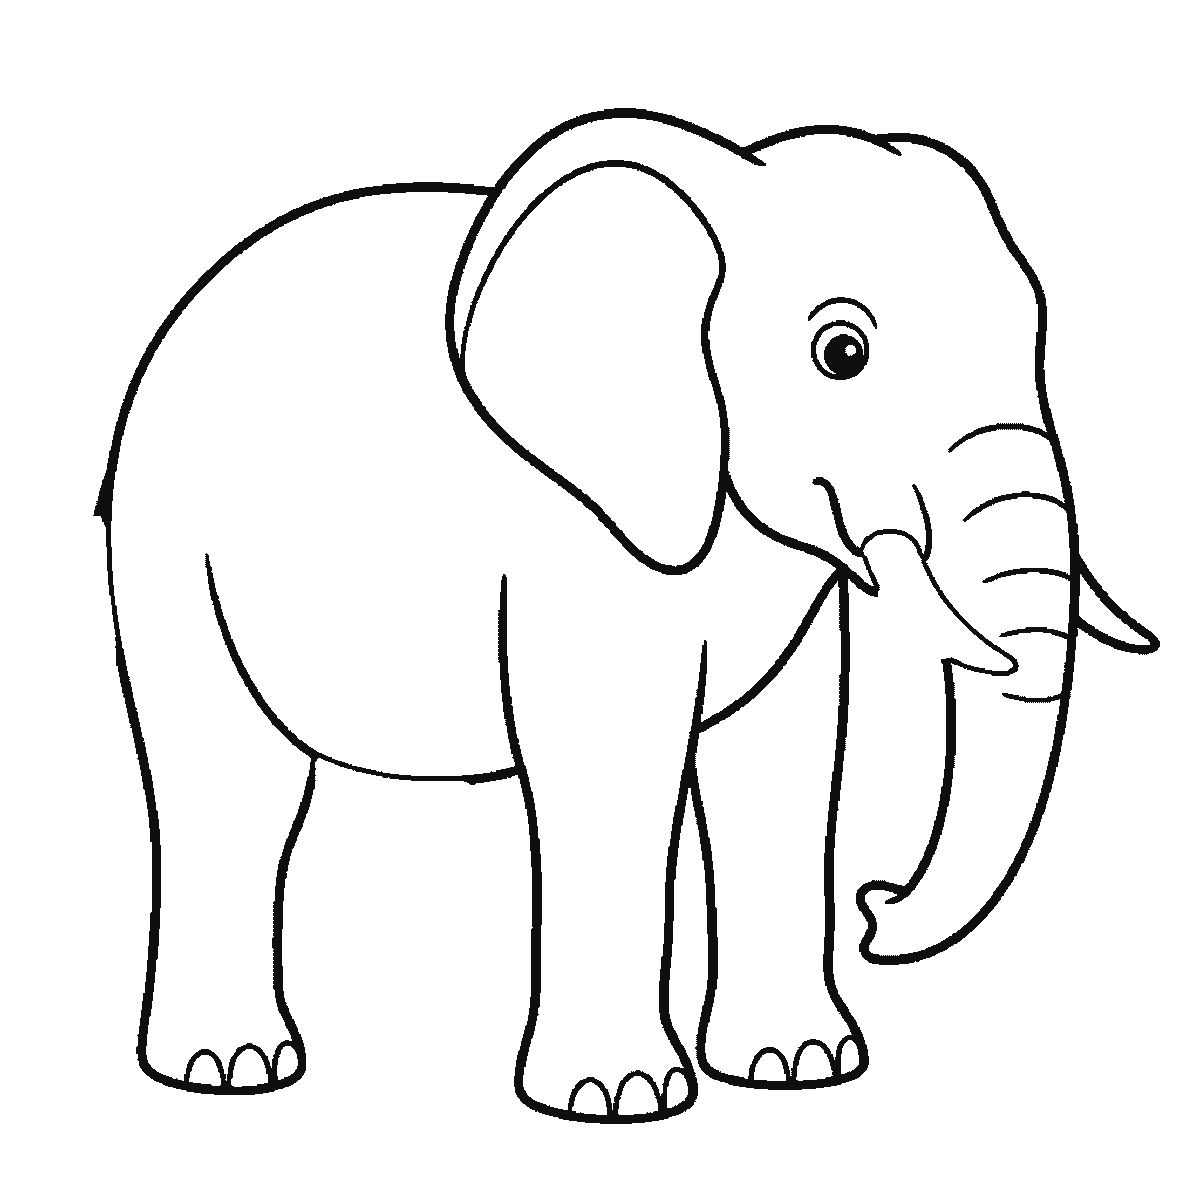
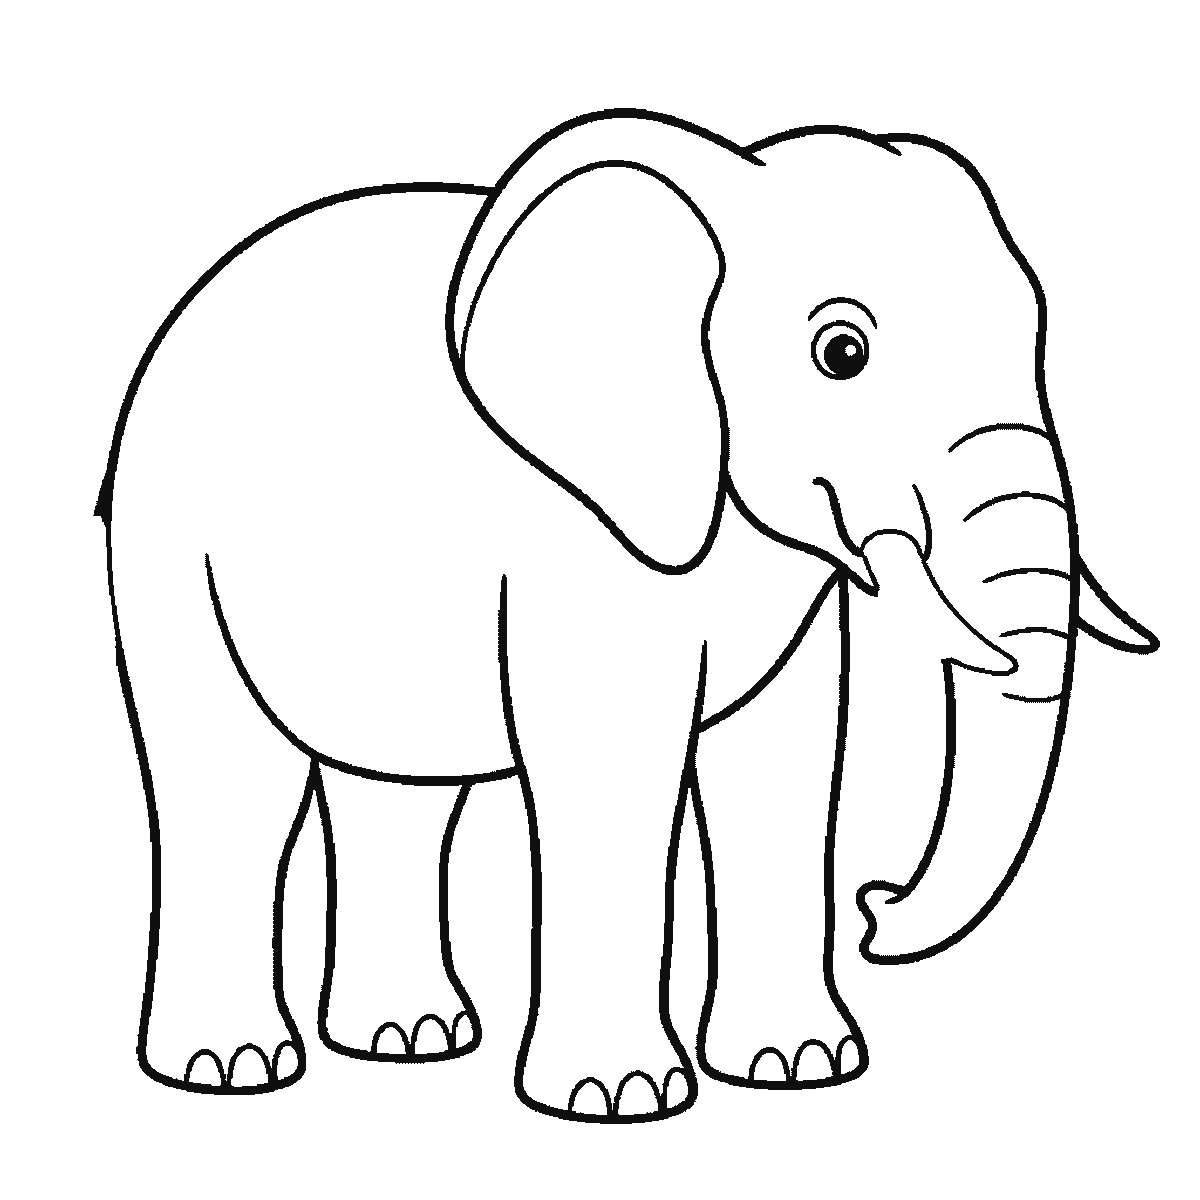
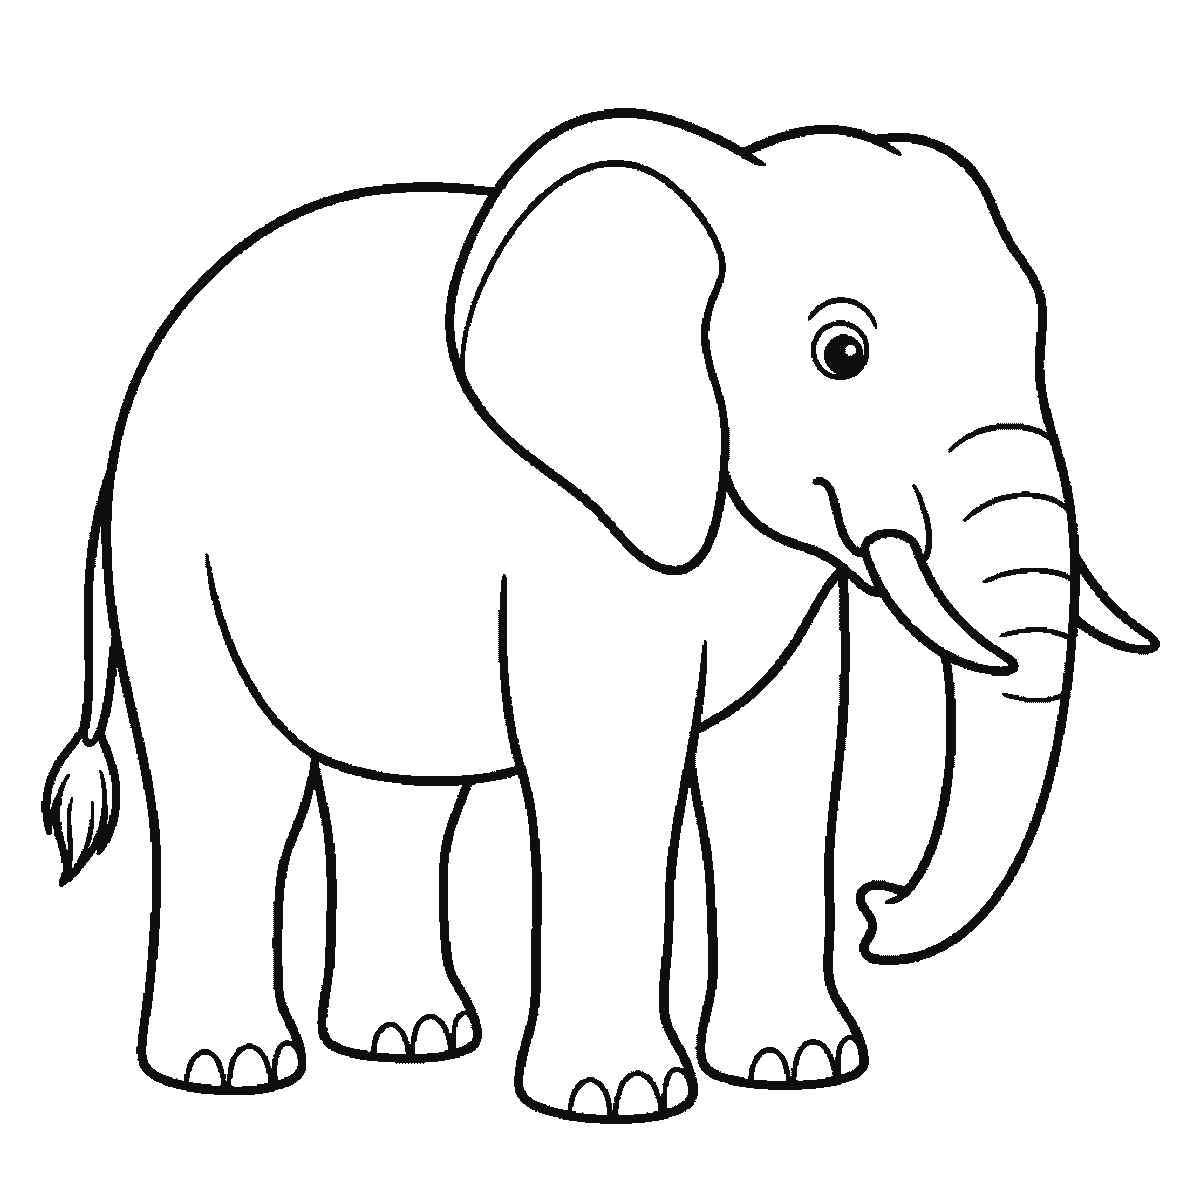
Six frames, one elephant in profile. The body and near legs first, then the head, trunk, tusk and eye together, the big ear, the far legs, and the tail last.
An elephant is one of the few animals almost everybody can identify from a silhouette, which means the drawing succeeds or fails on shape alone. This sheet builds one in profile over six frames, and the good news is that the two shapes doing all the work — the body and the trunk — both arrive early.
Frame one is the body and the two near legs: a large rounded mass, deeper at the front than the back, standing on two thick columns. Standing higher than it is long is a mistake, so keep it comfortably longer than tall. Elephants are heavy and the drawing should feel heavy too. A body drawn too short and tall reads as a hippopotamus.
The head and the trunk arrive together in frame two, joined to the body with very little neck between them, and with them come the eye and the tusk — the entire front of the animal in one step. Draw the trunk as a tapering tube, thick where it leaves the face and much narrower at the tip, and give it a curve. A straight trunk looks like a hose; a curved one looks like an animal.
The ear is the next big closed shape and it is bigger than you think. On an African elephant it covers a good part of the side of the head and its outline is irregular rather than neatly rounded. Draw it as one shape with a slightly ragged lower edge, overlapping the top of the head and reaching down towards the jaw.
The tusk is in frame two with the trunk rather than in a frame of its own after the ear, which is worth noticing because it means the whole face is committed in a single step. In profile you draw the near one and let the far one disappear behind the trunk. Real tusks are almost never a matched pair, so where both of them show, giving them different lengths avoids one of those small symmetries that makes a drawing look manufactured.
The legs are split across the sheet rather than gathered at the end: the two near ones are in frame one with the body, and the far pair arrive on their own in frames four and five. Four thick columns with almost no taper, ending in broad flat feet. This is the opposite of the horse's leg and it is worth noticing the contrast. A horse's leg narrows dramatically; an elephant's barely narrows at all, because it is carrying several tonnes and shaped accordingly.
The last frame adds one thing only: the tail, hanging from the rump with a tuft at the end. The eye is much earlier, drawn with the head in frame two — surprisingly small, sitting low and close to where the trunk meets the face. The rings across the trunk are drawn there too, and they are the model for any wrinkles you add elsewhere: a few long curves following the form, never a net of short scratches.
The frames run largest closed shape first, smallest last. It is an easy order to copy and not the only one available; starting from the trunk and working back is a perfectly good approach and produces the same animal.
The wrinkles are a trap and worth a paragraph of their own. An elephant's skin does have deep folds, but they run in long curves that follow the muscle underneath, gathering at the joints and around the base of the trunk. Drawn as a uniform mesh of short scratches they read as texture applied on top of a shape rather than as anything belonging to the animal, and the drawing goes flat.
If the finished elephant looks light rather than heavy, the usual cause is the feet. Broad, flat, slightly splayed feet that spread where they meet the ground carry weight; small neat ones do not, however good the rest of the drawing is. It is the last thing most people fix and often the first thing that was wrong.
Before you start
- Keep the body longer than it is tall. A tall short body reads as a hippo.
- Curve the trunk. A straight one looks like plumbing.
- Draw the ear larger and more irregular than feels right, overlapping the top of the head.
- Make the tusks different lengths — a matched pair looks manufactured.
Published Updated 672 words
The six steps
The steps go from the largest shape to the smallest, which is an easy order to copy. It is not the only order, and it is not a rule — if you would rather start somewhere else on the sheet, do.
Step 1
Step 2
Step 3
Step 4
Step 5
Step 6
More in this section
How to draw a fox
Six frames, one fox sitting and facing you. The head and the bushy tail together first, then the chest and legs, and the ears last.
Step sequence made by us from a single drawing: each step keeps the lines of the one before it and adds to them.
How to draw a tiger
Six frames, one tiger standing in profile. The striped flank first, then the head, the legs one at a time, and the tail last.
Step sequence made by us from a single drawing: each step keeps the lines of the one before it and adds to them.
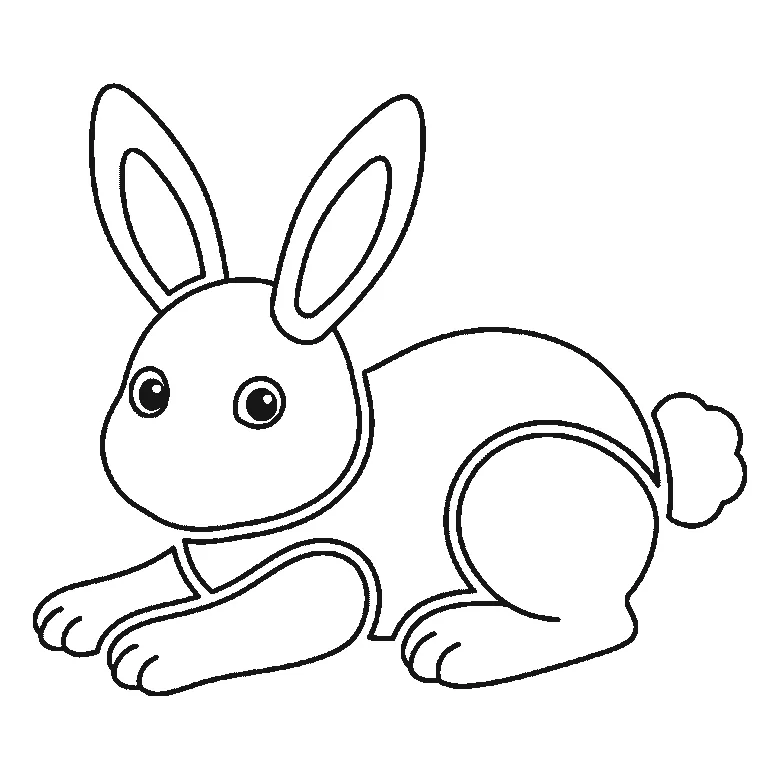
How to draw a bunny
Six frames, one bunny lying down with its paws stretched out. The head first, then the body, the long ears and the fluffy tail.
Step sequence made by us from a single drawing: each step keeps the lines of the one before it and adds to them.
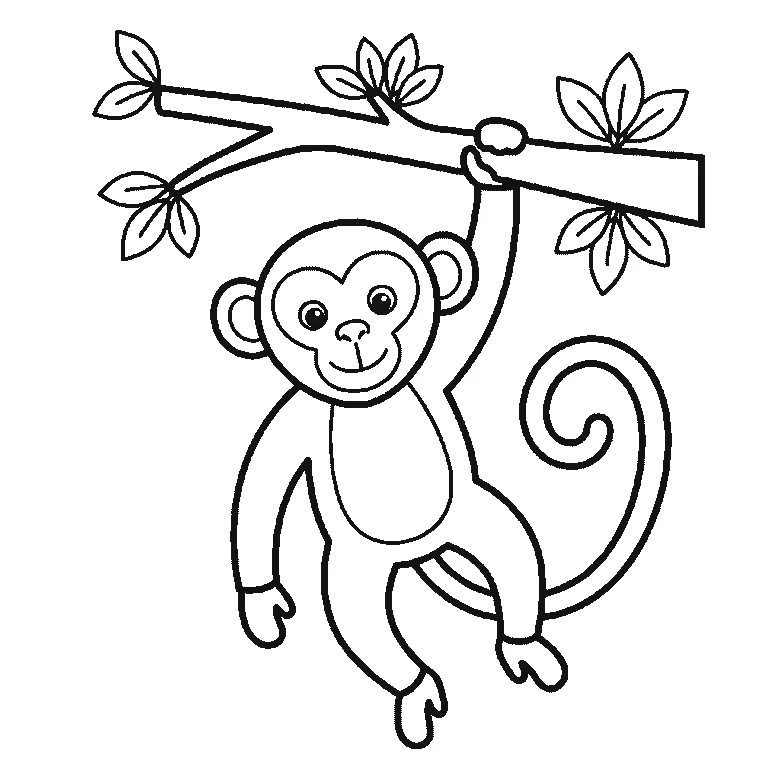
How to draw a monkey
Six frames, one monkey hanging by an arm from a branch. The limbs first, then the branch, the face and the curling tail.
Step sequence made by us from a single drawing: each step keeps the lines of the one before it and adds to them.
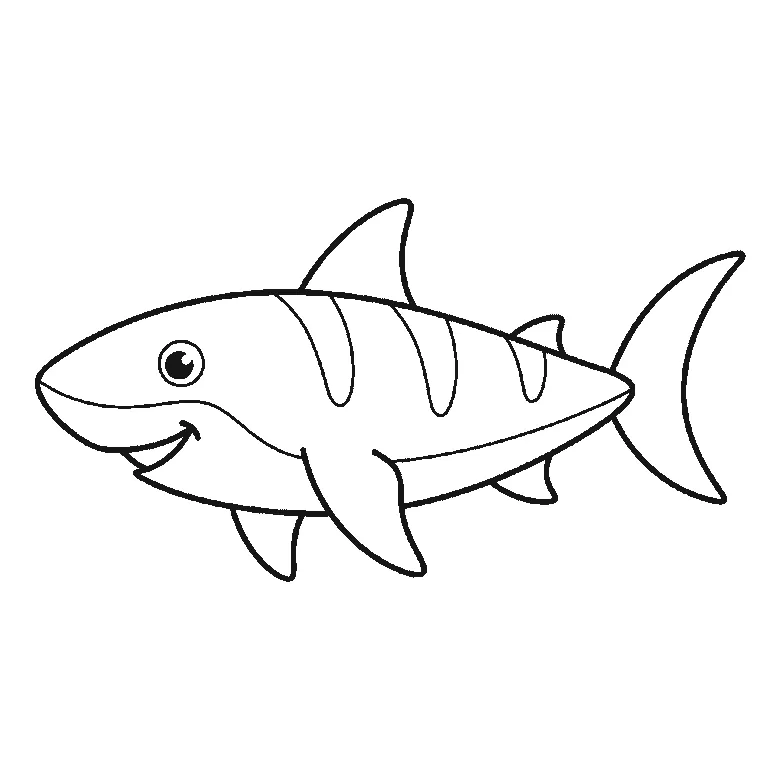
How to draw a shark
Six frames, one shark in profile. The body first, then the dorsal fin, side fins and crescent tail.
Step sequence made by us from a single drawing: each step keeps the lines of the one before it and adds to them.
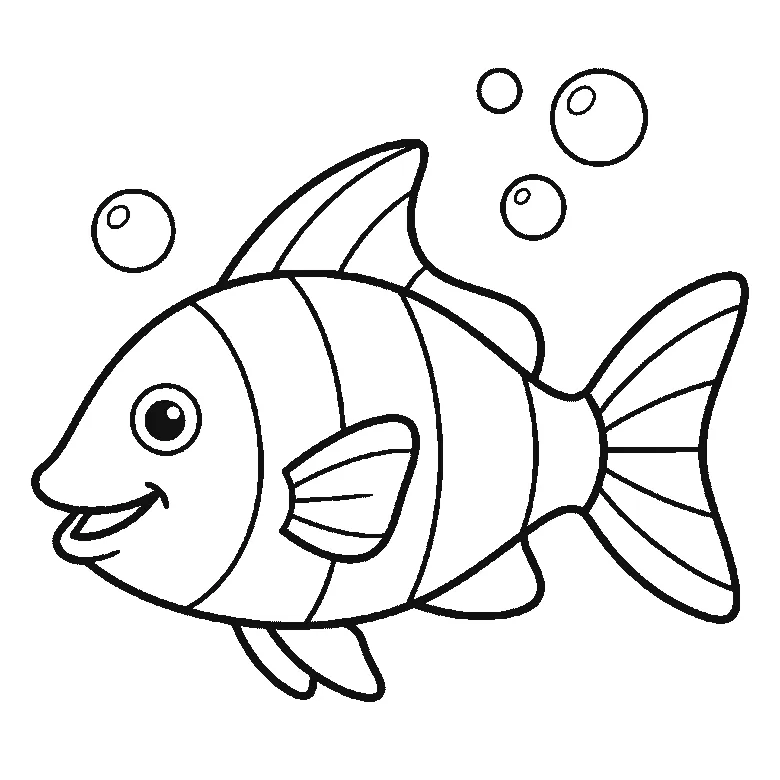
How to draw a fish
Six frames, one striped fish with bubbles. The head first, then the striped body, the fins and the fan tail.
Step sequence made by us from a single drawing: each step keeps the lines of the one before it and adds to them.
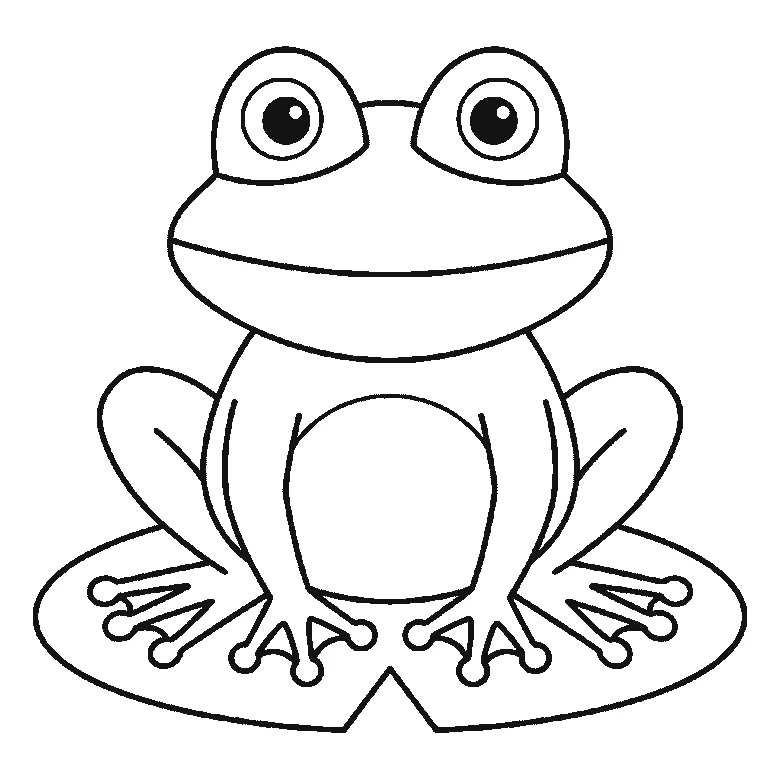
How to draw a frog
Six frames, one frog seen from the front. The lily pad first, then the body, the head and the domed eyes.
Step sequence made by us from a single drawing: each step keeps the lines of the one before it and adds to them.
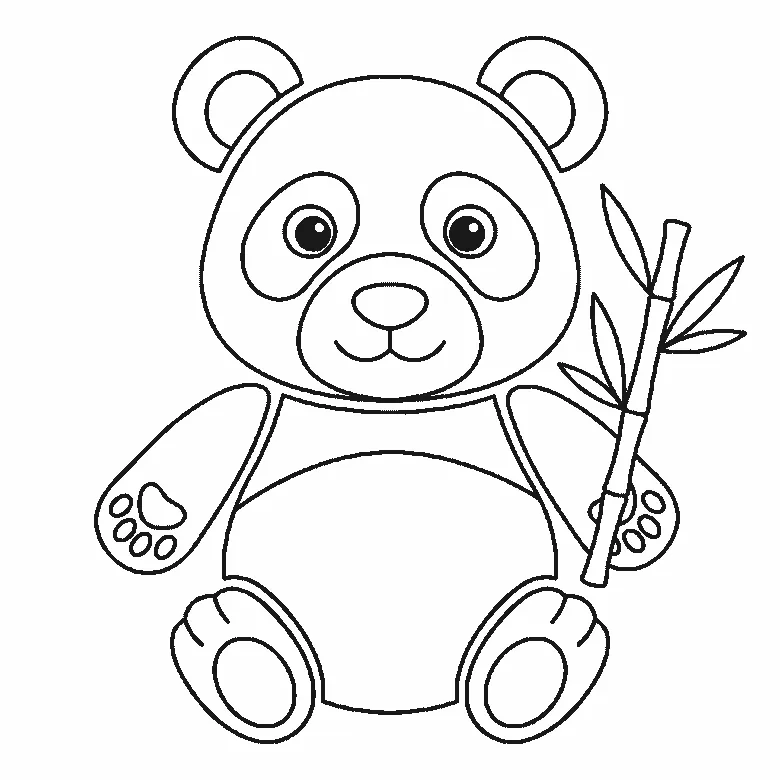
How to draw a panda
Six frames, one panda sitting up with a bamboo stalk. The head and its eye patches first, then the body, the ears and the bamboo.
Step sequence made by us from a single drawing: each step keeps the lines of the one before it and adds to them.
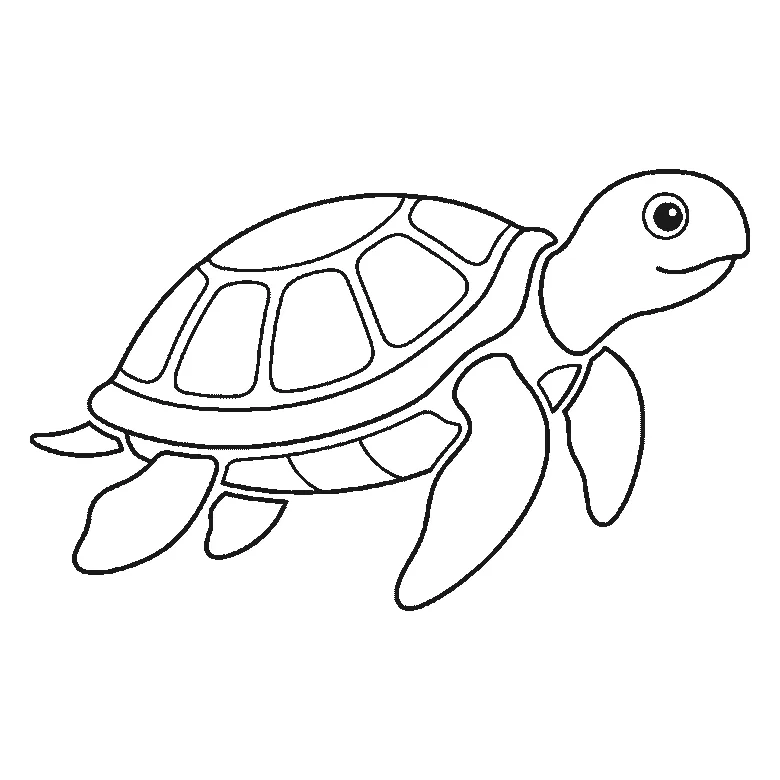
How to draw a turtle
Six frames, one sea turtle swimming in profile. The head and one flipper first, then the shell, the rear flippers and the plates.
Step sequence made by us from a single drawing: each step keeps the lines of the one before it and adds to them.
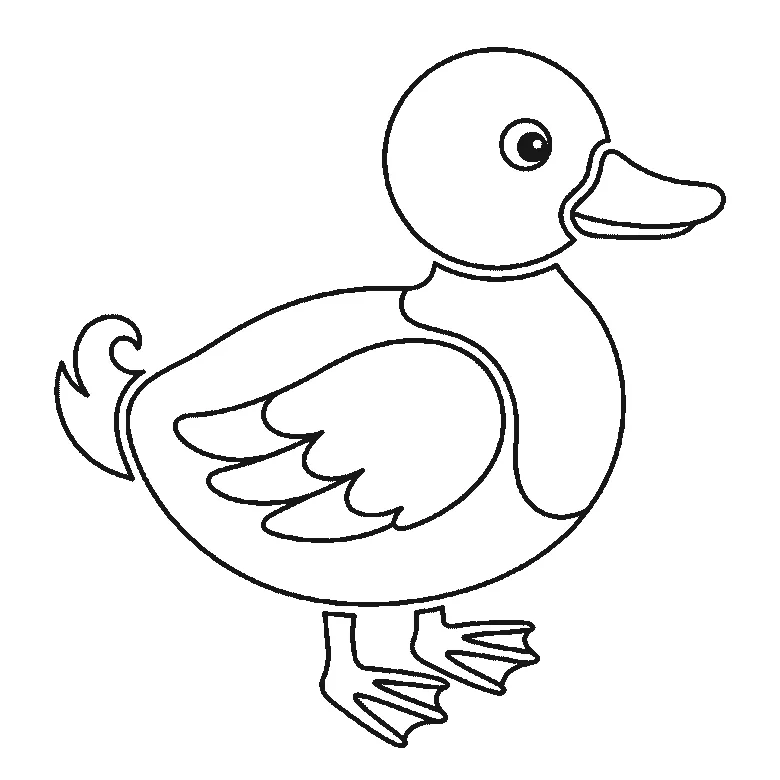
How to draw a duck
Six frames, one duck standing in profile. The folded wing first, then the head, the body, the bill and the webbed feet.
Step sequence made by us from a single drawing: each step keeps the lines of the one before it and adds to them.
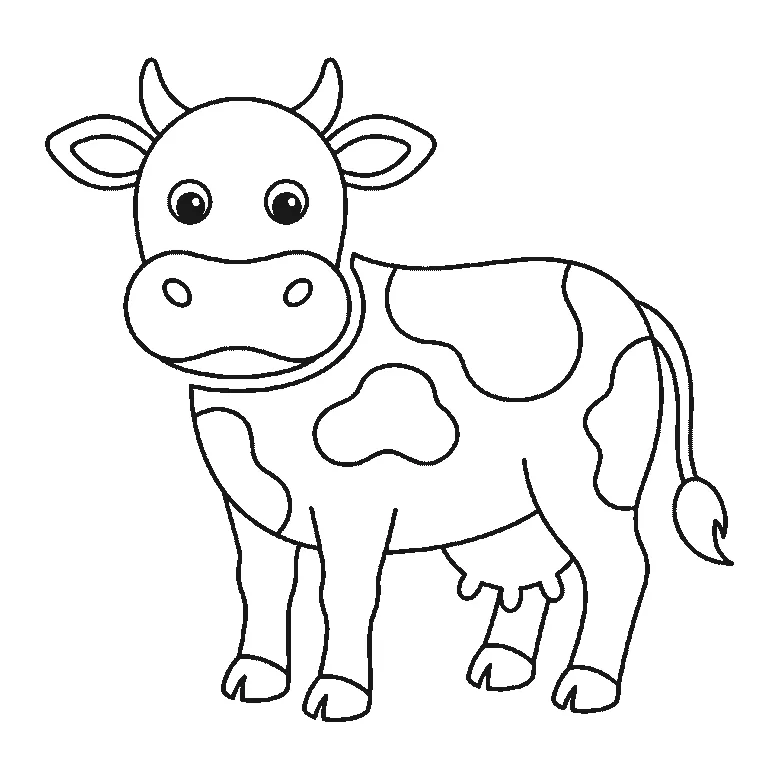
How to draw a cow
Six frames, one cow seen from the front. The patched body and legs first, then the head, the muzzle and the horns.
Step sequence made by us from a single drawing: each step keeps the lines of the one before it and adds to them.
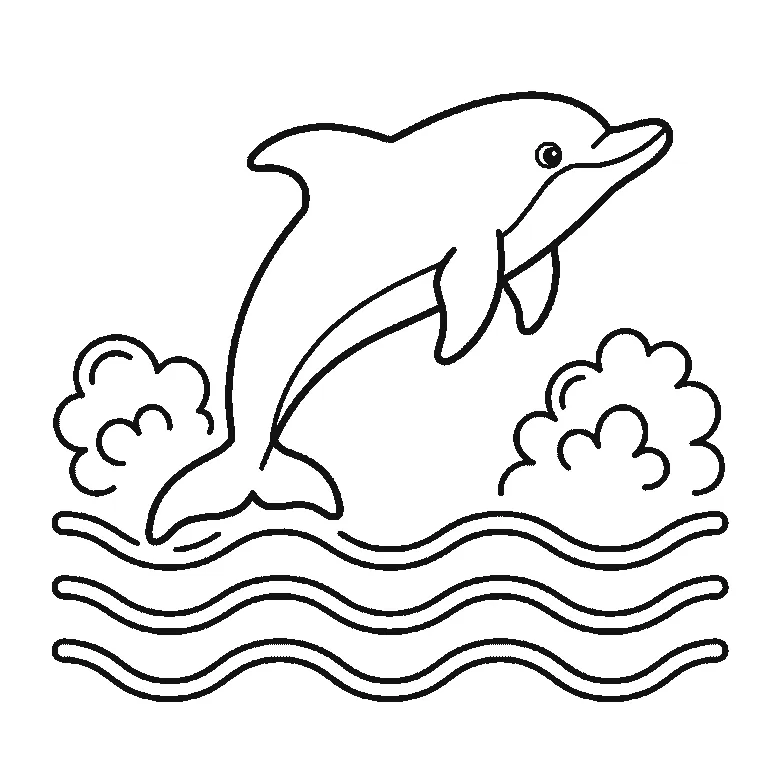
How to draw a dolphin
Six frames, one dolphin leaping over the waves. The whole animal in the first frame, then the waves and the splashes around it.
Step sequence made by us from a single drawing: each step keeps the lines of the one before it and adds to them.


