
PDF · A4 · 46 KB · Free, no sign-up. For home and classroom use.
How to draw a bunny
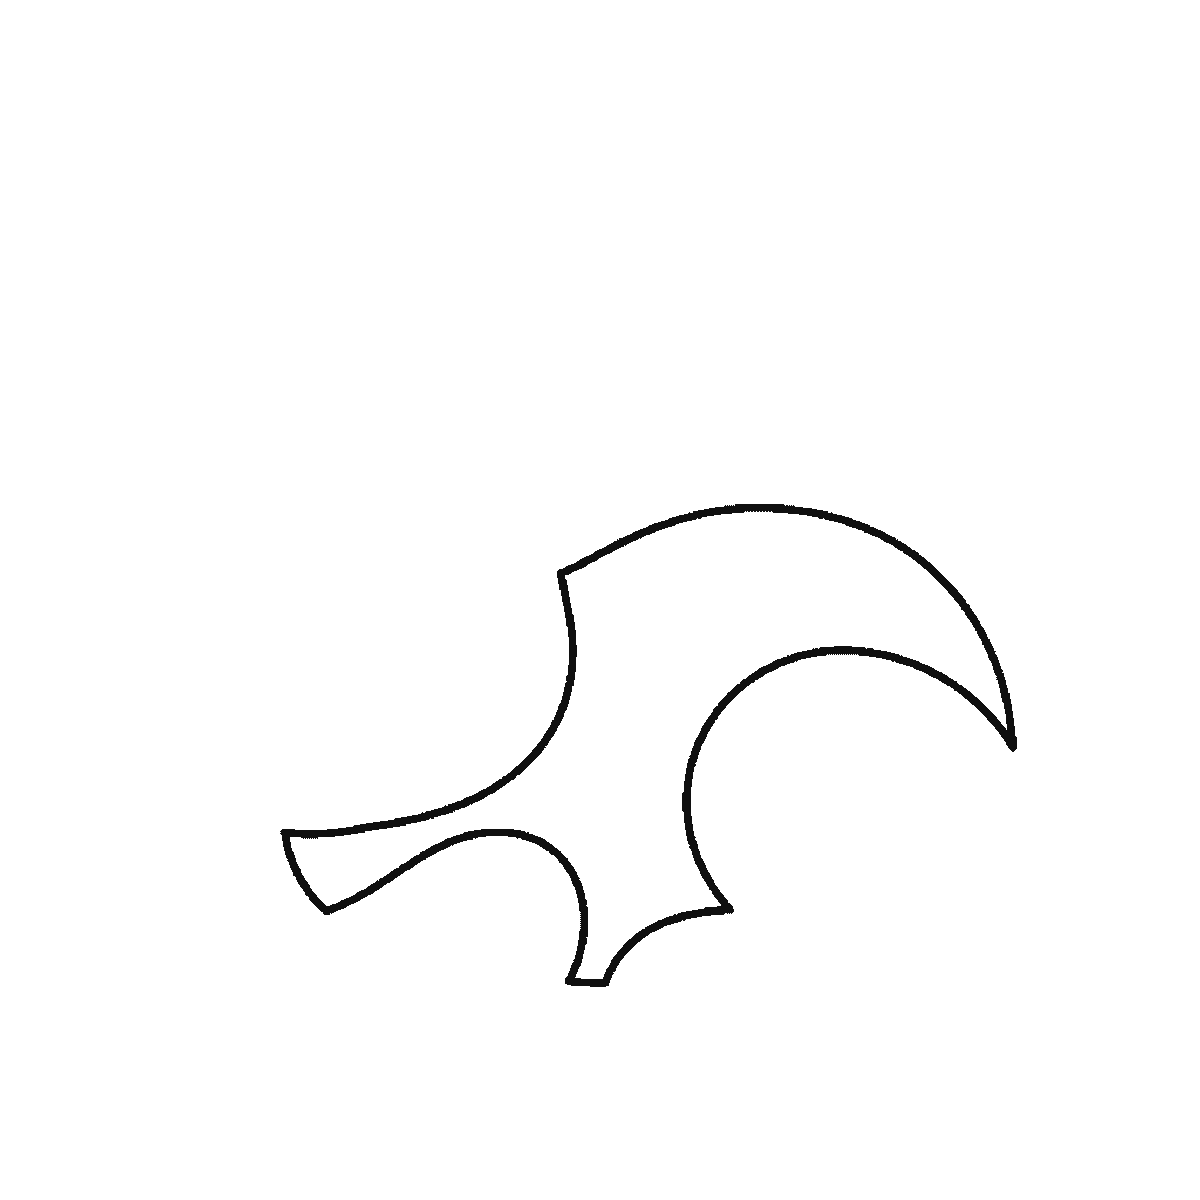
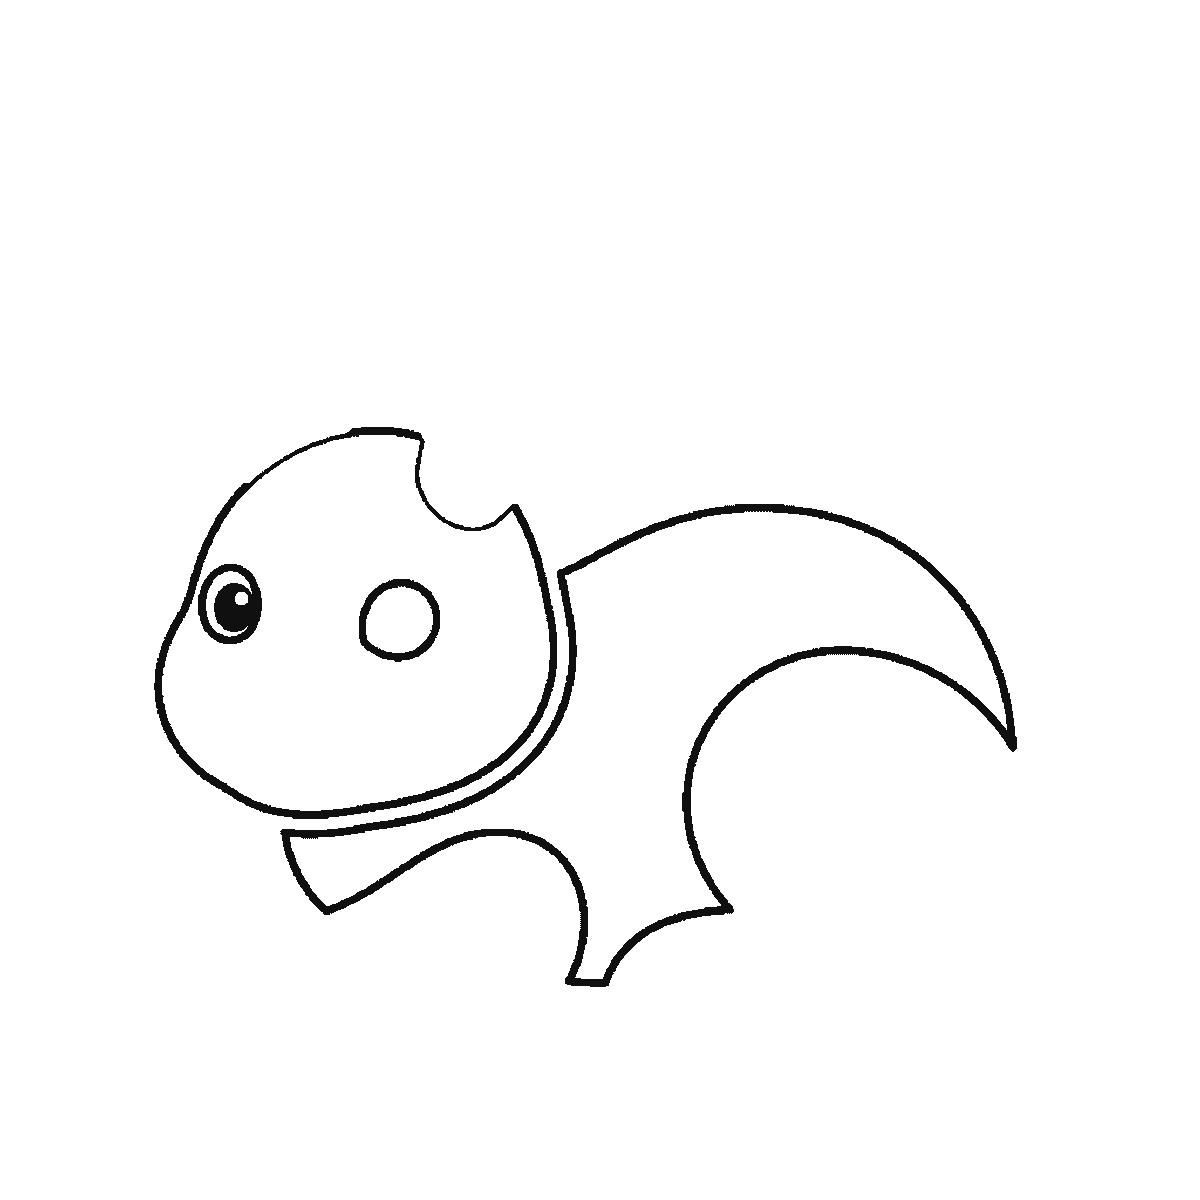
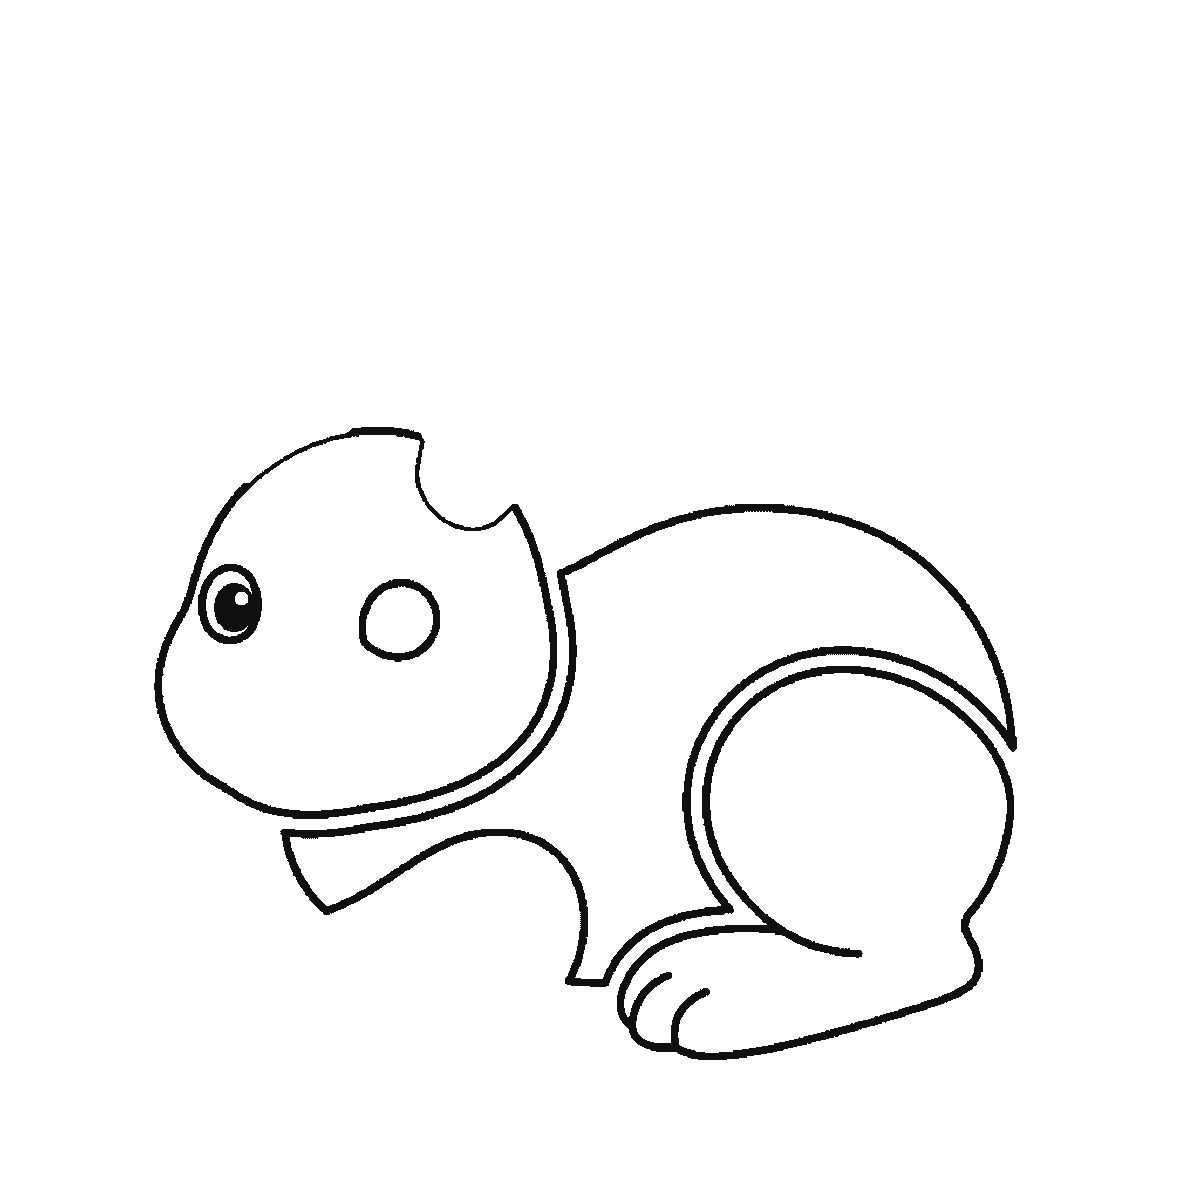
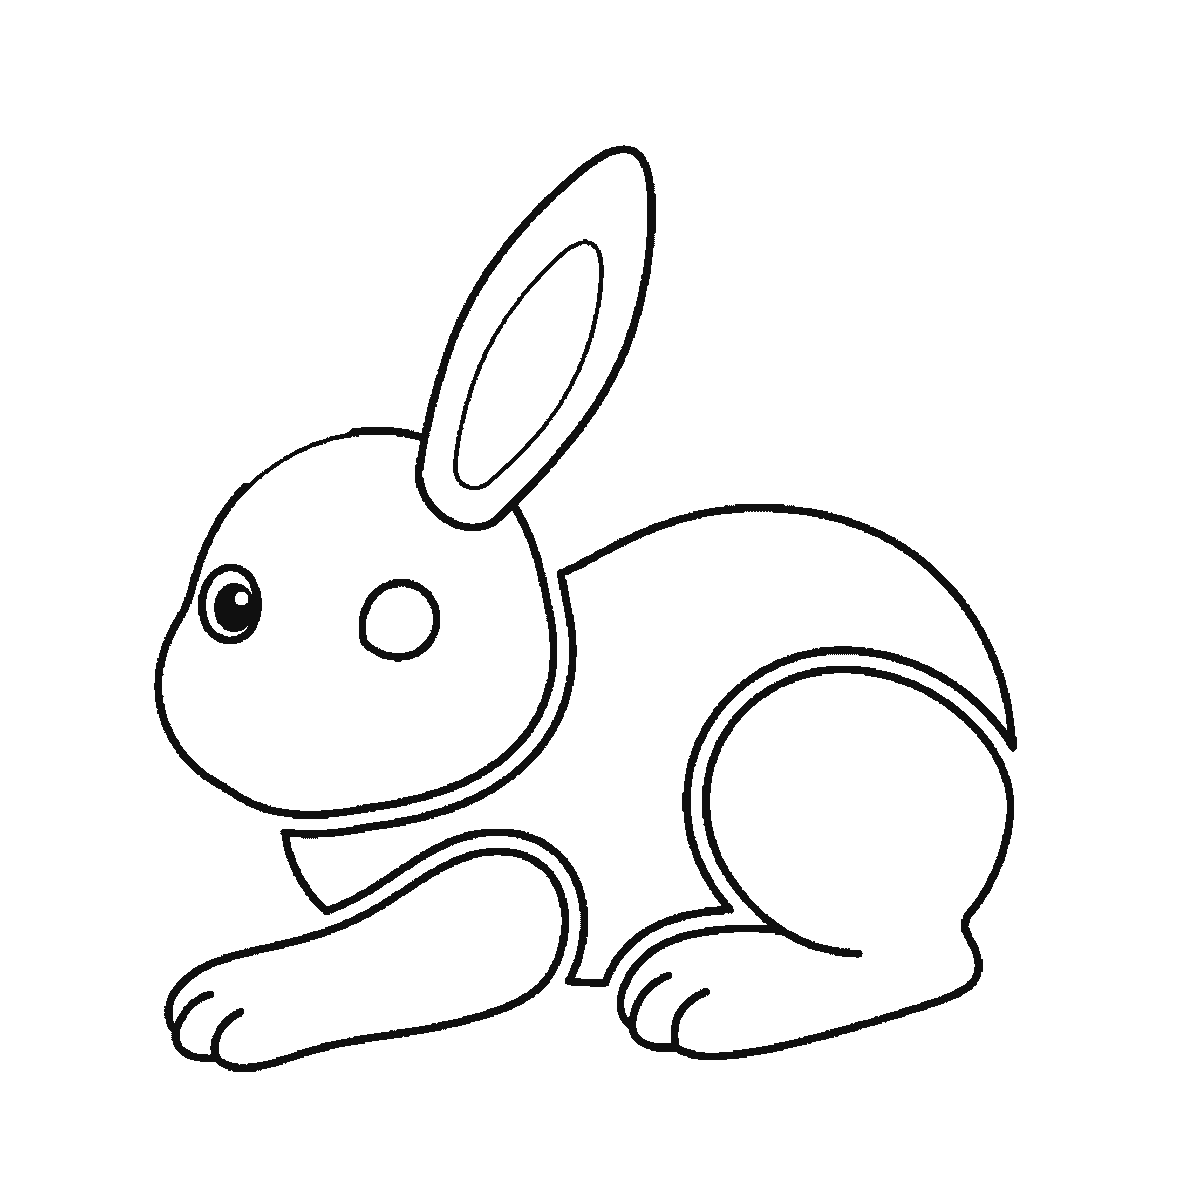
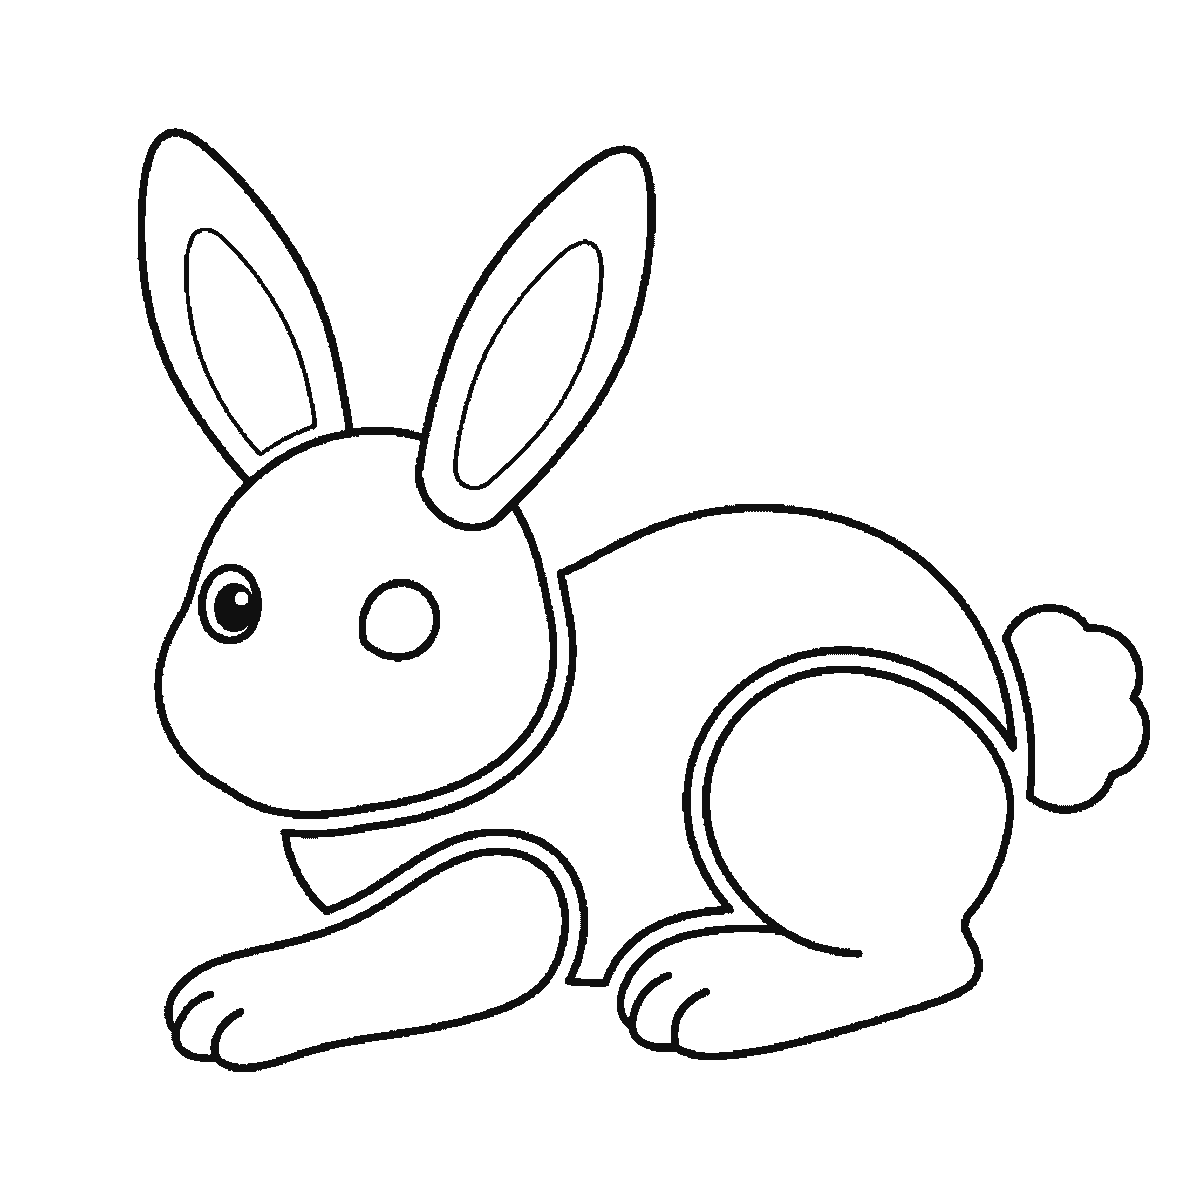
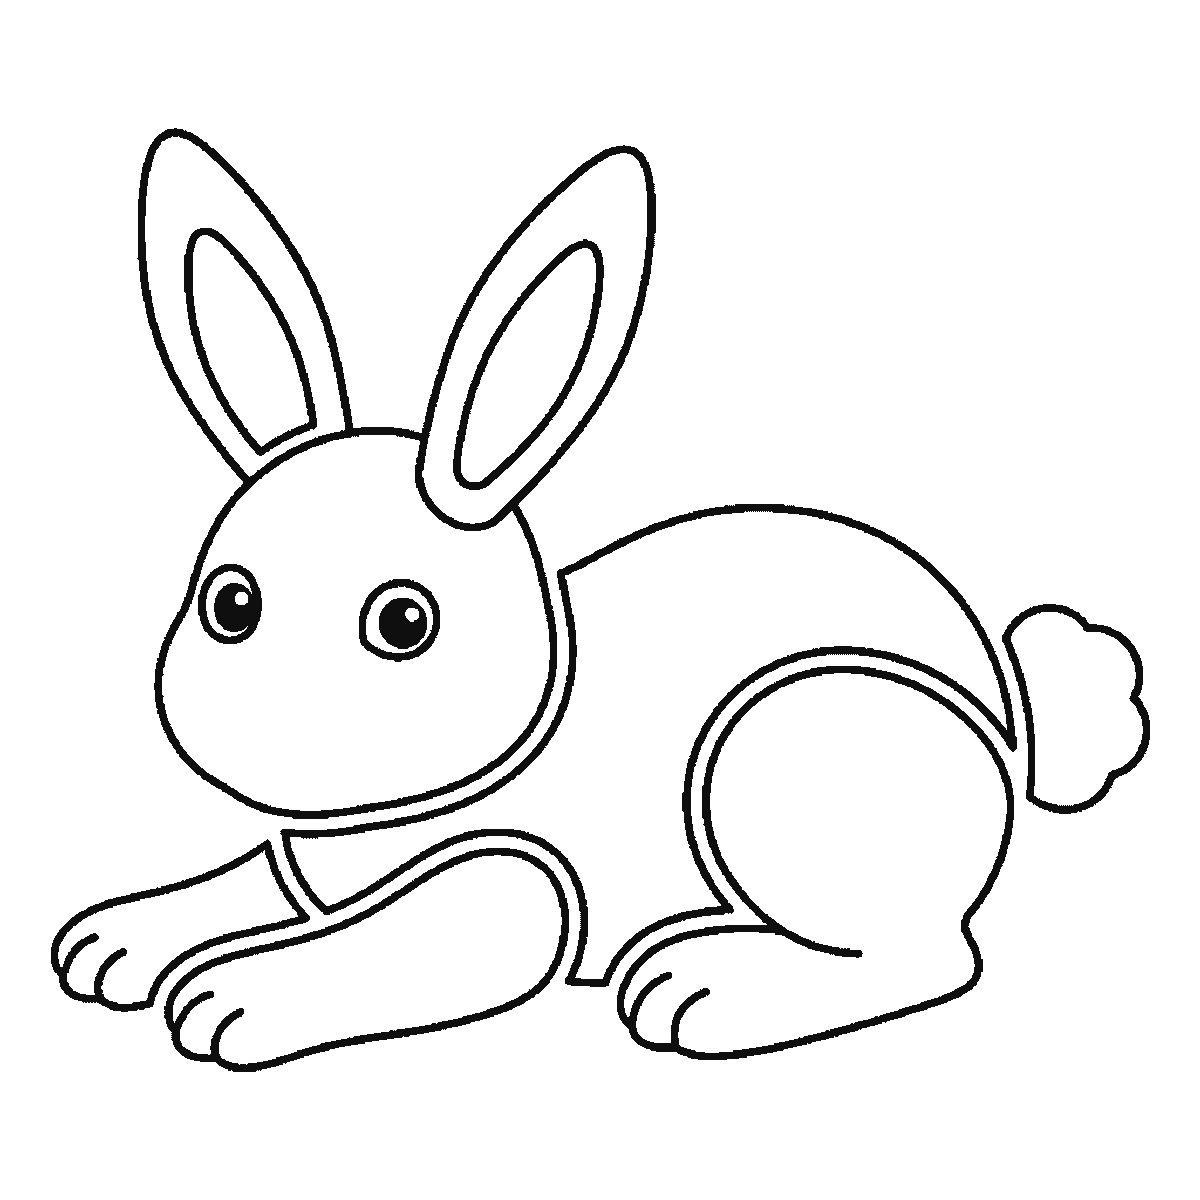
Six frames, one bunny lying down with its paws stretched out. The head first, then the body, the long ears and the fluffy tail.
This bunny is lying down rather than sitting up, front paws stretched forward, and that pose is the reason the drawing works as well as it does for a beginner. A resting animal is mostly horizontal shapes, and horizontal shapes are far more forgiving than vertical ones — a sitting rabbit that leans looks wrong immediately, while a lying one that leans just looks relaxed.
Frame one gives you the head and cheek as a single curved shape, and it looks like an incomplete fragment because it is one — the sheet reveals closed shapes in order of size, and this is simply the biggest one. Copy it as drawn. It is the anchor everything else is placed against, so if yours comes out larger or smaller than the sheet shows, scale the rest to match and the drawing still works.
The eyes go in next, and then the rounded haunch at the back arrives as the second big mass. Set it close behind the head rather than far from it: a resting bunny holds its head near the ground and the gap between head and haunch is short. Leaving too much daylight between them stretches the animal into something closer to a ferret.
The ears arrive in the fourth frame, later than instinct suggests, and they are the shape everyone recognises this animal by. They are long, upright, and each one carries a separate inner shape — a narrower version of the outer ear, not touching the edge. That inner shape is what makes an ear read as an ear rather than a leaf, and it is the detail most often left out.
Set the ears slightly apart and let them lean very slightly away from each other rather than standing exactly parallel. Perfectly parallel ears look like a costume headband. A few degrees of difference between them is all it takes.
The face arrives in the middle frames: two round eyes with filled pupils, set fairly far apart and low on the head, and a small muzzle below. A rabbit's eyes sit towards the sides of the skull, which is why the animal can see almost all the way round it, and drawing them too close together gives the face a forward-looking, predatory look that is subtly wrong for a rabbit.
Then the paws. The front pair stretch forward from under the chest, drawn as two long soft shapes with small toe lines at the ends. The hind leg folds underneath the haunch and shows only as a shape tucked in behind the front ones. Keeping the hind leg mostly hidden is what makes the pose read as lying rather than crouching.
The tail is last, a small round fluffy shape at the back of the haunch, and it should be drawn as a bumpy circle rather than a smooth one. Three or four bumps around its edge is plenty. It is the smallest shape on the sheet and the one that most reliably makes people smile at the finished drawing.
If you already have the sitting rabbit on this site under your belt, drawing this one is a genuinely useful exercise rather than a repeat, because it is the same animal with every proportion rearranged. The ears and the head barely change; the body flattens and lengthens, the legs fold, and the silhouette becomes horizontal. Learning that a pose changes the body and not the parts is most of what learning to draw animals is.
The six frames run from the largest closed shape to the smallest — head, then eyes, then haunch, then ears and front paws, then the tail, then the small toe lines. It is an easy order to copy, and it is not a claim that this is how a bunny ought to be drawn. If you would rather begin with the body and hang the head off it, the finished drawing is the same.
Before you start
- Draw a separate inner shape inside each ear. Without it an ear reads as a leaf.
- Set the eyes wide and low. Rabbit eyes sit towards the sides of the skull.
- Keep the hind leg mostly tucked out of sight — that is what makes the pose read as lying down.
- Give the tail a bumpy outline rather than a smooth circle.
Published Updated 652 words
The six steps
The steps go from the largest shape to the smallest, which is an easy order to copy. It is not the only order, and it is not a rule — if you would rather start somewhere else on the sheet, do.
Step 1
Step 2
Step 3
Step 4
Step 5
Step 6
More in this section
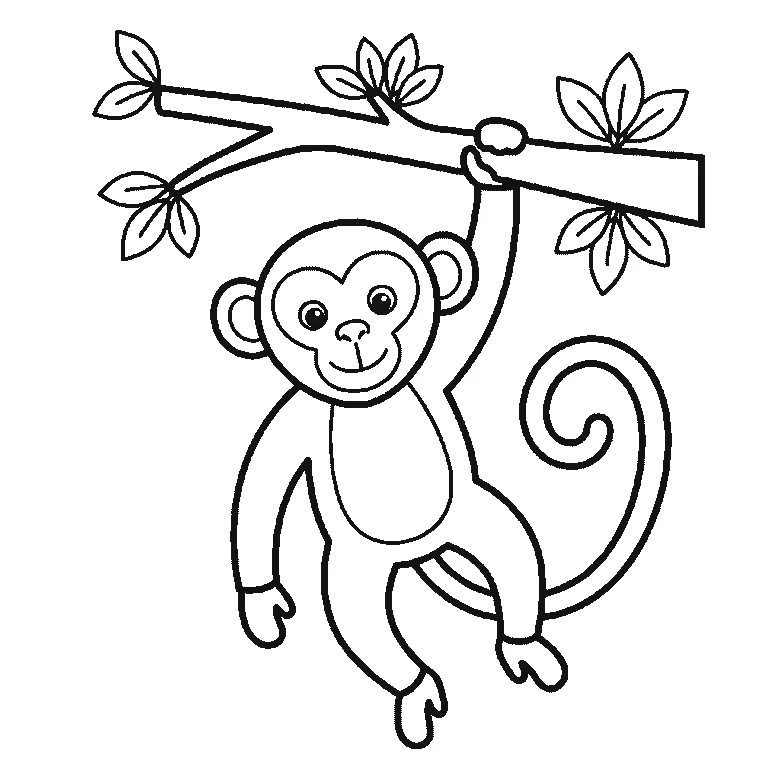
How to draw a monkey
Six frames, one monkey hanging by an arm from a branch. The limbs first, then the branch, the face and the curling tail.
Step sequence made by us from a single drawing: each step keeps the lines of the one before it and adds to them.
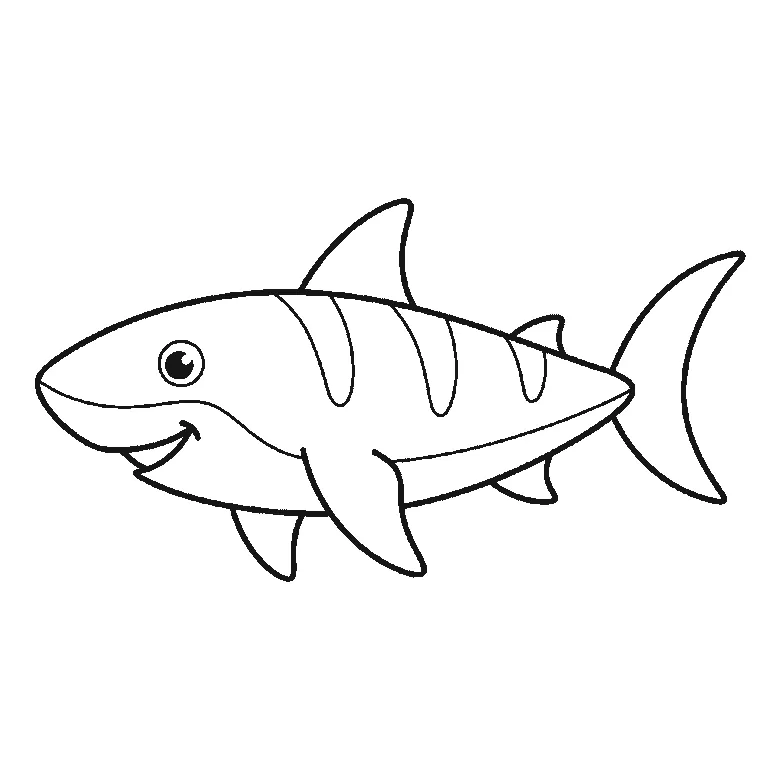
How to draw a shark
Six frames, one shark in profile. The body first, then the dorsal fin, side fins and crescent tail.
Step sequence made by us from a single drawing: each step keeps the lines of the one before it and adds to them.
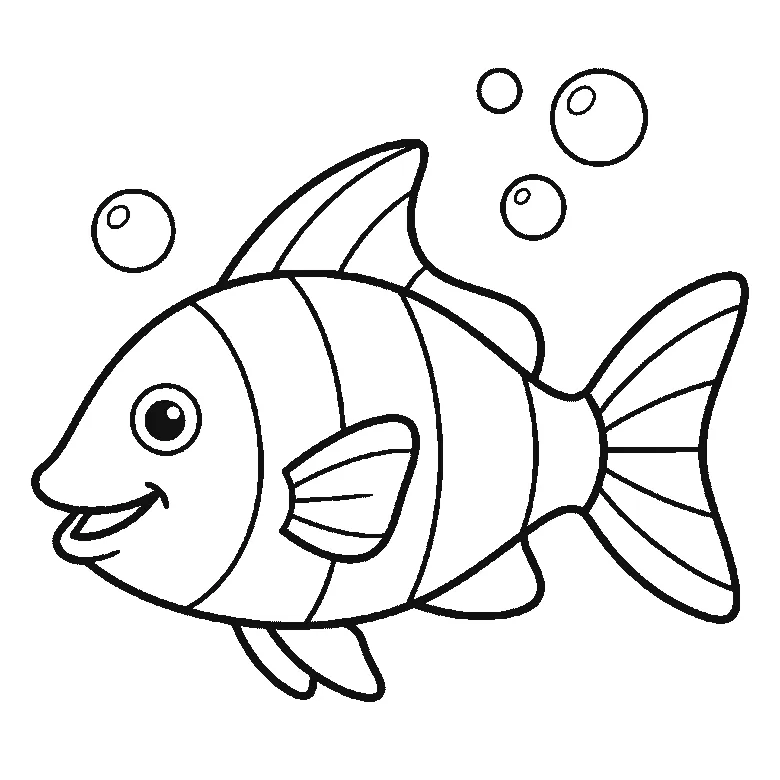
How to draw a fish
Six frames, one striped fish with bubbles. The head first, then the striped body, the fins and the fan tail.
Step sequence made by us from a single drawing: each step keeps the lines of the one before it and adds to them.
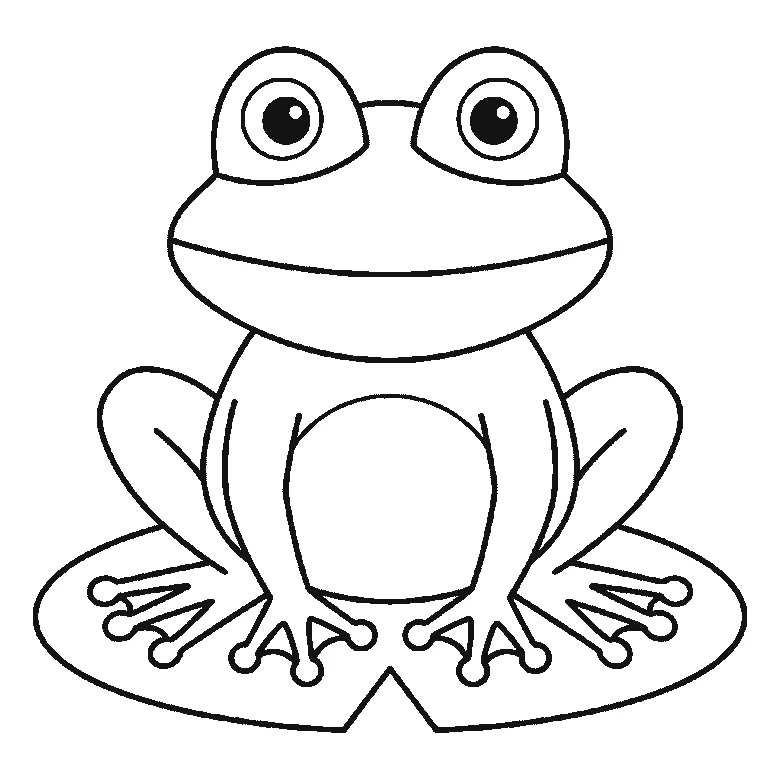
How to draw a frog
Six frames, one frog seen from the front. The lily pad first, then the body, the head and the domed eyes.
Step sequence made by us from a single drawing: each step keeps the lines of the one before it and adds to them.
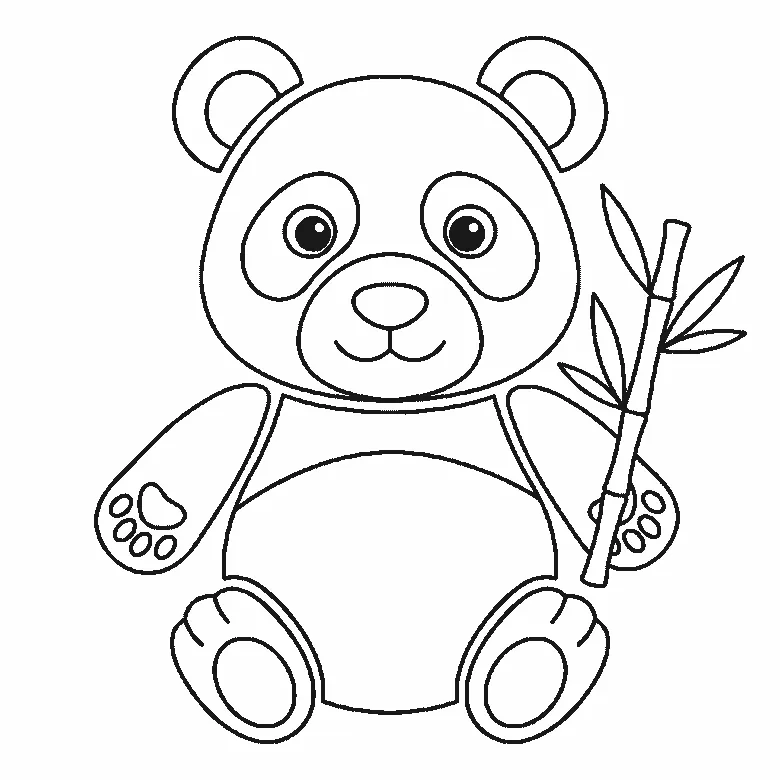
How to draw a panda
Six frames, one panda sitting up with a bamboo stalk. The head and its eye patches first, then the body, the ears and the bamboo.
Step sequence made by us from a single drawing: each step keeps the lines of the one before it and adds to them.
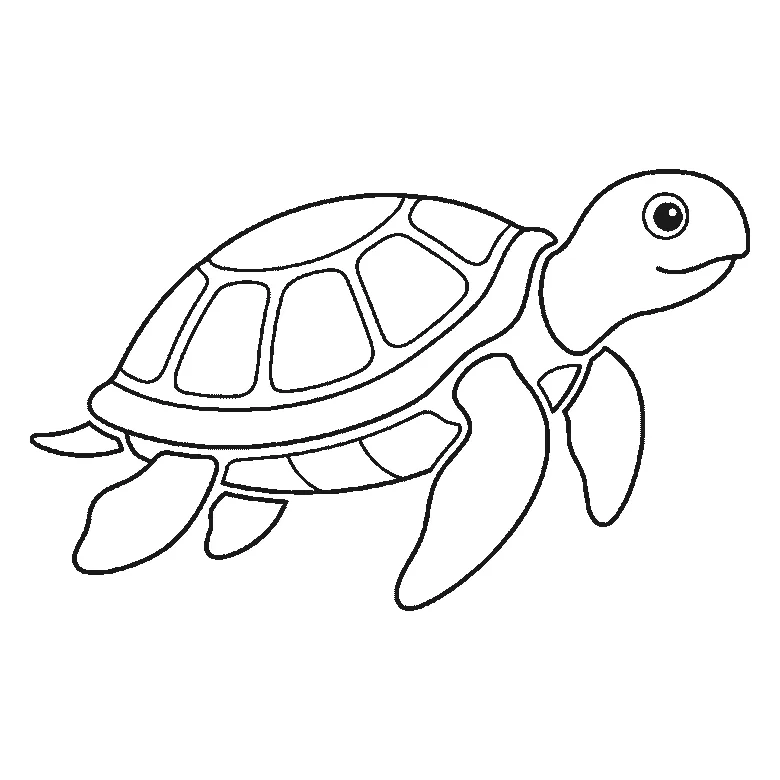
How to draw a turtle
Six frames, one sea turtle swimming in profile. The head and one flipper first, then the shell, the rear flippers and the plates.
Step sequence made by us from a single drawing: each step keeps the lines of the one before it and adds to them.
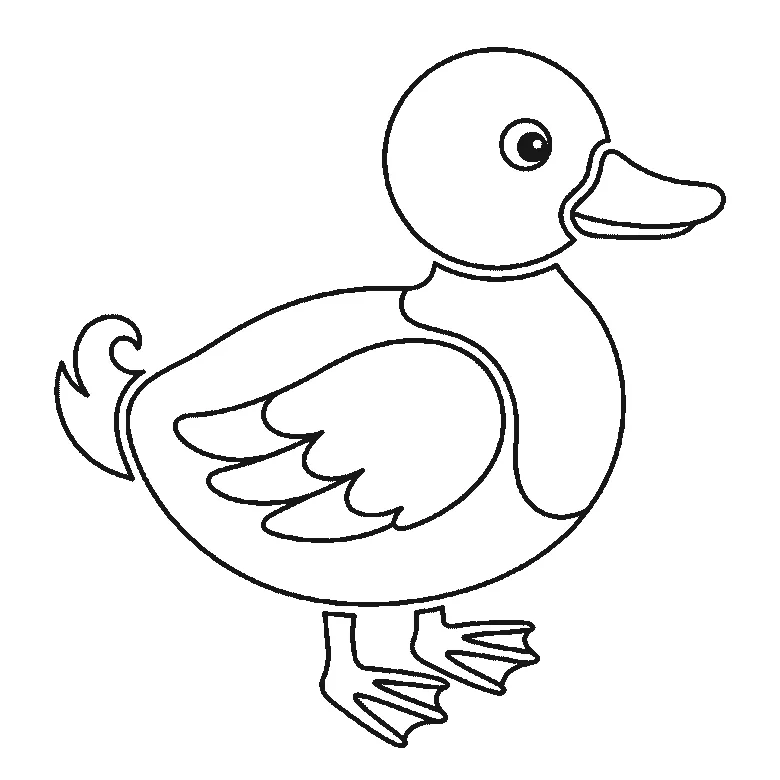
How to draw a duck
Six frames, one duck standing in profile. The folded wing first, then the head, the body, the bill and the webbed feet.
Step sequence made by us from a single drawing: each step keeps the lines of the one before it and adds to them.
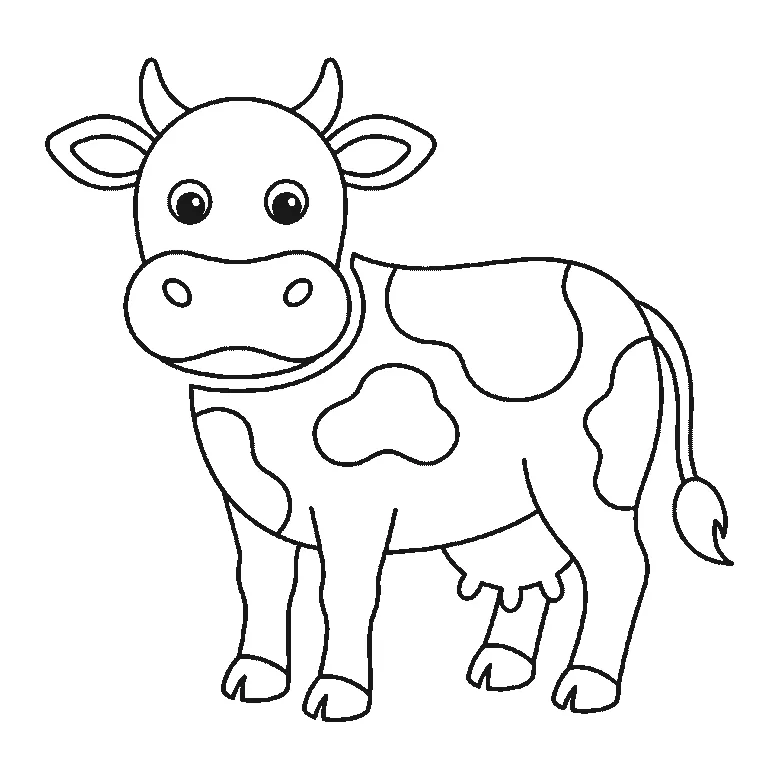
How to draw a cow
Six frames, one cow seen from the front. The patched body and legs first, then the head, the muzzle and the horns.
Step sequence made by us from a single drawing: each step keeps the lines of the one before it and adds to them.
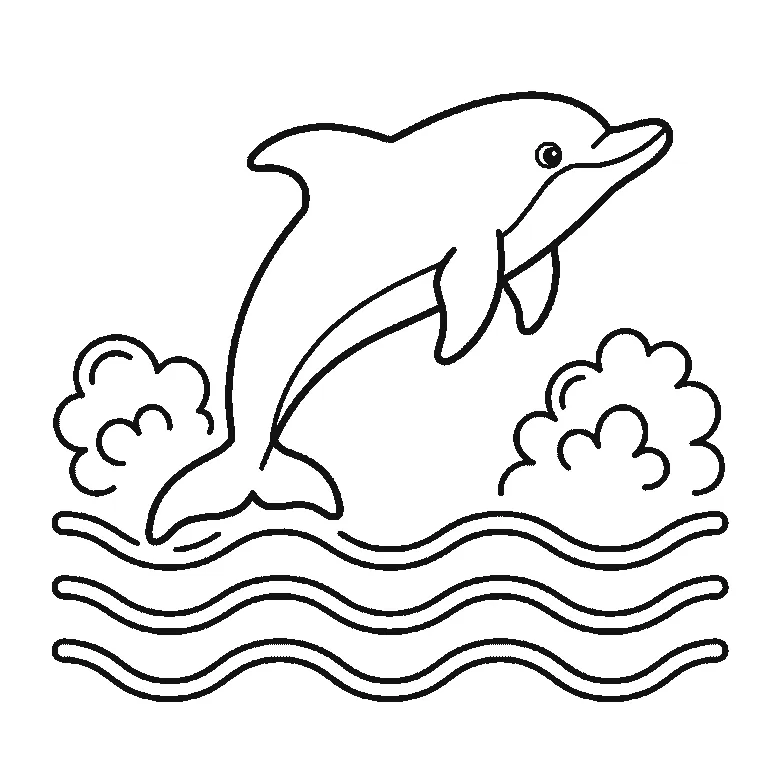
How to draw a dolphin
Six frames, one dolphin leaping over the waves. The whole animal in the first frame, then the waves and the splashes around it.
Step sequence made by us from a single drawing: each step keeps the lines of the one before it and adds to them.
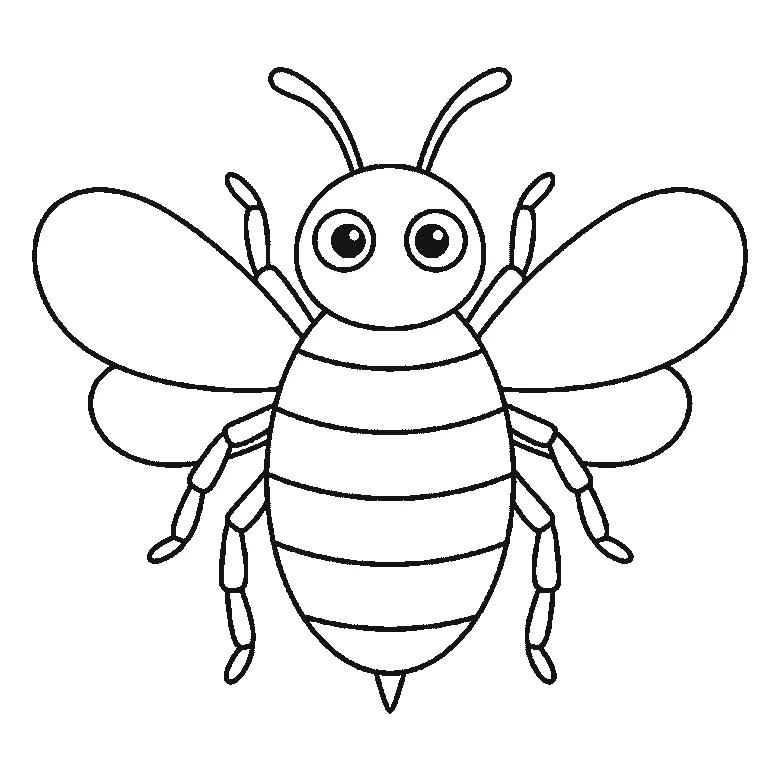
How to draw a bee
Six frames, one bumblebee seen from the front. The wings and head first, then the striped body, the legs and the antennae.
Step sequence made by us from a single drawing: each step keeps the lines of the one before it and adds to them.
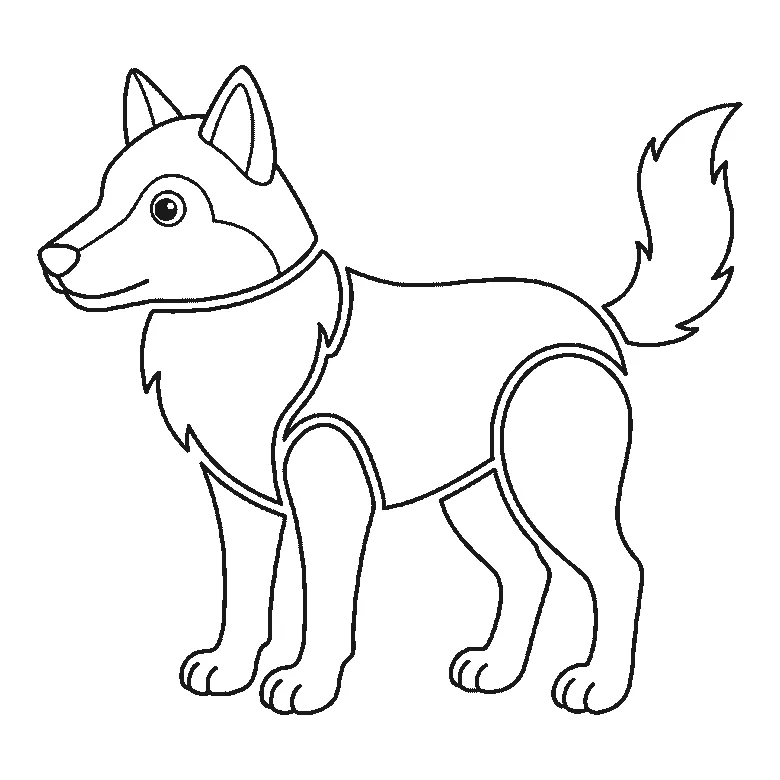
How to draw a wolf
Six frames, one wolf standing in profile. The chest ruff and a hind leg first, then the body, the head and the bushy tail.
Step sequence made by us from a single drawing: each step keeps the lines of the one before it and adds to them.
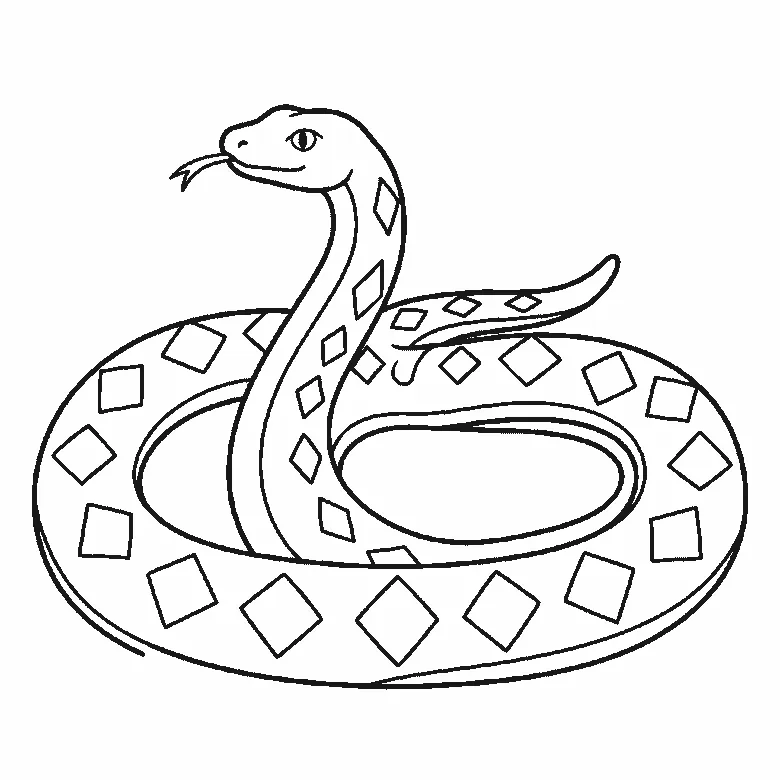
How to draw a snake
Six frames, one snake coiled in two loops with its head raised. Almost the whole coil in the first frame, then the inner edge and the diamonds.
Step sequence made by us from a single drawing: each step keeps the lines of the one before it and adds to them.


