
PDF · A4 · 51 KB · Free, no sign-up. For home and classroom use.
How to draw a bee
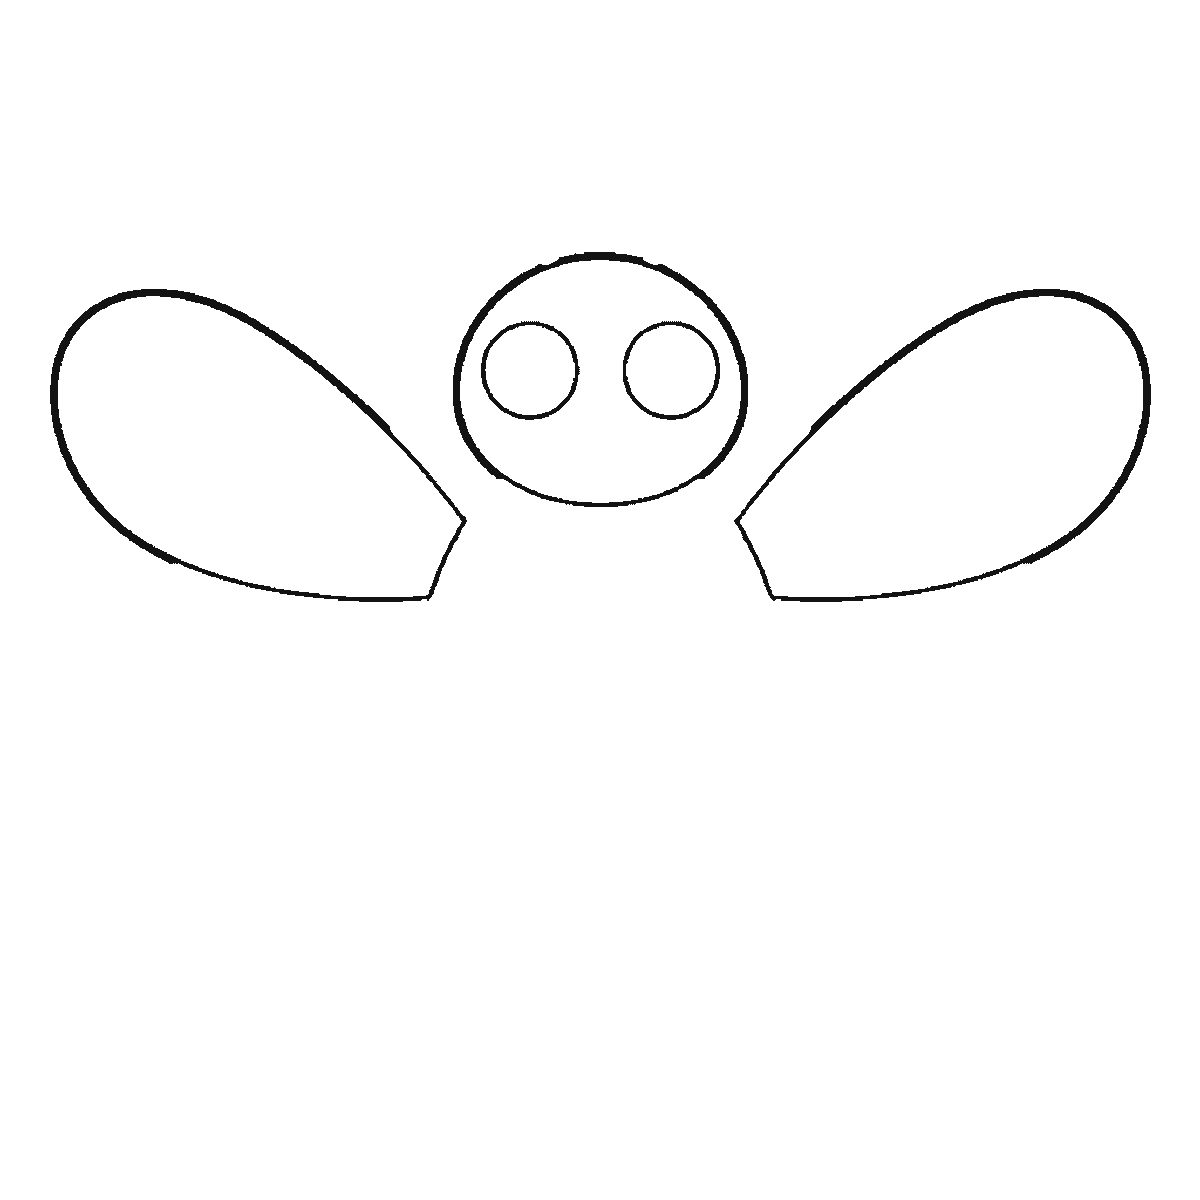
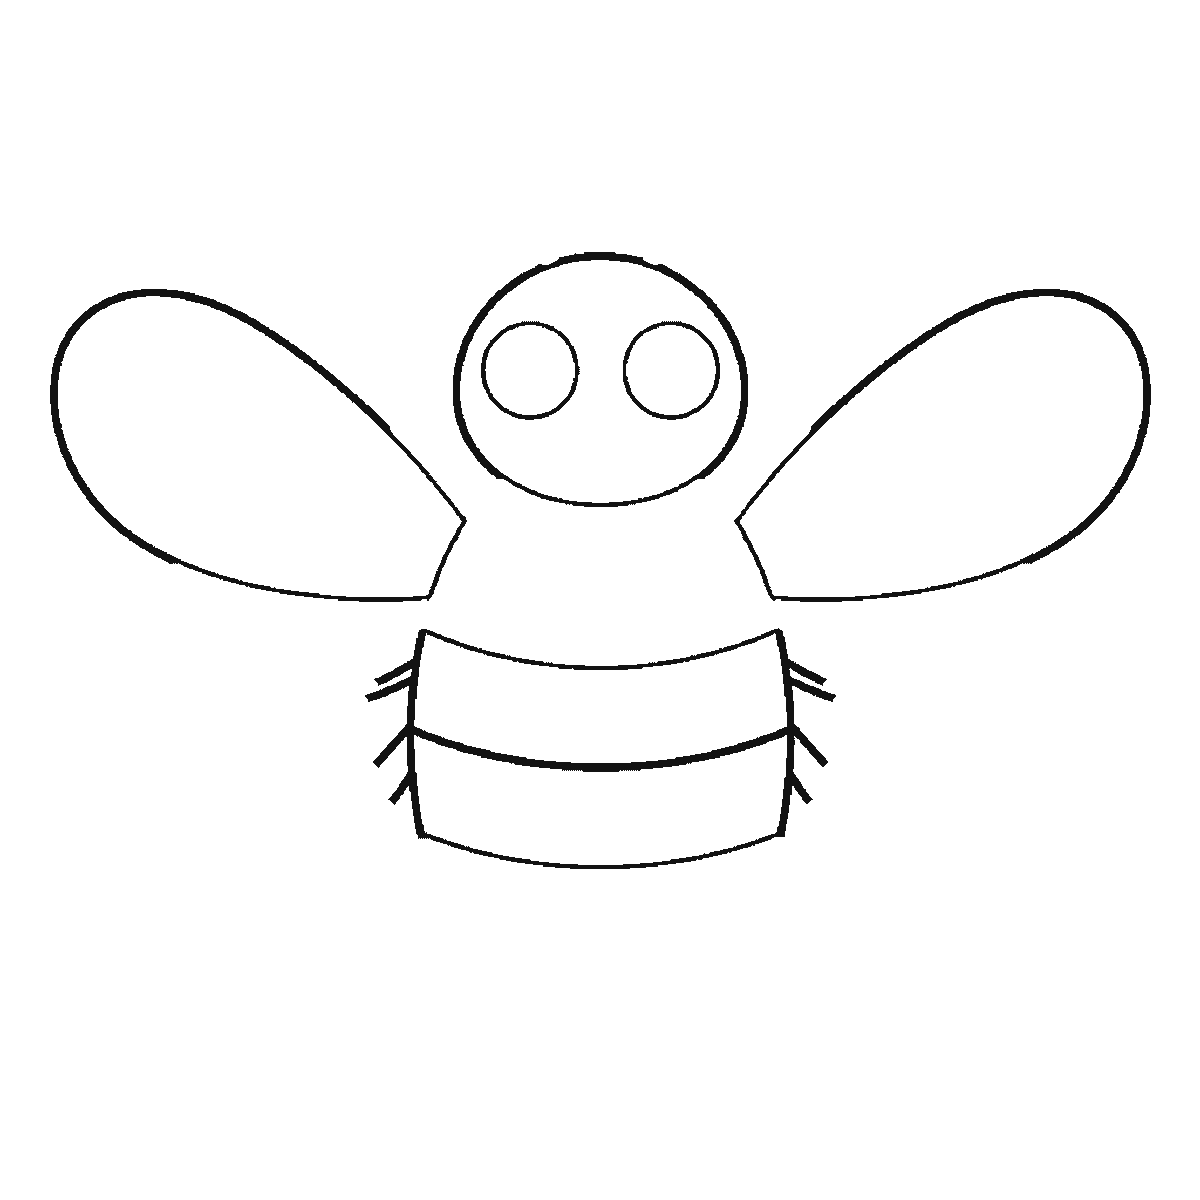
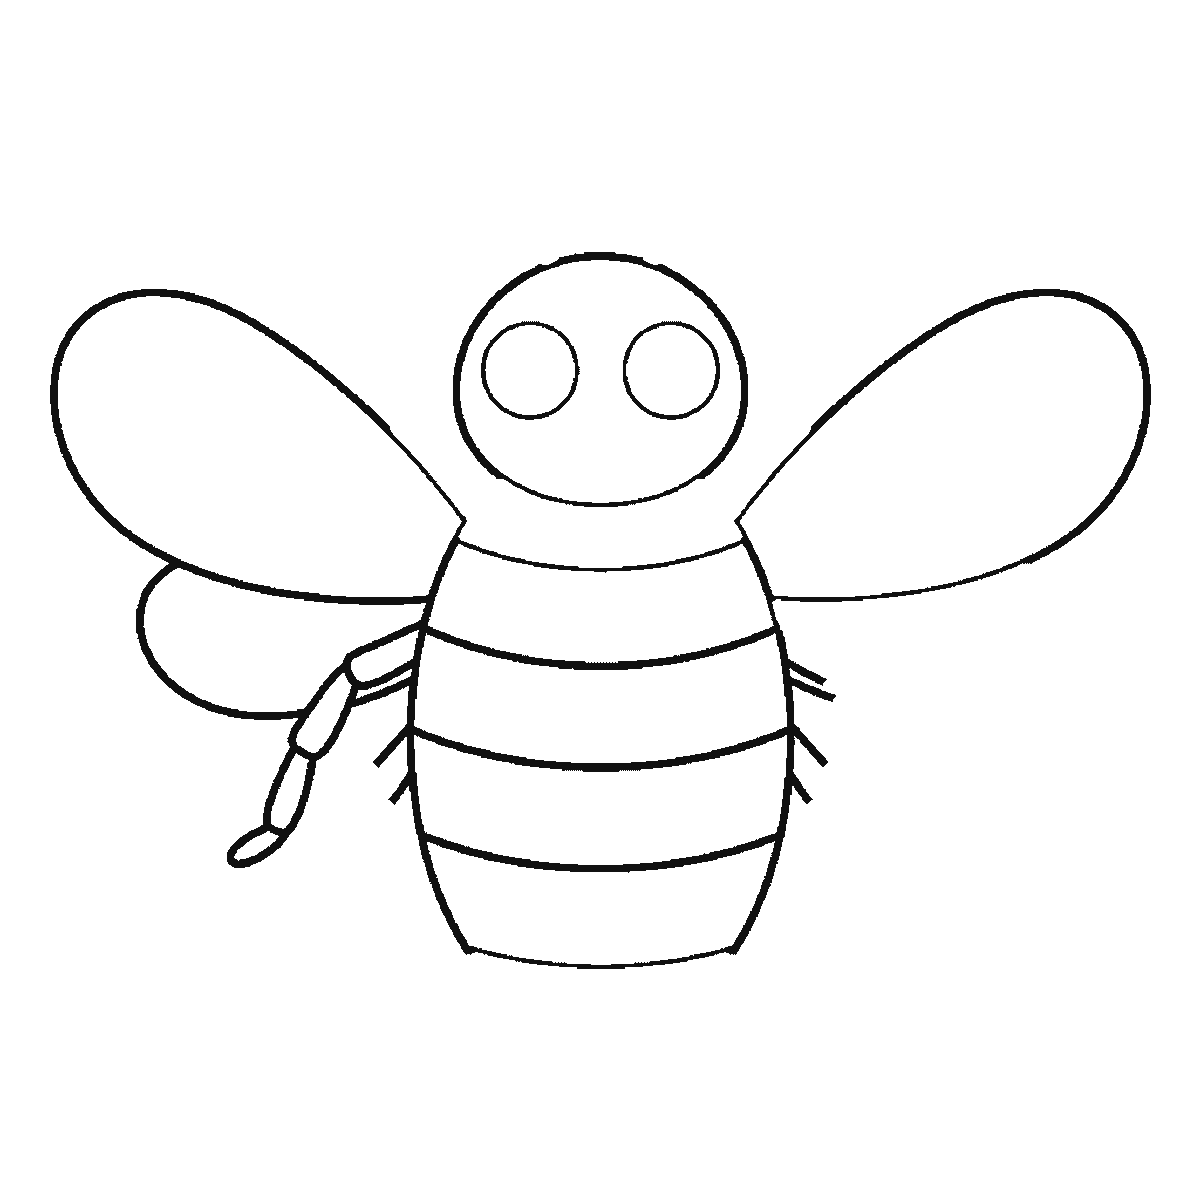
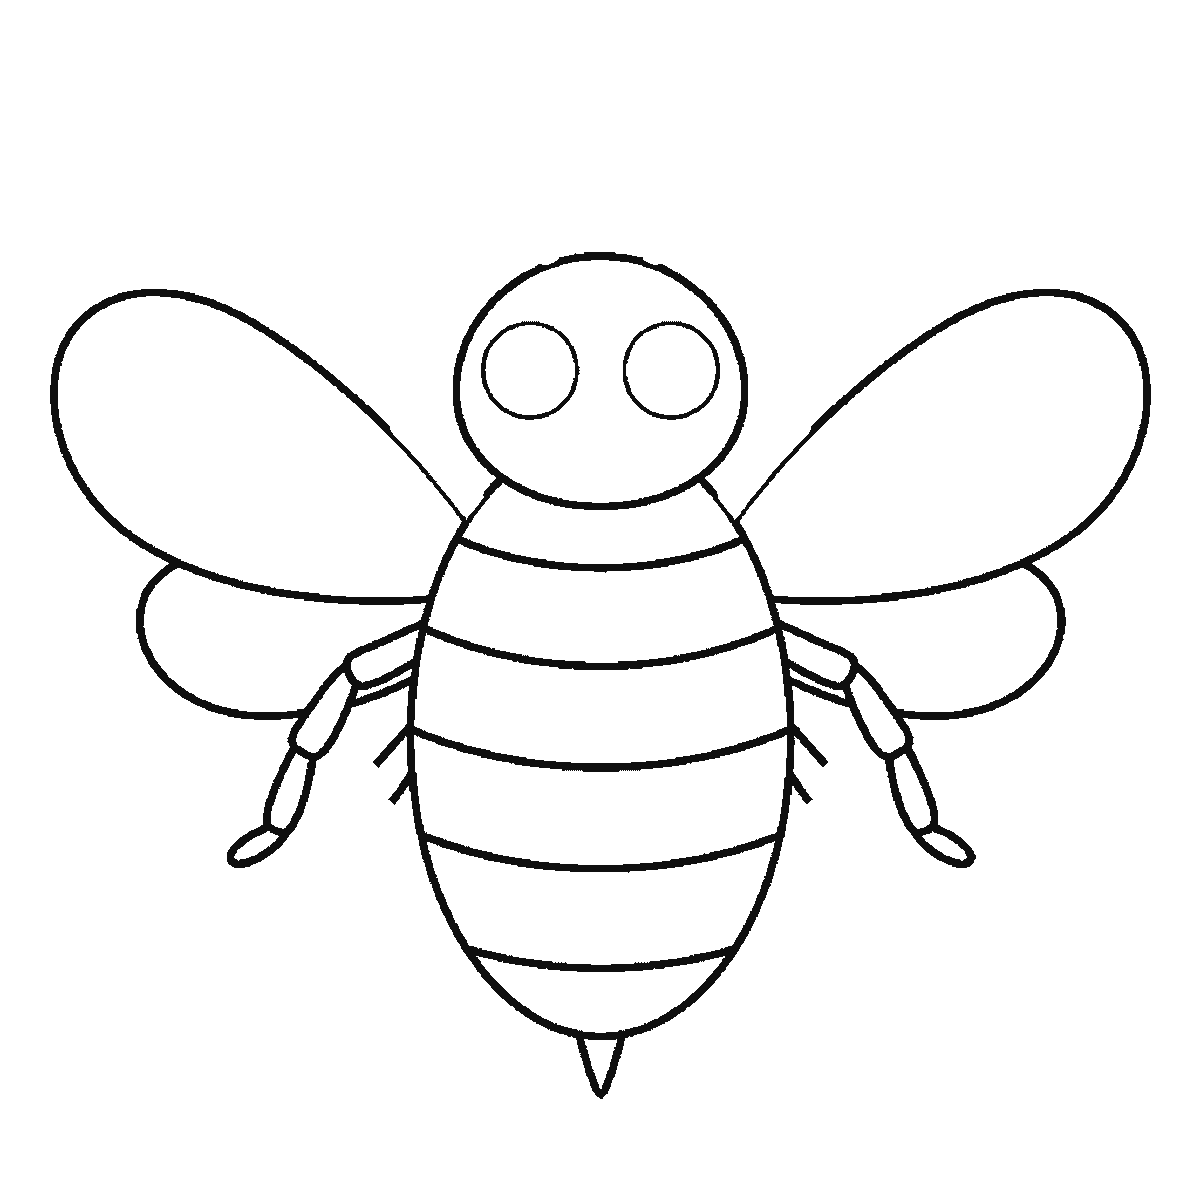
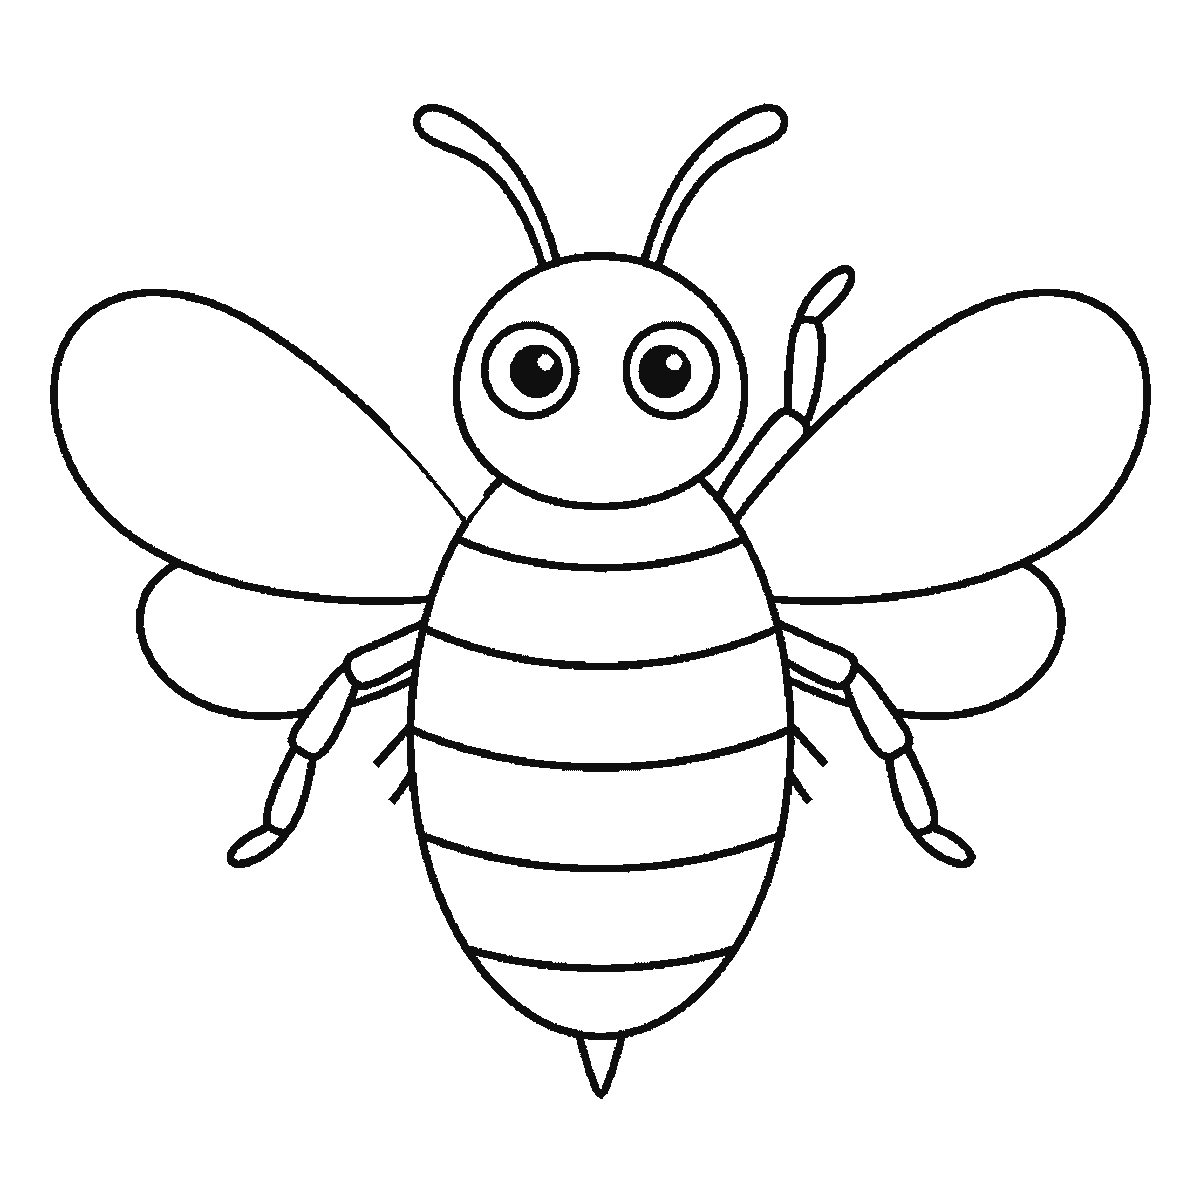
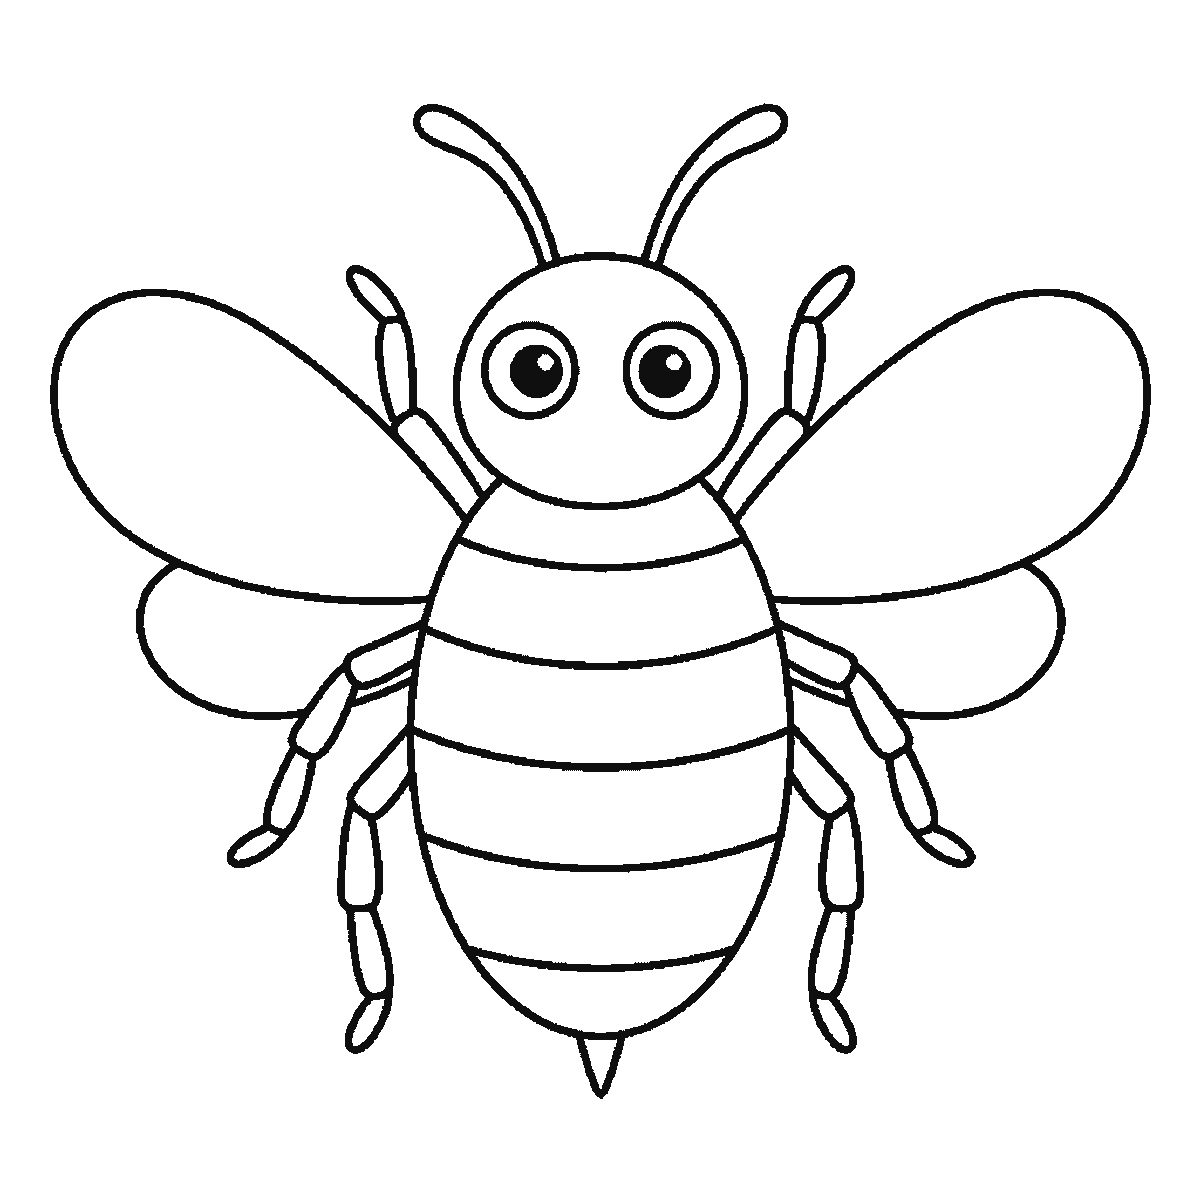
Six frames, one bumblebee seen from the front. The wings and head first, then the striped body, the legs and the antennae.
A bee is a striped oval with wings, and that description is close enough to the truth that a good drawing is mostly about proportion rather than detail. This one is seen from the front and above, wings out, which is the view that shows the stripes clearly and gives the insect a friendly rather than an alarming shape.
Frame one is the two upper WINGS and the head with its eyes — three shapes with a gap between them where the body will go. The body itself arrives in frame two. Starting with the wings is not how anyone would teach this, and it has one real advantage: the wingspan fixes how wide the finished drawing will be before you commit to the insect in the middle of it.
When the body comes, make it plump — a vertical oval, widest above the middle, narrowing to a point at the bottom. A bumblebee is a famously round insect and a slim body turns it into a wasp, which is the same drawing with a completely different reputation. Let it overlap the head rather than sitting below it: insects have no neck to speak of, and a visible gap between head and body makes the animal look assembled from parts.
The eyes are large, round and dark with filled pupils, set wide on the front of the head. Real bee eyes are enormous and cover most of the head, and while this drawing simplifies them into two circles, keeping them large is what preserves the character. Small eyes make the face look mean.
The stripes come next and they are the whole identity of the insect. Four bands across the body, running horizontally, and — this is the part that matters — each band should curve downwards at the sides to follow the roundness of the body. Straight bands flatten the oval into a paper cutout. It is the same principle as the stripes on a fish, and it is the most transferable lesson on this sheet.
Keep the bands unequal in width. Nature does not measure, and four identical stripes read as a barcode. Making the middle two slightly wider than the outer two is enough variation to look observed.
The wings are the shapes that turn the insect into a picture rather than a diagram. There are four of them, two on each side, and the pair on each side are different: a long upper wing sweeping out and back, and a shorter lower one below it. Draw them as smooth teardrops with no veins. Veins take a long time and make the drawing look busier without making it look better at this scale.
The antennae come off the top of the head as two thin curved lines with a slight thickening at the tips, and they should bend rather than stick straight up. Antennae drawn as two straight spikes make the bee look startled; a gentle curve makes it look like it is going somewhere.
The legs are six, three a side, drawn as jointed segments hanging down and slightly back. Getting the number right is worth the small effort — six is what makes it an insect, and a drawn bee with four or eight legs is quietly wrong in a way people notice without being able to say why. The small pointed sting at the very bottom finishes the shape.
The frames run from the largest closed shape down to the smallest, which here means upper wings and head, then the striped body, then the lower wings and first legs, then more legs and the sting, then the antennae, then the last legs. It is a straightforward order to copy and it is not the correct method — starting from the body and hanging everything off it is what most people would do, and it gets you to exactly the same bee.
Before you start
- Keep the body plump. A slim bee is a wasp.
- Curve the stripes down at the sides to follow the body — straight bands flatten it.
- Draw four wings, two a side, with the upper one longer than the lower.
- Count the legs. Six is what makes it an insect, and people notice when it is not.
Published Updated 647 words
The six steps
The steps go from the largest shape to the smallest, which is an easy order to copy. It is not the only order, and it is not a rule — if you would rather start somewhere else on the sheet, do.
Step 1
Step 2
Step 3
Step 4
Step 5
Step 6
More in this section
How to draw a wolf
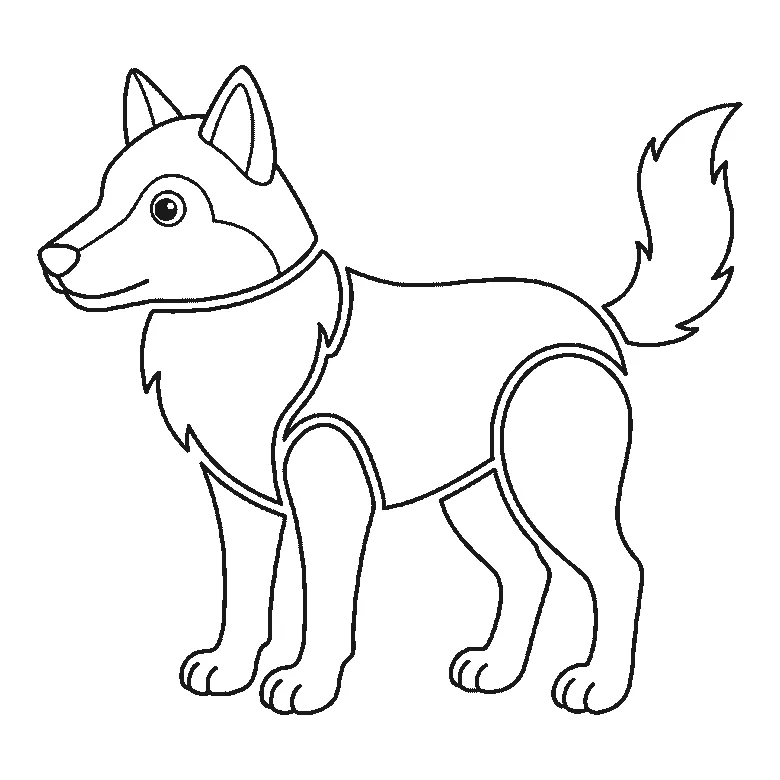
Six frames, one wolf standing in profile. The chest ruff and a hind leg first, then the body, the head and the bushy tail.
Step sequence made by us from a single drawing: each step keeps the lines of the one before it and adds to them.
How to draw a snake
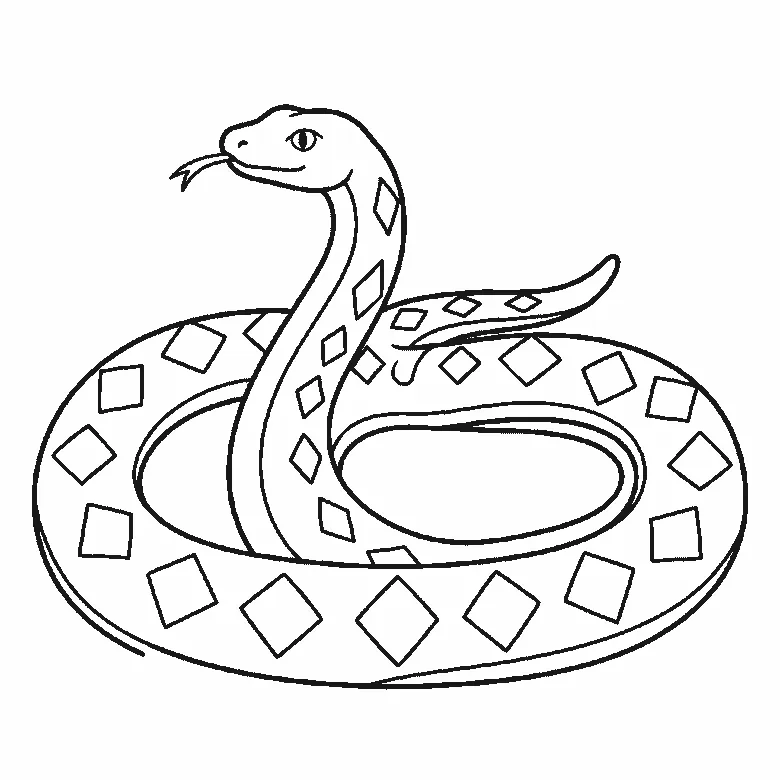
Six frames, one snake coiled in two loops with its head raised. Almost the whole coil in the first frame, then the inner edge and the diamonds.
Step sequence made by us from a single drawing: each step keeps the lines of the one before it and adds to them.
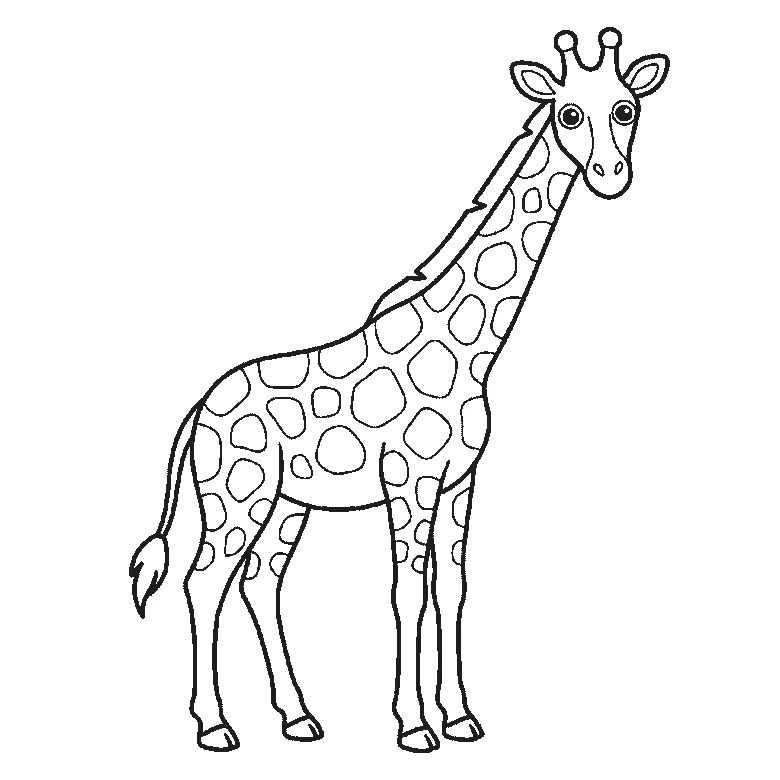
How to draw a giraffe
Six frames, one giraffe in profile with its head turned to you. Body, neck and legs first, then the coat patches and the face.
Step sequence made by us from a single drawing: each step keeps the lines of the one before it and adds to them.
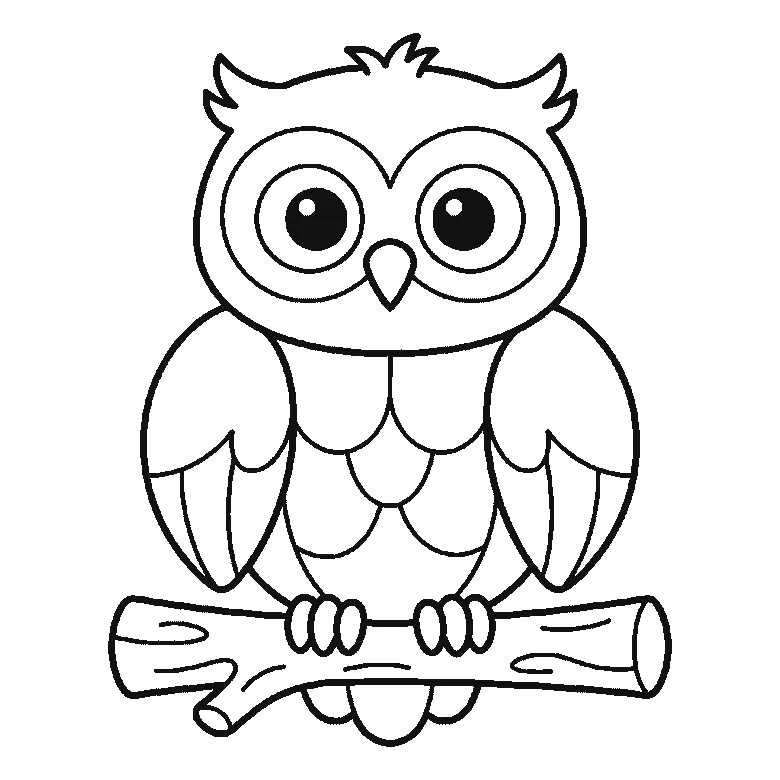
How to draw an owl
Six frames, one owl on a branch. The head and both ear tufts first, then the whole branch, then a wing at a time — and the pupils and the tail last.
Step sequence made by us from a single drawing: each step keeps the lines of the one before it and adds to them.
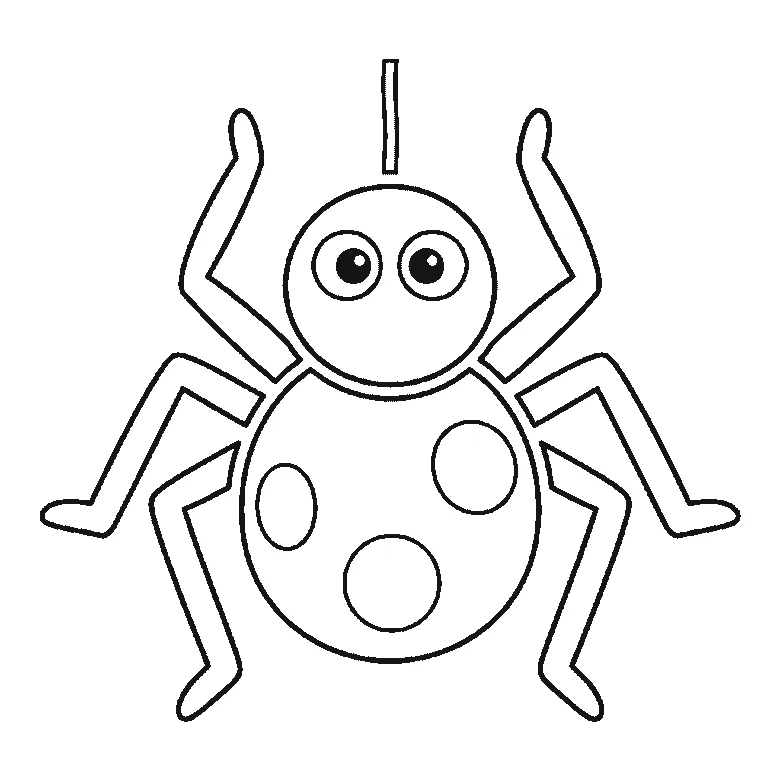
How to draw a spider
Six frames, one friendly spider. The patched round body first, then the head, then the legs two at a time — and the pupils and the thread right at the end.
Step sequence made by us from a single drawing: each step keeps the lines of the one before it and adds to them.
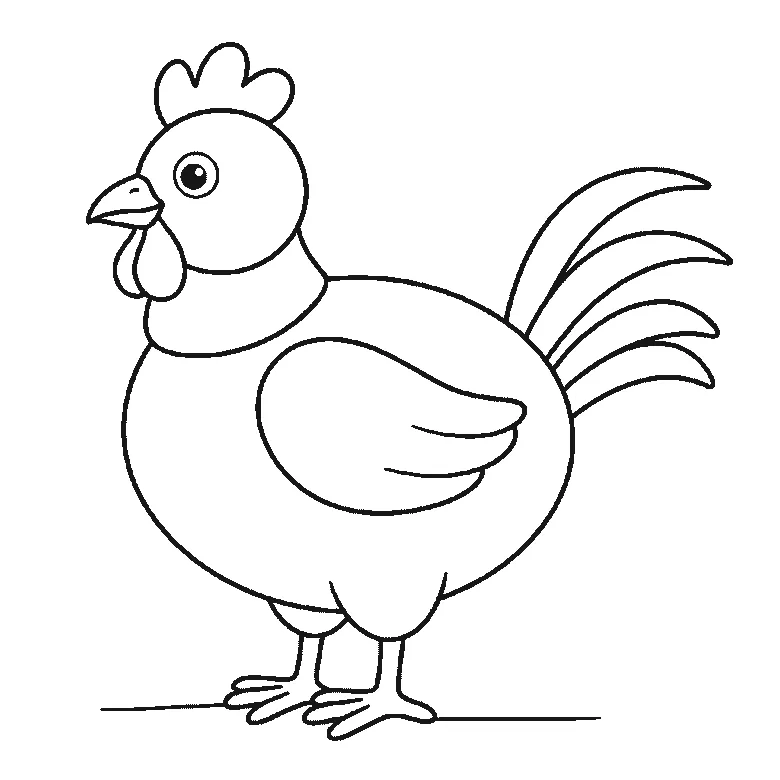
How to draw a chicken
Six frames, one plump hen standing side-on. The body first with no head at all, then the head and the folded wing, and the beak, wattle and eye right at the end.
Step sequence made by us from a single drawing: each step keeps the lines of the one before it and adds to them.
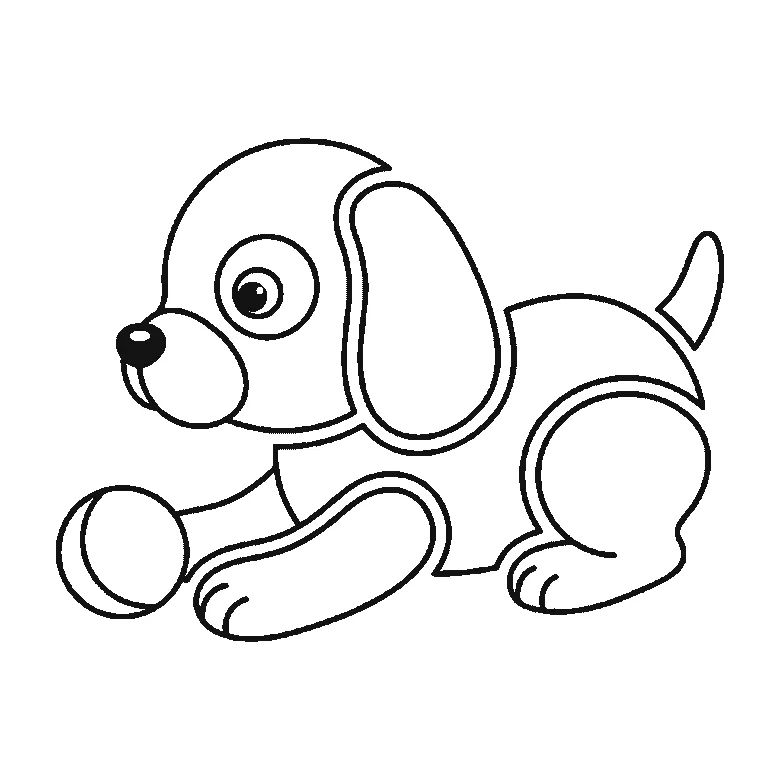
How to draw a puppy
Six frames, one round puppy lying down with a ball. The back and haunch first — no head until the second frame — and the nose, eye and tail last.
Step sequence made by us from a single drawing: each step keeps the lines of the one before it and adds to them.
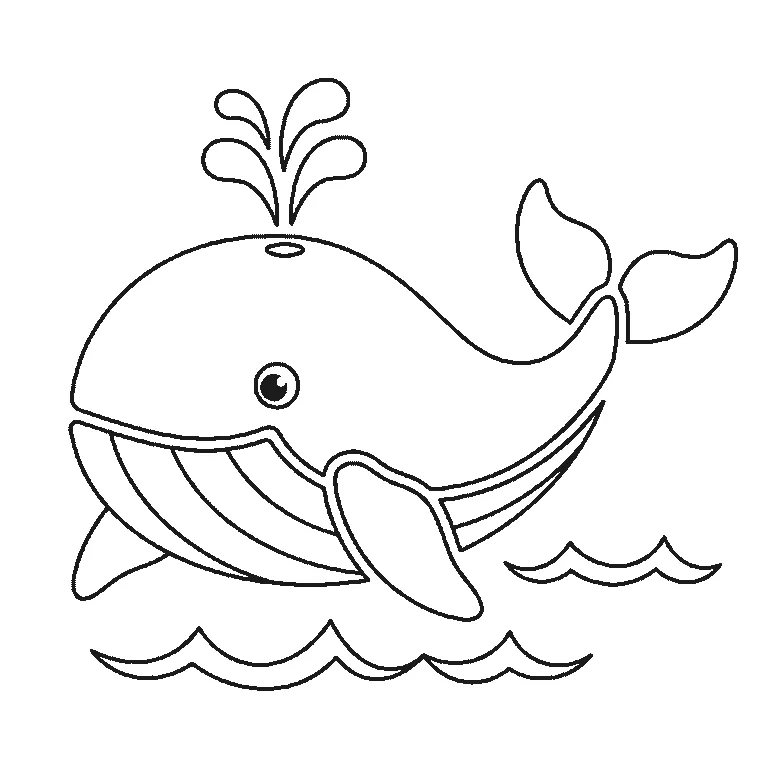
How to draw a whale
Six frames, one whale above the waves. The whole body first with the eye left blank, then the tail and the big flipper, and the spout and the filled pupil last.
Step sequence made by us from a single drawing: each step keeps the lines of the one before it and adds to them.
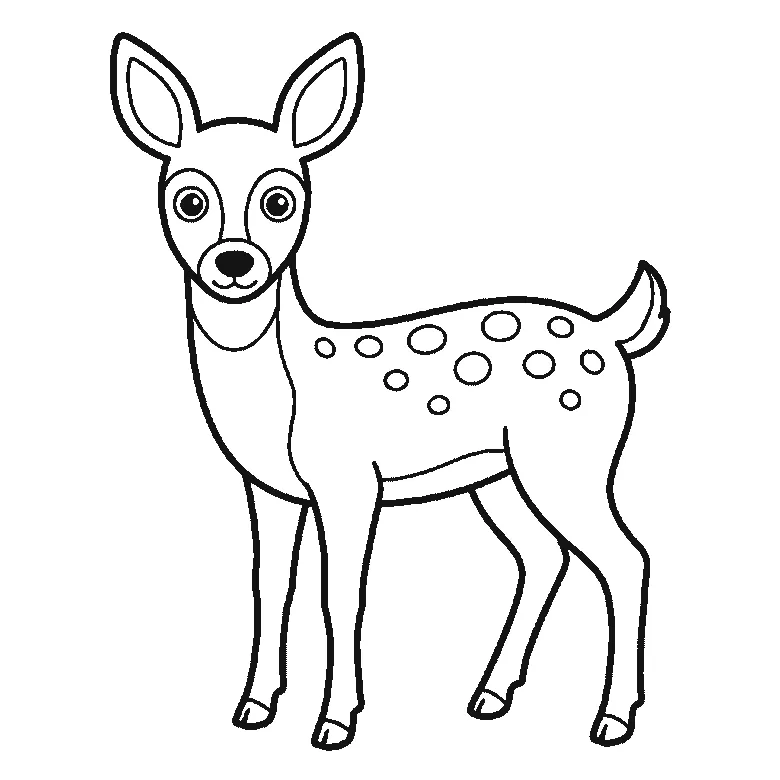
How to draw a deer
Six frames, one young deer standing side-on. The spotted body first with no head at all, then the ears — and the entire face arrives in the last frame.
Step sequence made by us from a single drawing: each step keeps the lines of the one before it and adds to them.
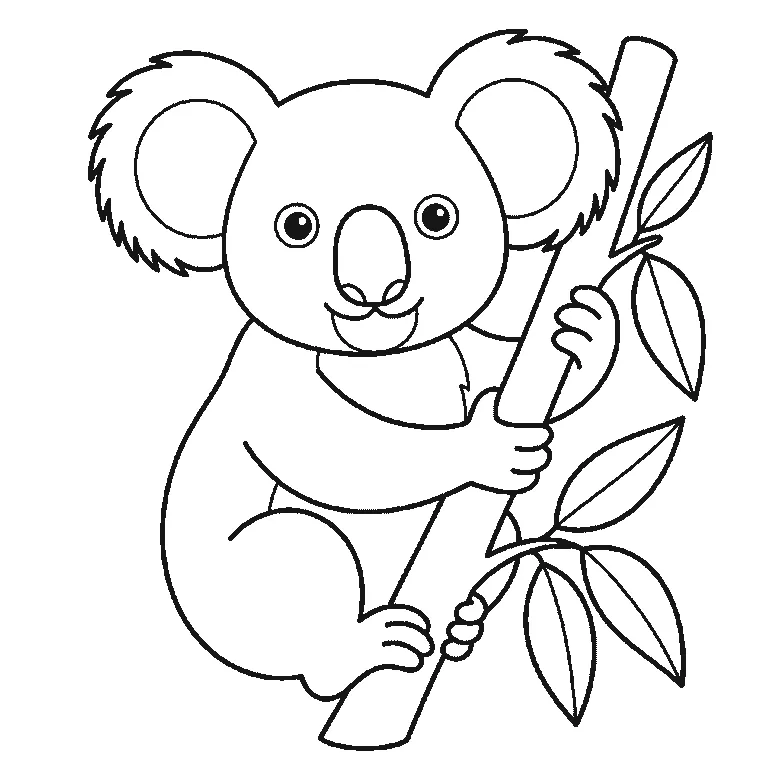
How to draw a koala
Six frames, one koala hugging a branch. The whole head and both fringed ears first, then the body, then the branch — and the eyes and the last leaves at the end.
Step sequence made by us from a single drawing: each step keeps the lines of the one before it and adds to them.
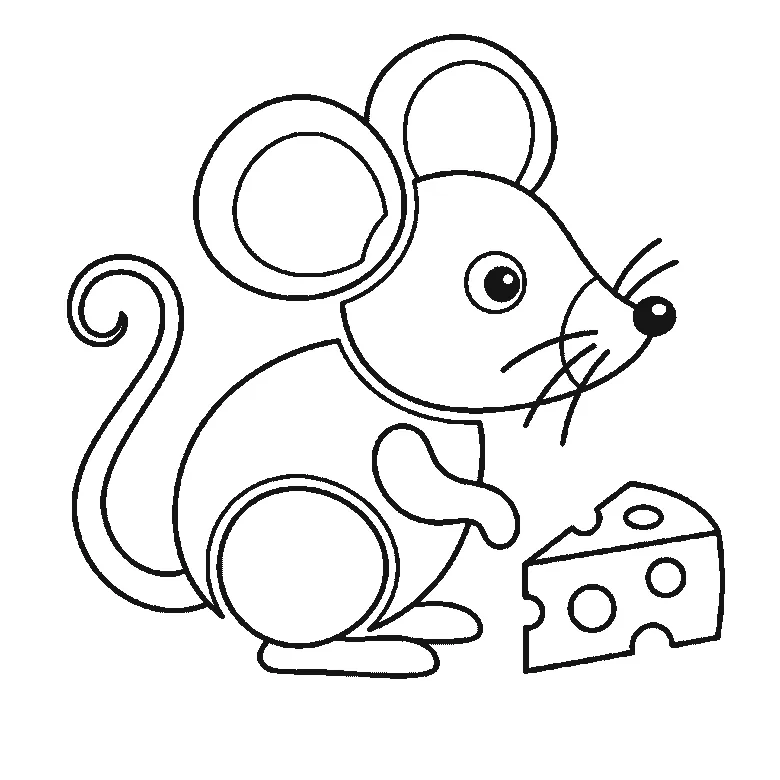
How to draw a mouse
Six frames, one mouse beside a wedge of cheese. The head and the back together first, then the ears, then the cheese — with the tail, whiskers and eye last.
Step sequence made by us from a single drawing: each step keeps the lines of the one before it and adds to them.
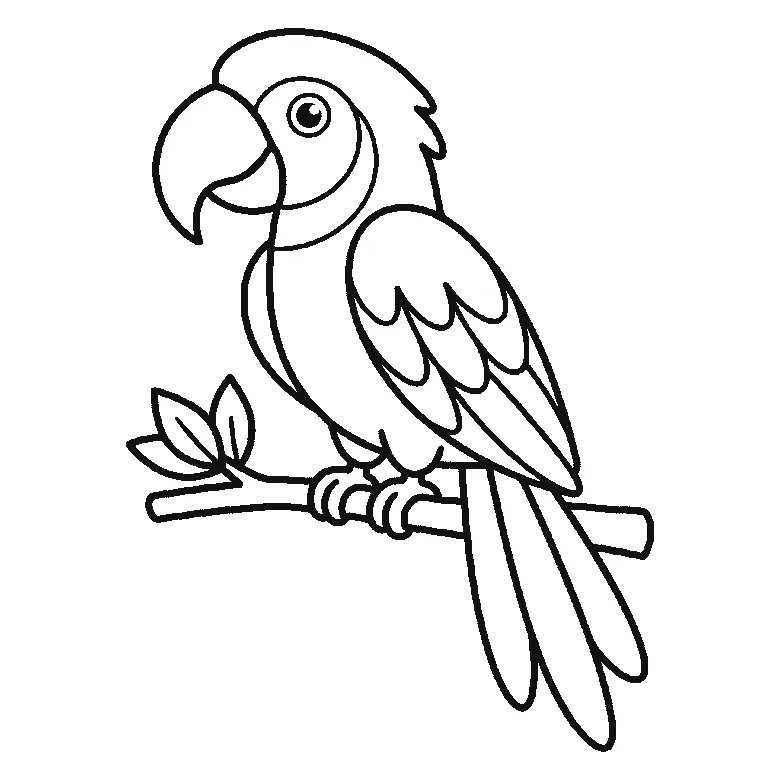
How to draw a parrot
Six frames, one parrot on a leafy branch. The head crest and the breast first, then the beak with the wing, and the eye and the gripping feet last.
Step sequence made by us from a single drawing: each step keeps the lines of the one before it and adds to them.


