
PDF · A4 · 49 KB · Free, no sign-up. For home and classroom use.
How to draw a wolf
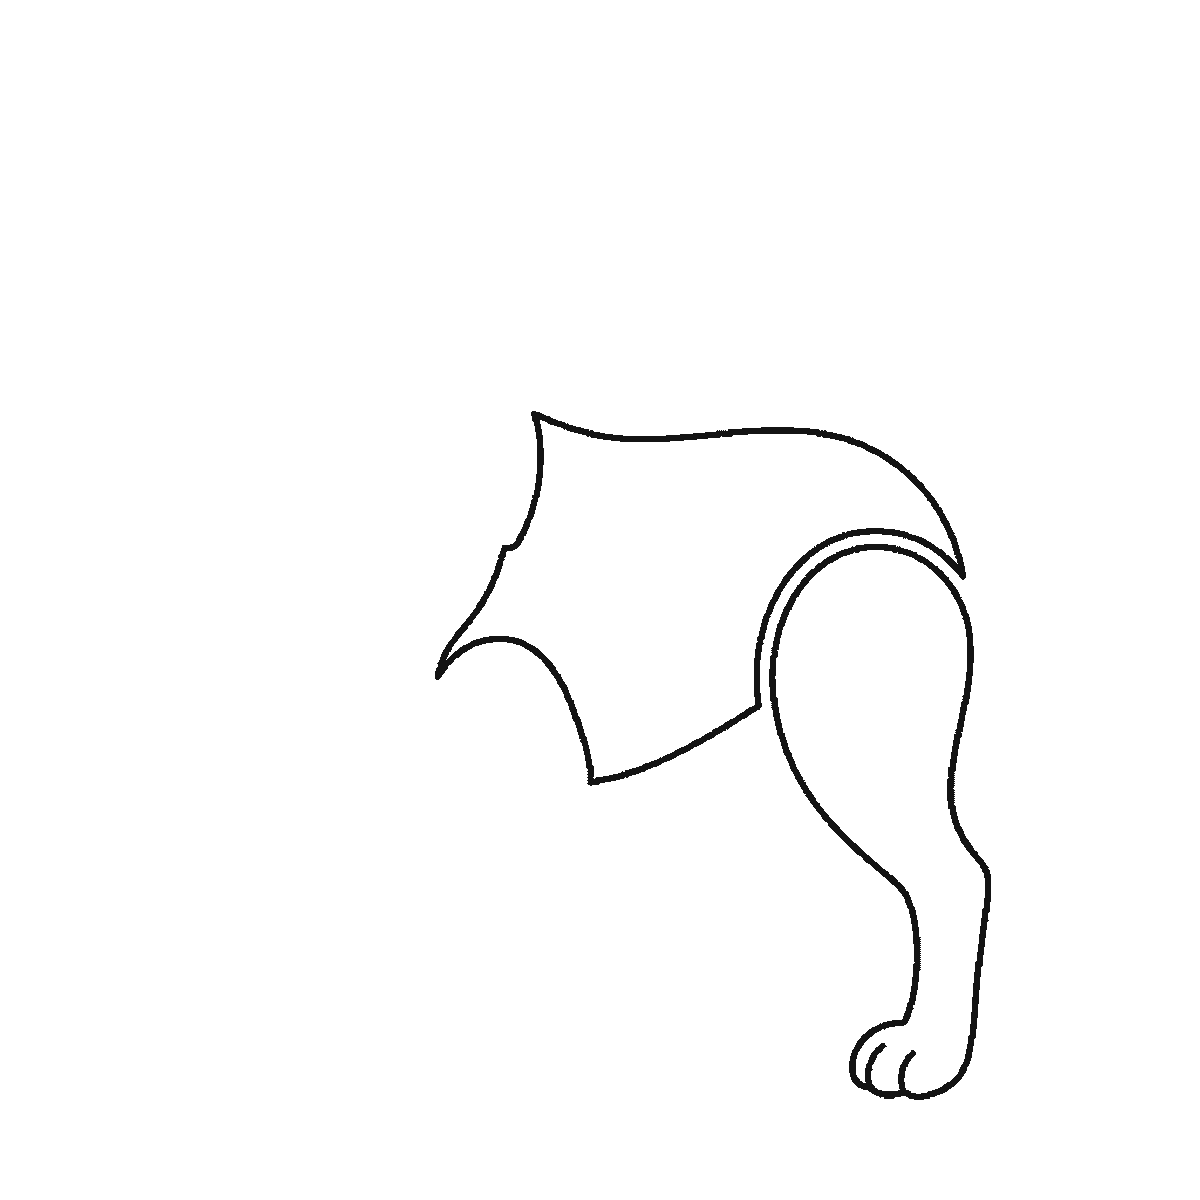
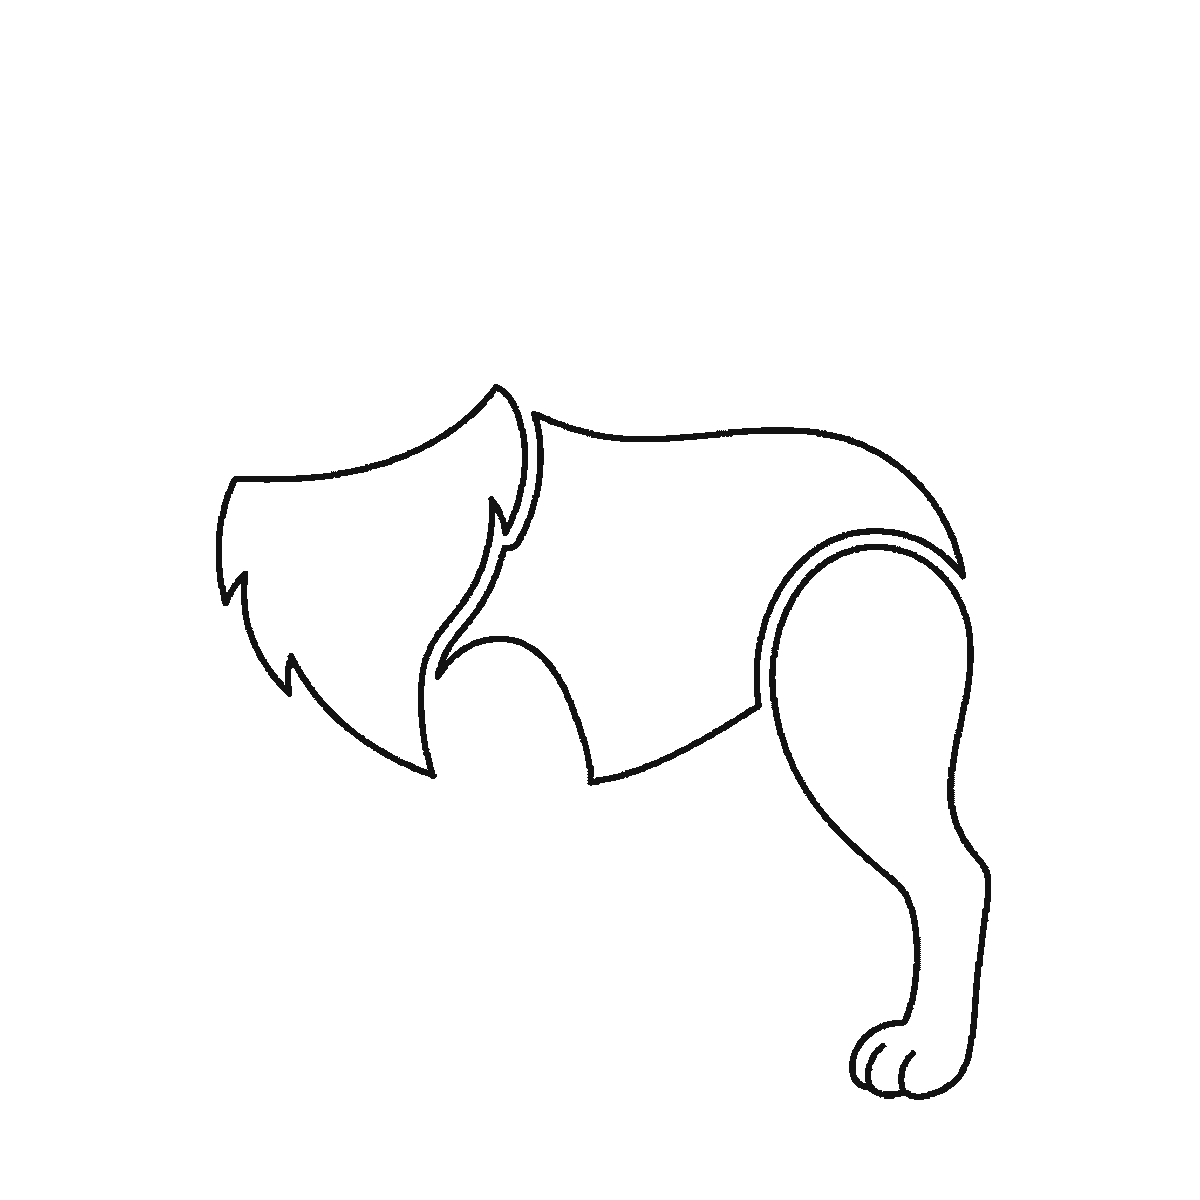
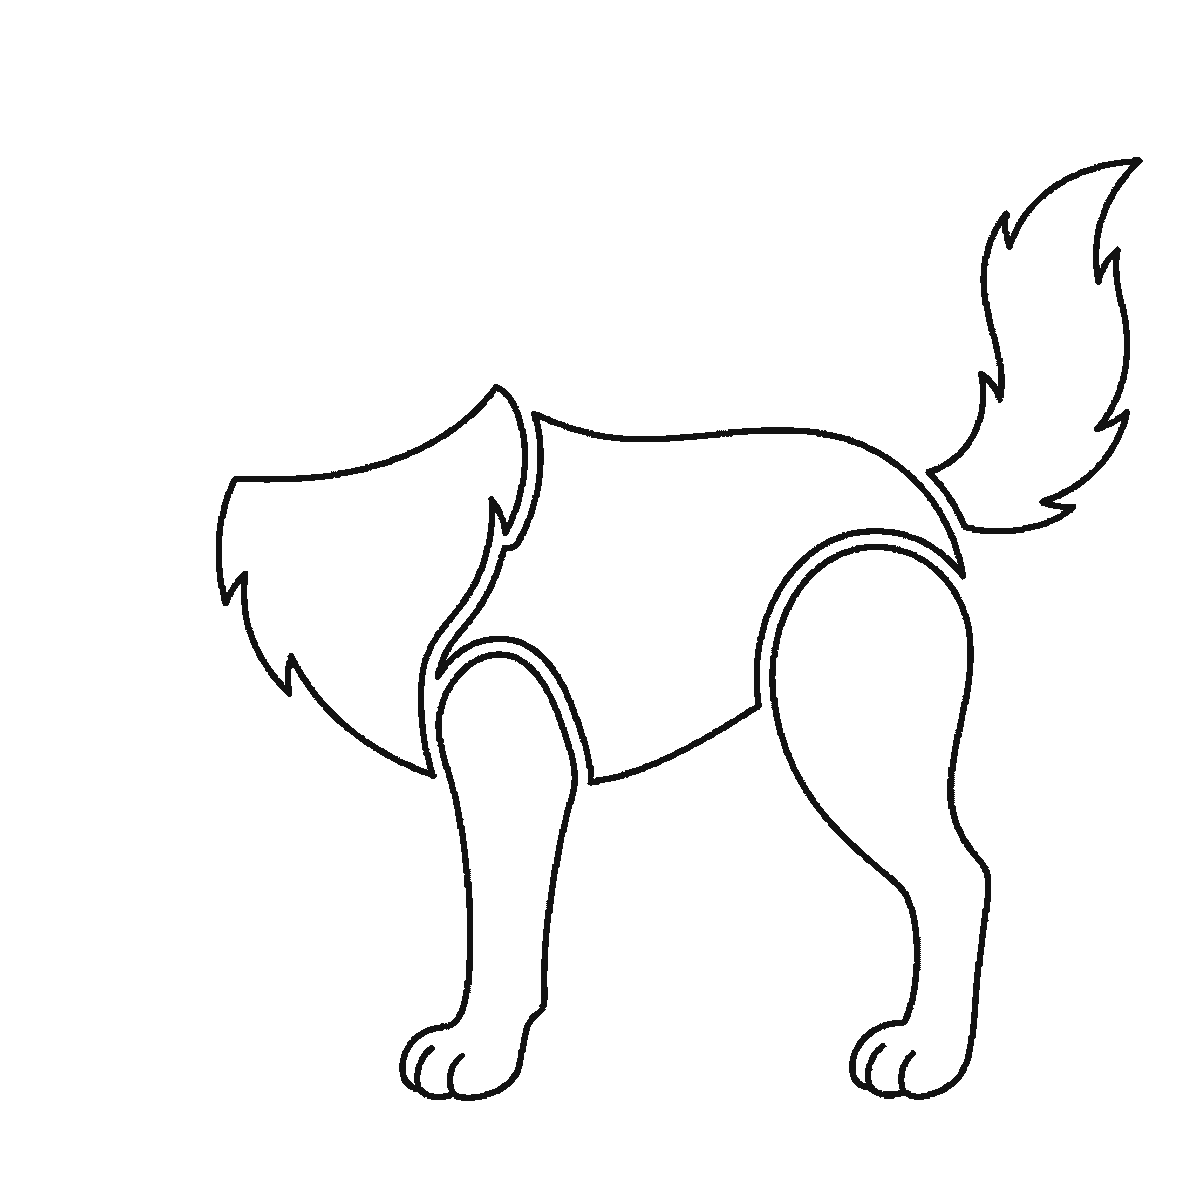
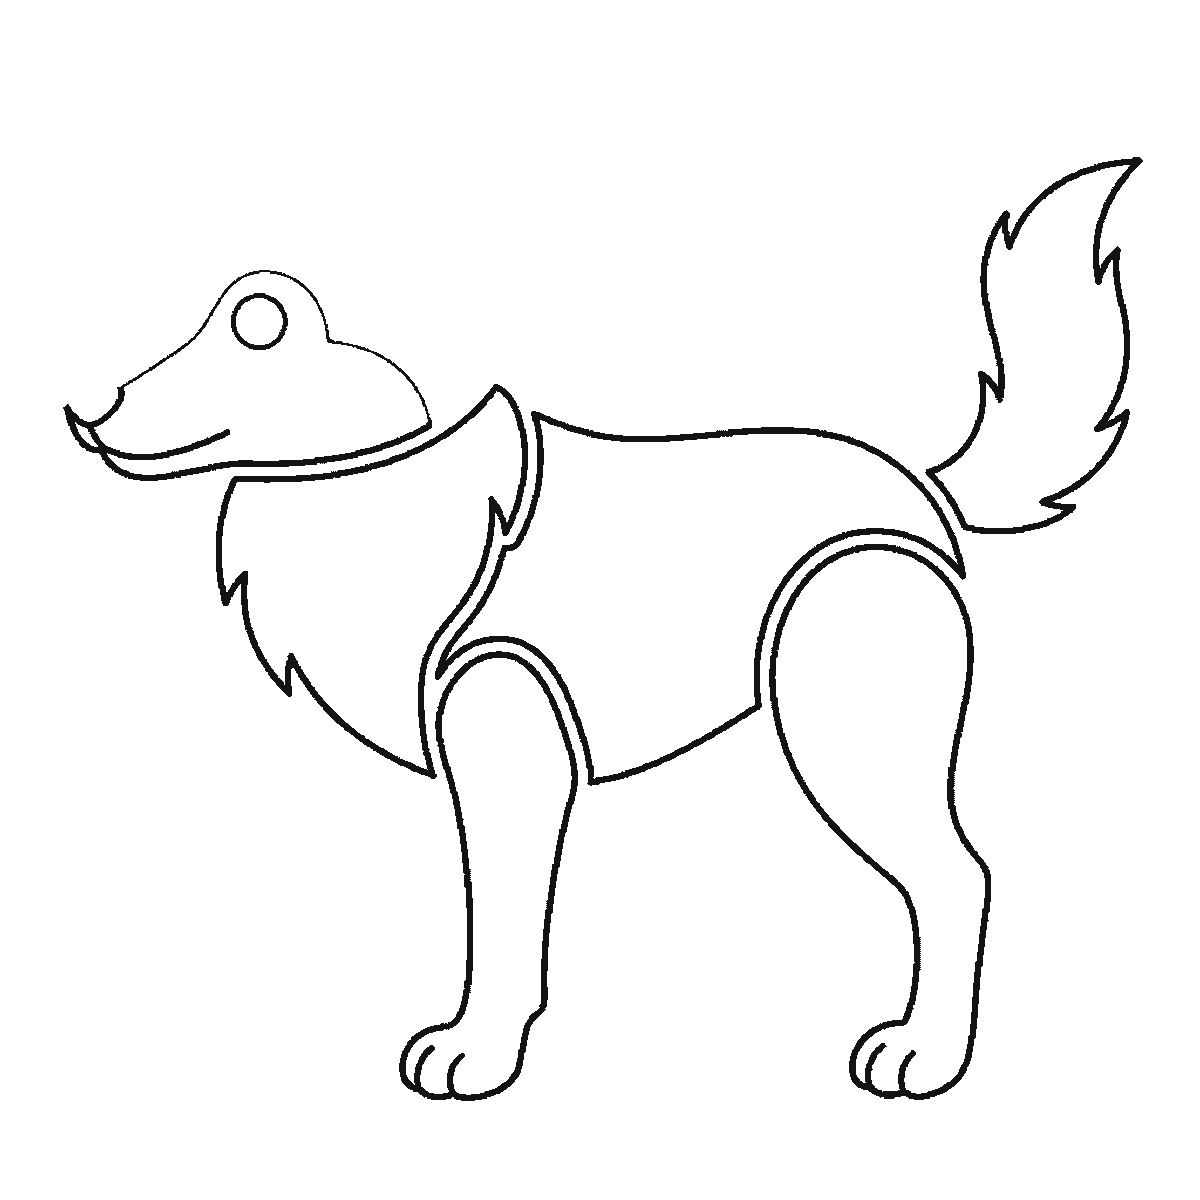
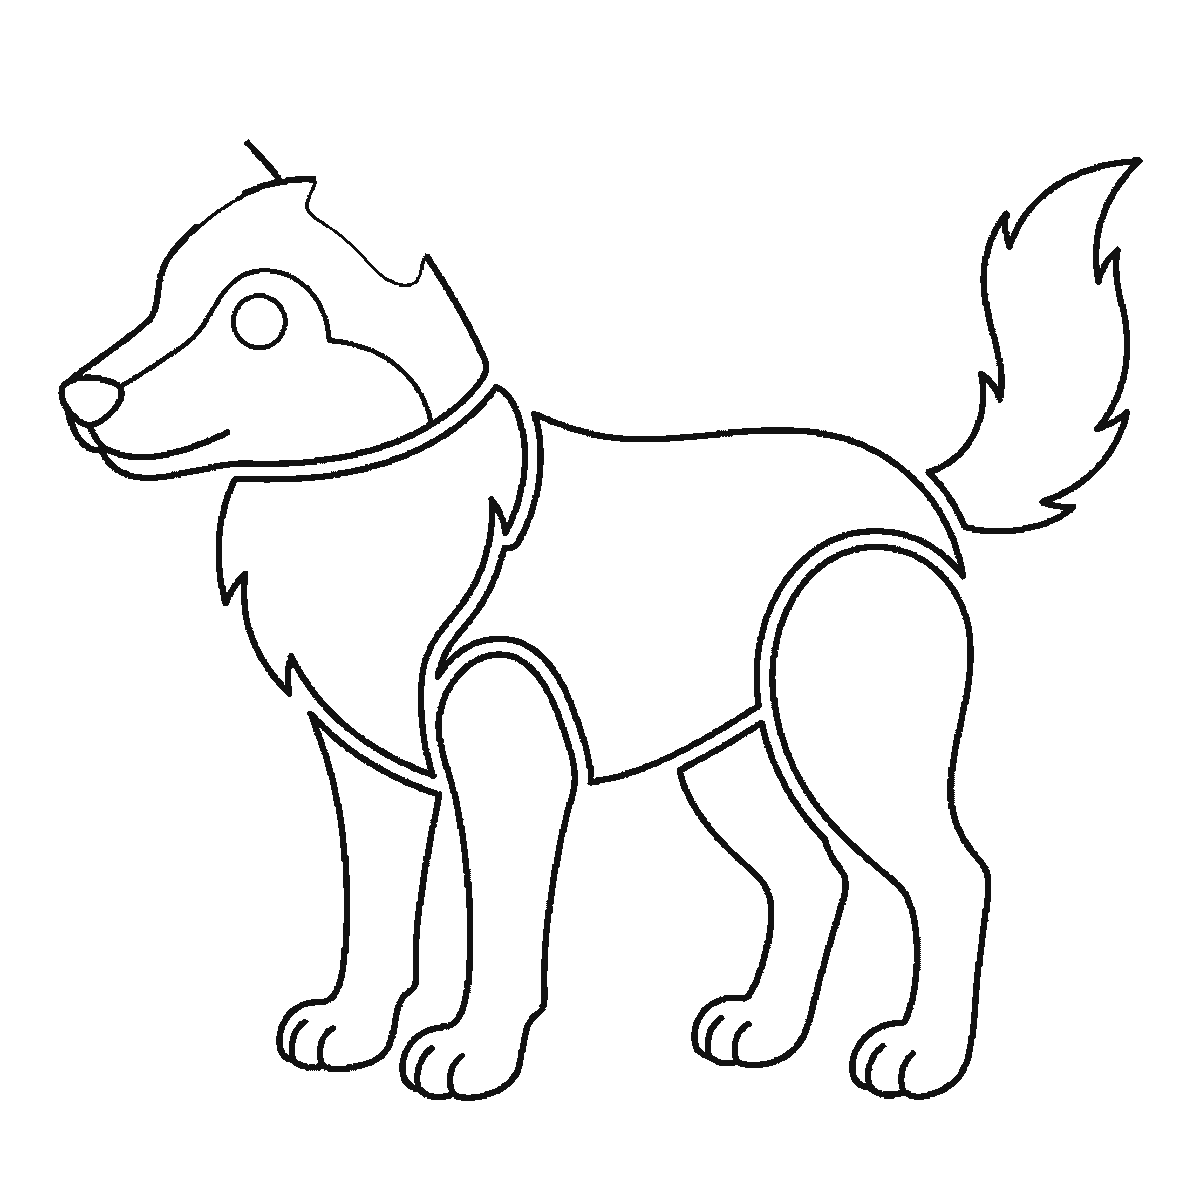
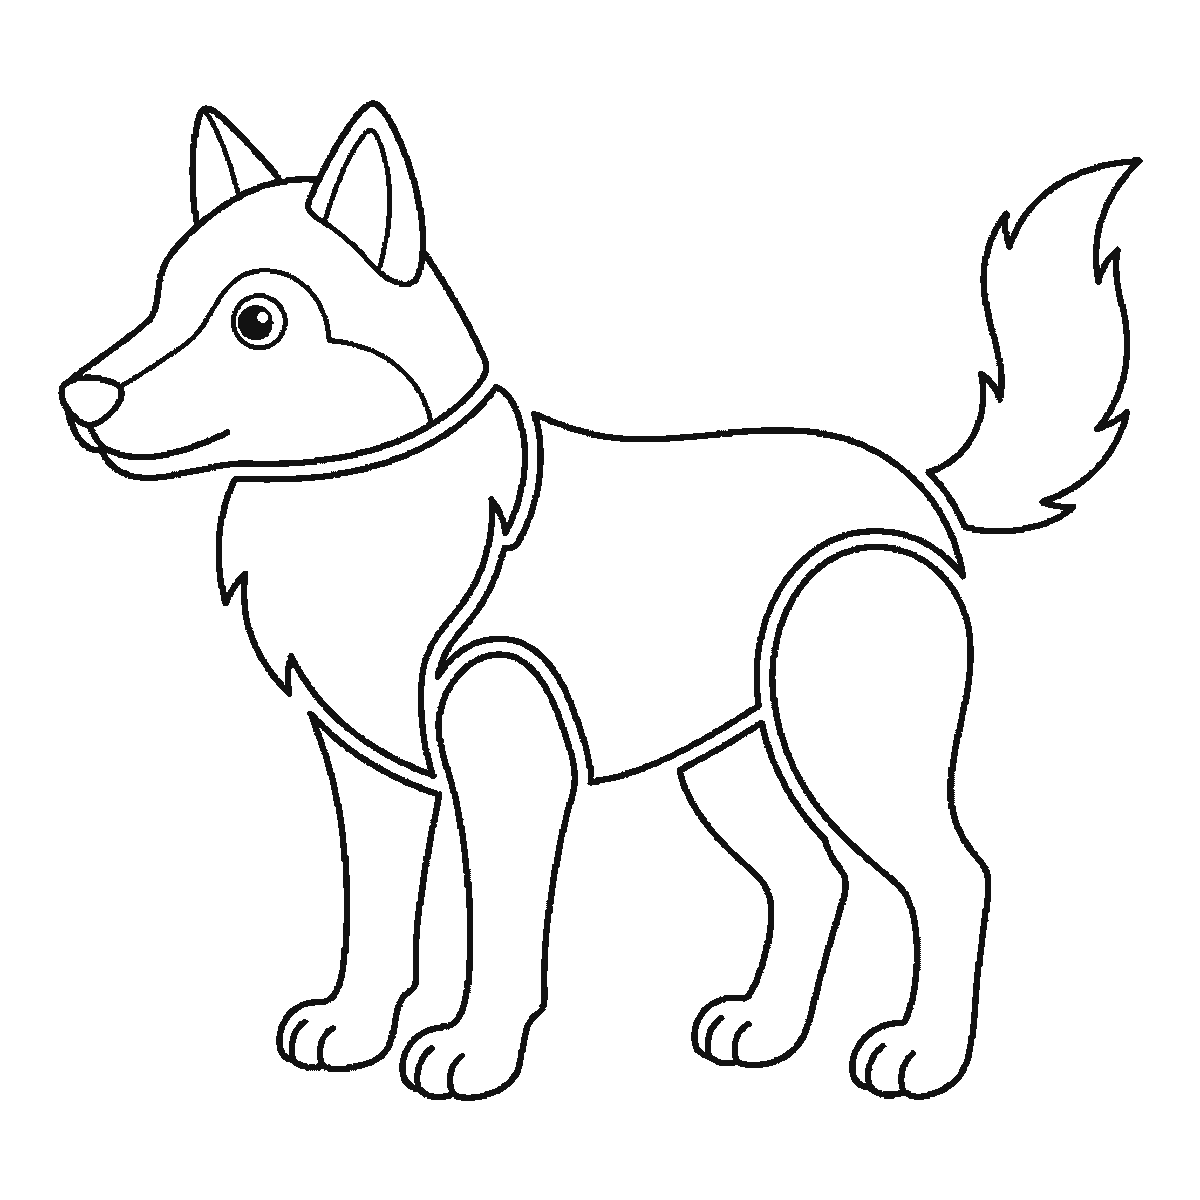
Six frames, one wolf standing in profile. The chest ruff and a hind leg first, then the body, the head and the bushy tail.
The hardest thing about drawing a wolf is not drawing a dog. The two animals share a skeleton and most of a silhouette, and every difference between them is a matter of degree rather than kind — which means a wolf drawing succeeds through a handful of deliberate exaggerations, and this sheet builds them in one at a time.
Frame one is the CHEST RUFF and one hind leg — two shapes at opposite ends of an animal that does not exist yet. It looks like nothing, and it is the frame that decides everything, because the distance between those two shapes is the length of the wolf. Set them too close and you get a stocky dog; too far apart and you get something feline.
The back and the second hind leg close the body in frame two, and the front legs and tail follow. Give the animal a deep chest, a noticeably tucked waist and a level back: wolves are lean through the middle and heavy at the front, and a body of even depth from chest to hip reads as a labrador however sharp you later make the face. The head does not arrive until frame four, and when it does the difference from a dog is at its clearest — a wolf's skull is long and wedge-shaped, with the muzzle continuing the line of the forehead almost without a break. Dogs have a pronounced stop, the step between the eyes where the muzzle begins. Flatten that step and the animal becomes wild.
The muzzle itself is long and narrow, ending in a fairly small nose. Because the animal is in profile you draw one eye, and it should be small, set high, and angled slightly. A round eye placed low and central is a dog's eye; a narrower one placed high and tilted is a wolf's. It is a very small change on the page.
The ears are triangular, thick-based and stand upright, and they are proportionally smaller than a dog's relative to that big head. Set them well apart on the top of the skull and let each carry an inner shape. Ears that are too large and too pointed tip the animal towards a fox, which is the other direction this drawing can fail in.
The chest ruff is the detail most often left out and the one that does most for the finished animal. It is a separate shape running down the throat and under the jaw, drawn with a ragged rather than a smooth lower edge. That raggedness is the only place on the whole drawing where you should suggest fur, and because it is the only place, it reads as thick coat rather than as scribble.
The legs are long and straight, set well under the body, and they end in surprisingly large paws. Big feet are a real wolf characteristic and they are useful in a drawing because they anchor the animal to the ground. The back legs carry a clear bend at the hock, low down and pointing backwards.
The tail is thick, bushy and carried low — hanging down or straight out behind, never curled up over the back. This is one of the few reliable rules in the whole business: a curled tail is a dog, a low straight tail is a wolf. Draw it with the same ragged edge as the ruff and taper it slightly to the tip.
This subject is also a small piece of evidence about how this site works. The stencil library it inherited had a wolf drawn as one continuous outline, and a drawing like that cannot be built up over six frames — the first frame would already be nearly the whole animal. This wolf was drawn again from scratch as a set of separate closed parts, which is what made the six frames possible at all.
The frames go from the largest closed shape to the smallest, which here means ruff and hind leg, then the back and second leg, then front legs and tail, then the head, then ears and muzzle, then the eye. It is an easy order to copy and it is not a claim about how a wolf ought to be drawn. Many people would set the head first and hang the body off it, and that is the more natural way round.
Before you start
- Flatten the step between forehead and muzzle. That single line separates a wolf from a dog.
- Keep the ears triangular and modest — too big and pointed gives you a fox.
- Draw the ruff with a ragged lower edge and leave the rest of the outline smooth.
- Carry the tail low and straight. A tail curled over the back is a dog.
Published Updated 728 words
The six steps
The steps go from the largest shape to the smallest, which is an easy order to copy. It is not the only order, and it is not a rule — if you would rather start somewhere else on the sheet, do.
Step 1
Step 2
Step 3
Step 4
Step 5
Step 6
More in this section
How to draw a snake
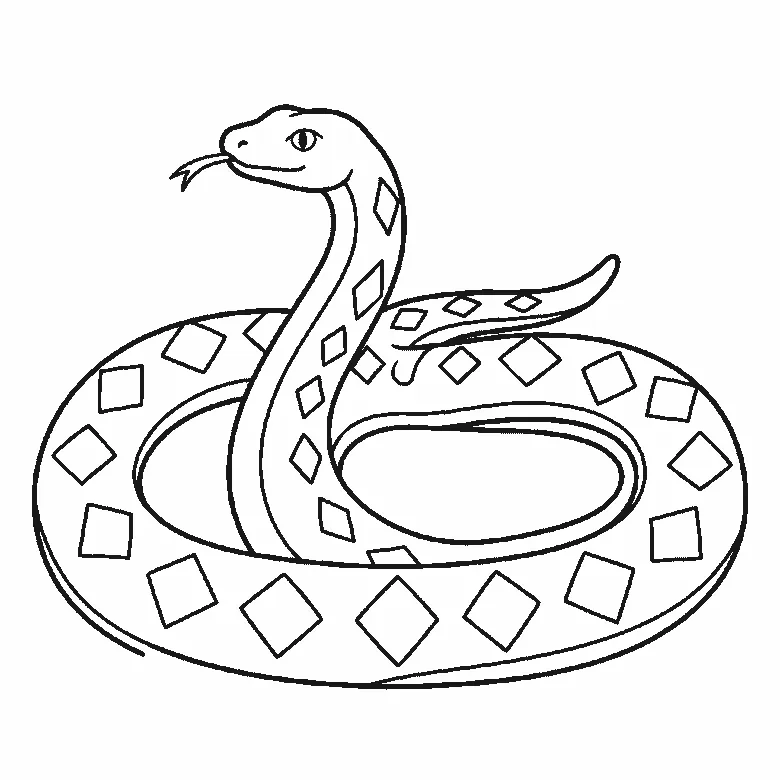
Six frames, one snake coiled in two loops with its head raised. Almost the whole coil in the first frame, then the inner edge and the diamonds.
Step sequence made by us from a single drawing: each step keeps the lines of the one before it and adds to them.
How to draw a giraffe
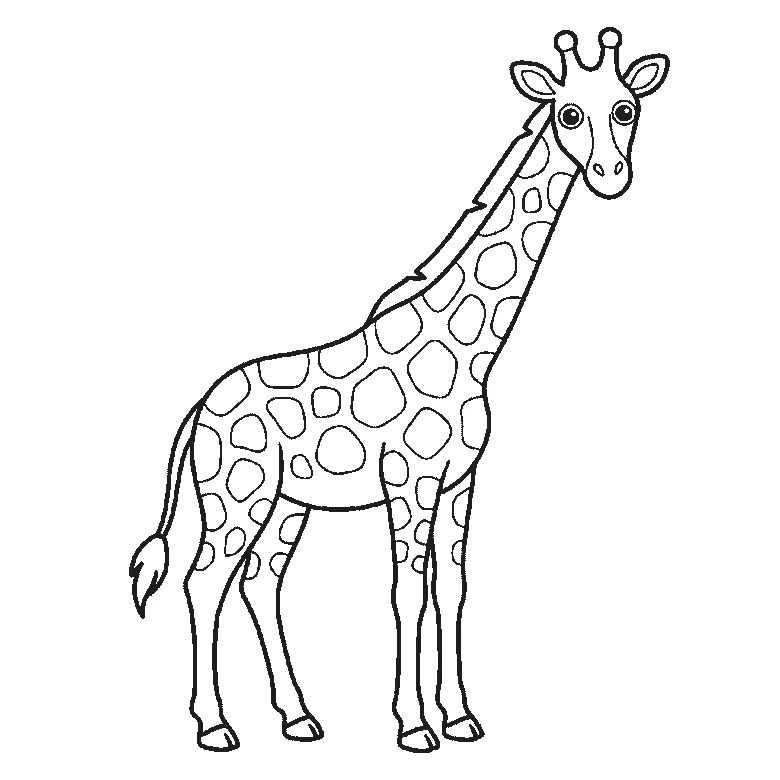
Six frames, one giraffe in profile with its head turned to you. Body, neck and legs first, then the coat patches and the face.
Step sequence made by us from a single drawing: each step keeps the lines of the one before it and adds to them.
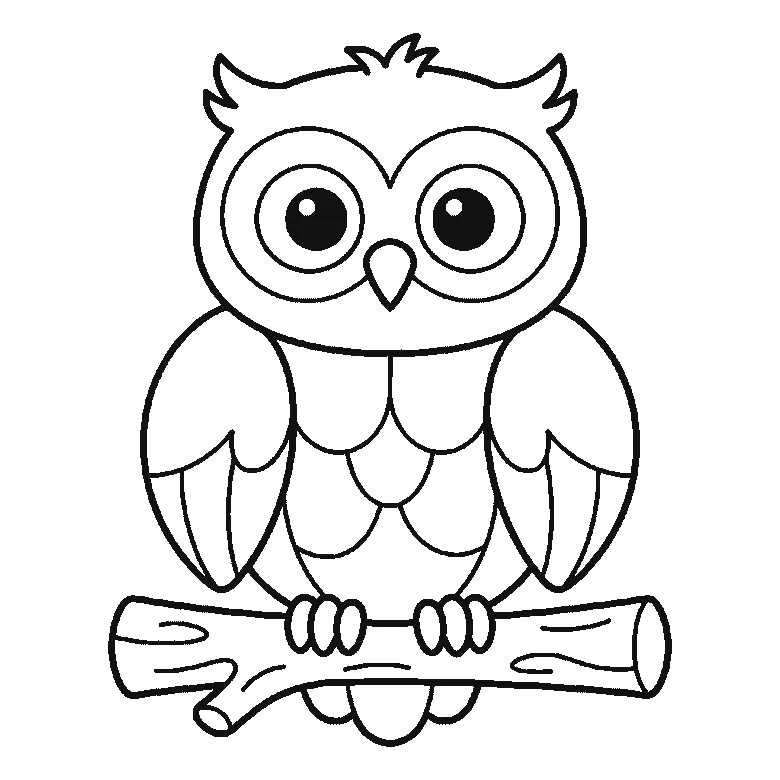
How to draw an owl
Six frames, one owl on a branch. The head and both ear tufts first, then the whole branch, then a wing at a time — and the pupils and the tail last.
Step sequence made by us from a single drawing: each step keeps the lines of the one before it and adds to them.
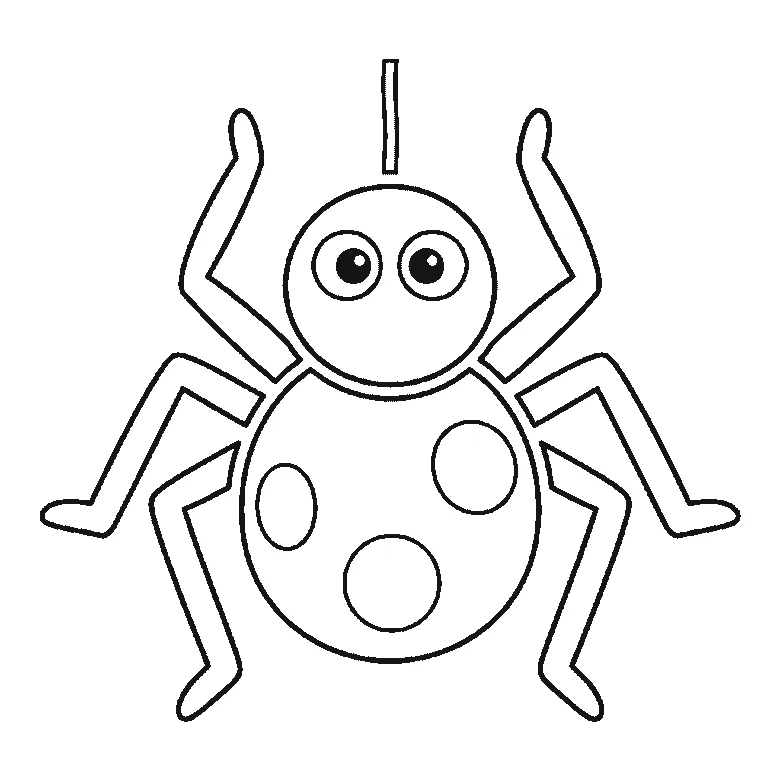
How to draw a spider
Six frames, one friendly spider. The patched round body first, then the head, then the legs two at a time — and the pupils and the thread right at the end.
Step sequence made by us from a single drawing: each step keeps the lines of the one before it and adds to them.
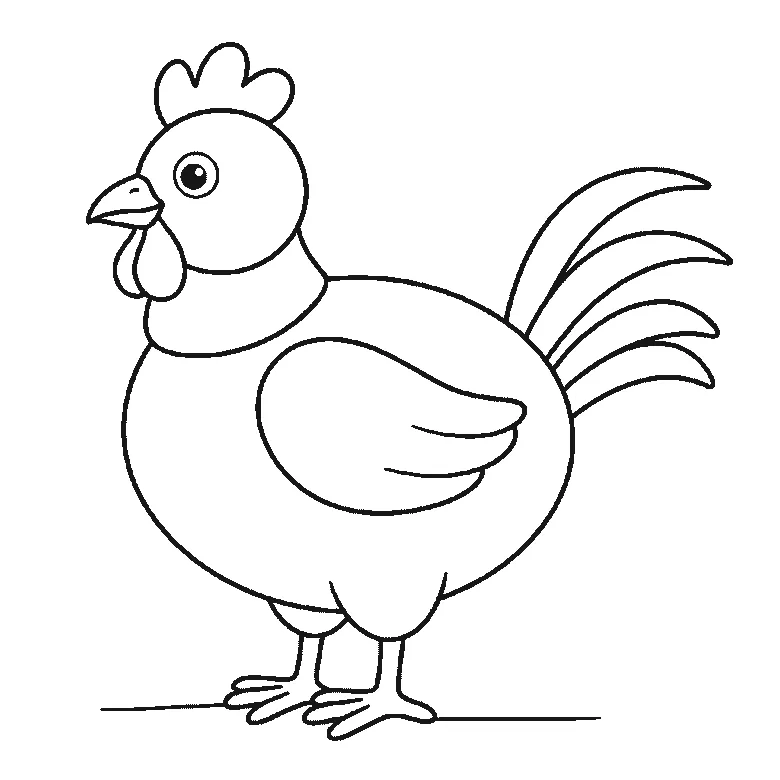
How to draw a chicken
Six frames, one plump hen standing side-on. The body first with no head at all, then the head and the folded wing, and the beak, wattle and eye right at the end.
Step sequence made by us from a single drawing: each step keeps the lines of the one before it and adds to them.
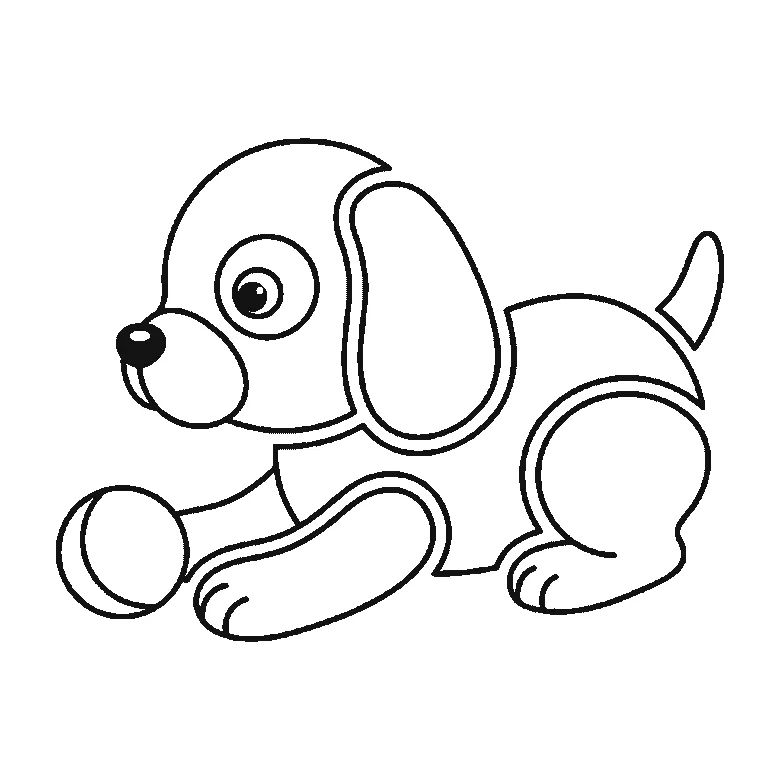
How to draw a puppy
Six frames, one round puppy lying down with a ball. The back and haunch first — no head until the second frame — and the nose, eye and tail last.
Step sequence made by us from a single drawing: each step keeps the lines of the one before it and adds to them.
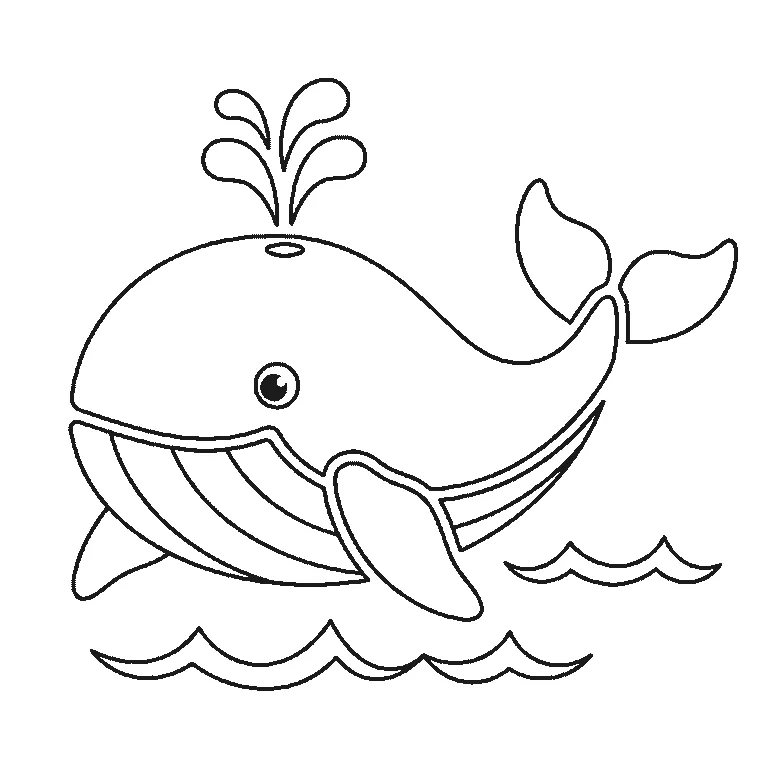
How to draw a whale
Six frames, one whale above the waves. The whole body first with the eye left blank, then the tail and the big flipper, and the spout and the filled pupil last.
Step sequence made by us from a single drawing: each step keeps the lines of the one before it and adds to them.
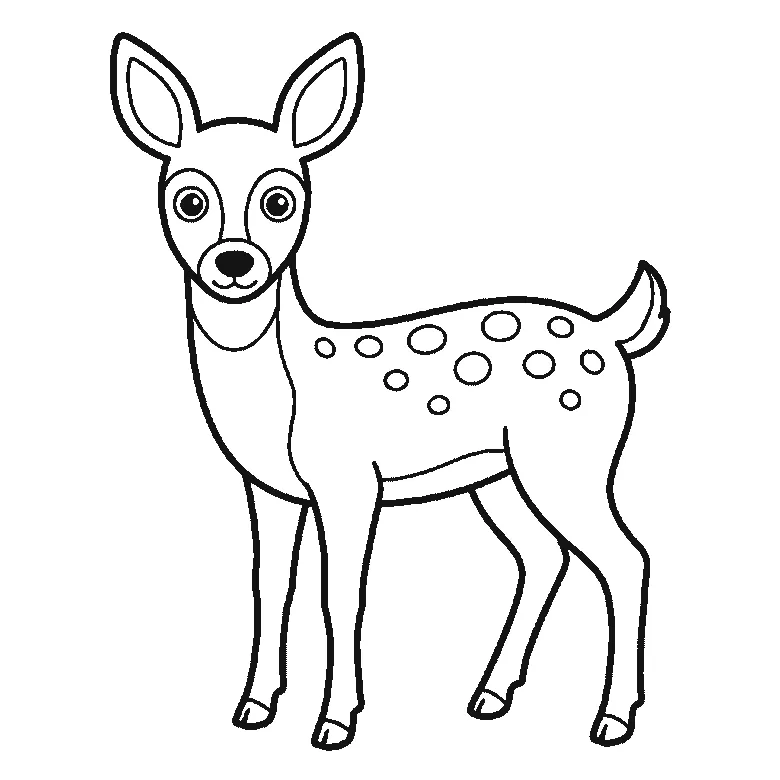
How to draw a deer
Six frames, one young deer standing side-on. The spotted body first with no head at all, then the ears — and the entire face arrives in the last frame.
Step sequence made by us from a single drawing: each step keeps the lines of the one before it and adds to them.
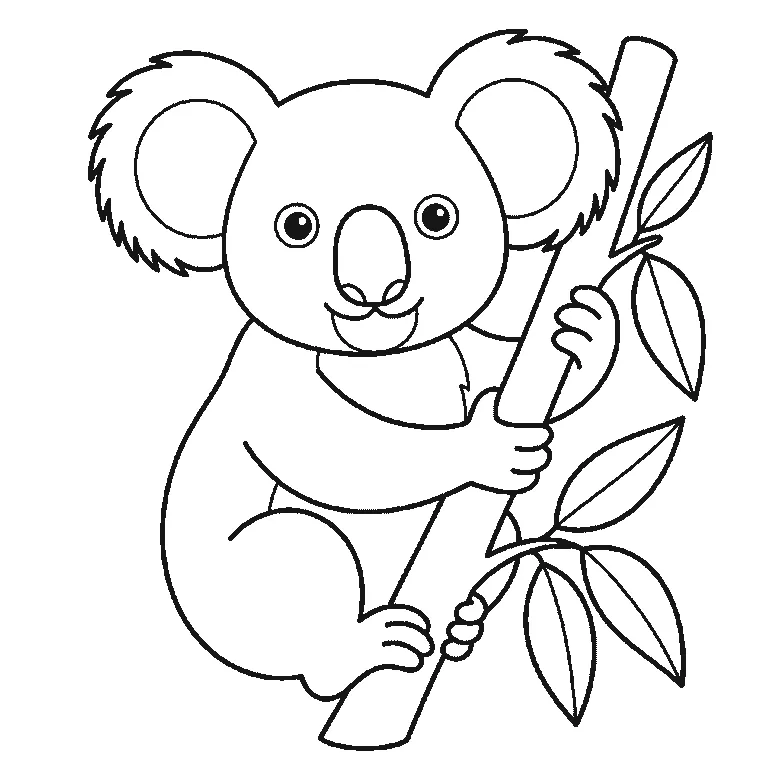
How to draw a koala
Six frames, one koala hugging a branch. The whole head and both fringed ears first, then the body, then the branch — and the eyes and the last leaves at the end.
Step sequence made by us from a single drawing: each step keeps the lines of the one before it and adds to them.
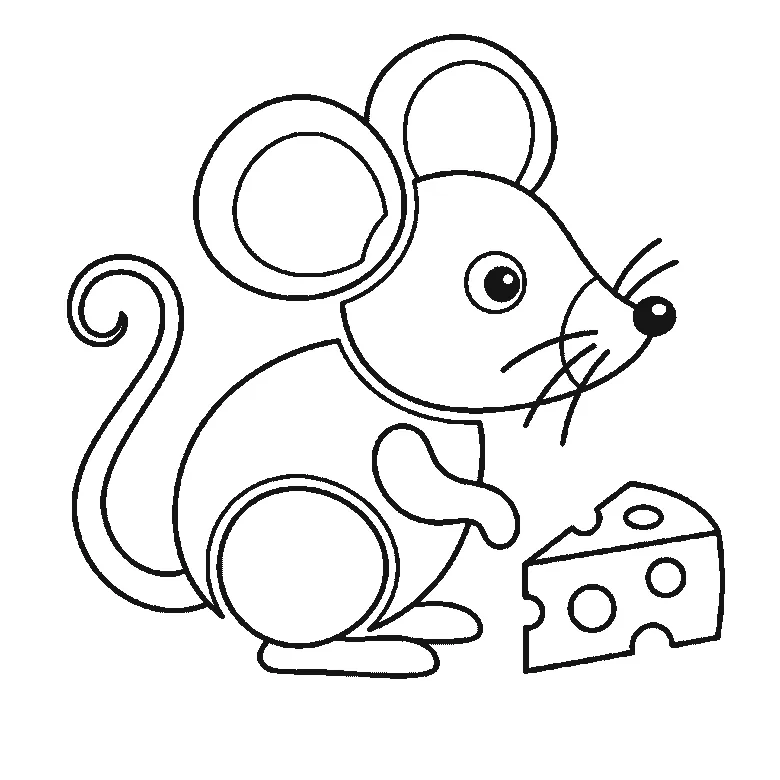
How to draw a mouse
Six frames, one mouse beside a wedge of cheese. The head and the back together first, then the ears, then the cheese — with the tail, whiskers and eye last.
Step sequence made by us from a single drawing: each step keeps the lines of the one before it and adds to them.
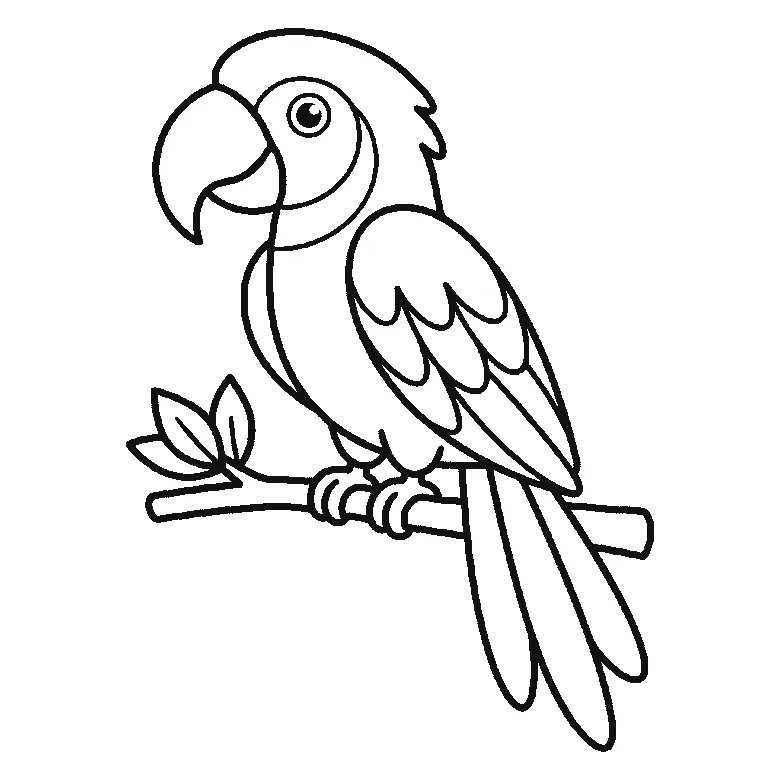
How to draw a parrot
Six frames, one parrot on a leafy branch. The head crest and the breast first, then the beak with the wing, and the eye and the gripping feet last.
Step sequence made by us from a single drawing: each step keeps the lines of the one before it and adds to them.
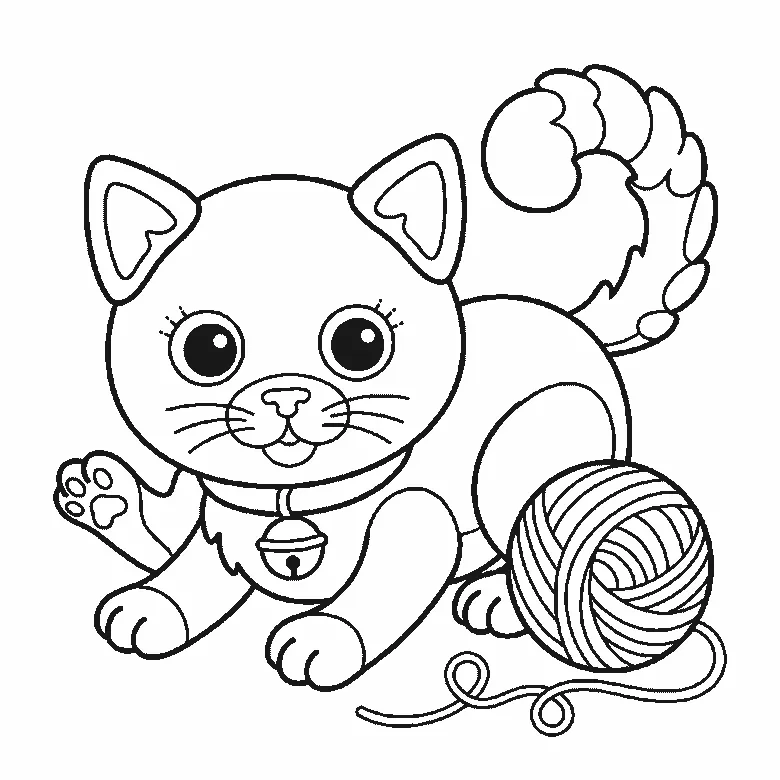
How to draw a kitten
Six frames, one kitten crouching over a ball of wool. The head and collar first, the ears one at a time after it, and the filled pupils near the end.
Step sequence made by us from a single drawing: each step keeps the lines of the one before it and adds to them.


