
PDF · A4 · 60 KB · Free, no sign-up. For home and classroom use.
How to draw a mouse
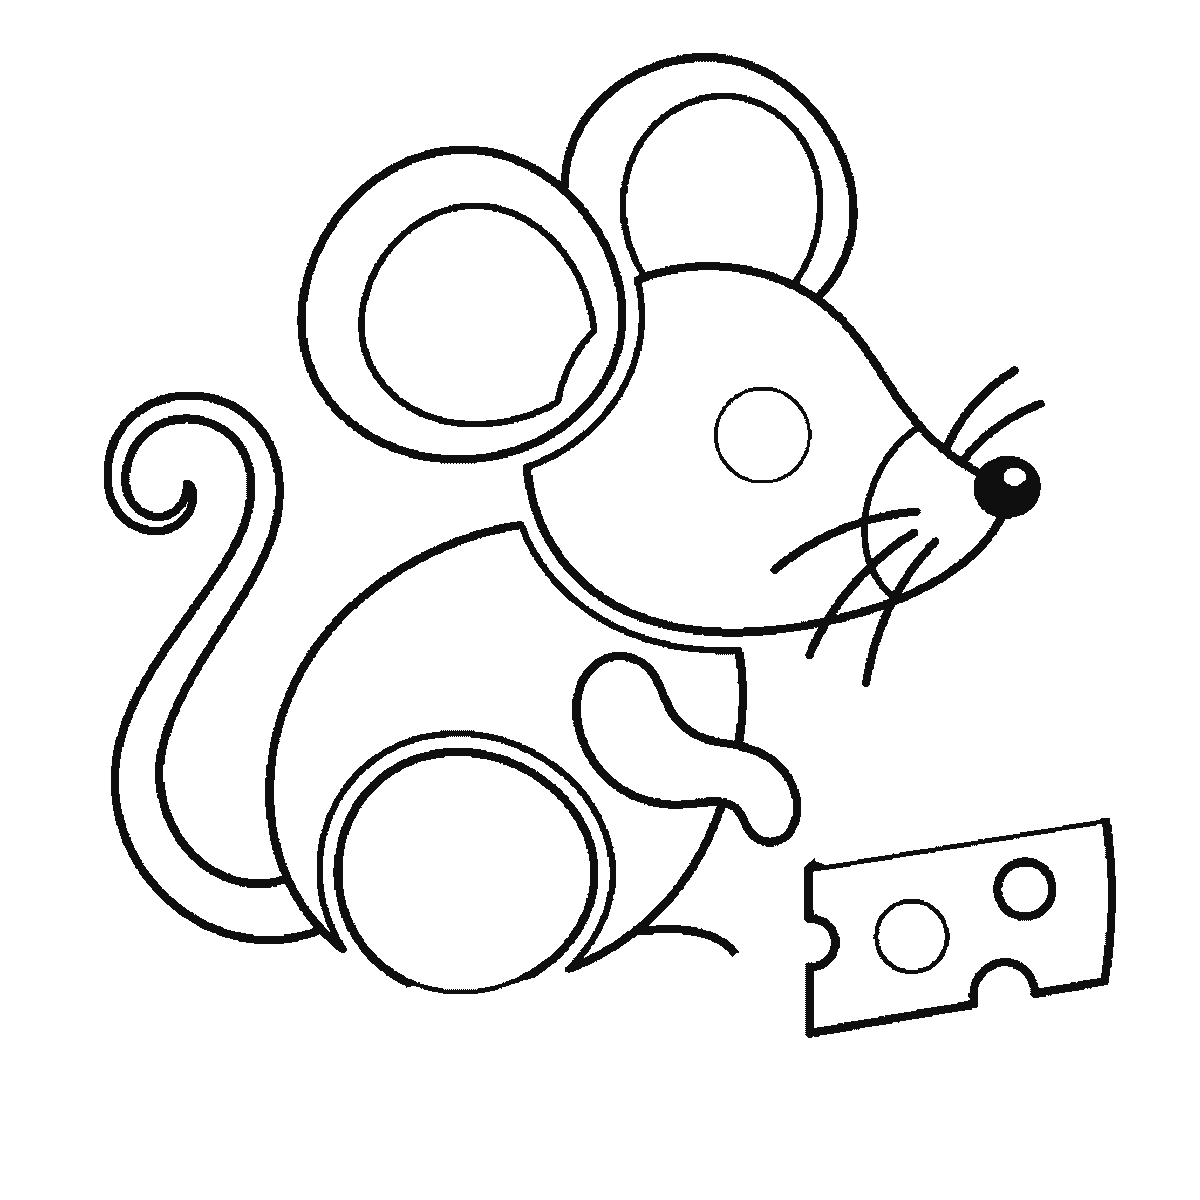
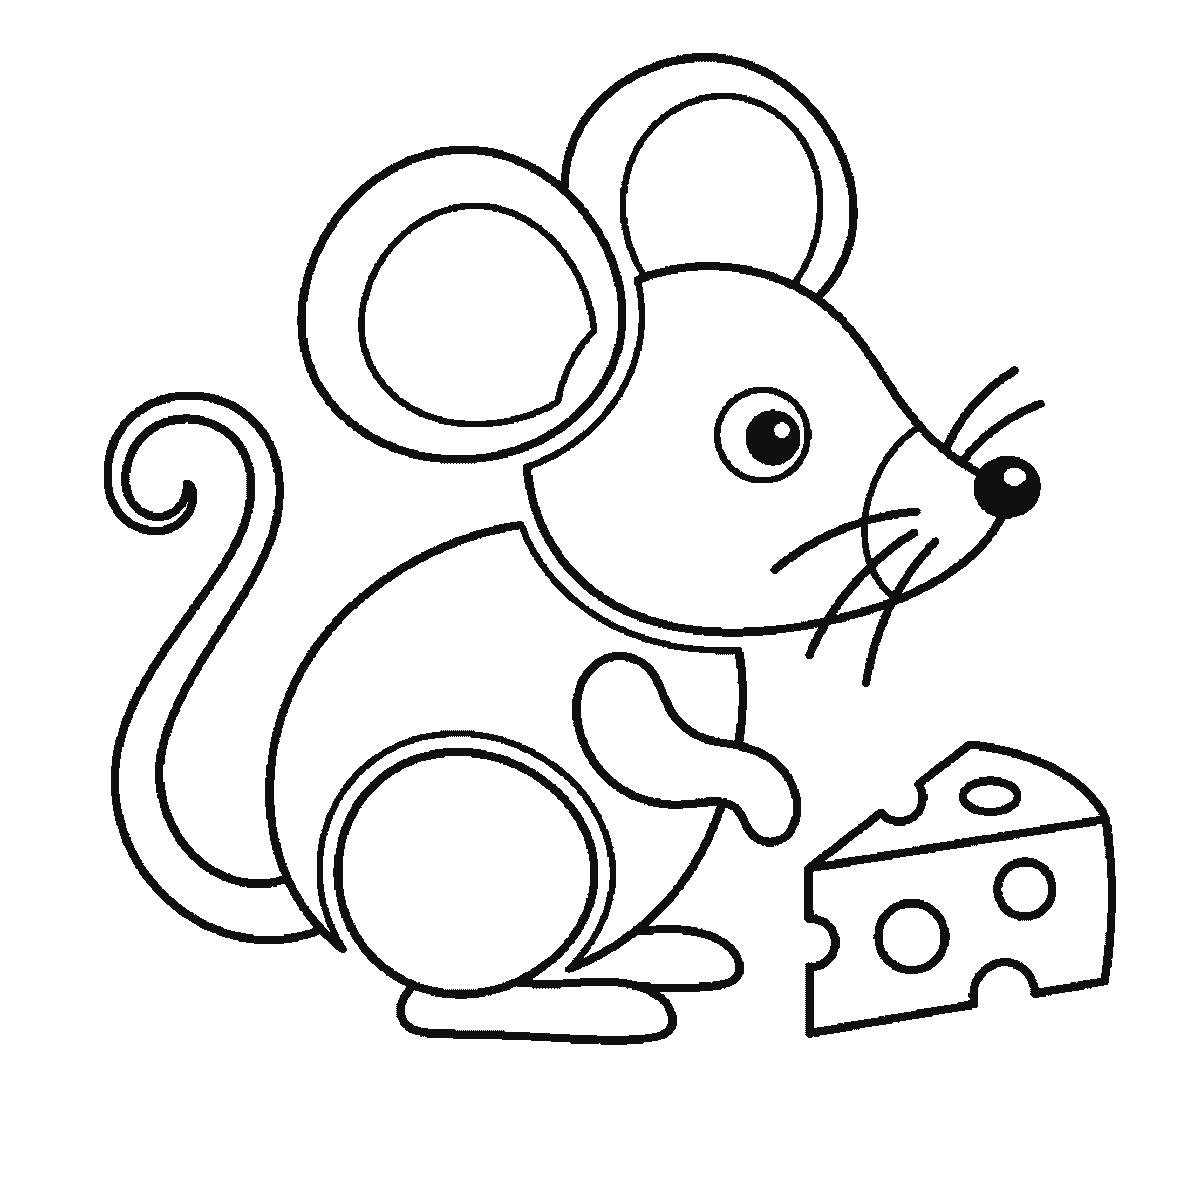
Six frames, one mouse beside a wedge of cheese. The head and the back together first, then the ears, then the cheese — with the tail, whiskers and eye last.
This sheet takes one drawing of a small mouse sitting beside a wedge of cheese and shows it six times, each frame carrying everything the frame before it had and adding a little. Print it, keep it next to your paper and copy one frame at a time.
The first frame is unusual for this site in a helpful way: it gives you the head and the back together, in one step, with the near ear and the front paw. Most of the sheets here separate the head from the body, and this one does not, because on a mouse the two really are one continuous curve running from the tip of the snout over the skull and down the back to the haunch. Draw that curve as a single confident line. Broken into segments it makes the mouse look hunched and old, and a mouse should look quick.
The ears build up over the next three frames — the far ear's inner shape in frame two with the round haunch, the far ear's outer edge in frame three, and the near ear's inner shape in frame four. They are drawn as big overlapping circles, far larger relative to the head than a real mouse's, and that exaggeration is deliberate: ears are what separate a drawn mouse from a drawn rat or a drawn hamster, so it is worth pushing them.
The cheese arrives in frame three, with two of its holes, and it is a proper part of the drawing rather than a prop — it is one of the larger shapes on the page. Frame four brings the long curling tail, which sweeps up and over behind the mouse and is one of the more satisfying lines on the sheet. Let it curl at the tip rather than tapering to a point; a straight tail turns the mouse into a rat immediately.
The face waits until frames five and six. The eye is outlined from frame one, but it stays an empty circle: the whiskers, the filled nose and the near paw come in frame five, and the very last frame darkens the pupil and adds the shadow line under the mouse and the remaining holes and top face of the cheese. As on most of these sheets, the drawing looks unfinished right up until the final step and then arrives all at once.
The order here is largest closed shape first and smallest last. It is a sequence that is easy to copy and no claim is being made that it is the right way to draw a mouse. If you would rather start with the ears and hang the head off them, plenty of people do, and the mouse at the end is the same mouse.
It is a single A4 page with all six frames on it, plain black outlines and no shading, so it prints cleanly and the final frame doubles as a colouring page.
The most instructive second attempt is to draw the same mouse with the tail straight and the ears half the size, changing nothing else. What you get is unmistakably a rat, and you got there by altering two shapes. That is worth knowing when you come to any other animal on this site: the recognisable features are usually few, they are usually exaggerated in a good drawing, and finding out which ones they are is most of what learning to draw an animal actually consists of.
Before you start
- Draw the snout, skull and back as one unbroken curve. Segmenting it is what makes drawn mice look hunched.
- Make the ears far too big on purpose. Realistic ears give you a rat or a hamster instead.
- Curl the tail at the tip rather than tapering it to a point — the curl is doing a lot of the identifying.
- Put the cheese in early, as the sheet does. It is a large shape and fitting it in around a finished mouse is much harder.
Published Updated 577 words
The six steps
The steps go from the largest shape to the smallest, which is an easy order to copy. It is not the only order, and it is not a rule — if you would rather start somewhere else on the sheet, do.
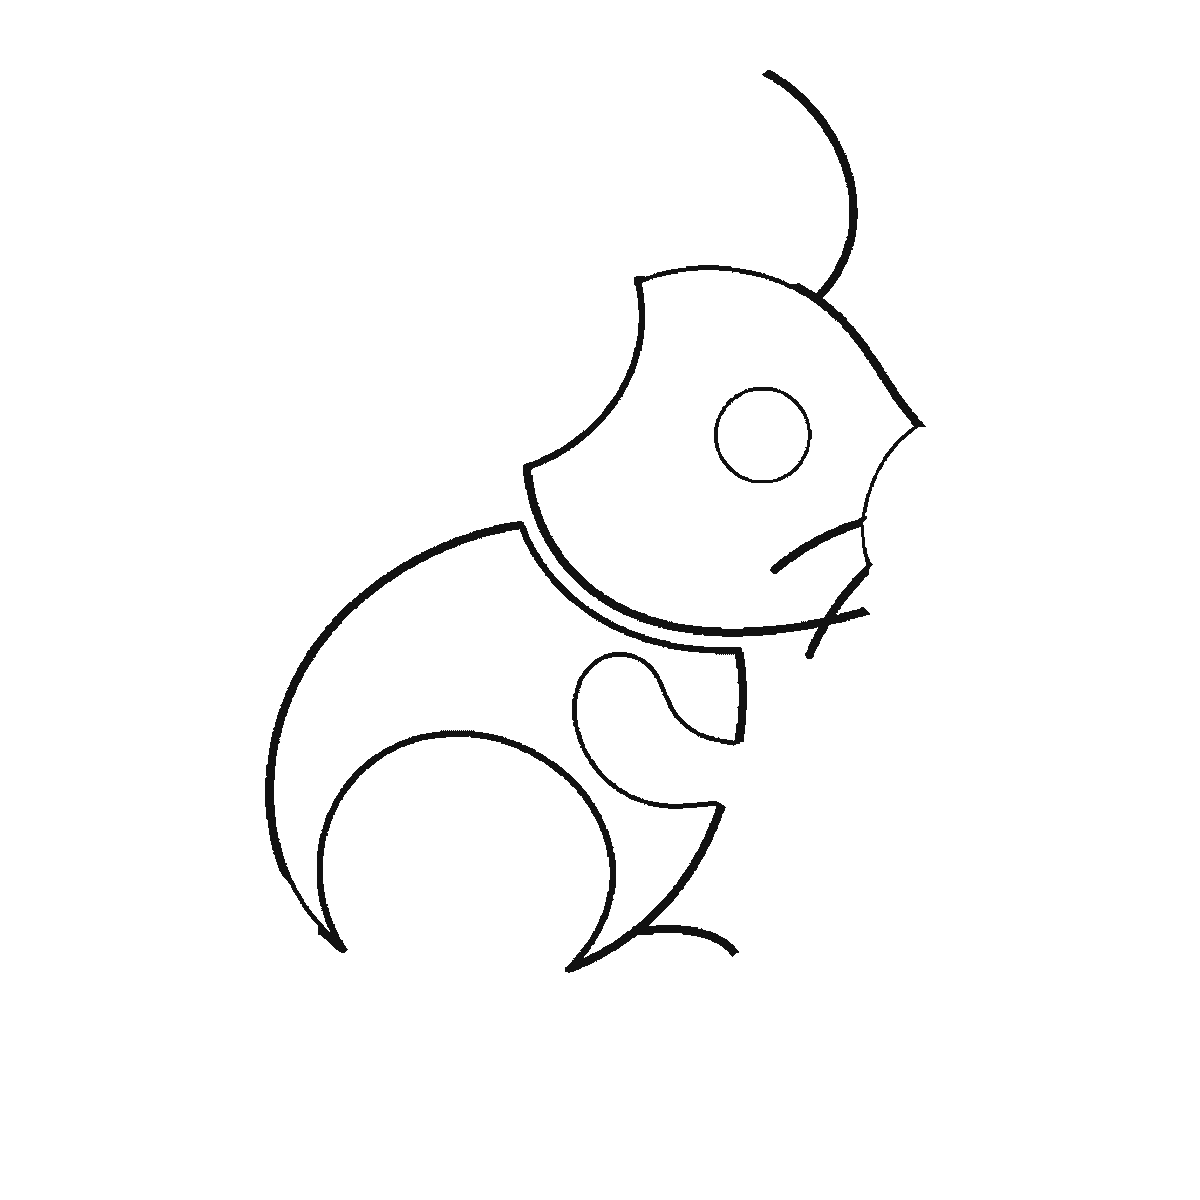
Step 1
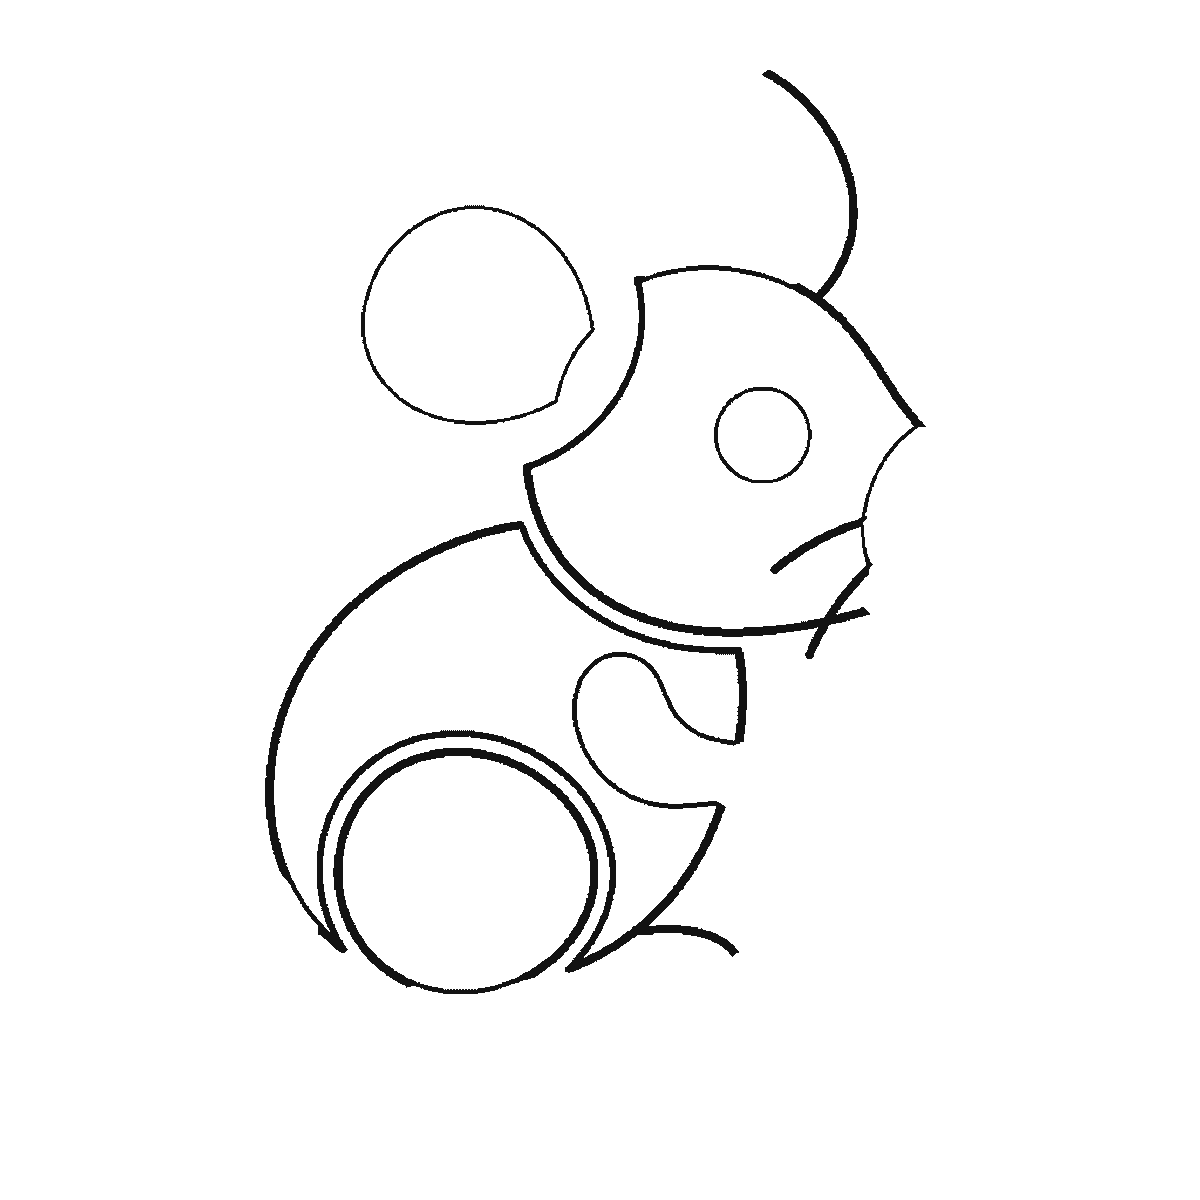
Step 2
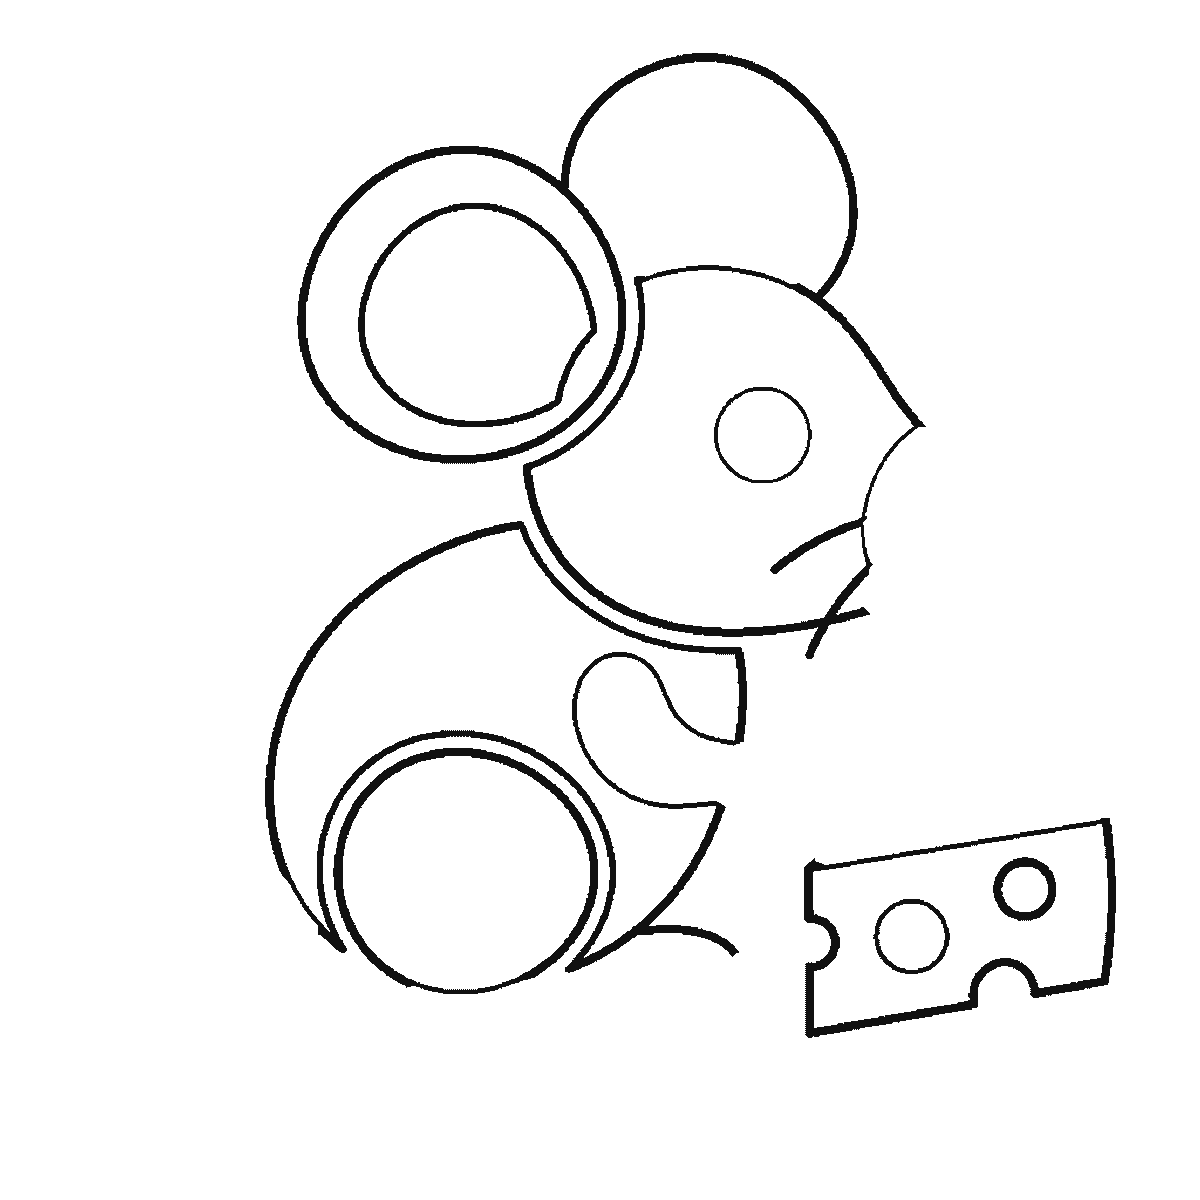
Step 3
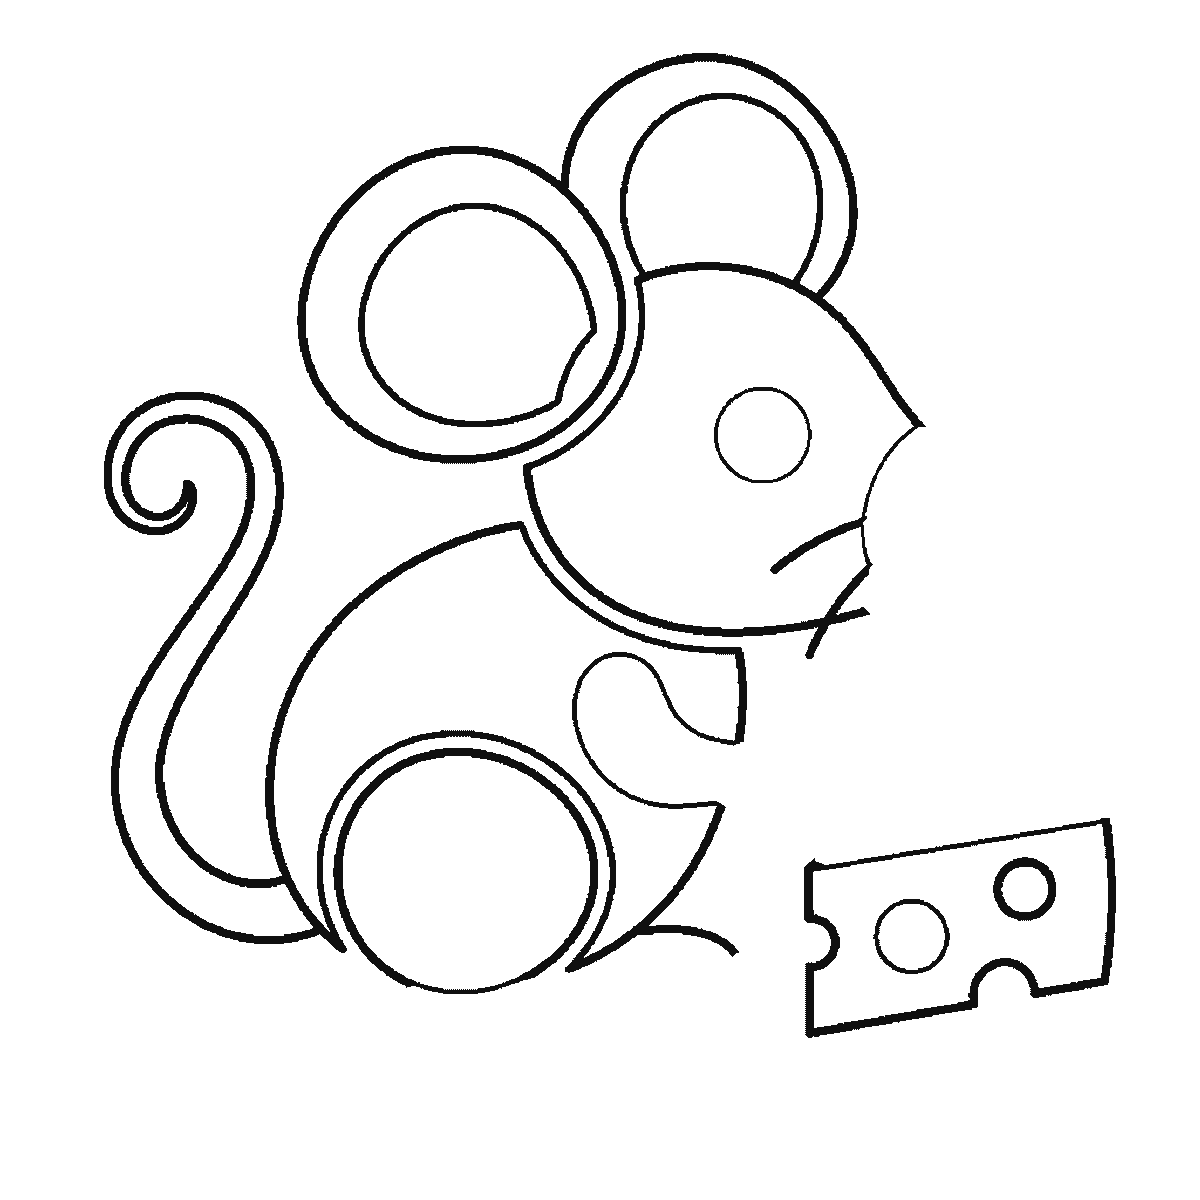
Step 4
Step 5
Step 6
More in this section
How to draw a parrot
Six frames, one parrot on a leafy branch. The head crest and the breast first, then the beak with the wing, and the eye and the gripping feet last.
Step sequence made by us from a single drawing: each step keeps the lines of the one before it and adds to them.
How to draw a kitten
Six frames, one kitten crouching over a ball of wool. The head and collar first, the ears one at a time after it, and the filled pupils near the end.
Step sequence made by us from a single drawing: each step keeps the lines of the one before it and adds to them.
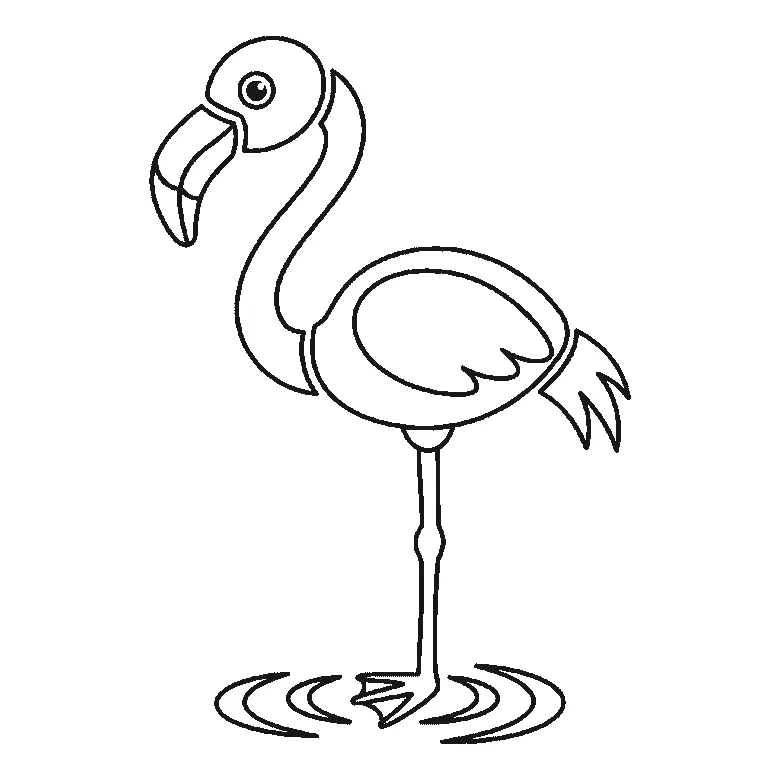
How to draw a flamingo
Six frames, one flamingo standing in shallow water. The body first, the neck second, and the beak — the thing that says flamingo — not until frame five.
Step sequence made by us from a single drawing: each step keeps the lines of the one before it and adds to them.
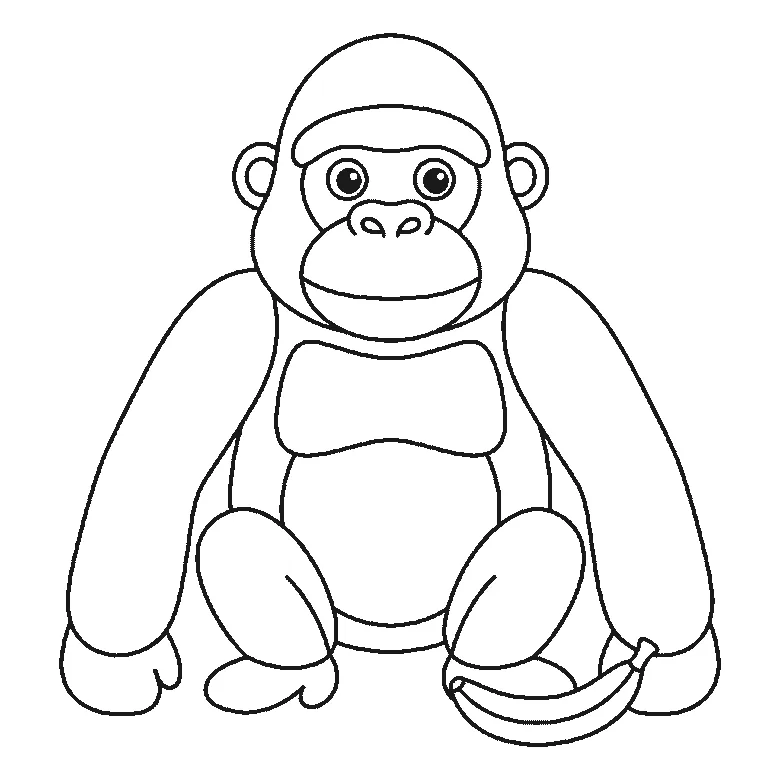
How to draw a gorilla
Six frames, one gorilla sitting with a banana beside it. Frame one is the two arms and nothing else — the head does not arrive until frame two.
Step sequence made by us from a single drawing: each step keeps the lines of the one before it and adds to them.
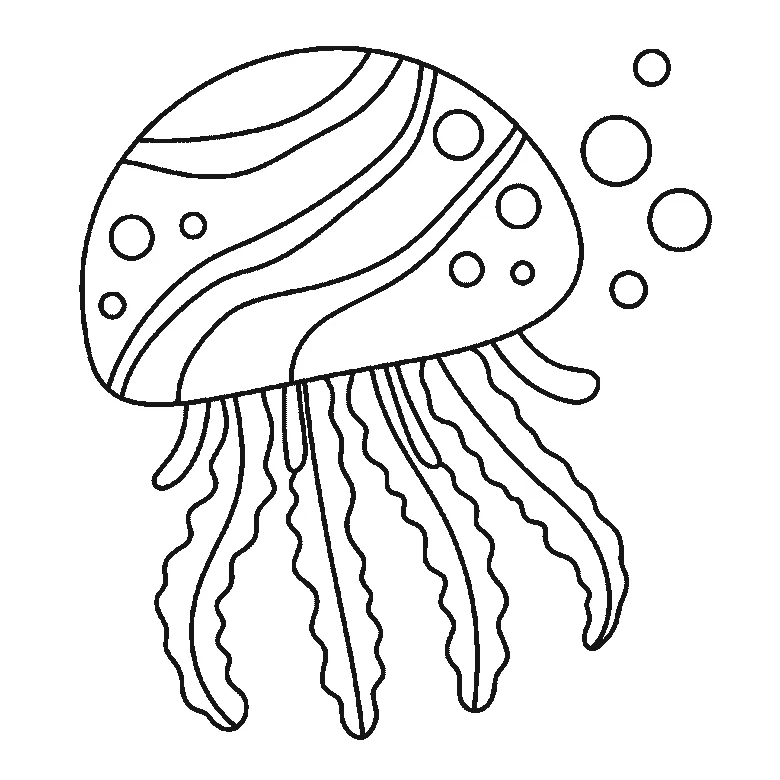
How to draw a jellyfish
Six frames, one jellyfish drifting with bubbles beside it. The bell is built panel by panel, the tentacles arrive a few at a time, and the bubbles are last.
Step sequence made by us from a single drawing: each step keeps the lines of the one before it and adds to them.
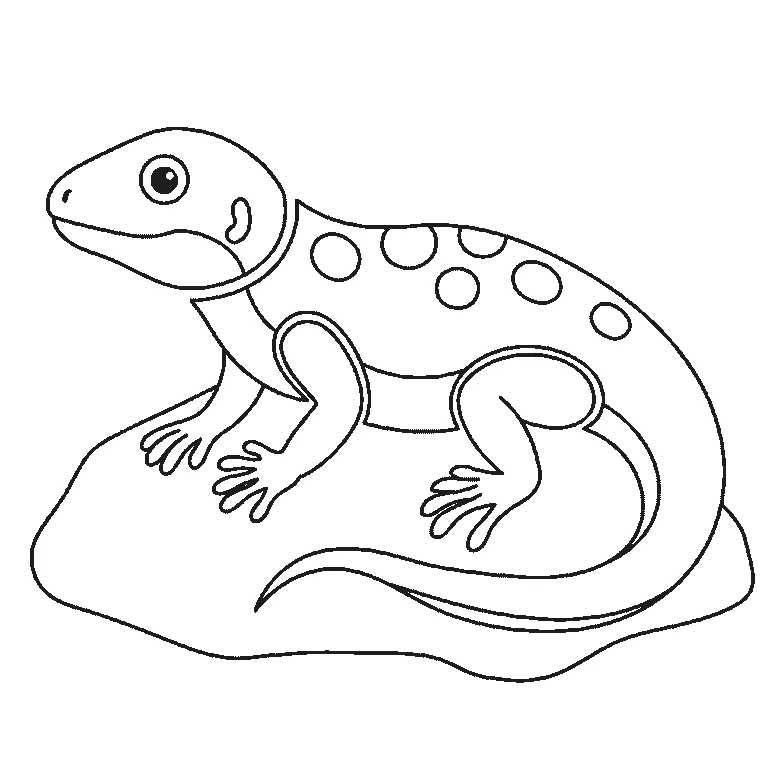
How to draw a lizard
Six frames, one lizard basking on a rock. Frame one is the rock and two legs; the body comes second and the head not until frame three.
Step sequence made by us from a single drawing: each step keeps the lines of the one before it and adds to them.
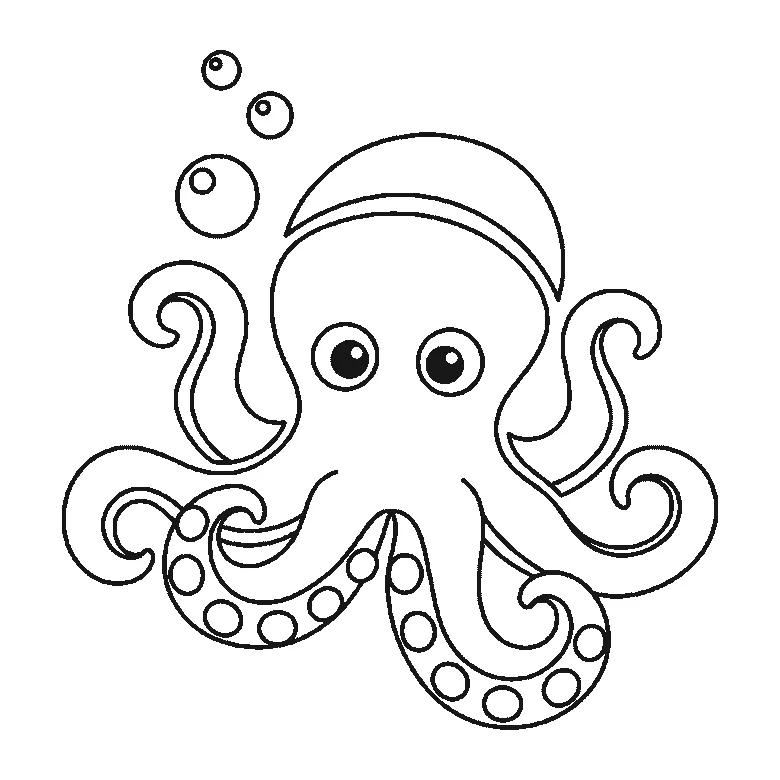
How to draw an octopus
Six frames, one octopus with bubbles rising beside it. The head and two outer arms first, the remaining arms one or two at a time, the pupils last.
Step sequence made by us from a single drawing: each step keeps the lines of the one before it and adds to them.
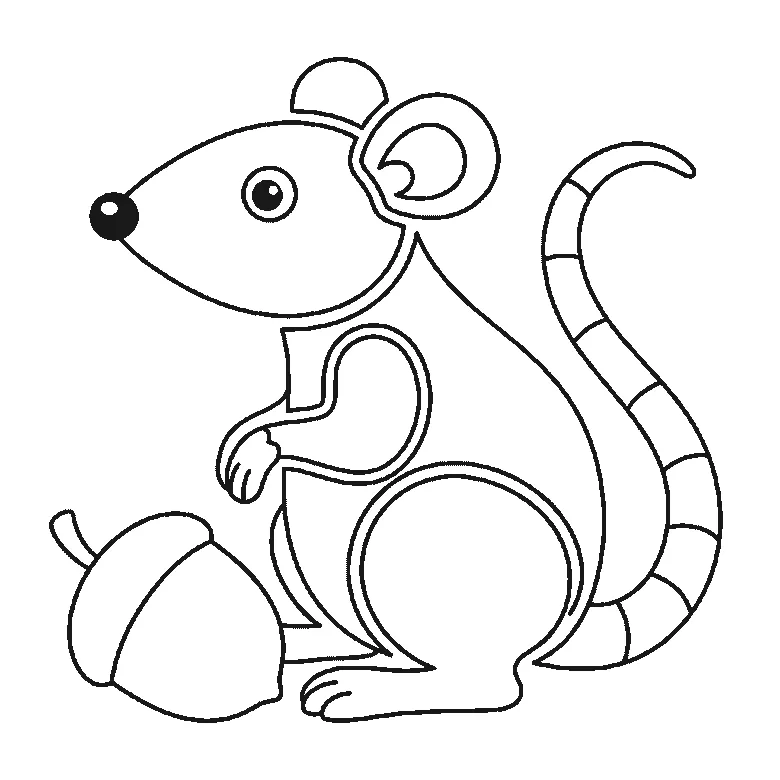
How to draw a rat
Six frames, one rat sitting up beside an acorn. The head and haunch first, the ear third, and the long banded tail not until frame five.
Step sequence made by us from a single drawing: each step keeps the lines of the one before it and adds to them.
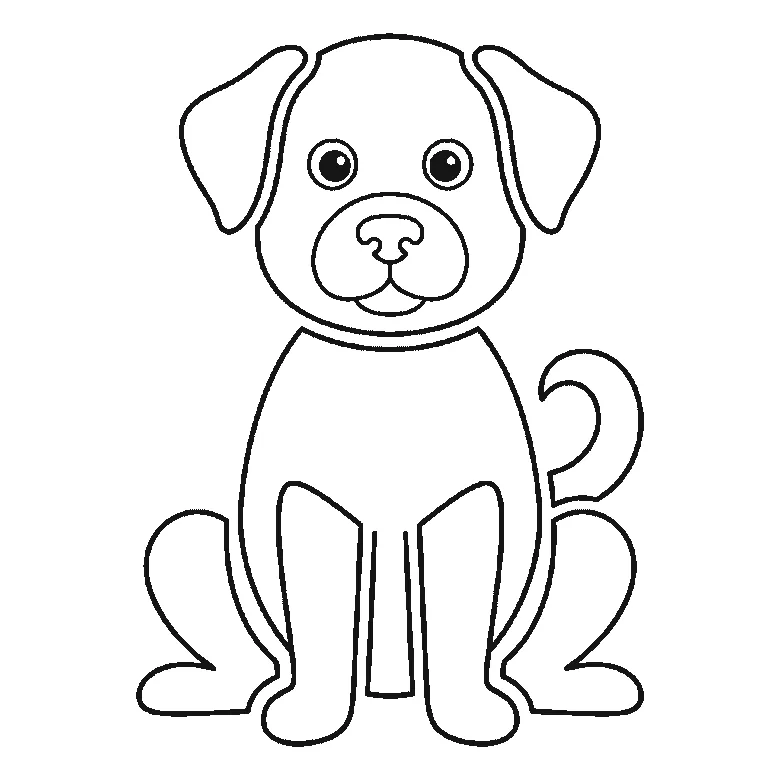
How to draw a dog
Six frames, one dog sitting upright. The head alone first, then the body and front legs, and the ears, tail and eyes last.
Step sequence made by us from a single drawing: each step keeps the lines of the one before it and adds to them.
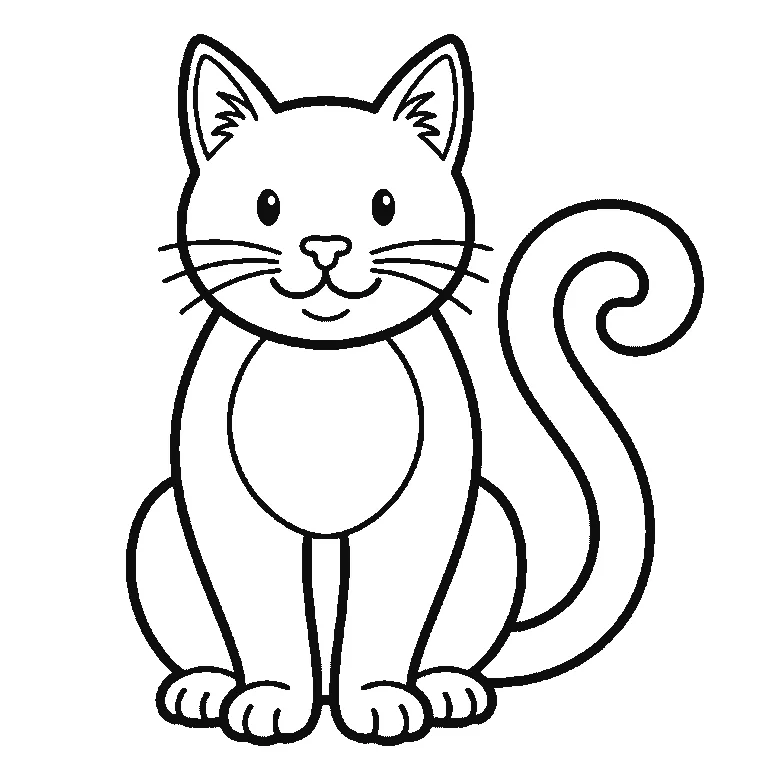
How to draw a cat
Six frames, one cat sitting upright. The whole face first — ears, eyes and whiskers together — then the tail on its own, the body and the legs.
Step sequence made by us from a single drawing: each step keeps the lines of the one before it and adds to them.
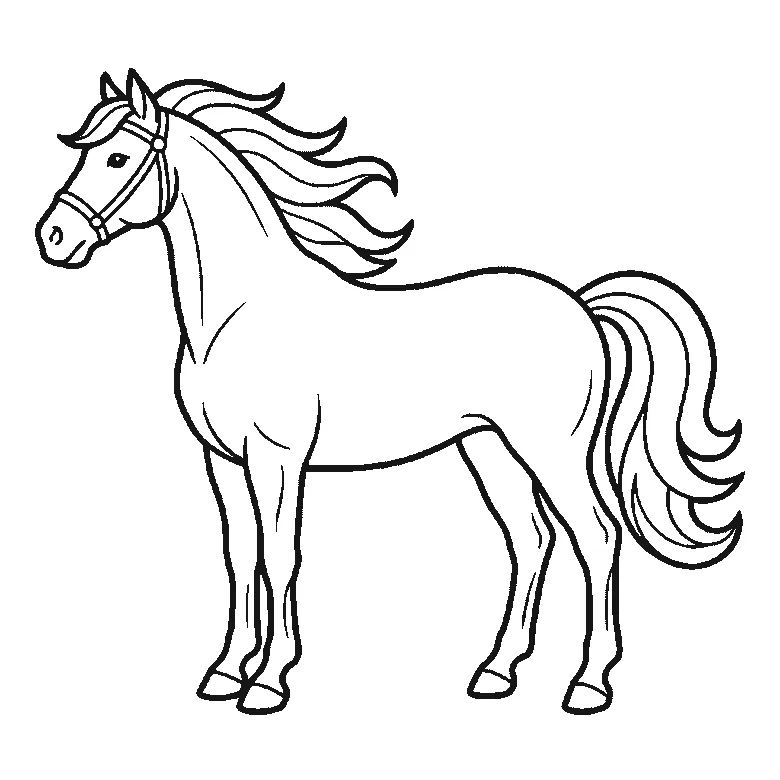
How to draw a horse
Six frames, one horse in profile. Almost the whole body first, then the far legs, the tail, and the head and mane last.
Step sequence made by us from a single drawing: each step keeps the lines of the one before it and adds to them.
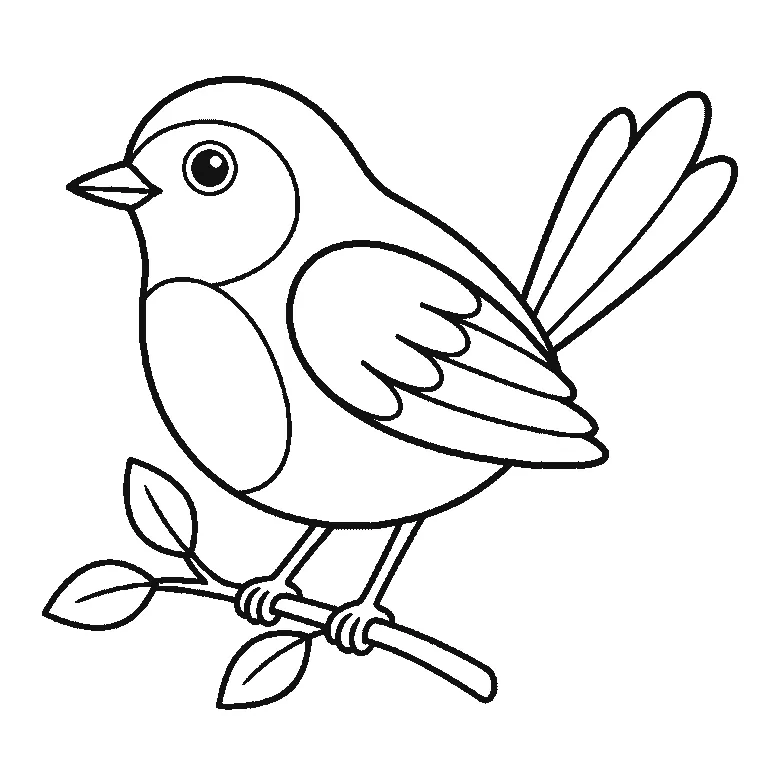
How to draw a bird
Six frames, one small bird on a branch. The body outline first, then the head, beak and wing together, the tail feathers, the branch, and the feet last.
Step sequence made by us from a single drawing: each step keeps the lines of the one before it and adds to them.


