
PDF · A4 · 56 KB · Free, no sign-up. For home and classroom use.
How to draw a horse
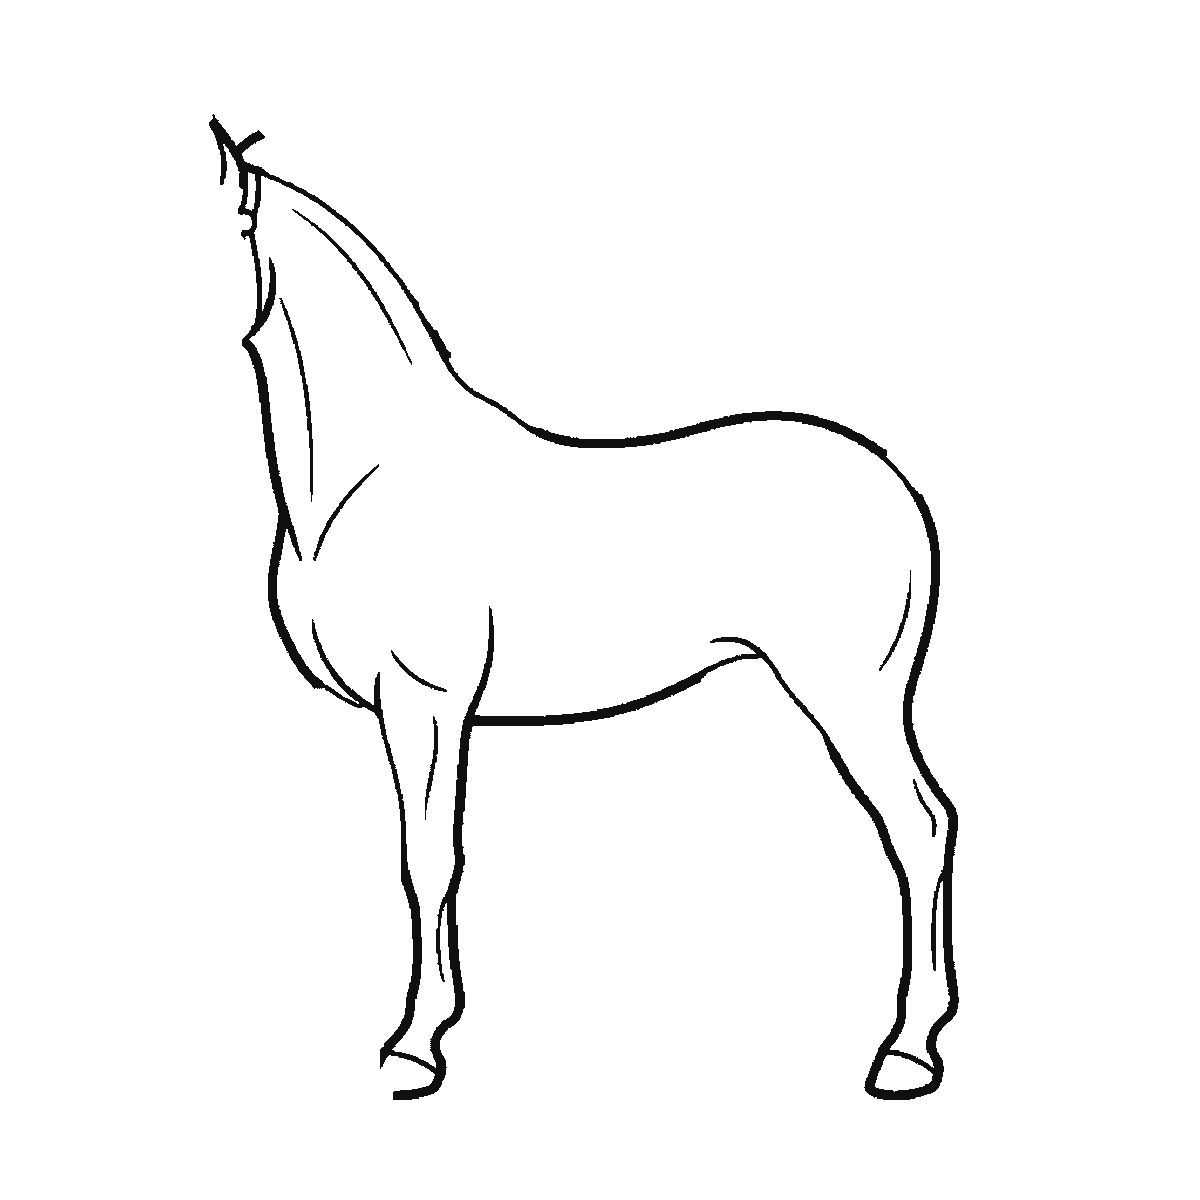
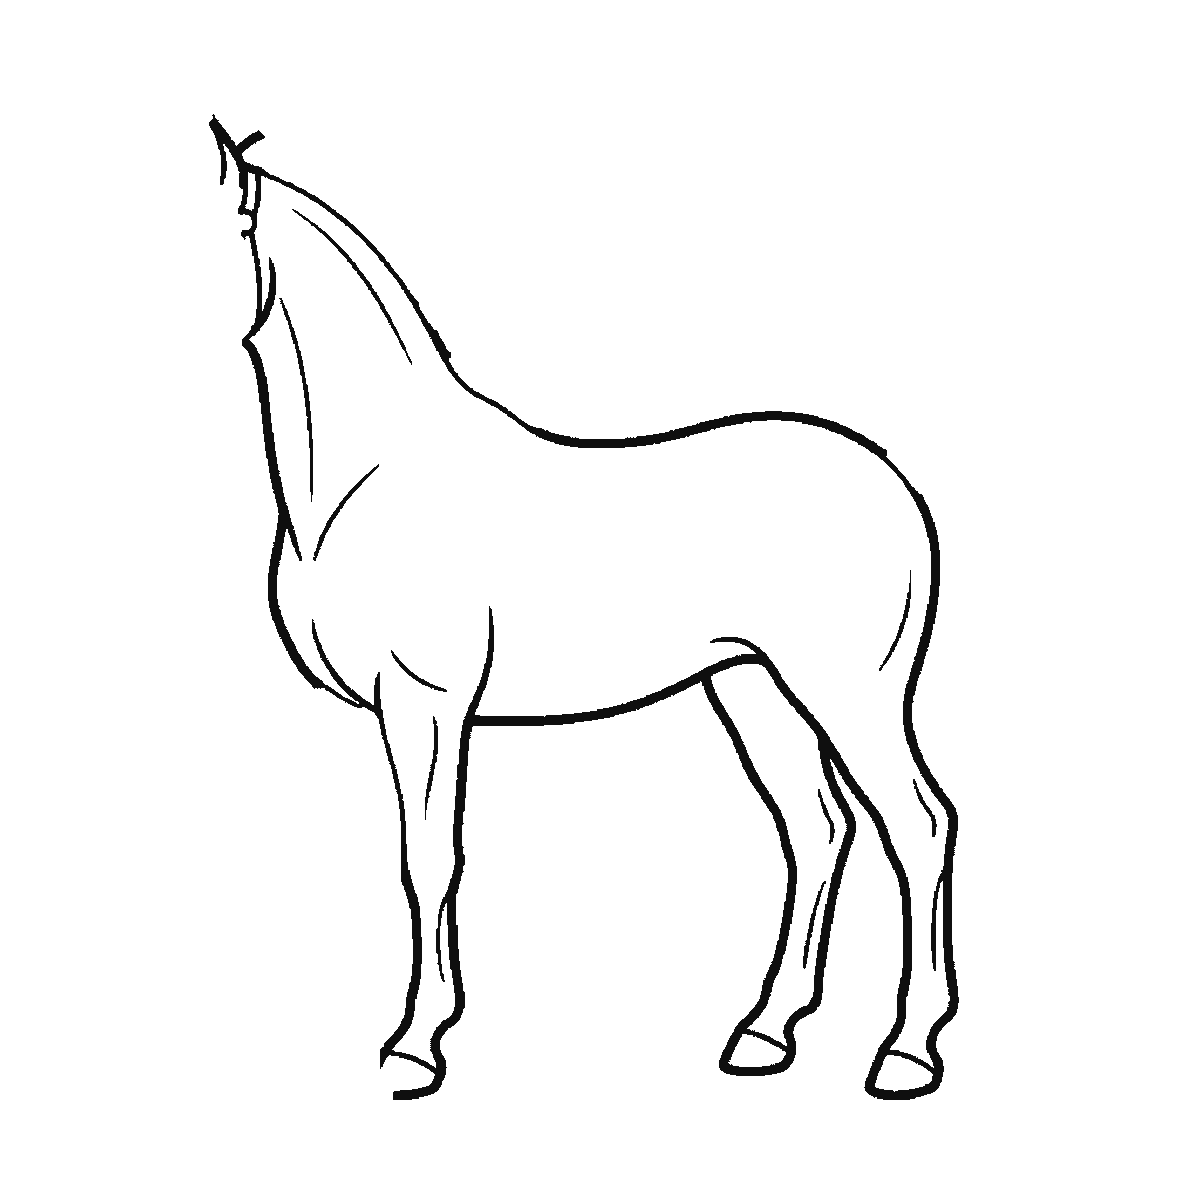
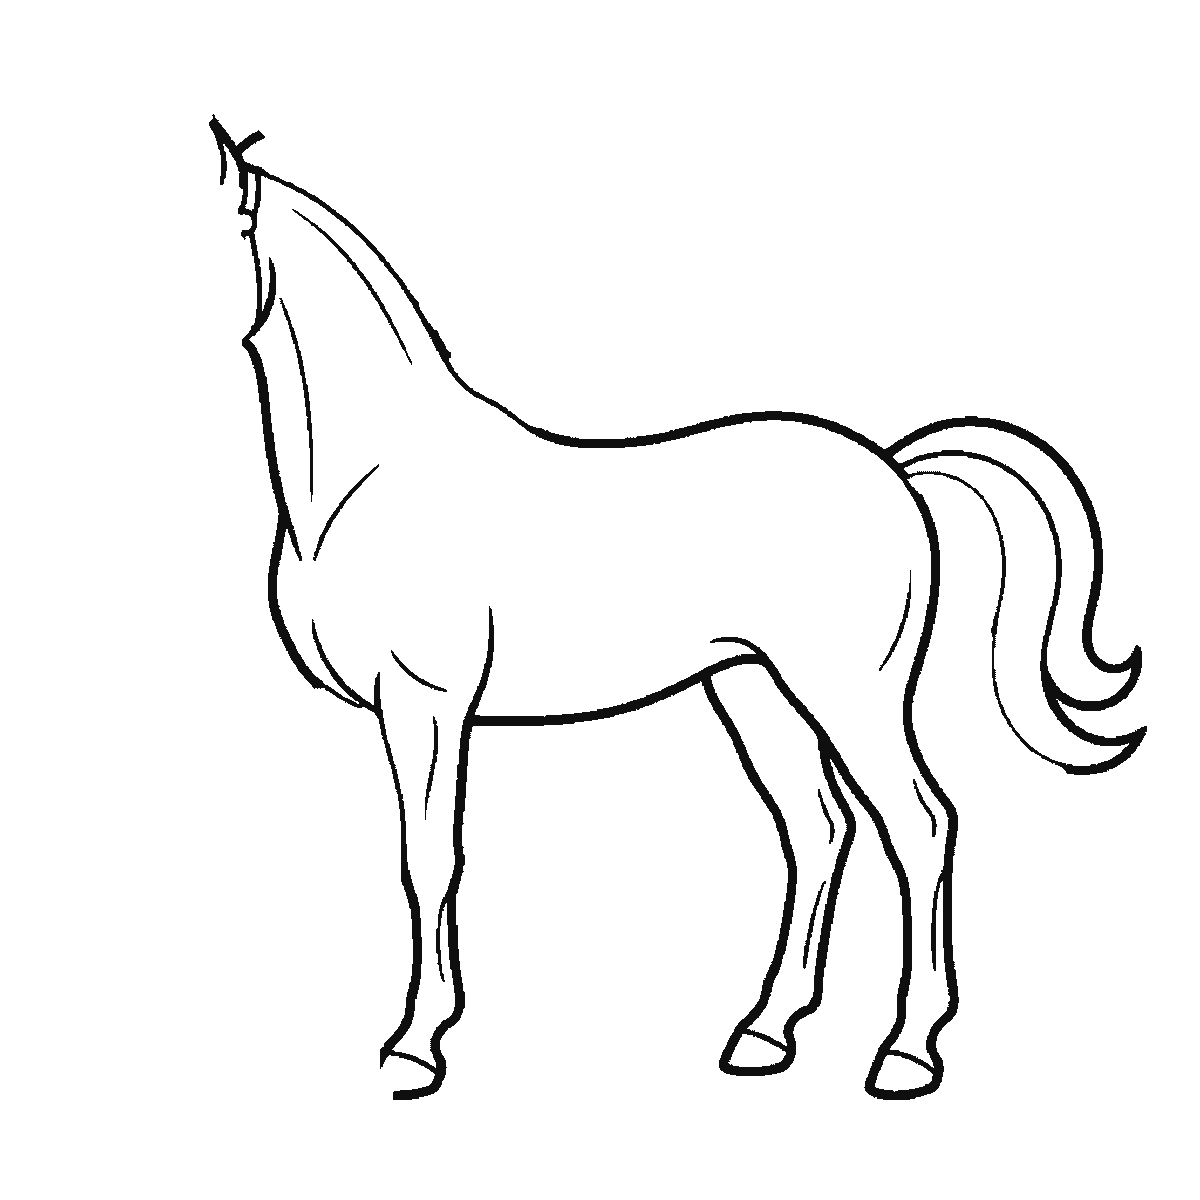
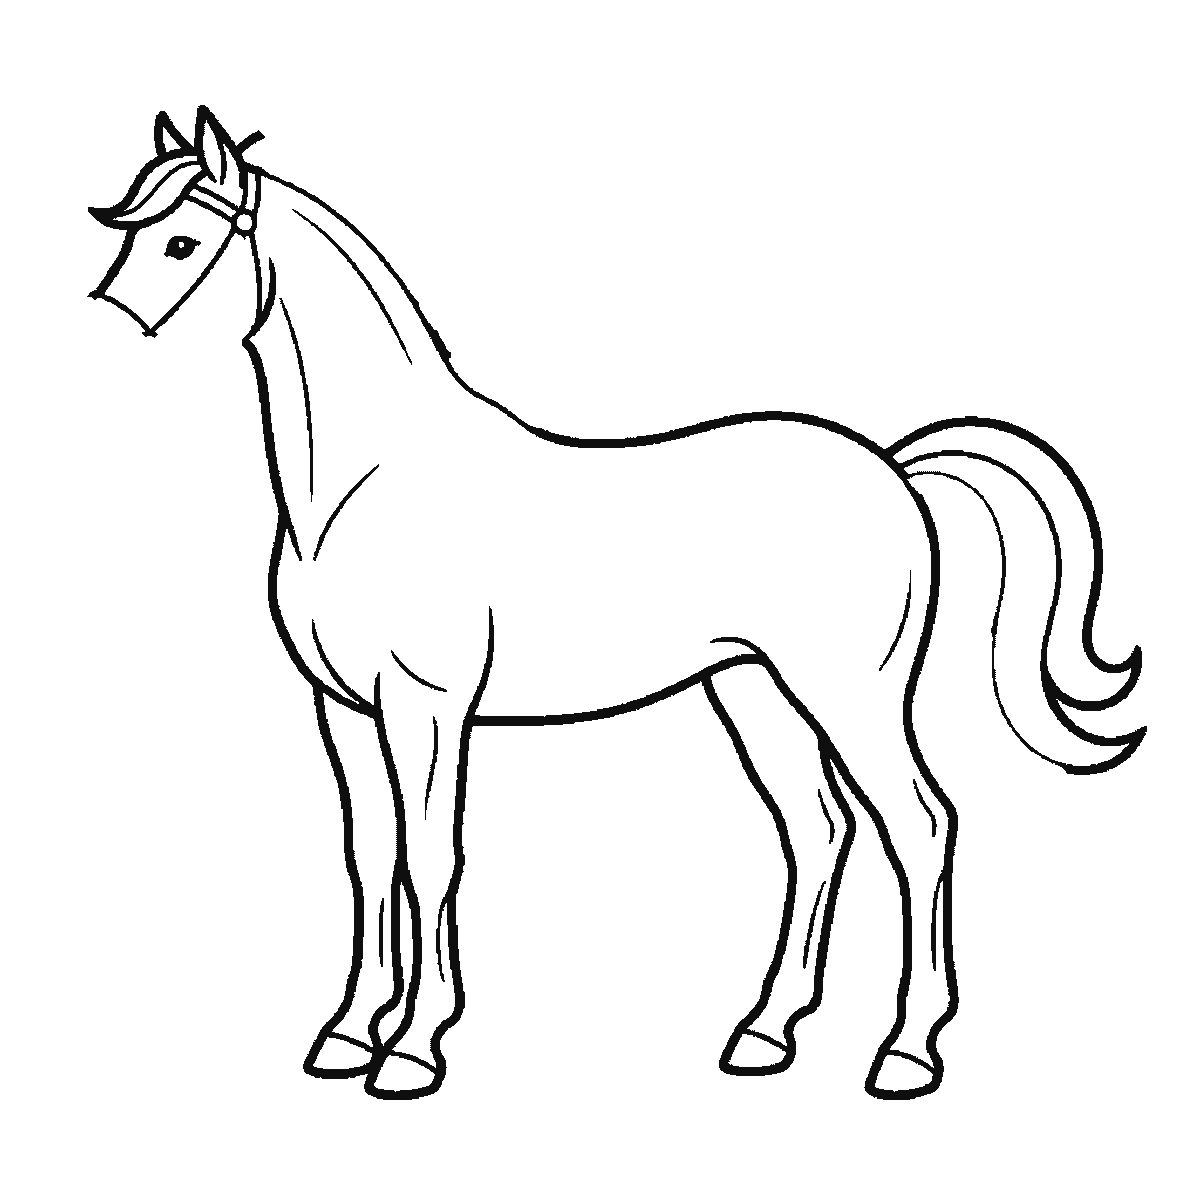
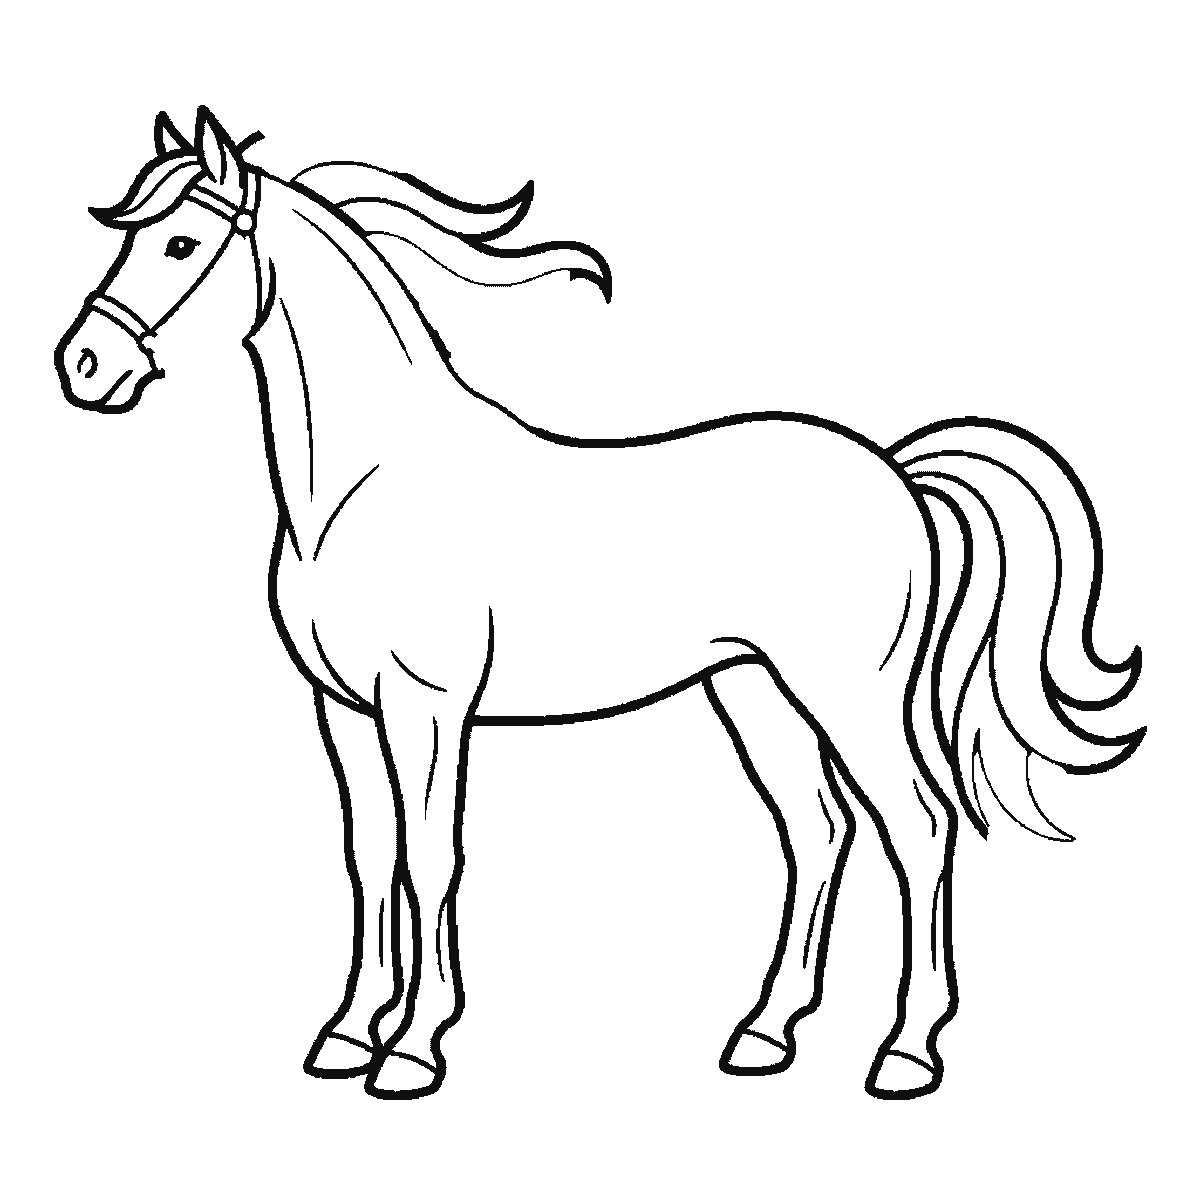
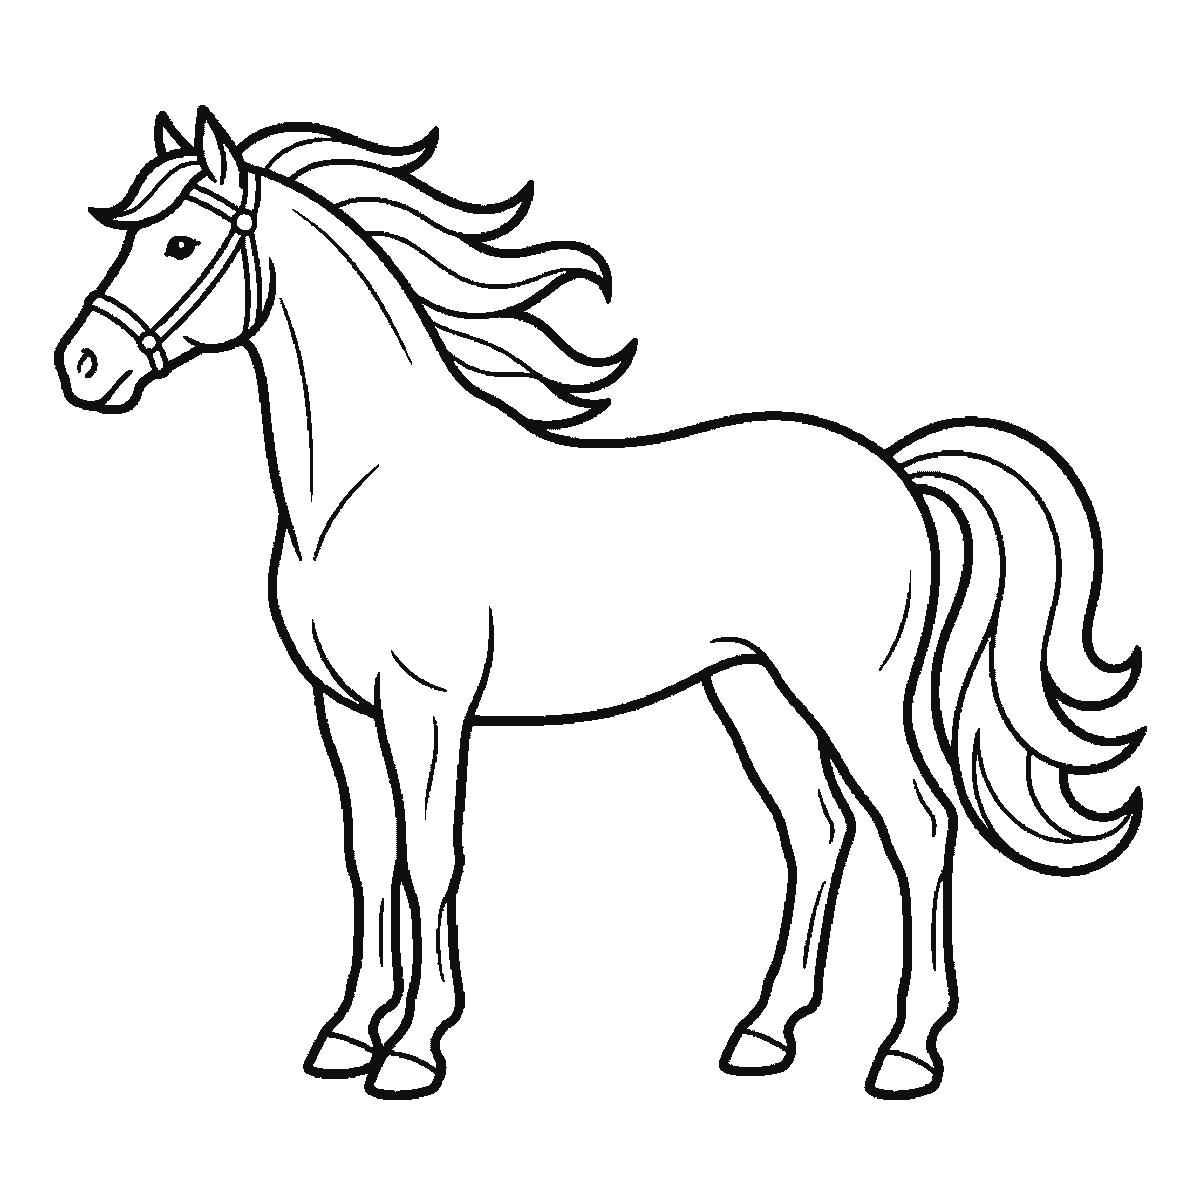
Six frames, one horse in profile. Almost the whole body first, then the far legs, the tail, and the head and mane last.
Horses have a reputation for being hard, and the reputation is mostly about the legs. This sheet sidesteps the problem the way every drawing teacher does: it starts with the two big shapes, gets the proportions settled while nothing is committed, and only then hangs the difficult parts on a frame that is already correct.
The horse here stands in profile, which is the view that shows the animal most clearly and asks the least of you — one eye instead of two, one flank instead of a foreshortened chest. Frame one is almost the whole animal in outline: the barrel, the chest, the neck rising towards where the head will go, and the two near legs down to their hooves. The head is not in it. Leave the right amount of room above that neck for one — about one head length looks right, and two makes a giraffe — because the head does not arrive until frame four, by which point the room you left is the room you have.
The head arrives in frame four, after the far hind leg and after the tail, and the mane is later still — built up lock by lock across the last two frames. Read those two frames as one instruction rather than as six separate hairs: draw the mane as a single shape with a wavy lower edge, then divide it. It is a solid mass that happens to have a soft border, and treating it as strands from the start is what makes a drawn horse look like it has been through a hedge backwards.
The legs are spread across the sheet rather than gathered into one step: the two near ones are in frame one with the body, the far hind leg is frame two, and the far foreleg comes with the head in frame four. Each leg narrows sharply below the knee and ends in a small blunt hoof. The joint halfway down the back leg bends the opposite way to a human knee, and drawing it the human way is the single tell that gives a beginner's horse away.
The tail is frame three — earlier than most people would put it, and before the head exists at all. It falls from the top of the hindquarters as one shape, and the locks that divide it are added in the last two frames alongside the mane's. Like the mane, it reads better as a mass with a wavy edge than as a bundle of individual hairs, and it is quicker to draw that way too.
If you want the horse to look like it is standing rather than floating, put all four hooves on an imaginary line and make the two far legs slightly shorter than the two near ones. That is the whole of perspective as far as this drawing is concerned, and it takes about four seconds.
The six frames are ordered by size — biggest closed shape first, smallest last. It is an easy order to copy and it is not a rule about how horses ought to be drawn. Nothing goes wrong if you place the eye before the legs, and the sheet is not going to tell you otherwise.
Horses are worth returning to precisely because they are unforgiving. A wrong dog still reads as a dog, but a wrong horse reads as a cow, a deer or a large dog depending on which measurement slipped. That makes the horse a useful ruler for your own progress: draw one now, keep it, and draw the same six frames again in a month. The improvement will be visible in a way it never is on an easier subject.
Before you start
- Check the neck length before you draw anything else. Almost every wrong-looking horse is a right-looking horse with a neck an inch too long.
- Draw the legs as narrowing tubes, not as lines. A line has no thickness to taper, and the leg ends up looking like wire.
- The back leg's middle joint bends backwards. If yours bends forwards you have drawn a person's knee on a horse.
- Print at actual size on ordinary paper — the frames are sized to be copied from at arm's length.
Published Updated 617 words
The six steps
The steps go from the largest shape to the smallest, which is an easy order to copy. It is not the only order, and it is not a rule — if you would rather start somewhere else on the sheet, do.
Step 1
Step 2
Step 3
Step 4
Step 5
Step 6
More in this section
How to draw a bird
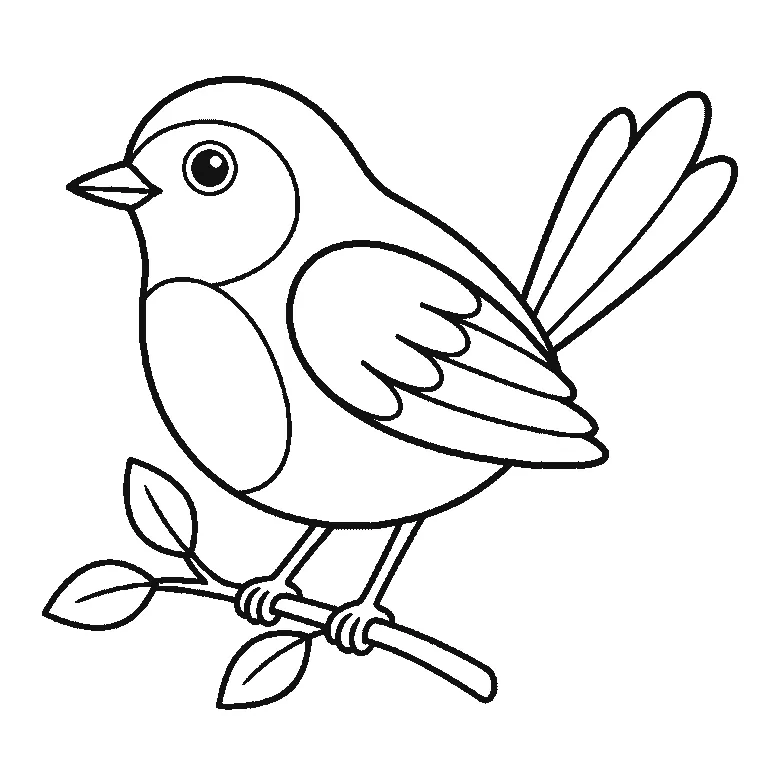
Six frames, one small bird on a branch. The body outline first, then the head, beak and wing together, the tail feathers, the branch, and the feet last.
Step sequence made by us from a single drawing: each step keeps the lines of the one before it and adds to them.
How to draw a butterfly
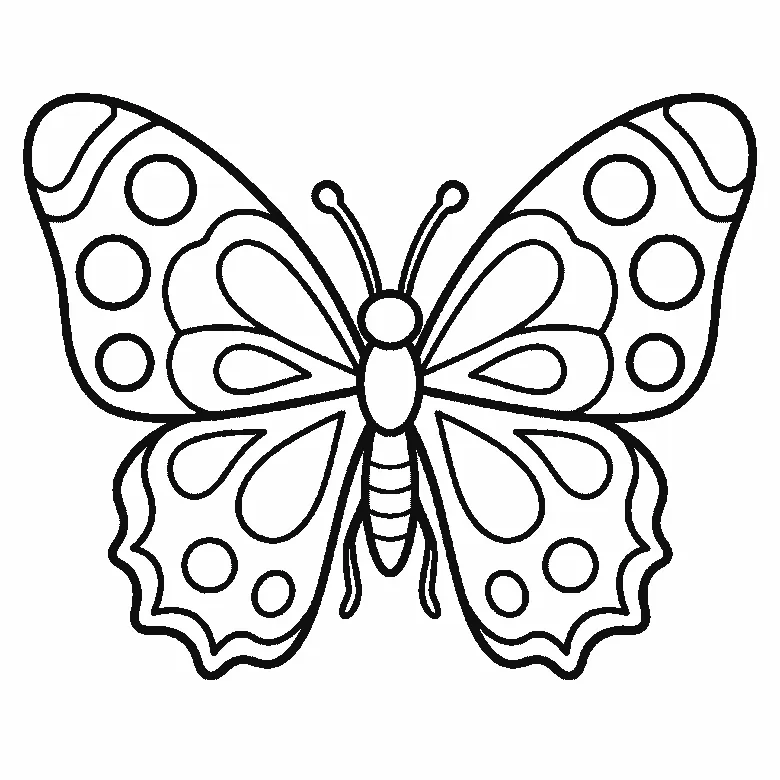
Six frames, one butterfly seen from above. The lower wings first, then the upper pair, their markings, and the body and antennae last.
Step sequence made by us from a single drawing: each step keeps the lines of the one before it and adds to them.
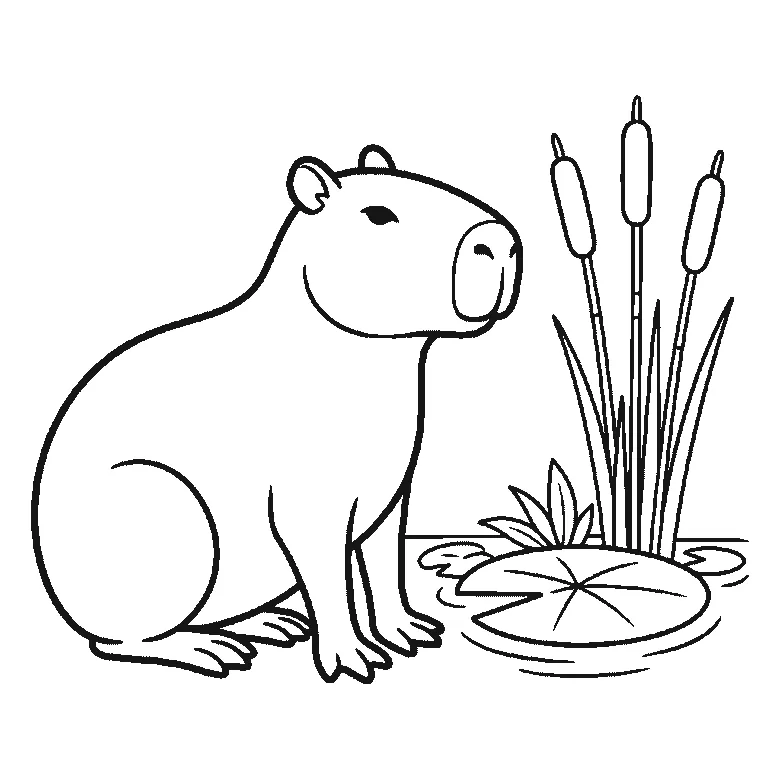
How to draw a capybara
Six frames, one capybara sitting in profile beside water. The whole animal in the first frame, then the lily pad, the bulrushes and the water.
Step sequence made by us from a single drawing: each step keeps the lines of the one before it and adds to them.
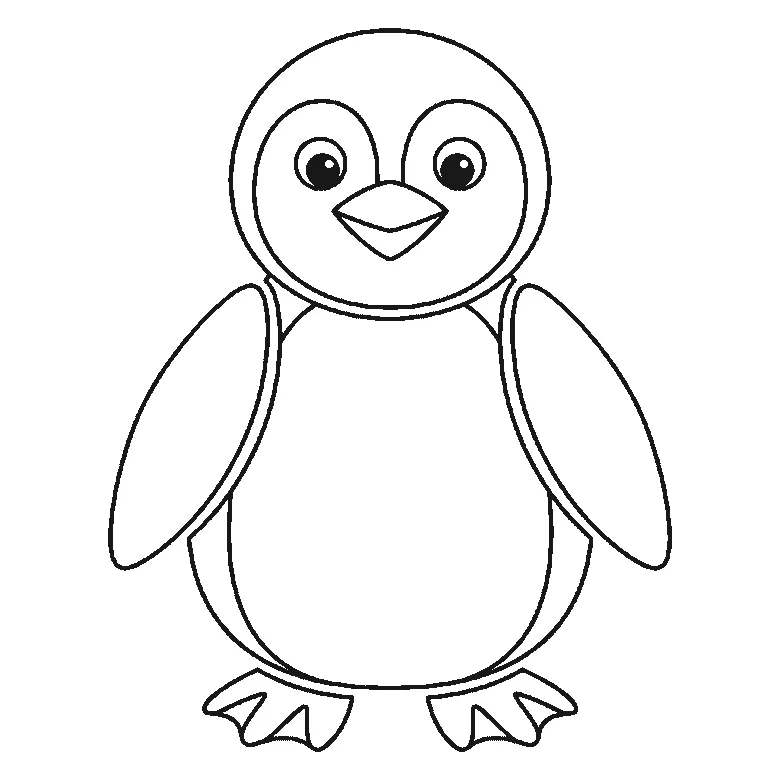
How to draw a penguin
Six frames, one penguin standing and facing you. The body and the whole face first, then the head's outline, one flipper at a time, and the feet.
Step sequence made by us from a single drawing: each step keeps the lines of the one before it and adds to them.
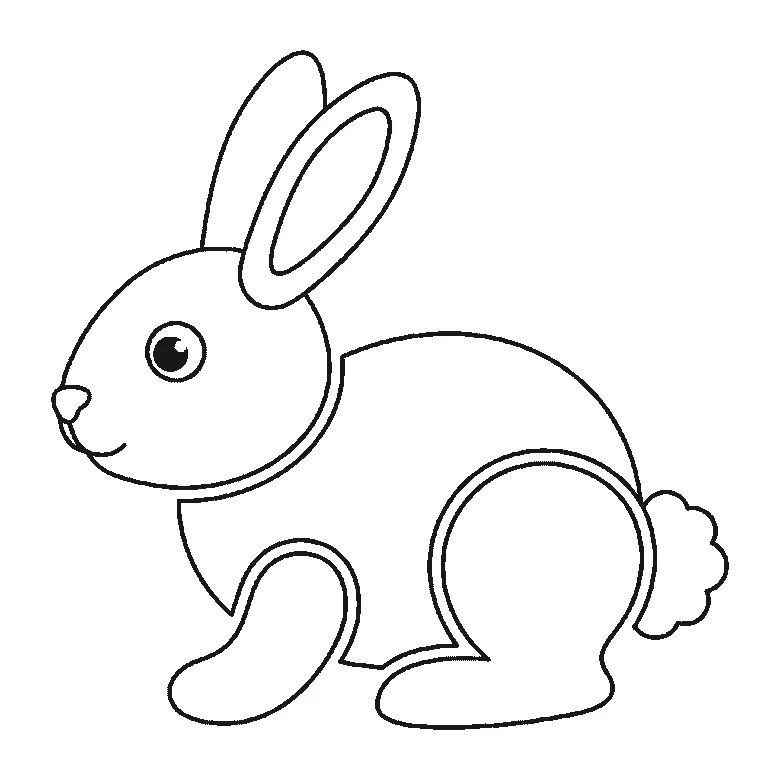
How to draw a rabbit
Six frames, one rabbit in profile. The body first, then the folded hind leg, the head, the front paw, and the ears and tail last.
Step sequence made by us from a single drawing: each step keeps the lines of the one before it and adds to them.
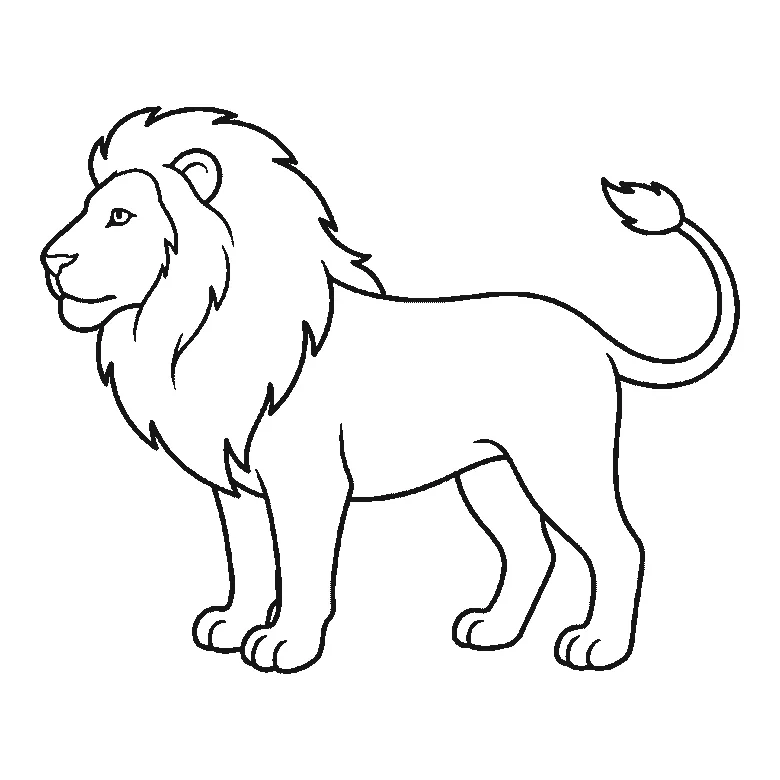
How to draw a lion
Six frames, one lion standing in profile. The body first, then the mane, the face, the two far legs, and the ear and tail tuft last.
Step sequence made by us from a single drawing: each step keeps the lines of the one before it and adds to them.
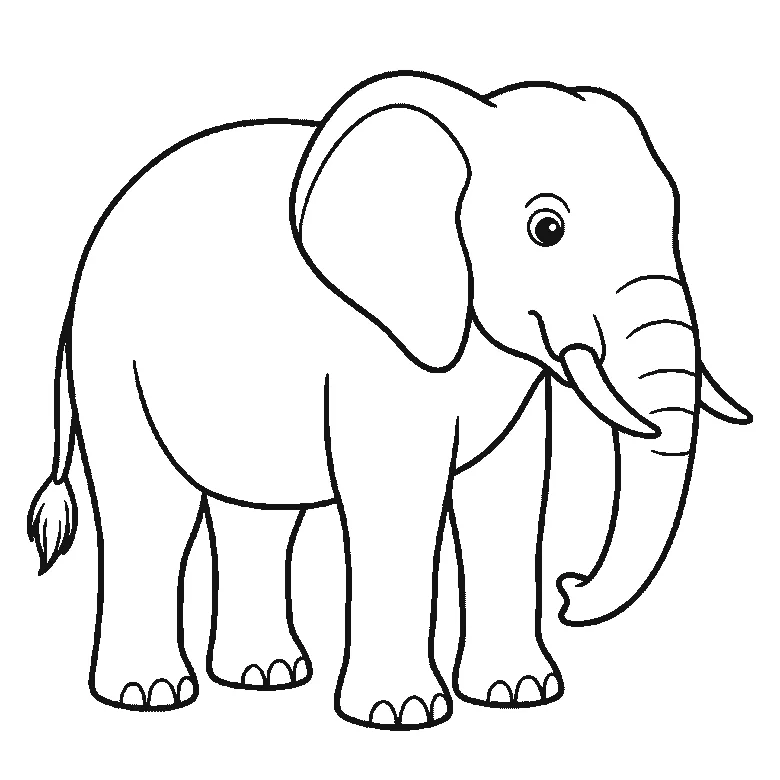
How to draw an elephant
Six frames, one elephant in profile. The body and near legs first, then the head, trunk, tusk and eye together, the big ear, the far legs, and the tail last.
Step sequence made by us from a single drawing: each step keeps the lines of the one before it and adds to them.
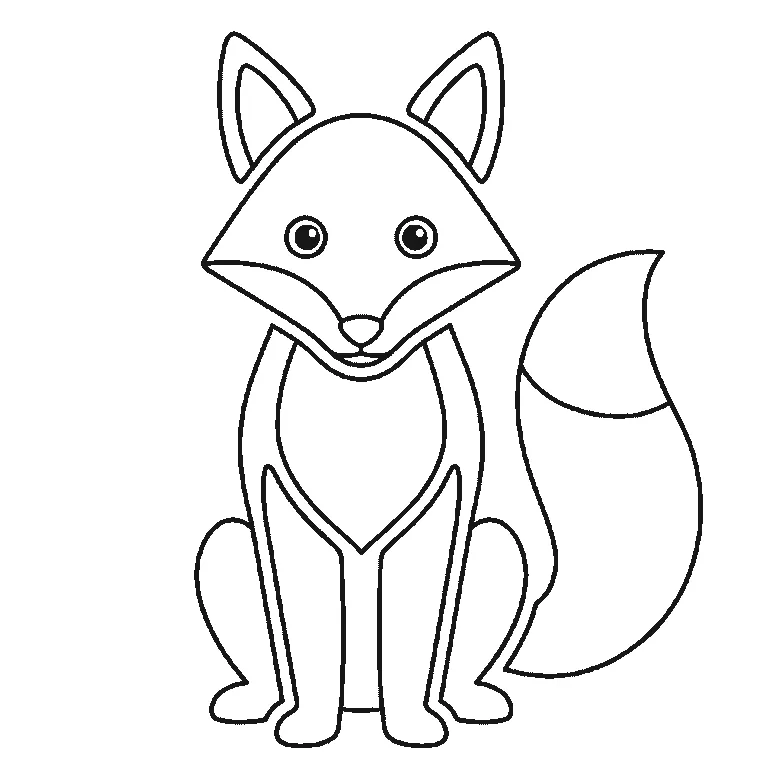
How to draw a fox
Six frames, one fox sitting and facing you. The head and the bushy tail together first, then the chest and legs, and the ears last.
Step sequence made by us from a single drawing: each step keeps the lines of the one before it and adds to them.
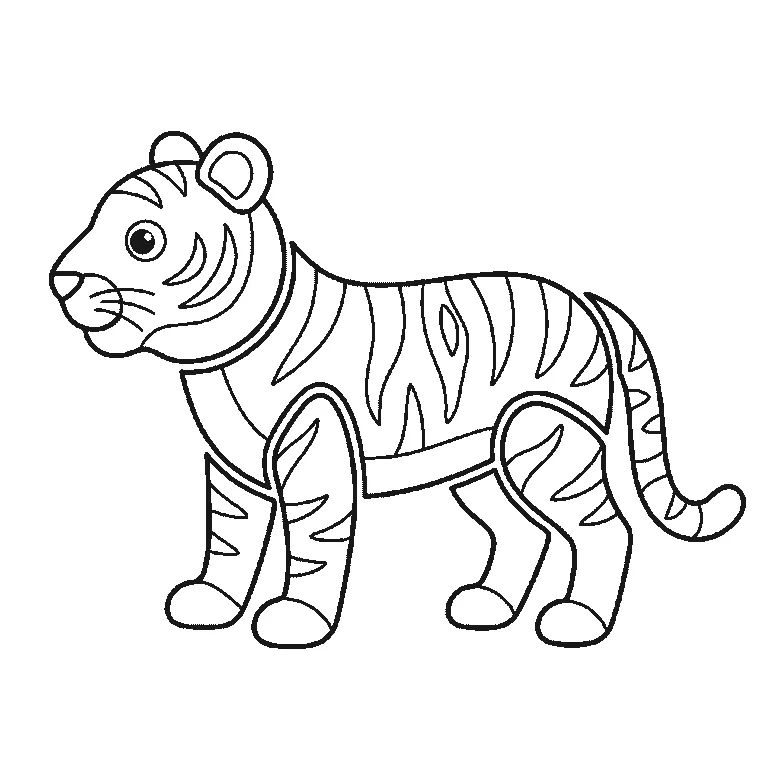
How to draw a tiger
Six frames, one tiger standing in profile. The striped flank first, then the head, the legs one at a time, and the tail last.
Step sequence made by us from a single drawing: each step keeps the lines of the one before it and adds to them.
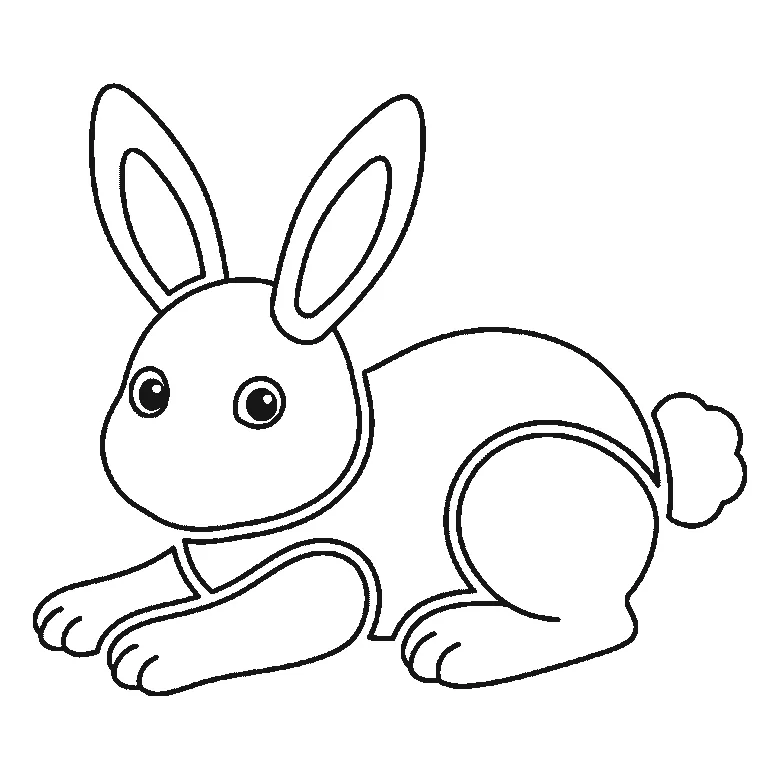
How to draw a bunny
Six frames, one bunny lying down with its paws stretched out. The head first, then the body, the long ears and the fluffy tail.
Step sequence made by us from a single drawing: each step keeps the lines of the one before it and adds to them.
How to draw a monkey
Six frames, one monkey hanging by an arm from a branch. The limbs first, then the branch, the face and the curling tail.
Step sequence made by us from a single drawing: each step keeps the lines of the one before it and adds to them.
How to draw a shark
Six frames, one shark in profile. The body first, then the dorsal fin, side fins and crescent tail.
Step sequence made by us from a single drawing: each step keeps the lines of the one before it and adds to them.


