
PDF · A4 · 77 KB · Free, no sign-up. For home and classroom use.
How to draw a butterfly
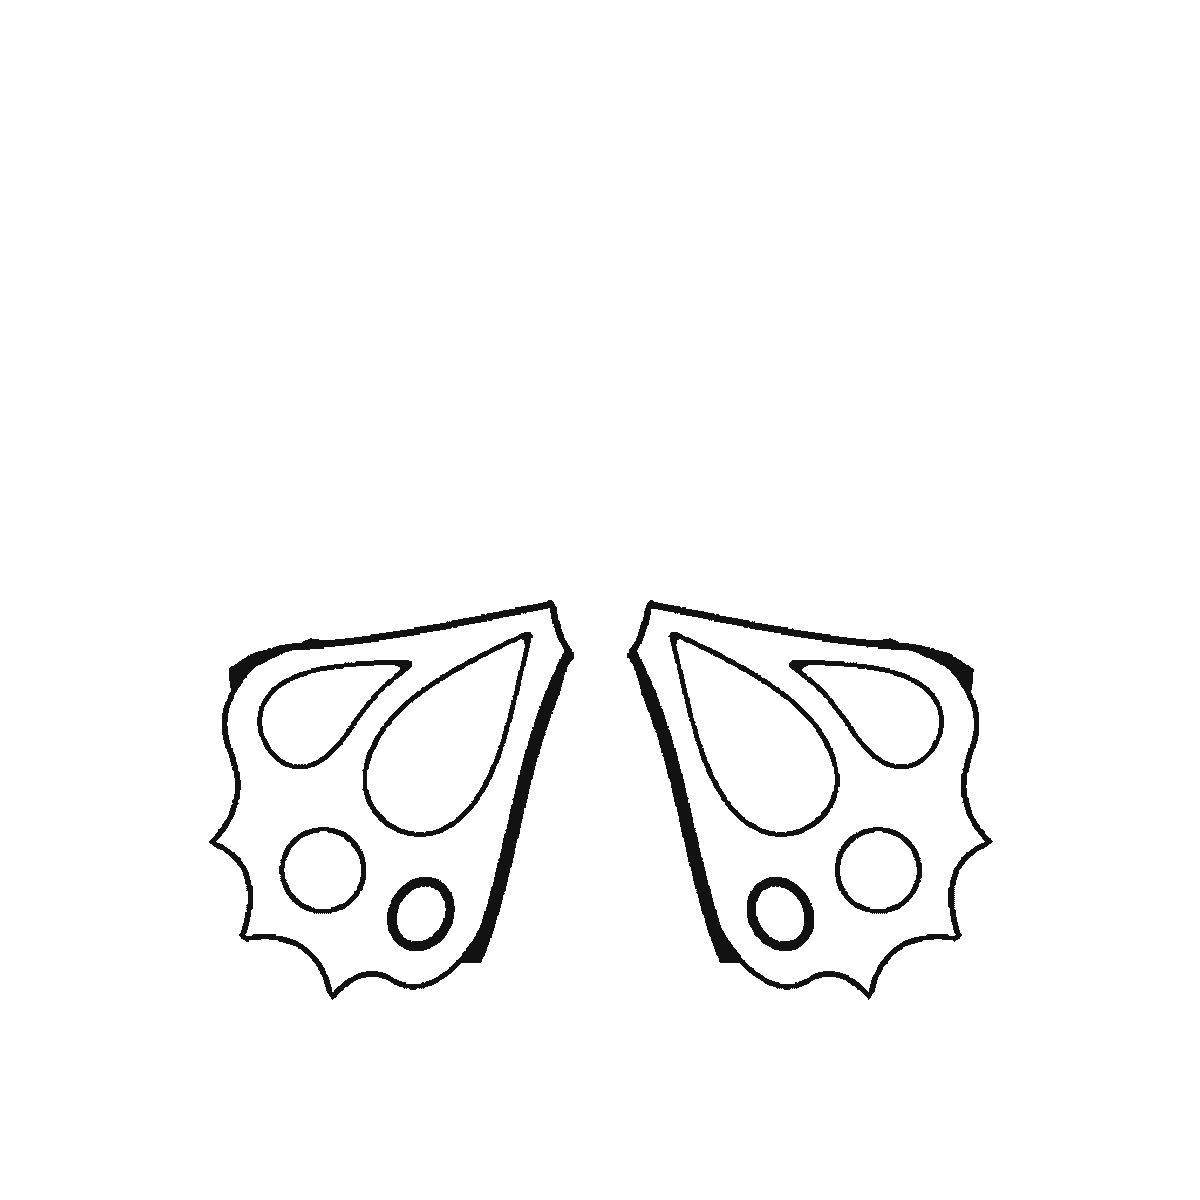
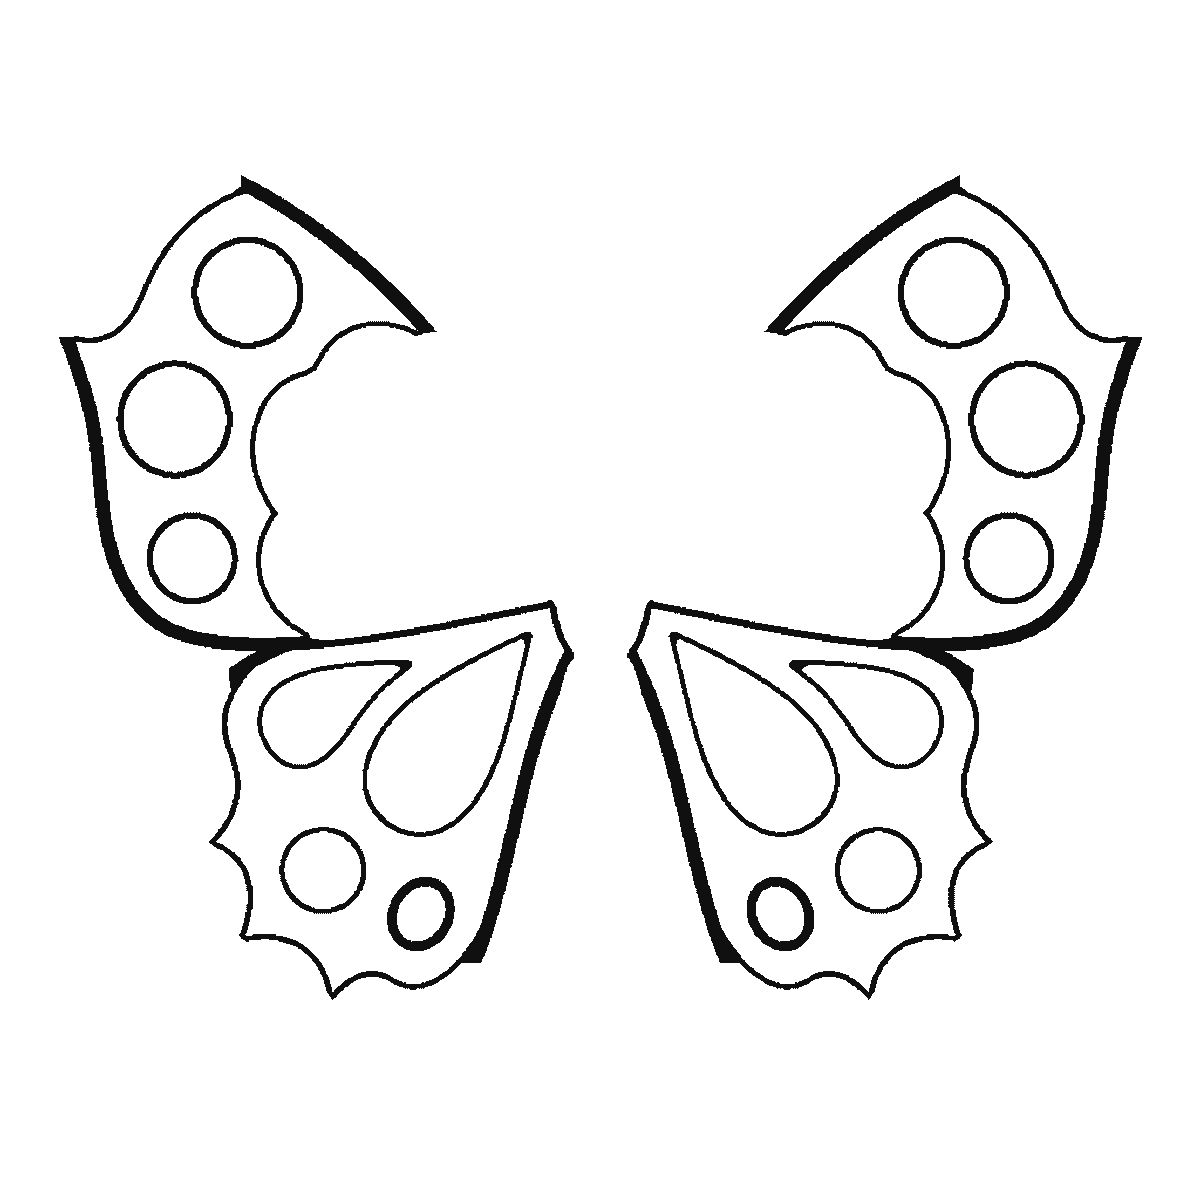
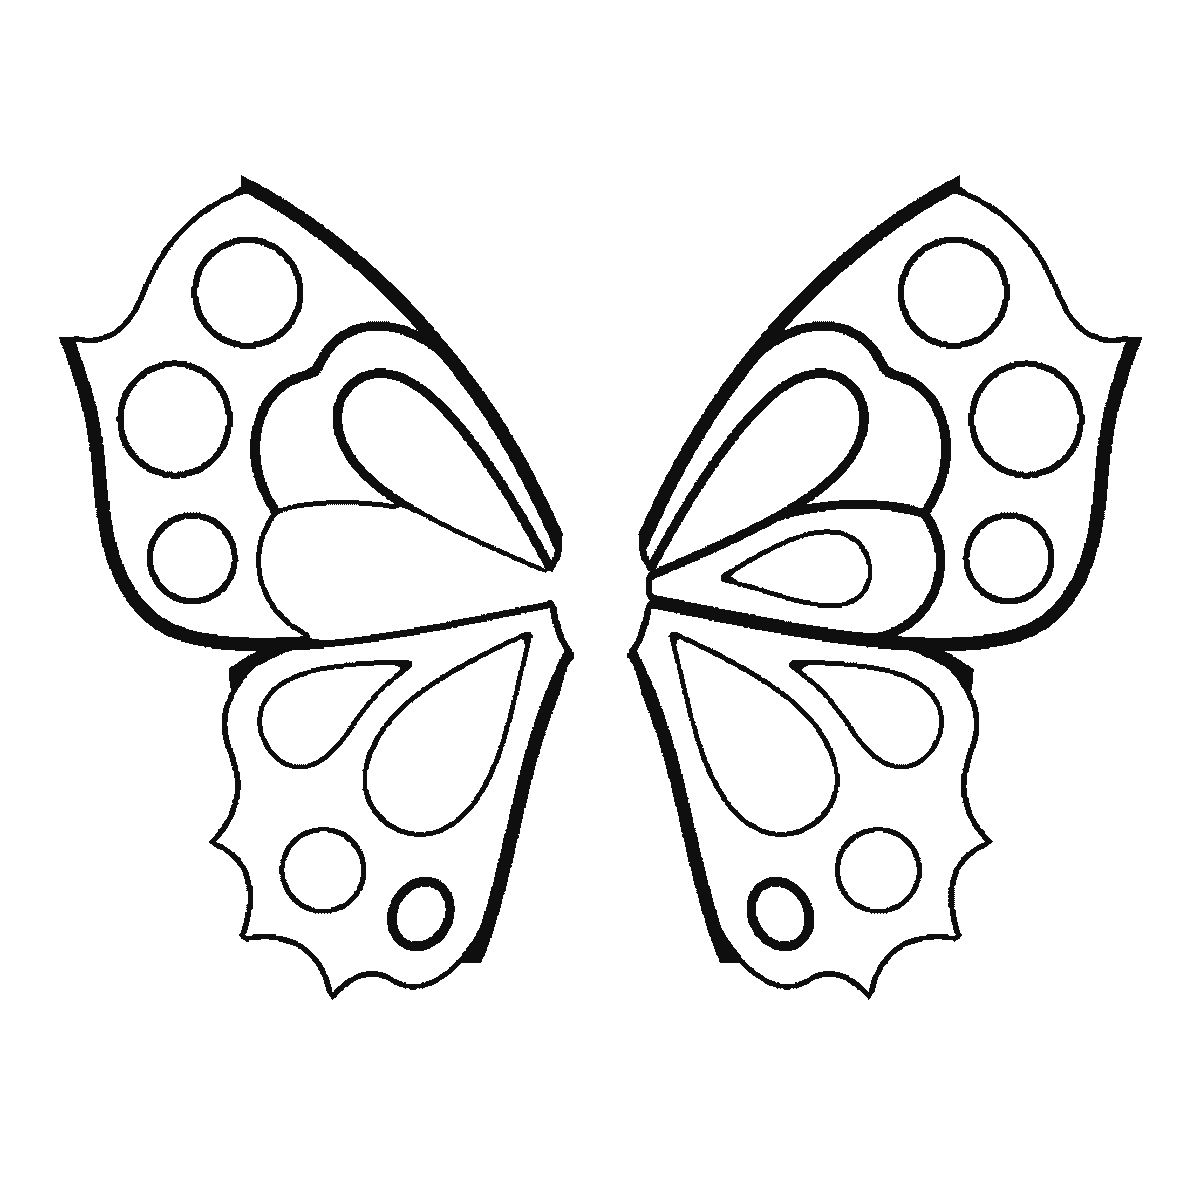
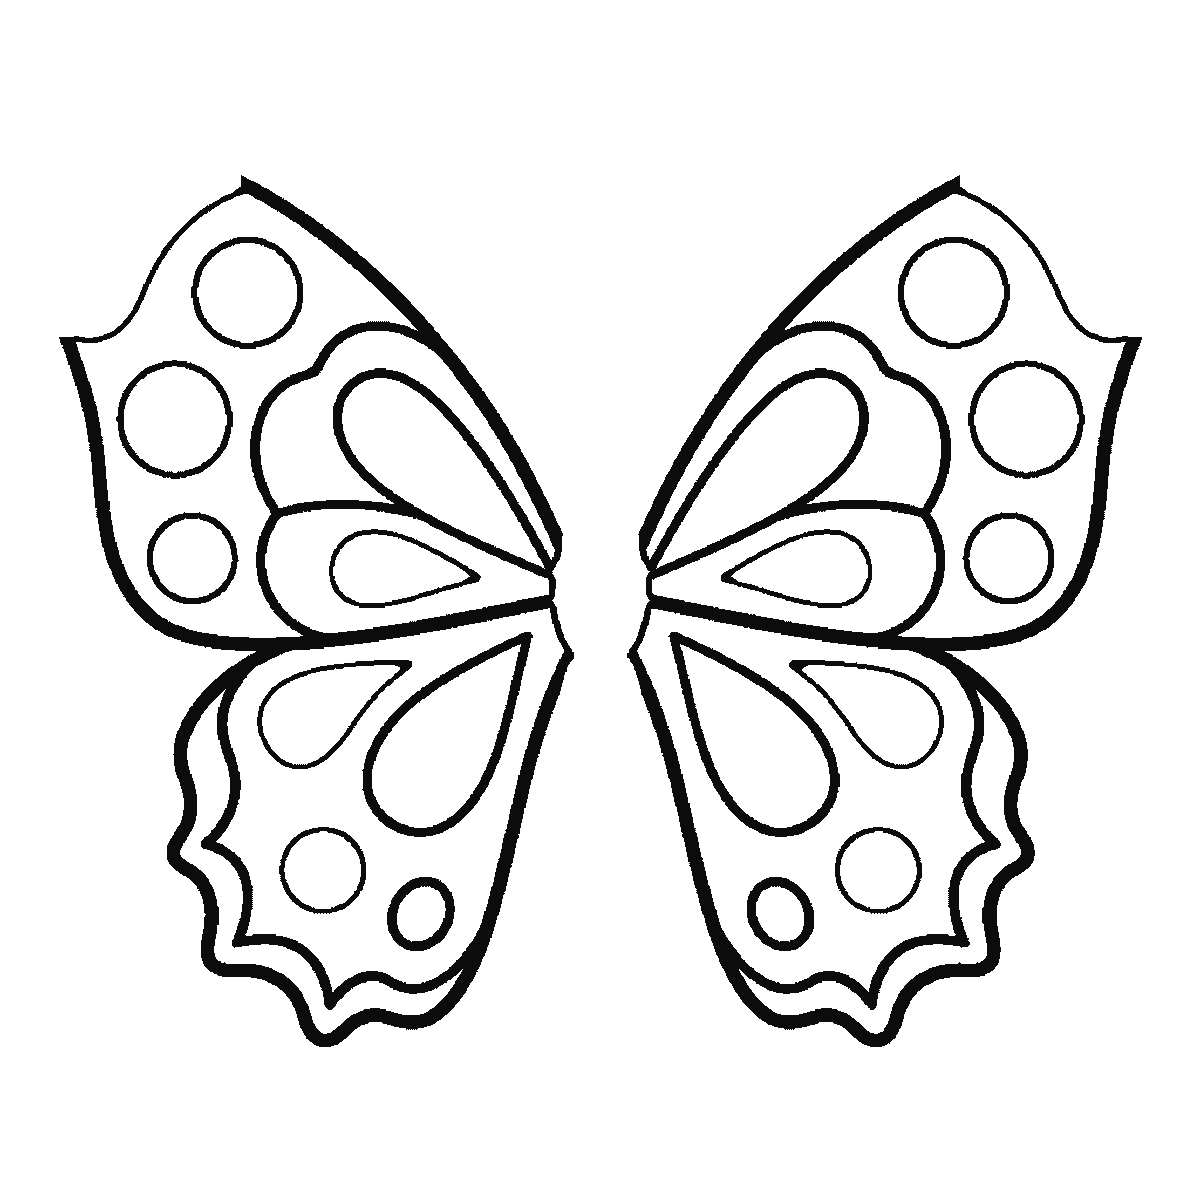
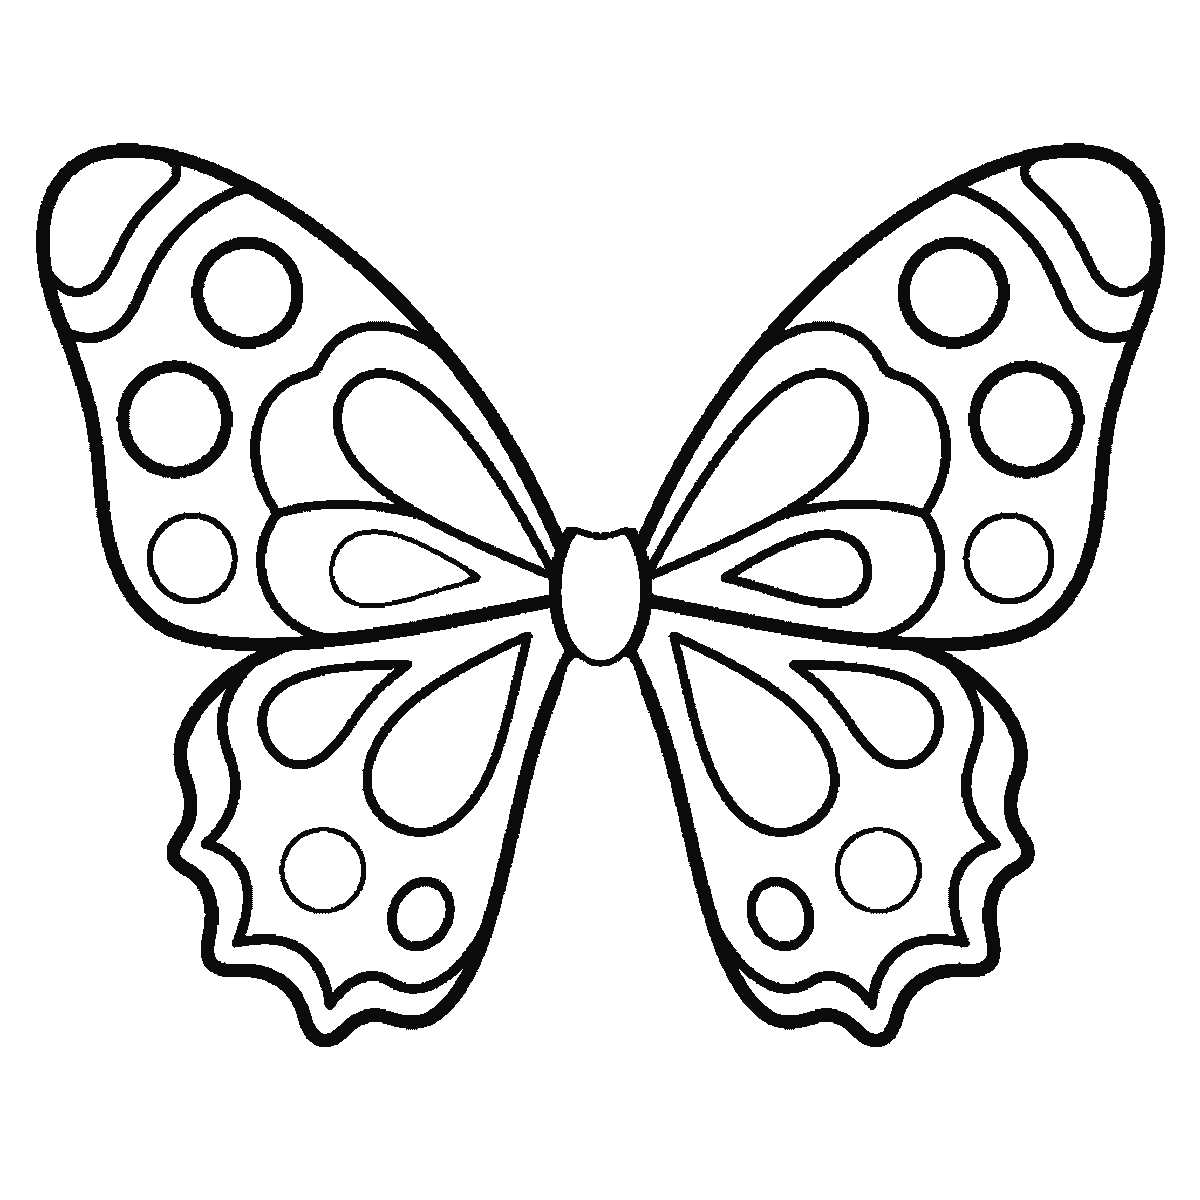
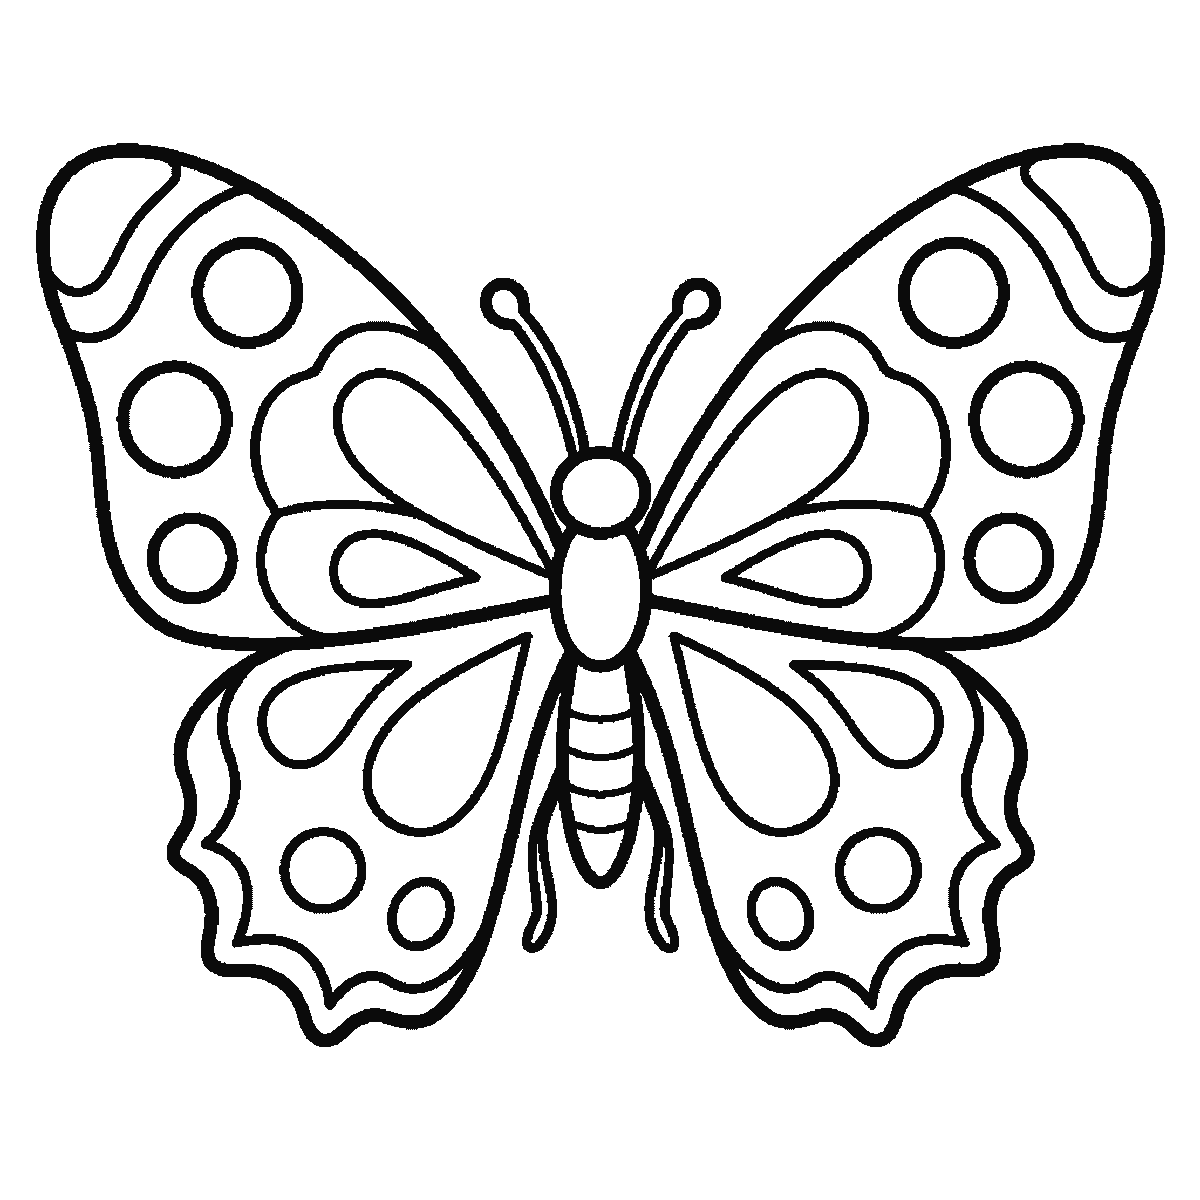
Six frames, one butterfly seen from above. The lower wings first, then the upper pair, their markings, and the body and antennae last.
A butterfly is a symmetry exercise wearing a disguise. Everything on the page exists twice, mirrored about a line down the middle, and once you accept that the drawing becomes a matter of doing each shape carefully once and then doing it again on the other side. The six frames on this sheet start at the lower pair of wings and finish with the antennae, and every one of them draws its shape on both sides at once.
Before the first frame, draw a faint vertical line down your paper. It will not appear in the finished drawing and it is the single most useful line on the page: every pair of shapes is measured against it, and a butterfly whose two halves disagree looks wrong in a way nobody can quite name but everybody can see.
Frame one gives you the two lower wings, not the upper ones — the rounder pair below the middle line, with their teardrop markings and spots already inside them. That is the opposite of what most people expect, and it means the drawing starts at the insect's waist and grows outwards in both directions from there. Draw one, then measure the second against it rather than against your idea of where it should go.
The upper wings follow in frame two — bigger, roughly triangular with a rounded outer corner, angled up and out from the middle line — and the large teardrop inside each of them arrives a frame later still. The overlap where the two pairs meet matters: wings drawn clear of each other make the insect look like a child's paper cut-out, whereas a small overlap immediately reads as a real animal with a body underneath holding it all together.
The body arrives in two pieces at the end: the small oval of the thorax in frame five, then the segmented abdomen in frame six. It should be much thinner than most people draw it. The antennae come with that last frame, two long curves ending in small clubs, and they should be about as long as the body itself.
The wing markings are where a butterfly stops being generic, and this one arrives with its own: round spots along the outer edges and one large teardrop in each wing, spread across four of the six frames rather than added at the end. Whatever pattern you use, draw it on one wing completely, then copy it across. Working both wings at once, a bit at a time, is how patterns drift apart, and a butterfly with mismatched wings is the commonest fault in an otherwise good drawing.
This sheet is drawn from directly above, which is the view that shows both wings at their full width. It is not the view you usually get in a garden, where a resting butterfly holds its wings closed and shows you an edge. Both are worth drawing, but the flat view is the one to learn first because everything is visible.
The frames go largest closed shape to smallest, which for this subject means the lower wings, then the upper pair, then the markings inside them, then the body and the antennae. It is an easy order to copy and not the only one — starting from the body and building outwards is arguably more logical, and produces the same butterfly.
Colour is where a butterfly drawing can go badly wrong, and the reason is that real butterfly wings are not coloured in the way a child's paint box wants them to be. The patterns are made of bands and eyespots that follow the shape of the wing, not of stripes drawn across it. If you keep every marking parallel to the nearest wing edge, almost any colour scheme will look plausible.
When the flat view is comfortable, draw the same butterfly with its wings closed and seen from the side. It is a completely different shape — a narrow triangle with a body at the bottom — and it is what a butterfly actually looks like most of the time it is sitting still. Having both in a sketchbook is more useful than having six of the flat one.
Before you start
- Draw a faint centre line first and rub it out at the end. It is the difference between a symmetrical butterfly and an approximately symmetrical one.
- Make the body much thinner than feels right. A thick body turns a butterfly into a moth, and then into a bee.
- Finish the pattern on one wing before starting the other, and copy across rather than working both at once.
- Antennae are about as long as the body and end in a small club, not a point.
Published Updated 697 words
The six steps
The steps go from the largest shape to the smallest, which is an easy order to copy. It is not the only order, and it is not a rule — if you would rather start somewhere else on the sheet, do.
Step 1
Step 2
Step 3
Step 4
Step 5
Step 6
More in this section
How to draw a capybara
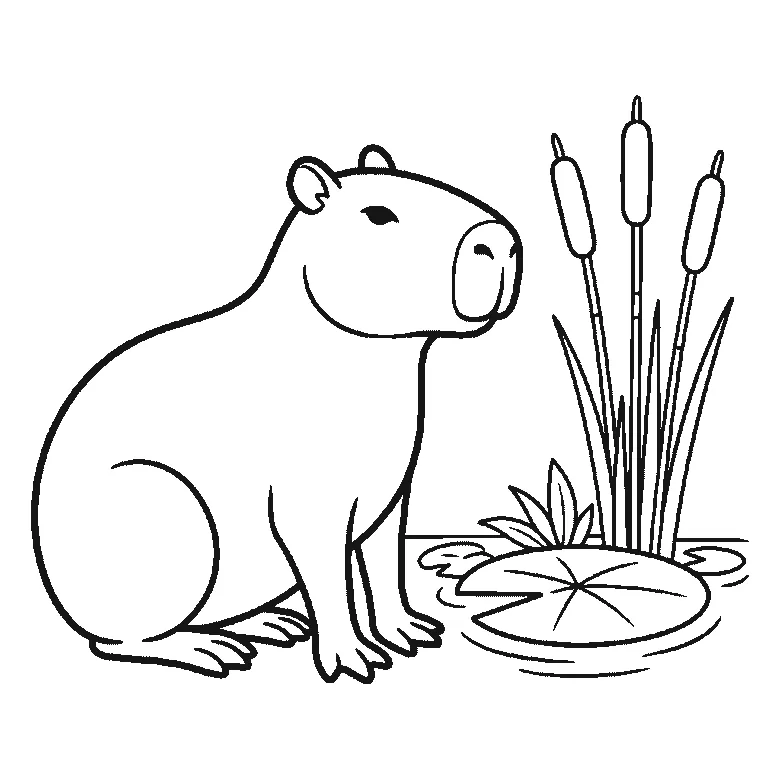
Six frames, one capybara sitting in profile beside water. The whole animal in the first frame, then the lily pad, the bulrushes and the water.
Step sequence made by us from a single drawing: each step keeps the lines of the one before it and adds to them.
How to draw a penguin
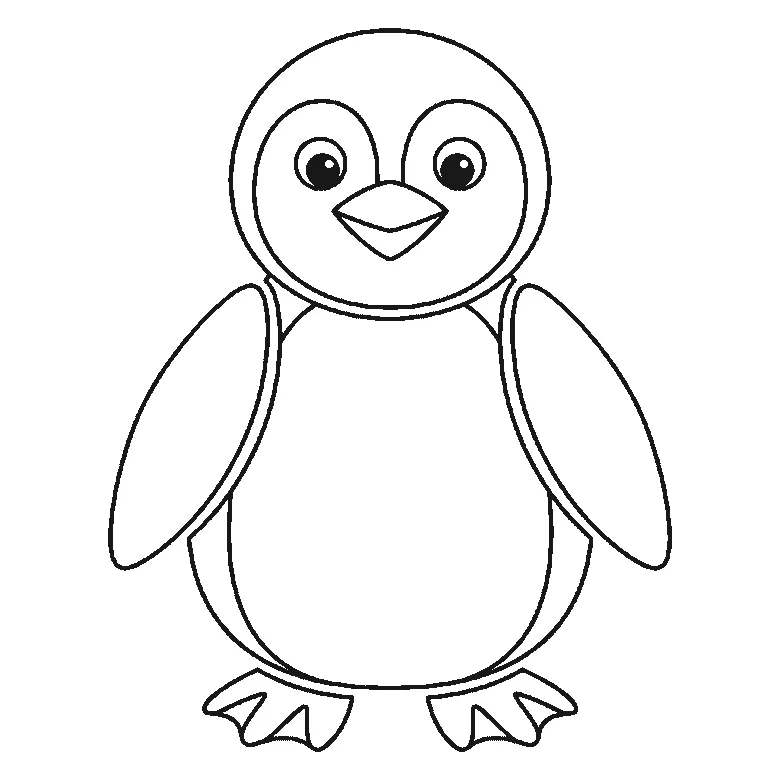
Six frames, one penguin standing and facing you. The body and the whole face first, then the head's outline, one flipper at a time, and the feet.
Step sequence made by us from a single drawing: each step keeps the lines of the one before it and adds to them.
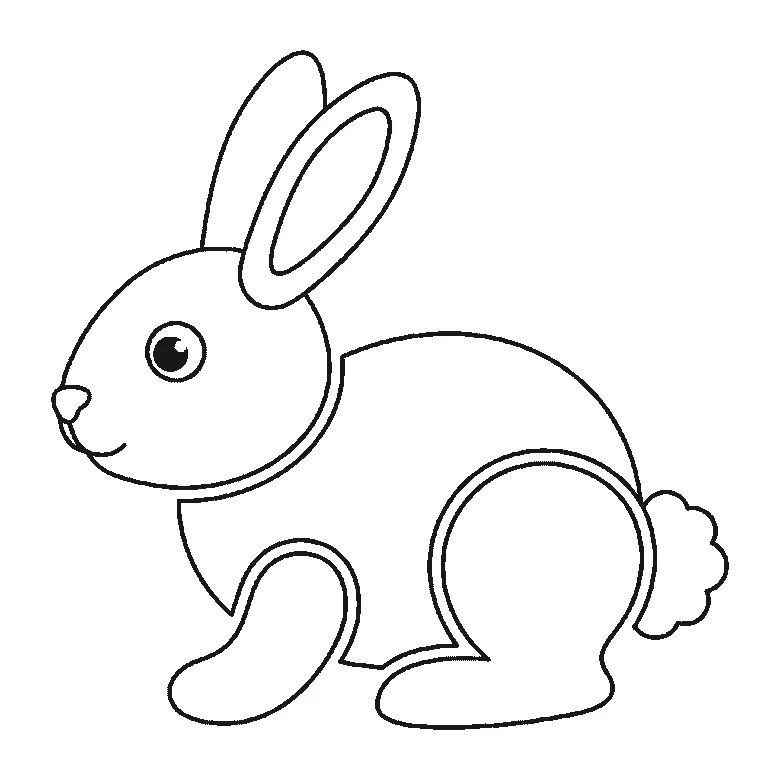
How to draw a rabbit
Six frames, one rabbit in profile. The body first, then the folded hind leg, the head, the front paw, and the ears and tail last.
Step sequence made by us from a single drawing: each step keeps the lines of the one before it and adds to them.
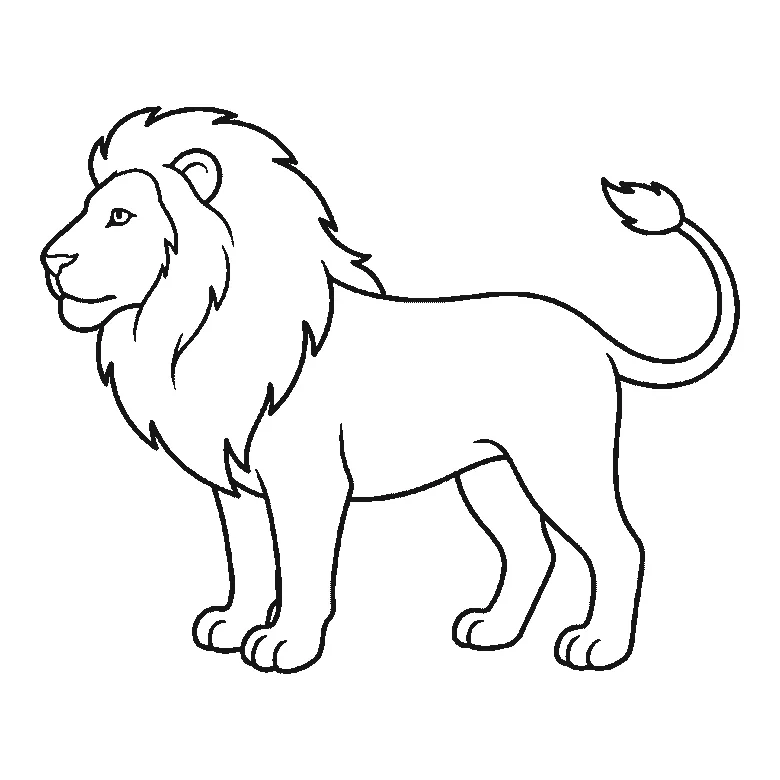
How to draw a lion
Six frames, one lion standing in profile. The body first, then the mane, the face, the two far legs, and the ear and tail tuft last.
Step sequence made by us from a single drawing: each step keeps the lines of the one before it and adds to them.
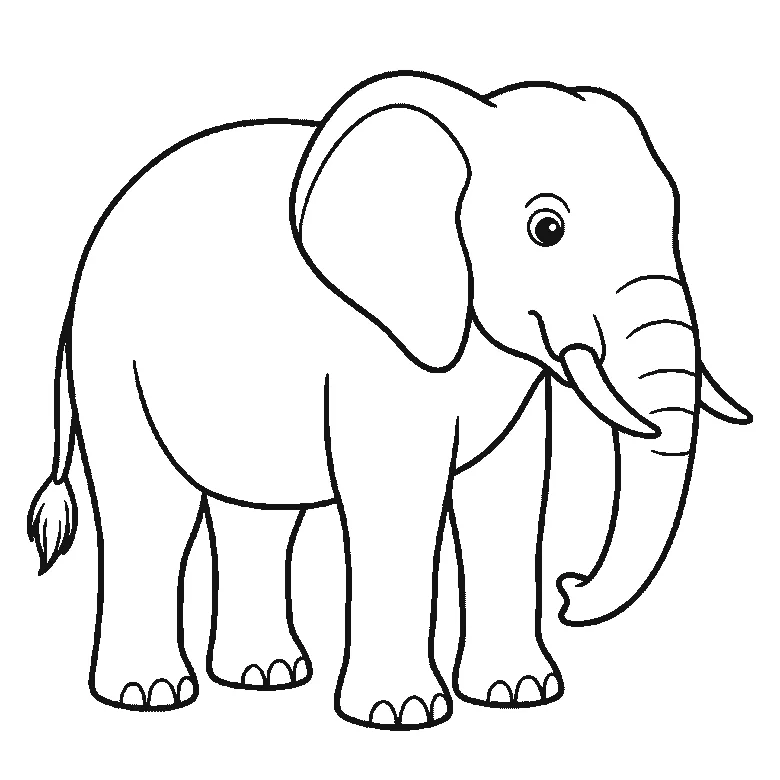
How to draw an elephant
Six frames, one elephant in profile. The body and near legs first, then the head, trunk, tusk and eye together, the big ear, the far legs, and the tail last.
Step sequence made by us from a single drawing: each step keeps the lines of the one before it and adds to them.
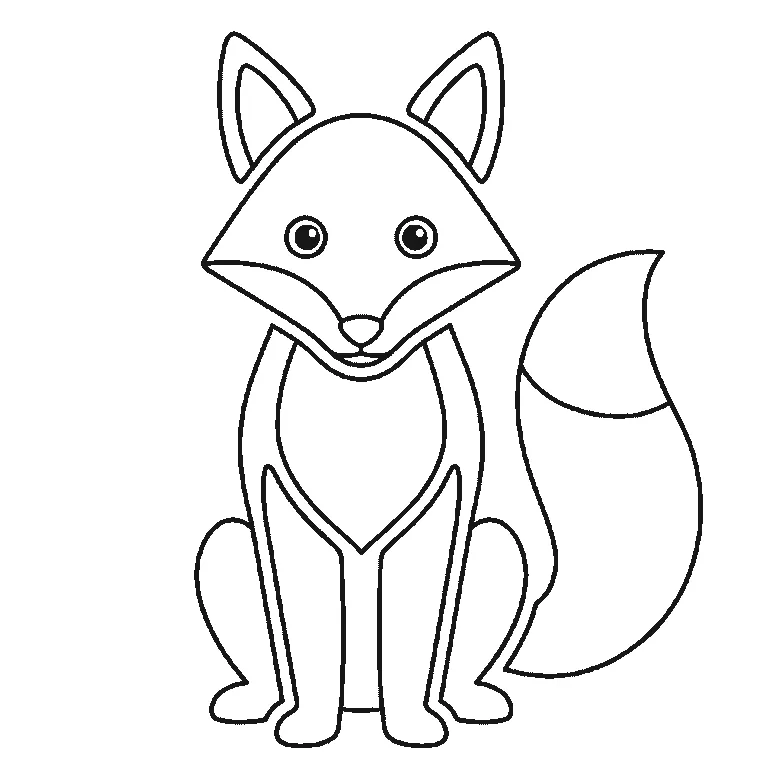
How to draw a fox
Six frames, one fox sitting and facing you. The head and the bushy tail together first, then the chest and legs, and the ears last.
Step sequence made by us from a single drawing: each step keeps the lines of the one before it and adds to them.
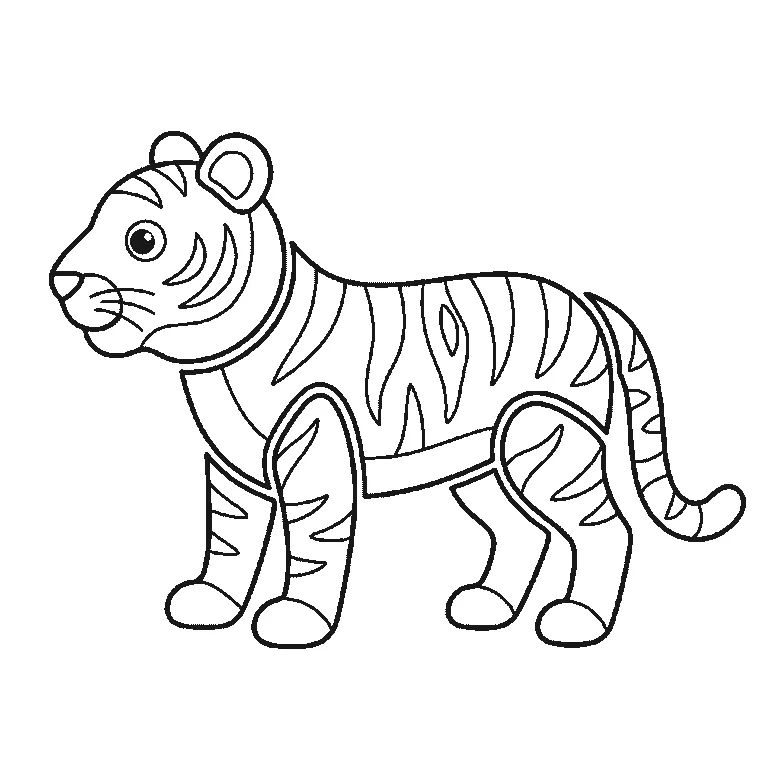
How to draw a tiger
Six frames, one tiger standing in profile. The striped flank first, then the head, the legs one at a time, and the tail last.
Step sequence made by us from a single drawing: each step keeps the lines of the one before it and adds to them.
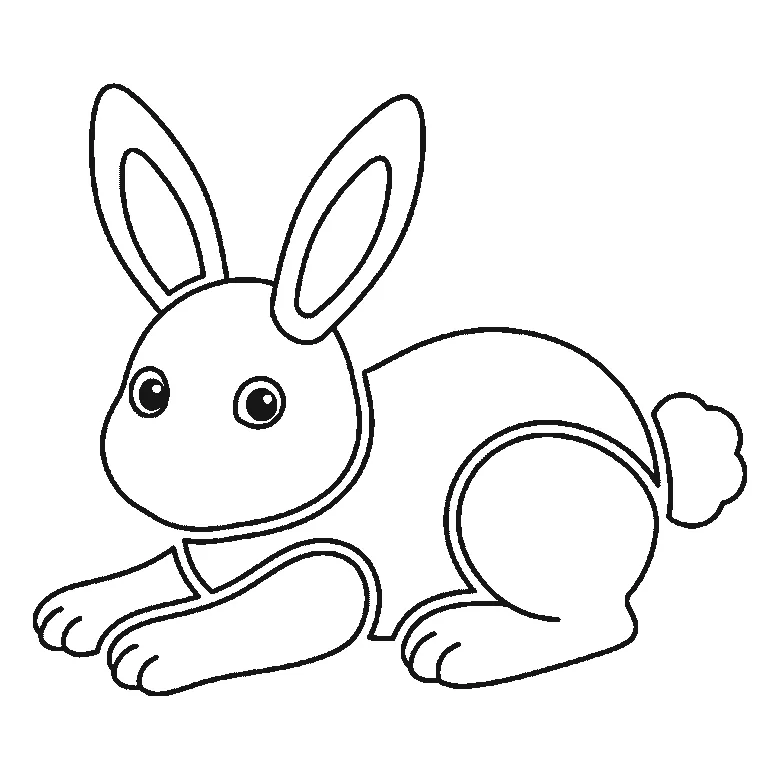
How to draw a bunny
Six frames, one bunny lying down with its paws stretched out. The head first, then the body, the long ears and the fluffy tail.
Step sequence made by us from a single drawing: each step keeps the lines of the one before it and adds to them.
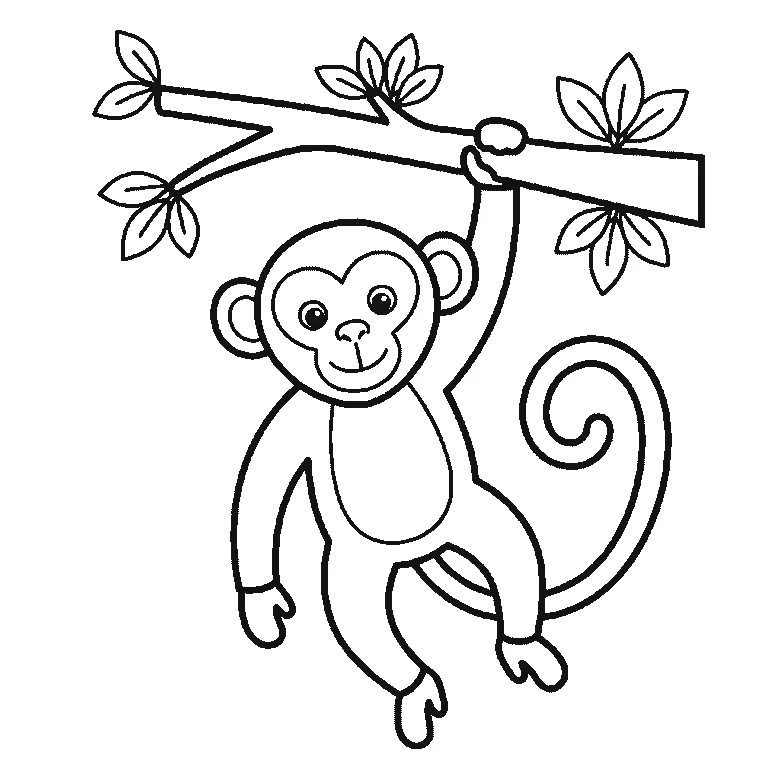
How to draw a monkey
Six frames, one monkey hanging by an arm from a branch. The limbs first, then the branch, the face and the curling tail.
Step sequence made by us from a single drawing: each step keeps the lines of the one before it and adds to them.
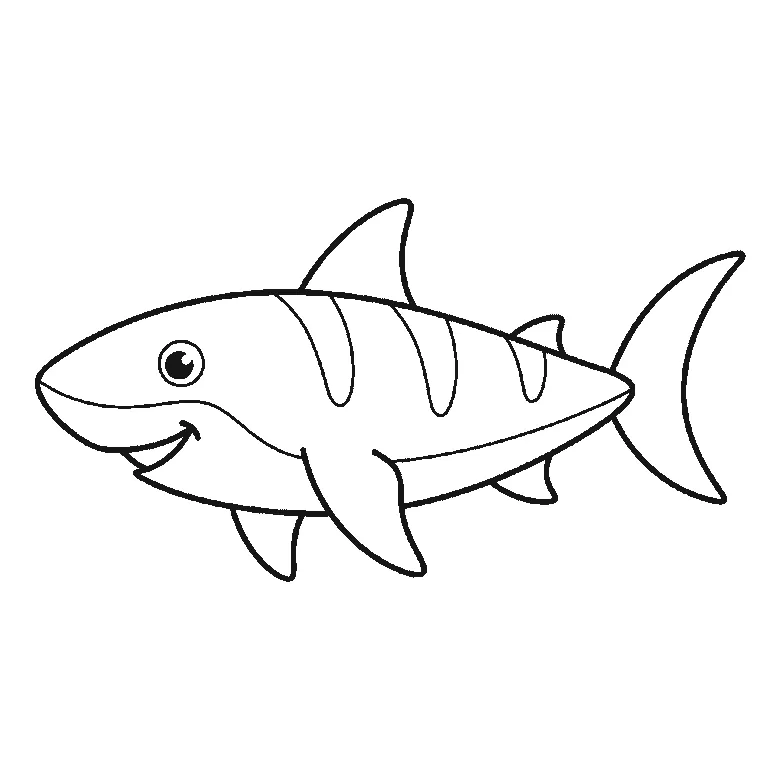
How to draw a shark
Six frames, one shark in profile. The body first, then the dorsal fin, side fins and crescent tail.
Step sequence made by us from a single drawing: each step keeps the lines of the one before it and adds to them.
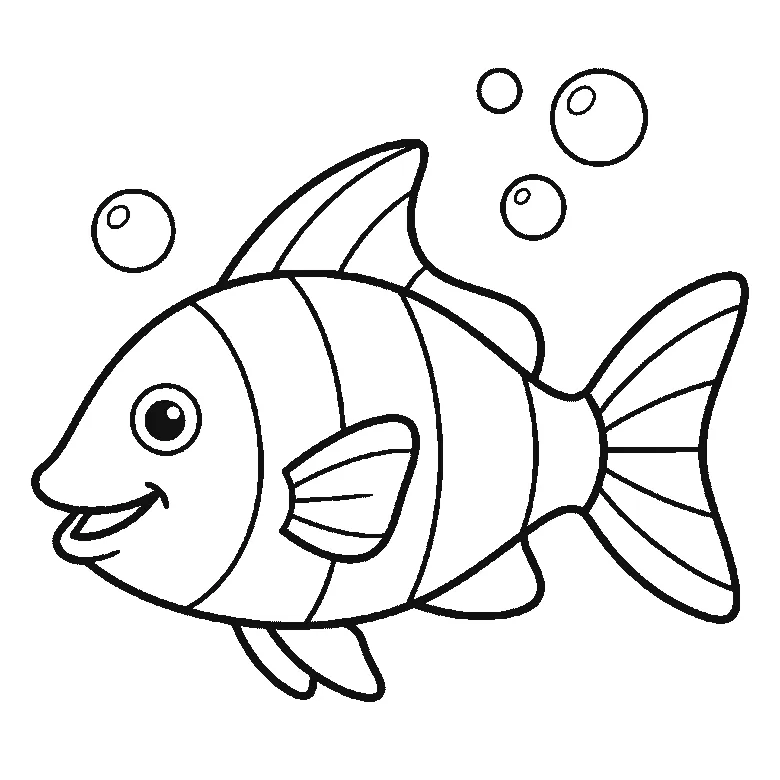
How to draw a fish
Six frames, one striped fish with bubbles. The head first, then the striped body, the fins and the fan tail.
Step sequence made by us from a single drawing: each step keeps the lines of the one before it and adds to them.
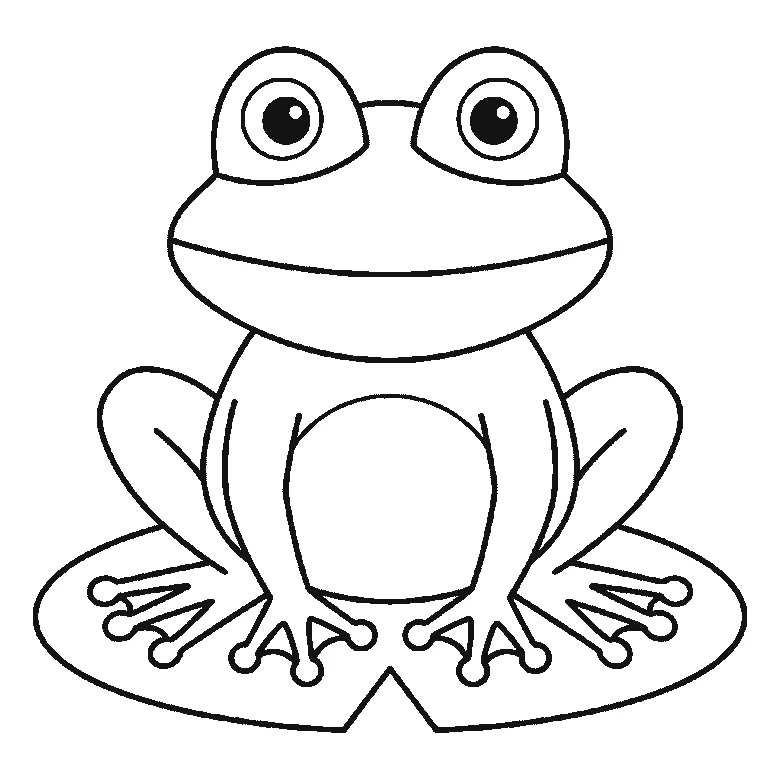
How to draw a frog
Six frames, one frog seen from the front. The lily pad first, then the body, the head and the domed eyes.
Step sequence made by us from a single drawing: each step keeps the lines of the one before it and adds to them.


