
PDF · A4 · 55 KB · Free, no sign-up. For home and classroom use.
How to draw a fish
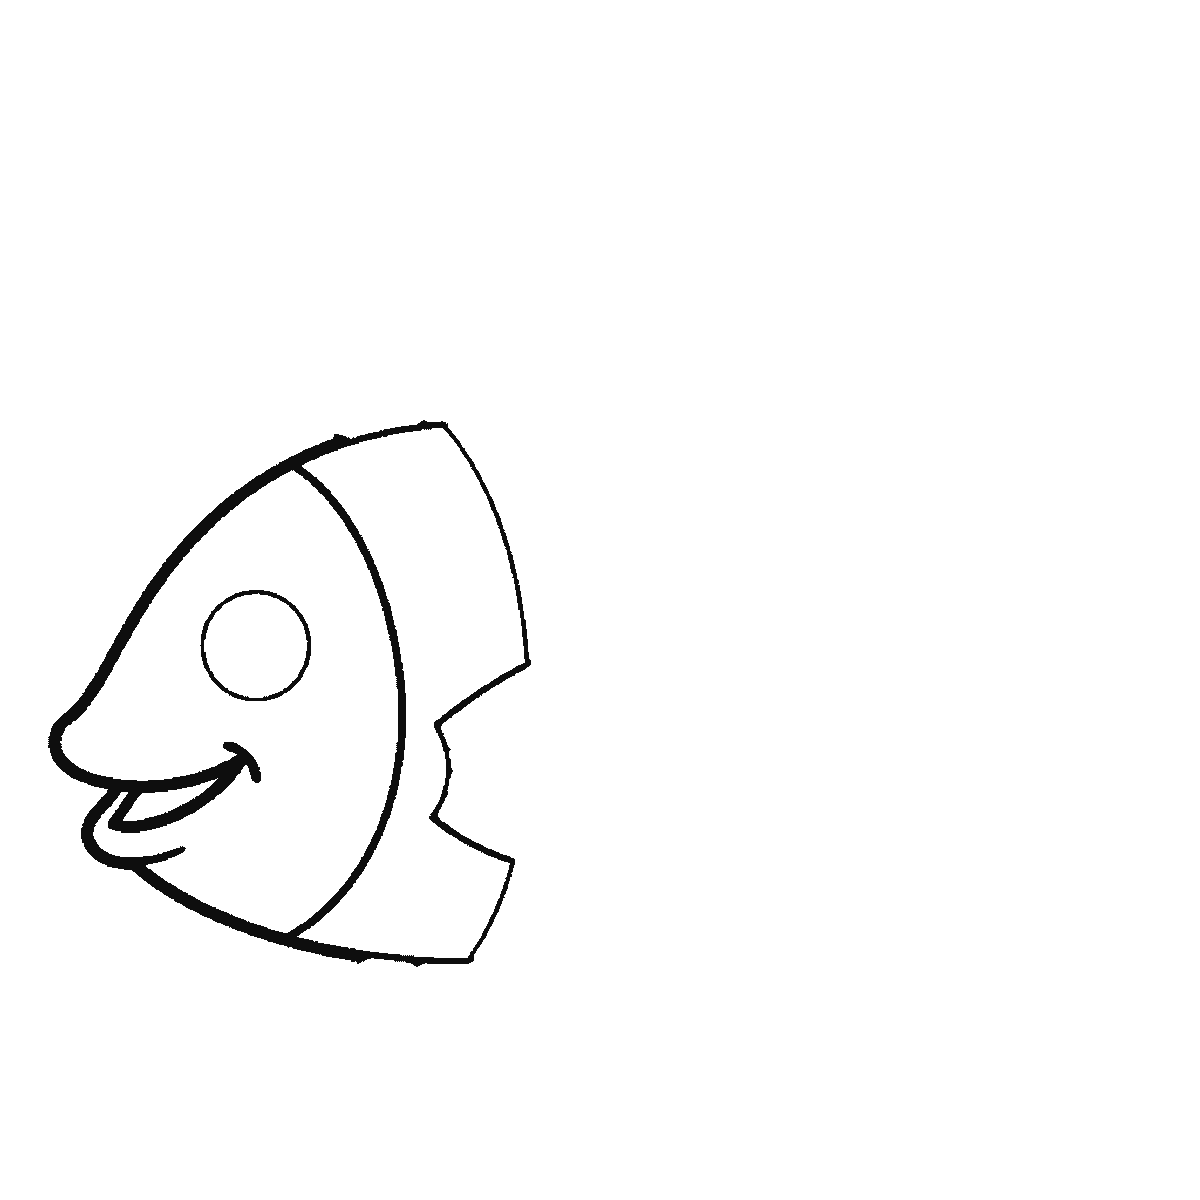
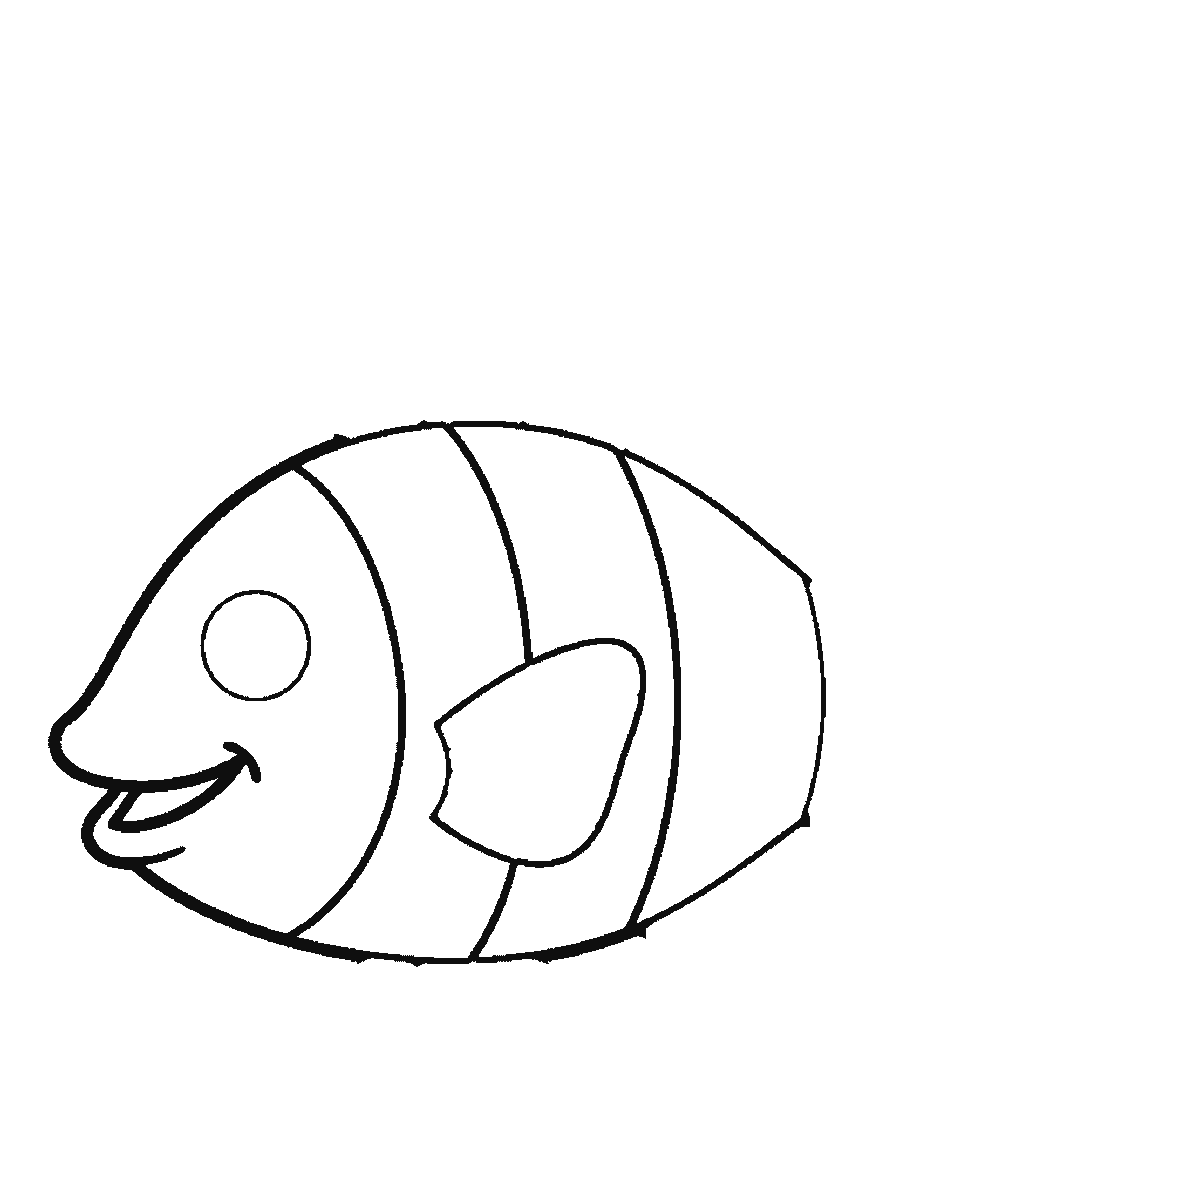
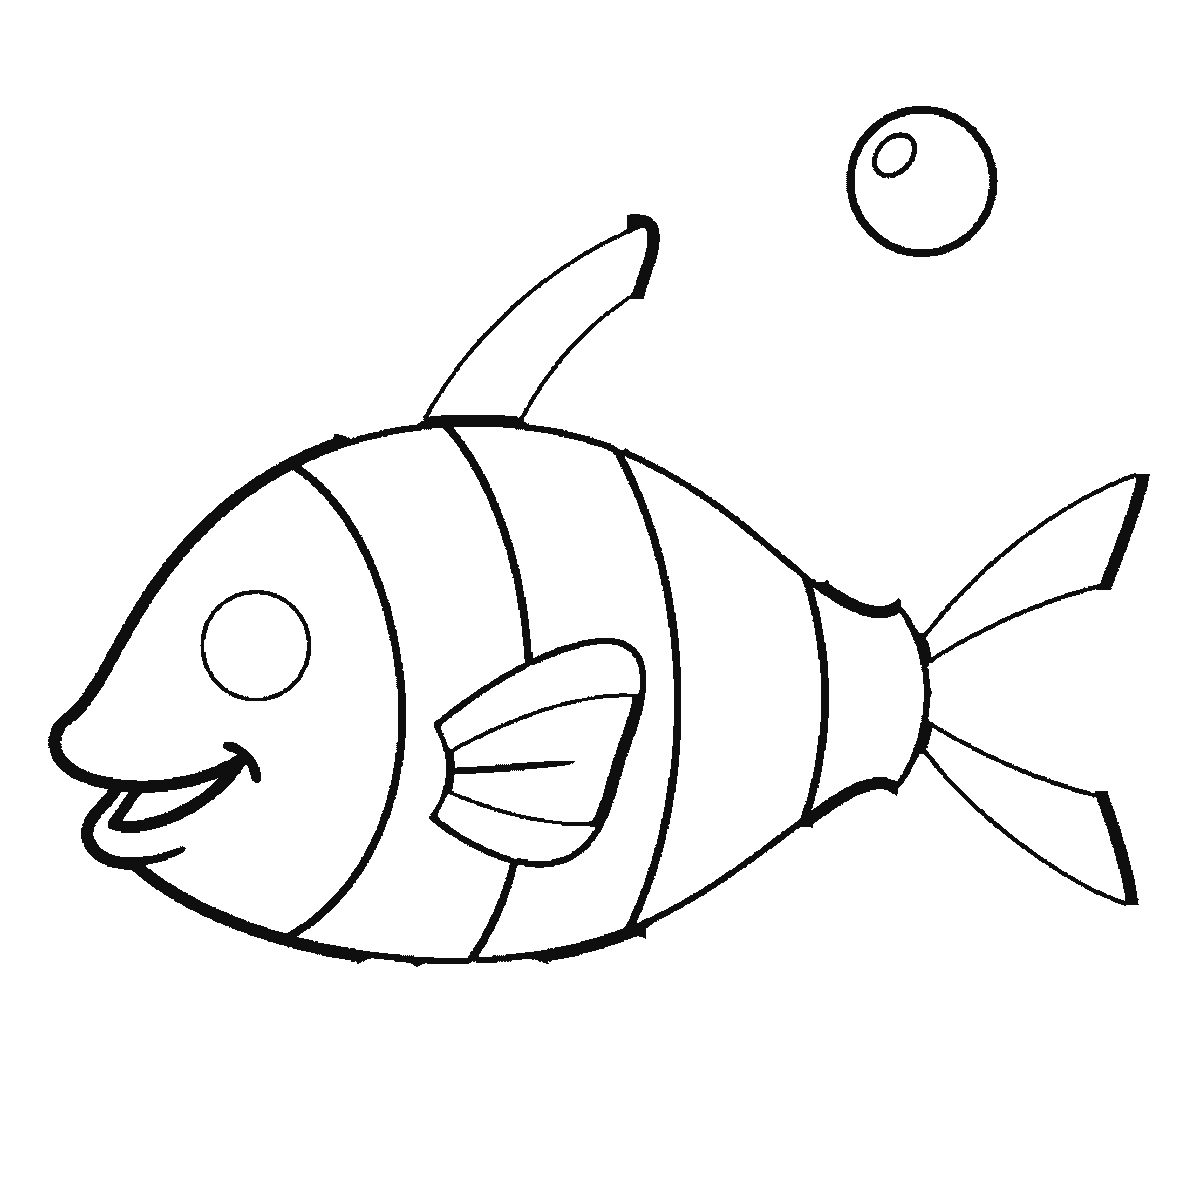
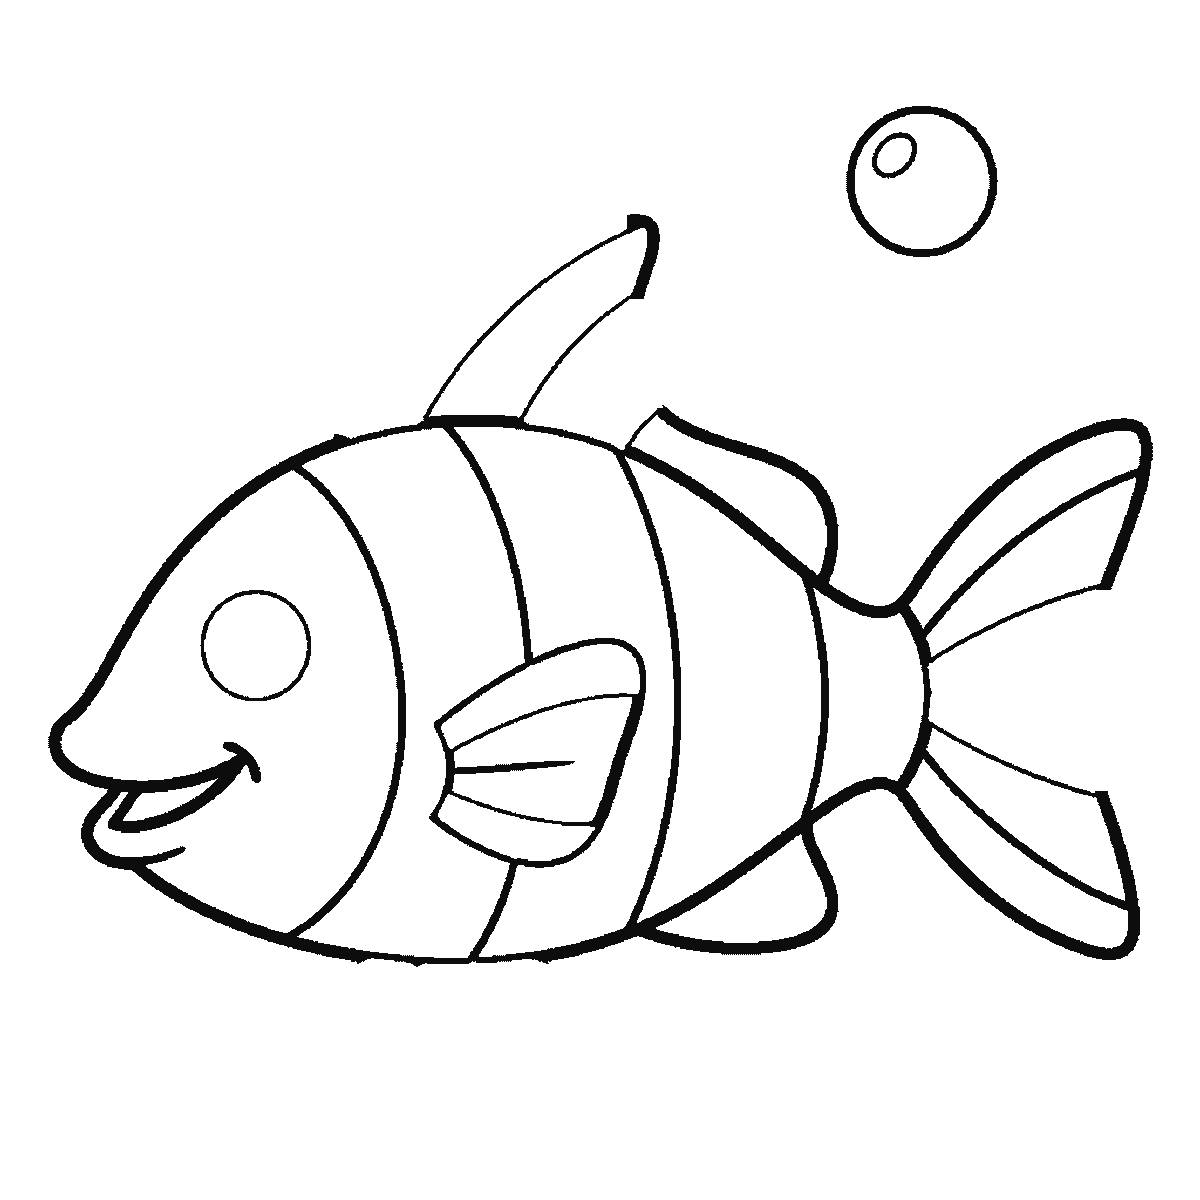
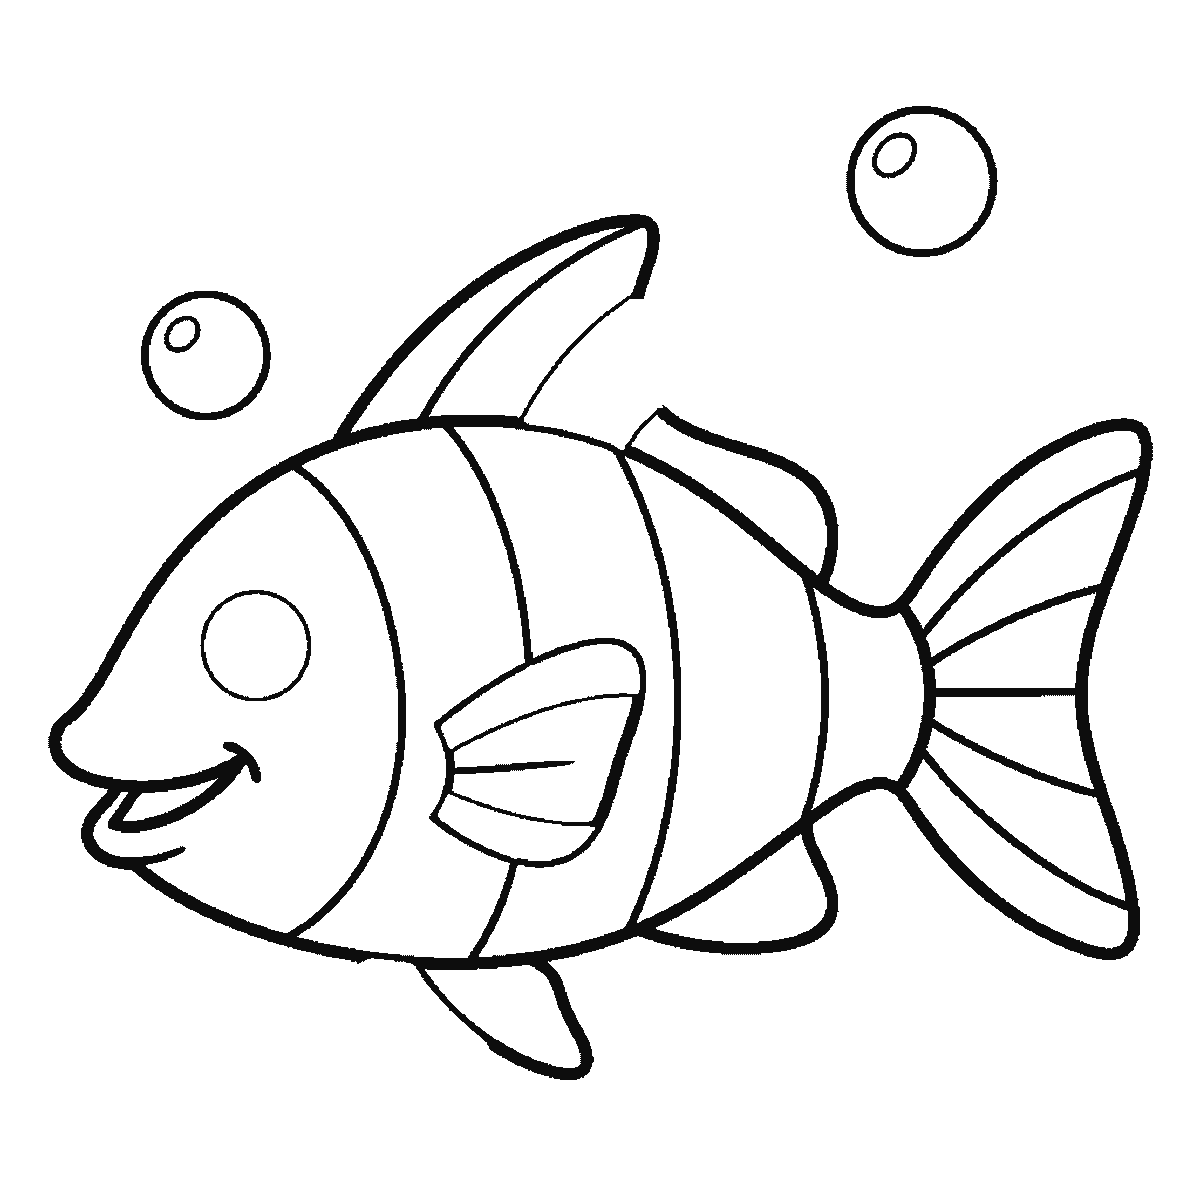
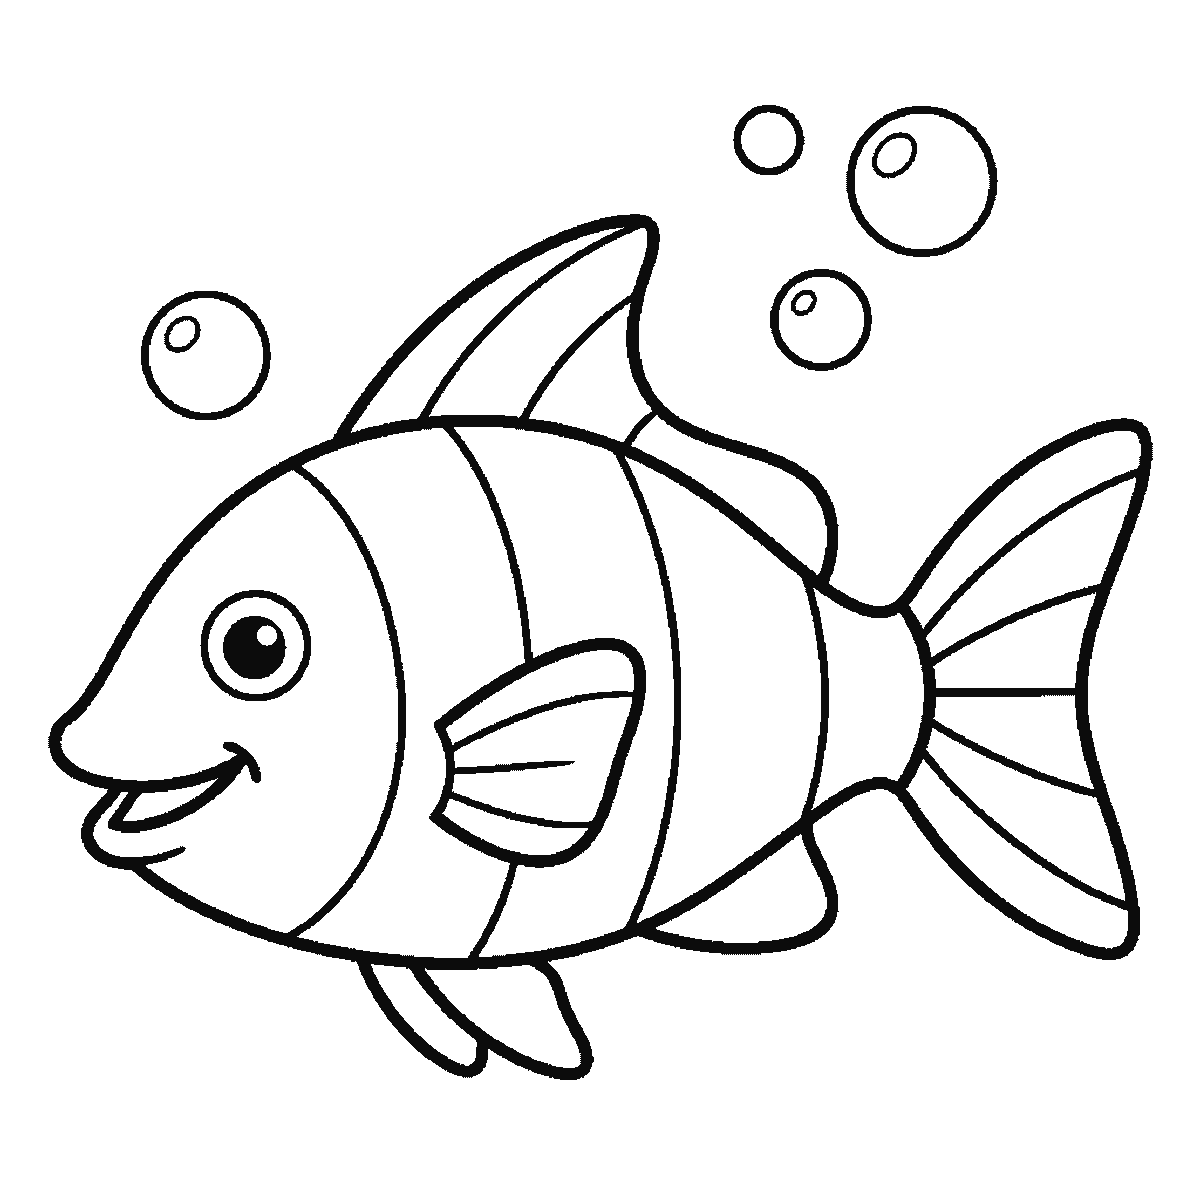
Six frames, one striped fish with bubbles. The head first, then the striped body, the fins and the fan tail.
This is the fish most people picture when the word comes up: a rounded body, a fanned tail, a cheerful mouth and a few bold stripes. It is an excellent first animal to learn because almost every part of it is a simple closed shape, and because the proportions are forgiving in a way that a horse or a dog never is.
Frame one is the head, not the body: the front section of the fish with the eye and the smiling mouth already in it. That is unusual for a drawing sheet and it is genuinely helpful here, because the head sets the height of the whole animal. The body follows in frame two as a wide oval that keeps that height and narrows towards the tail. Keep it plump — a fish drawn too slim reads as a minnow, and the charm of this shape is that it is generous enough to hold stripes, a fin and an eye without anything getting crowded.
The mouth goes at the narrow front end as a short curved line with a small lower lip below it. Turning that curve very slightly upwards is the entire difference between a fish that looks alert and one that looks like dinner. It is one of the highest-value single lines in any drawing on this site.
The eye is large and round, set high and well forward, close behind the mouth — and because it is part of that first frame you are committing to its position before anything else exists. Fish eyes are proportionally big and they sit near the front of the head. Placing the eye towards the middle of the animal is the mistake that makes a drawn fish look like a balloon with a face. The pupil is filled in right at the end, in the last frame.
The dorsal fin rises from the top of the body as a tall triangle with a slightly curved leading edge, and the side fin sits low on the flank as a smaller rounded shape. Draw the side fin as a fan with two or three ribs in it rather than a plain blob, because those ribs are what make it read as a fin rather than a fold of skin.
The tail is the shape that carries the personality. It is a broad fan, wider at its outer edge than where it joins the body, with three or four ribs spreading from the join to the edge. Let the outer edge be gently scalloped rather than straight. A straight-edged tail looks cut off with scissors.
The stripes come next, running from the back down across the belly. Four is a good number. The important thing is that they curve — a stripe drawn straight across a rounded body flattens it instantly, while a stripe that bends to follow the belly makes the fish read as a solid three-dimensional thing. That single decision does more for the drawing than any amount of detail elsewhere.
The bubbles finish the sheet, three of them rising above the fish at clearly different sizes. Vary the sizes and do not line them up. Bubbles in a neat vertical column look like a diagram of bubbles; bubbles scattered at different heights and distances look like water.
A useful extension once this one is comfortable: draw the same fish six times with a different tail on each. A long trailing tail gives you something like a guppy, a short stiff one something like a perch, a huge flowing one a fantail goldfish. The body barely changes, and you learn how much of an animal's identity lives in one part.
The frames run from the largest closed shape down to the smallest, which here means head, then the striped body, then the dorsal fin and tail with the first bubble, then the side fin, then the remaining bubbles, then the pupil. It is an order that is easy to copy and it is not the correct method; there is no correct method, and blocking in the whole body before any detail is what most people would do.
Before you start
- Keep the body plump. A slim fish reads as a minnow and leaves no room for the stripes.
- Set the eye high and well forward, close behind the mouth.
- Curve the stripes to follow the belly — straight stripes flatten the whole body.
- Scallop the outer edge of the tail rather than cutting it straight.
Published Updated 686 words
The six steps
The steps go from the largest shape to the smallest, which is an easy order to copy. It is not the only order, and it is not a rule — if you would rather start somewhere else on the sheet, do.
Step 1
Step 2
Step 3
Step 4
Step 5
Step 6
More in this section
How to draw a frog
Six frames, one frog seen from the front. The lily pad first, then the body, the head and the domed eyes.
Step sequence made by us from a single drawing: each step keeps the lines of the one before it and adds to them.
How to draw a panda
Six frames, one panda sitting up with a bamboo stalk. The head and its eye patches first, then the body, the ears and the bamboo.
Step sequence made by us from a single drawing: each step keeps the lines of the one before it and adds to them.
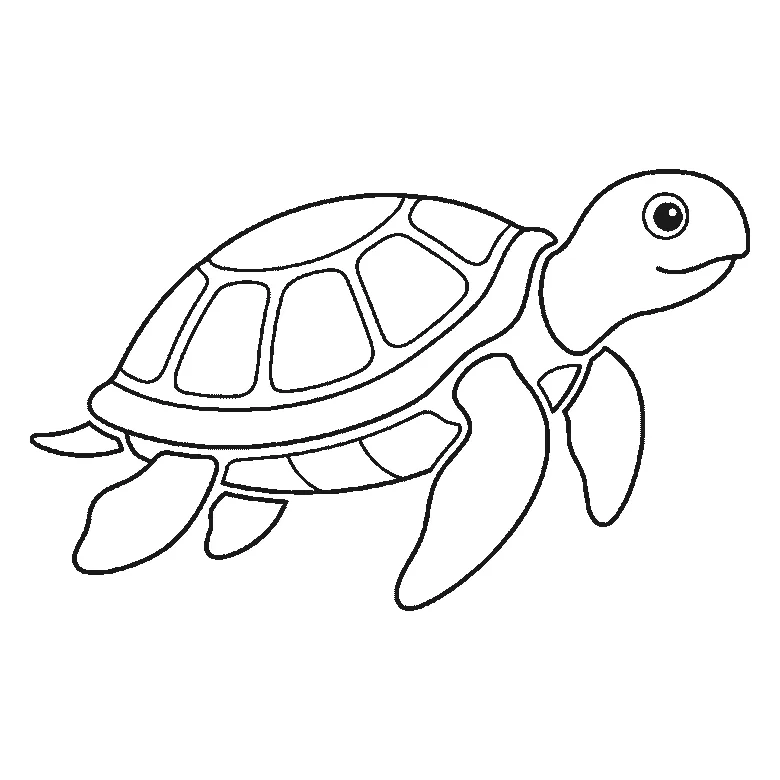
How to draw a turtle
Six frames, one sea turtle swimming in profile. The head and one flipper first, then the shell, the rear flippers and the plates.
Step sequence made by us from a single drawing: each step keeps the lines of the one before it and adds to them.
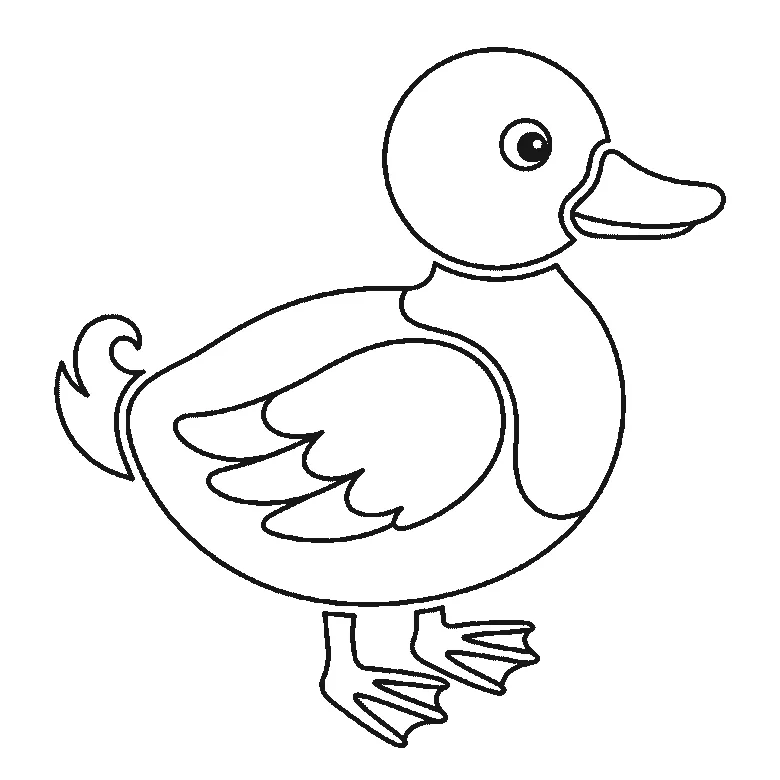
How to draw a duck
Six frames, one duck standing in profile. The folded wing first, then the head, the body, the bill and the webbed feet.
Step sequence made by us from a single drawing: each step keeps the lines of the one before it and adds to them.
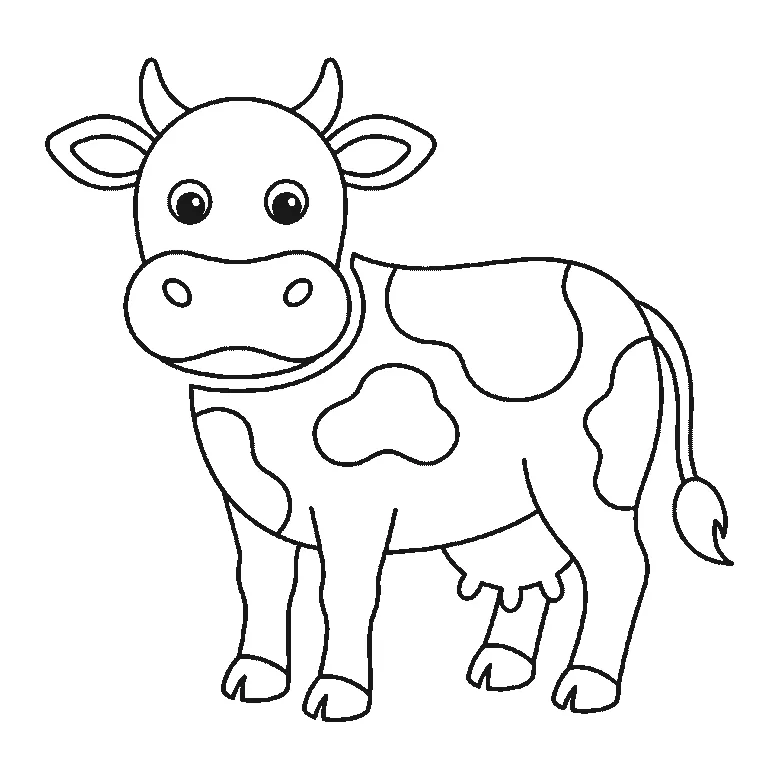
How to draw a cow
Six frames, one cow seen from the front. The patched body and legs first, then the head, the muzzle and the horns.
Step sequence made by us from a single drawing: each step keeps the lines of the one before it and adds to them.
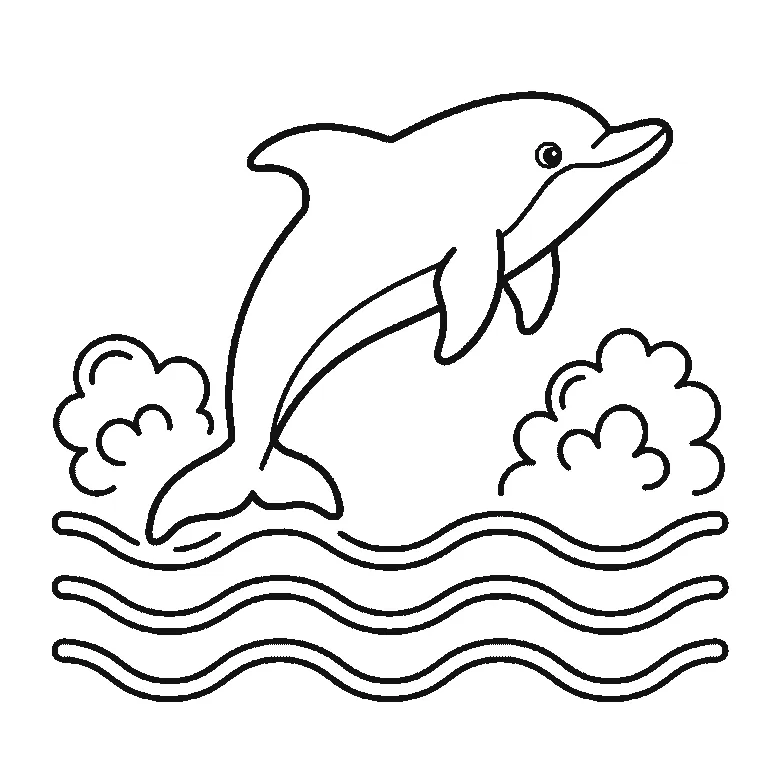
How to draw a dolphin
Six frames, one dolphin leaping over the waves. The whole animal in the first frame, then the waves and the splashes around it.
Step sequence made by us from a single drawing: each step keeps the lines of the one before it and adds to them.
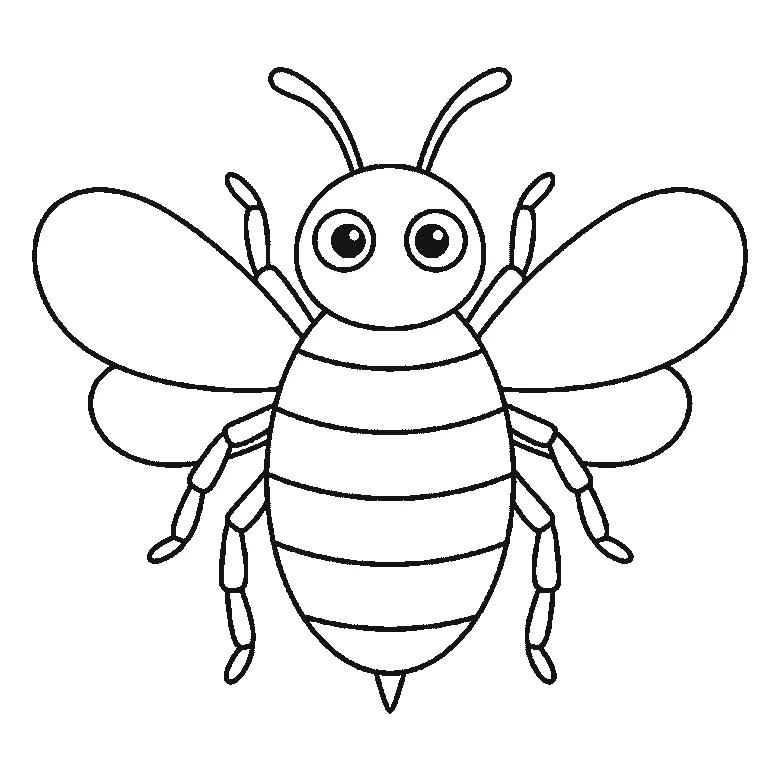
How to draw a bee
Six frames, one bumblebee seen from the front. The wings and head first, then the striped body, the legs and the antennae.
Step sequence made by us from a single drawing: each step keeps the lines of the one before it and adds to them.
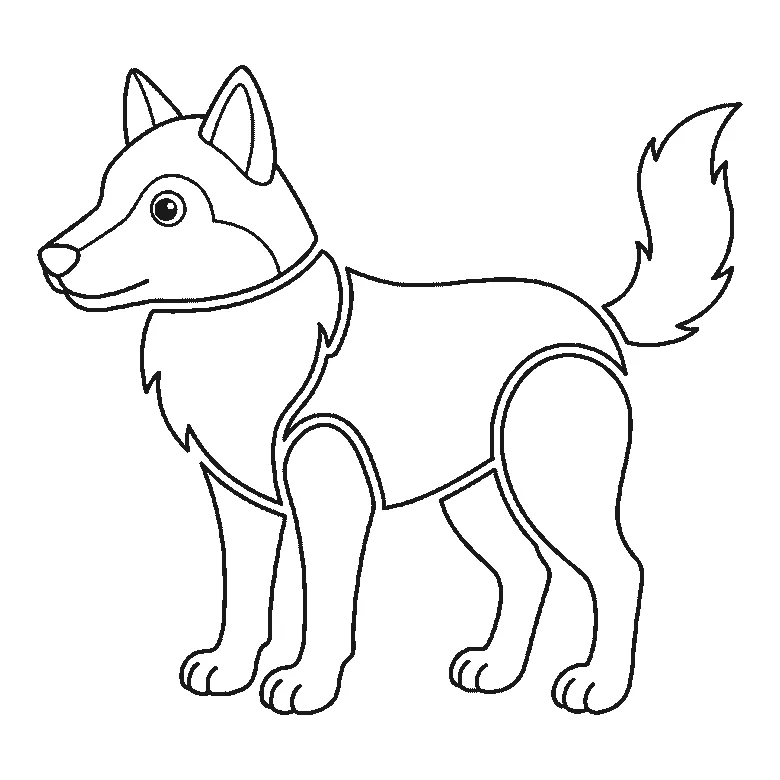
How to draw a wolf
Six frames, one wolf standing in profile. The chest ruff and a hind leg first, then the body, the head and the bushy tail.
Step sequence made by us from a single drawing: each step keeps the lines of the one before it and adds to them.
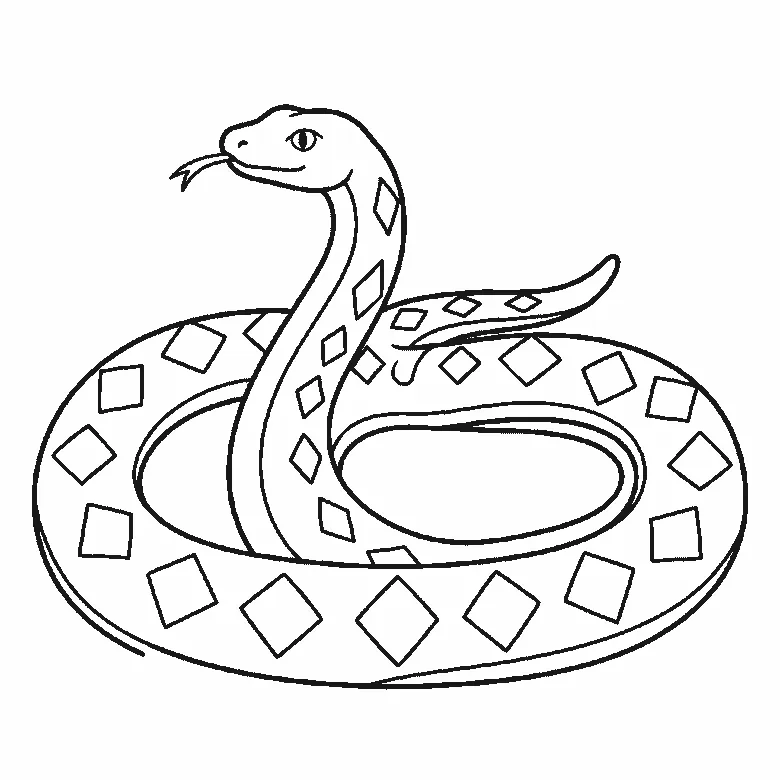
How to draw a snake
Six frames, one snake coiled in two loops with its head raised. Almost the whole coil in the first frame, then the inner edge and the diamonds.
Step sequence made by us from a single drawing: each step keeps the lines of the one before it and adds to them.
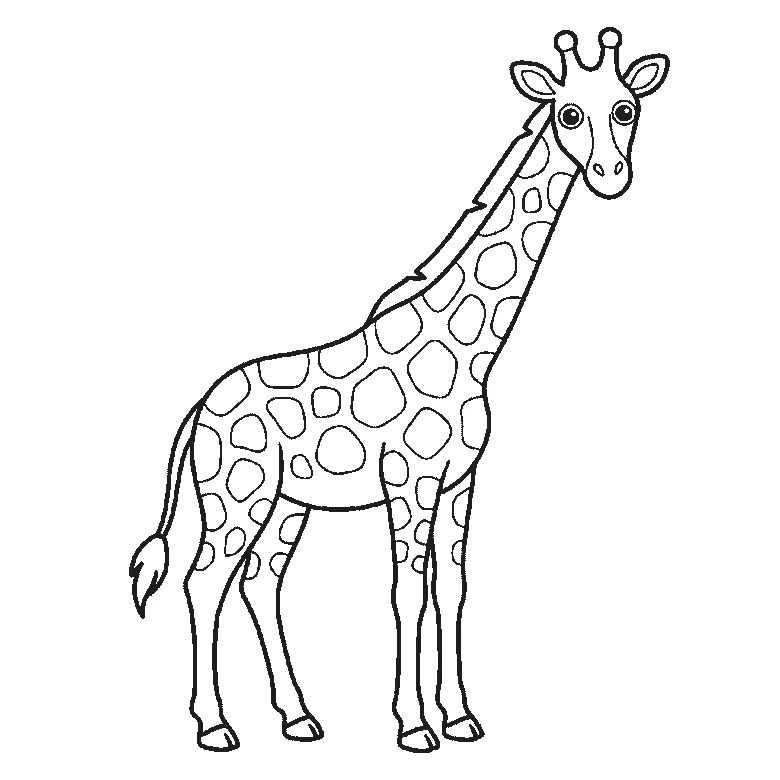
How to draw a giraffe
Six frames, one giraffe in profile with its head turned to you. Body, neck and legs first, then the coat patches and the face.
Step sequence made by us from a single drawing: each step keeps the lines of the one before it and adds to them.
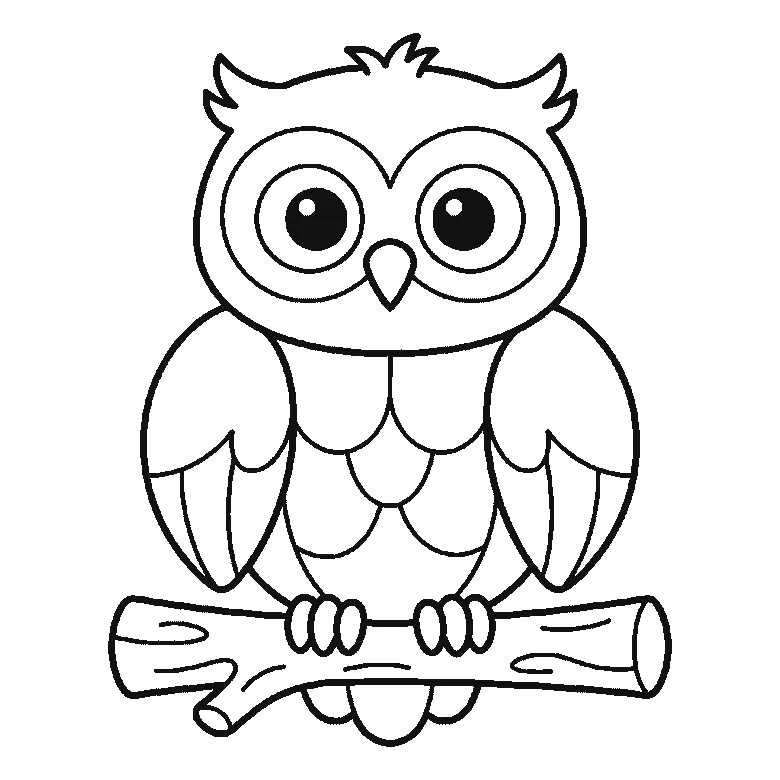
How to draw an owl
Six frames, one owl on a branch. The head and both ear tufts first, then the whole branch, then a wing at a time — and the pupils and the tail last.
Step sequence made by us from a single drawing: each step keeps the lines of the one before it and adds to them.
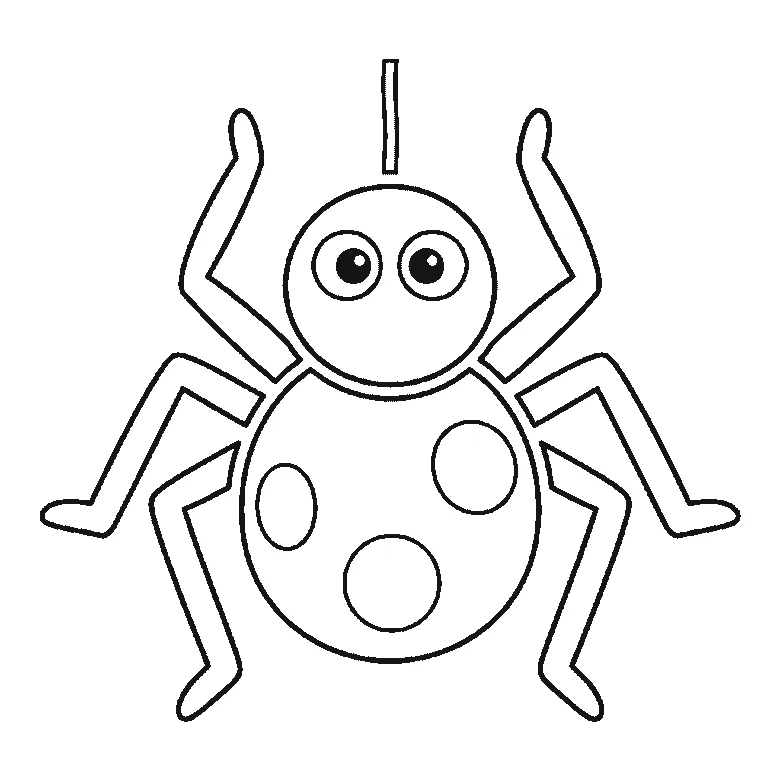
How to draw a spider
Six frames, one friendly spider. The patched round body first, then the head, then the legs two at a time — and the pupils and the thread right at the end.
Step sequence made by us from a single drawing: each step keeps the lines of the one before it and adds to them.


