
PDF · A4 · 44 KB · Free, no sign-up. For home and classroom use.
How to draw a duck
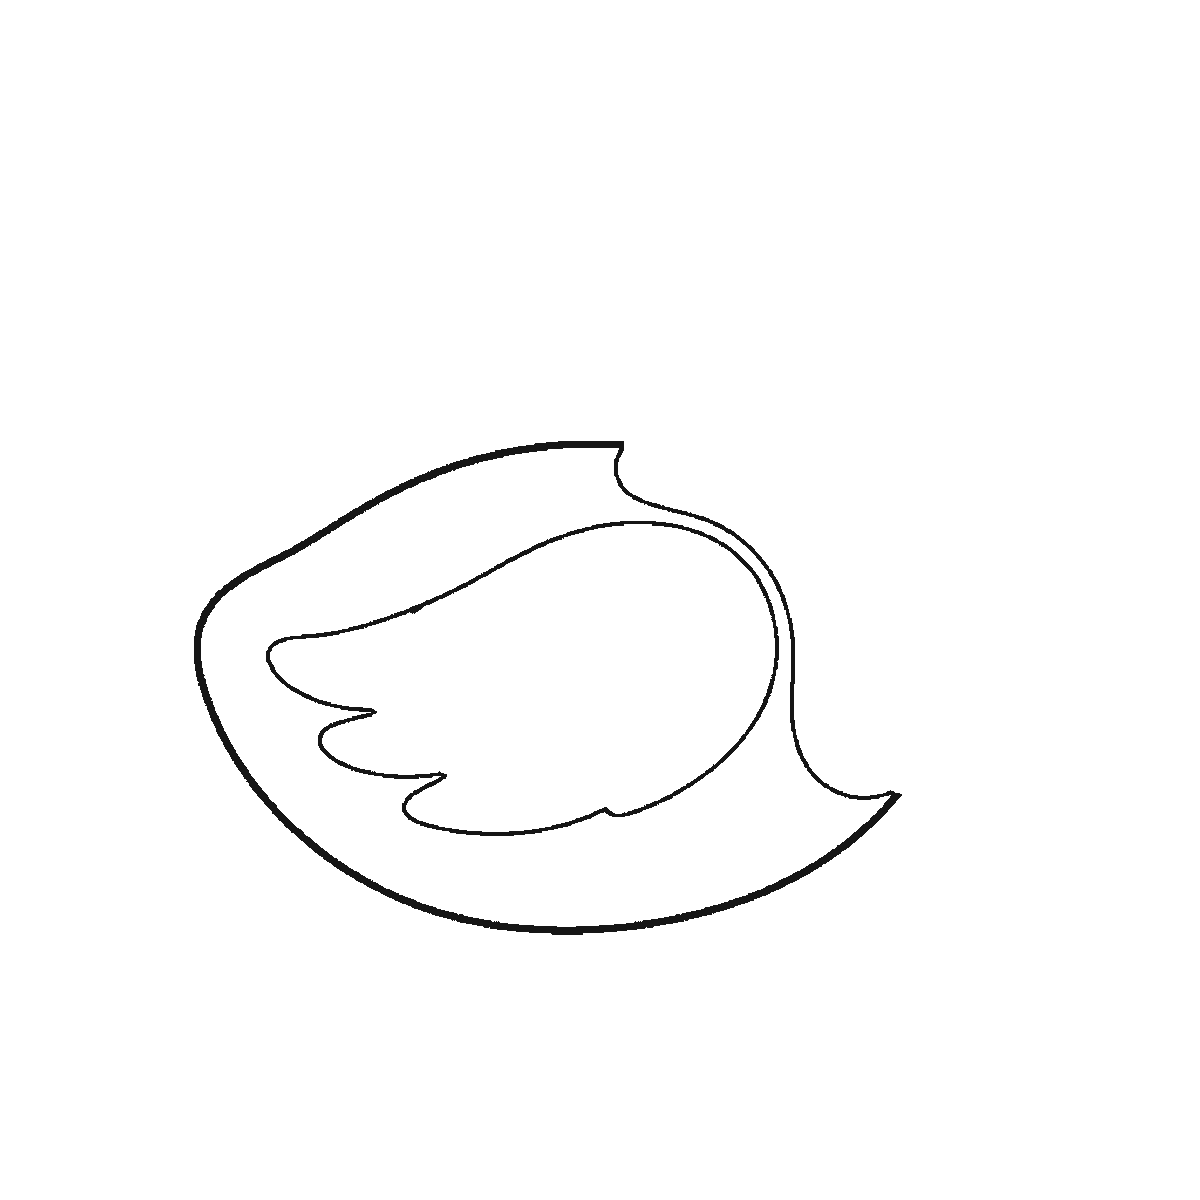
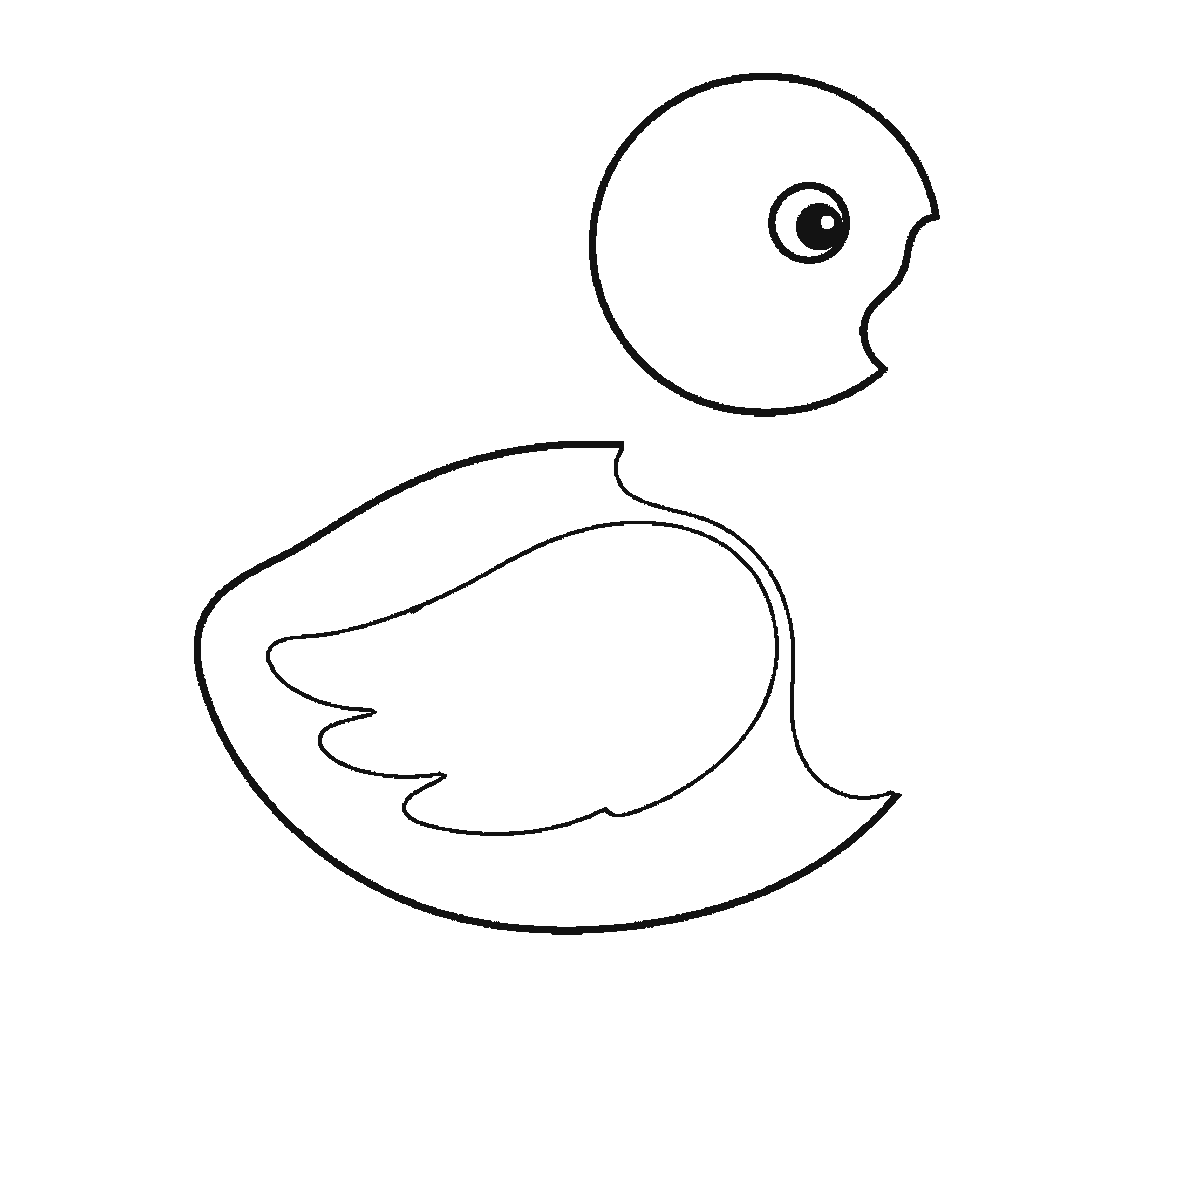
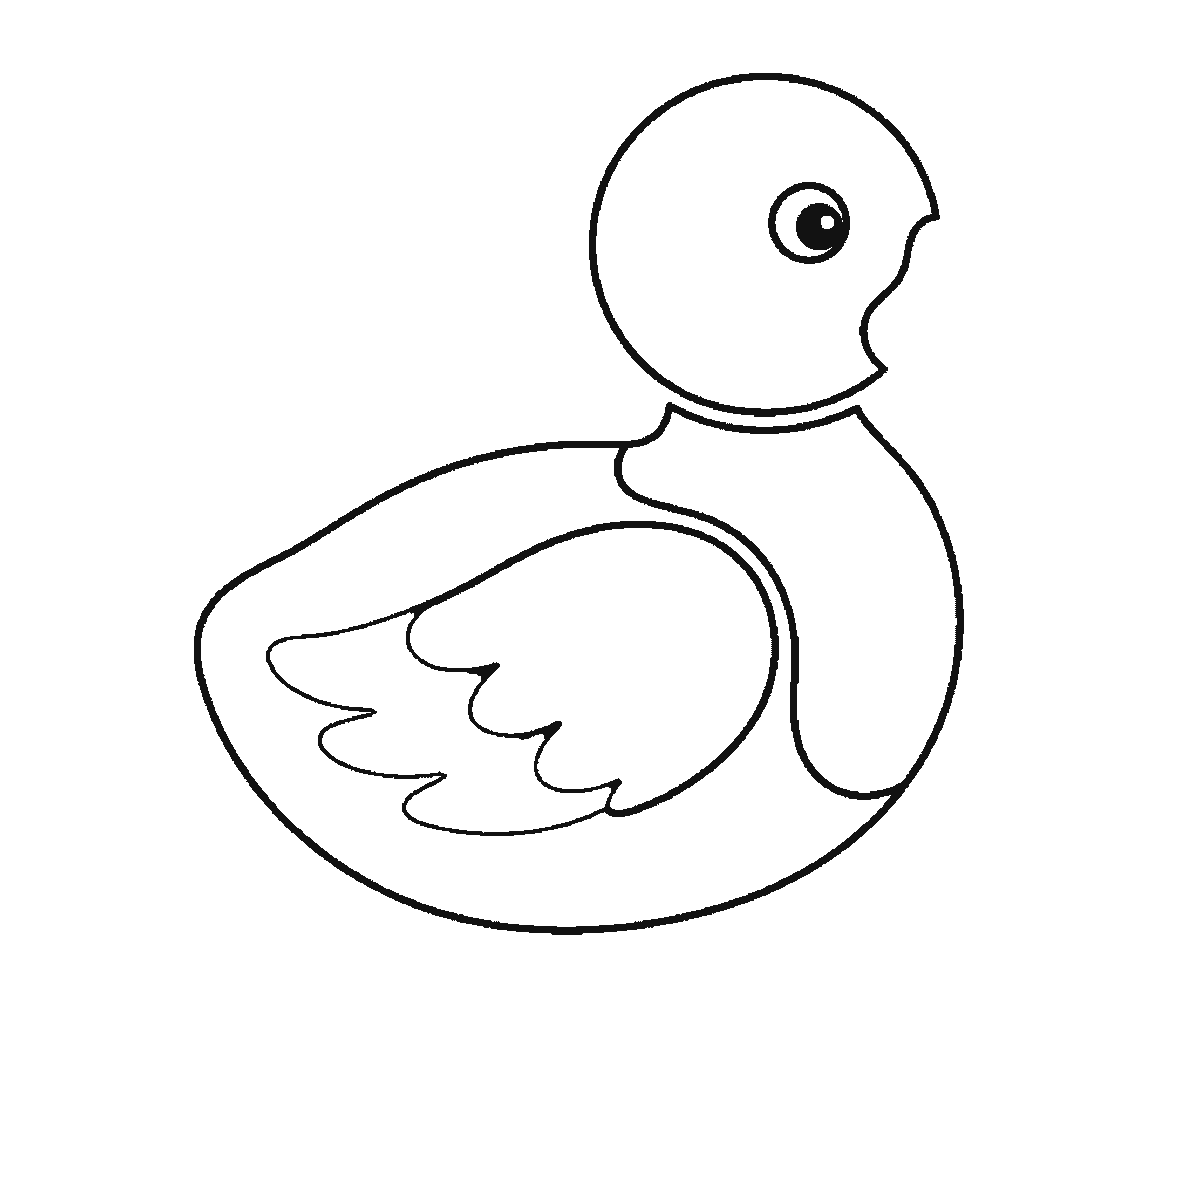
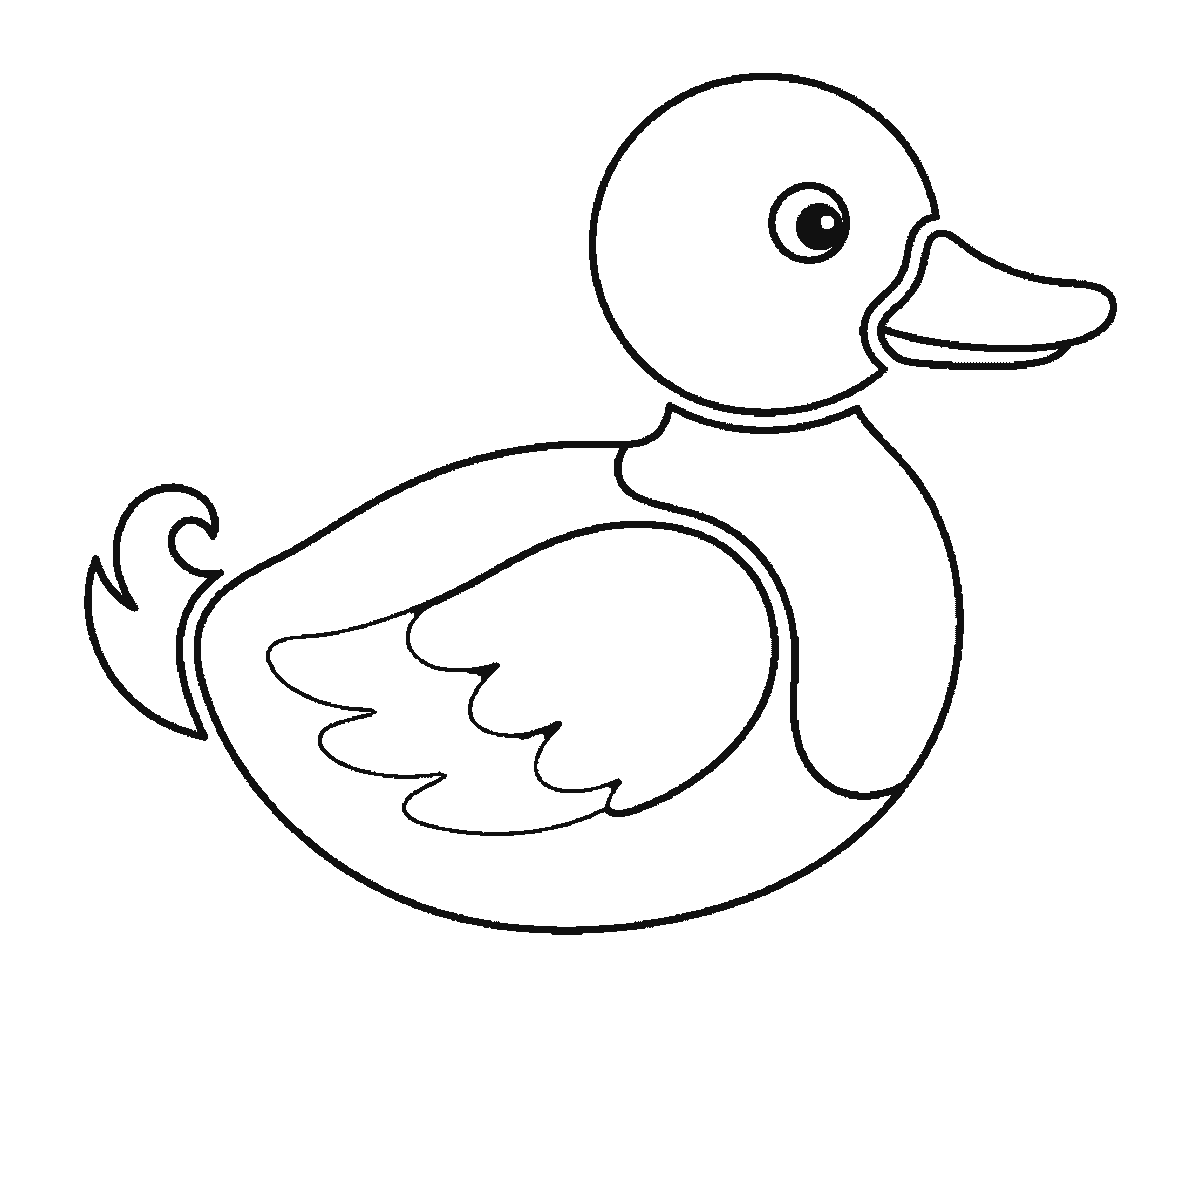
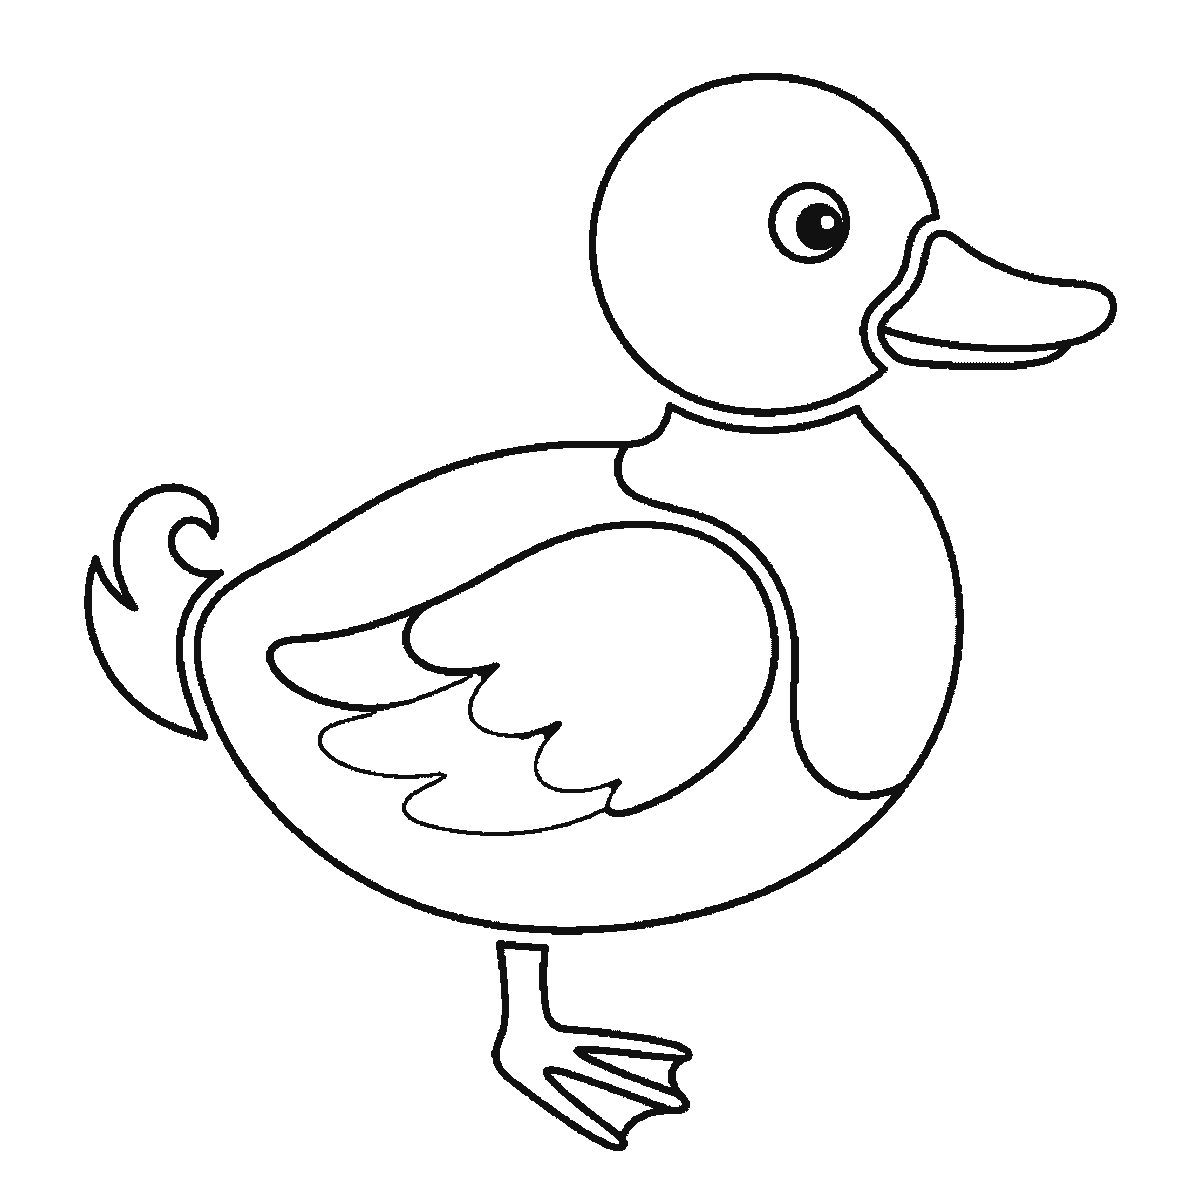
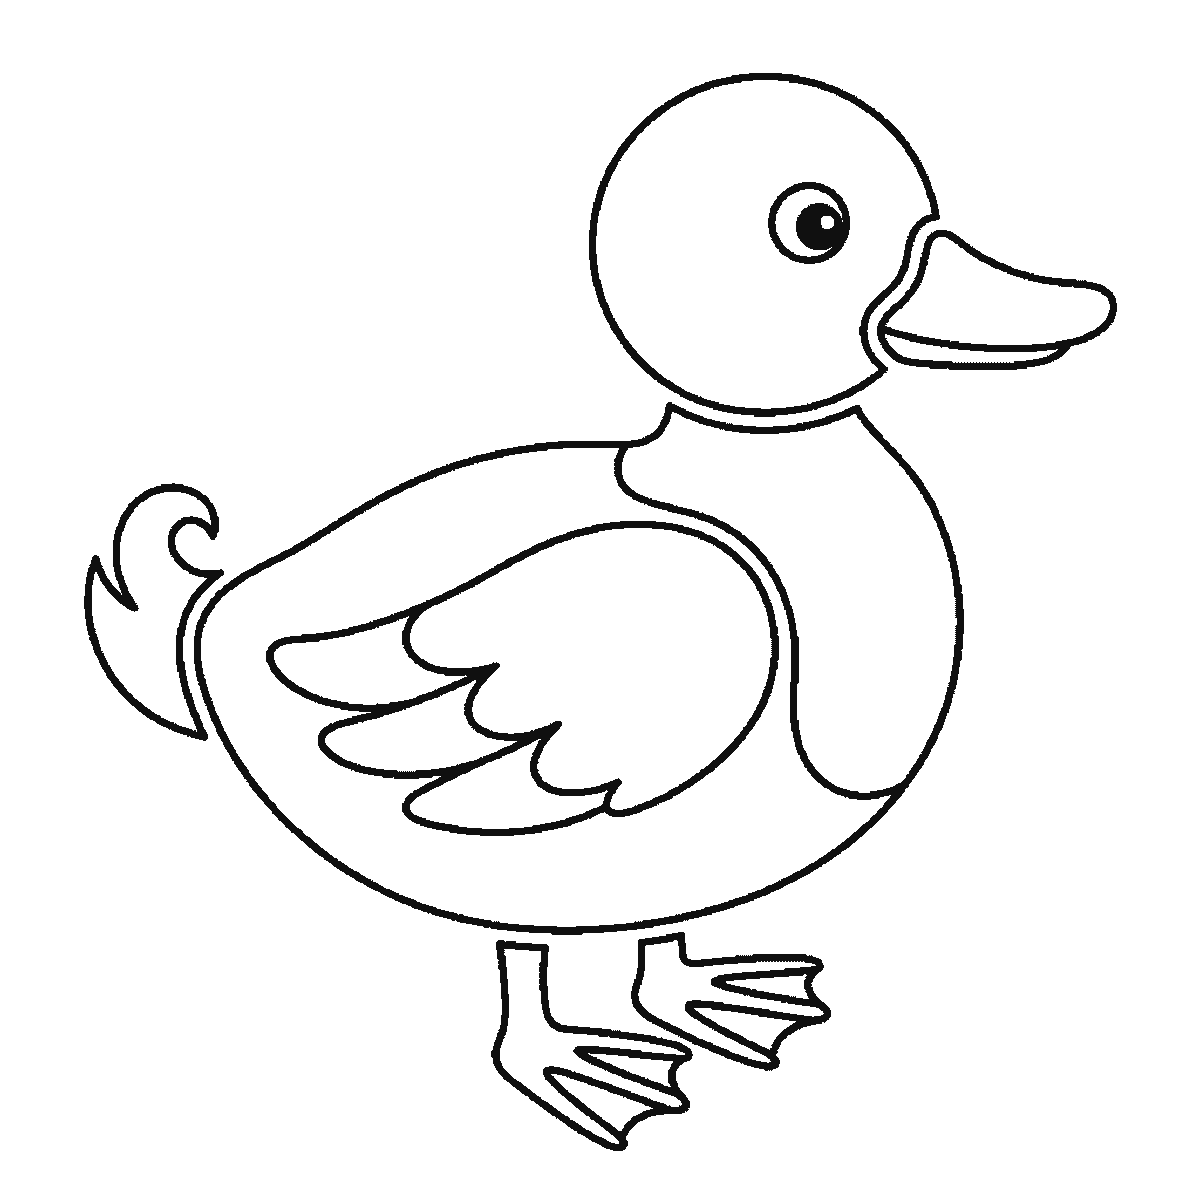
Six frames, one duck standing in profile. The folded wing first, then the head, the body, the bill and the webbed feet.
A duck is two circles and a bill, and almost every duck ever drawn is built that way. What separates one that looks right from one that does not is the relationship between the two circles — their sizes, and the distance between them — so this sheet spends its first two frames on exactly that and leaves the details until the shape is settled.
Frame one is the folded WING, on its own, before there is a bird to attach it to. It is the largest closed shape on the drawing and that is the only reason it comes first — but it turns out to be a useful place to start, because the wing sits along the flank and its angle fixes the tilt of the whole body that arrives around it.
The head follows in frame two as a circle with the eye already in it, set forward and above the wing, and the body only closes around both of them in frame three. Tilt that body so the front sits slightly higher than the tail end — a duck on land carries itself nose-up, and a level body makes the bird look like a bath toy. Keep the neck short, too: the head almost rests on the shoulders, and a long neck gives you a goose.
The bill comes off the front of the head and it is the shape everyone will judge the drawing on. It is broad, flat and blunt-ended, with a slight downward hook at the very tip and a visible line separating upper from lower. Draw it as a long flattened wedge rather than a triangle. A pointed bill turns the duck into a generic bird immediately.
The eye is small, round, with a filled pupil, and it sits high on the head and quite far forward, close to where the bill begins. Because the bird is in profile there is one eye and no more. Setting it too far back gives the duck a vacant look that is hard to diagnose afterwards.
The wing is folded against the flank and drawn as a separate shape inside the body outline, not as a line on top of it. Inside that shape sit three broad feather forms, layered so each overlaps the one below. Three is enough. Drawing a dozen individual feathers takes ten times as long and makes the bird look ruffled rather than sleek.
The tail is a small pointed shape at the back, and on a drake it curls upwards into a neat little hook. That curl is one of the most recognisable details on the whole bird and it takes a single stroke, so it is unusually good value.
The feet are webbed and they are the part most people rush. Each is a triangle of web with three toes, and the front toes point forward while the leg comes down from well under the body rather than from the back. Legs set too far back is why so many drawn ducks look like they are about to topple over.
If you want to develop the drawing, try putting the same duck on water. Everything below the waterline disappears, the feet vanish entirely, the body sits lower and you add a few ripple lines. It is dramatically easier than the standing version, and comparing the two teaches you how much of a drawing you can simply leave out.
The six frames go from the largest closed shape down to the smallest, which here means wing, then head, then body, then the tail curl, then the bill and one foot, then the second foot. That order is easy to copy from and it is not a rule about how ducks should be drawn. Blocking in the two body circles first, the way almost every drawing book teaches, gets you to the same bird.
Before you start
- Tilt the body so the front sits higher than the tail. A level duck reads as a bath toy.
- Keep the neck short. A long neck makes it a goose.
- Draw the bill as a broad flattened wedge with a blunt tip, never a triangle.
- Set the legs well under the body, not at the back, or the bird looks about to topple.
Published Updated 643 words
The six steps
The steps go from the largest shape to the smallest, which is an easy order to copy. It is not the only order, and it is not a rule — if you would rather start somewhere else on the sheet, do.
Step 1
Step 2
Step 3
Step 4
Step 5
Step 6
More in this section
How to draw a cow
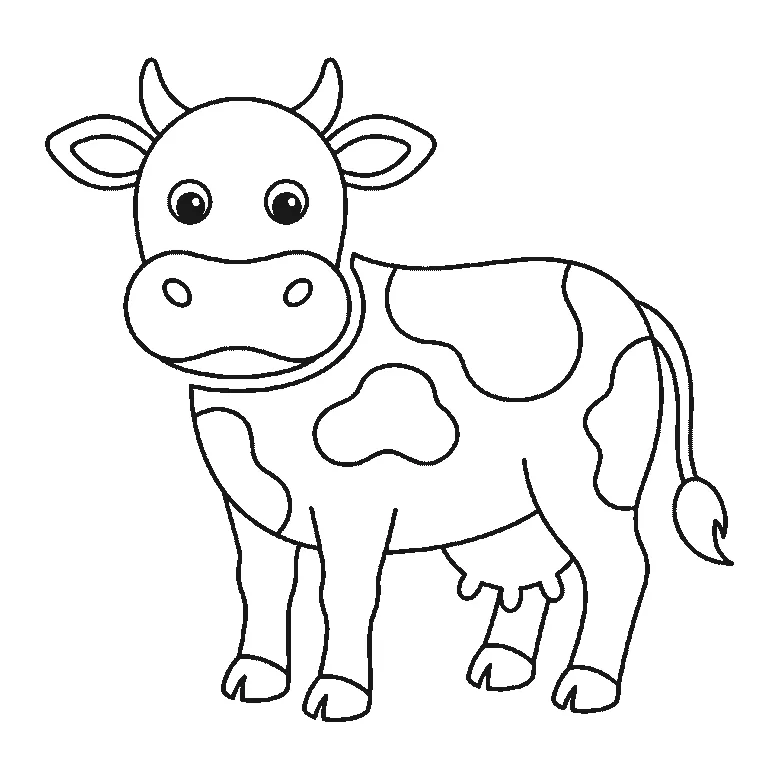
Six frames, one cow seen from the front. The patched body and legs first, then the head, the muzzle and the horns.
Step sequence made by us from a single drawing: each step keeps the lines of the one before it and adds to them.
How to draw a dolphin
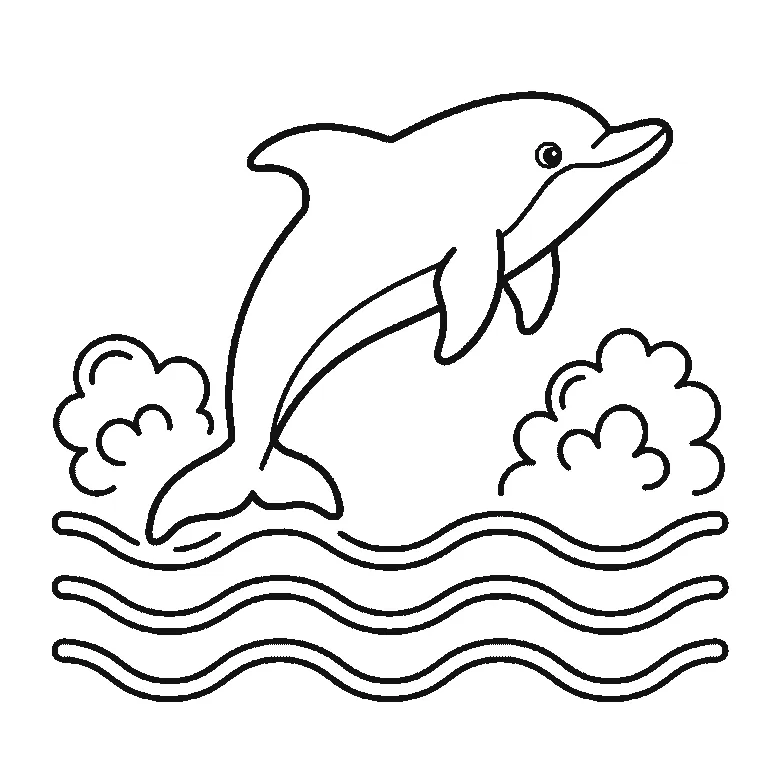
Six frames, one dolphin leaping over the waves. The whole animal in the first frame, then the waves and the splashes around it.
Step sequence made by us from a single drawing: each step keeps the lines of the one before it and adds to them.
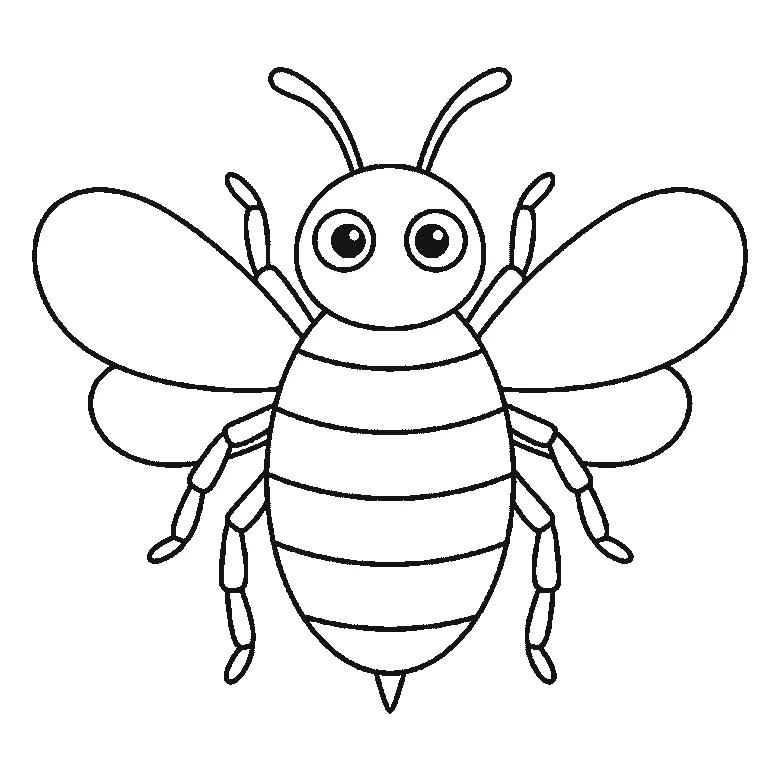
How to draw a bee
Six frames, one bumblebee seen from the front. The wings and head first, then the striped body, the legs and the antennae.
Step sequence made by us from a single drawing: each step keeps the lines of the one before it and adds to them.
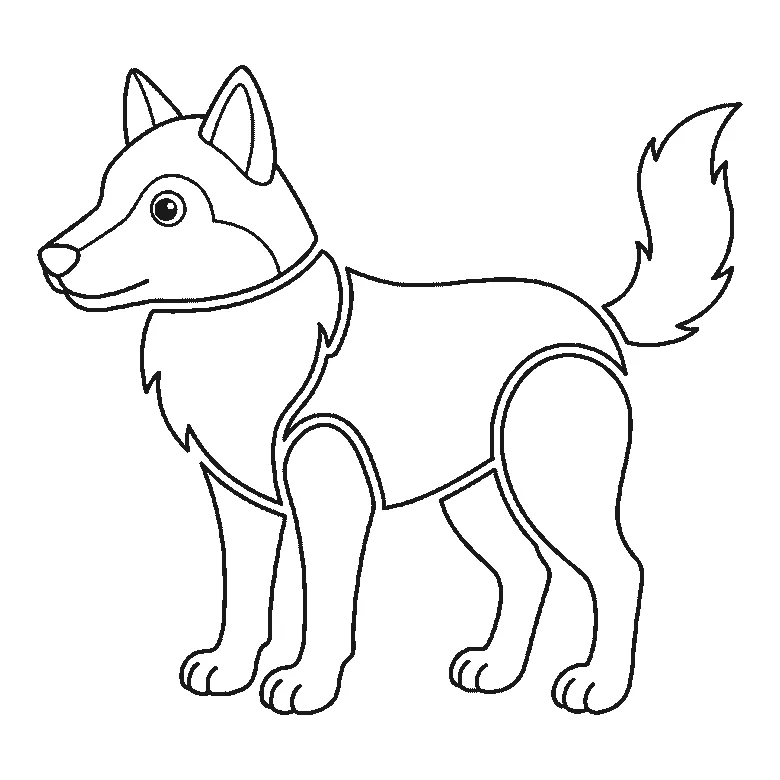
How to draw a wolf
Six frames, one wolf standing in profile. The chest ruff and a hind leg first, then the body, the head and the bushy tail.
Step sequence made by us from a single drawing: each step keeps the lines of the one before it and adds to them.
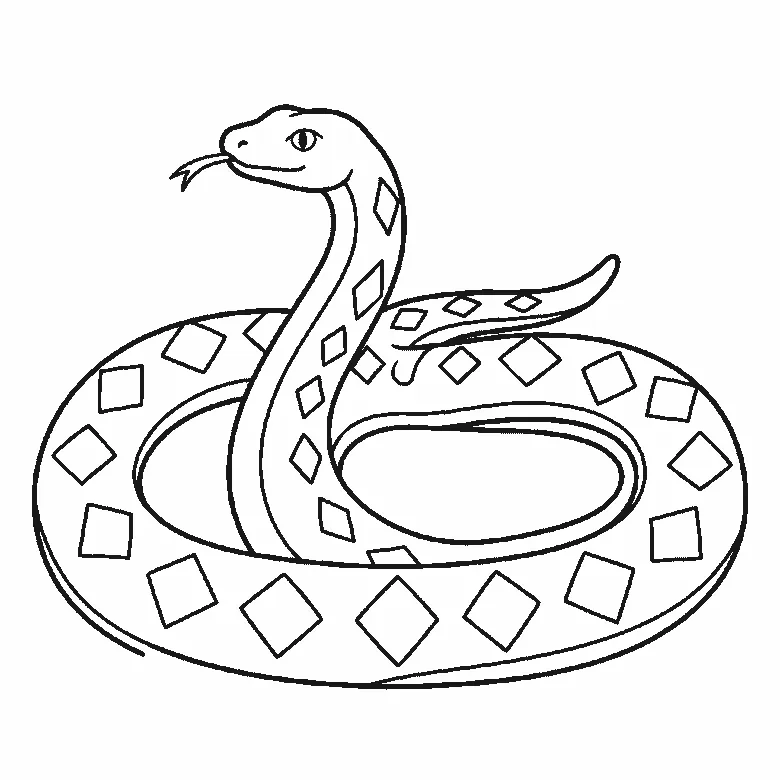
How to draw a snake
Six frames, one snake coiled in two loops with its head raised. Almost the whole coil in the first frame, then the inner edge and the diamonds.
Step sequence made by us from a single drawing: each step keeps the lines of the one before it and adds to them.
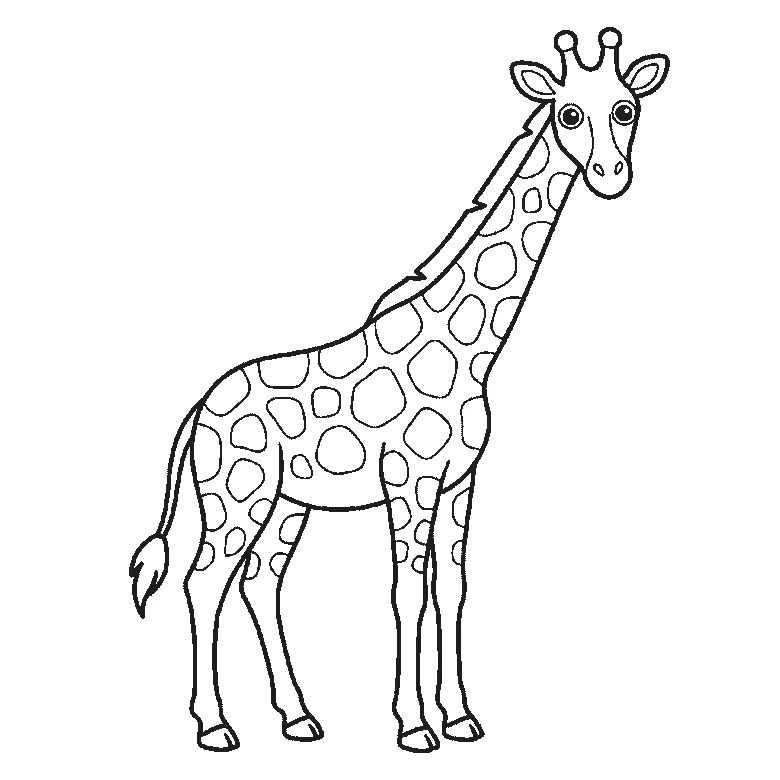
How to draw a giraffe
Six frames, one giraffe in profile with its head turned to you. Body, neck and legs first, then the coat patches and the face.
Step sequence made by us from a single drawing: each step keeps the lines of the one before it and adds to them.
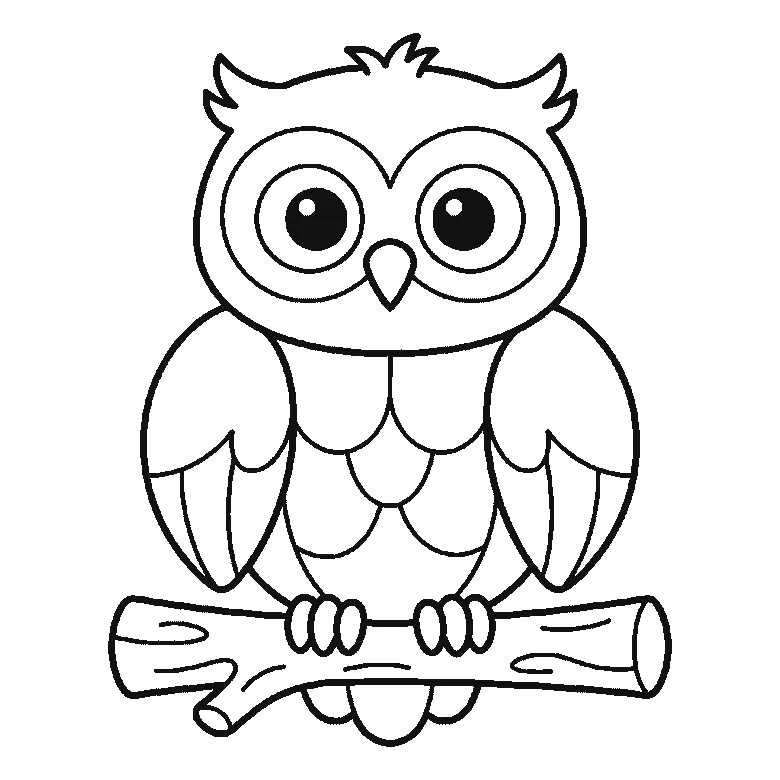
How to draw an owl
Six frames, one owl on a branch. The head and both ear tufts first, then the whole branch, then a wing at a time — and the pupils and the tail last.
Step sequence made by us from a single drawing: each step keeps the lines of the one before it and adds to them.
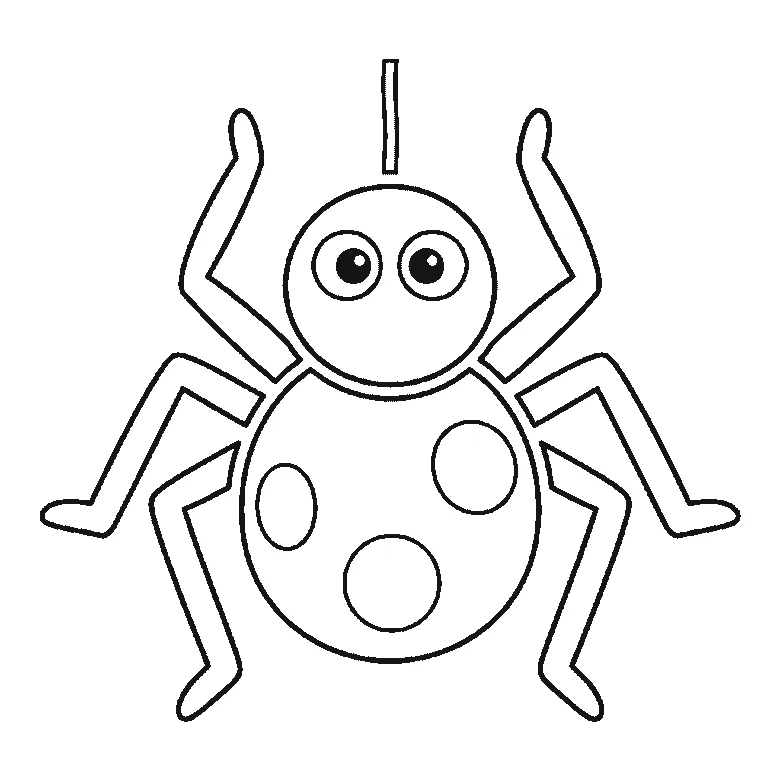
How to draw a spider
Six frames, one friendly spider. The patched round body first, then the head, then the legs two at a time — and the pupils and the thread right at the end.
Step sequence made by us from a single drawing: each step keeps the lines of the one before it and adds to them.
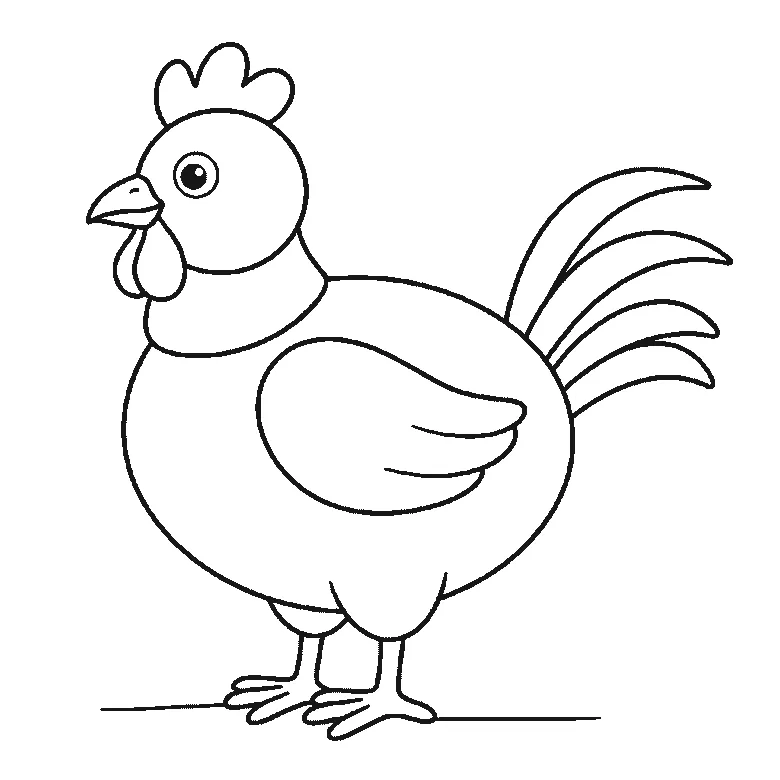
How to draw a chicken
Six frames, one plump hen standing side-on. The body first with no head at all, then the head and the folded wing, and the beak, wattle and eye right at the end.
Step sequence made by us from a single drawing: each step keeps the lines of the one before it and adds to them.
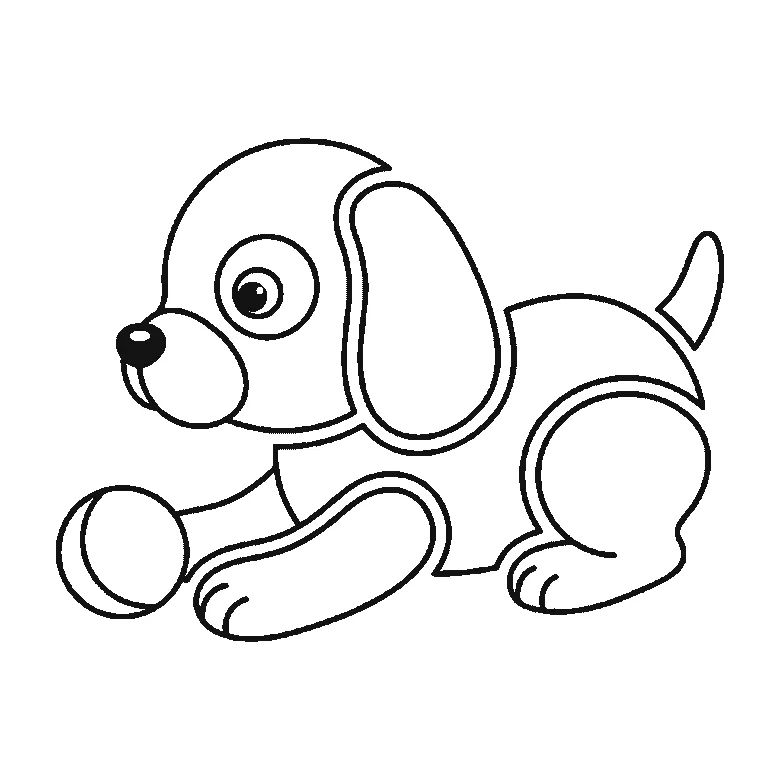
How to draw a puppy
Six frames, one round puppy lying down with a ball. The back and haunch first — no head until the second frame — and the nose, eye and tail last.
Step sequence made by us from a single drawing: each step keeps the lines of the one before it and adds to them.
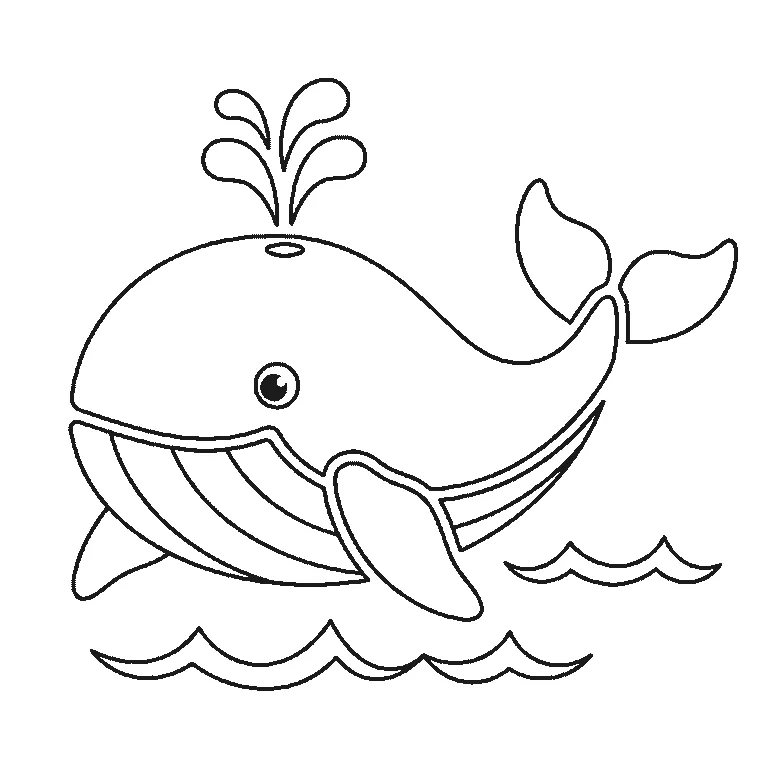
How to draw a whale
Six frames, one whale above the waves. The whole body first with the eye left blank, then the tail and the big flipper, and the spout and the filled pupil last.
Step sequence made by us from a single drawing: each step keeps the lines of the one before it and adds to them.
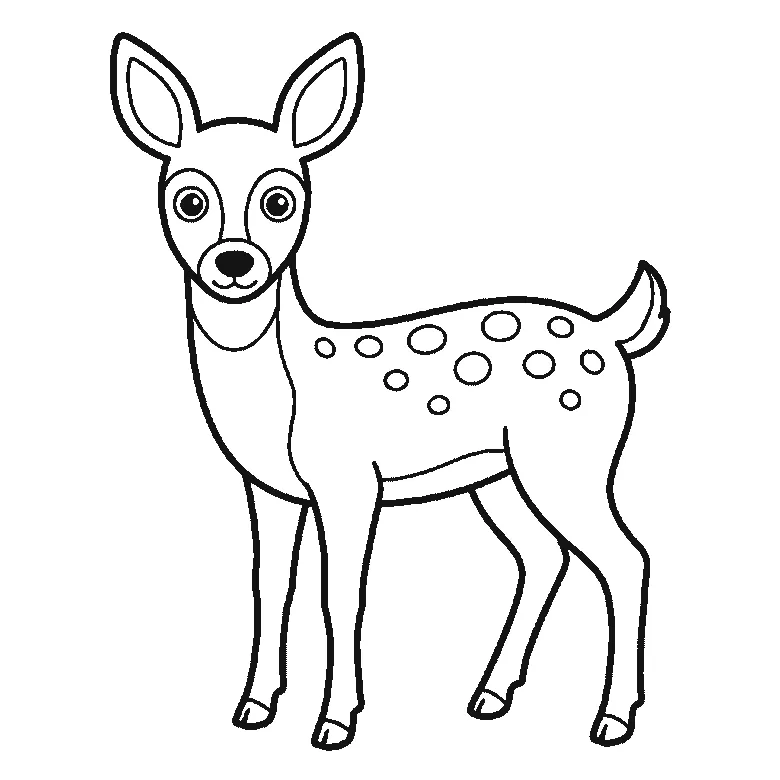
How to draw a deer
Six frames, one young deer standing side-on. The spotted body first with no head at all, then the ears — and the entire face arrives in the last frame.
Step sequence made by us from a single drawing: each step keeps the lines of the one before it and adds to them.


