
PDF · A4 · 58 KB · Free, no sign-up. For home and classroom use.
How to draw a giraffe
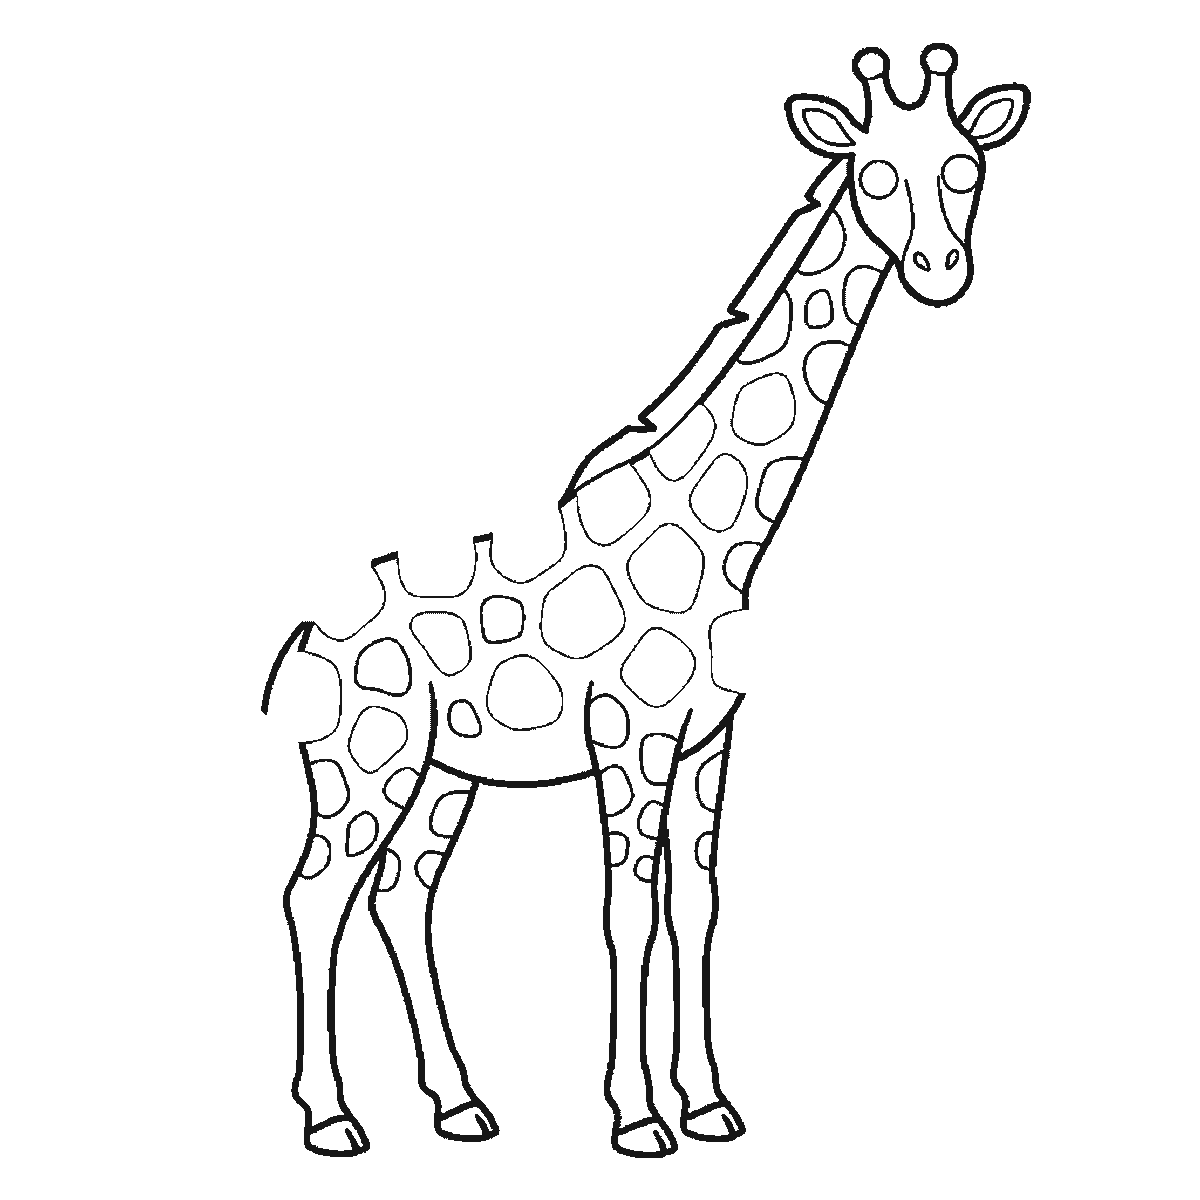
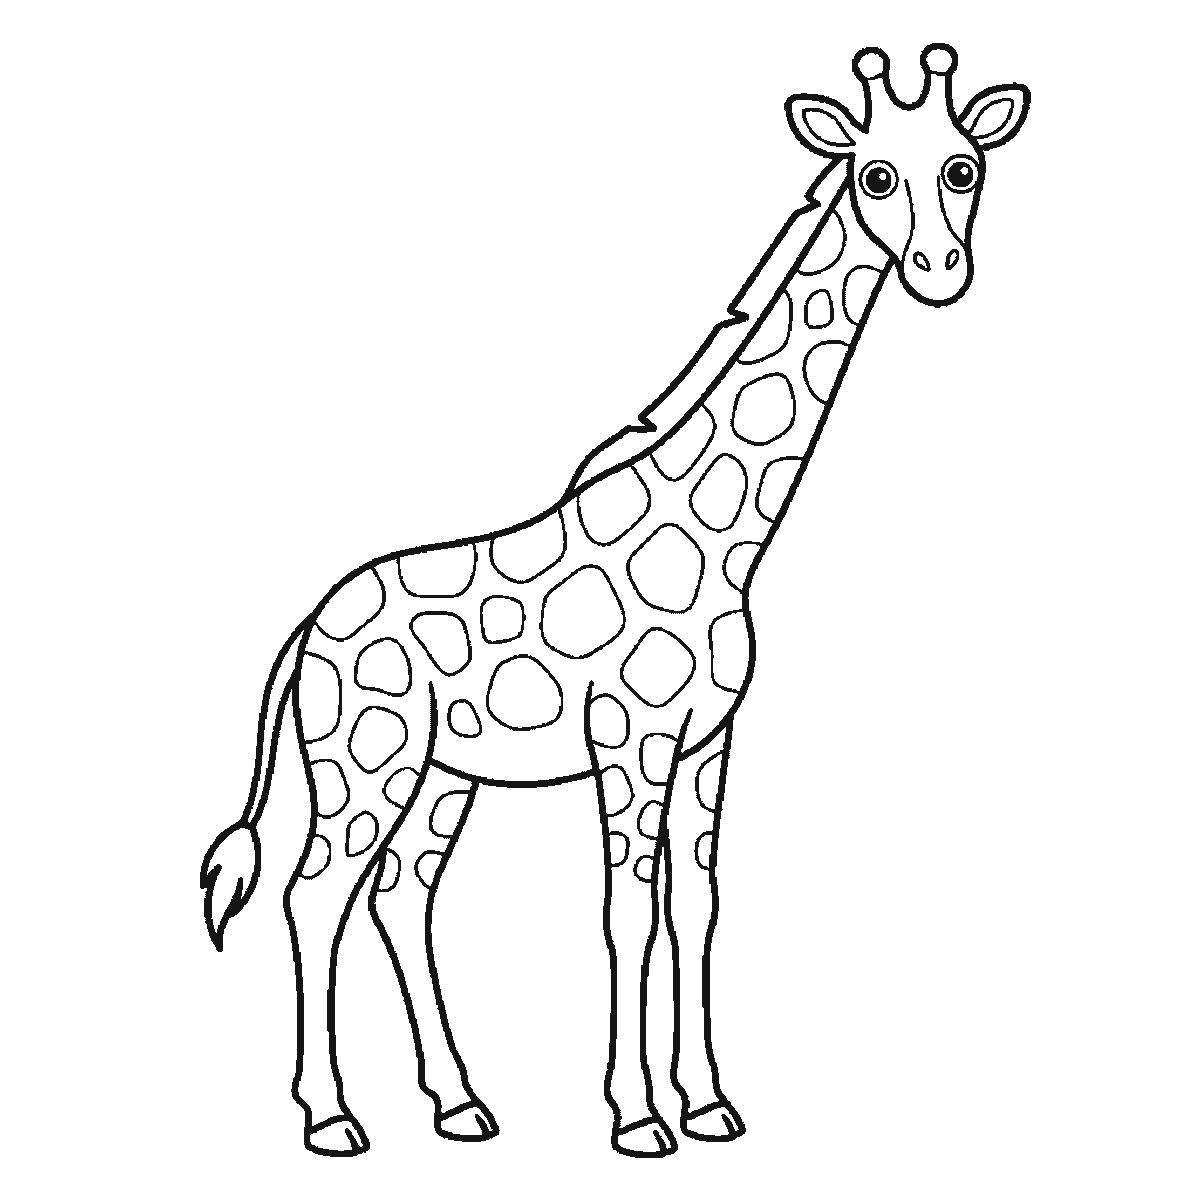
Six frames, one giraffe in profile with its head turned to you. Body, neck and legs first, then the coat patches and the face.
Everything about drawing a giraffe comes down to one measurement, and it is not the neck. It is the ratio between the neck and the legs. Both are long, and if you make the neck long while leaving the legs at ordinary proportions you get an animal that looks like a horse being stretched. The legs have to grow with it.
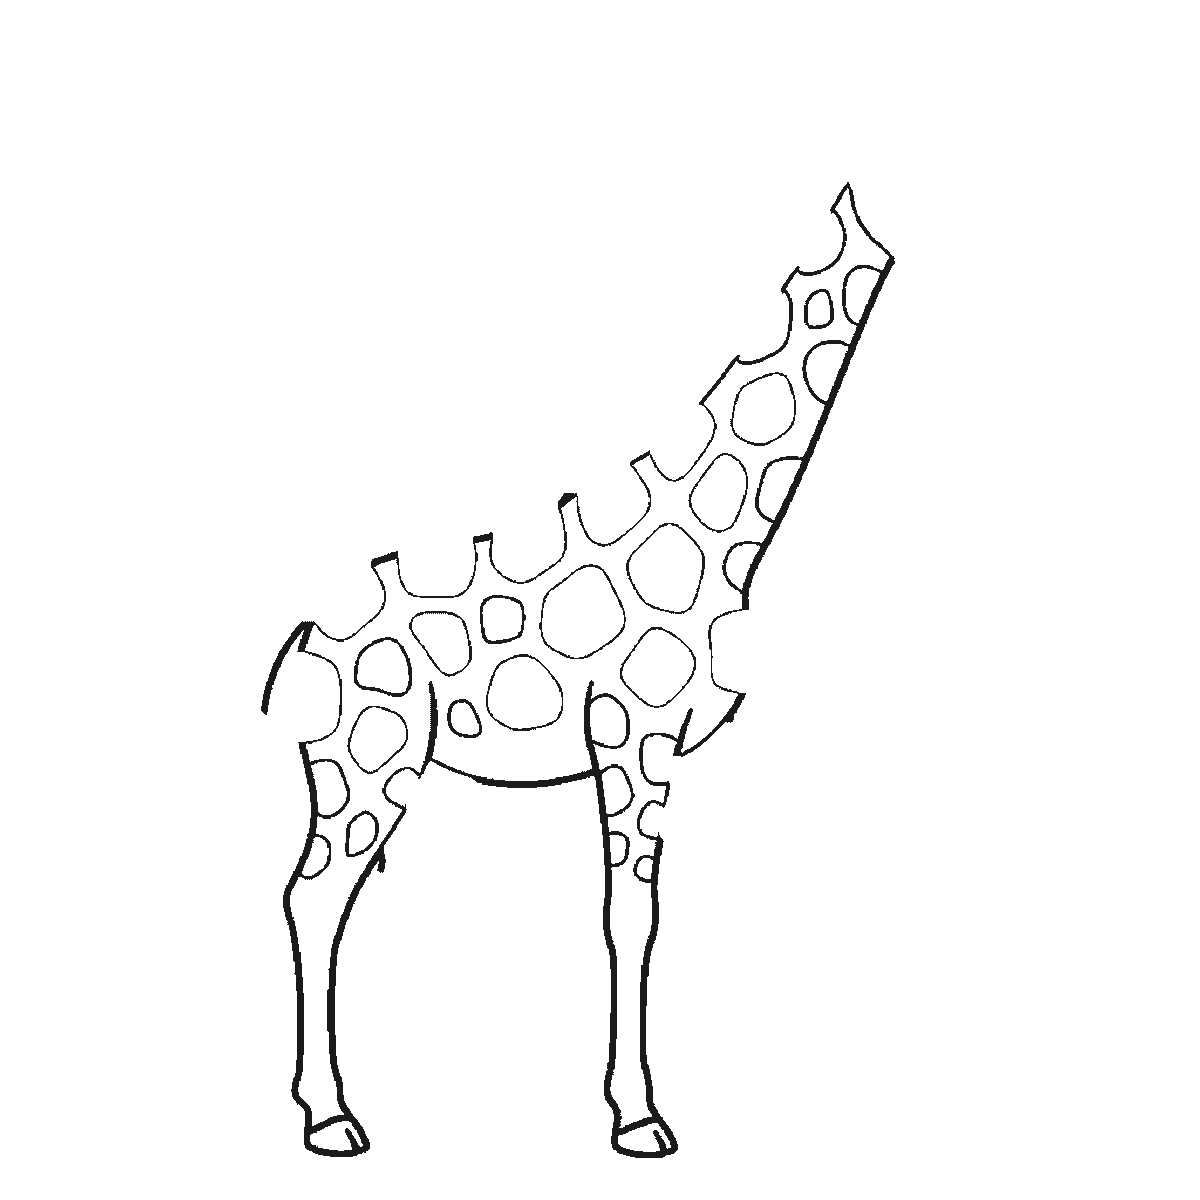
Frame one carries a great deal — the body, the neck, the legs and most of the coat patches all at once — because on this drawing the patches are the separate closed shapes and the animal underneath them is one outline. The five frames after it add the remaining patches and the face. So frame one is the drawing, and the rest is filling in. The body inside it is smaller than people expect: a giraffe's torso is compact, deep at the shoulder and sloping down towards the hips, and that downward slope is worth exaggerating slightly because it is what makes the shoulders look strong enough to hold the neck up.
The neck comes next, rising from the shoulders at an angle rather than vertically, and it should be thicker than instinct suggests. A giraffe's neck is a heavy muscular column, not a tube. Taper it gently towards the head, and set it forward of the shoulders rather than on top of them.
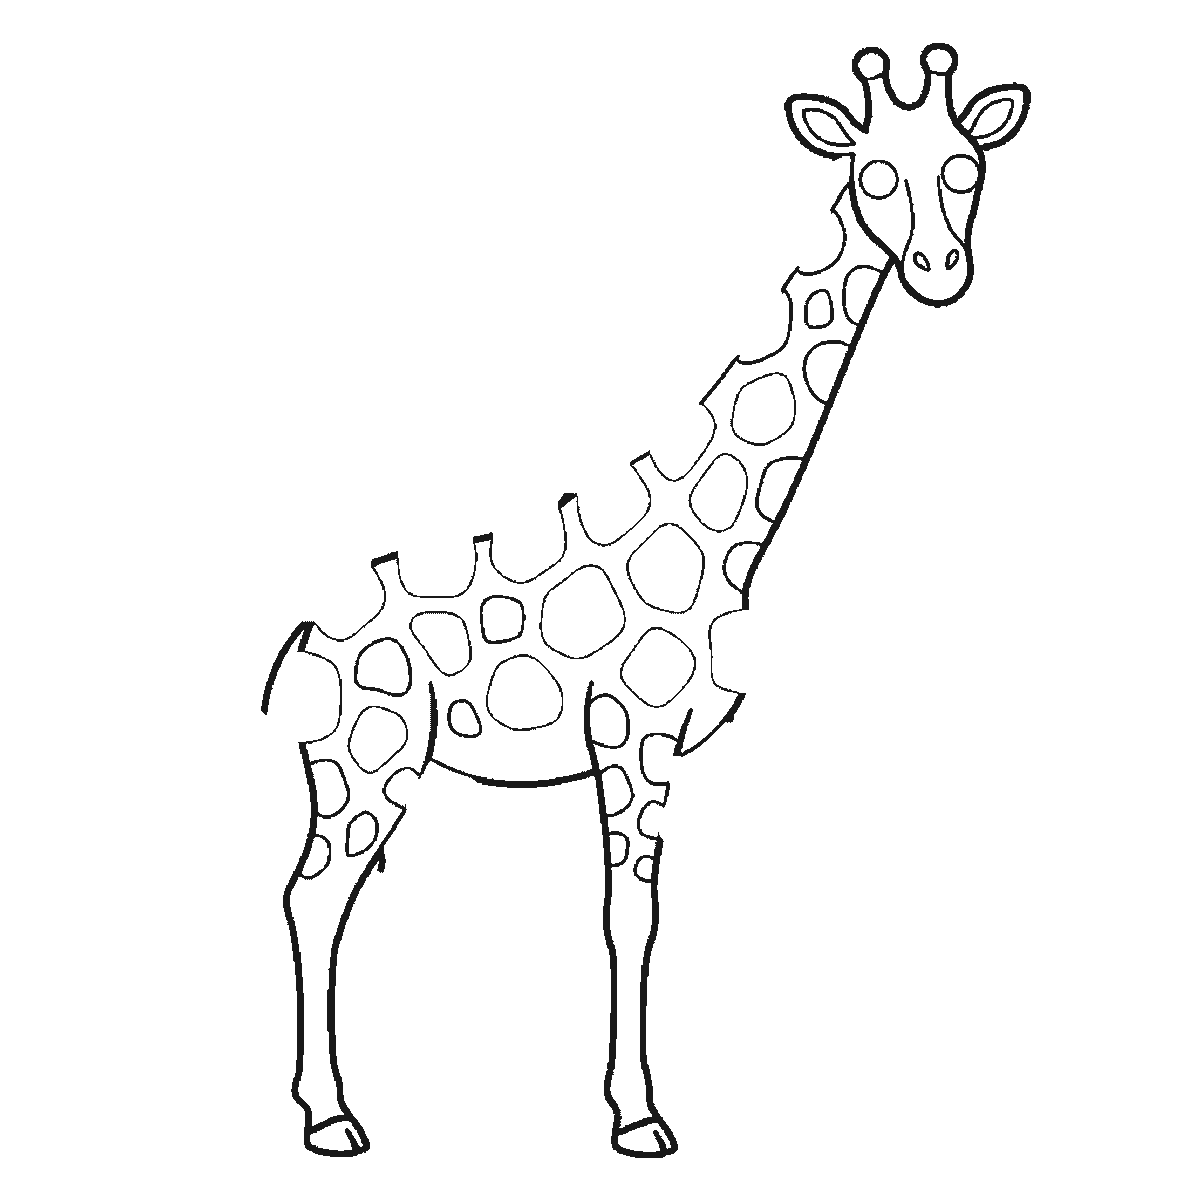
The head is small — strikingly small relative to everything else — and it is turned to face the viewer while the body stays in profile. That means you draw both eyes, and both should be large and round with filled pupils, because giraffe eyes are the biggest of any land mammal and they are most of the animal's charm.
On top of the head sit two ossicones, the short horn-like structures with rounded knobs at the tips. They are not horns and they should not be pointed. Draw them upright and slightly apart, and give each a small ball at the end. The two rounded ears sit below and to the sides, angled outwards like leaves.
A mane runs down the back of the neck as a separate outlined strip with a slightly ragged edge. It is easy to leave out and it does real work: it gives the neck a back and a front, which a plain tapering shape does not have, and it stops the neck reading as flat.
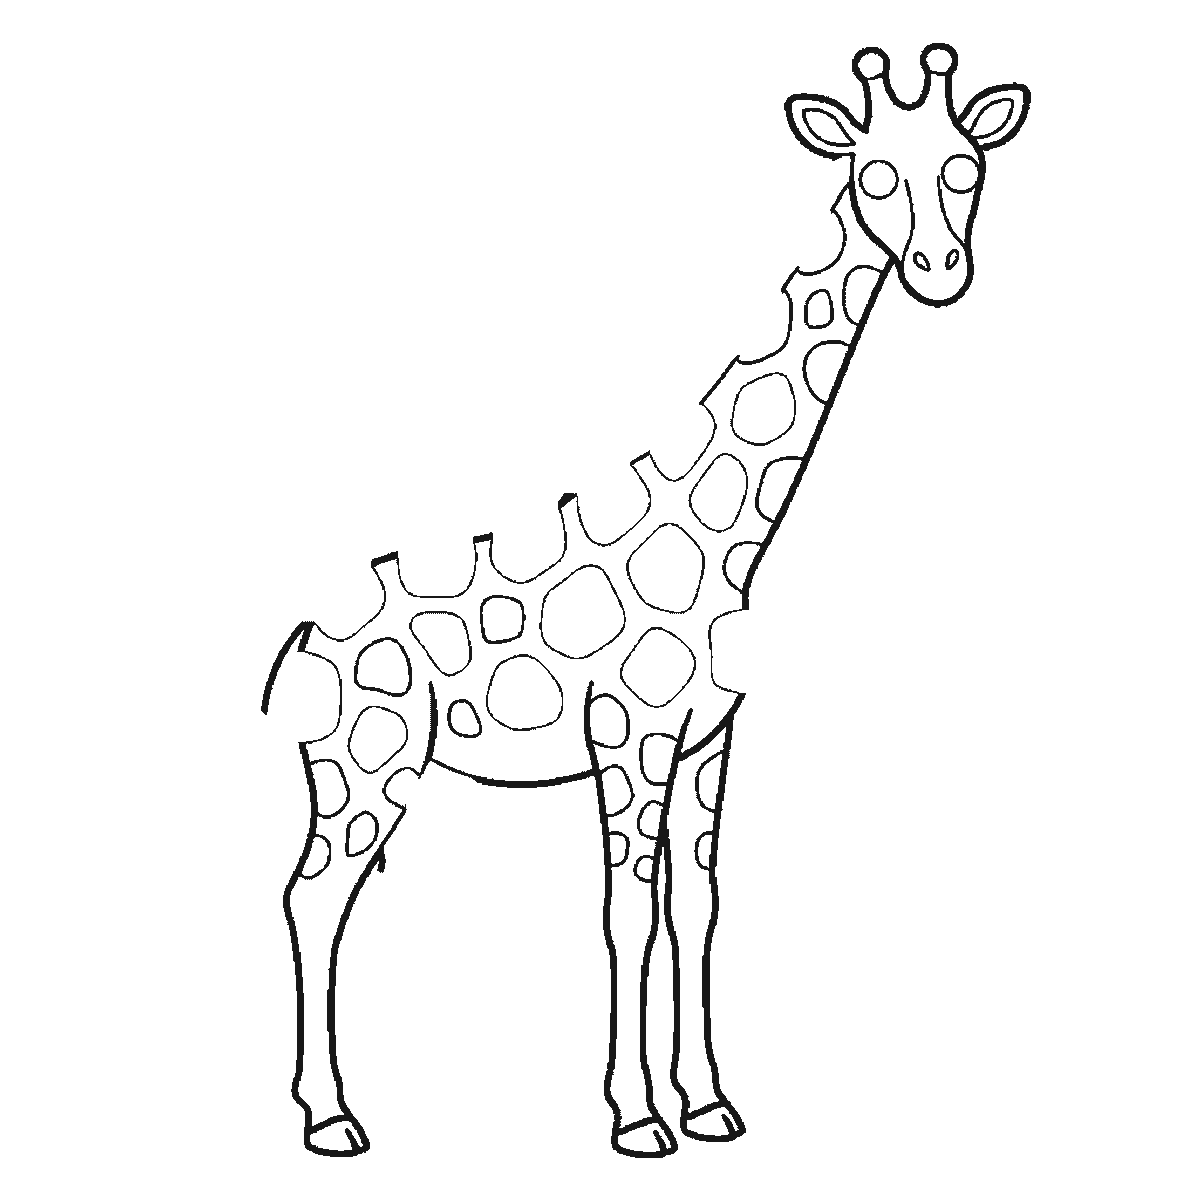
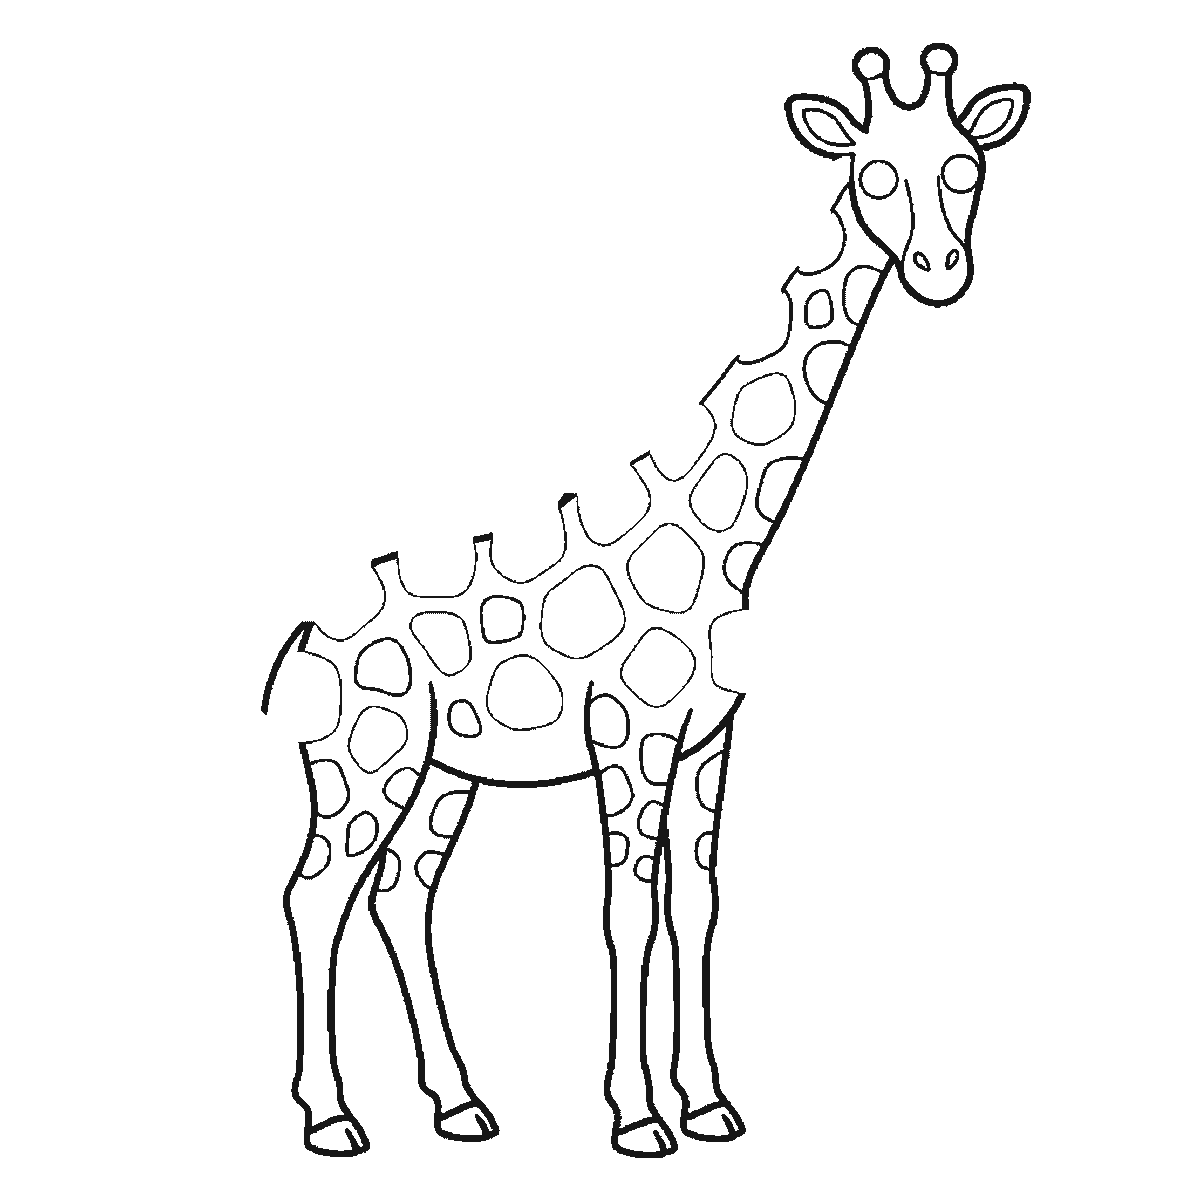
The legs are the four longest shapes on the page. Draw them as slender columns with a clear joint about halfway, narrowing below it to a dark blunt hoof. Set all four hooves on an imagined ground line and make the two far legs slightly shorter than the near pair — that is the whole of perspective for this drawing, and it takes seconds.
The patches are the last and best part. They are large rounded polygons, well spaced, with pale channels running between them, and the two rules that matter are these: no patch is a circle, and no two patches are the same size or shape. They should also shrink and squash as they approach the edge of the body or wrap around the leg, which is what makes the animal look solid rather than papered.
The tail hangs down from the hips as a thin line ending in a dark tuft, and it is the smallest shape on the sheet. It matters mainly because its absence is noticeable — an animal with no tail looks unfinished in a way that is hard to place until you spot it.
The six frames are ordered from the largest closed shape to the smallest, which on this drawing means one big first step and five frames of patches and face detail. As a teaching sequence that is thinner than the sheets for animals built from separate parts, and it is fairer to say so than to pretend otherwise. Nothing here claims this is how a giraffe ought to be drawn; blocking in the four legs early so the height is settled is a perfectly sound way to work.
Before you start
- Grow the legs with the neck. A long neck on ordinary legs makes a stretched horse.
- Keep the head small and the eyes large — that contrast is most of the animal's character.
- Draw the ossicones with round knobs on top. They are not pointed horns.
- Squash the patches as they wrap round the body and the legs, and make no two alike.
Published Updated 676 words
The six steps
The steps go from the largest shape to the smallest, which is an easy order to copy. It is not the only order, and it is not a rule — if you would rather start somewhere else on the sheet, do.
Step 1
Step 2
Step 3
Step 4
Step 5
Step 6
More in this section
How to draw an owl
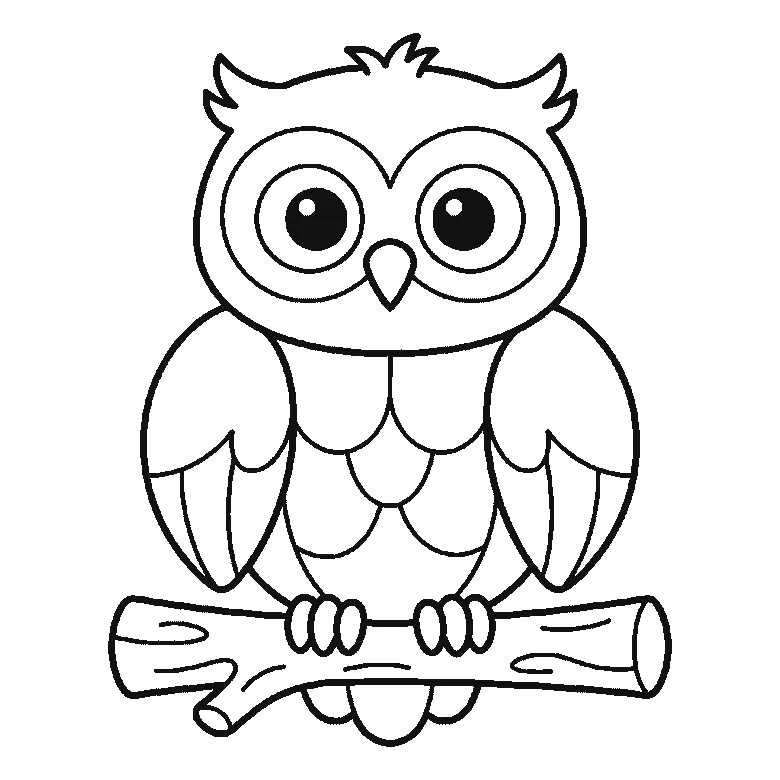
Six frames, one owl on a branch. The head and both ear tufts first, then the whole branch, then a wing at a time — and the pupils and the tail last.
Step sequence made by us from a single drawing: each step keeps the lines of the one before it and adds to them.
How to draw a spider
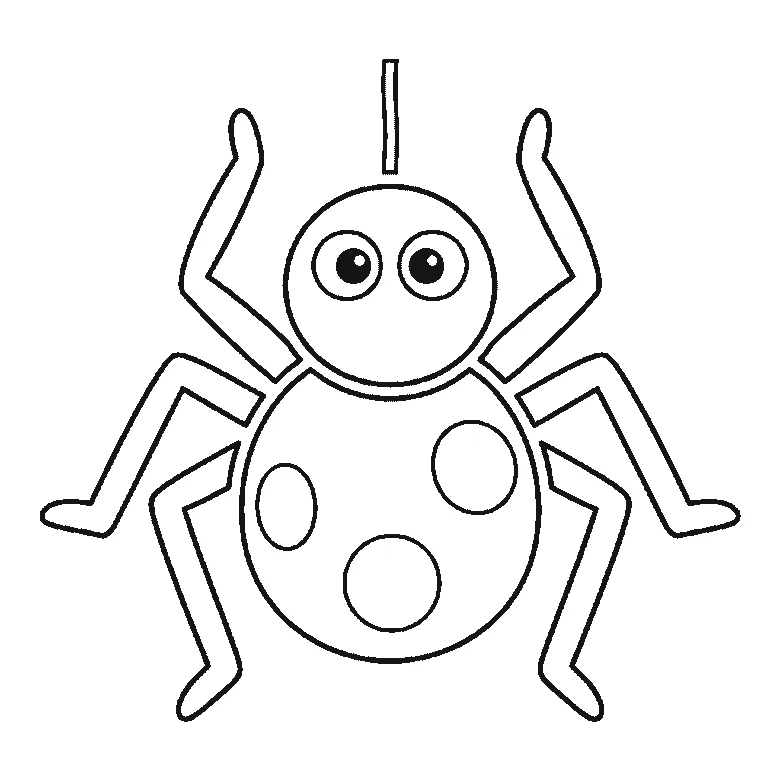
Six frames, one friendly spider. The patched round body first, then the head, then the legs two at a time — and the pupils and the thread right at the end.
Step sequence made by us from a single drawing: each step keeps the lines of the one before it and adds to them.
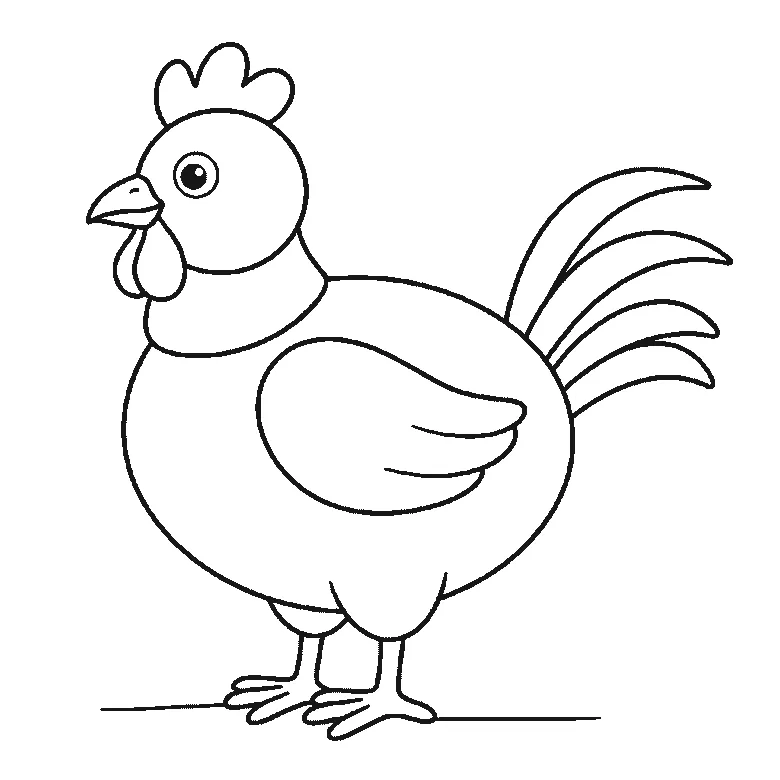
How to draw a chicken
Six frames, one plump hen standing side-on. The body first with no head at all, then the head and the folded wing, and the beak, wattle and eye right at the end.
Step sequence made by us from a single drawing: each step keeps the lines of the one before it and adds to them.
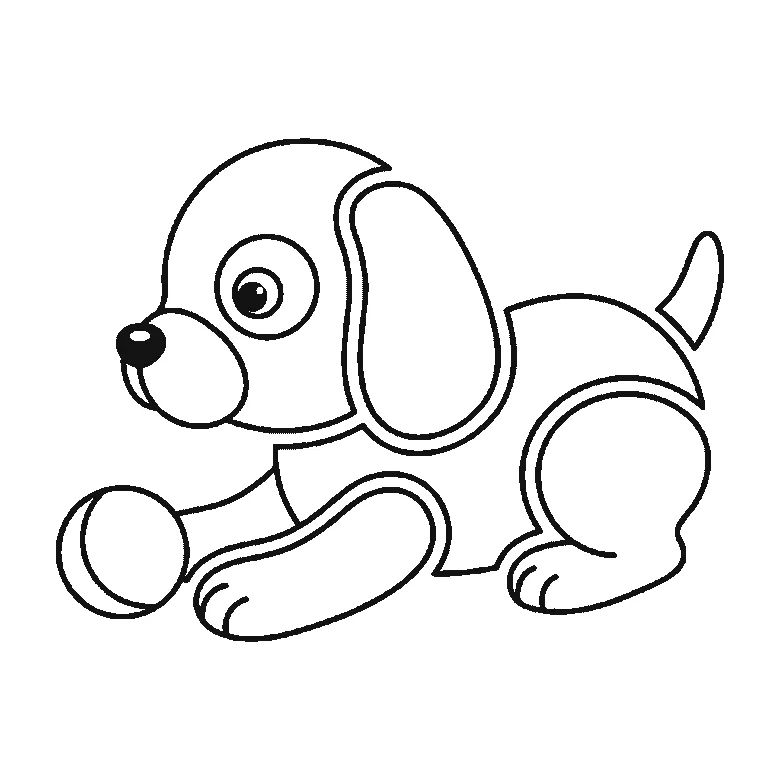
How to draw a puppy
Six frames, one round puppy lying down with a ball. The back and haunch first — no head until the second frame — and the nose, eye and tail last.
Step sequence made by us from a single drawing: each step keeps the lines of the one before it and adds to them.
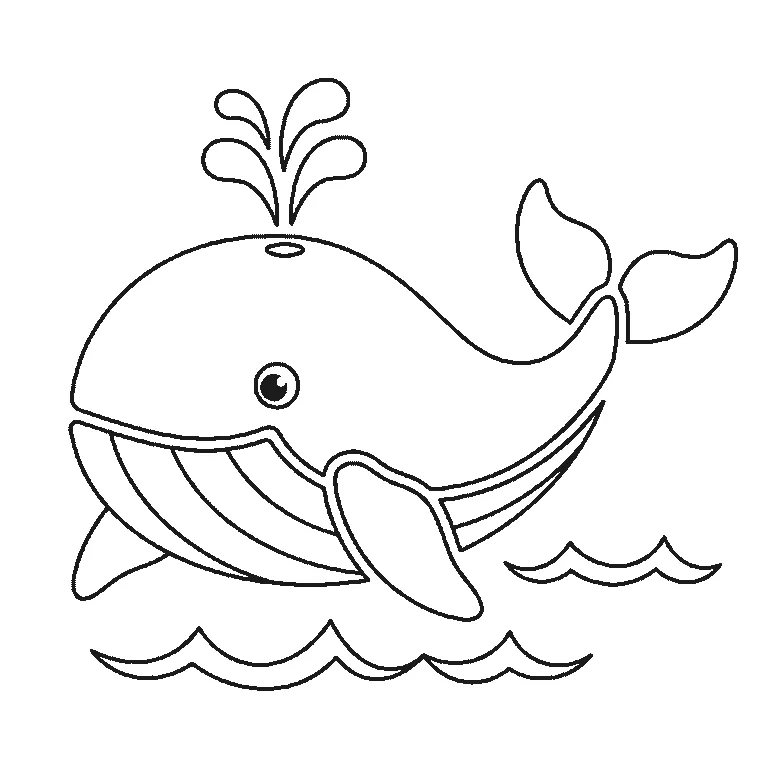
How to draw a whale
Six frames, one whale above the waves. The whole body first with the eye left blank, then the tail and the big flipper, and the spout and the filled pupil last.
Step sequence made by us from a single drawing: each step keeps the lines of the one before it and adds to them.
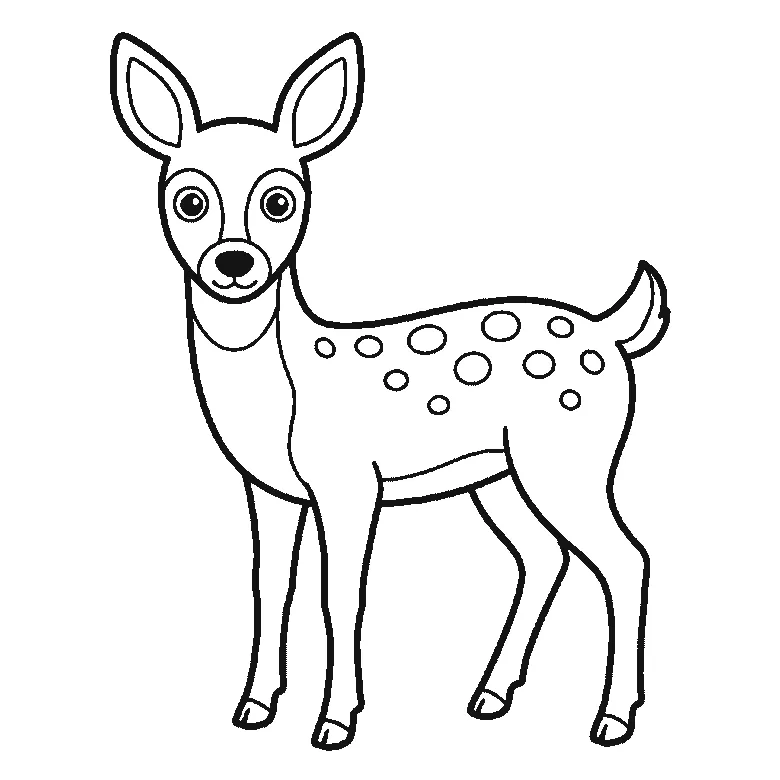
How to draw a deer
Six frames, one young deer standing side-on. The spotted body first with no head at all, then the ears — and the entire face arrives in the last frame.
Step sequence made by us from a single drawing: each step keeps the lines of the one before it and adds to them.
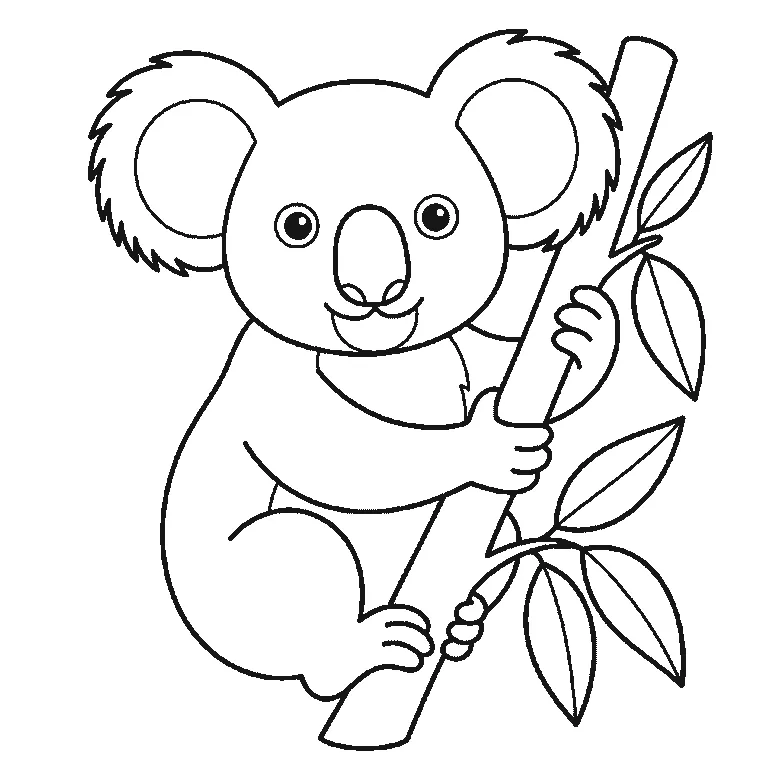
How to draw a koala
Six frames, one koala hugging a branch. The whole head and both fringed ears first, then the body, then the branch — and the eyes and the last leaves at the end.
Step sequence made by us from a single drawing: each step keeps the lines of the one before it and adds to them.
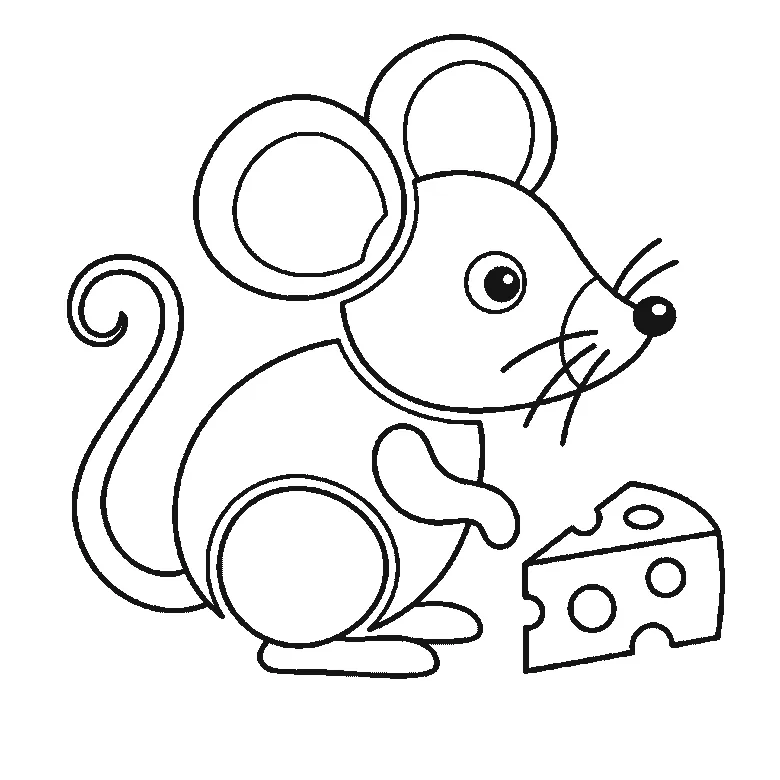
How to draw a mouse
Six frames, one mouse beside a wedge of cheese. The head and the back together first, then the ears, then the cheese — with the tail, whiskers and eye last.
Step sequence made by us from a single drawing: each step keeps the lines of the one before it and adds to them.
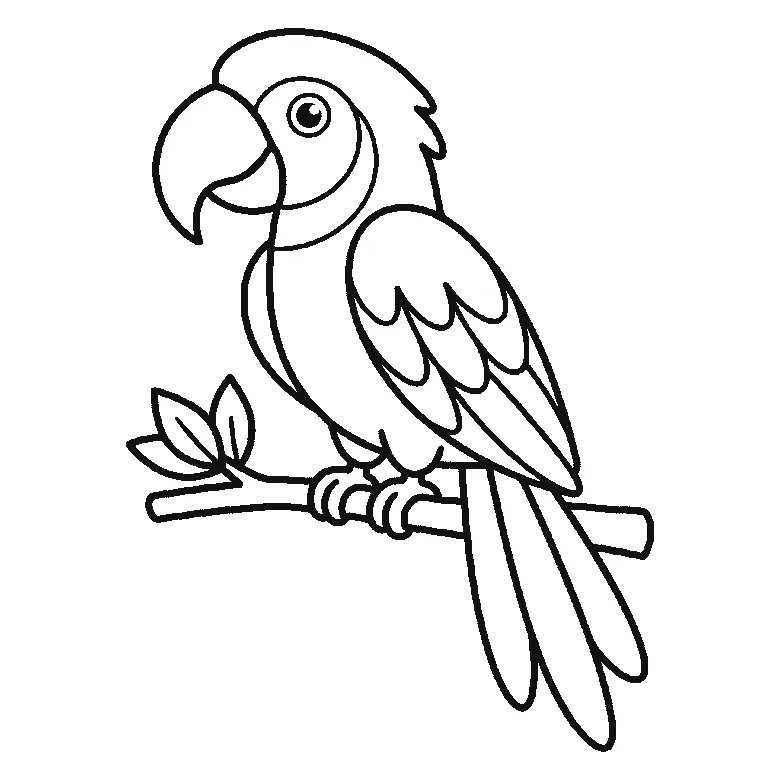
How to draw a parrot
Six frames, one parrot on a leafy branch. The head crest and the breast first, then the beak with the wing, and the eye and the gripping feet last.
Step sequence made by us from a single drawing: each step keeps the lines of the one before it and adds to them.
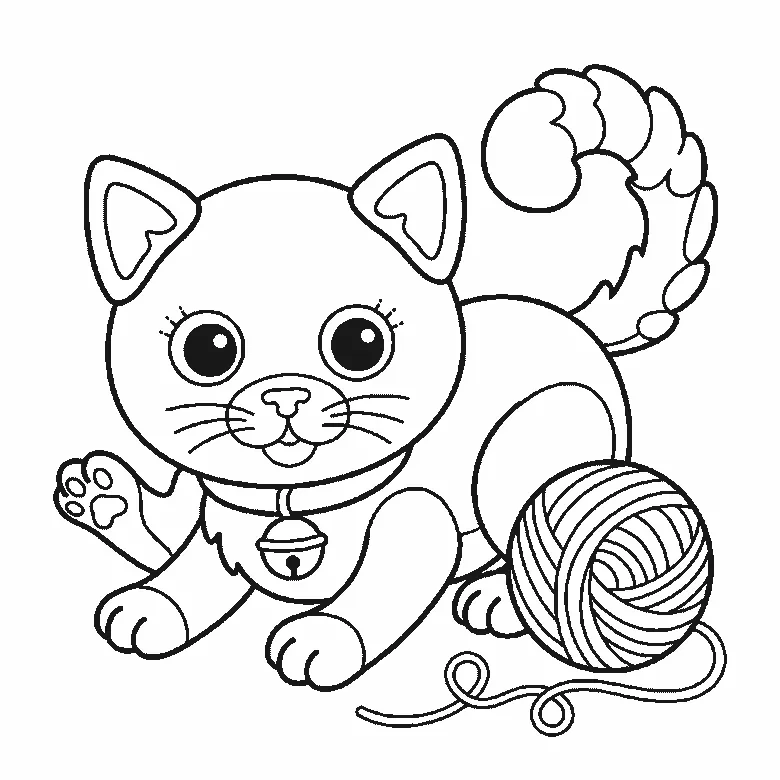
How to draw a kitten
Six frames, one kitten crouching over a ball of wool. The head and collar first, the ears one at a time after it, and the filled pupils near the end.
Step sequence made by us from a single drawing: each step keeps the lines of the one before it and adds to them.
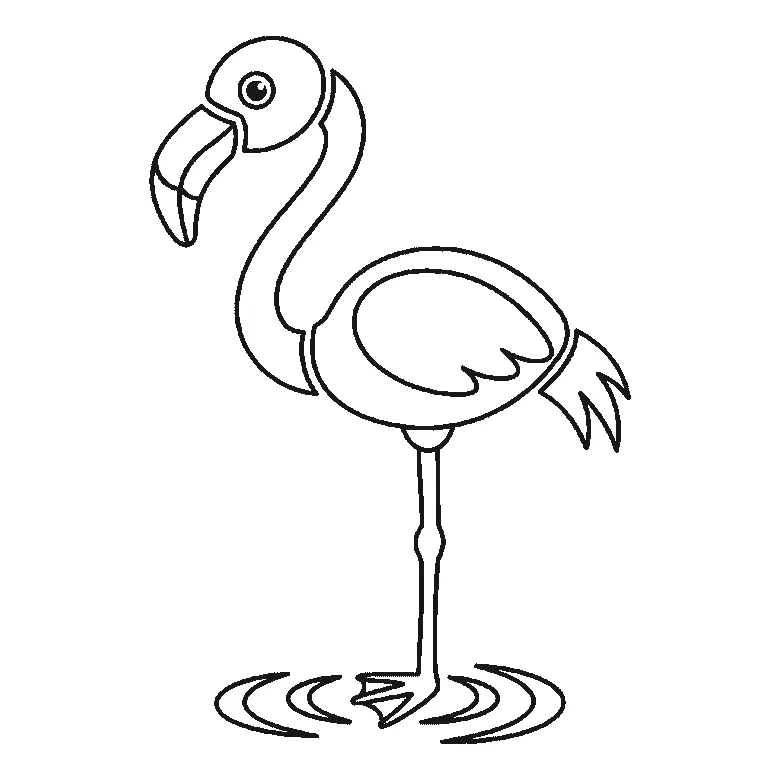
How to draw a flamingo
Six frames, one flamingo standing in shallow water. The body first, the neck second, and the beak — the thing that says flamingo — not until frame five.
Step sequence made by us from a single drawing: each step keeps the lines of the one before it and adds to them.
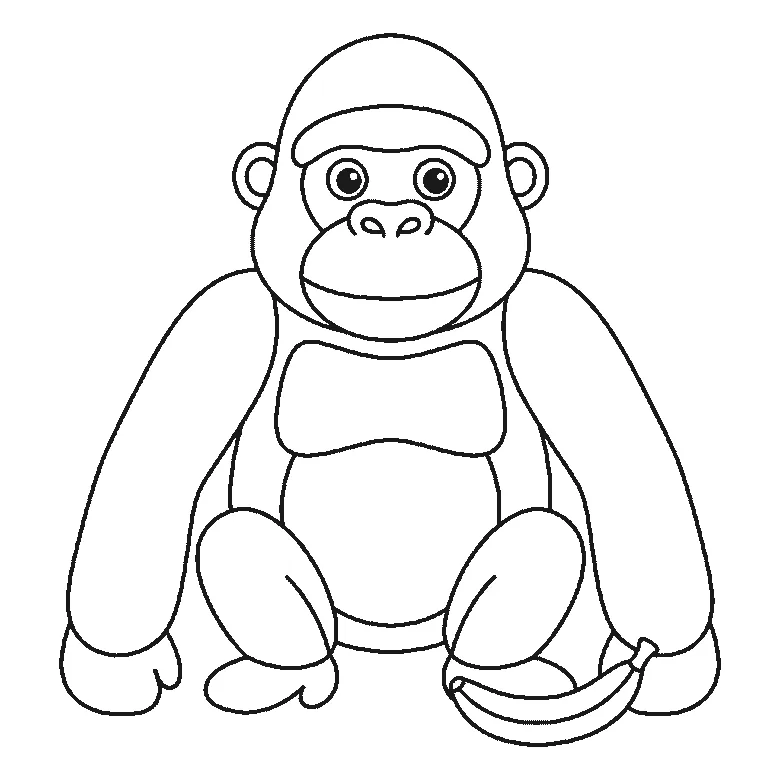
How to draw a gorilla
Six frames, one gorilla sitting with a banana beside it. Frame one is the two arms and nothing else — the head does not arrive until frame two.
Step sequence made by us from a single drawing: each step keeps the lines of the one before it and adds to them.


