
PDF · A4 · 52 KB · Free, no sign-up. For home and classroom use.
How to draw a spider
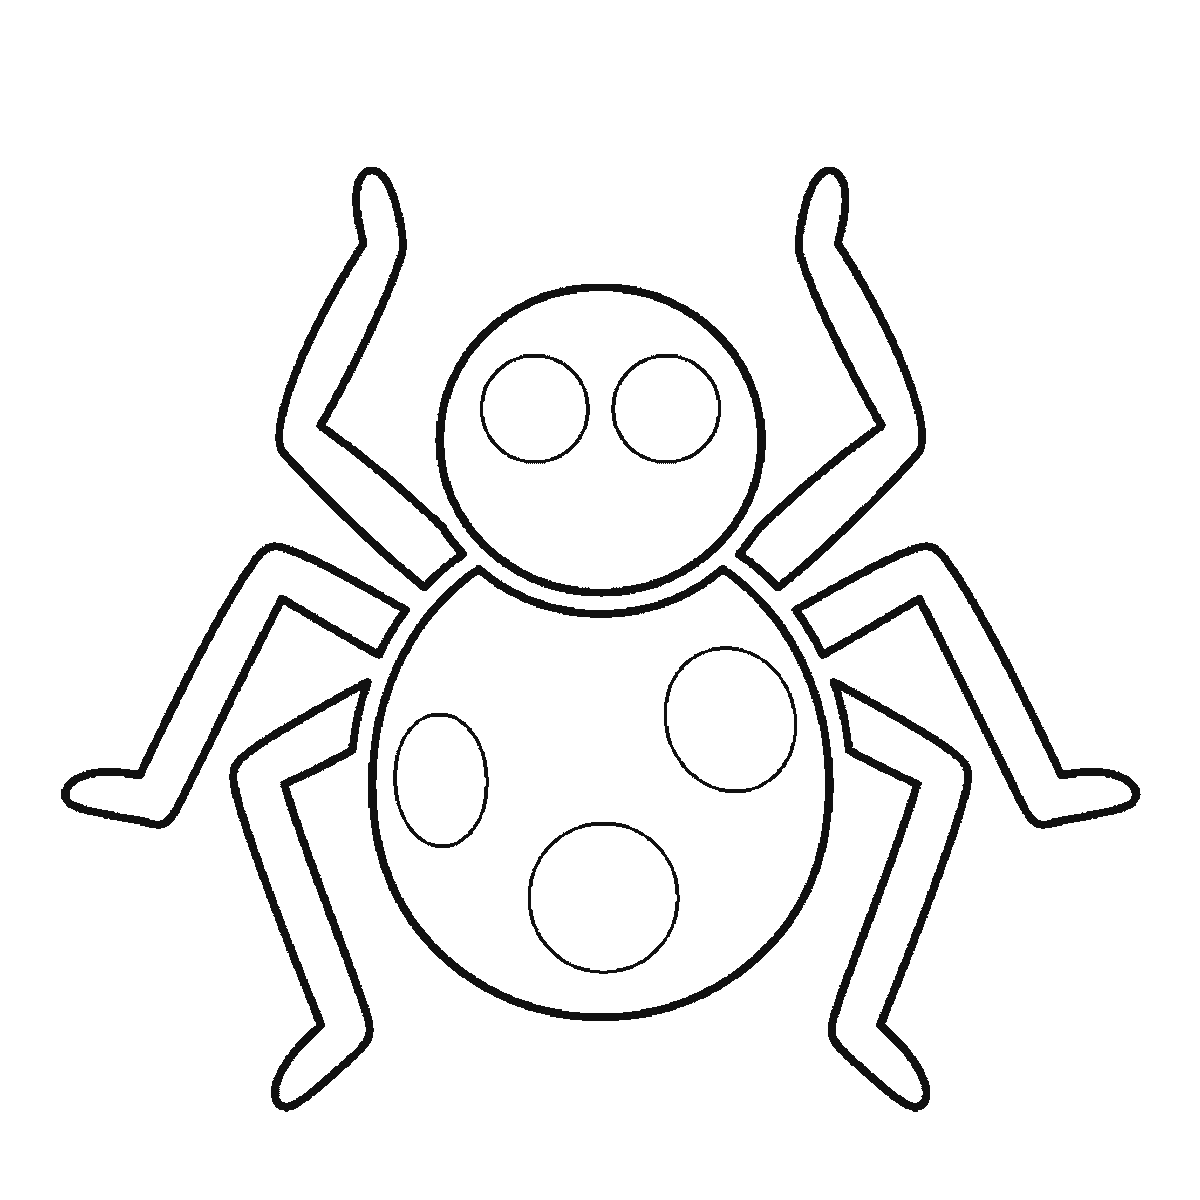
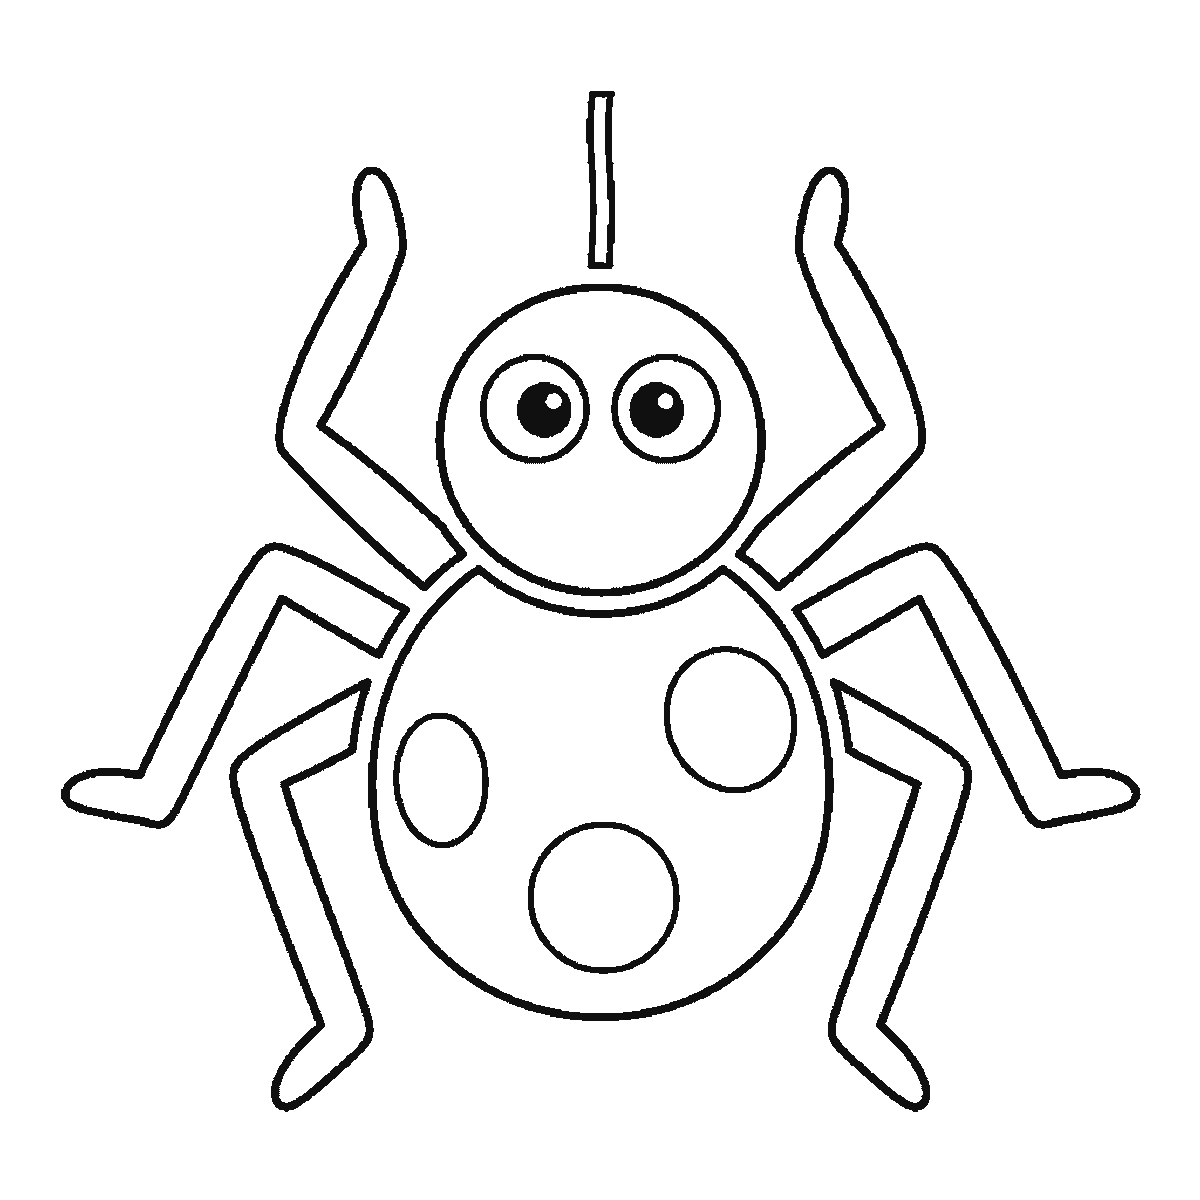
Six frames, one friendly spider. The patched round body first, then the head, then the legs two at a time — and the pupils and the thread right at the end.
This is one drawing of a cheerful cartoon spider, shown six times, each frame carrying the lines of the one before it and adding more. Copy one frame at a time and the eight legs stop being the problem they usually are, because you never draw more than two of them in a single step.
Frame one is the body: the big oval abdomen, and the three round patches on it arrive at the same moment. There is no head yet. That is the most useful thing to know about this sheet, because the instinct with any animal is to start at the face, and here the face is the very last thing that happens. Draw the oval big and low on the page and leave a clear gap above it for the head, which is smaller than most people expect — roughly a third of the body, not half.
The head circle comes in frame two, with the first leg beside it. From there the legs arrive roughly two at a time, one from each side, and by frame five all eight are down. Working in pairs like that is genuinely worth copying rather than just following: a spider drawn left-side-first almost always ends up lopsided, because by the time you start the right side you are matching against four legs instead of one.
Each leg is drawn as its own long closed shape with a bend partway along it, not as a single line. That is what makes the drawing colourable, and it is also why the legs read as legs rather than as wire. The bend should be roughly two thirds of the way out from the body, and the section beyond it should angle back down towards the ground. A leg bent in the middle looks like an elbow; bent late, it looks like a knee, and a spider has knees.
The two eye circles appear on the head as plain outlines partway through, but they stay empty until the very last frame, which fills in both pupils and adds the short thread hanging above the head. Those are small marks and they are what turn the drawing from a shape into a creature, which is a good argument for taking them slowly after five frames of fairly quick work. Set the eyes wide and low on the head circle. Eyes placed high and close together give the spider a worried look; wide and low reads as friendly, which is what the rest of this drawing is aiming at.
The frames go biggest closed shape first and smallest last. That produces a sequence a beginner can copy without ever facing a blank page, and it is not a statement that this is how a spider should be drawn. Somebody who starts with the eight legs radiating from a dot and hangs a body on them afterwards will finish with the same spider, and that method has the advantage of getting the spacing right first.
Everything on the sheet is outline with no shading, so once you have copied it you can colour the finished frame in, and the six frames sit together on one A4 page at a size you can work from without leaning over the table.
A spider is one of the best subjects there is for learning to space repeated shapes, and the way to get that practice is to draw this one three or four times rather than moving on. Try it once with all eight legs the same length, then again with the front pair longer than the back pair. The second one looks alive and the first one looks like a diagram, and the only difference between them is about four centimetres of pencil line.
Before you start
- Mark four small dots down each side of the body before you draw any legs. Spacing is the whole difficulty and dots cost nothing.
- Bend each leg late, about two thirds of the way out. A leg bent in the middle reads as an arm.
- Keep the head clearly smaller than the body — around a third. Equal circles read as an ant.
- The three patches are much easier to place before the legs are in the way, which is exactly why the sheet puts them in the first frame.
Published Updated 625 words
The six steps
The steps go from the largest shape to the smallest, which is an easy order to copy. It is not the only order, and it is not a rule — if you would rather start somewhere else on the sheet, do.
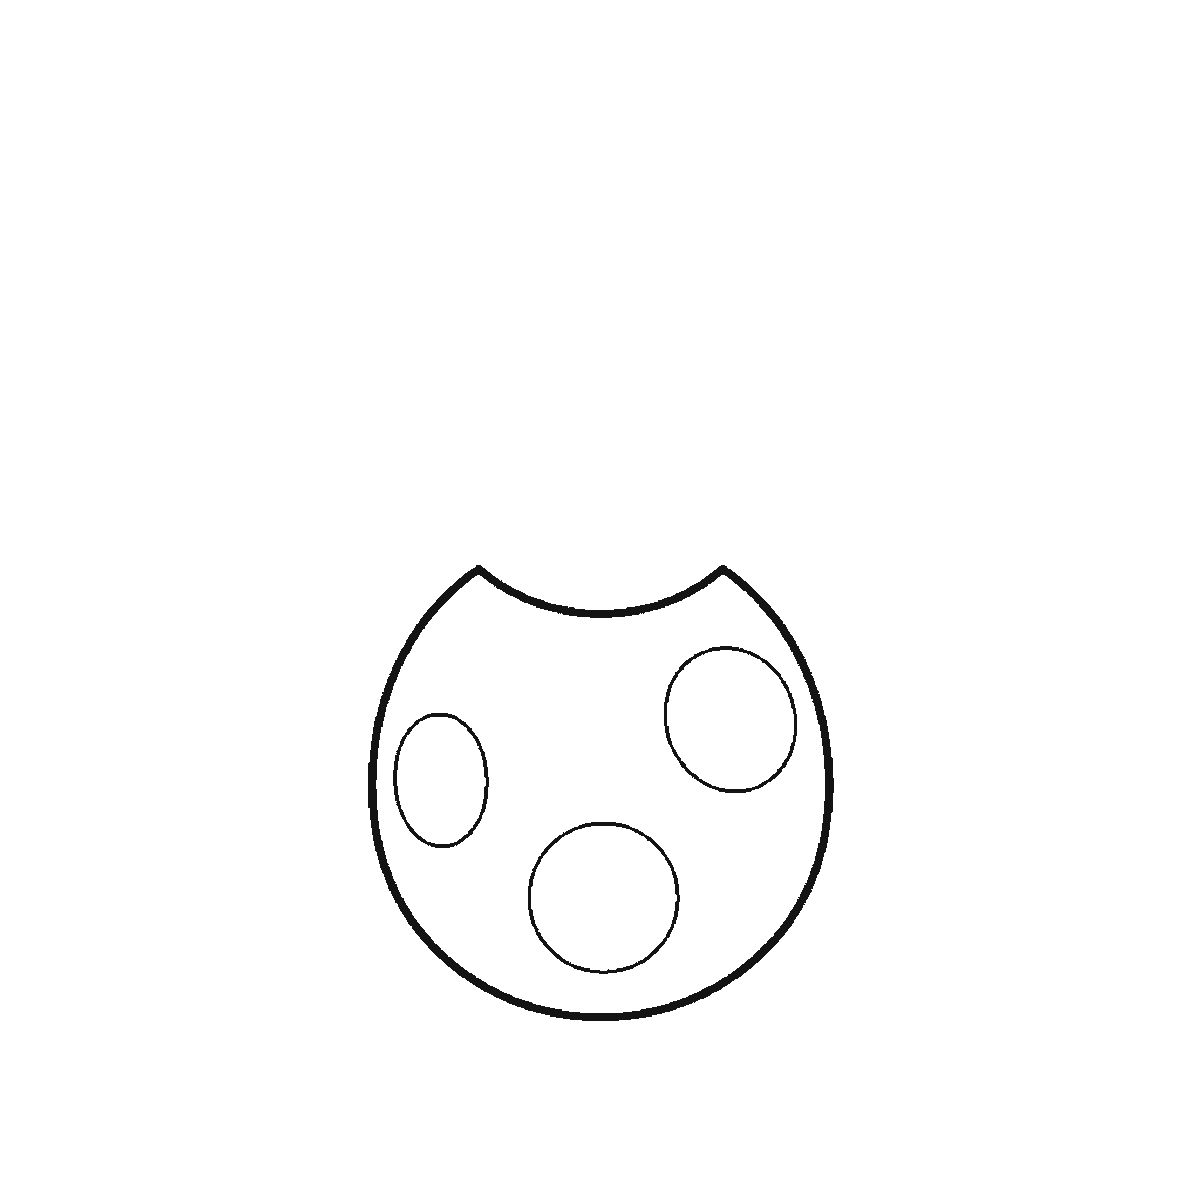
Step 1
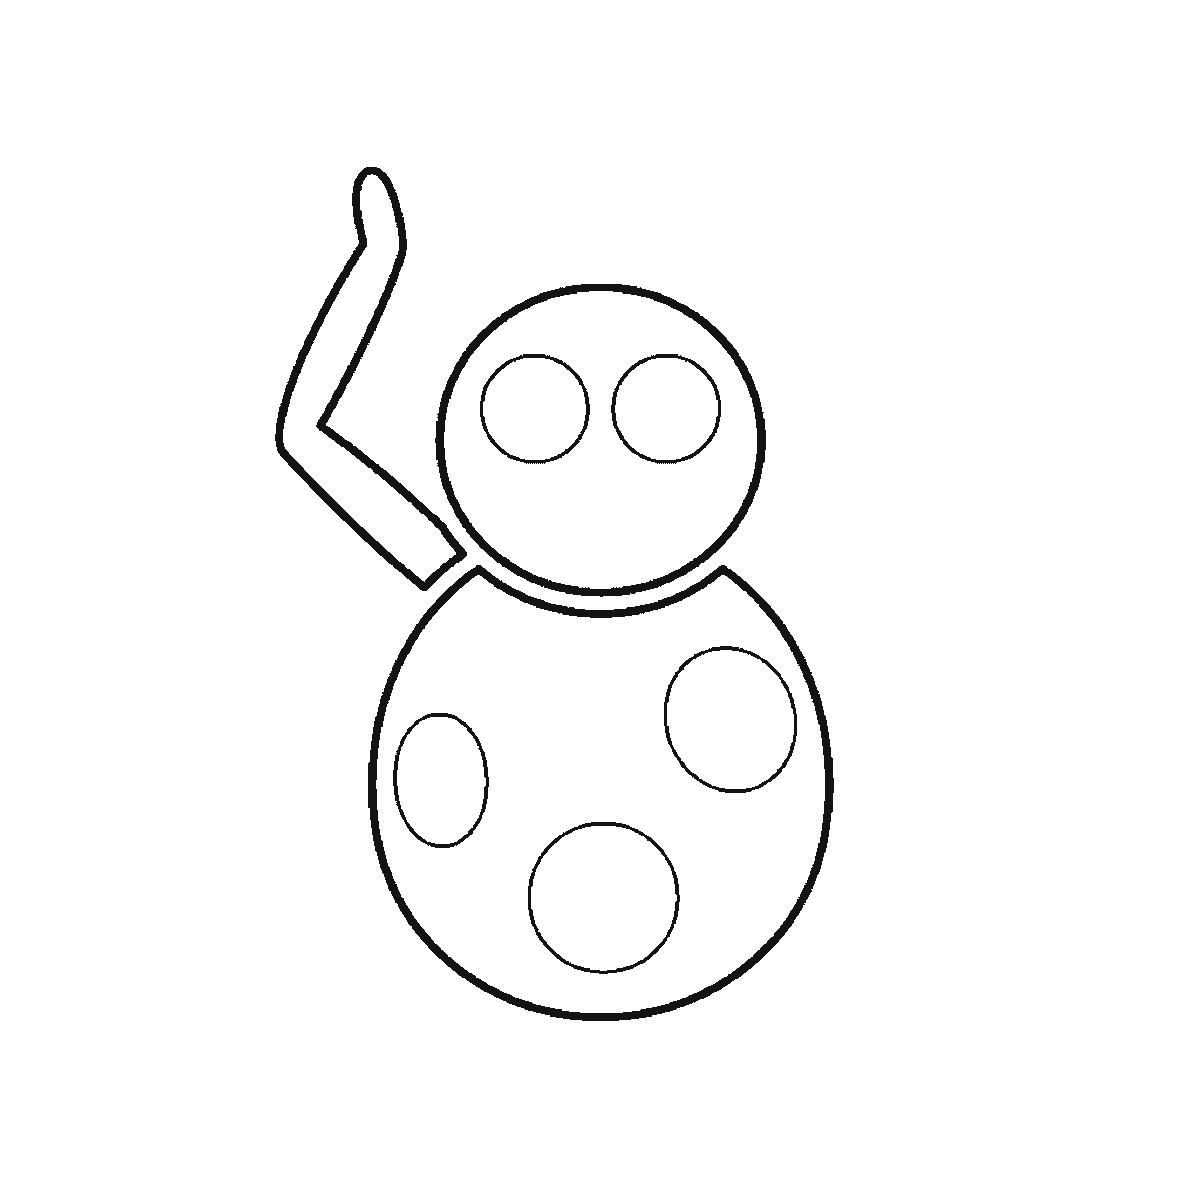
Step 2
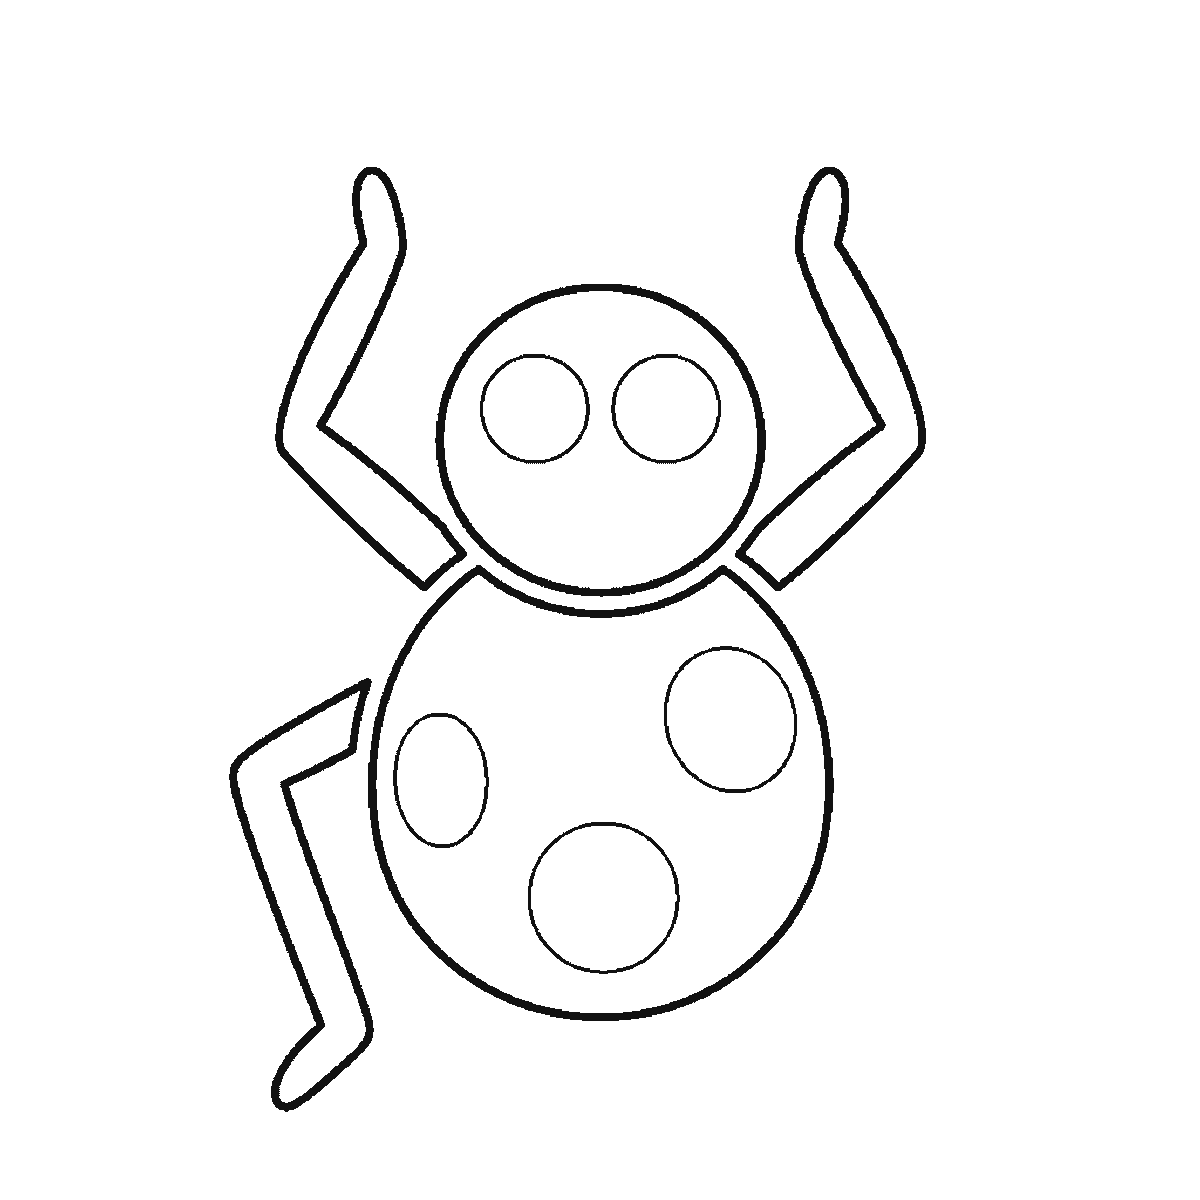
Step 3
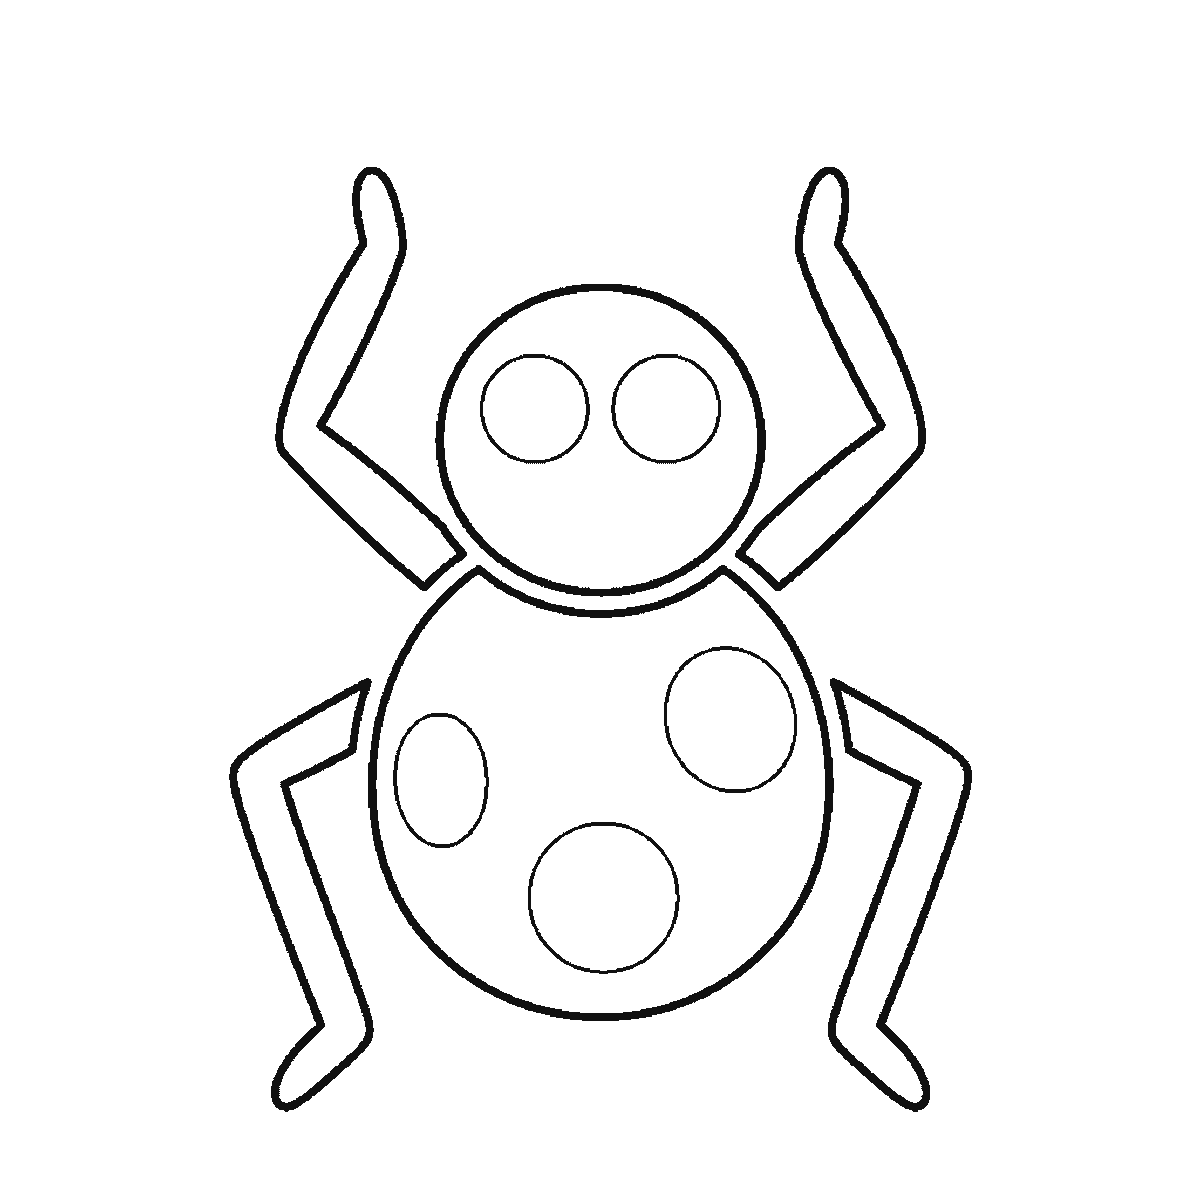
Step 4
Step 5
Step 6
More in this section
How to draw a chicken
Six frames, one plump hen standing side-on. The body first with no head at all, then the head and the folded wing, and the beak, wattle and eye right at the end.
Step sequence made by us from a single drawing: each step keeps the lines of the one before it and adds to them.
How to draw a puppy
Six frames, one round puppy lying down with a ball. The back and haunch first — no head until the second frame — and the nose, eye and tail last.
Step sequence made by us from a single drawing: each step keeps the lines of the one before it and adds to them.
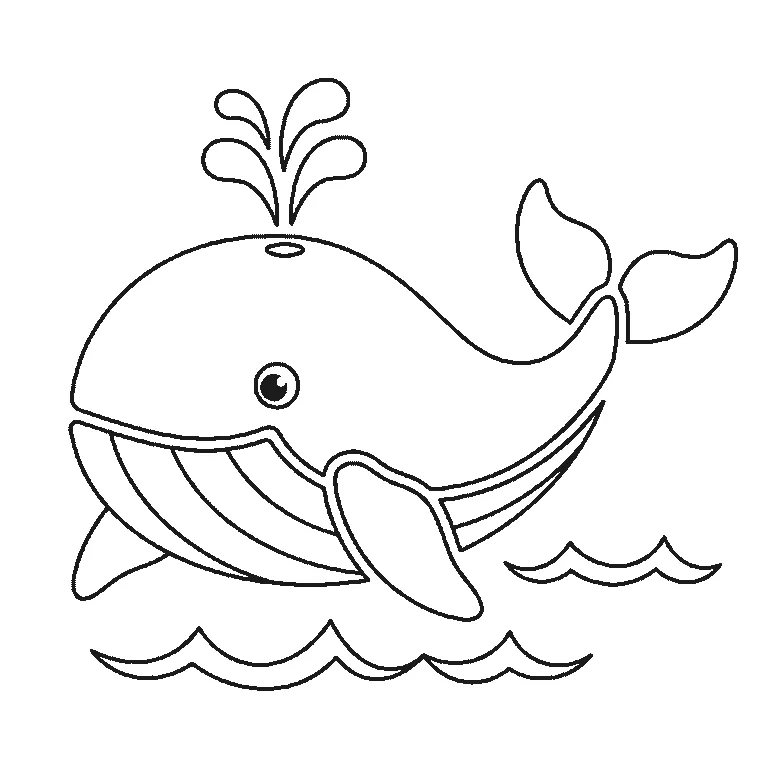
How to draw a whale
Six frames, one whale above the waves. The whole body first with the eye left blank, then the tail and the big flipper, and the spout and the filled pupil last.
Step sequence made by us from a single drawing: each step keeps the lines of the one before it and adds to them.
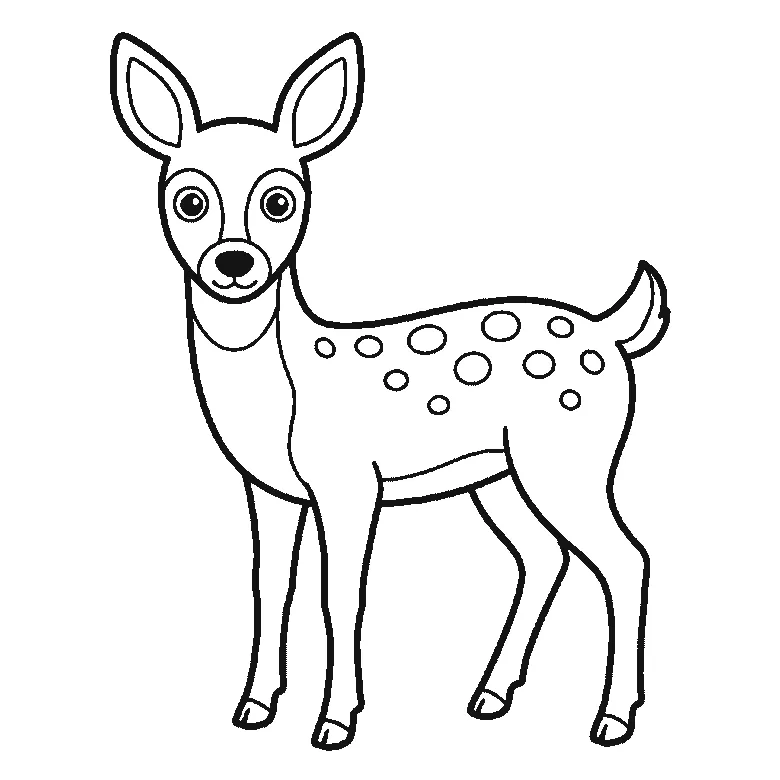
How to draw a deer
Six frames, one young deer standing side-on. The spotted body first with no head at all, then the ears — and the entire face arrives in the last frame.
Step sequence made by us from a single drawing: each step keeps the lines of the one before it and adds to them.
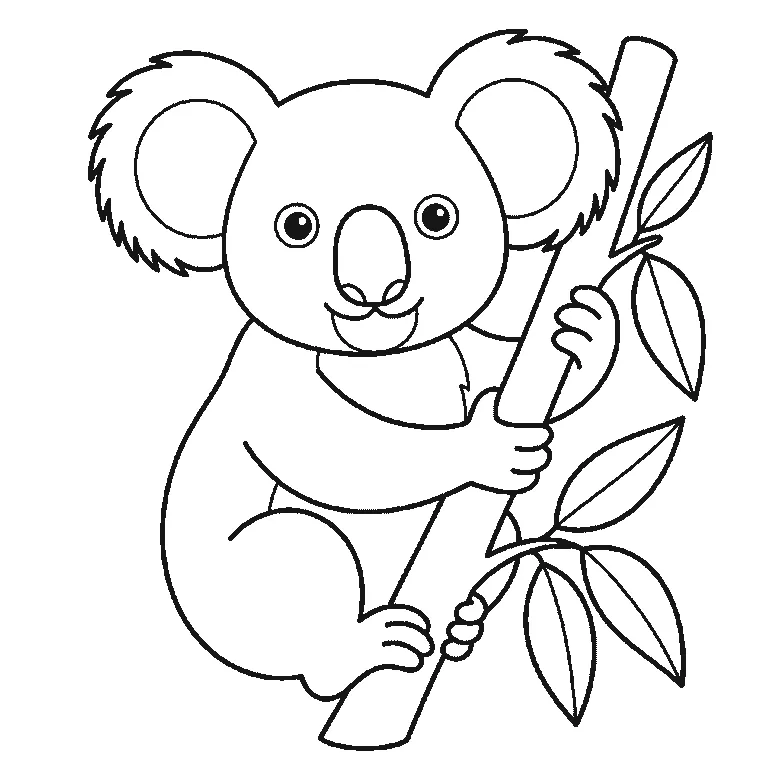
How to draw a koala
Six frames, one koala hugging a branch. The whole head and both fringed ears first, then the body, then the branch — and the eyes and the last leaves at the end.
Step sequence made by us from a single drawing: each step keeps the lines of the one before it and adds to them.
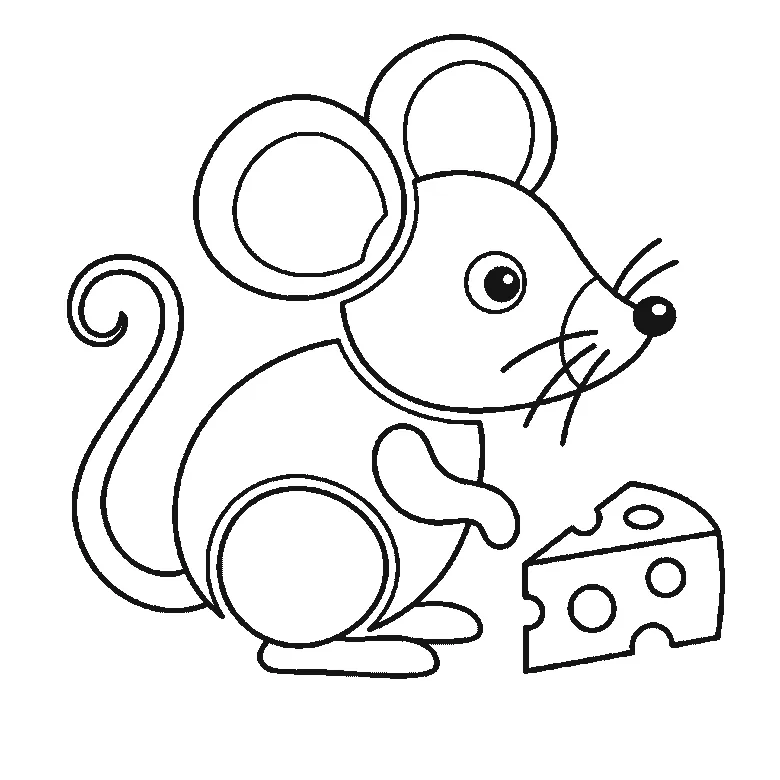
How to draw a mouse
Six frames, one mouse beside a wedge of cheese. The head and the back together first, then the ears, then the cheese — with the tail, whiskers and eye last.
Step sequence made by us from a single drawing: each step keeps the lines of the one before it and adds to them.
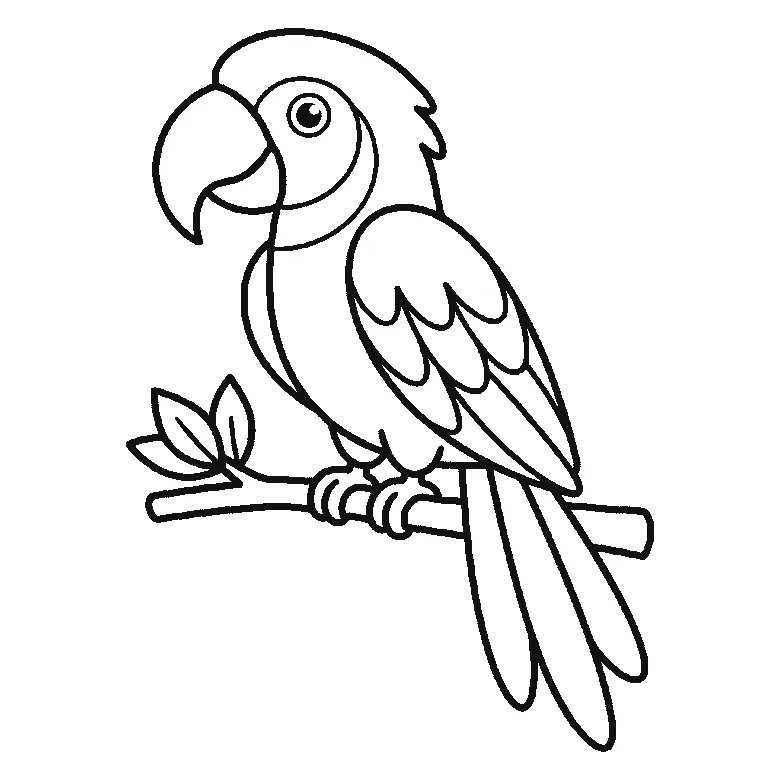
How to draw a parrot
Six frames, one parrot on a leafy branch. The head crest and the breast first, then the beak with the wing, and the eye and the gripping feet last.
Step sequence made by us from a single drawing: each step keeps the lines of the one before it and adds to them.
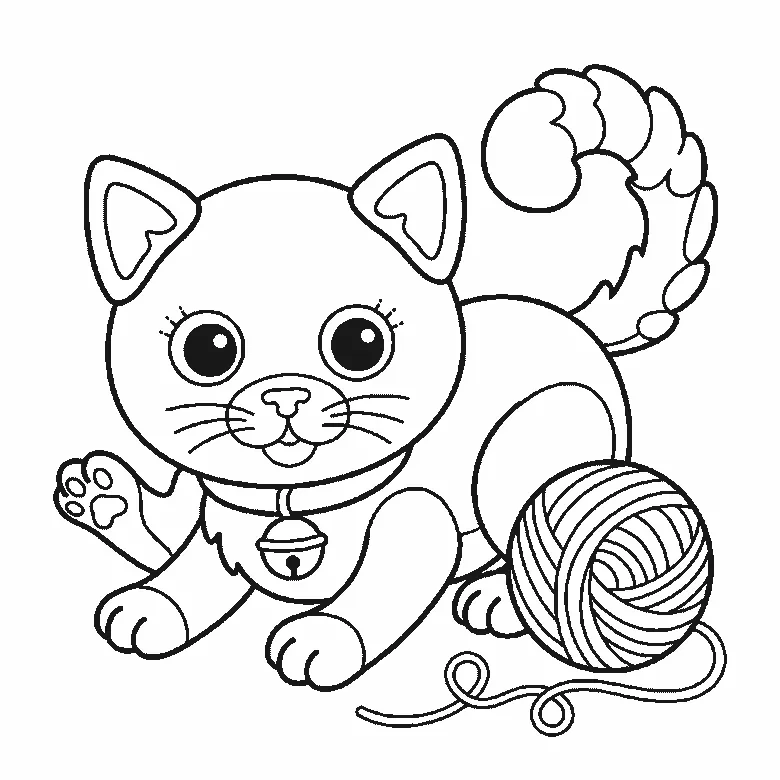
How to draw a kitten
Six frames, one kitten crouching over a ball of wool. The head and collar first, the ears one at a time after it, and the filled pupils near the end.
Step sequence made by us from a single drawing: each step keeps the lines of the one before it and adds to them.
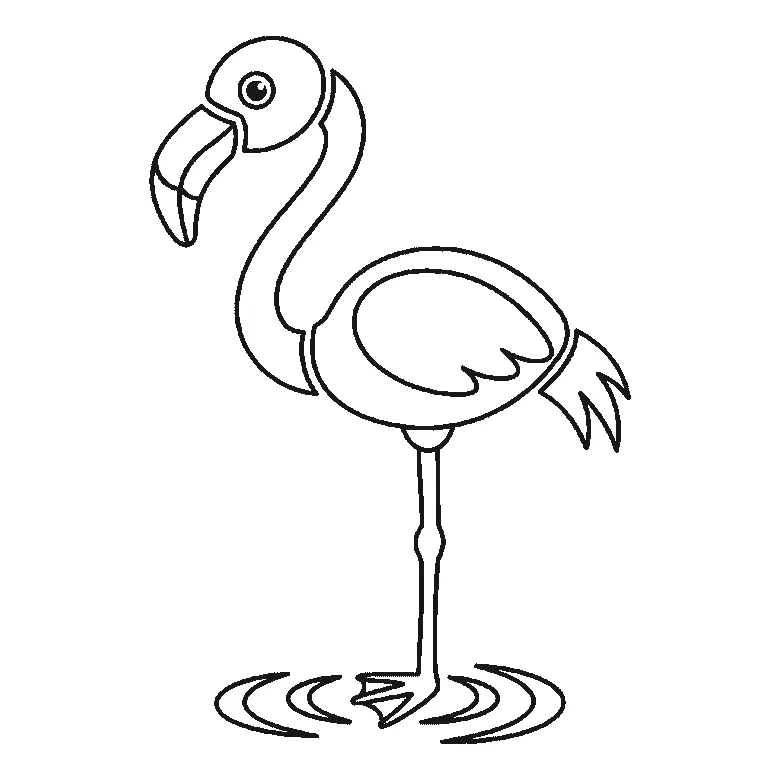
How to draw a flamingo
Six frames, one flamingo standing in shallow water. The body first, the neck second, and the beak — the thing that says flamingo — not until frame five.
Step sequence made by us from a single drawing: each step keeps the lines of the one before it and adds to them.
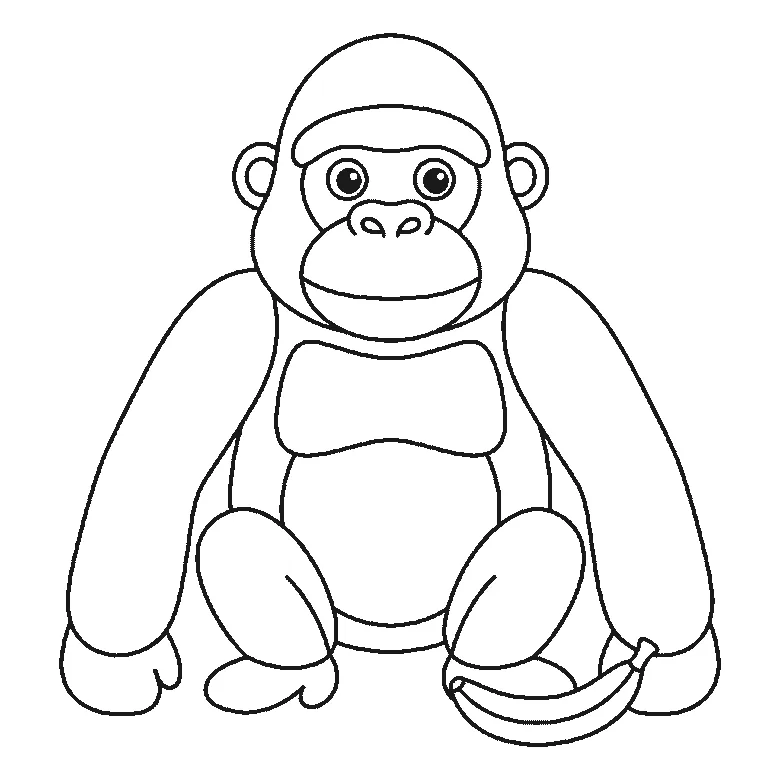
How to draw a gorilla
Six frames, one gorilla sitting with a banana beside it. Frame one is the two arms and nothing else — the head does not arrive until frame two.
Step sequence made by us from a single drawing: each step keeps the lines of the one before it and adds to them.
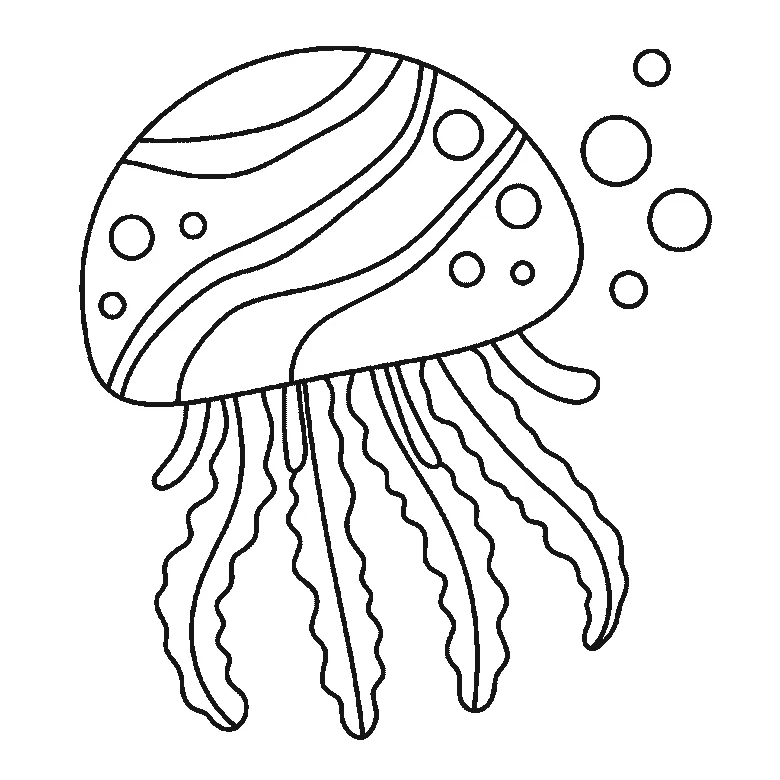
How to draw a jellyfish
Six frames, one jellyfish drifting with bubbles beside it. The bell is built panel by panel, the tentacles arrive a few at a time, and the bubbles are last.
Step sequence made by us from a single drawing: each step keeps the lines of the one before it and adds to them.
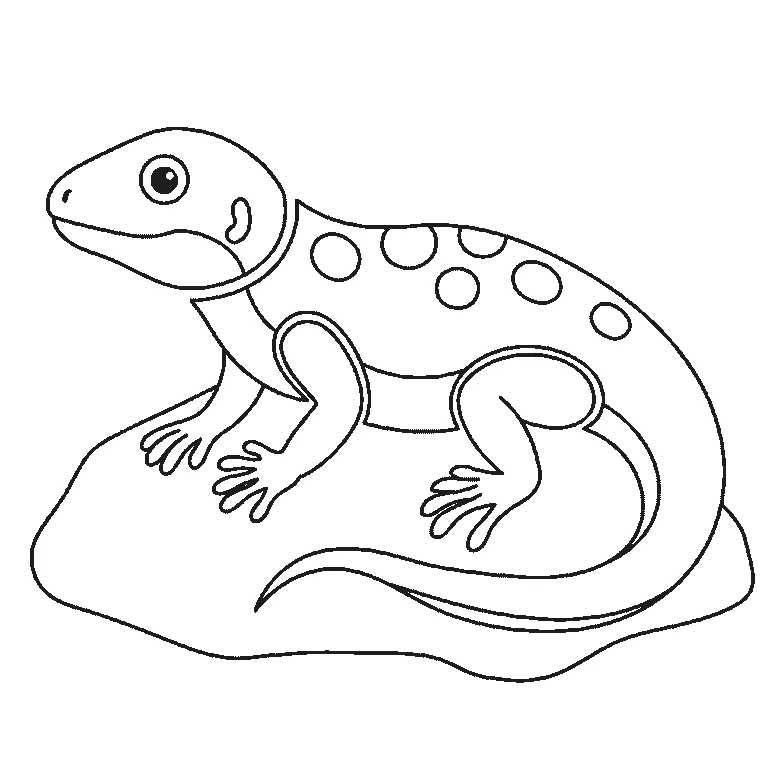
How to draw a lizard
Six frames, one lizard basking on a rock. Frame one is the rock and two legs; the body comes second and the head not until frame three.
Step sequence made by us from a single drawing: each step keeps the lines of the one before it and adds to them.


