
PDF · A4 · 50 KB · Free, no sign-up. For home and classroom use.
How to draw a parrot
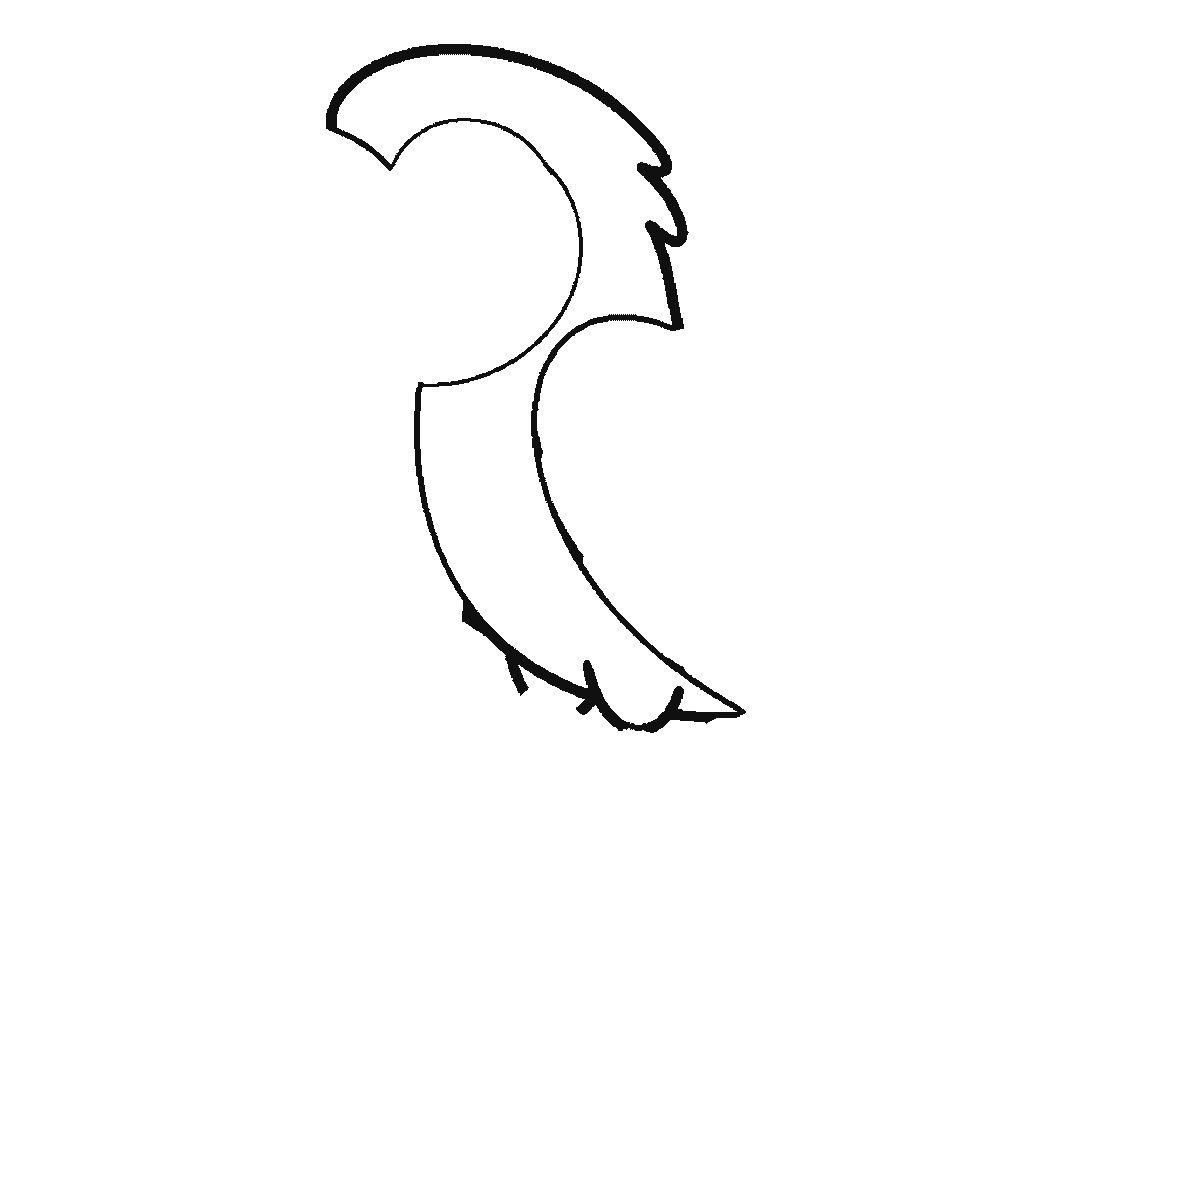
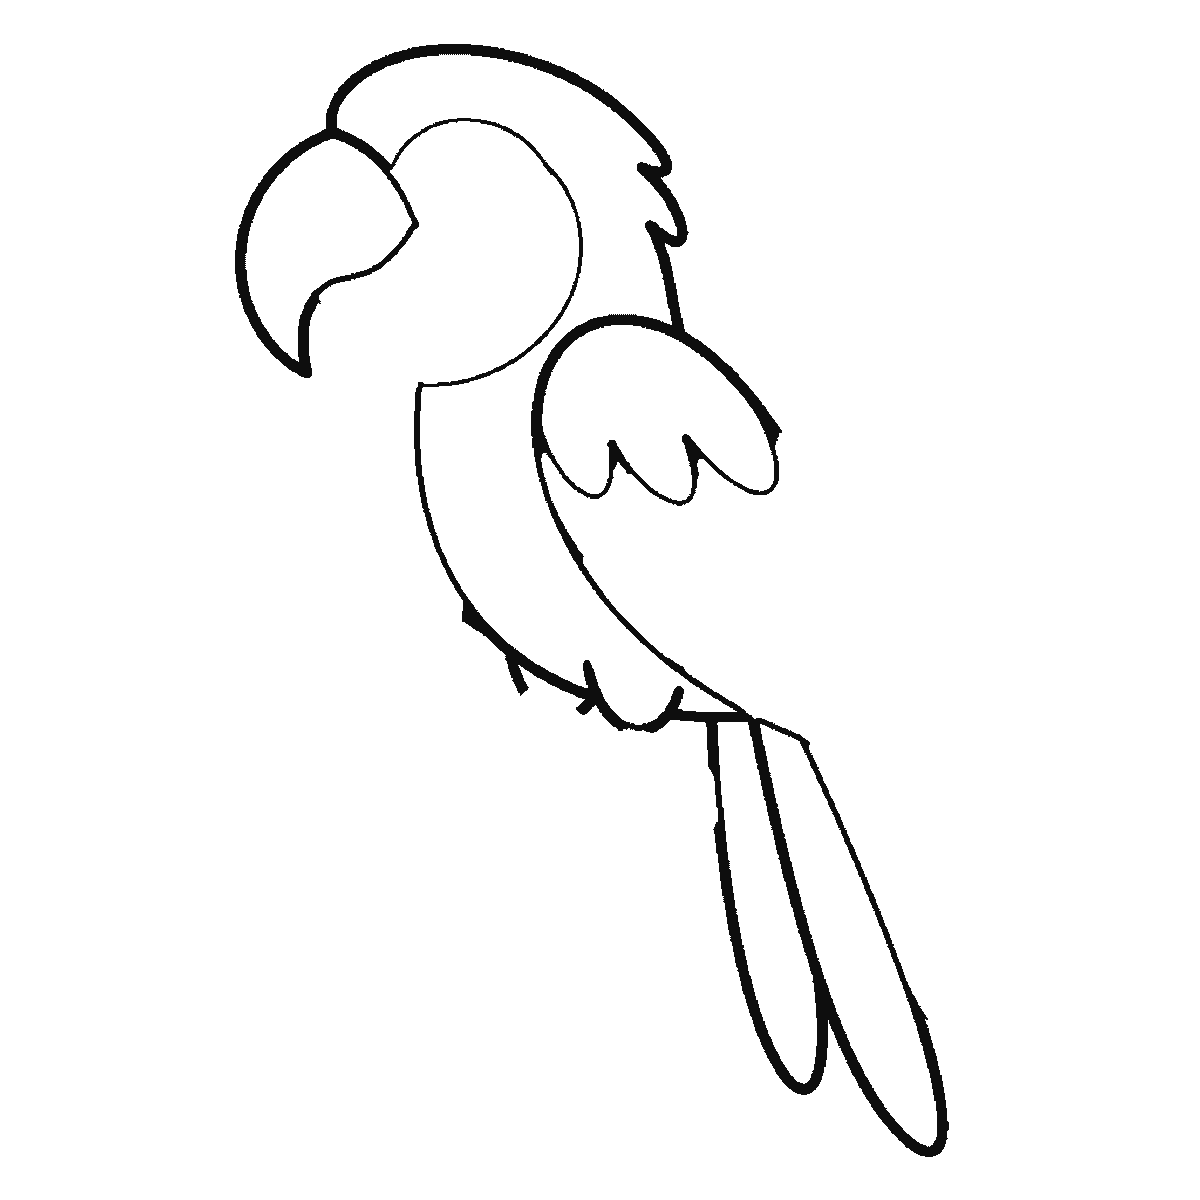
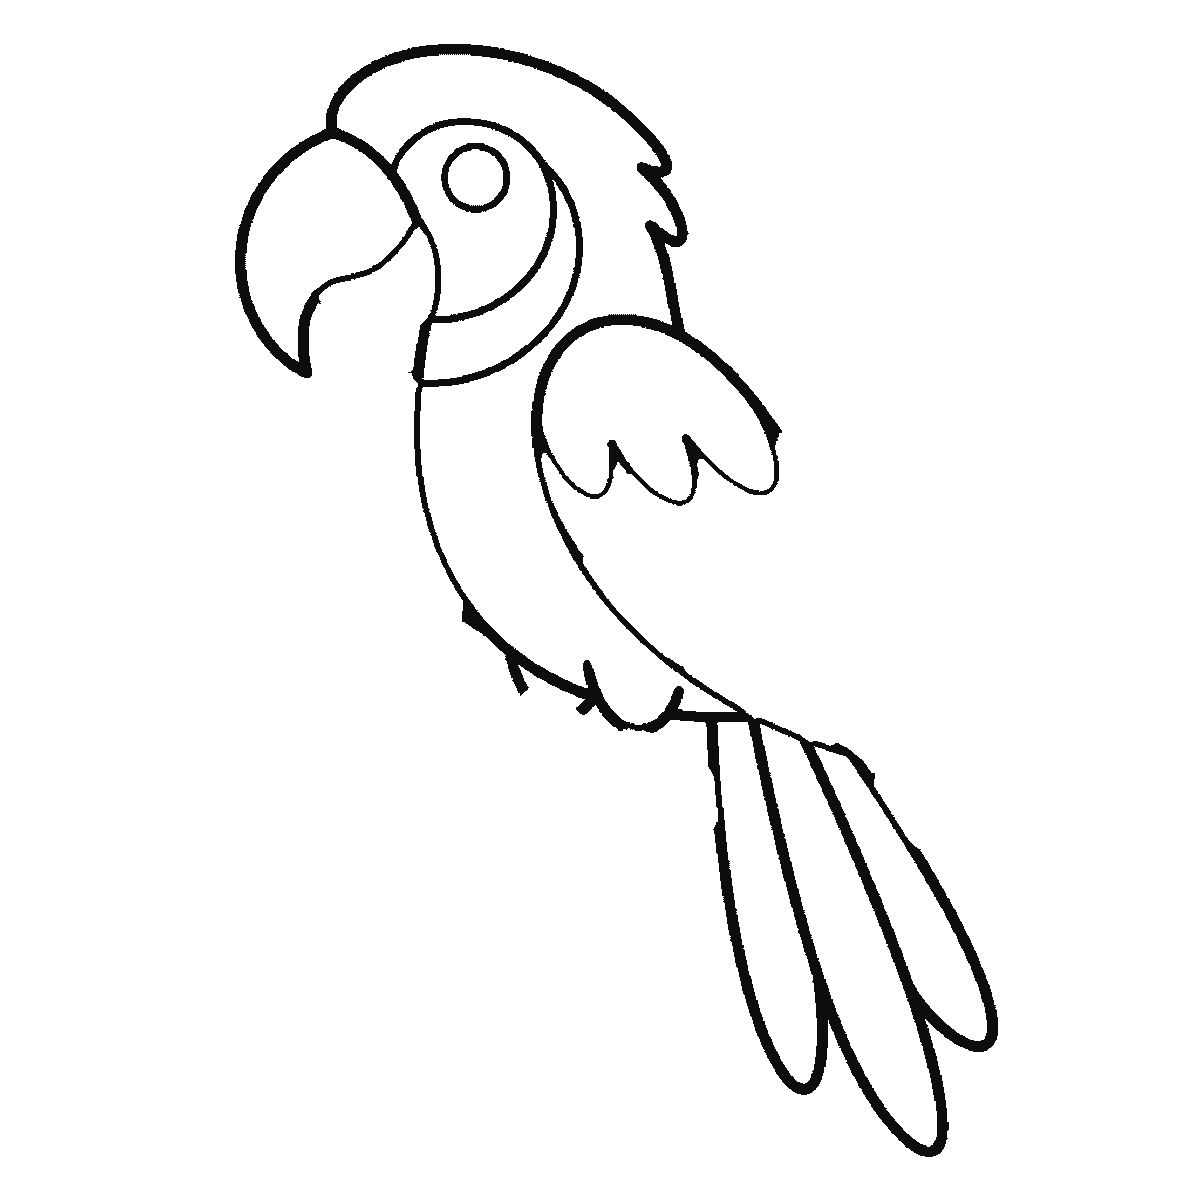
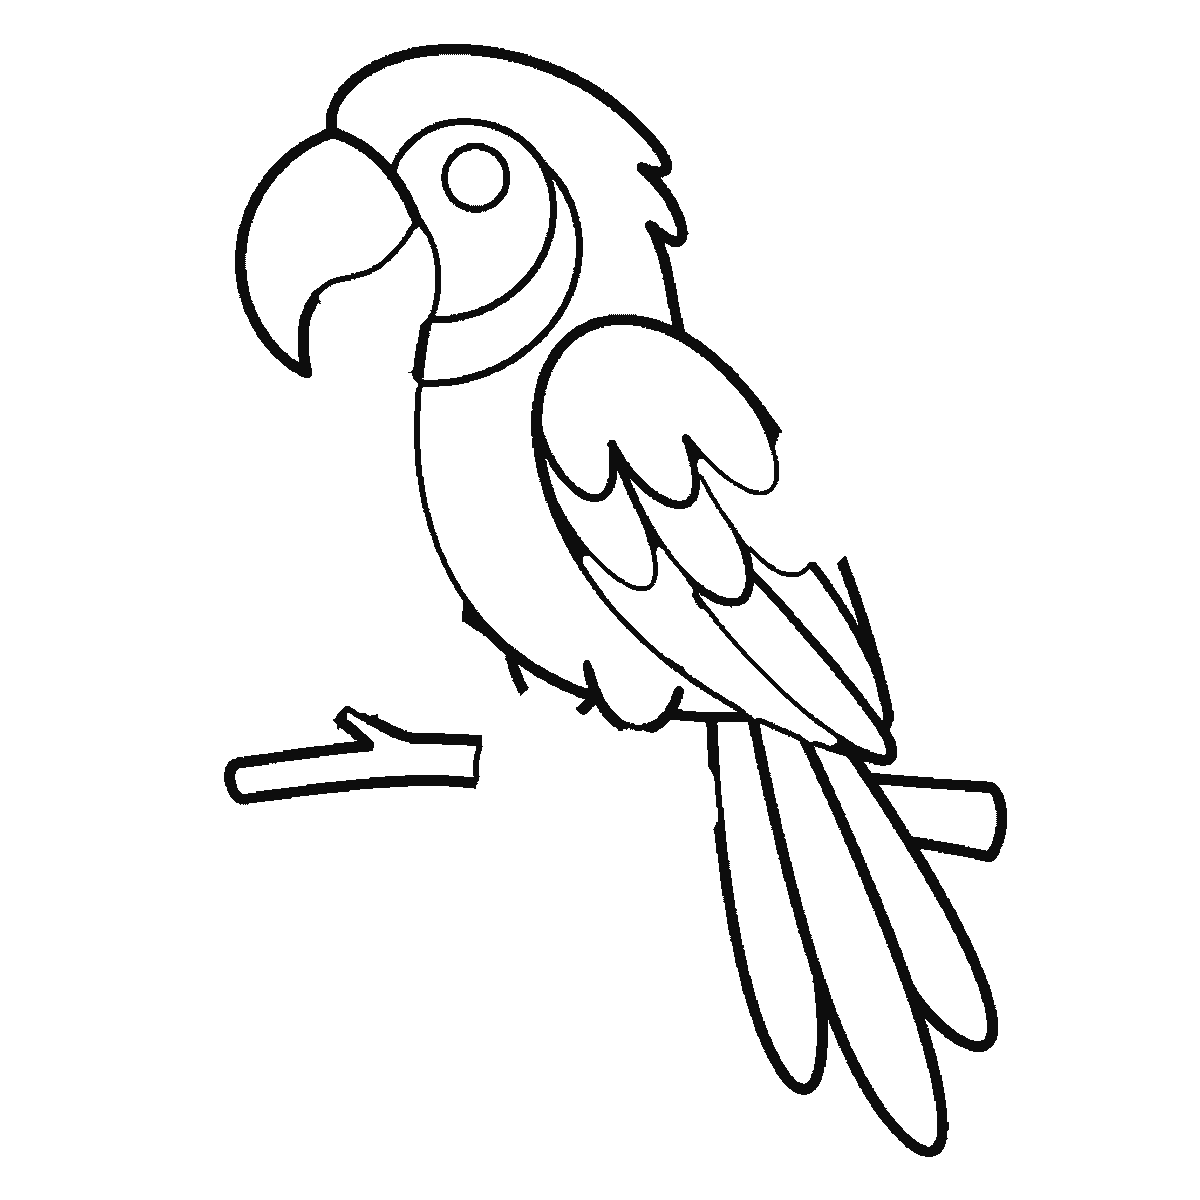
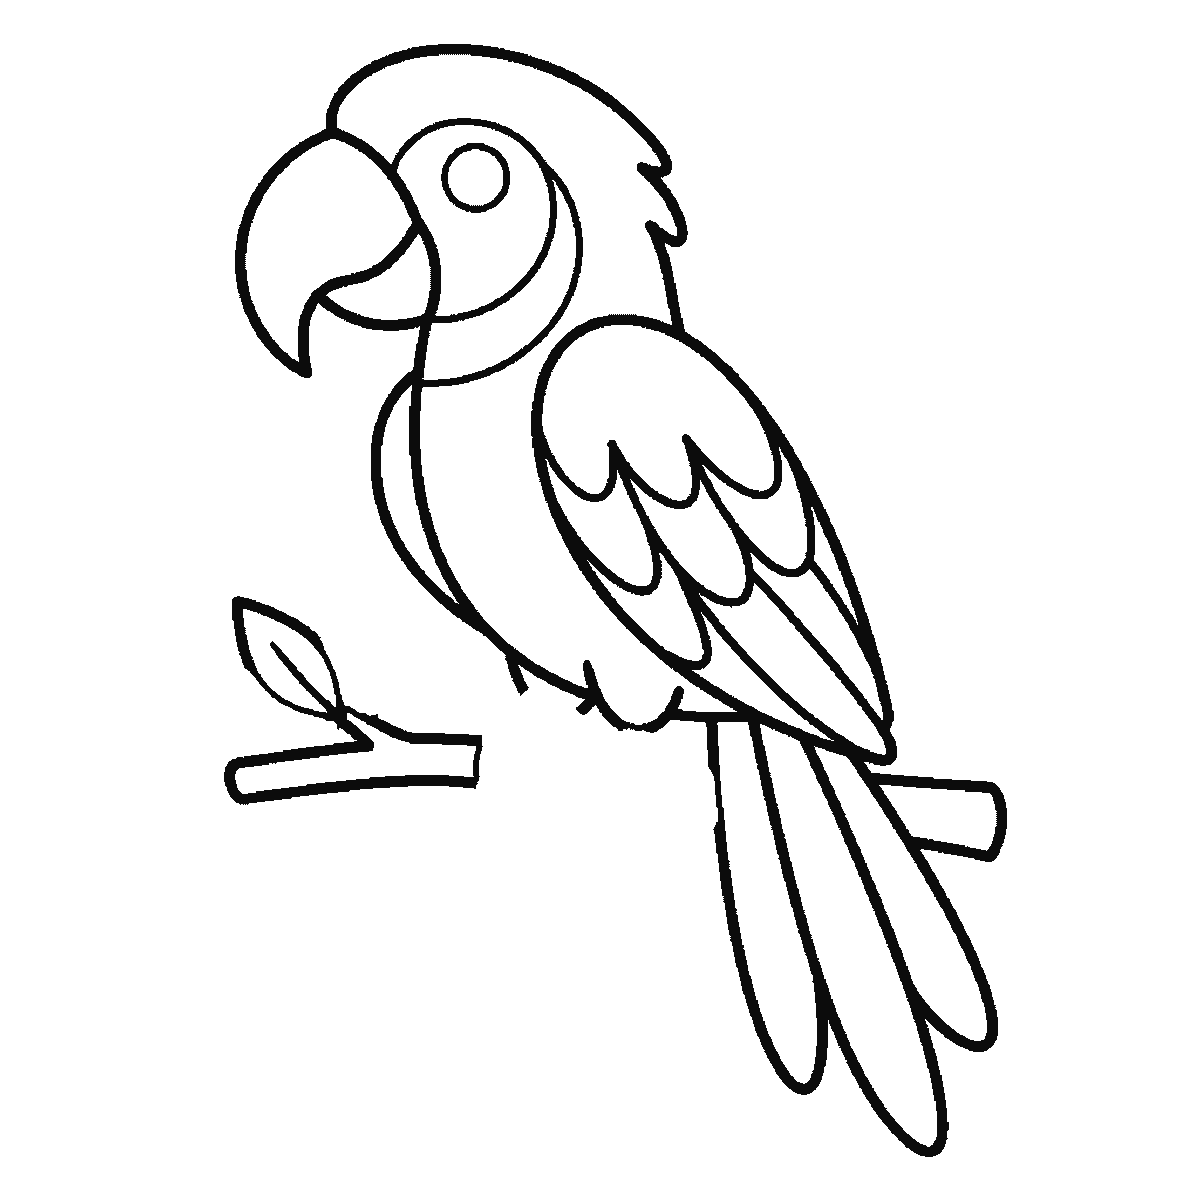
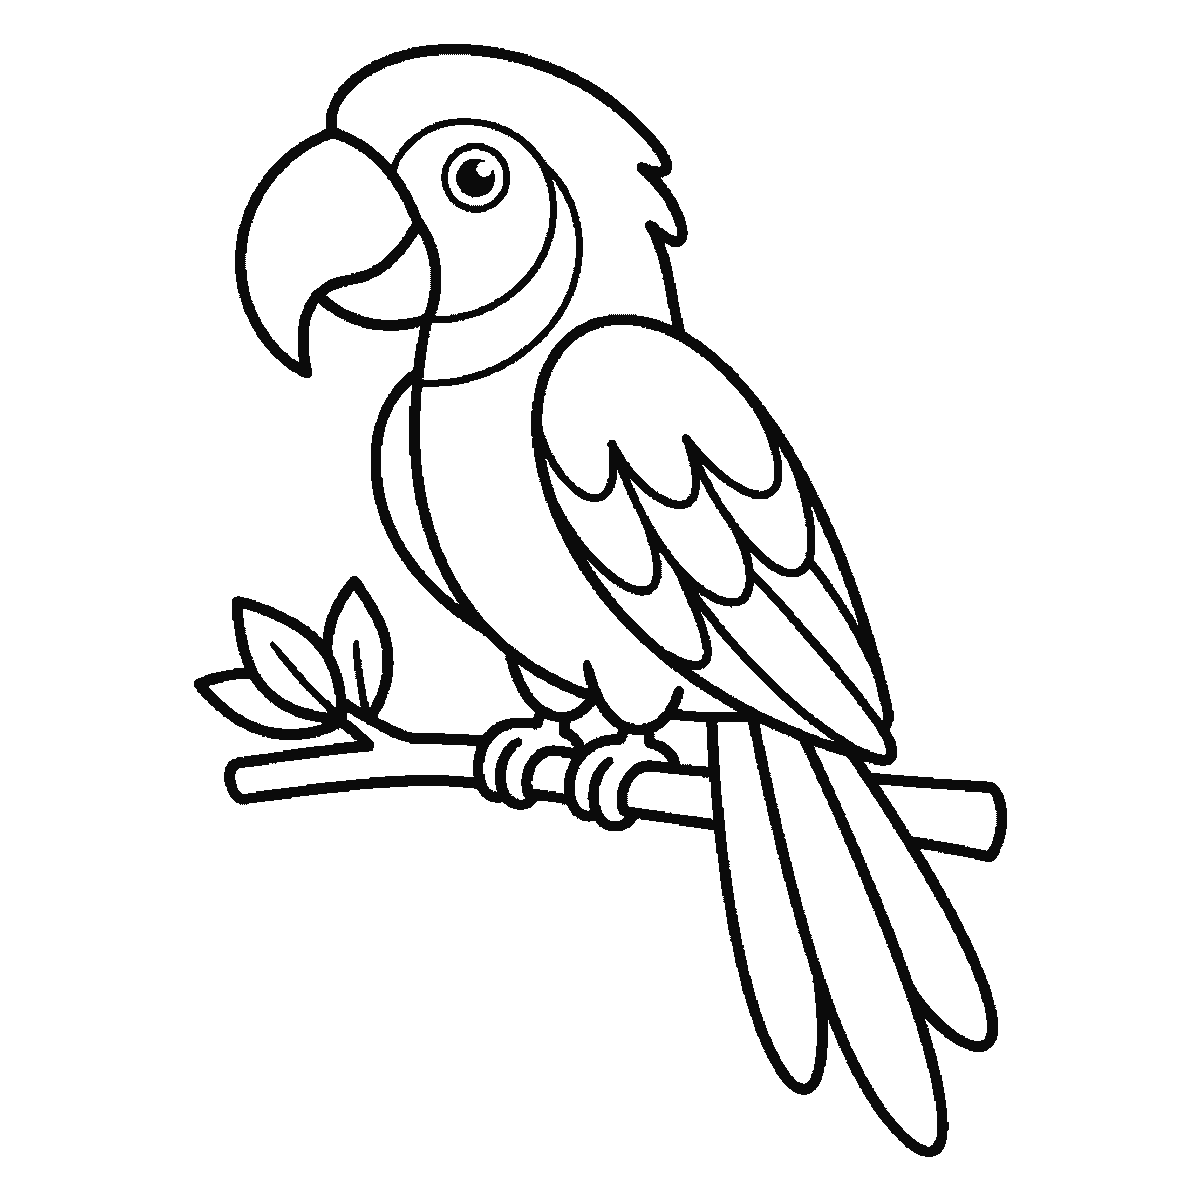
Six frames, one parrot on a leafy branch. The head crest and the breast first, then the beak with the wing, and the eye and the gripping feet last.
This sheet shows one drawing of a parrot perched side-on on a branch, six times over, each frame holding what the previous frame had plus a little more. Print it, prop it up beside your paper and copy one frame at a time.
Frame one is the crest along the top of the head and the long curve of the breast running down the front of the bird. The beak is not there. That is the detail most worth knowing in advance, because the hooked beak is the whole reason a parrot reads as a parrot, and on this sheet it does not appear until the second frame. What you have after step one is a rounded head shape and a chest, which could be almost any bird.
The beak arrives in frame two along with the folded wing and the first of the long tail feathers. Take the beak slowly. It is a deep curved hook with a clear notch underneath, and it should start high — the top of the beak begins level with the eye, not below it. A beak drawn small and low turns the parrot into a budgerigar, and a beak drawn as a simple triangle turns it into a finch.
Frame three brings the curved line that separates the face patch from the rest of the head, and the second long tail feather. Frame four is where the wing gains its inner layers of feathers and where the branch appears, as two stubs either side of the bird. The branch late is worth expecting: for three frames the parrot is perched on nothing.
The fifth frame adds the beak's inner line, the throat, one leaf and more wing feathers, and the sixth closes the drawing with the eye and its filled pupil, the feet curled over the branch, and the last two leaves. So the eye — the mark that makes the bird look at you — is genuinely the final thing on the page, and the feet come with it.
The order on the sheet runs from the biggest closed shape to the smallest. That is easy to copy from and it is not a statement about how a parrot ought to be drawn; a person who starts with the beak because it is the hardest part and works back from there is doing something entirely sensible, and their parrot will be this parrot.
One A4 sheet carries all six frames, black outline on white, no shading. It prints on a nearly-empty cartridge and the finished frame takes colour well, which matters more with a parrot than with most subjects.
The wing is the part that rewards a second go. Here it is drawn as three or four overlapping layers, each one a row of rounded feather shapes tucked under the row above. Copy it once exactly, then draw it again with the feathers slightly longer and more pointed — the bird stops looking like a macaw at rest and starts looking like one about to take off, and nothing else on the page has changed. Feathers are one of the few places where drawing the same shape repeatedly at different sizes really does teach you something.
Before you start
- Start the top of the beak level with the eye, not below it. A low beak gives you a budgerigar.
- Give the beak a clear notch on its underside. Without it the hook reads as a solid wedge.
- Draw the tail feathers as two or three wide separate shapes rather than a fan of thin ones — wide feathers are what say macaw.
- The feet go on last here, but sketch the branch line early so the bird is not left standing in mid-air while you work.
Published Updated 534 words
The six steps
The steps go from the largest shape to the smallest, which is an easy order to copy. It is not the only order, and it is not a rule — if you would rather start somewhere else on the sheet, do.
Step 1
Step 2
Step 3
Step 4
Step 5
Step 6
More in this section
How to draw a kitten
Six frames, one kitten crouching over a ball of wool. The head and collar first, the ears one at a time after it, and the filled pupils near the end.
Step sequence made by us from a single drawing: each step keeps the lines of the one before it and adds to them.
How to draw a flamingo
Six frames, one flamingo standing in shallow water. The body first, the neck second, and the beak — the thing that says flamingo — not until frame five.
Step sequence made by us from a single drawing: each step keeps the lines of the one before it and adds to them.
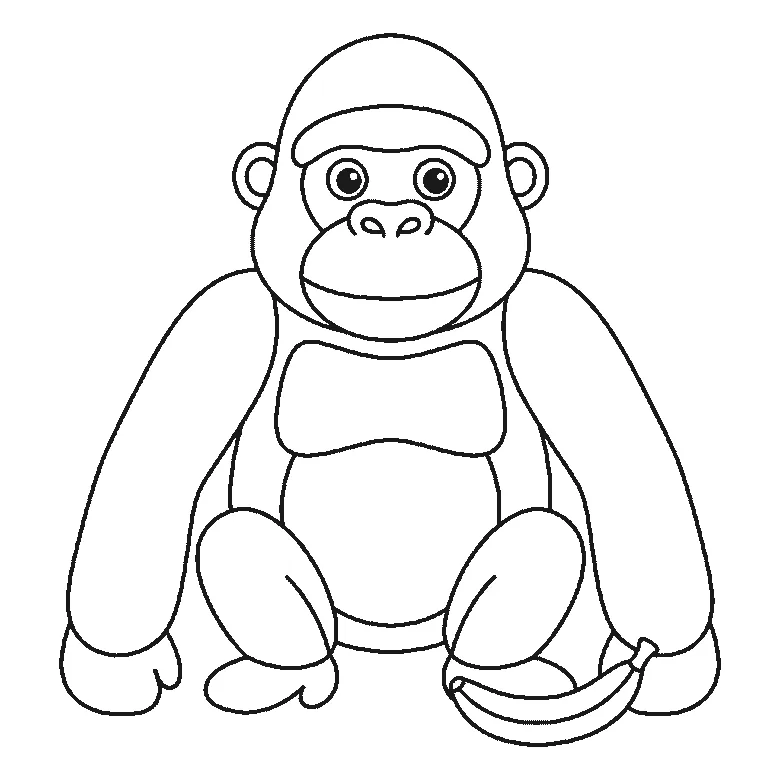
How to draw a gorilla
Six frames, one gorilla sitting with a banana beside it. Frame one is the two arms and nothing else — the head does not arrive until frame two.
Step sequence made by us from a single drawing: each step keeps the lines of the one before it and adds to them.
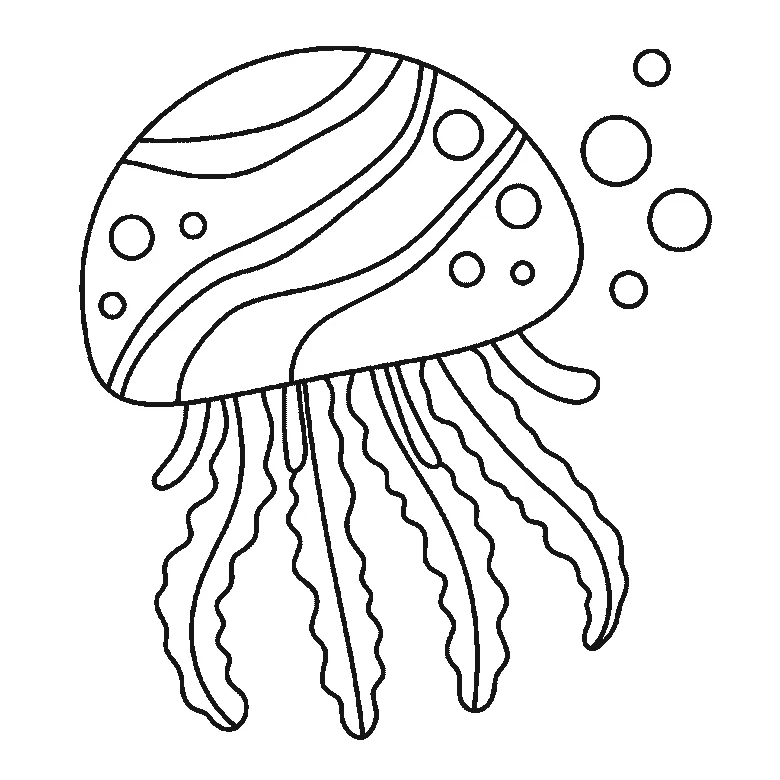
How to draw a jellyfish
Six frames, one jellyfish drifting with bubbles beside it. The bell is built panel by panel, the tentacles arrive a few at a time, and the bubbles are last.
Step sequence made by us from a single drawing: each step keeps the lines of the one before it and adds to them.
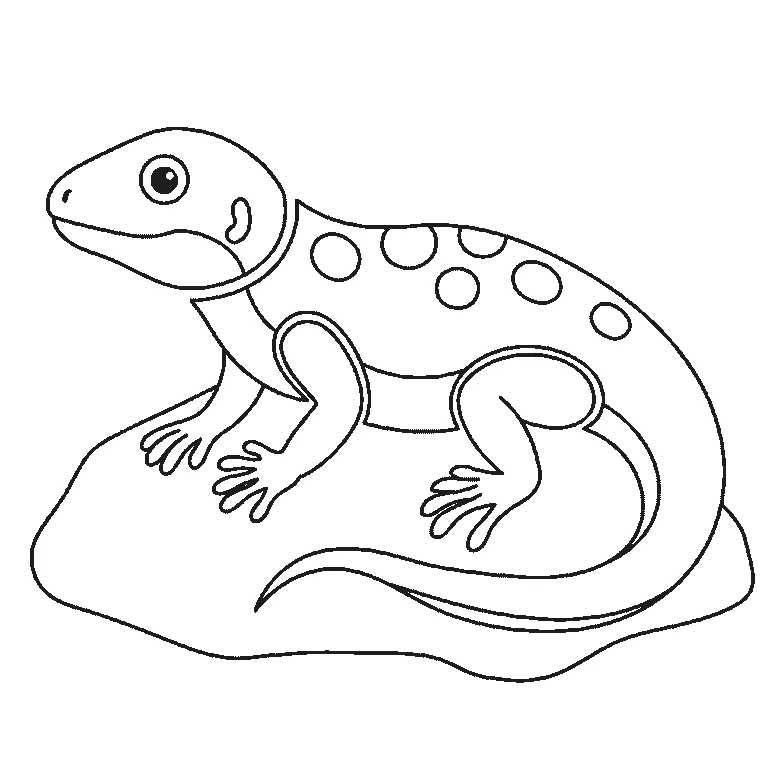
How to draw a lizard
Six frames, one lizard basking on a rock. Frame one is the rock and two legs; the body comes second and the head not until frame three.
Step sequence made by us from a single drawing: each step keeps the lines of the one before it and adds to them.
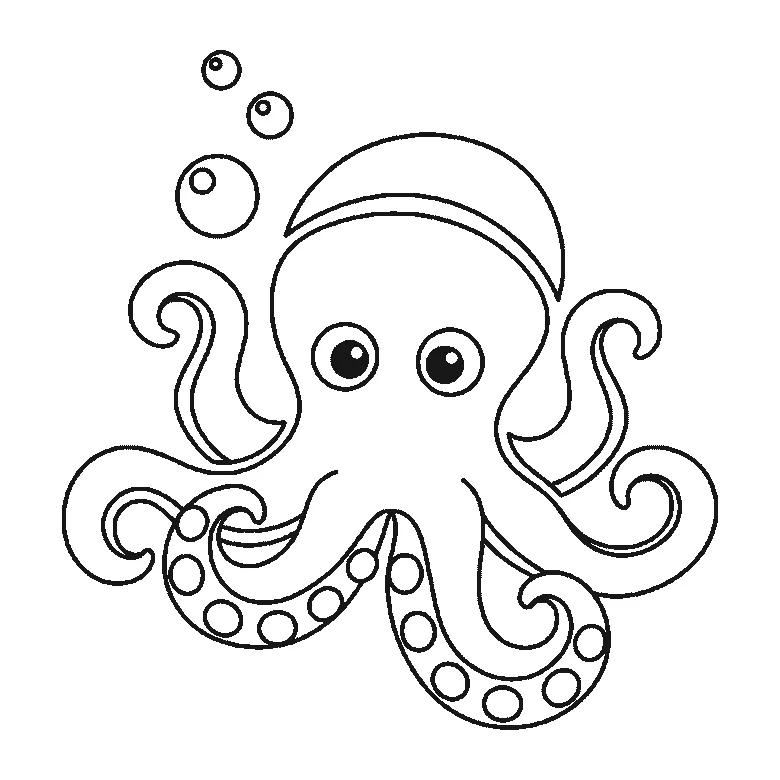
How to draw an octopus
Six frames, one octopus with bubbles rising beside it. The head and two outer arms first, the remaining arms one or two at a time, the pupils last.
Step sequence made by us from a single drawing: each step keeps the lines of the one before it and adds to them.
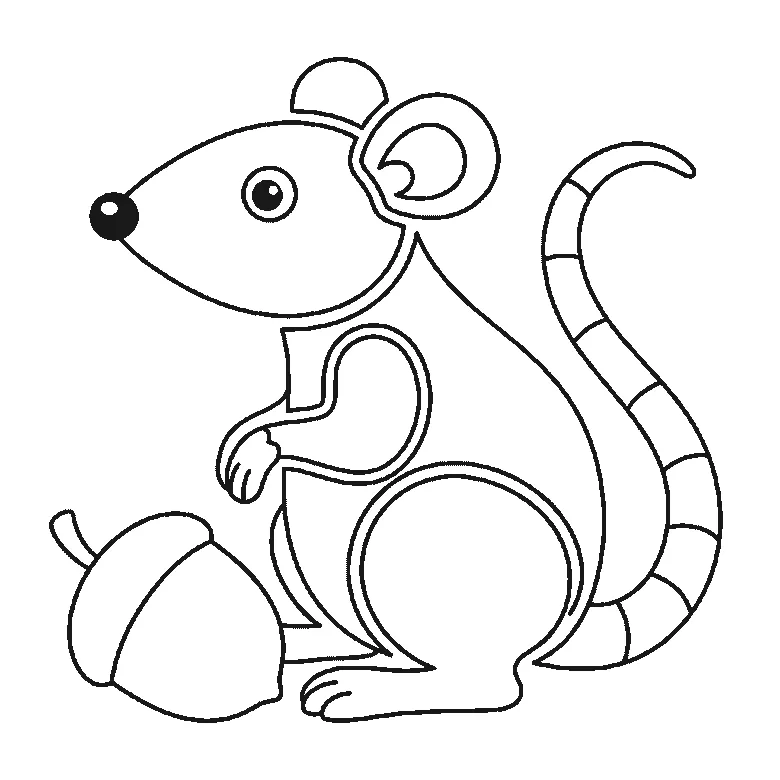
How to draw a rat
Six frames, one rat sitting up beside an acorn. The head and haunch first, the ear third, and the long banded tail not until frame five.
Step sequence made by us from a single drawing: each step keeps the lines of the one before it and adds to them.
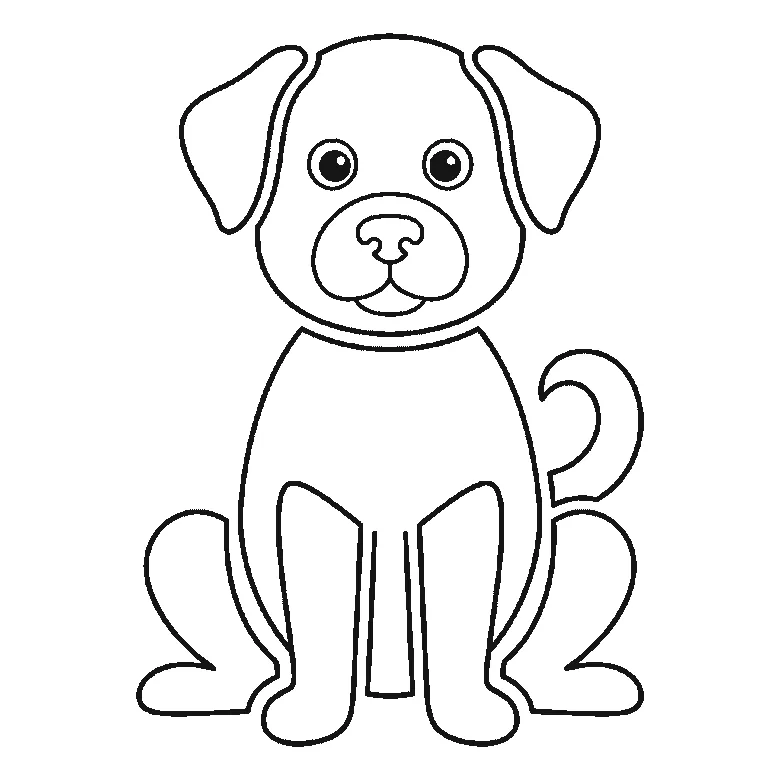
How to draw a dog
Six frames, one dog sitting upright. The head alone first, then the body and front legs, and the ears, tail and eyes last.
Step sequence made by us from a single drawing: each step keeps the lines of the one before it and adds to them.
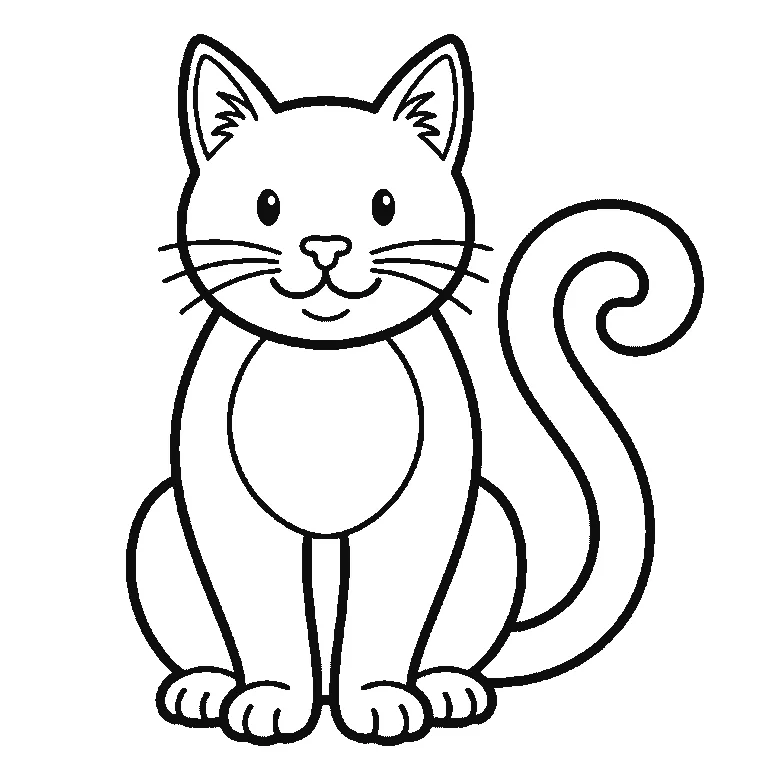
How to draw a cat
Six frames, one cat sitting upright. The whole face first — ears, eyes and whiskers together — then the tail on its own, the body and the legs.
Step sequence made by us from a single drawing: each step keeps the lines of the one before it and adds to them.
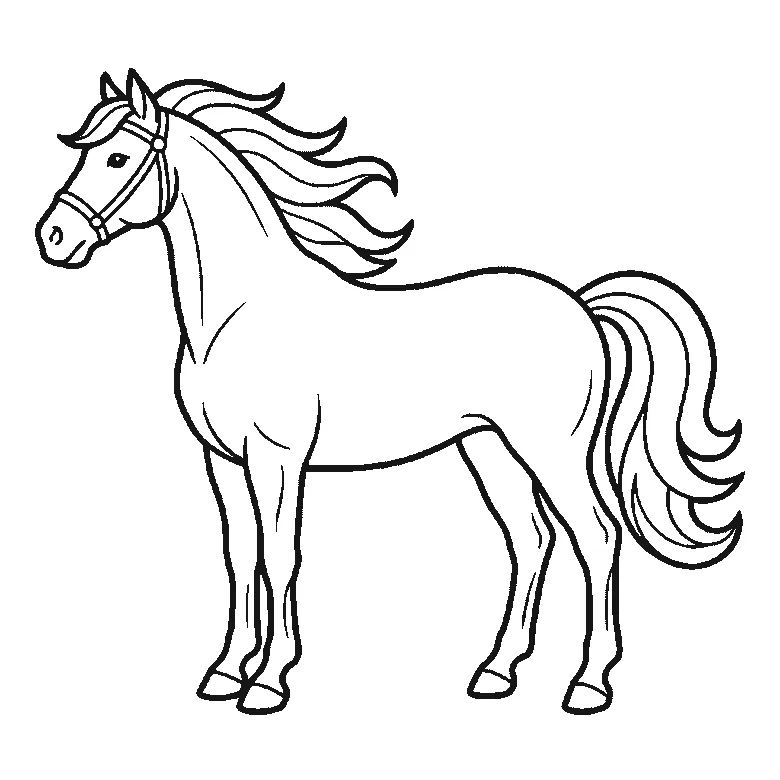
How to draw a horse
Six frames, one horse in profile. Almost the whole body first, then the far legs, the tail, and the head and mane last.
Step sequence made by us from a single drawing: each step keeps the lines of the one before it and adds to them.
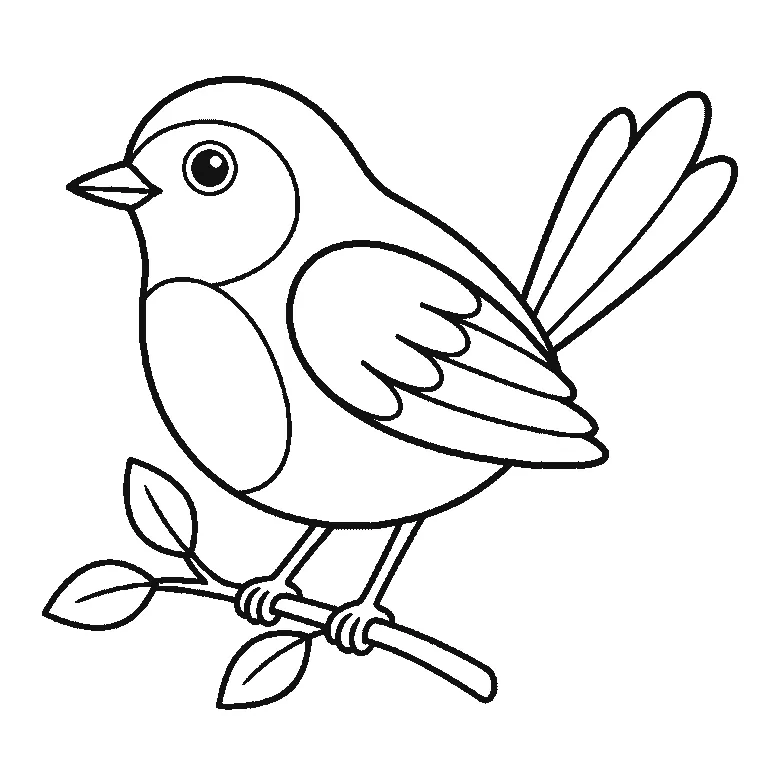
How to draw a bird
Six frames, one small bird on a branch. The body outline first, then the head, beak and wing together, the tail feathers, the branch, and the feet last.
Step sequence made by us from a single drawing: each step keeps the lines of the one before it and adds to them.
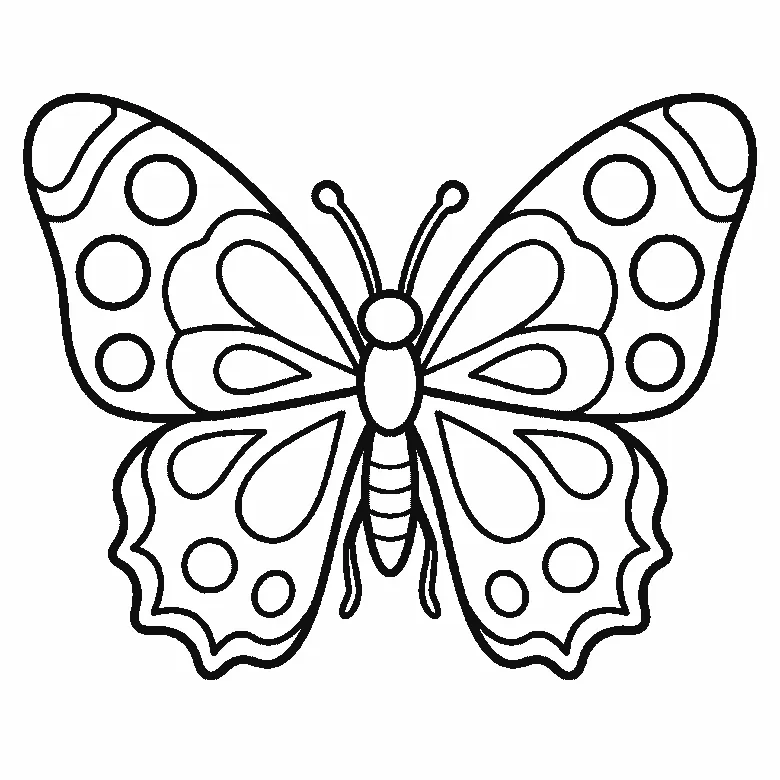
How to draw a butterfly
Six frames, one butterfly seen from above. The lower wings first, then the upper pair, their markings, and the body and antennae last.
Step sequence made by us from a single drawing: each step keeps the lines of the one before it and adds to them.


