
PDF · A4 · 55 KB · Free, no sign-up. For home and classroom use.
How to draw a cat
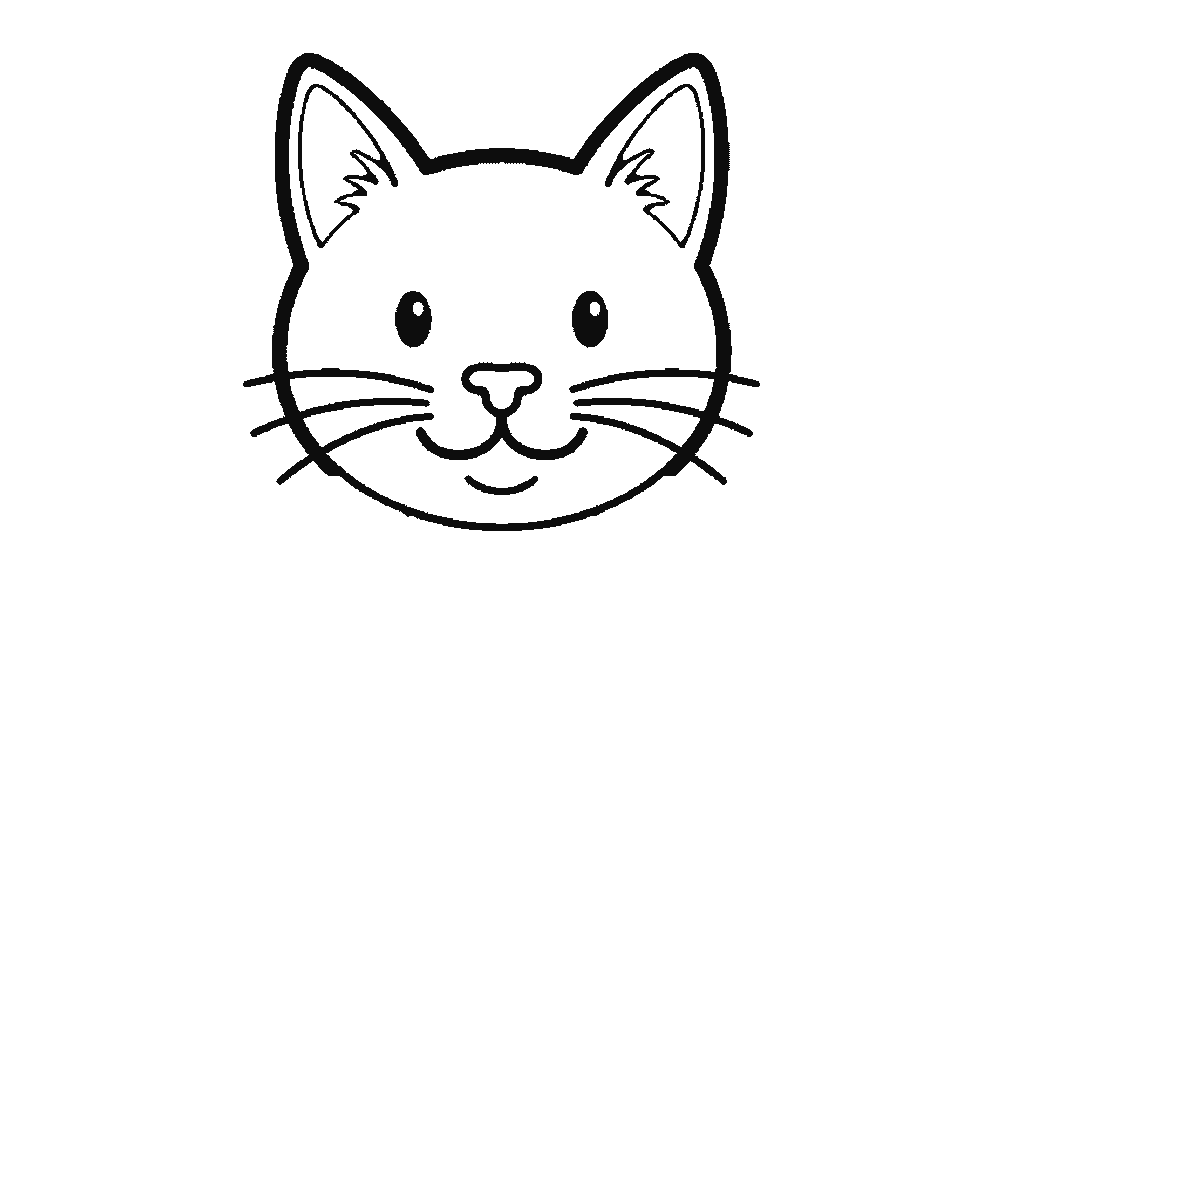
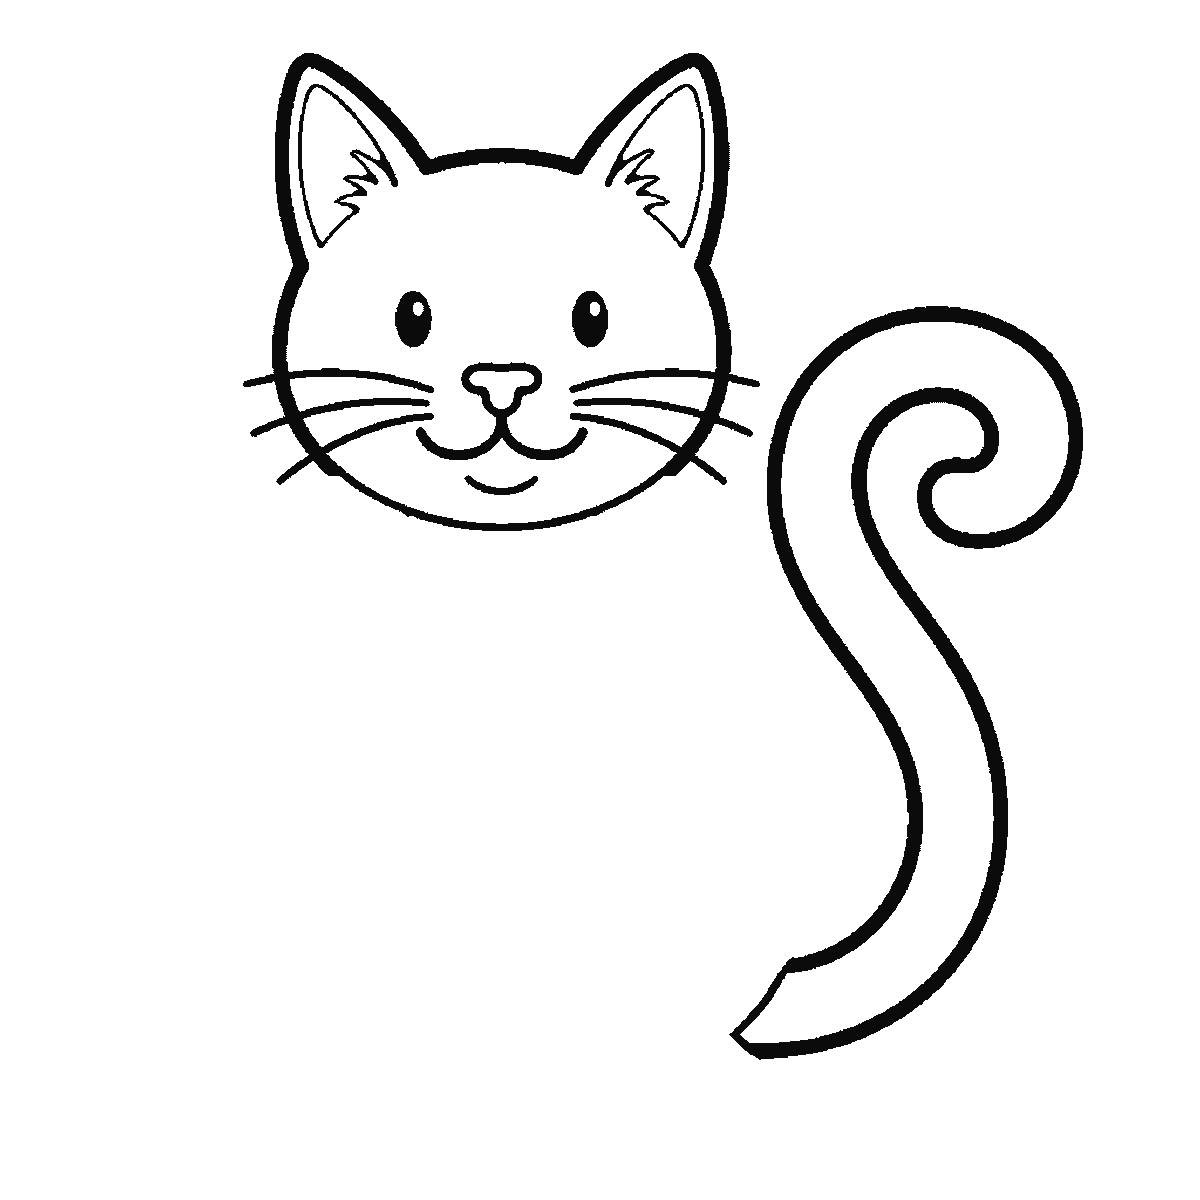
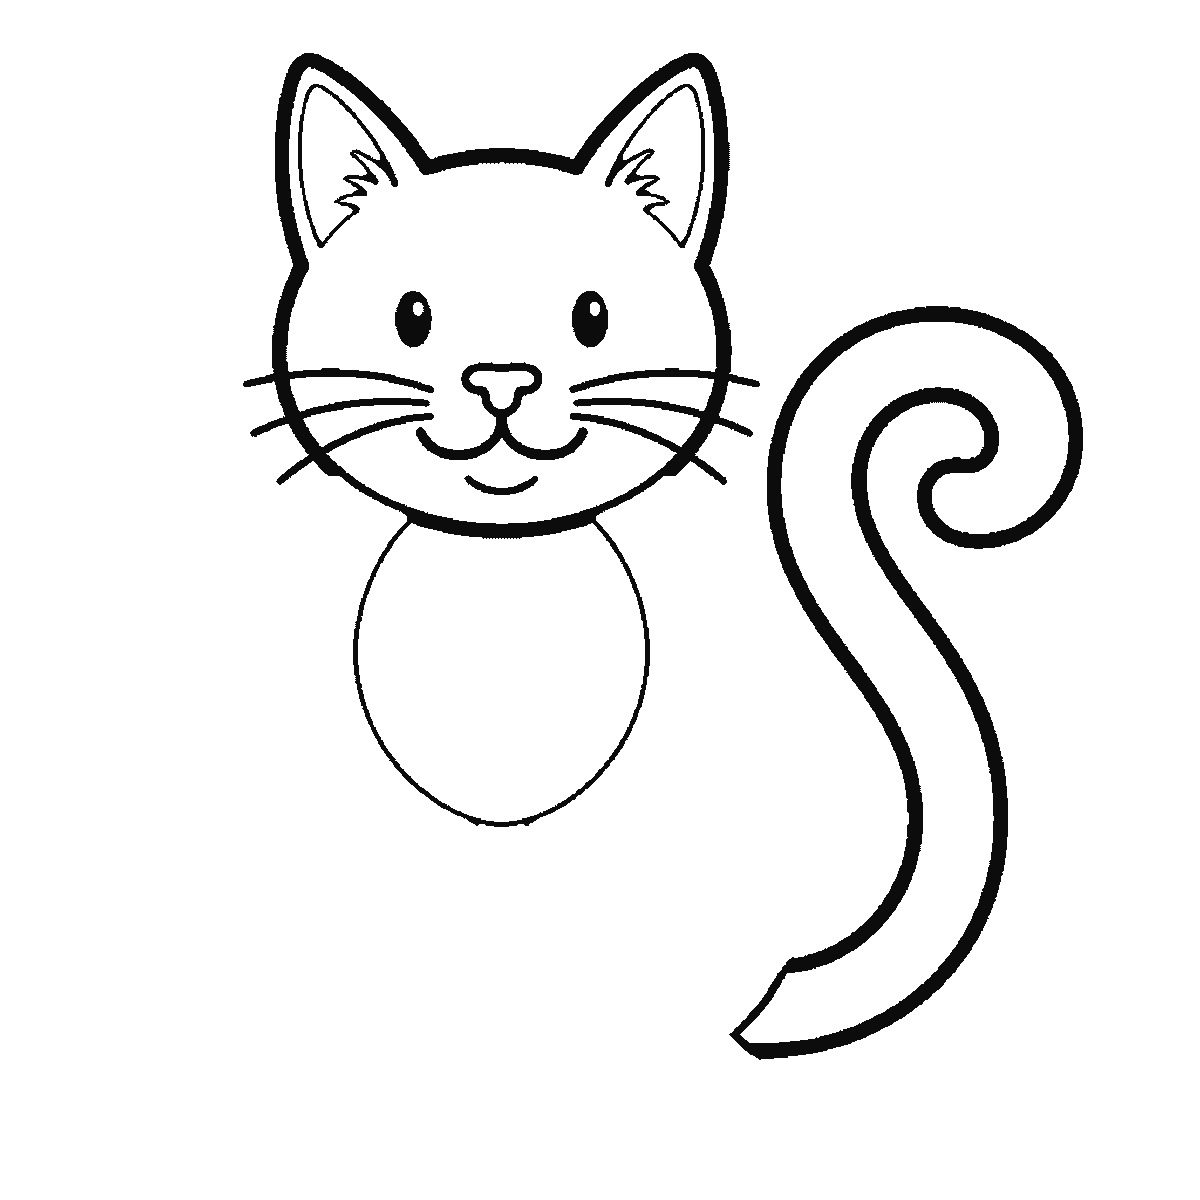
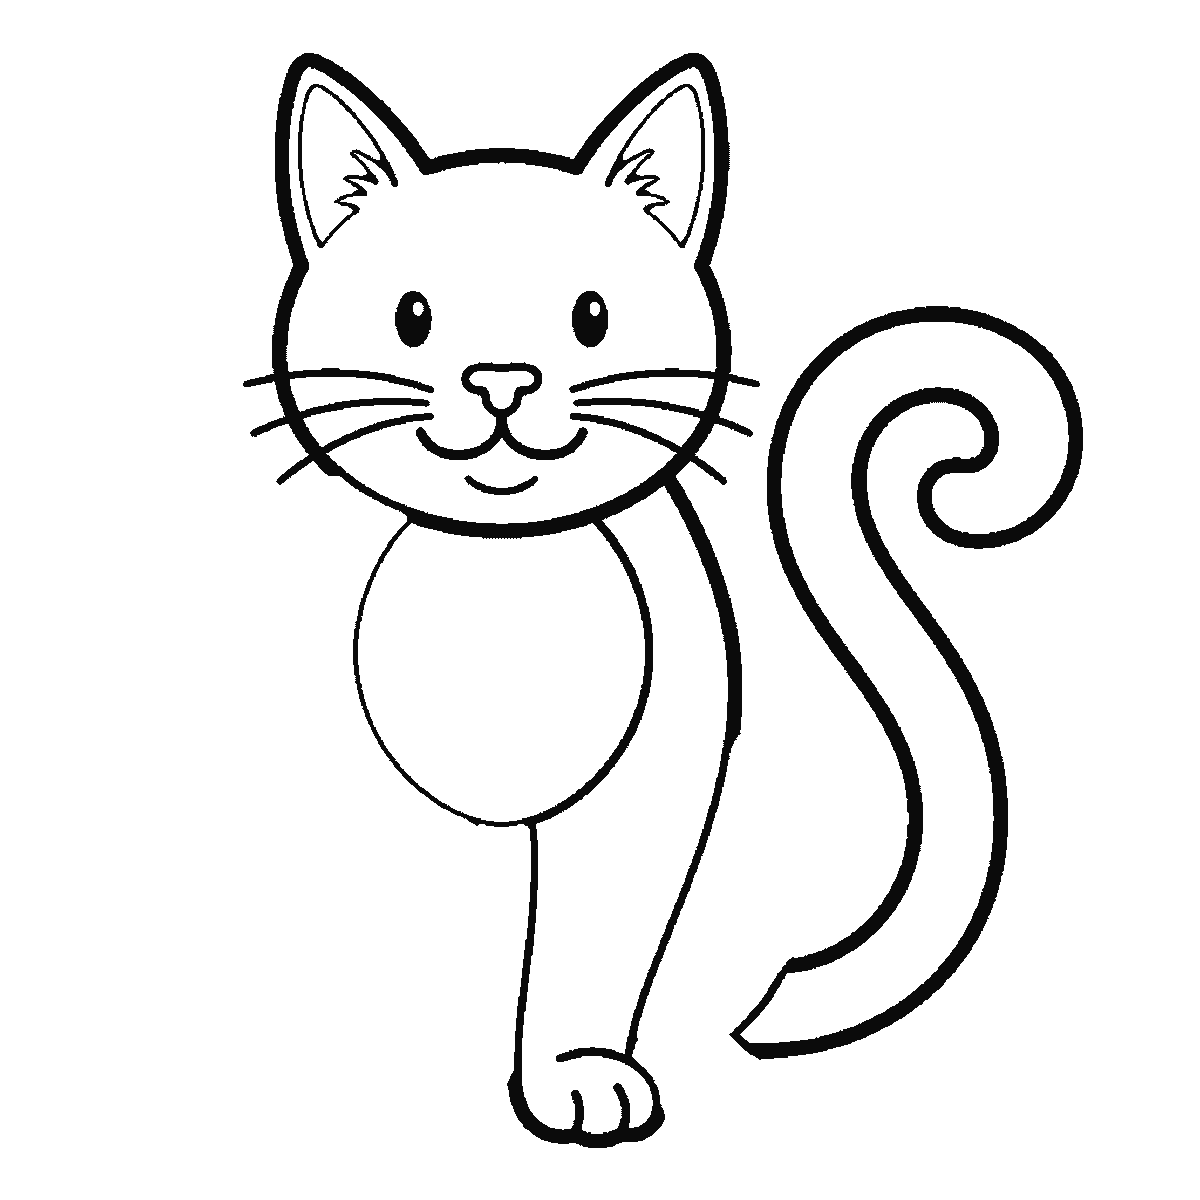
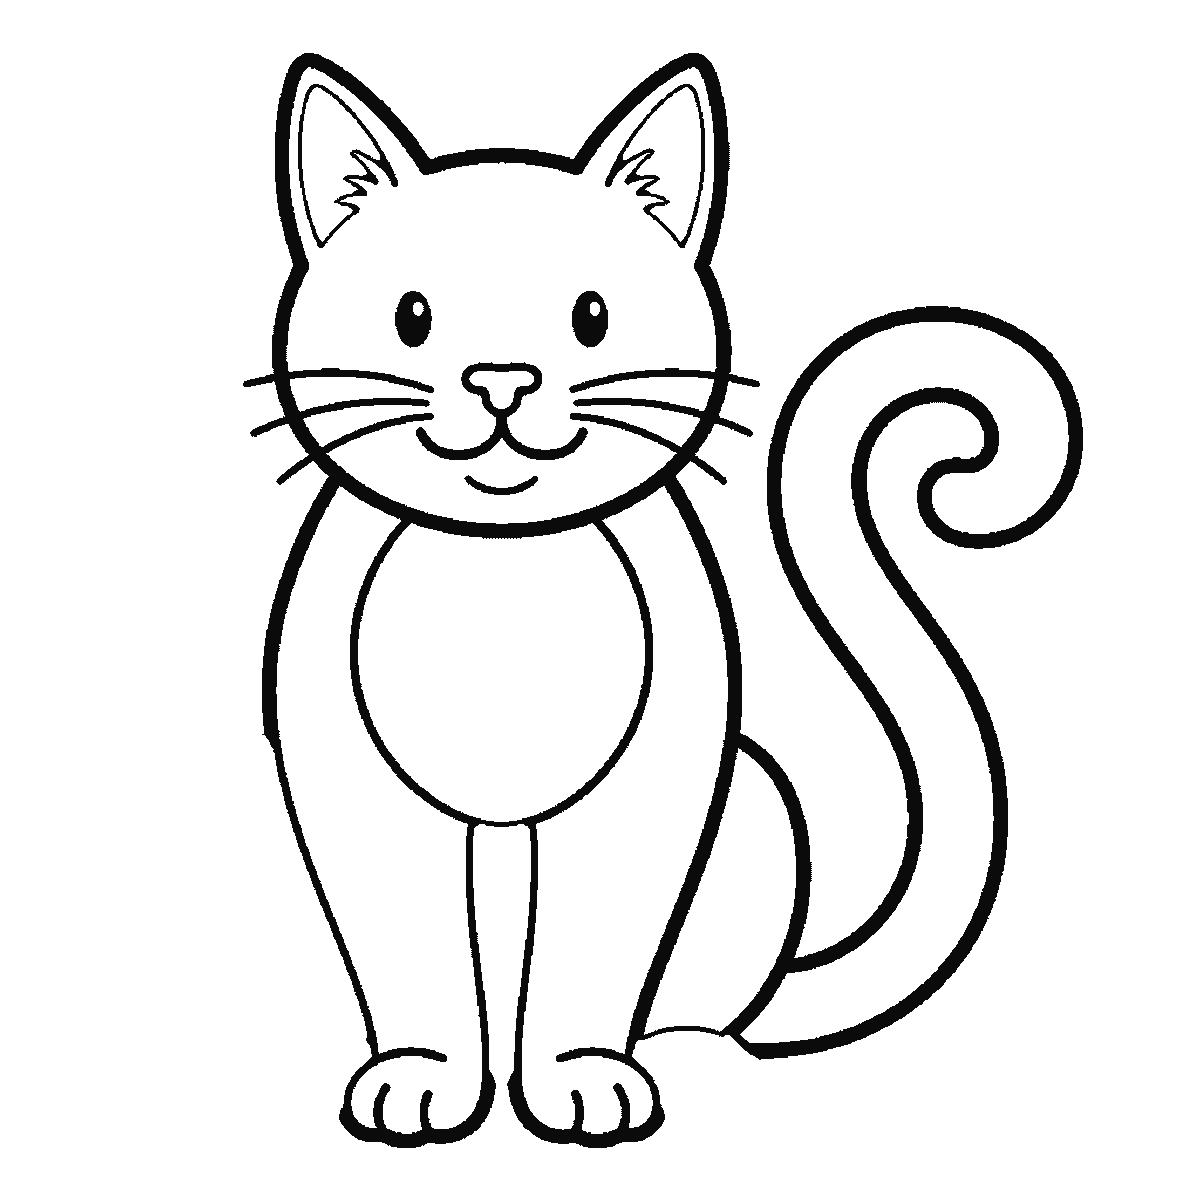
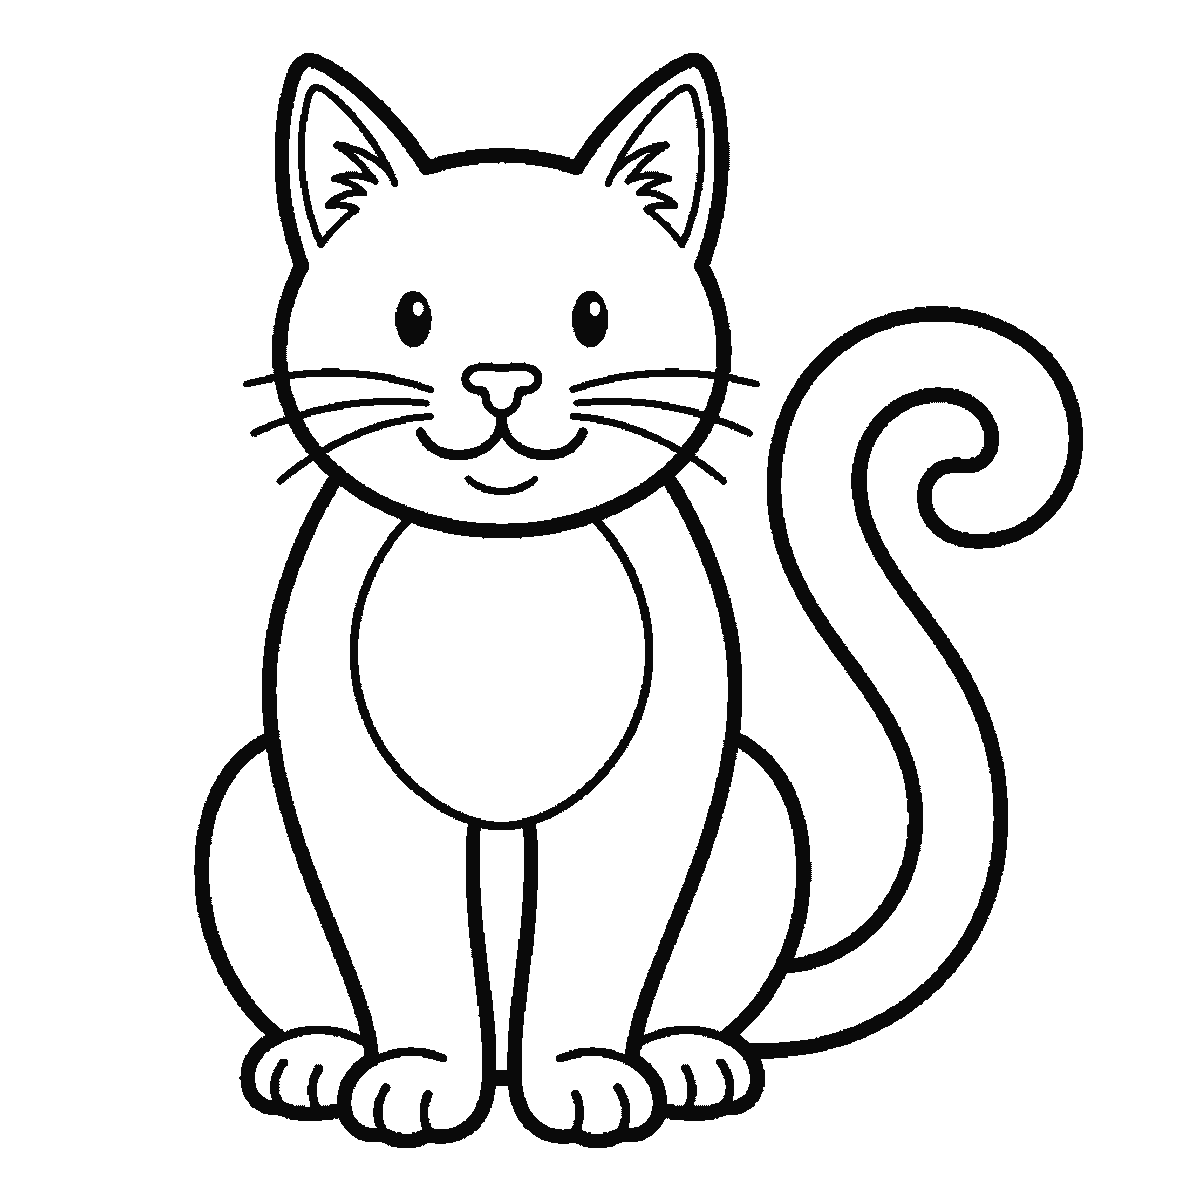
Six frames, one cat sitting upright. The whole face first — ears, eyes and whiskers together — then the tail on its own, the body and the legs.
A cat is one of the easiest animals to make recognisable, because two triangles on a circle already say cat to almost anybody. This sheet takes a cat sitting upright and facing you, and builds it over six frames from the largest shapes down to the smallest, so each step is a few lines rather than a whole drawing.
Frame one is the entire head, and it arrives finished: the round skull, both ears, both eyes with their pupils, the nose, the mouth and the whiskers, all in one step. That is a great deal to copy at once, so take it in that order rather than as a single outline. The ears are the most important shape on it — set them wide, close to the outer edges of the head, and angle them very slightly outwards. Ears drawn upright in the middle of the skull make the animal look startled rather than calm.
Because the face is part of that first frame rather than a reward at the end, it is worth slowing right down over. Two round eyes, set roughly a third of the way down the head and about one eye's width apart. A small nose between and below them. The mouth is two short curves, and it does more work than it looks like it does — a shallow one reads as content, a deeper one as smug.
The tail is frame two, drawn on its own well away from the body it belongs to, which looks wrong until the chest arrives in frame three and joins them up. It comes round the outside of the body and curls at the tip. It is the only part of the drawing that is genuinely free: a cat's tail can go almost anywhere and the animal still reads correctly, so if yours ends up somewhere else, that is a cat too. The front legs follow one at a time after it, and the toe lines and the inner ears are the last marks on the sheet.
Whiskers are in the very first frame here, which is unusual, and they are worth taking slowly rather than rushing to get to the body. Three or four a side, drawn as single confident strokes from beside the nose outwards, slightly curved and not all the same length. Whiskers built from short sketchy strokes look furry, which is not what a whisker is, and it is the detail that most often spoils an otherwise good drawing.
The frames go from the biggest closed shape to the smallest, and on this drawing the biggest happens to be the head, which is why the face arrives before the body it sits on. That order is easy to follow and it is not the only one; plenty of people build the body first and hang the head off it. Both roads end at the same cat, and neither is the correct method.
Everything on the sheet is outline, so it doubles as a colouring page once you have copied it. The six frames sit on a single A4 sheet at a size you can work from without leaning in.
Once the sitting cat is comfortable, the same six shapes will carry a cat doing almost anything. Flatten the body and stretch it and the animal is asleep. Raise the front legs and shorten the back ones and it is about to pounce. The head, the ears and the tail do not change at all — only the body, and only its proportions. That is why it is worth drawing this one several times rather than moving straight on to a different animal.
A word about the eyes, because they are where a cat drawing is won or lost. A round pupil reads as a cat indoors in the evening; a narrow vertical one reads as bright daylight. Either is correct, and choosing deliberately between them is the difference between a drawing that happens and a drawing that decides something.
Before you start
- Keep the ears large. A cat's ears are much bigger relative to its head than most people draw them, and undersized ears are the commonest reason a drawn cat reads as a bear.
- Leave a clear gap between the eyes, roughly one eye wide. Eyes drawn too close together age the face and make it look cross.
- Draw each whisker in one movement rather than sketching it.
- Print at actual size rather than fit-to-page, so the six frames stay the same size as each other.
Published Updated 665 words
The six steps
The steps go from the largest shape to the smallest, which is an easy order to copy. It is not the only order, and it is not a rule — if you would rather start somewhere else on the sheet, do.
Step 1
Step 2
Step 3
Step 4
Step 5
Step 6
More in this section
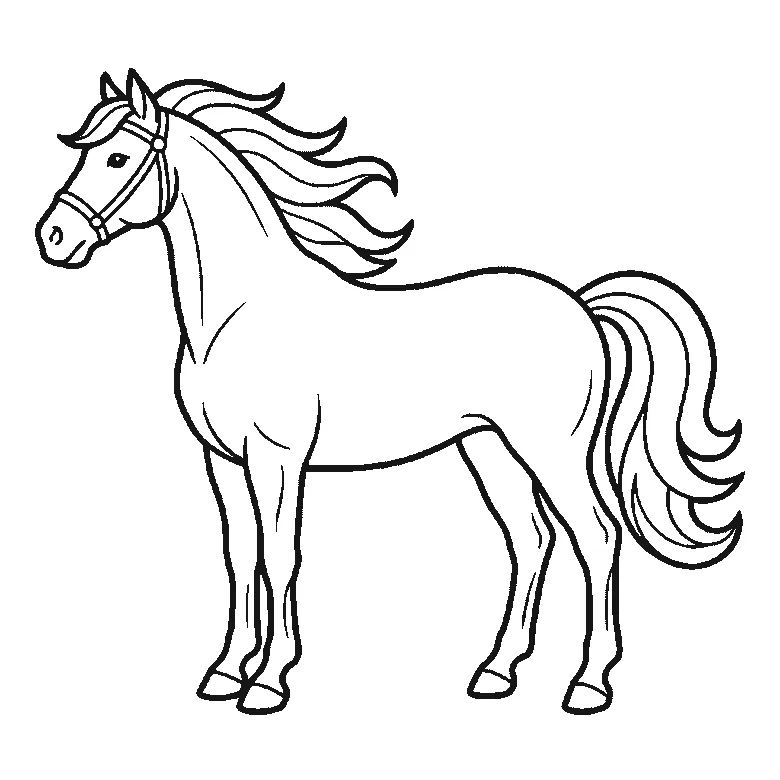
How to draw a horse
Six frames, one horse in profile. Almost the whole body first, then the far legs, the tail, and the head and mane last.
Step sequence made by us from a single drawing: each step keeps the lines of the one before it and adds to them.
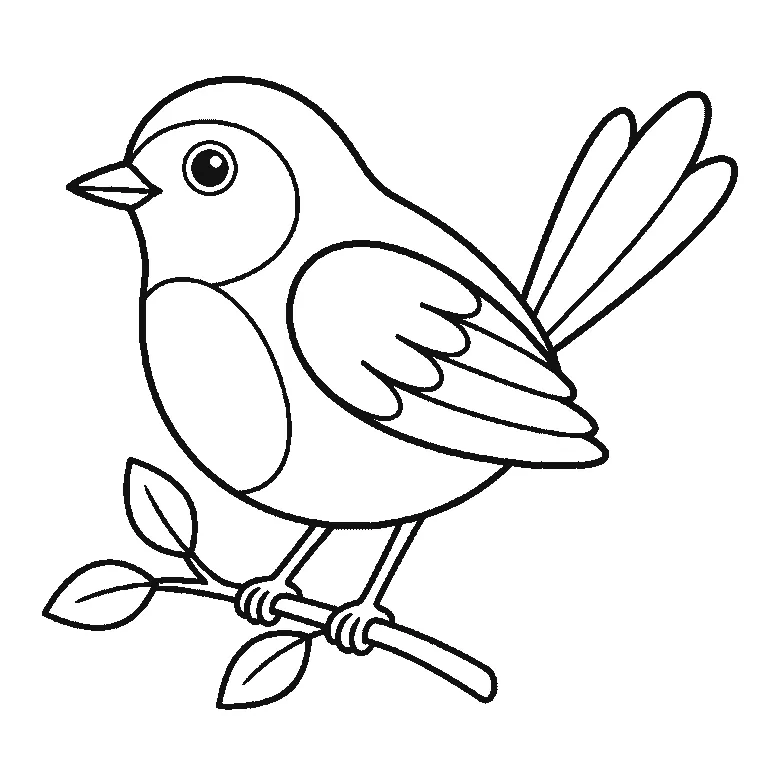
How to draw a bird
Six frames, one small bird on a branch. The body outline first, then the head, beak and wing together, the tail feathers, the branch, and the feet last.
Step sequence made by us from a single drawing: each step keeps the lines of the one before it and adds to them.
How to draw a butterfly
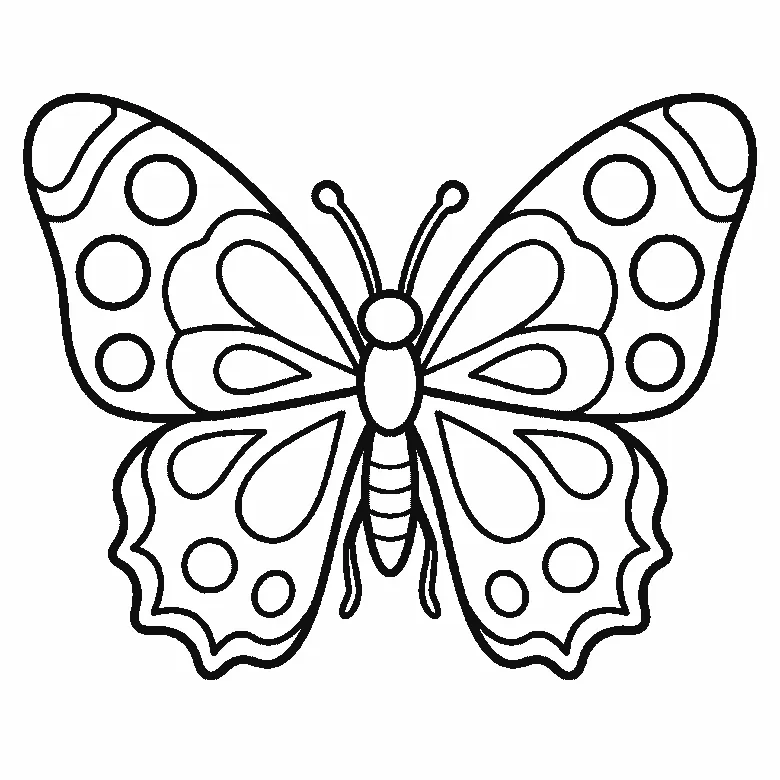
Six frames, one butterfly seen from above. The lower wings first, then the upper pair, their markings, and the body and antennae last.
Step sequence made by us from a single drawing: each step keeps the lines of the one before it and adds to them.
How to draw a capybara
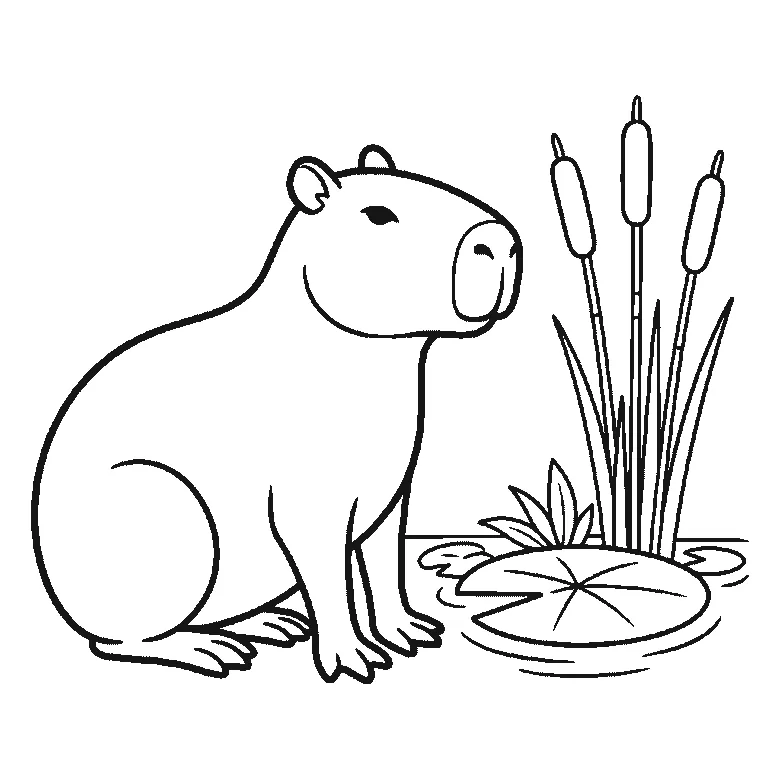
Six frames, one capybara sitting in profile beside water. The whole animal in the first frame, then the lily pad, the bulrushes and the water.
Step sequence made by us from a single drawing: each step keeps the lines of the one before it and adds to them.
How to draw a penguin
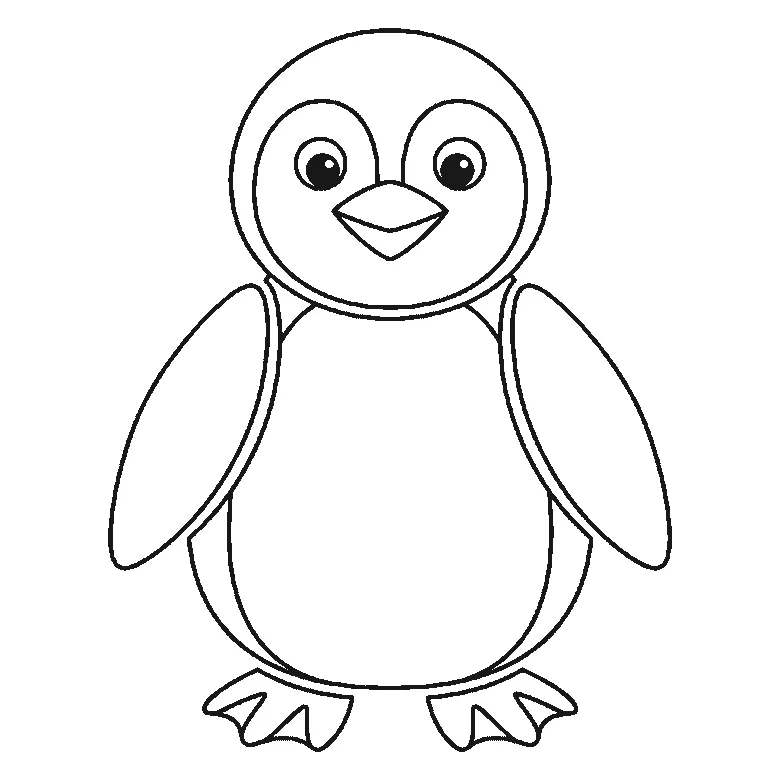
Six frames, one penguin standing and facing you. The body and the whole face first, then the head's outline, one flipper at a time, and the feet.
Step sequence made by us from a single drawing: each step keeps the lines of the one before it and adds to them.
How to draw a rabbit
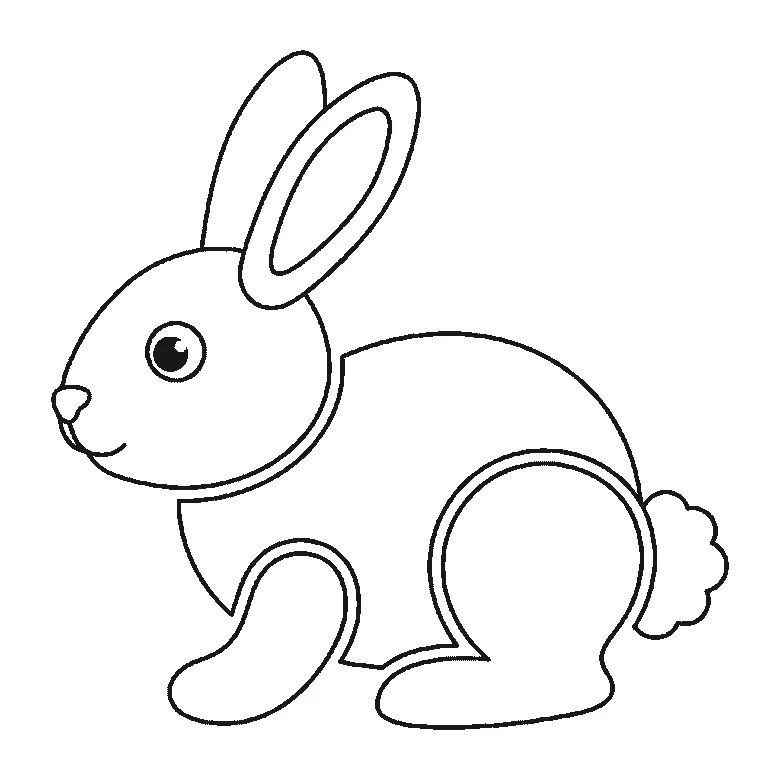
Six frames, one rabbit in profile. The body first, then the folded hind leg, the head, the front paw, and the ears and tail last.
Step sequence made by us from a single drawing: each step keeps the lines of the one before it and adds to them.
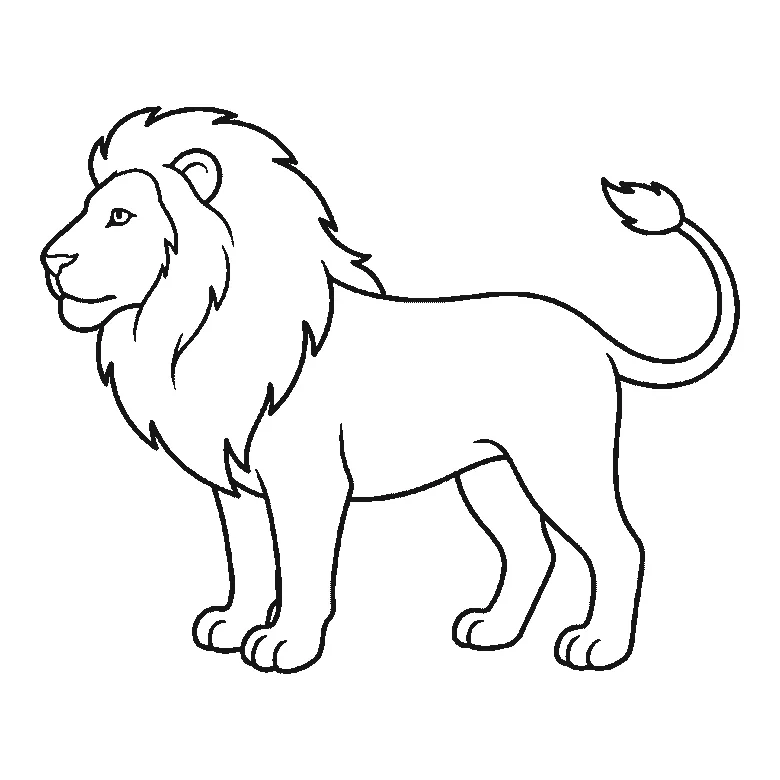
How to draw a lion
Six frames, one lion standing in profile. The body first, then the mane, the face, the two far legs, and the ear and tail tuft last.
Step sequence made by us from a single drawing: each step keeps the lines of the one before it and adds to them.
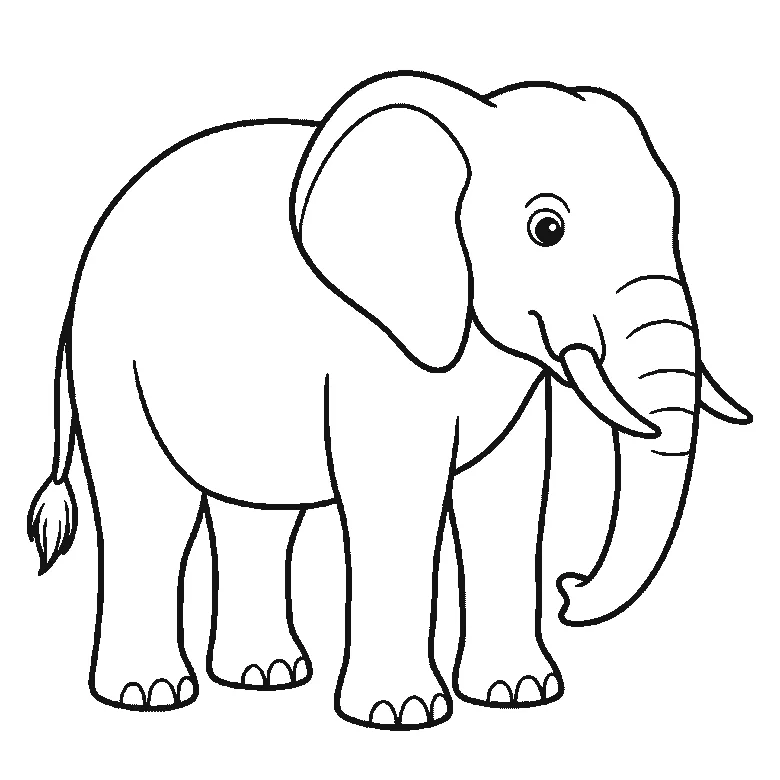
How to draw an elephant
Six frames, one elephant in profile. The body and near legs first, then the head, trunk, tusk and eye together, the big ear, the far legs, and the tail last.
Step sequence made by us from a single drawing: each step keeps the lines of the one before it and adds to them.
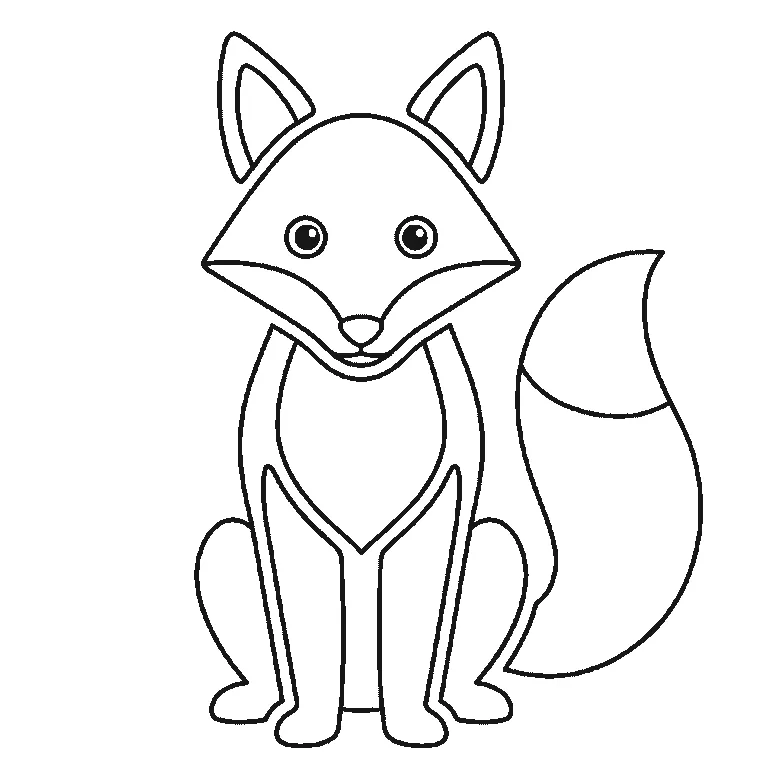
How to draw a fox
Six frames, one fox sitting and facing you. The head and the bushy tail together first, then the chest and legs, and the ears last.
Step sequence made by us from a single drawing: each step keeps the lines of the one before it and adds to them.
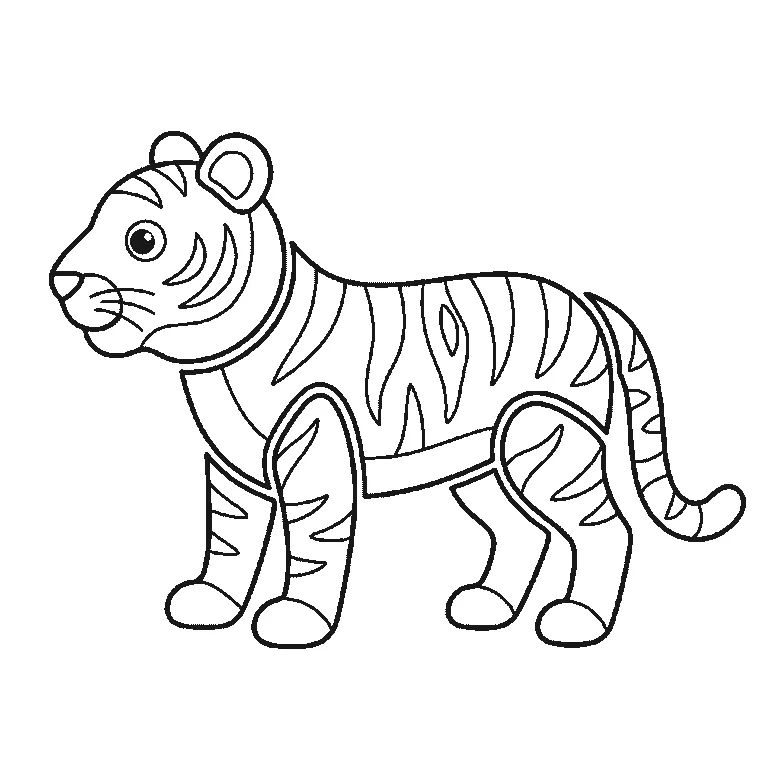
How to draw a tiger
Six frames, one tiger standing in profile. The striped flank first, then the head, the legs one at a time, and the tail last.
Step sequence made by us from a single drawing: each step keeps the lines of the one before it and adds to them.
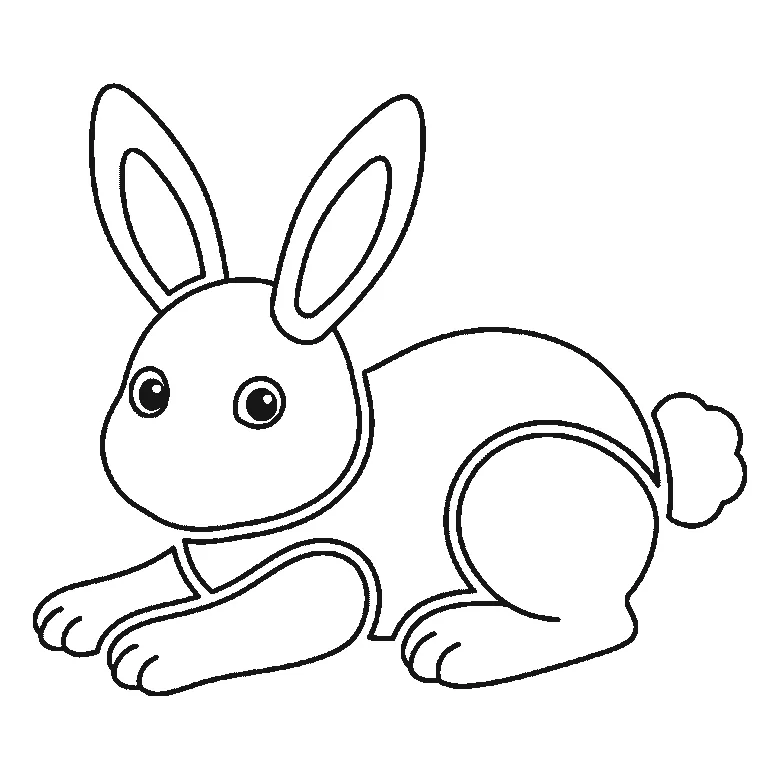
How to draw a bunny
Six frames, one bunny lying down with its paws stretched out. The head first, then the body, the long ears and the fluffy tail.
Step sequence made by us from a single drawing: each step keeps the lines of the one before it and adds to them.
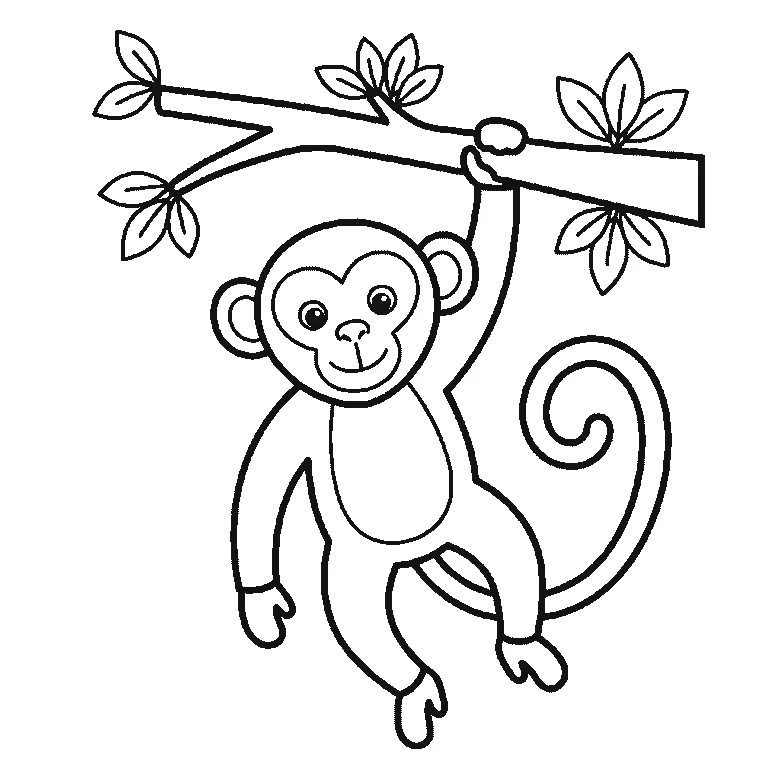
How to draw a monkey
Six frames, one monkey hanging by an arm from a branch. The limbs first, then the branch, the face and the curling tail.
Step sequence made by us from a single drawing: each step keeps the lines of the one before it and adds to them.


