
PDF · A4 · 48 KB · Free, no sign-up. For home and classroom use.
How to draw a penguin
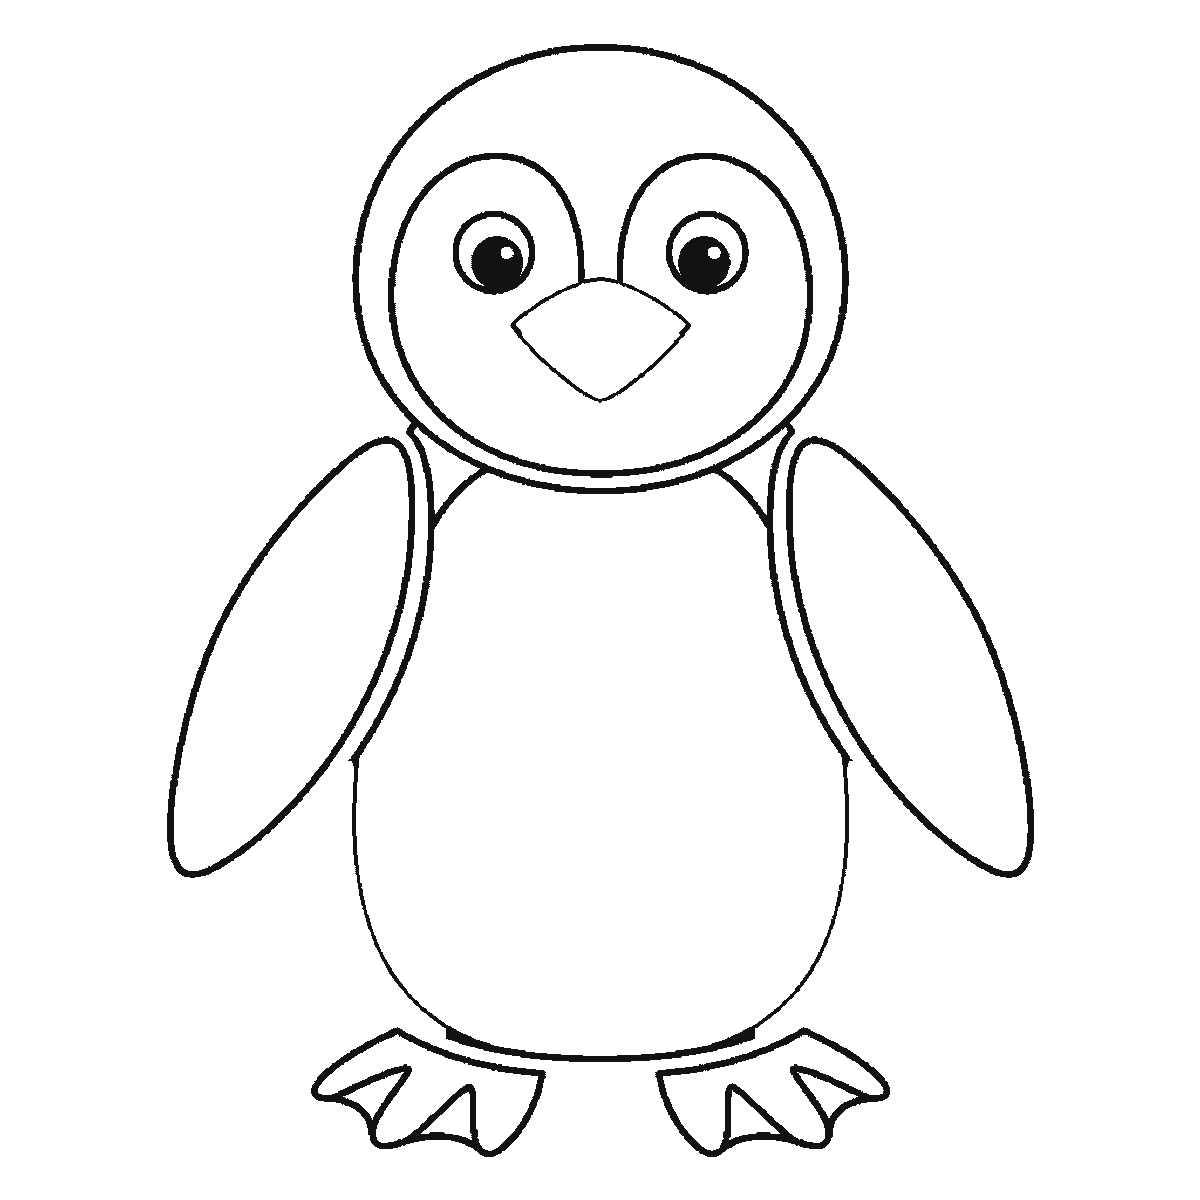
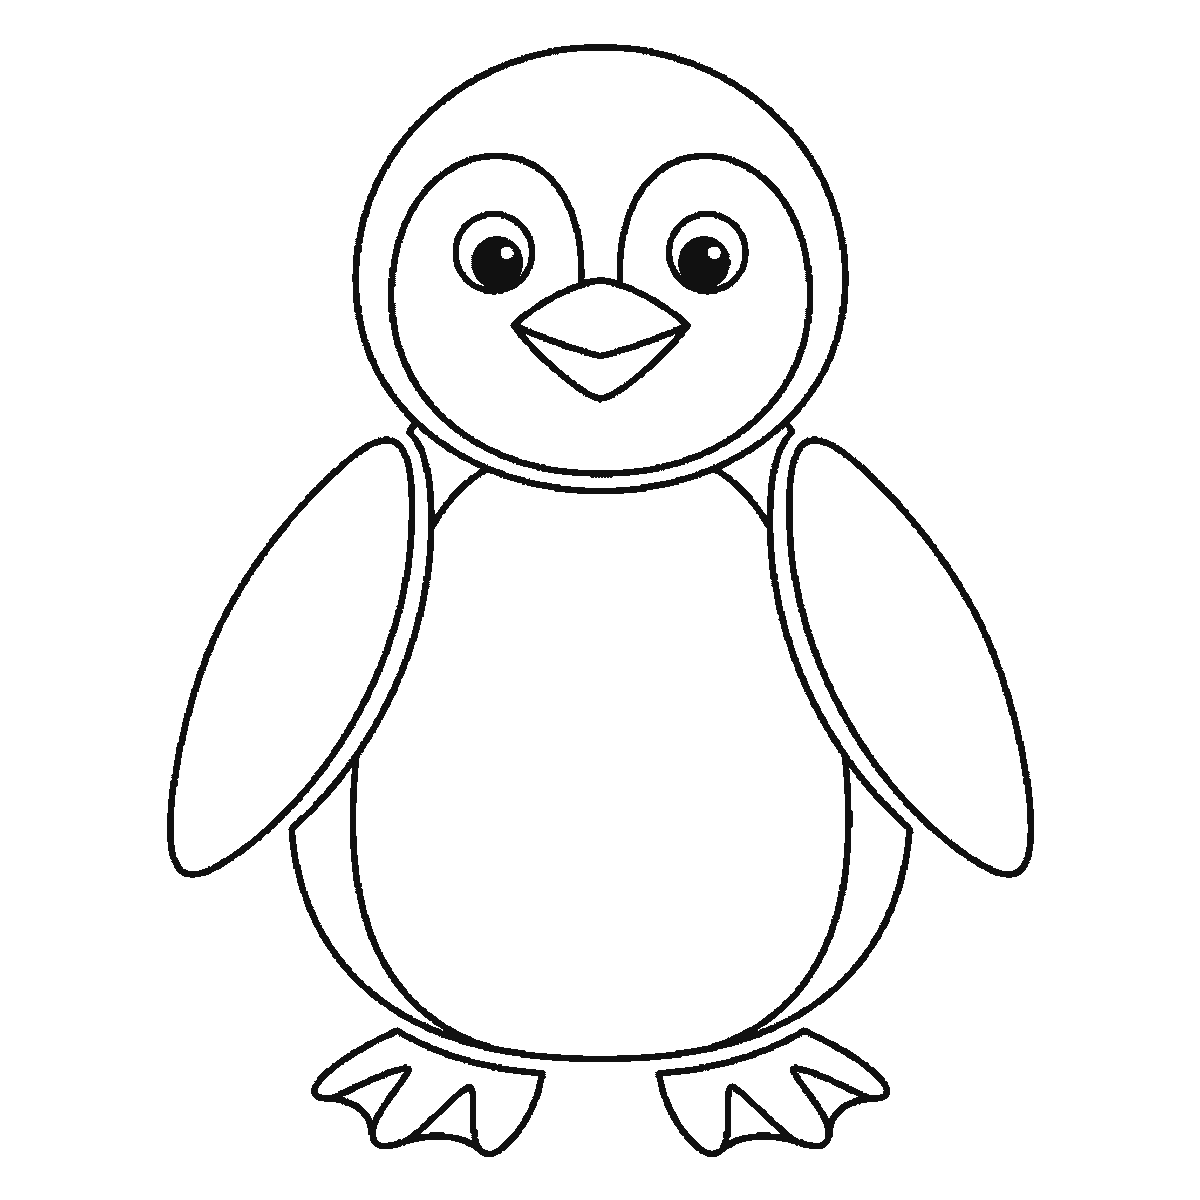
Six frames, one penguin standing and facing you. The body and the whole face first, then the head's outline, one flipper at a time, and the feet.
A penguin is very close to the easiest animal there is to draw well, because the whole bird is essentially one shape and that shape is forgiving. Nothing has to be measured, nothing has to be symmetrical to the millimetre, and even a slightly lopsided penguin reads as a penguin standing at an angle.
Frame one is the body and the face at once: a tall oval, wider at the bottom than the top, and floating above it the two eye patches, the two eyes and the beak, with no head drawn round them yet. The body is most of the animal. If you draw nothing else and put two feet under it, people will still tell you it is a penguin, which tells you how much of the work the silhouette is doing.
The head comes next as a circle drawn round the face that is already sitting there, overlapping the top of the body, and the important decision is how much it overlaps. A penguin has almost no neck; the head should sit down into the shoulders rather than perch on top. A visible neck turns the bird into a duck faster than any other single change.
The pale front is the last thing on the sheet rather than an early shape — its two lower edges close in frame six, after the feet — and it is worth drawing as a proper closed area rather than as a line. It runs from just under the chin down the belly, wider at the bottom, and it stops short of the sides. Drawn edge to edge it makes the bird look two-dimensional; kept inside the outline it immediately suggests a round body.
The flippers go on one at a time, frame three and then frame four, as long narrow shapes, wider at the shoulder and tapering towards the tip. They hang close to the body rather than sticking out. Two flippers held out sideways reads as a penguin about to be hugged, which is charming but is not what a standing penguin looks like.
The face does not arrive near the end — it is in frame one, before the head that holds it, and only the line dividing the beak waits until frame six. The eyes are the part most worth taking care over, because a penguin's face has almost nothing else in it and the whole expression lives there: two round eyes set fairly close together, and a short triangular beak between and slightly below them.
The feet come in frame five, two blunt webbed shapes pointing forward and slightly outward from the base of the body. They should look too big rather than too small. A penguin standing on neat little feet looks unstable, and the oversized foot is one of the details that makes the bird recognisable at a glance.
There is a case for drawing penguins in pairs or crowds, because the shape is simple enough that a dozen of them is not much more work than one, and a group is much more interesting to look at than a single bird. Vary the heights slightly and turn one or two heads sideways.
The six frames run from the largest closed shape to the smallest — body and face, head, one flipper, the other flipper, the feet, then the last few lines. It is a straightforward order to copy and it is not the correct one, because there is no correct one; if you would rather draw the head before the face that goes inside it, the penguin comes out the same.
Everything on the sheet is a plain black outline, so the finished frame works as a colouring page too. That is worth knowing with this subject in particular, because a penguin is nearly all black and white and colouring one in is mostly a decision about the background.
Before you start
- Overlap the head well into the body. Any visible neck and the bird becomes a duck.
- Draw the white front as a closed shape that stops short of the outline, not as a line across the body.
- Keep the flippers close to the sides rather than held out.
- Make the feet slightly too big. Small feet make the whole bird look unstable.
Published Updated 646 words
The six steps
The steps go from the largest shape to the smallest, which is an easy order to copy. It is not the only order, and it is not a rule — if you would rather start somewhere else on the sheet, do.
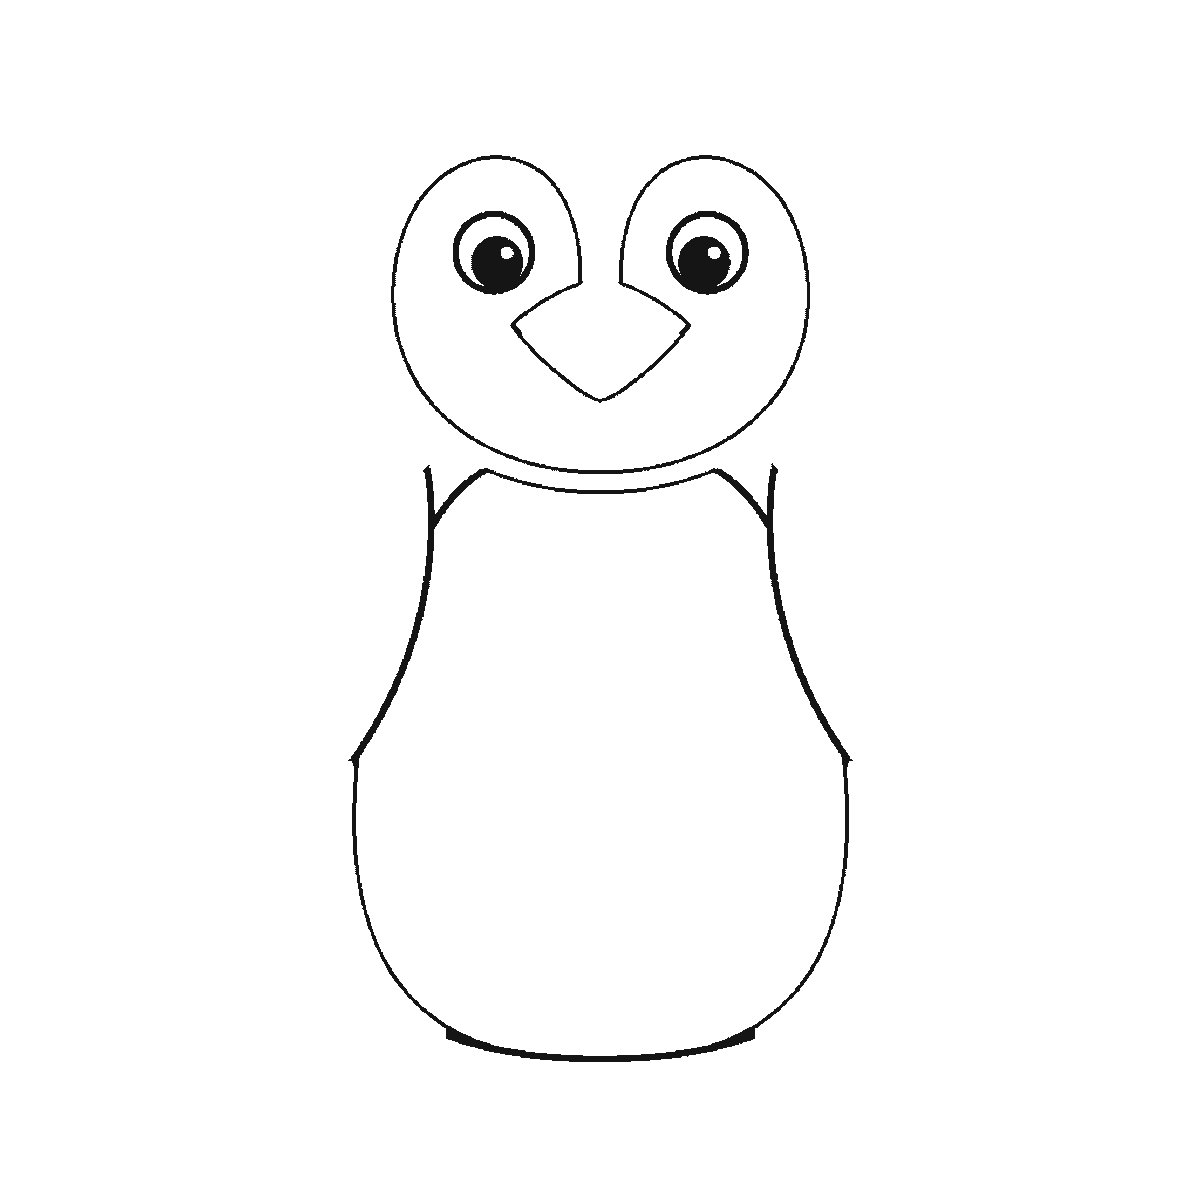
Step 1
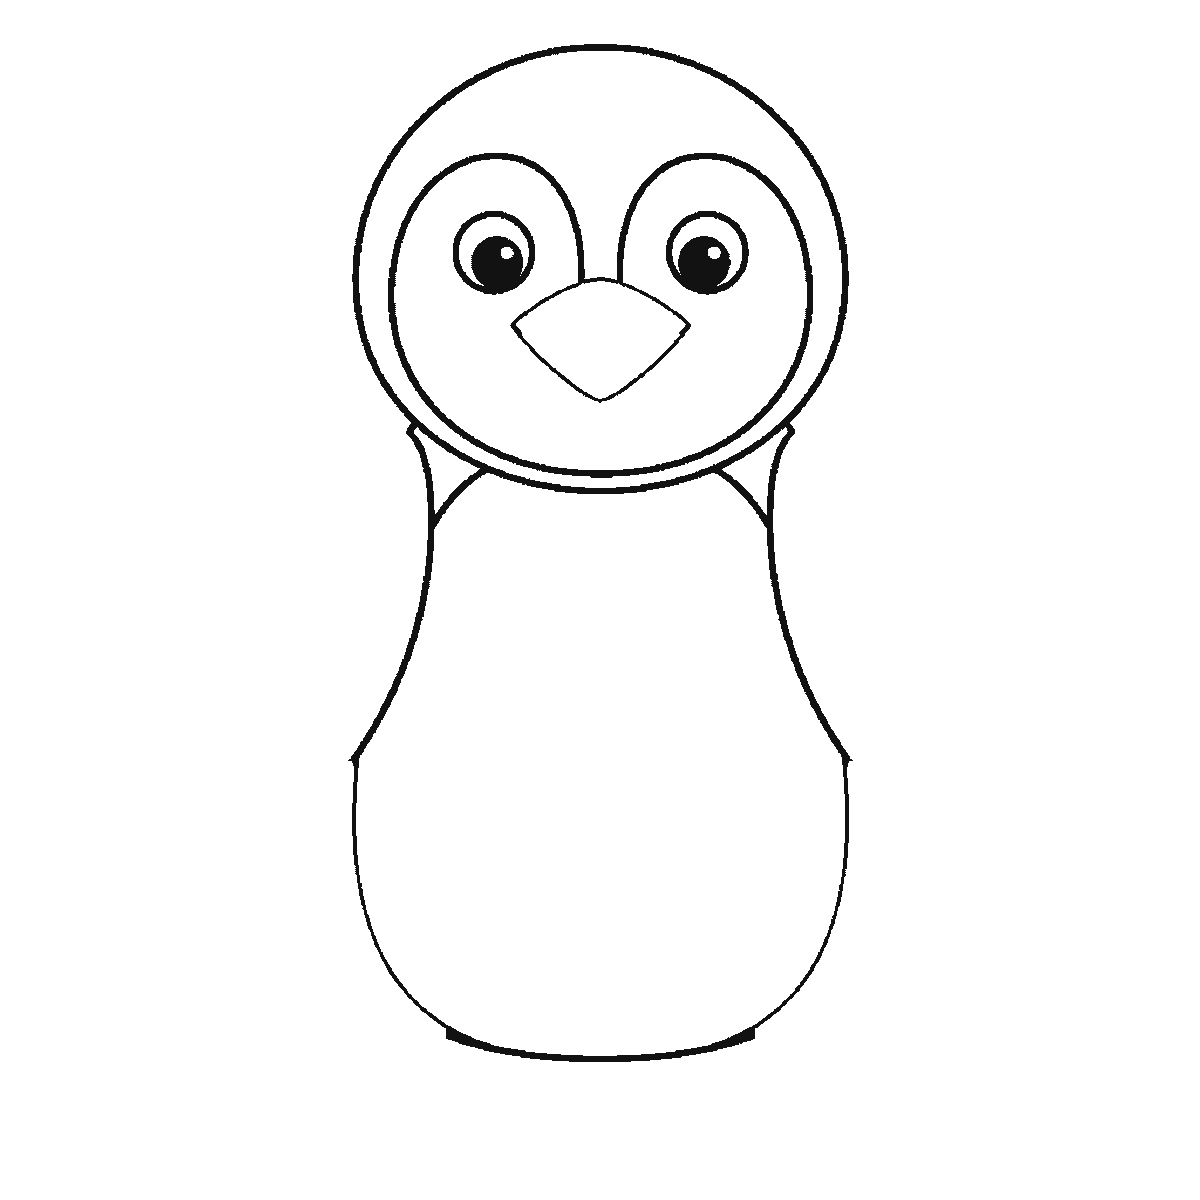
Step 2
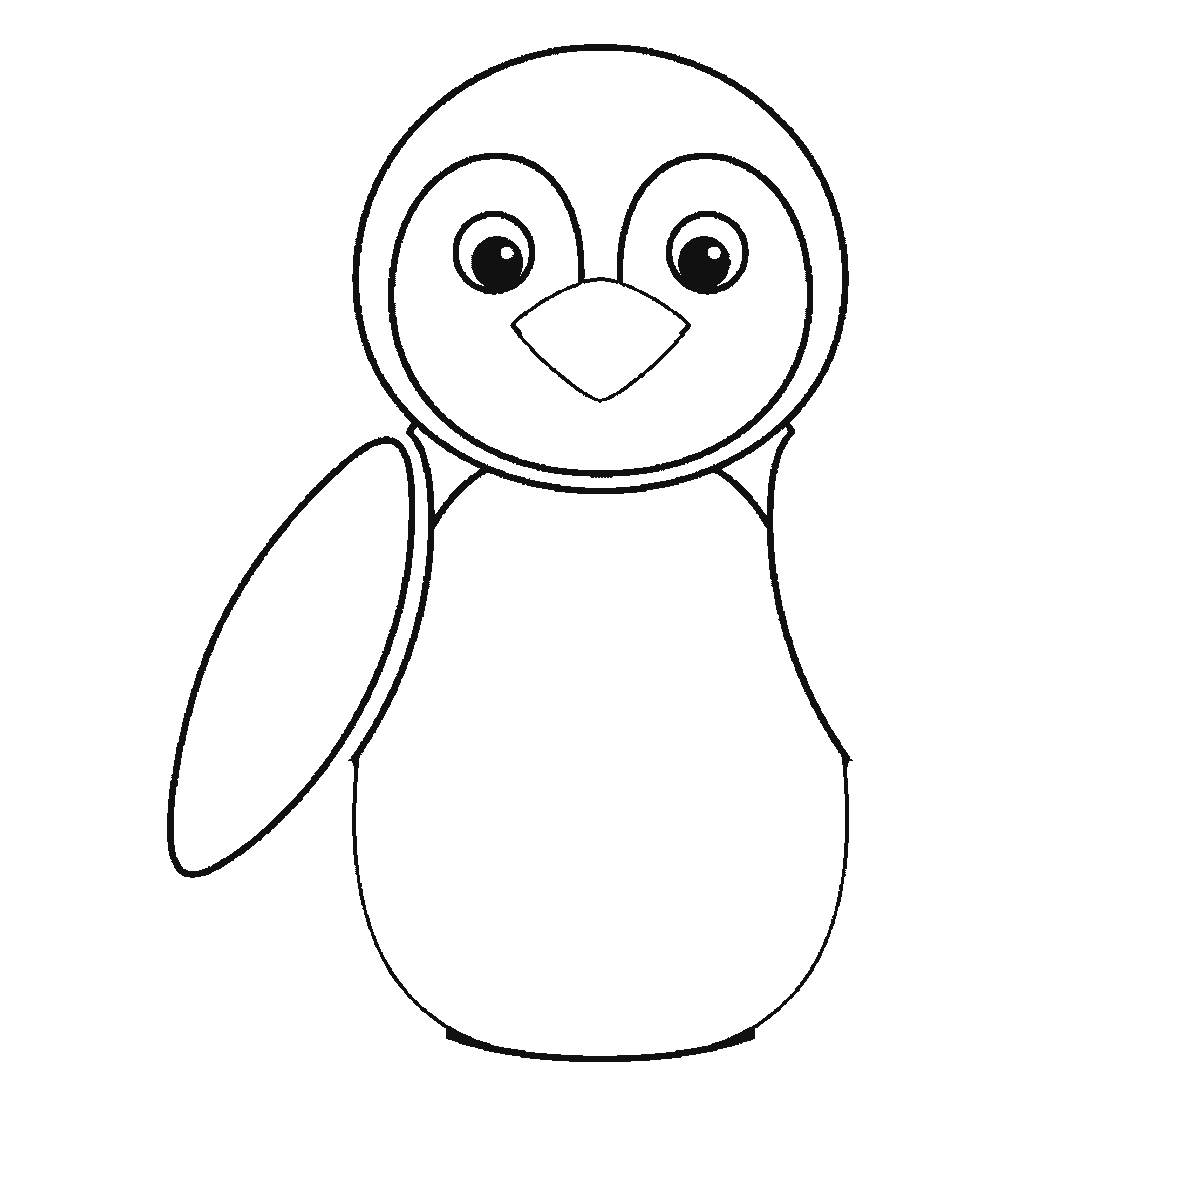
Step 3
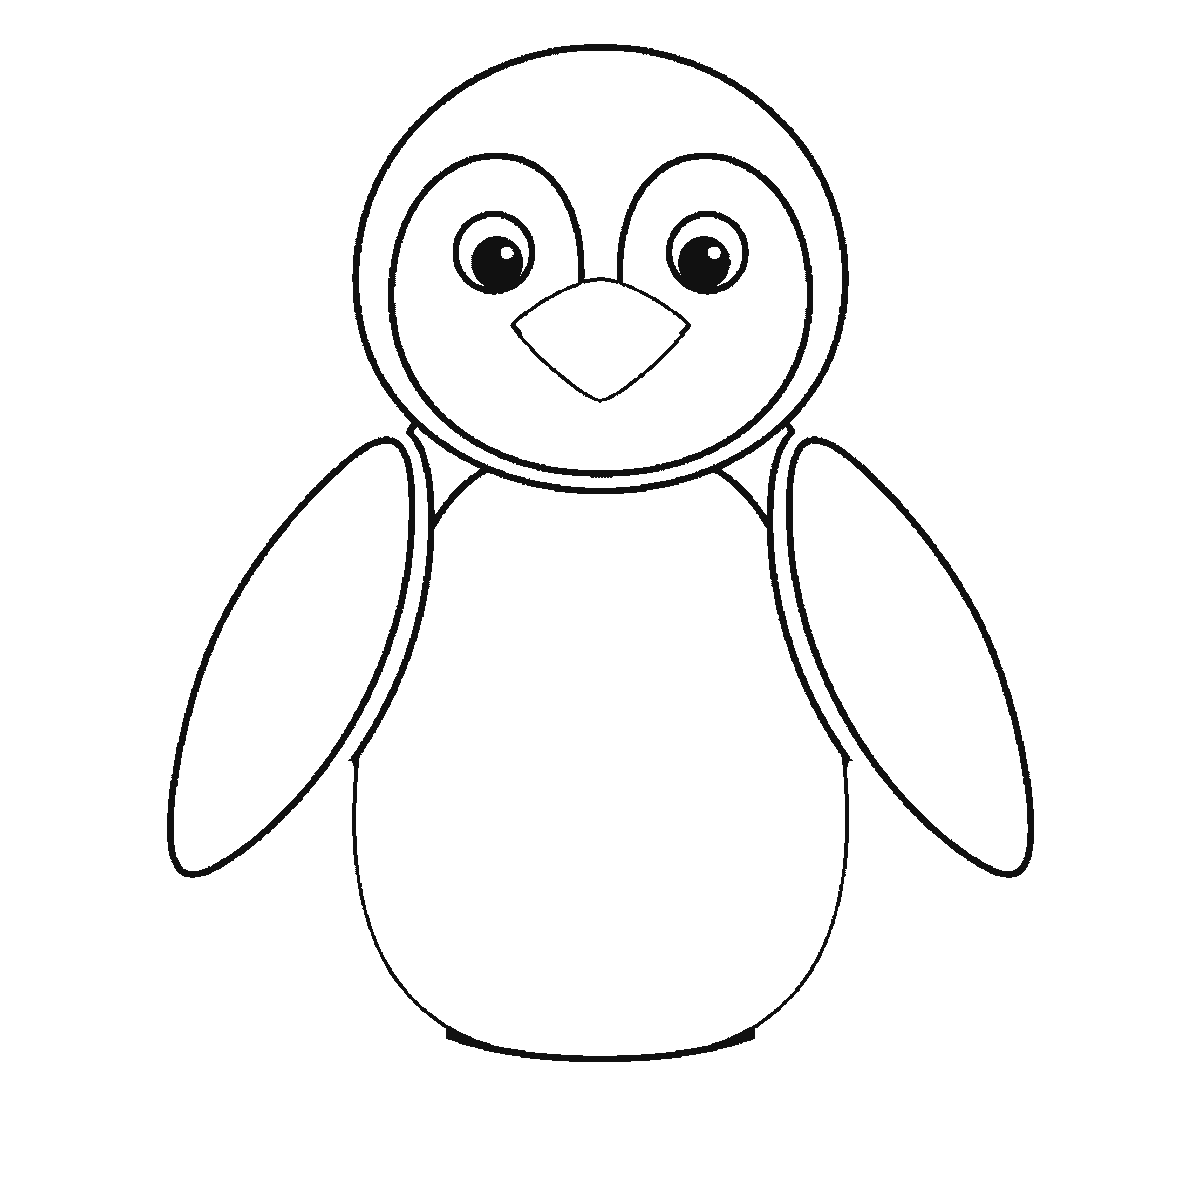
Step 4
Step 5
Step 6
More in this section
How to draw a rabbit
Six frames, one rabbit in profile. The body first, then the folded hind leg, the head, the front paw, and the ears and tail last.
Step sequence made by us from a single drawing: each step keeps the lines of the one before it and adds to them.
How to draw a lion
Six frames, one lion standing in profile. The body first, then the mane, the face, the two far legs, and the ear and tail tuft last.
Step sequence made by us from a single drawing: each step keeps the lines of the one before it and adds to them.
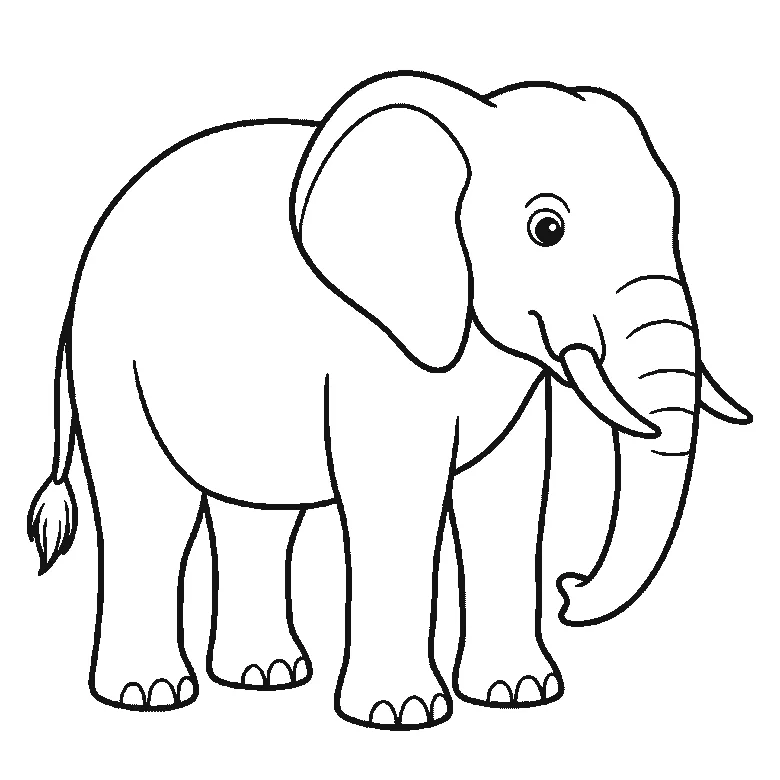
How to draw an elephant
Six frames, one elephant in profile. The body and near legs first, then the head, trunk, tusk and eye together, the big ear, the far legs, and the tail last.
Step sequence made by us from a single drawing: each step keeps the lines of the one before it and adds to them.
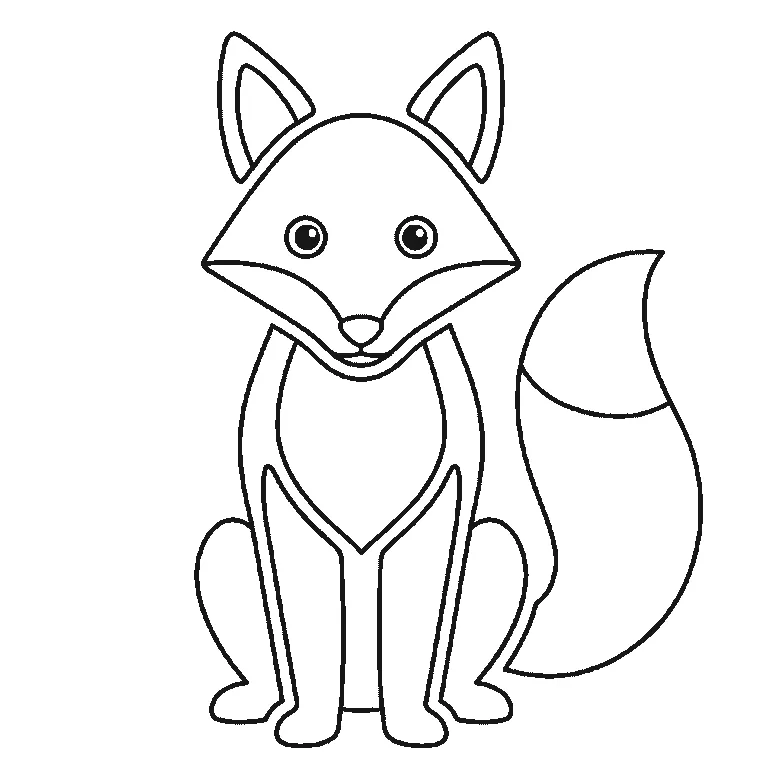
How to draw a fox
Six frames, one fox sitting and facing you. The head and the bushy tail together first, then the chest and legs, and the ears last.
Step sequence made by us from a single drawing: each step keeps the lines of the one before it and adds to them.
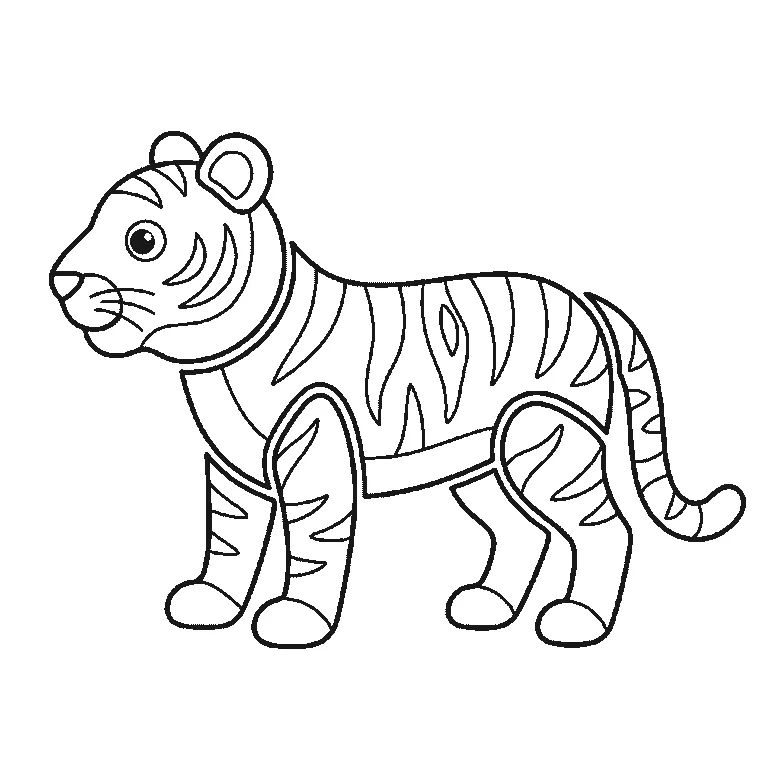
How to draw a tiger
Six frames, one tiger standing in profile. The striped flank first, then the head, the legs one at a time, and the tail last.
Step sequence made by us from a single drawing: each step keeps the lines of the one before it and adds to them.
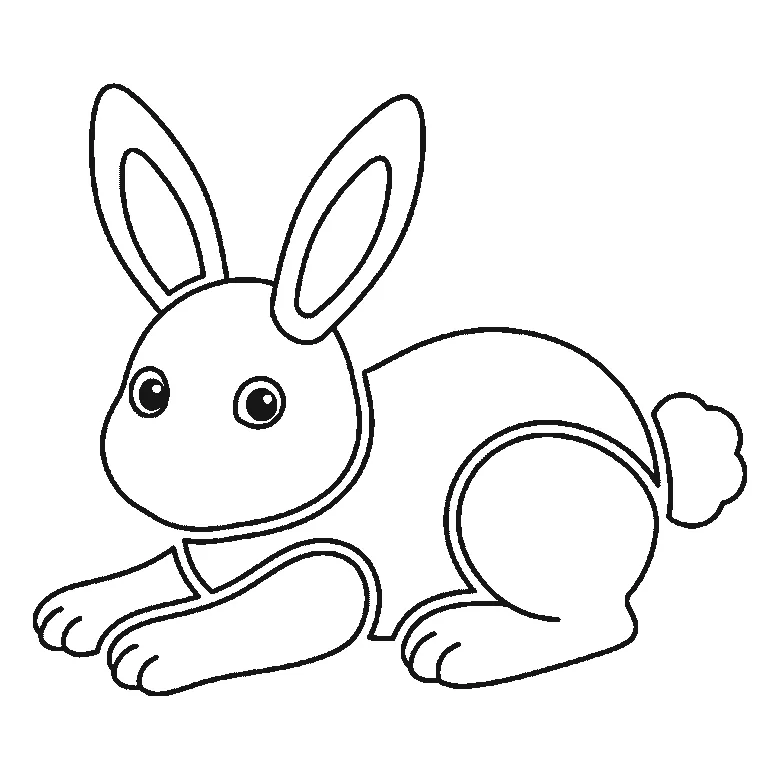
How to draw a bunny
Six frames, one bunny lying down with its paws stretched out. The head first, then the body, the long ears and the fluffy tail.
Step sequence made by us from a single drawing: each step keeps the lines of the one before it and adds to them.
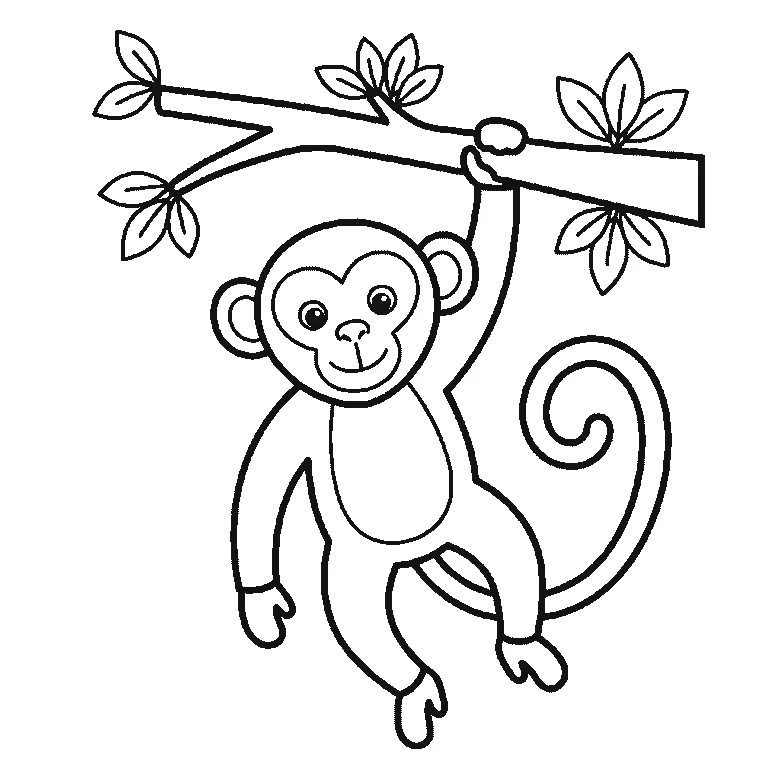
How to draw a monkey
Six frames, one monkey hanging by an arm from a branch. The limbs first, then the branch, the face and the curling tail.
Step sequence made by us from a single drawing: each step keeps the lines of the one before it and adds to them.
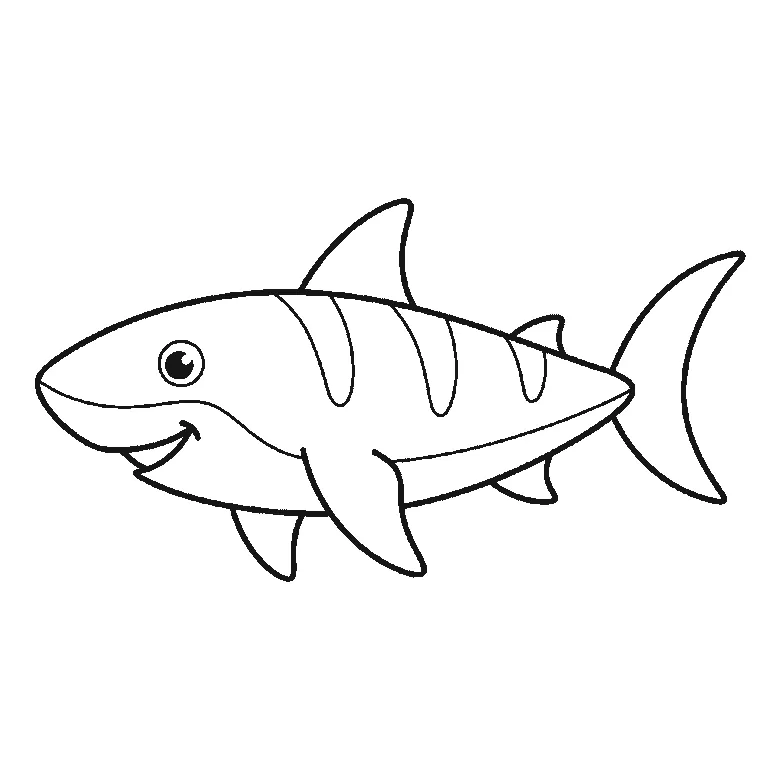
How to draw a shark
Six frames, one shark in profile. The body first, then the dorsal fin, side fins and crescent tail.
Step sequence made by us from a single drawing: each step keeps the lines of the one before it and adds to them.
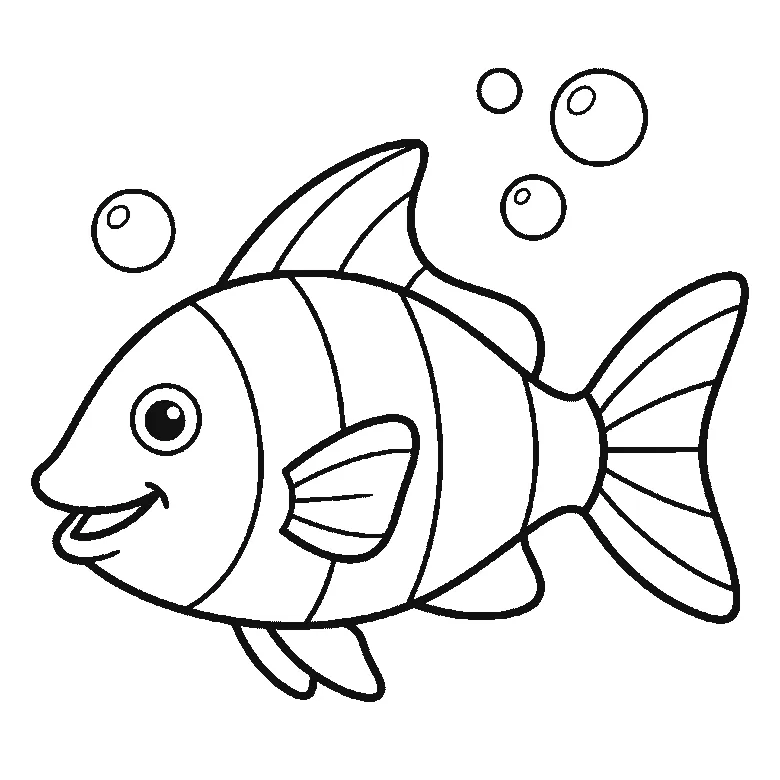
How to draw a fish
Six frames, one striped fish with bubbles. The head first, then the striped body, the fins and the fan tail.
Step sequence made by us from a single drawing: each step keeps the lines of the one before it and adds to them.
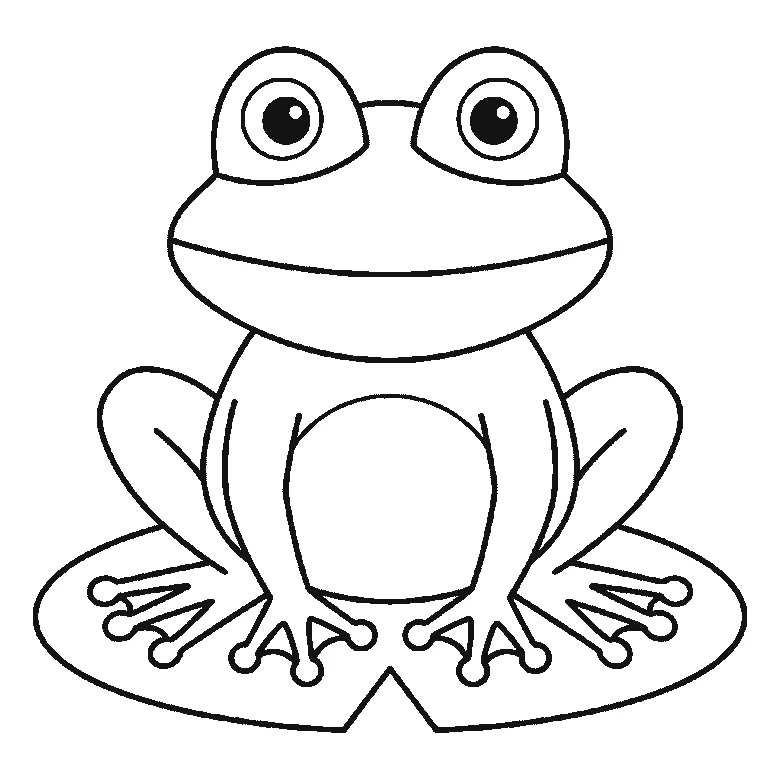
How to draw a frog
Six frames, one frog seen from the front. The lily pad first, then the body, the head and the domed eyes.
Step sequence made by us from a single drawing: each step keeps the lines of the one before it and adds to them.
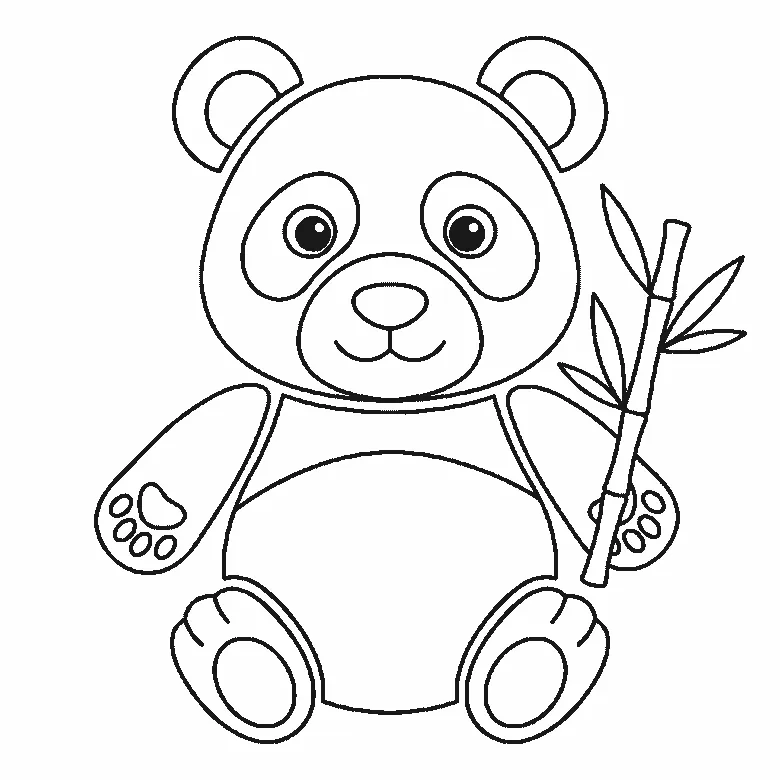
How to draw a panda
Six frames, one panda sitting up with a bamboo stalk. The head and its eye patches first, then the body, the ears and the bamboo.
Step sequence made by us from a single drawing: each step keeps the lines of the one before it and adds to them.
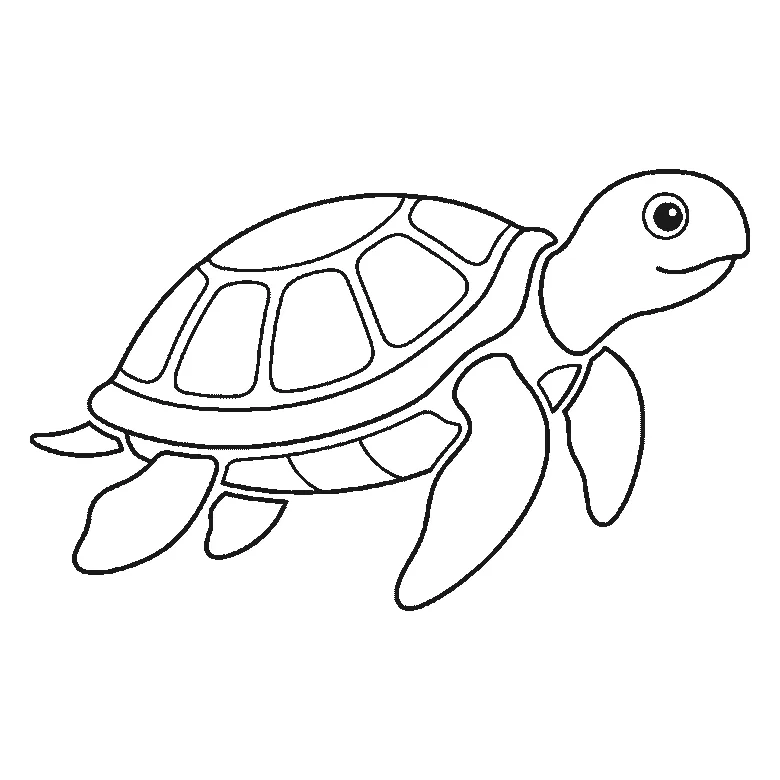
How to draw a turtle
Six frames, one sea turtle swimming in profile. The head and one flipper first, then the shell, the rear flippers and the plates.
Step sequence made by us from a single drawing: each step keeps the lines of the one before it and adds to them.


