
PDF · A4 · 35 KB · Free, no sign-up. For home and classroom use.
How to draw a shark
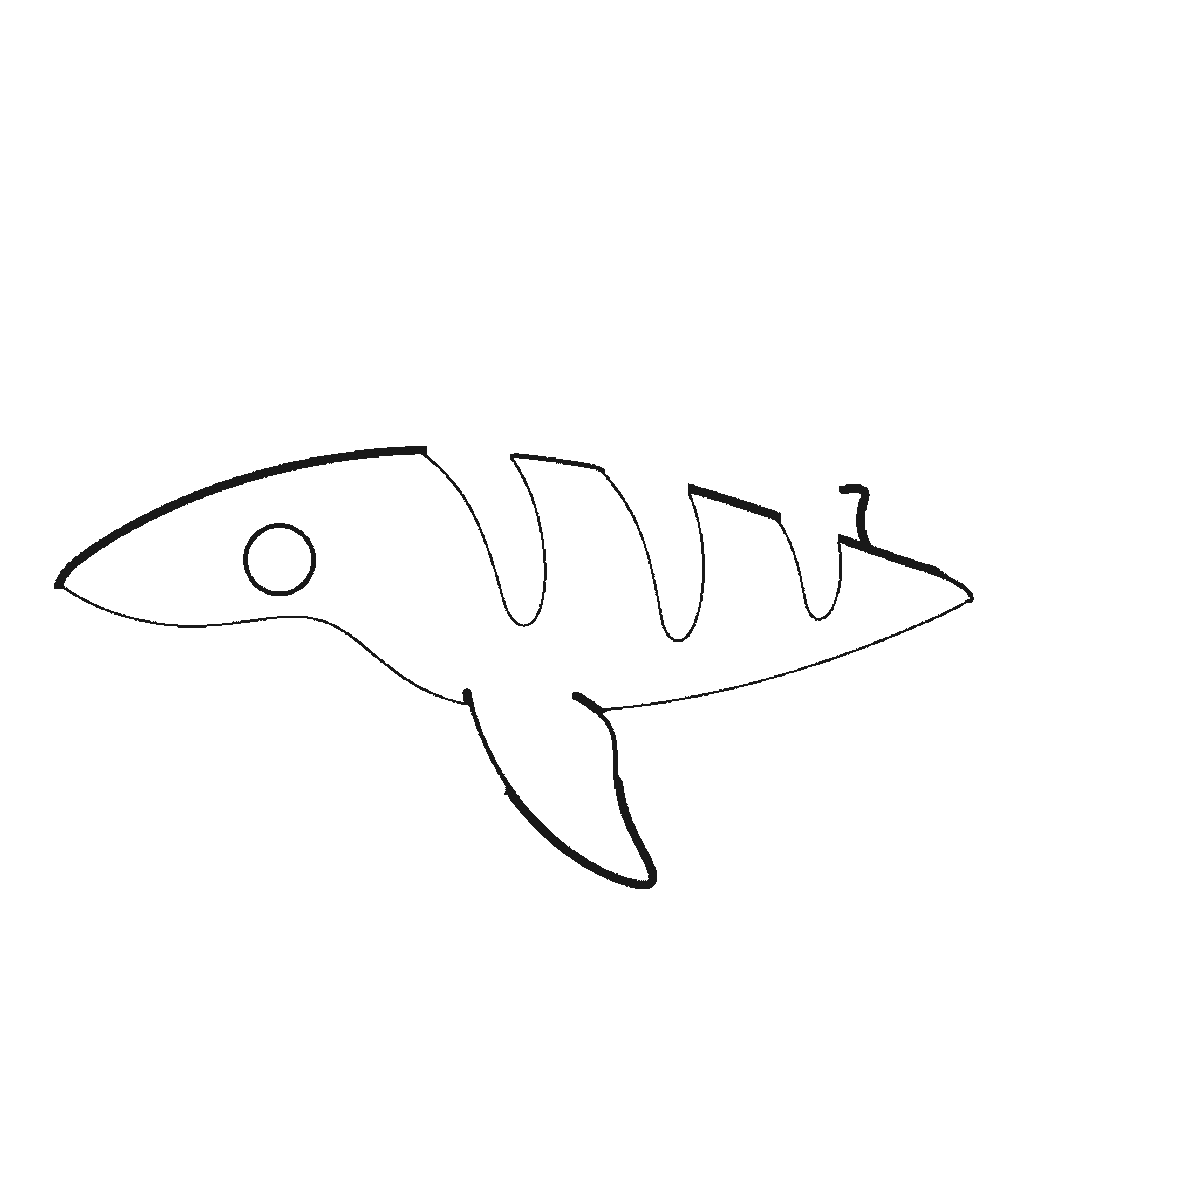
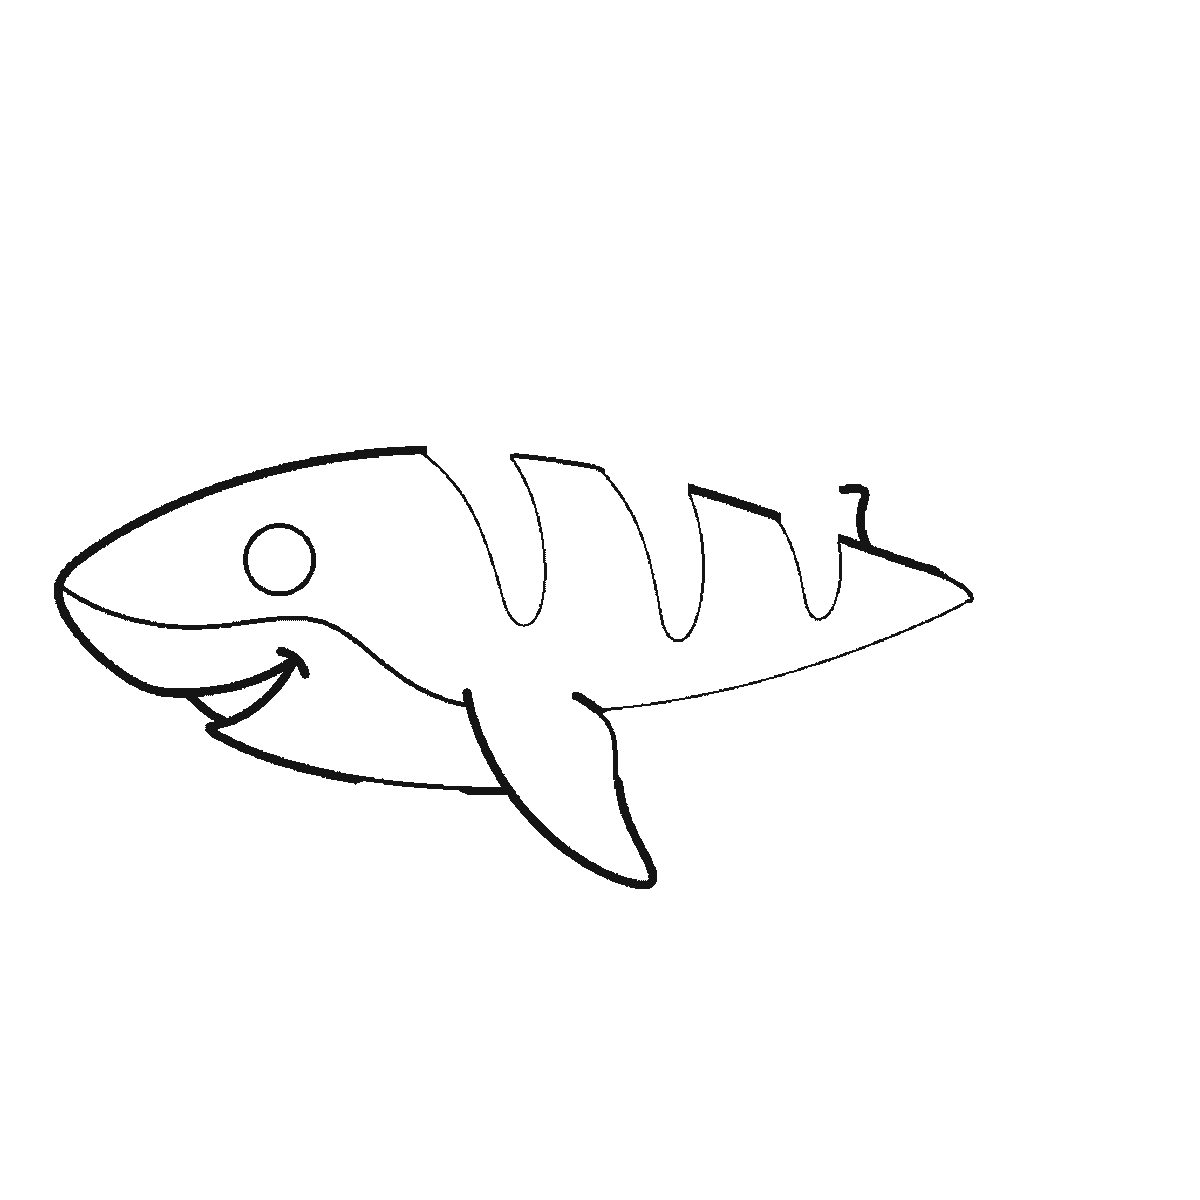
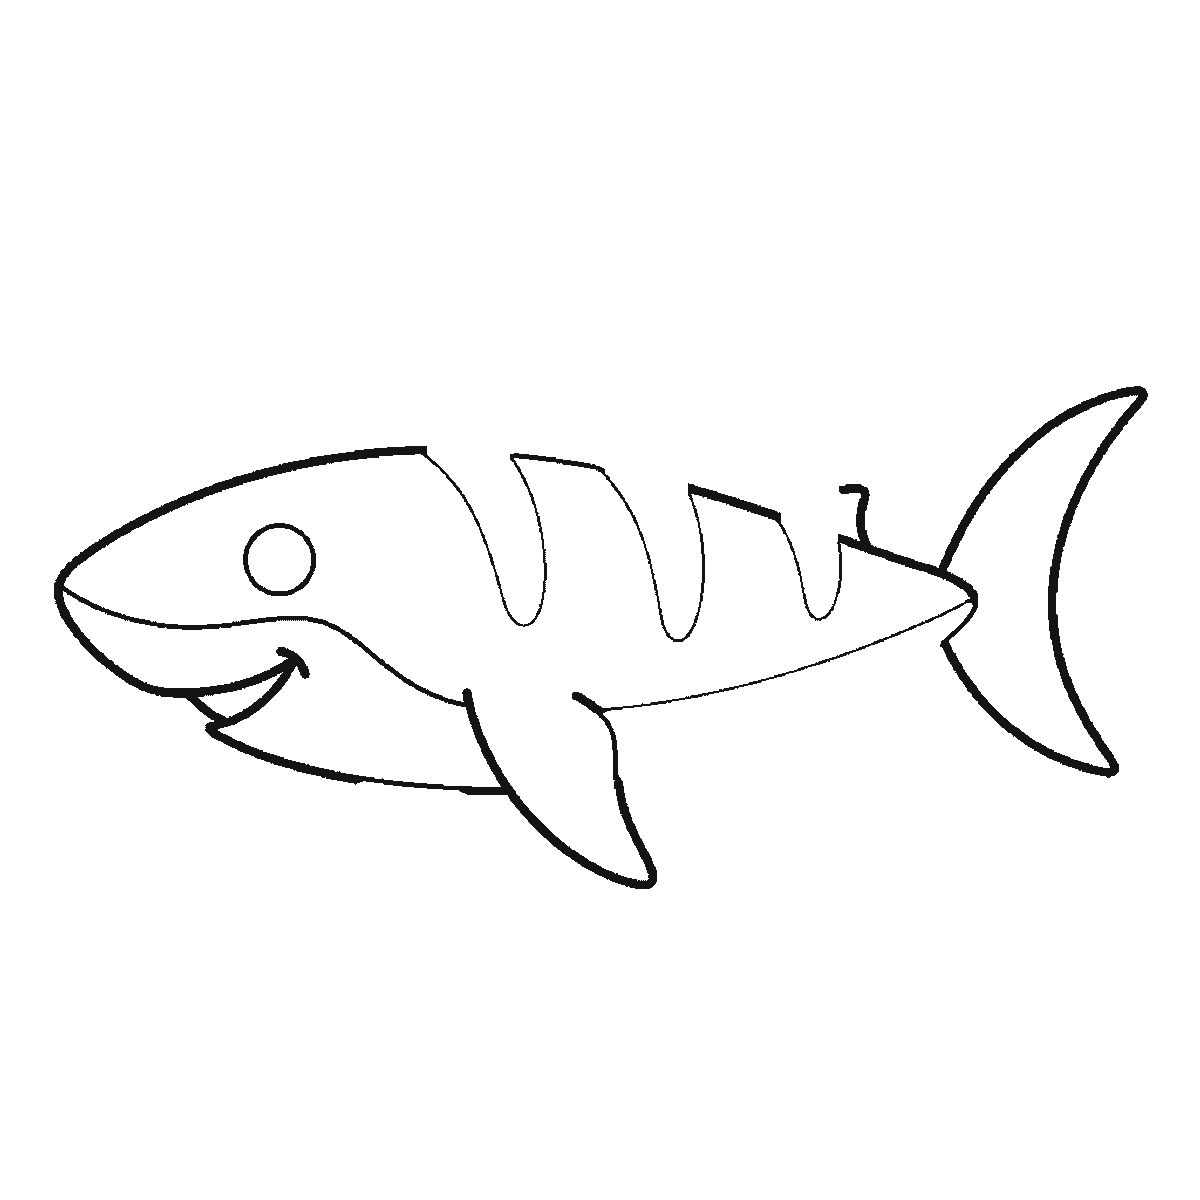
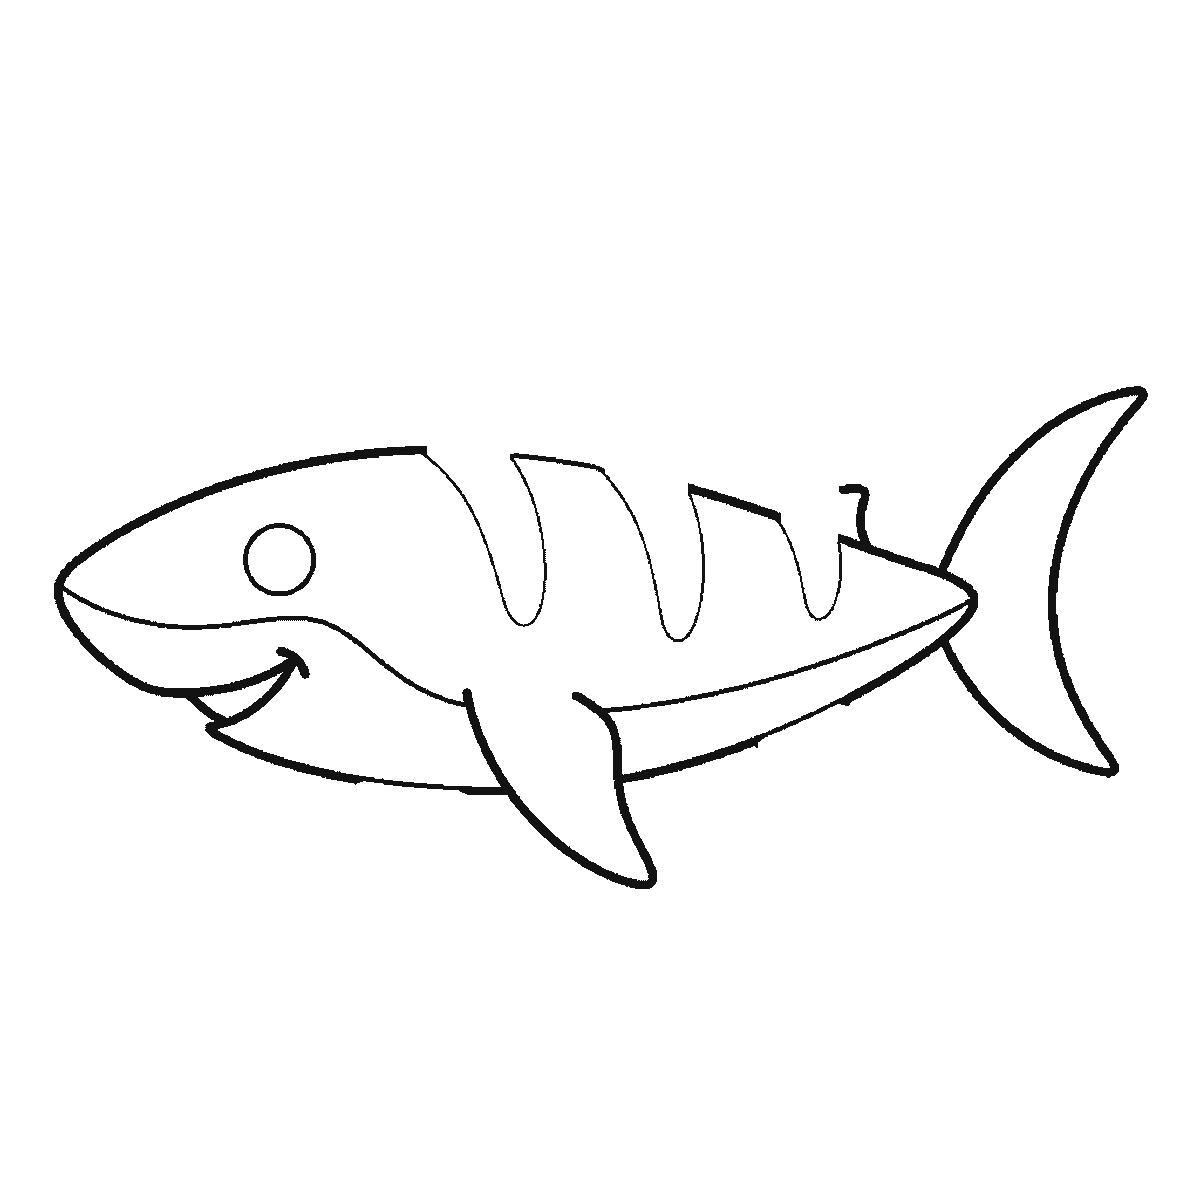
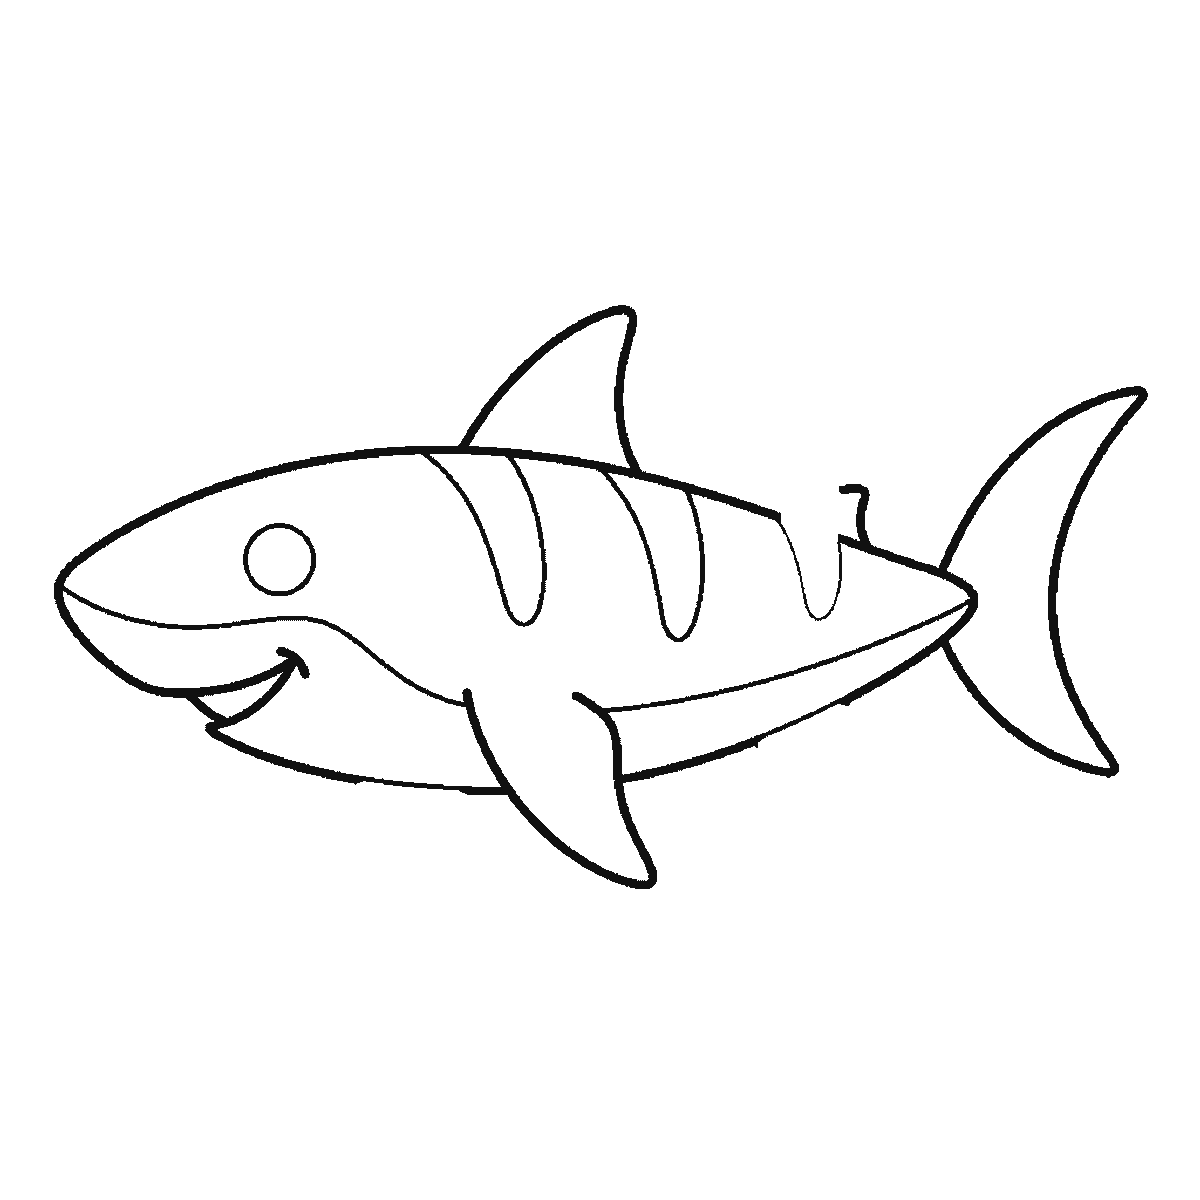
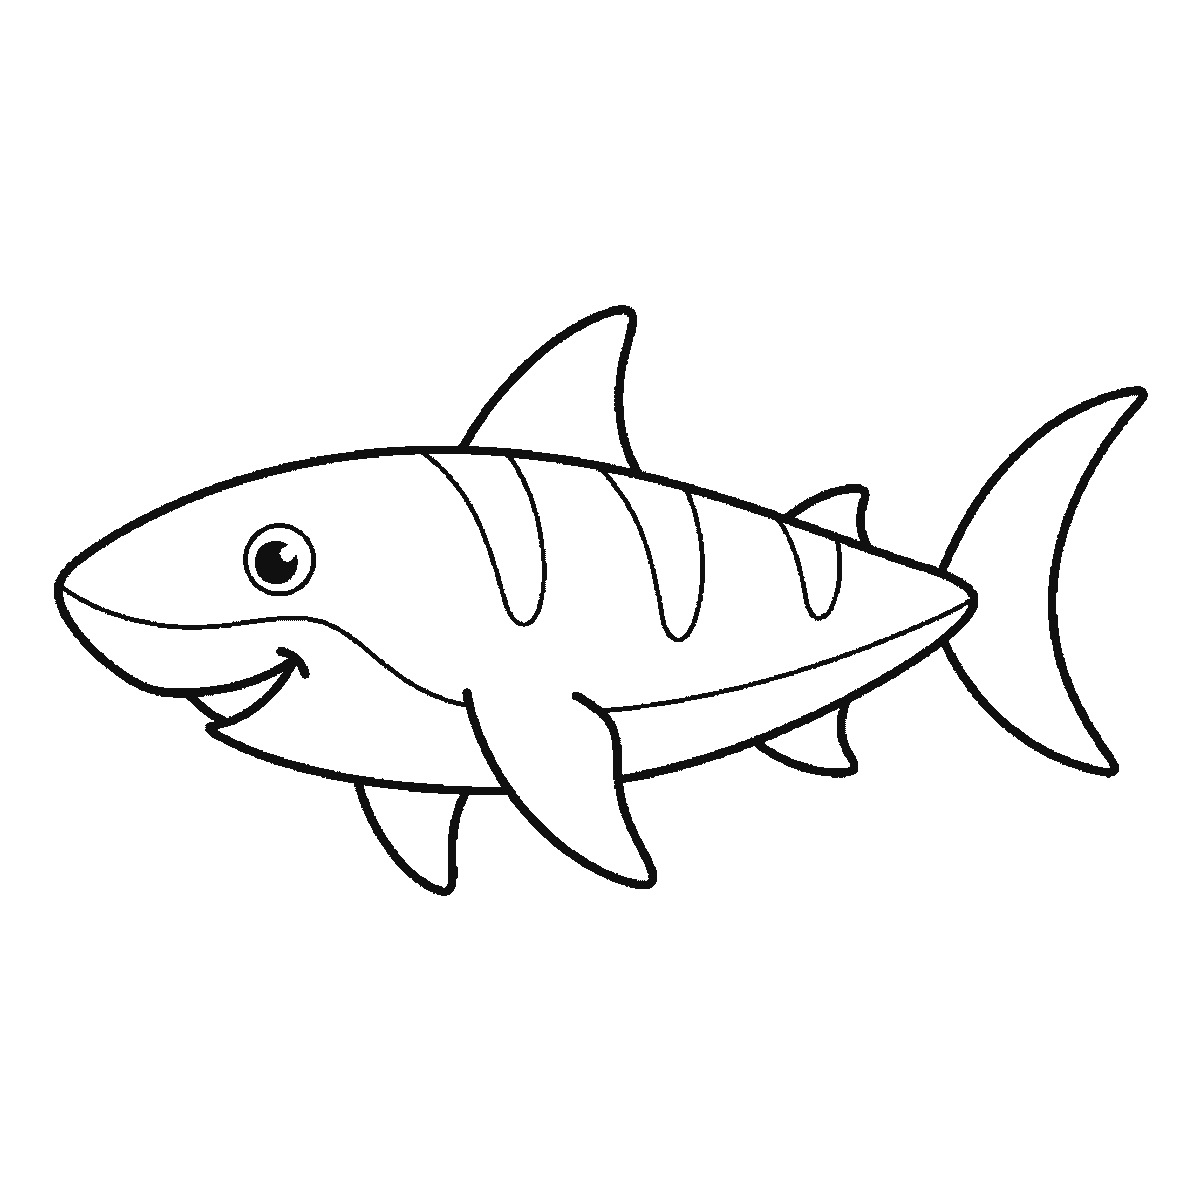
Six frames, one shark in profile. The body first, then the dorsal fin, side fins and crescent tail.
A shark is one long streamlined shape with a small number of fins attached, and that makes it an unusually satisfying thing to draw: get the body right and the rest is decoration you can hardly get wrong. This sheet shows one in profile, swimming, which is the view that reads most clearly and the one almost every shark drawing uses.
Frame one is the body, and its shape deserves a moment. It is a long torpedo, widest about a third of the way back from the nose, then tapering steadily to a narrow point where the tail joins. The nose end is blunter than people expect and the tail end is thinner. Drawing it as a symmetrical almond, fat in the middle, is what makes a shark look like a fish.
The mouth is set underneath the head rather than at the front, which is one of the few genuinely distinctive things about a shark's outline. Draw it as a wide curve on the lower edge of the snout, well back from the tip. A mouth drawn at the very front of the face turns the animal into a dolphin.
The eye is small and sits high on the head, close behind the snout, and one eye is all you draw because the animal is in profile. Keeping it small matters: an oversized eye makes the shark cute, which may be what you want but is not what the shape is doing otherwise.
The dorsal fin comes next and it is the shape everyone knows. It is a triangle, but not an equilateral one: the leading edge is long and sloped, the trailing edge is short and slightly hollowed, and the tip leans backwards. A symmetrical triangle sitting upright reads as a sail rather than a fin.
The side fins follow — a large pair below and behind the head, angled back and down, and a smaller pair further back. They are flattened and slightly curved, like short wings. Angling them backwards rather than sticking them straight out is what makes the animal look like it is moving through water.
The tail is the last big shape and it is the part most often drawn wrongly. A shark's tail is a crescent with an upper lobe noticeably longer than the lower one. Drawing the two lobes equal gives you a tuna. That asymmetry is a small change and it is the difference between a shark and a generic fish.
The finishing frames add the belly panel — a separately outlined strip running the length of the underside — and a few wide stripes across the back. The belly panel is worth including because it explains the animal: sharks are dark above and pale below, and outlining that boundary gives a colourist somewhere to put the two tones.
If you want a harder version of this drawing, try it head-on. Everything you have learned about the profile becomes useless, the body becomes a circle, the side fins become two flat shapes coming towards you and the mouth becomes the widest thing in the picture. It is a completely different problem and a genuinely instructive one.
The six frames go from the largest closed shape to the smallest, which here means the body with its back stripes and eye, then the mouth, then the tail, then the dorsal fin, then the lower fins, and finally the pupil. It is a simple order to copy and it is not a rule; starting with the dorsal fin and building down would get you to the same finished shark.
Before you start
- Put the widest part of the body about a third back from the nose, not in the middle.
- Set the mouth underneath the snout, well back from the tip.
- Make the dorsal fin lean backwards with a hollowed trailing edge, never a symmetrical triangle.
- Give the tail an upper lobe longer than the lower one. Equal lobes make a tuna.
Published Updated 595 words
The six steps
The steps go from the largest shape to the smallest, which is an easy order to copy. It is not the only order, and it is not a rule — if you would rather start somewhere else on the sheet, do.
Step 1
Step 2
Step 3
Step 4
Step 5
Step 6
More in this section
How to draw a fish
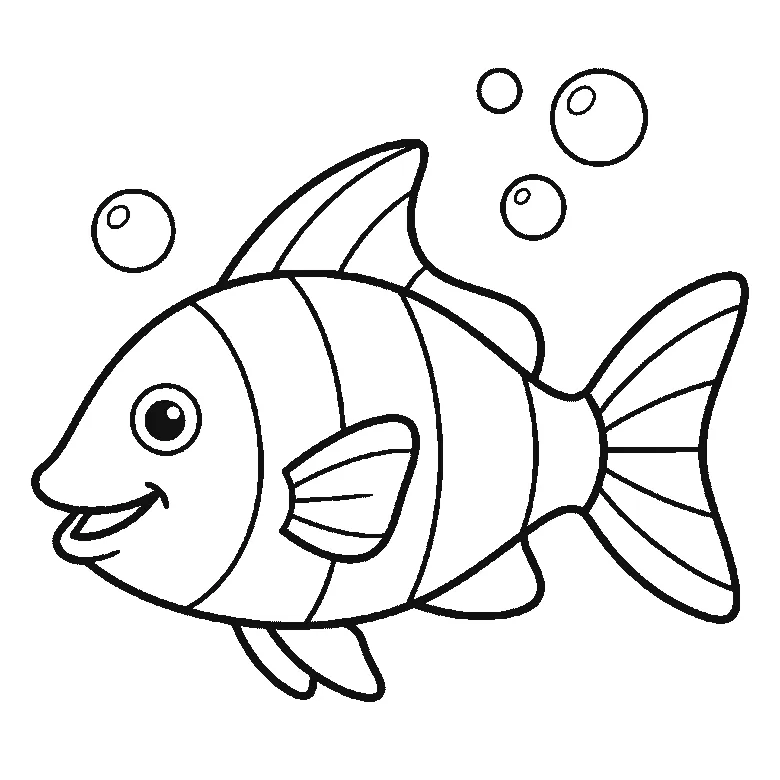
Six frames, one striped fish with bubbles. The head first, then the striped body, the fins and the fan tail.
Step sequence made by us from a single drawing: each step keeps the lines of the one before it and adds to them.
How to draw a frog
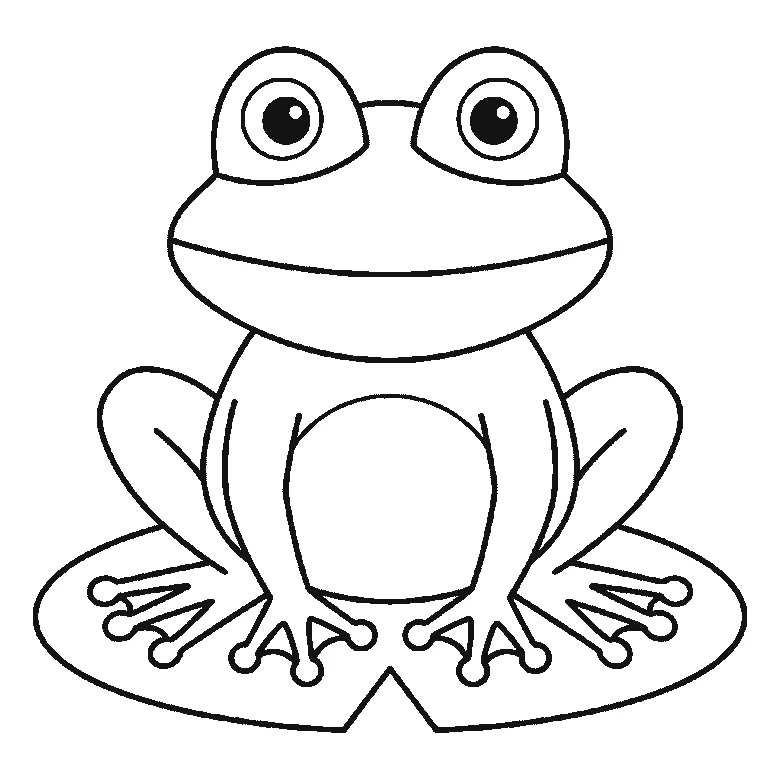
Six frames, one frog seen from the front. The lily pad first, then the body, the head and the domed eyes.
Step sequence made by us from a single drawing: each step keeps the lines of the one before it and adds to them.
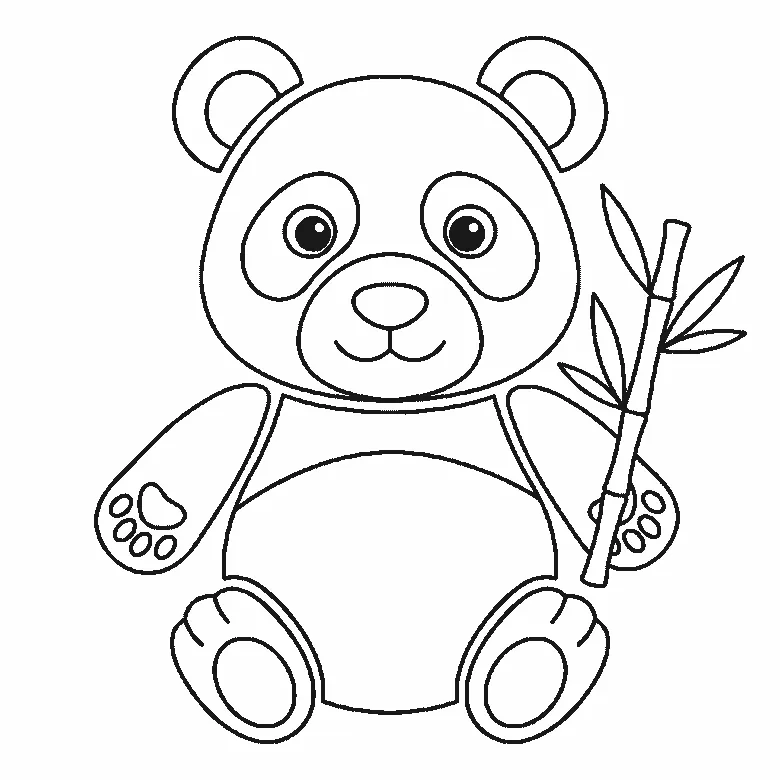
How to draw a panda
Six frames, one panda sitting up with a bamboo stalk. The head and its eye patches first, then the body, the ears and the bamboo.
Step sequence made by us from a single drawing: each step keeps the lines of the one before it and adds to them.
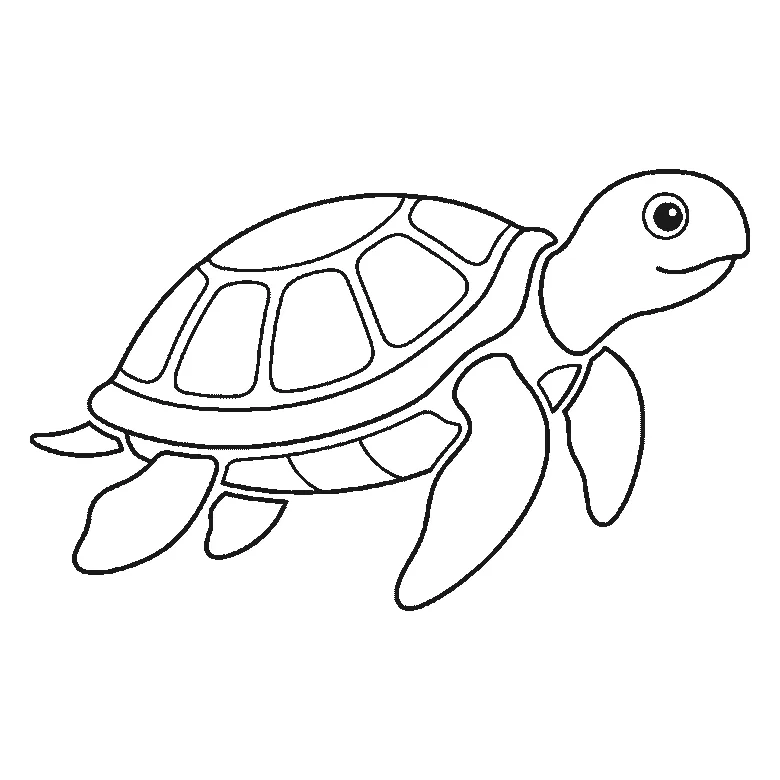
How to draw a turtle
Six frames, one sea turtle swimming in profile. The head and one flipper first, then the shell, the rear flippers and the plates.
Step sequence made by us from a single drawing: each step keeps the lines of the one before it and adds to them.
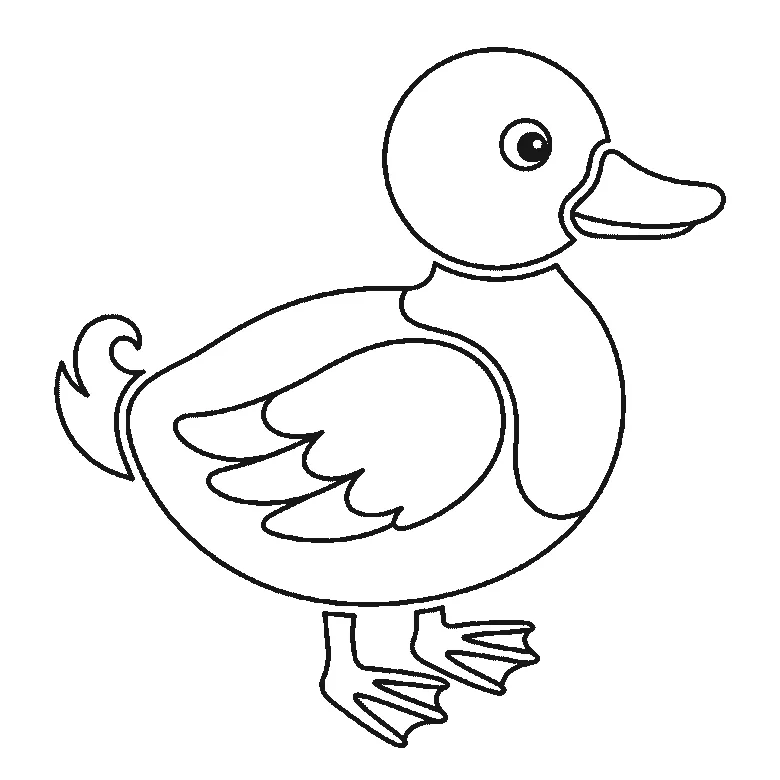
How to draw a duck
Six frames, one duck standing in profile. The folded wing first, then the head, the body, the bill and the webbed feet.
Step sequence made by us from a single drawing: each step keeps the lines of the one before it and adds to them.
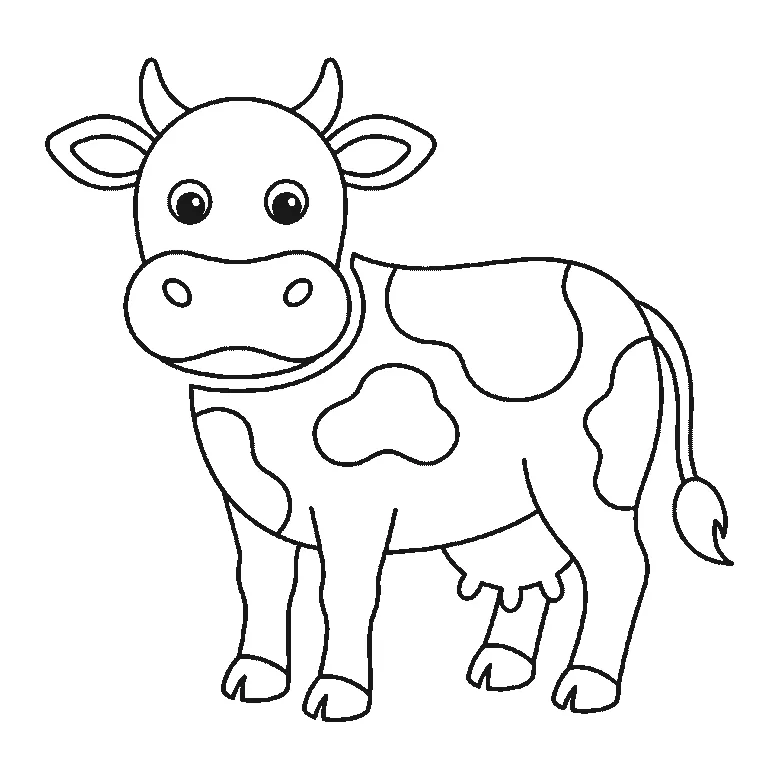
How to draw a cow
Six frames, one cow seen from the front. The patched body and legs first, then the head, the muzzle and the horns.
Step sequence made by us from a single drawing: each step keeps the lines of the one before it and adds to them.
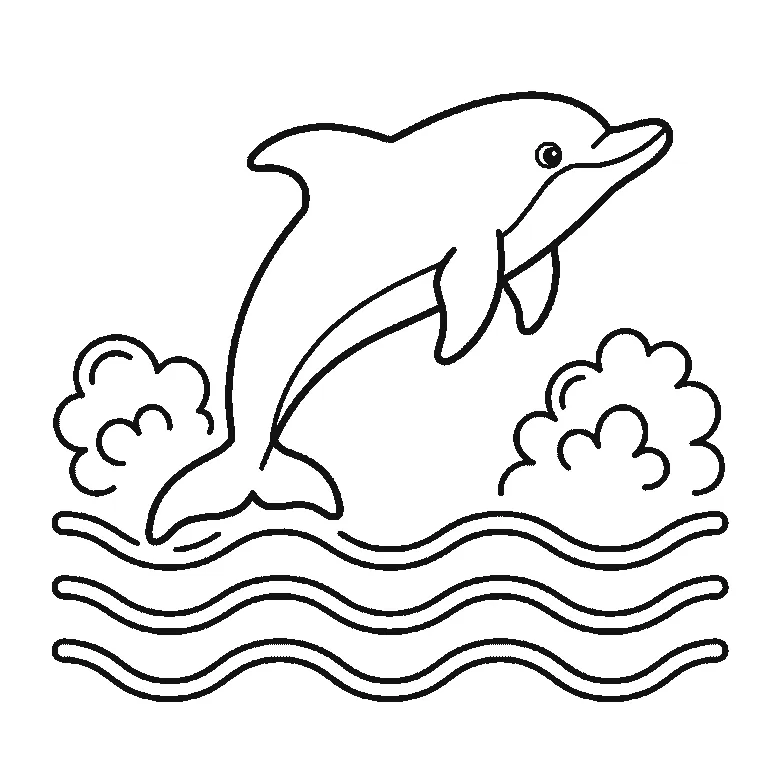
How to draw a dolphin
Six frames, one dolphin leaping over the waves. The whole animal in the first frame, then the waves and the splashes around it.
Step sequence made by us from a single drawing: each step keeps the lines of the one before it and adds to them.
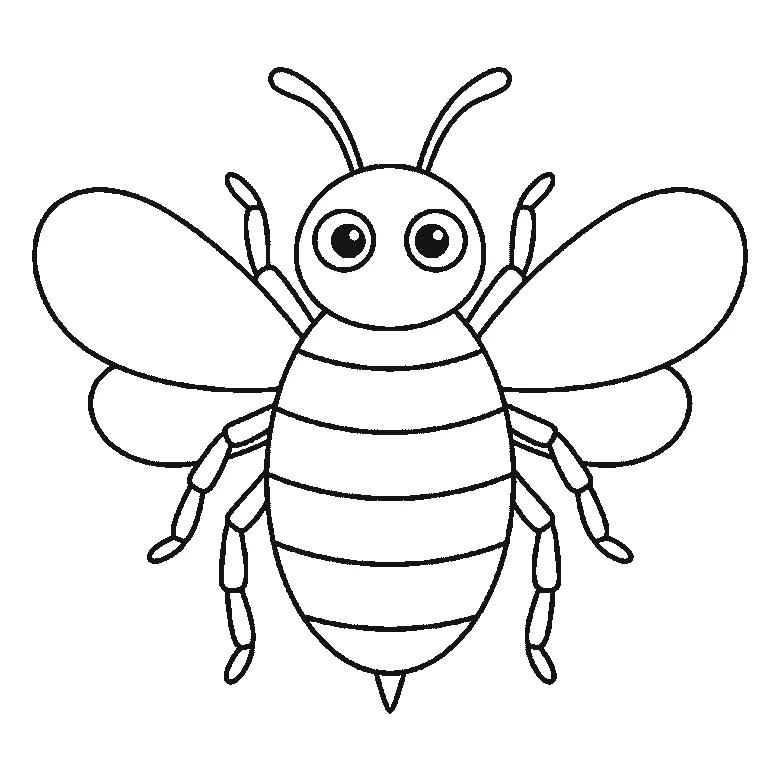
How to draw a bee
Six frames, one bumblebee seen from the front. The wings and head first, then the striped body, the legs and the antennae.
Step sequence made by us from a single drawing: each step keeps the lines of the one before it and adds to them.
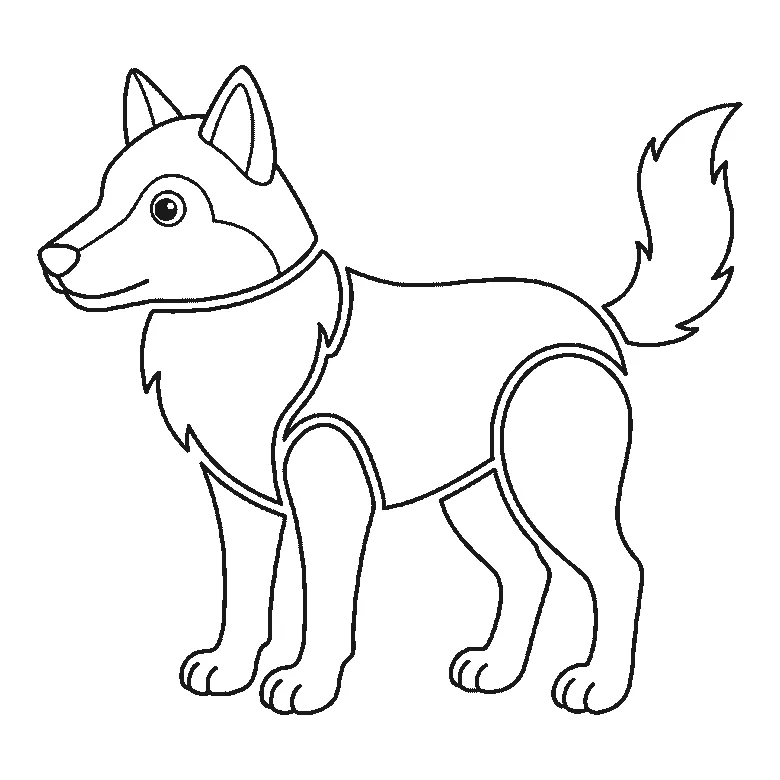
How to draw a wolf
Six frames, one wolf standing in profile. The chest ruff and a hind leg first, then the body, the head and the bushy tail.
Step sequence made by us from a single drawing: each step keeps the lines of the one before it and adds to them.
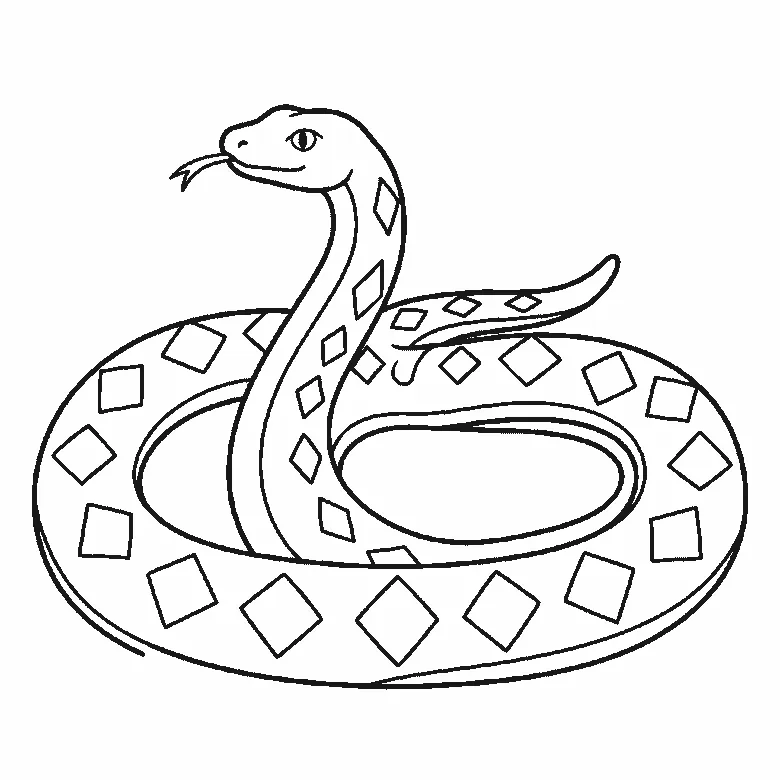
How to draw a snake
Six frames, one snake coiled in two loops with its head raised. Almost the whole coil in the first frame, then the inner edge and the diamonds.
Step sequence made by us from a single drawing: each step keeps the lines of the one before it and adds to them.
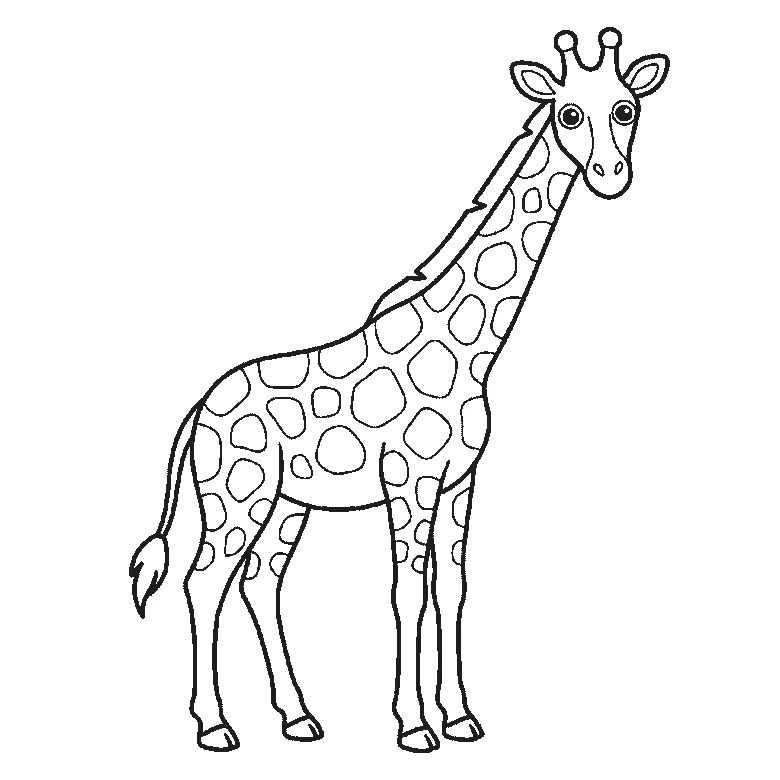
How to draw a giraffe
Six frames, one giraffe in profile with its head turned to you. Body, neck and legs first, then the coat patches and the face.
Step sequence made by us from a single drawing: each step keeps the lines of the one before it and adds to them.
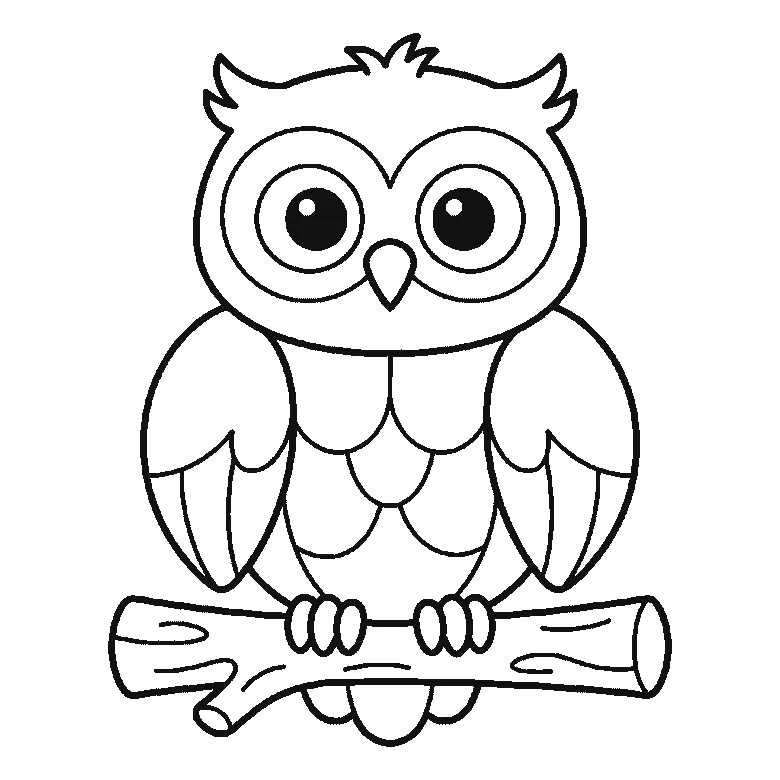
How to draw an owl
Six frames, one owl on a branch. The head and both ear tufts first, then the whole branch, then a wing at a time — and the pupils and the tail last.
Step sequence made by us from a single drawing: each step keeps the lines of the one before it and adds to them.


