
PDF · A4 · 58 KB · Free, no sign-up. For home and classroom use.
How to draw an owl
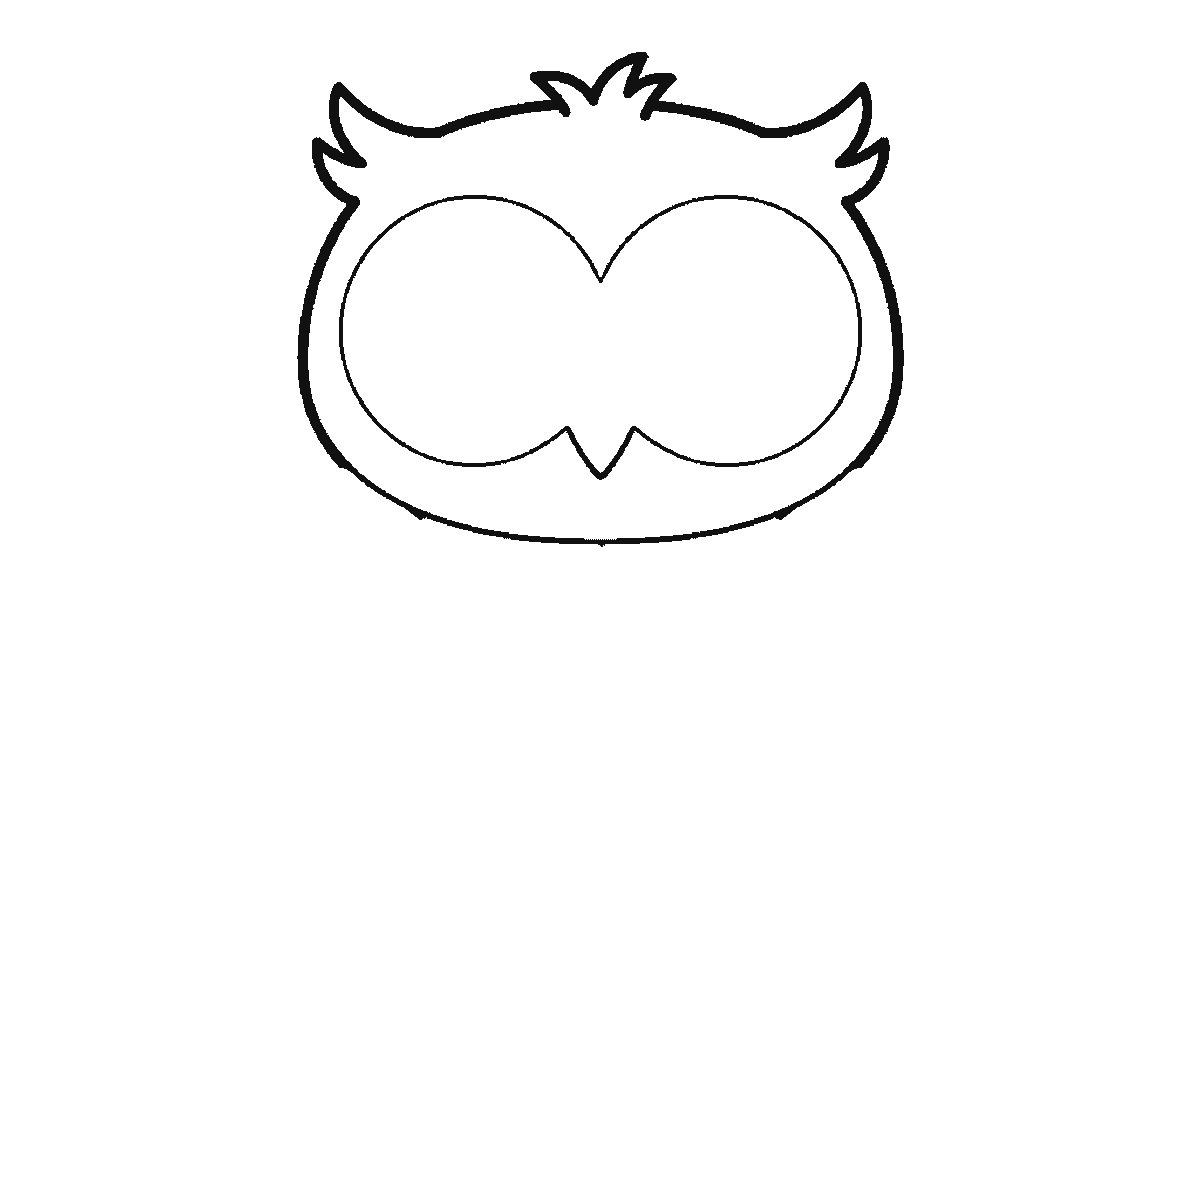
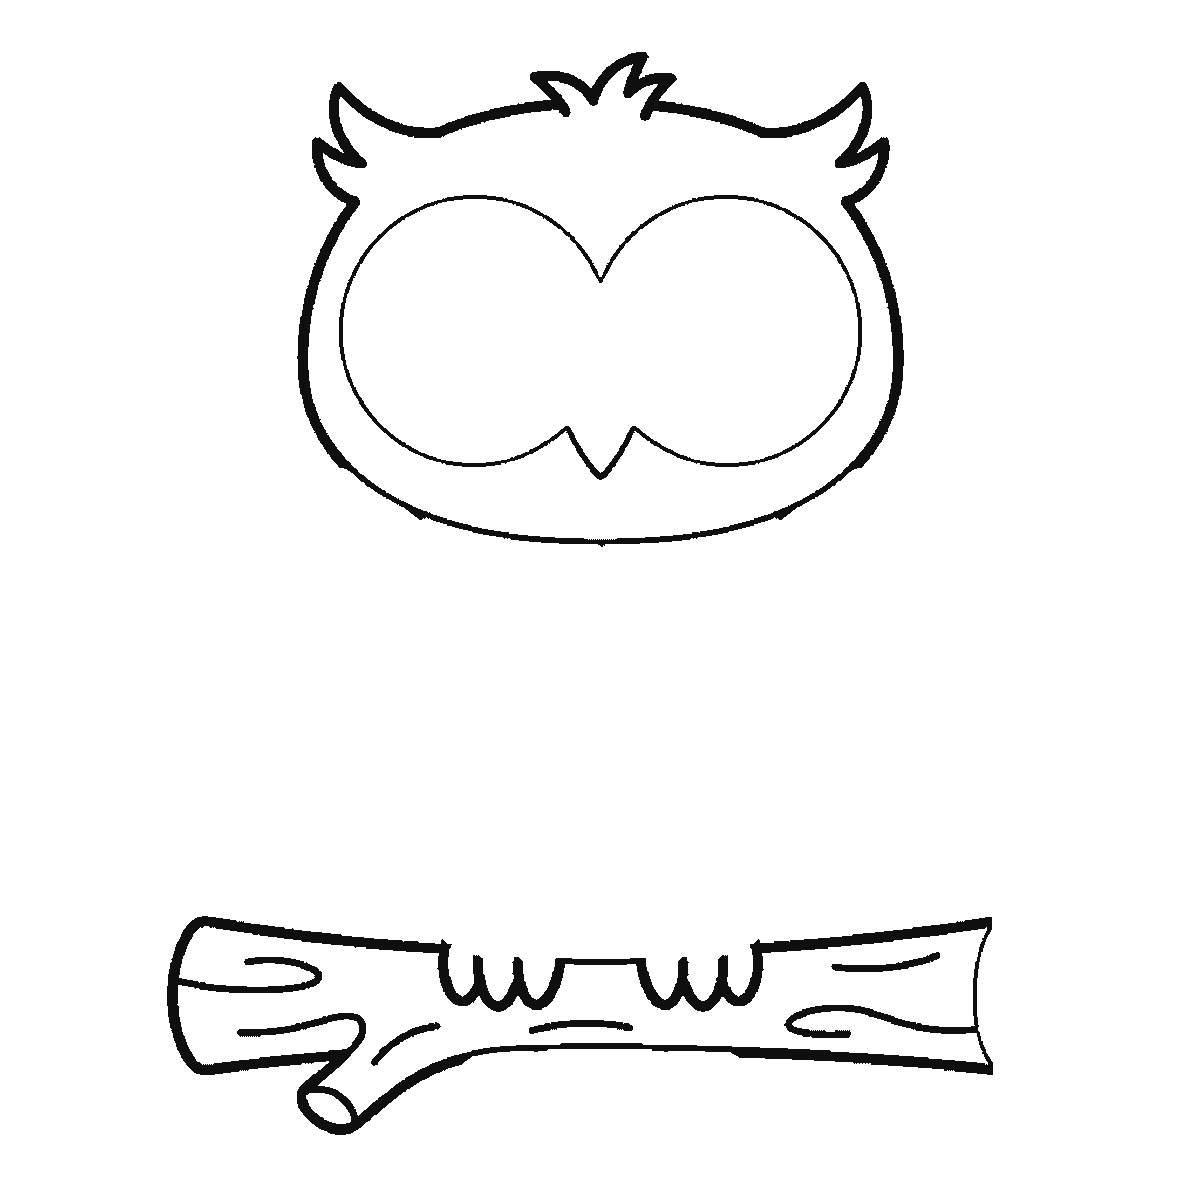
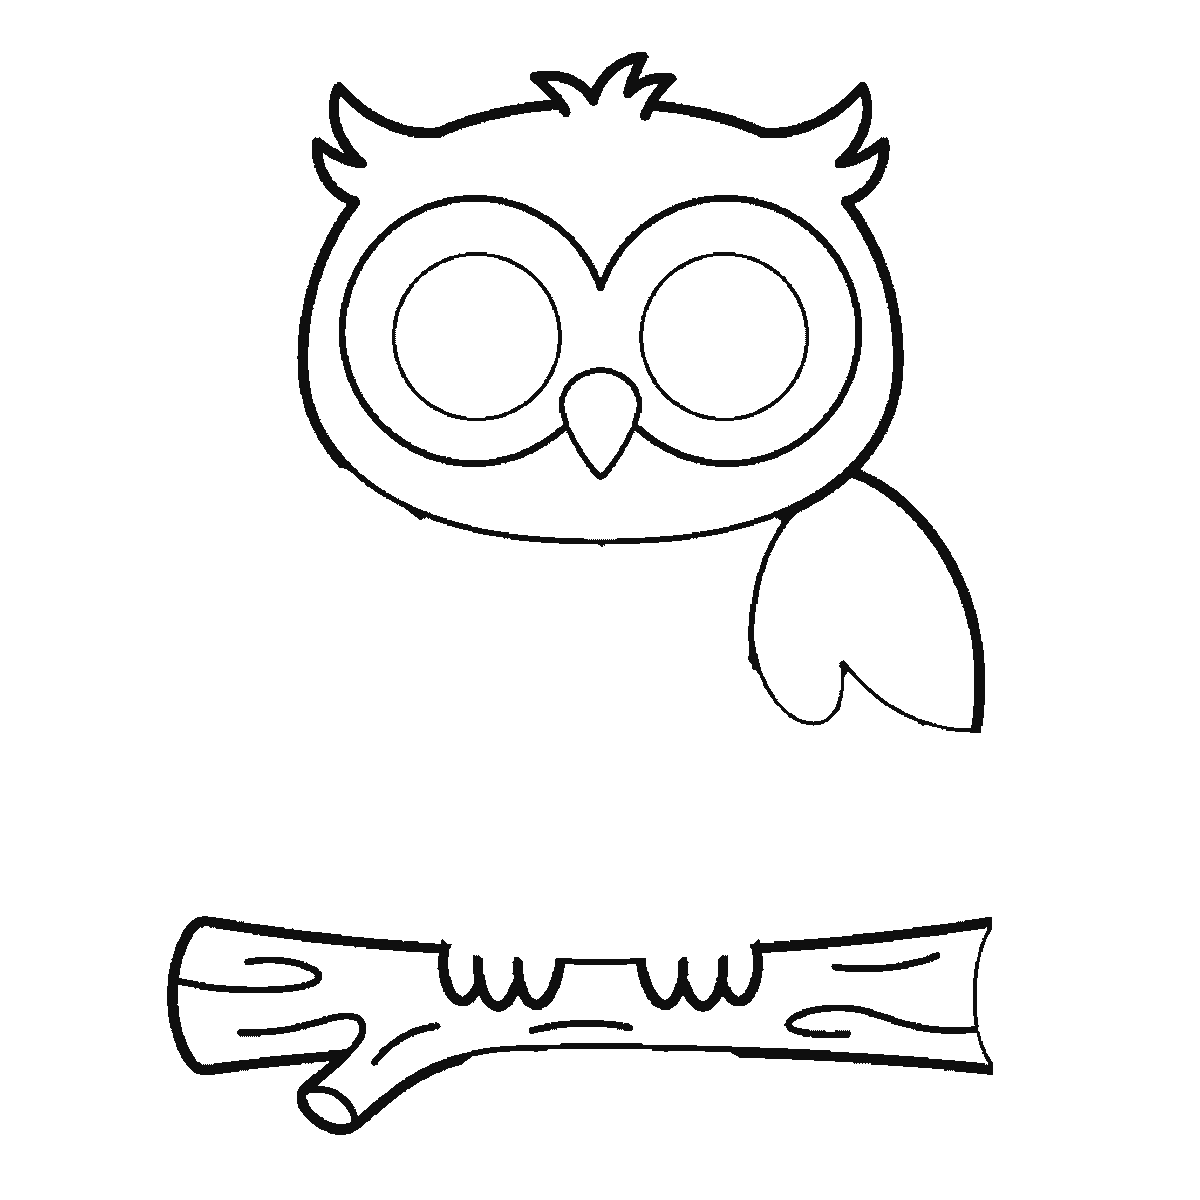
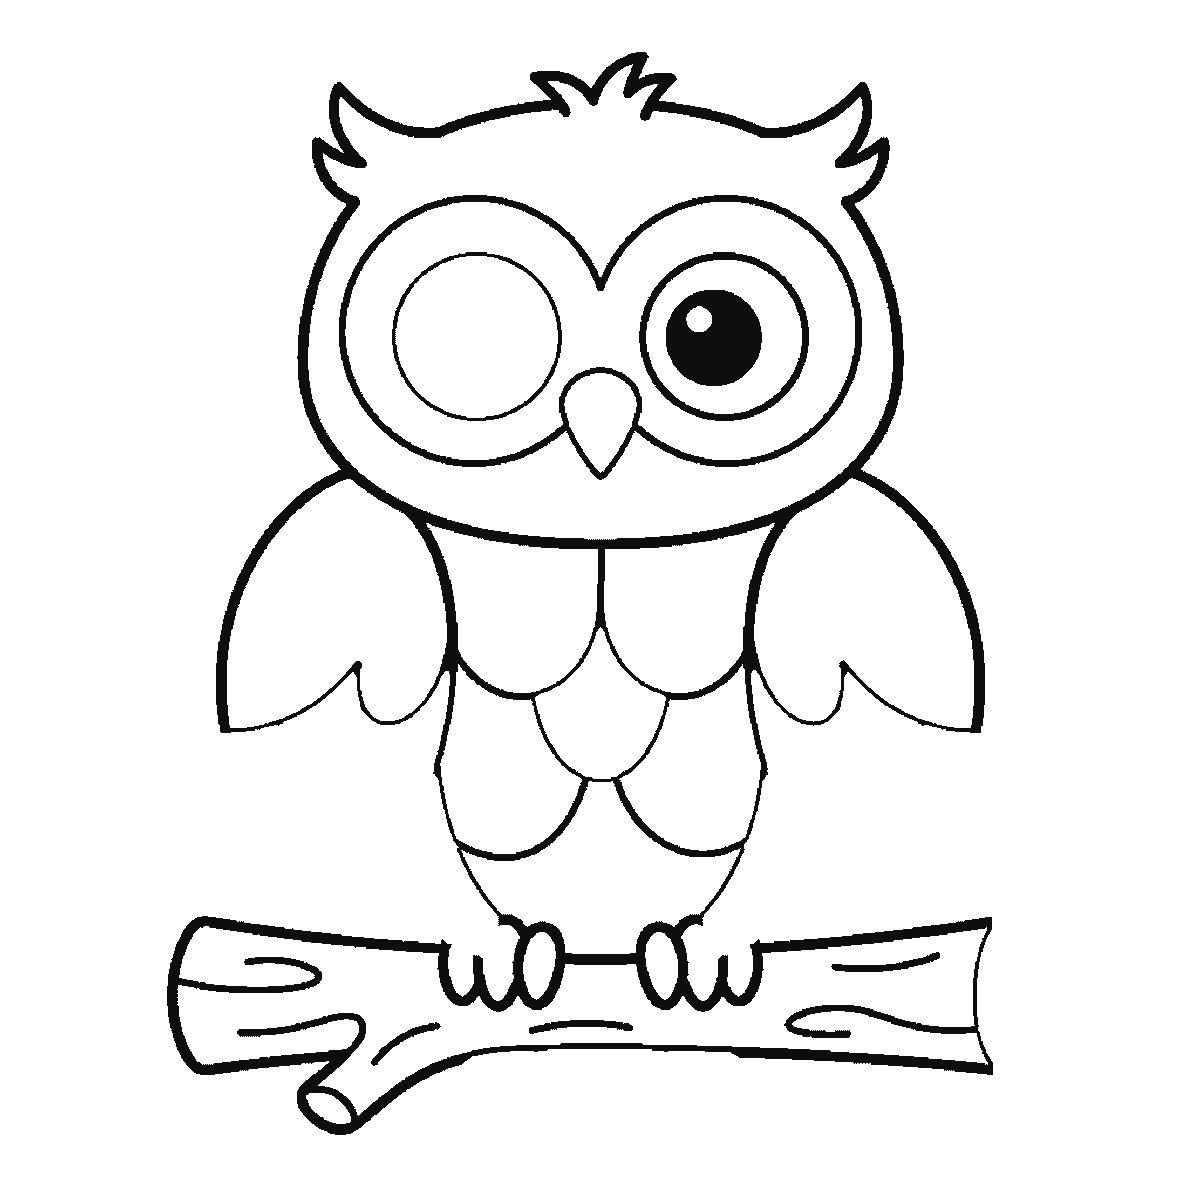
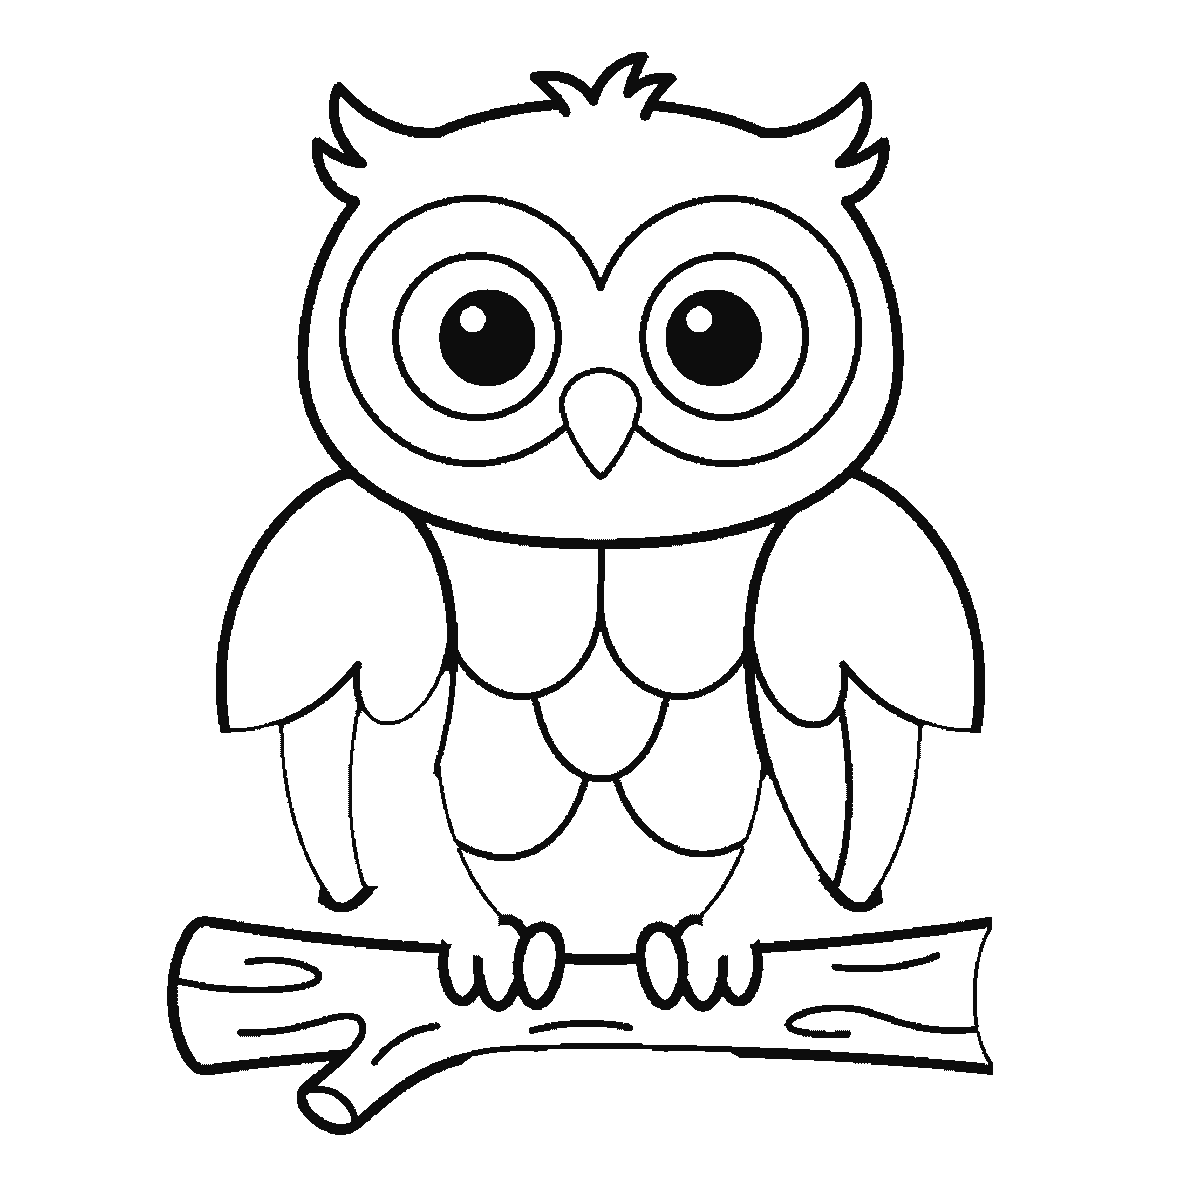
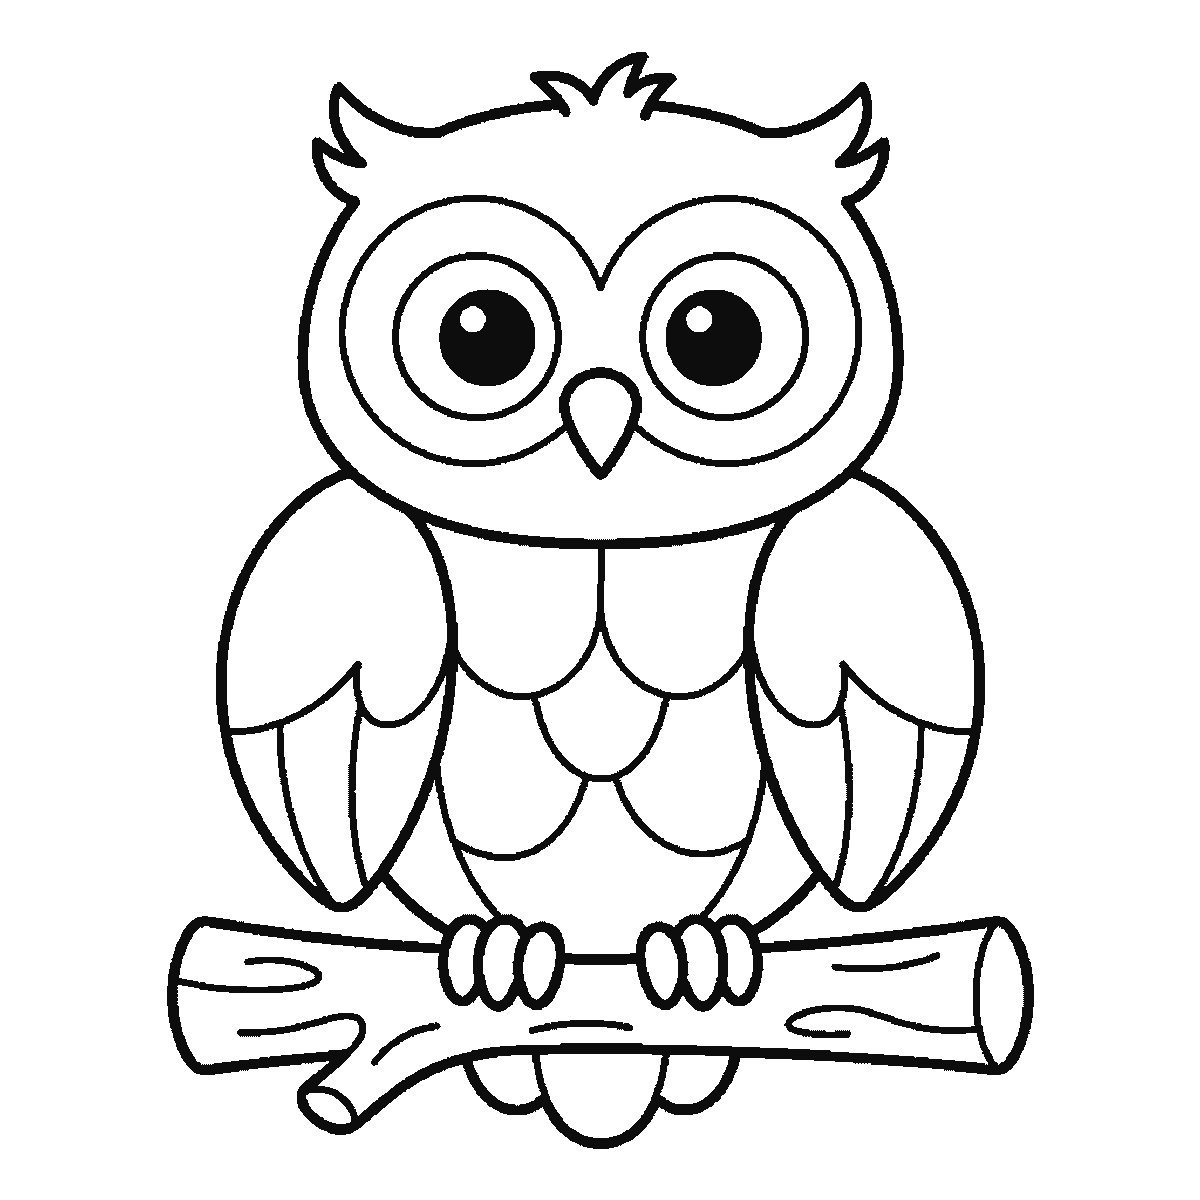
Six frames, one owl on a branch. The head and both ear tufts first, then the whole branch, then a wing at a time — and the pupils and the tail last.
This sheet takes one drawing of an owl perched on a thick branch and shows it six times over, each frame holding everything the one before it had plus a little more. Print it, prop it beside your paper, and copy a frame at a time. Nobody is asked to draw a whole owl in one go, which is the only real advantage six frames have over one finished picture.
The first frame is the head, and it is the head as a shape rather than as a face: the round skull, the two little ear tufts standing up off it, the small triangular beak, and the wide figure-of-eight ring that runs around both eye discs. The pupils are not there yet. That is worth knowing before you start, because it means frame one is a bird with two enormous blank circles staring out of it, and it looks odd until the rest arrives. Get the width of that ring right relative to the skull and the owl is already unmistakable, because the huge forward-facing eye mask is the one thing every owl drawing in the world has in common.
The second frame is the branch, complete, with the toes already curled over it. That is unusual and it is the sheet being honest about which shapes are big rather than which shapes are important: the branch is a fat horizontal bar with bark marks on it, and it takes up more of the page than either wing. Draw it lightly first. If the branch ends up too high the owl has no room for its tail, and the tail is the very last thing to arrive.
Frames three and four bring one wing each, folded down along the sides of the body like two long leaves. The fourth frame also carries the chest, divided into a handful of overlapping feather panels, and the first of the two pupils. The second pupil follows in frame five with the pale flight-feather tips at the bottom of each wing, and the sixth frame closes the drawing with the last of those tips and the small rounded tail sitting below the branch.
So the pupils are filled in one at a time, a frame apart — the first arriving alongside the second wing, the other on its own a frame later. If you are copying strictly, resist the urge to blacken both pupils as soon as you have drawn the rings — not because doing it early is wrong, but because two pupils dropped in at once tend to end up at different heights, and doing them on separate passes makes the mismatch obvious while it is still easy to rub out.
The order on this sheet runs from the largest closed shape to the smallest, which is why a branch arrives before a wing and why the tail is last. It is a sequence that is easy to copy from and it is not a claim that this is the order anybody ought to draw an owl in. Plenty of people would put the branch in at the end so the bird sits properly on it, and the finished drawing would be exactly the same drawing.
The download is one A4 sheet carrying all six frames, in plain black outline on white, so a whole table can work from a copy each. There is no shading anywhere on it, which means it prints cleanly on a printer that is nearly out of ink and colours in neatly afterwards.
When the perched owl feels comfortable, the fastest way to make a second owl look like a different bird is to change the ear tufts and nothing else. Tall pointed tufts read as a long-eared owl; flatten them almost to nothing and the same head reads as a tawny. The eyes, the beak and the feather panels stay exactly where they are. That is a much better use of a second attempt than starting a different animal, because it teaches you which part of a drawing is carrying the recognition.
Before you start
- Draw the eye ring before the skull, not after. Almost every owl that comes out wrong has the mask too small for the head it sits in.
- Keep the beak tiny. A small triangle between two big eyes is the whole face; a large beak turns the owl into a hawk.
- Give the branch a slight downward tilt. A perfectly level branch makes the bird look pasted on.
- The chest feather panels look best drawn as overlapping curves rather than rows of separate scallops — start each one inside the last.
Published Updated 676 words
The six steps
The steps go from the largest shape to the smallest, which is an easy order to copy. It is not the only order, and it is not a rule — if you would rather start somewhere else on the sheet, do.
Step 1
Step 2
Step 3
Step 4
Step 5
Step 6
More in this section
How to draw a spider
Six frames, one friendly spider. The patched round body first, then the head, then the legs two at a time — and the pupils and the thread right at the end.
Step sequence made by us from a single drawing: each step keeps the lines of the one before it and adds to them.
How to draw a chicken
Six frames, one plump hen standing side-on. The body first with no head at all, then the head and the folded wing, and the beak, wattle and eye right at the end.
Step sequence made by us from a single drawing: each step keeps the lines of the one before it and adds to them.
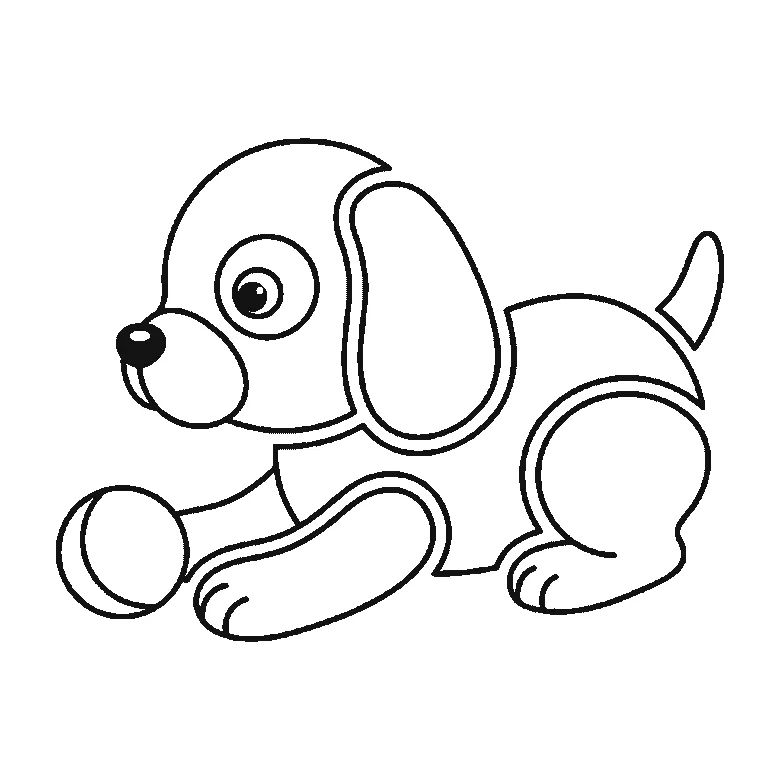
How to draw a puppy
Six frames, one round puppy lying down with a ball. The back and haunch first — no head until the second frame — and the nose, eye and tail last.
Step sequence made by us from a single drawing: each step keeps the lines of the one before it and adds to them.
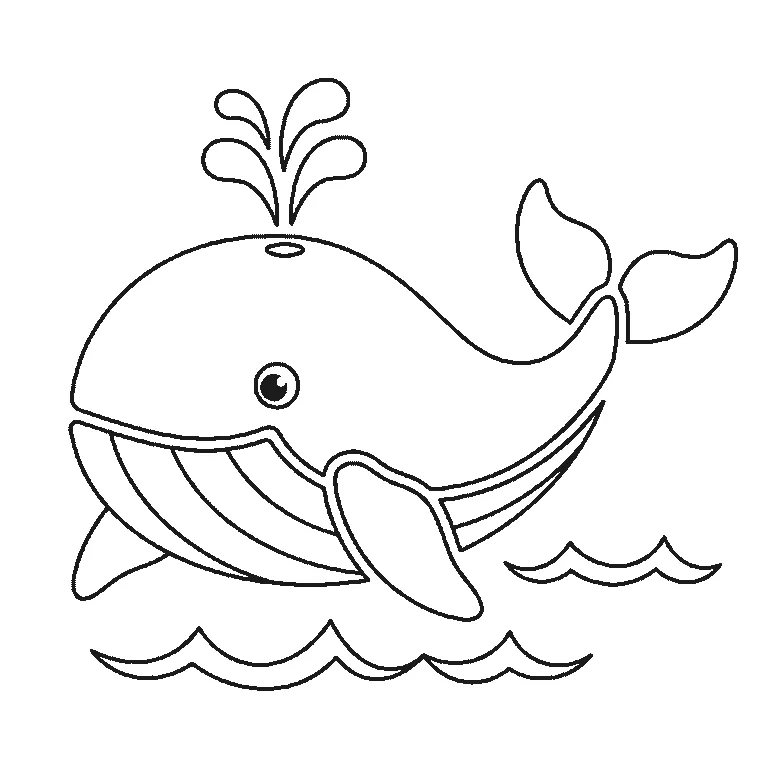
How to draw a whale
Six frames, one whale above the waves. The whole body first with the eye left blank, then the tail and the big flipper, and the spout and the filled pupil last.
Step sequence made by us from a single drawing: each step keeps the lines of the one before it and adds to them.
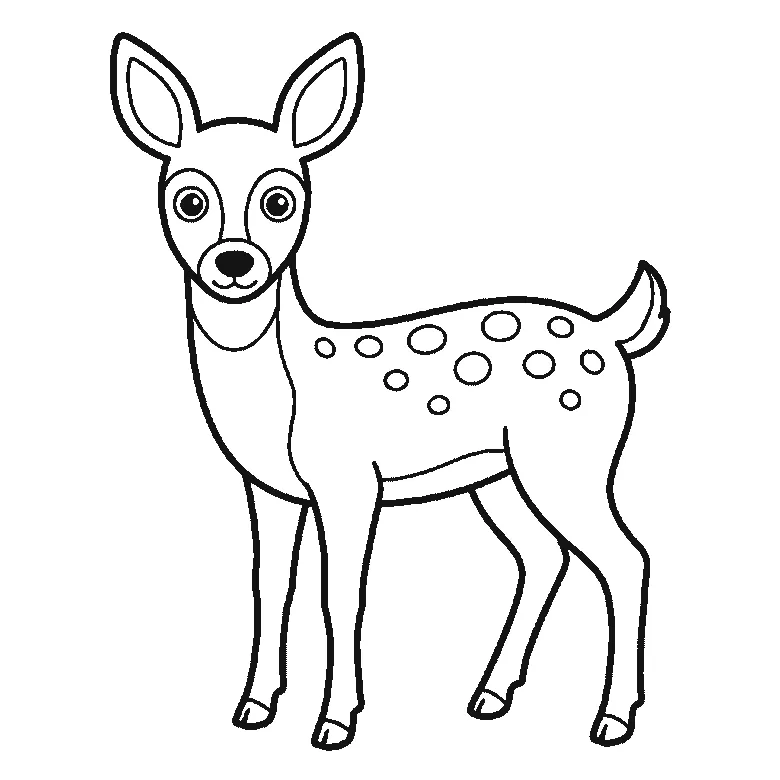
How to draw a deer
Six frames, one young deer standing side-on. The spotted body first with no head at all, then the ears — and the entire face arrives in the last frame.
Step sequence made by us from a single drawing: each step keeps the lines of the one before it and adds to them.
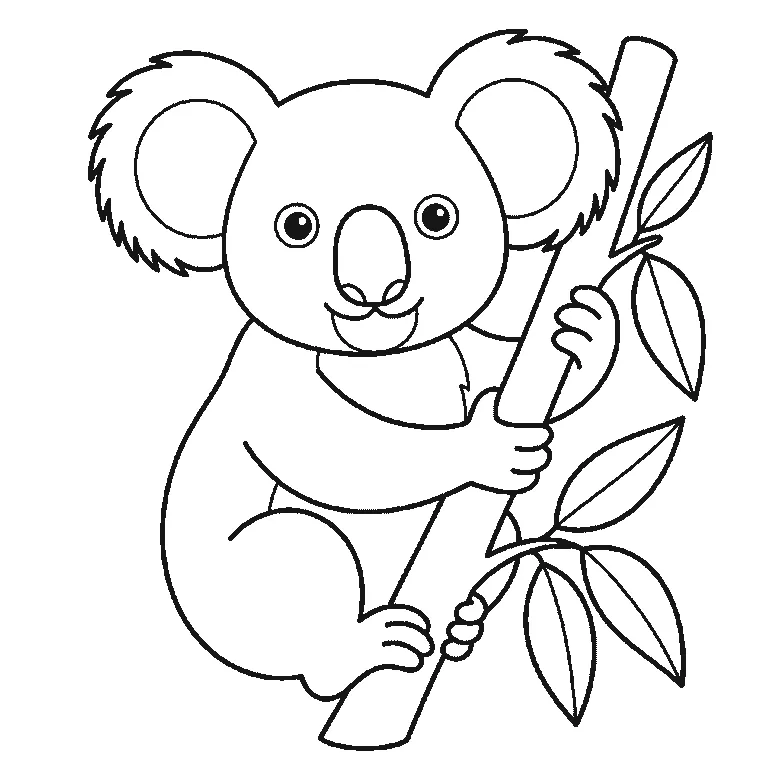
How to draw a koala
Six frames, one koala hugging a branch. The whole head and both fringed ears first, then the body, then the branch — and the eyes and the last leaves at the end.
Step sequence made by us from a single drawing: each step keeps the lines of the one before it and adds to them.
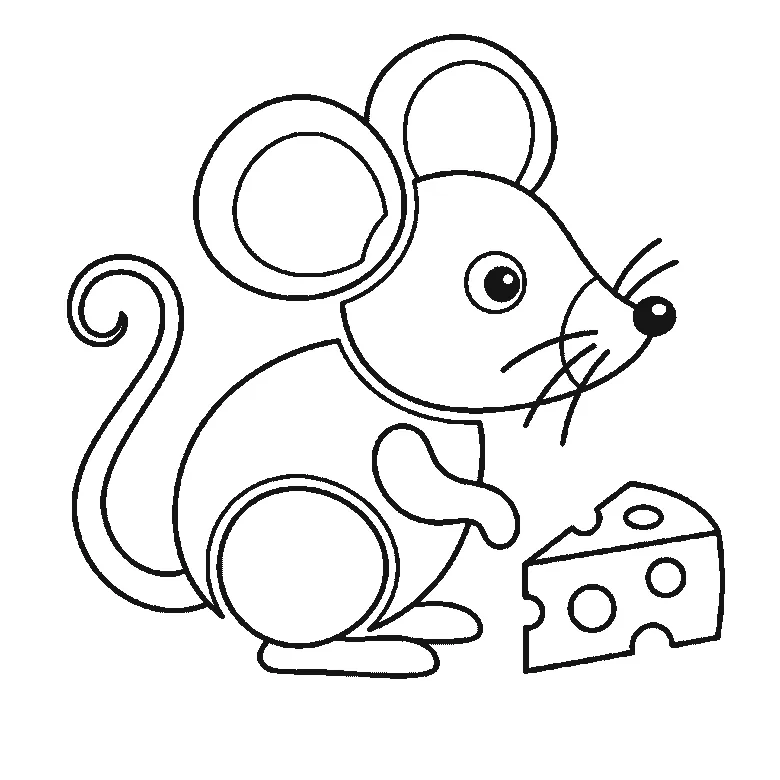
How to draw a mouse
Six frames, one mouse beside a wedge of cheese. The head and the back together first, then the ears, then the cheese — with the tail, whiskers and eye last.
Step sequence made by us from a single drawing: each step keeps the lines of the one before it and adds to them.
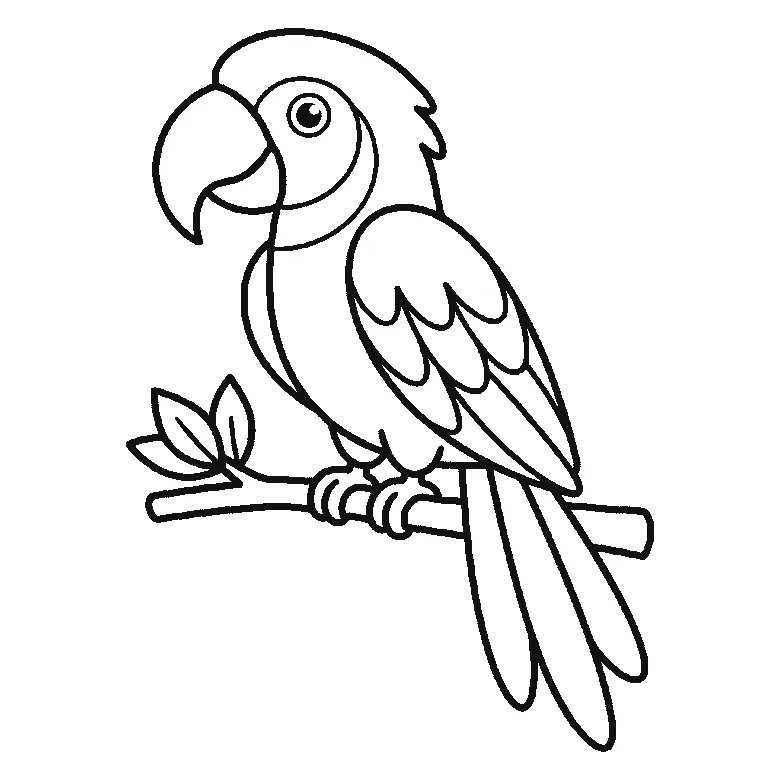
How to draw a parrot
Six frames, one parrot on a leafy branch. The head crest and the breast first, then the beak with the wing, and the eye and the gripping feet last.
Step sequence made by us from a single drawing: each step keeps the lines of the one before it and adds to them.
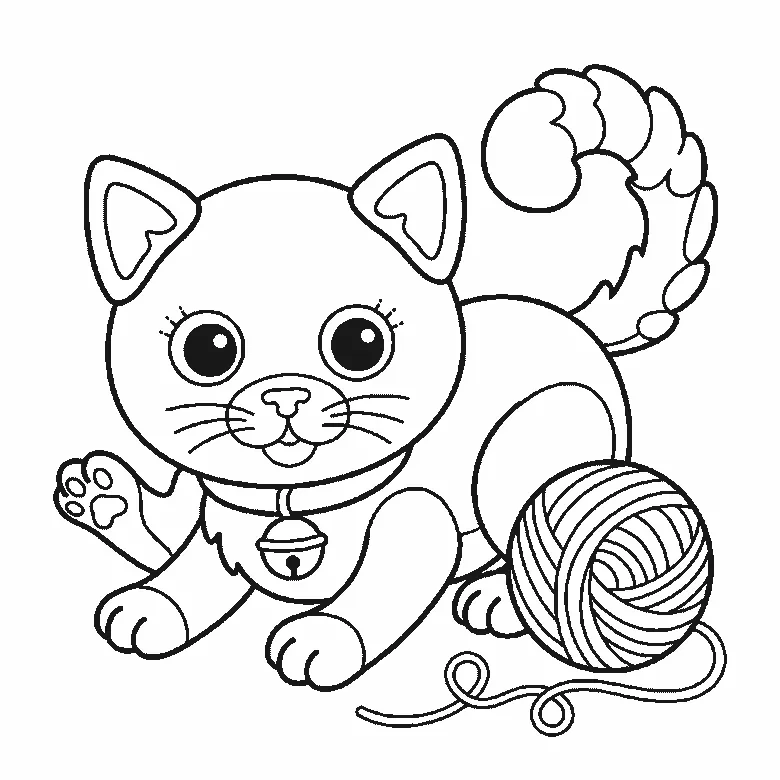
How to draw a kitten
Six frames, one kitten crouching over a ball of wool. The head and collar first, the ears one at a time after it, and the filled pupils near the end.
Step sequence made by us from a single drawing: each step keeps the lines of the one before it and adds to them.
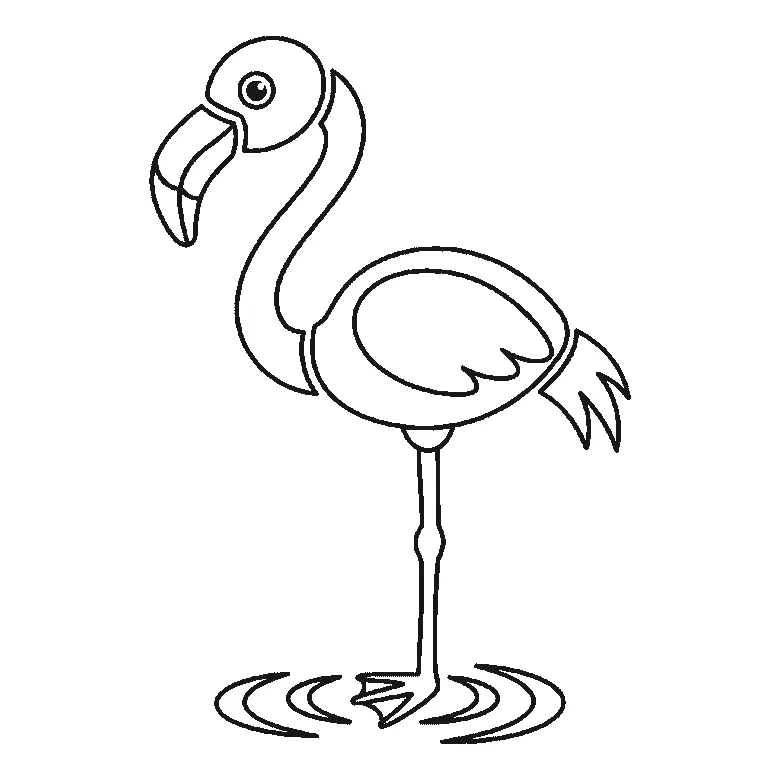
How to draw a flamingo
Six frames, one flamingo standing in shallow water. The body first, the neck second, and the beak — the thing that says flamingo — not until frame five.
Step sequence made by us from a single drawing: each step keeps the lines of the one before it and adds to them.
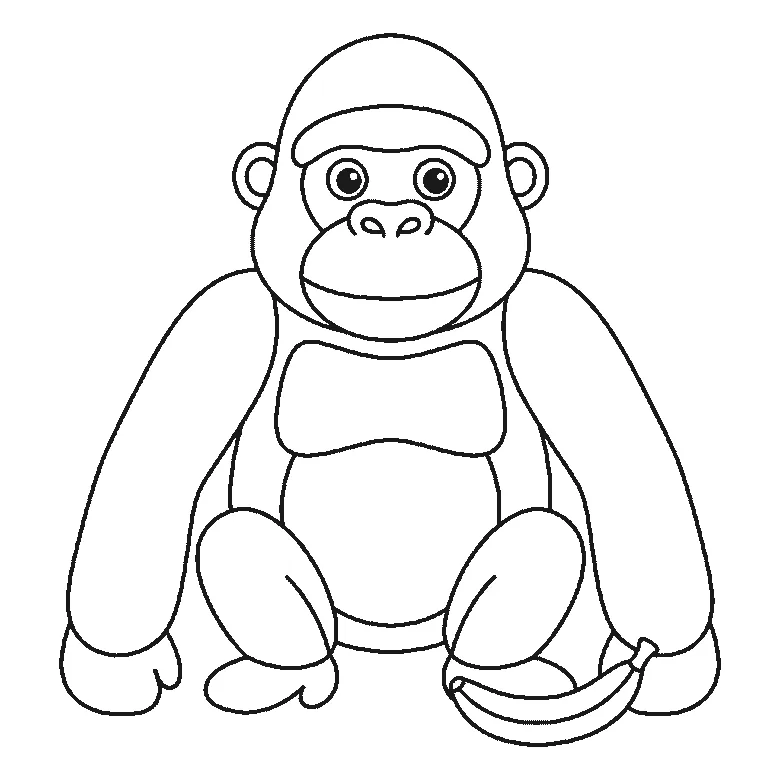
How to draw a gorilla
Six frames, one gorilla sitting with a banana beside it. Frame one is the two arms and nothing else — the head does not arrive until frame two.
Step sequence made by us from a single drawing: each step keeps the lines of the one before it and adds to them.
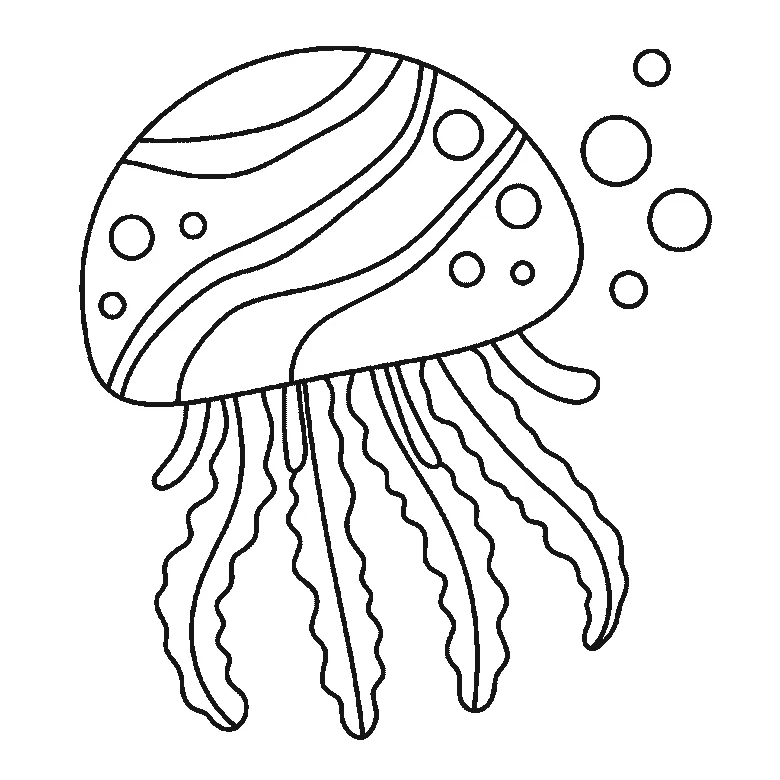
How to draw a jellyfish
Six frames, one jellyfish drifting with bubbles beside it. The bell is built panel by panel, the tentacles arrive a few at a time, and the bubbles are last.
Step sequence made by us from a single drawing: each step keeps the lines of the one before it and adds to them.


