
PDF · A4 · 51 KB · Free, no sign-up. For home and classroom use.
How to draw a deer
Six frames, one young deer standing side-on. The spotted body first with no head at all, then the ears — and the entire face arrives in the last frame.
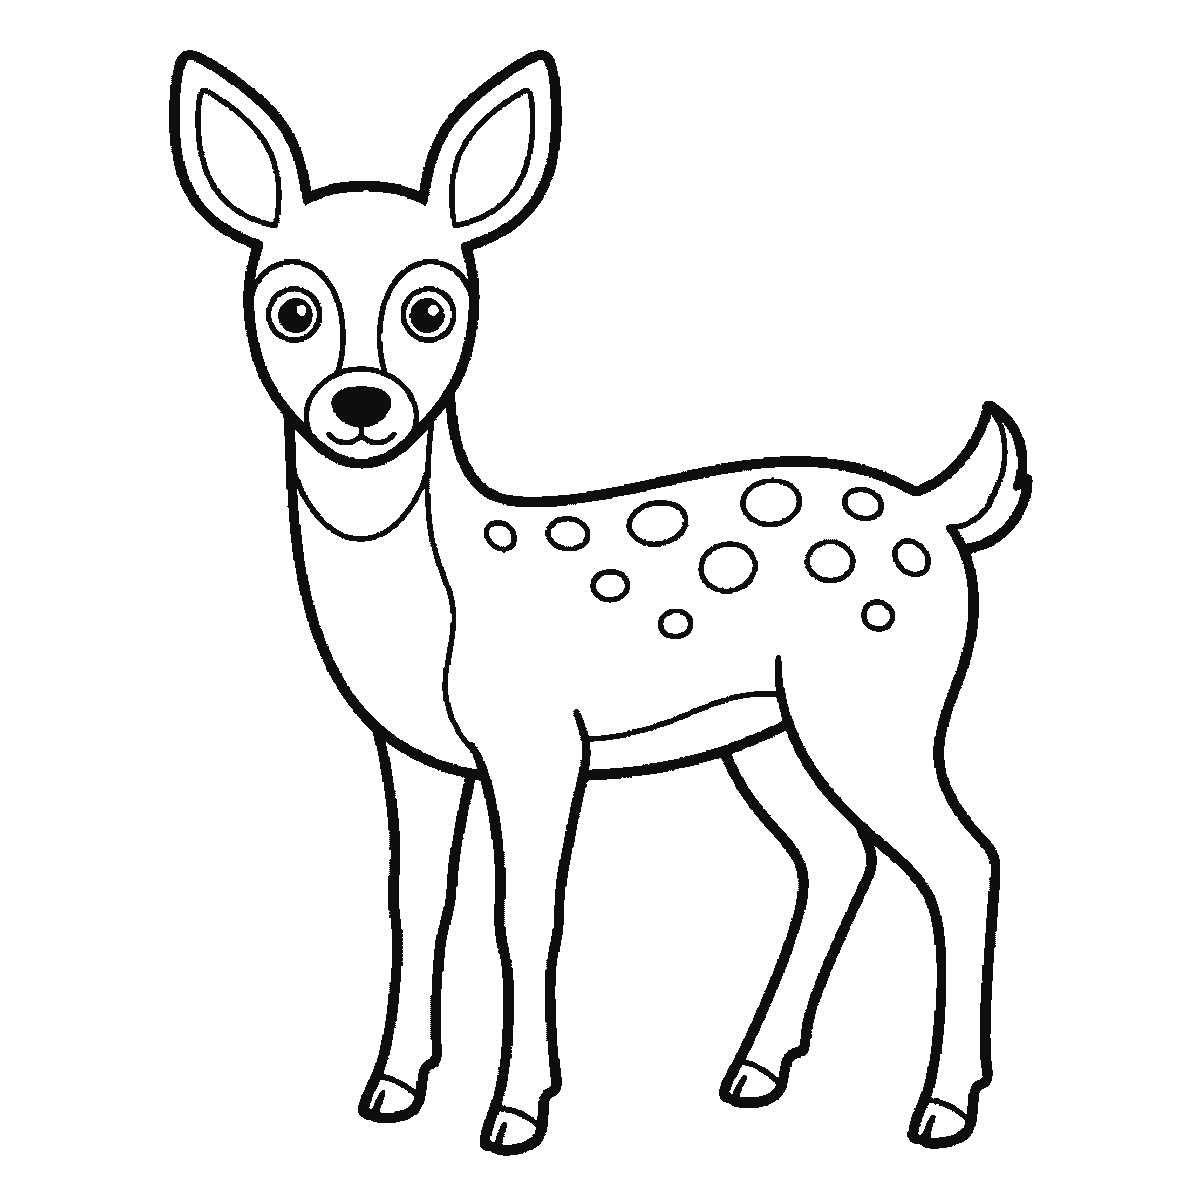
This sheet takes one drawing of a young deer standing side-on with its head turned towards you, and shows it six times, each frame carrying the last one's lines and adding a few more. Copy it a frame at a time. The finished animal is the sixth picture; the first five build the body it hangs on.
Frame one is the body, and it arrives with all its spots already on it. The back, the rump, the short raised tail, the belly line, the near front leg and the near hind leg are all there, scattered over with the pale round spots down the flank. There is no head, no neck and no face. That is the single most surprising thing about this sheet and it is worth reading twice, because the spots feel like a finishing touch and here they are the very first thing you draw.
It is also the most useful thing about it. Spots on a fawn are not decoration applied at the end; they follow the curve of the back and the swell of the flank, and putting them in while the body is still empty is much easier than fitting them around legs and a neck later. Vary their size deliberately. A scatter of identical circles reads as a pattern; a scatter of different-sized ones reads as an animal.
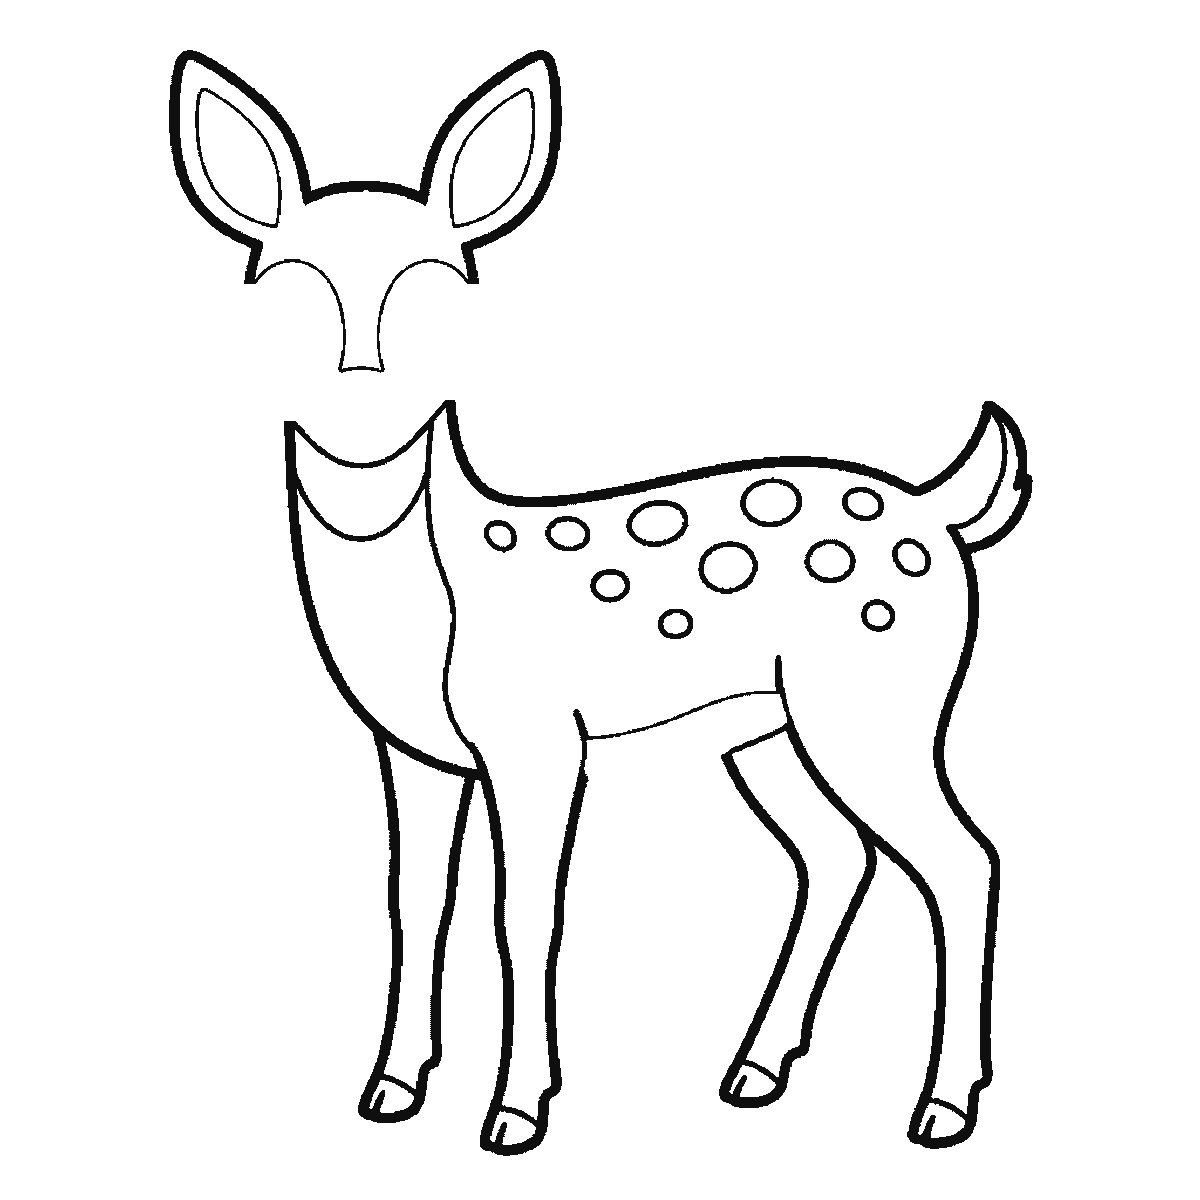
The two tall ears and the outline of the head come together in frame two, and the curve of the throat follows in frame three. The far hind leg is frame four and the far front leg is frame five, so the animal is standing on four legs only in the second-to-last picture. Take care with those far legs: they are set slightly behind and slightly apart from the near pair, and drawn directly behind them the deer looks two-legged.
The entire face is in the last frame, and so is the join. Up to and including frame five the head floats above the body as a detached pair of ears and a blank forehead, not connected to the neck at all — it is worth knowing that in advance, because frame five looks like a mistake and it is not. Both eyes, the dark mask around them, the filled nose and the small mouth then arrive at once, in one step, on a head that has been empty since frame two. If you want the drawing to look right, spend as long on that final frame as on the previous three together. The eyes are large, round and set wide on the sides of the head rather than forward, and the mask is what makes the face read from across a room.
The frames run from the largest closed shape to the smallest, which is why a whole spotted body comes before a pair of ears. That order is easy to copy from and it is not a claim that it is how anybody ought to draw a deer. Someone who starts at the head and works back along the spine is using a method with a long history, and they will finish with this same animal.
The download is one A4 page with all six frames on it in plain black outline, no shading, so a class can work from a sheet each and colour the last frame in afterwards.
The change worth trying next is the neck. Lengthen it and lift the head and the same body becomes an adult doe on alert; shorten it and drop the head towards the ground and the animal is grazing. The legs, the spots and the ears do not move at all. Doing both from this one sheet teaches more about drawing animals than copying two different pictures would, because it shows you that posture lives in one or two joints rather than in the whole silhouette.
Before you start
- Make the spots different sizes and let them follow the curve of the back. Identical circles in rows read as fabric, not fur.
- Set the far pair of legs slightly apart from the near pair, not directly behind them, or the deer looks like it has two.
- The ears are tall, narrow and set well apart on top of the skull. Short round ears turn the fawn into a puppy.
- Leave the face until last, as the sheet does, and then take your time over it — five quick frames and one slow one is the right rhythm here.
Published Updated 642 words
The six steps
The steps go from the largest shape to the smallest, which is an easy order to copy. It is not the only order, and it is not a rule — if you would rather start somewhere else on the sheet, do.
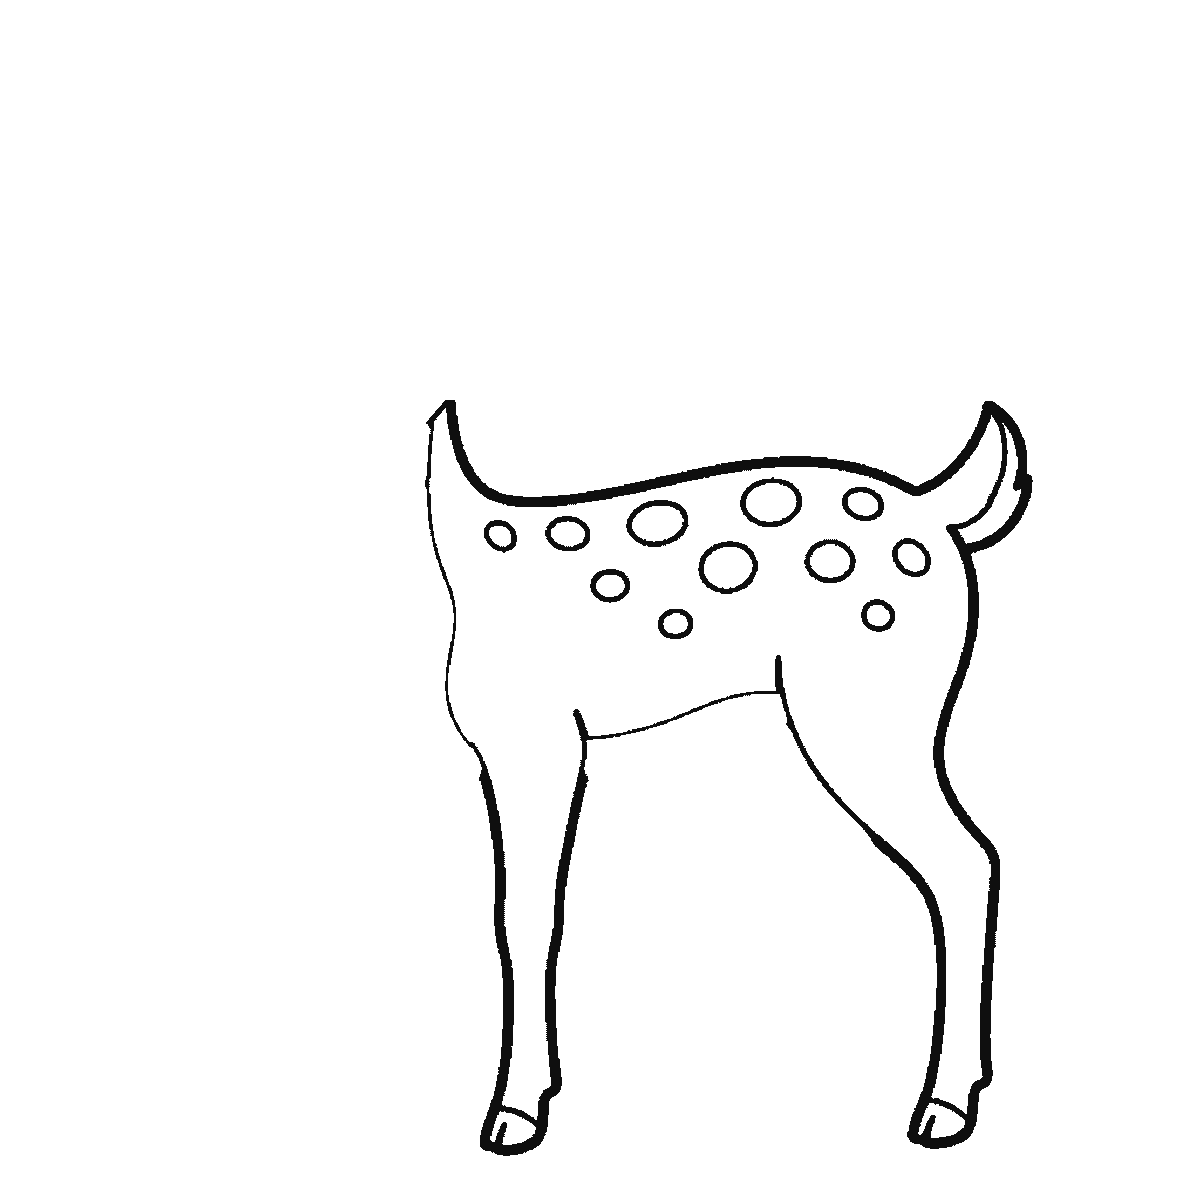
Step 1
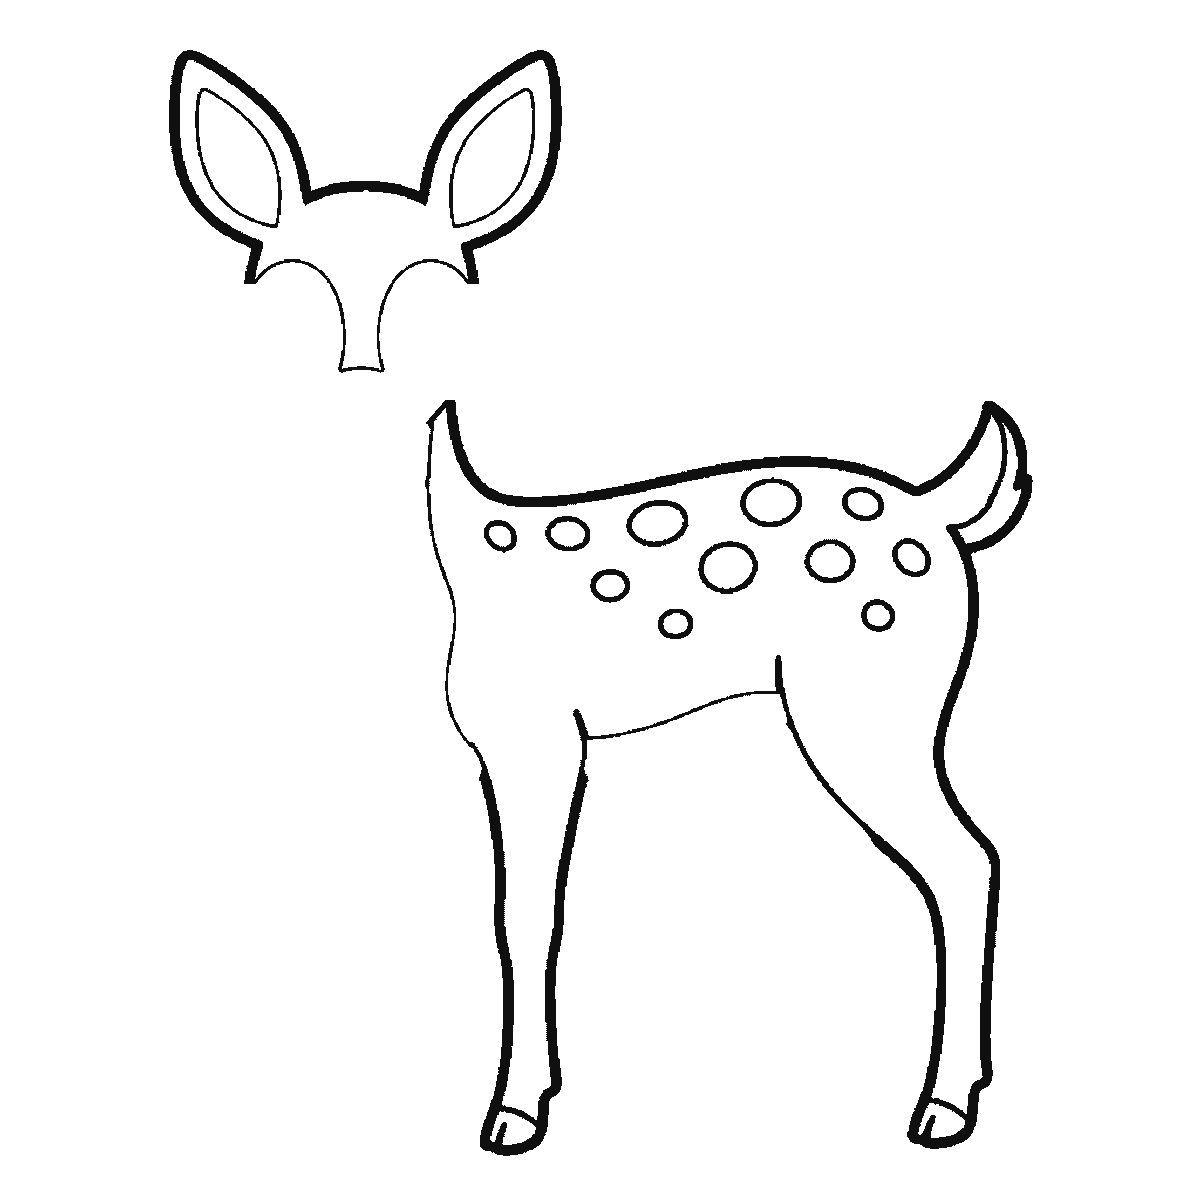
Step 2
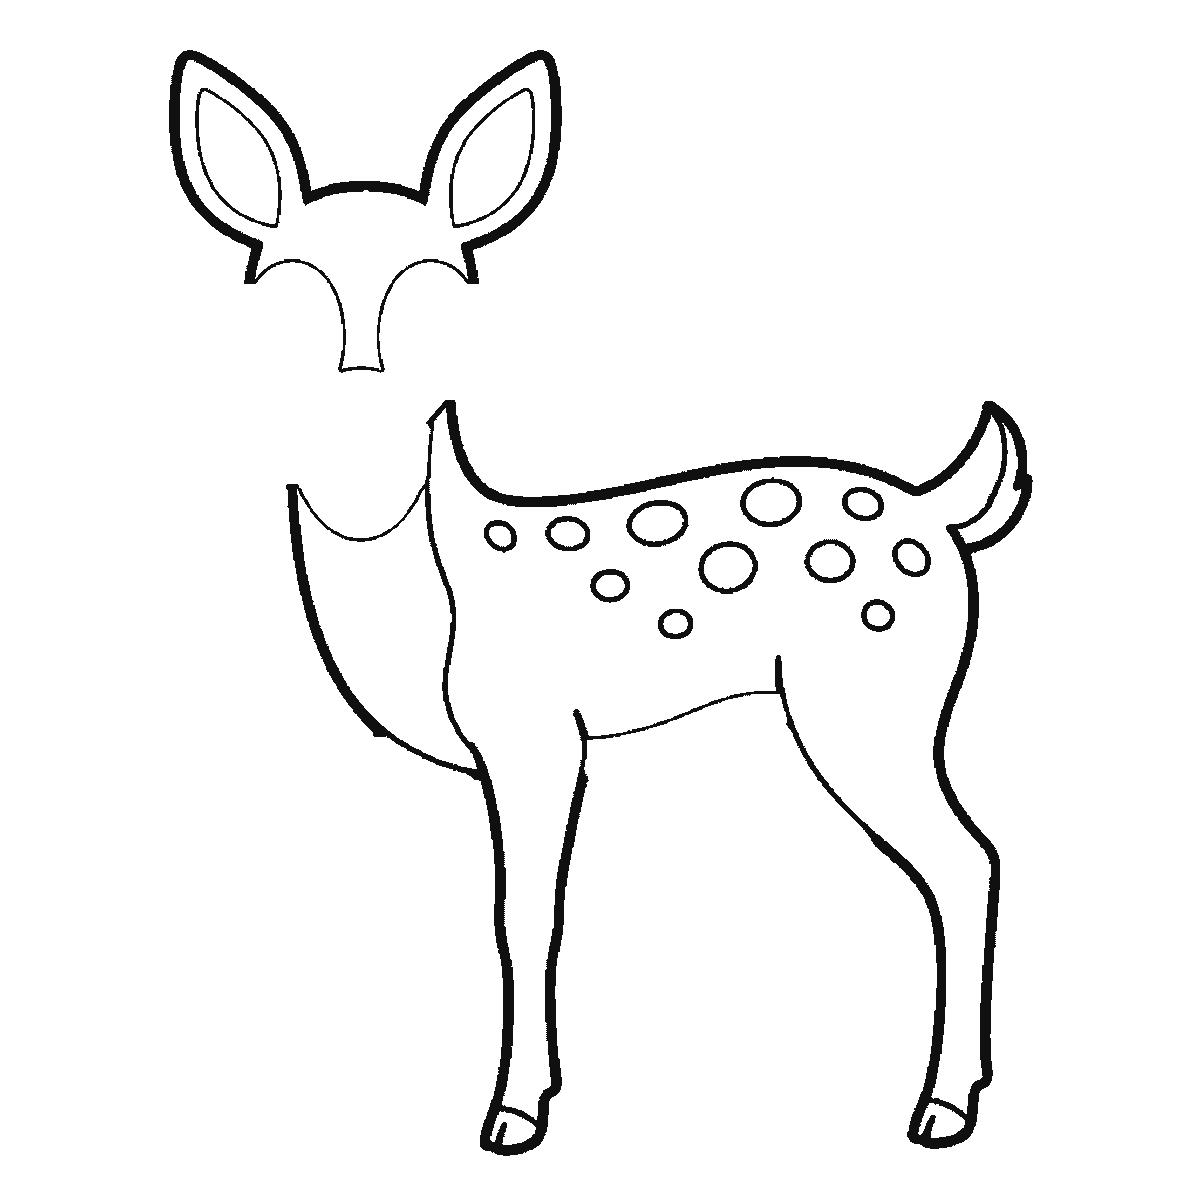
Step 3
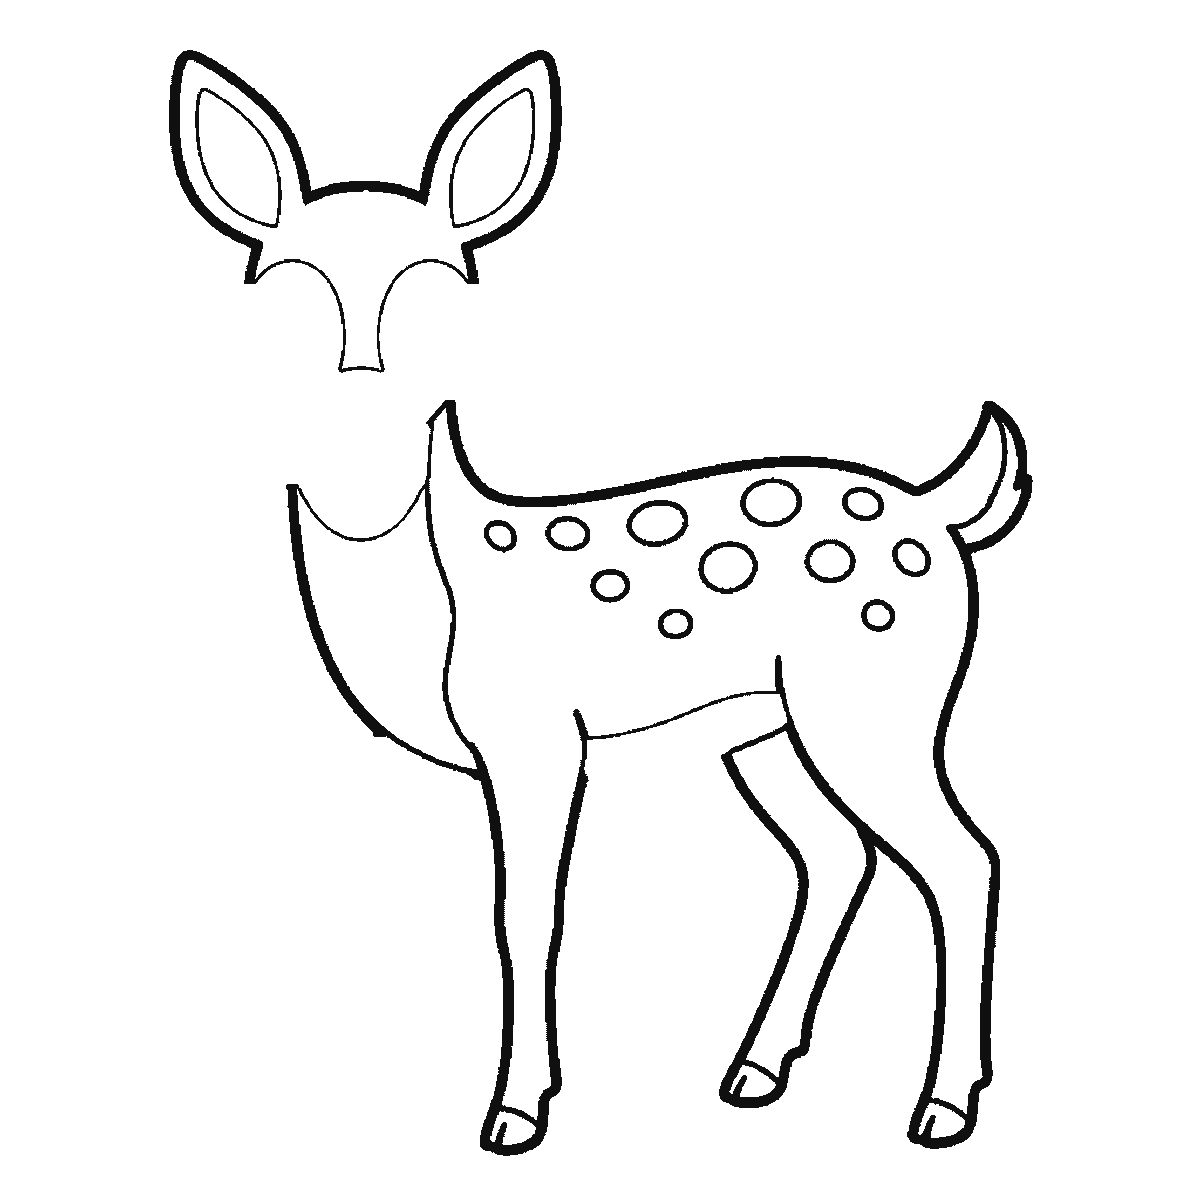
Step 4
Step 5
Step 6
More in this section
How to draw a koala
Six frames, one koala hugging a branch. The whole head and both fringed ears first, then the body, then the branch — and the eyes and the last leaves at the end.
Step sequence made by us from a single drawing: each step keeps the lines of the one before it and adds to them.
How to draw a mouse
Six frames, one mouse beside a wedge of cheese. The head and the back together first, then the ears, then the cheese — with the tail, whiskers and eye last.
Step sequence made by us from a single drawing: each step keeps the lines of the one before it and adds to them.
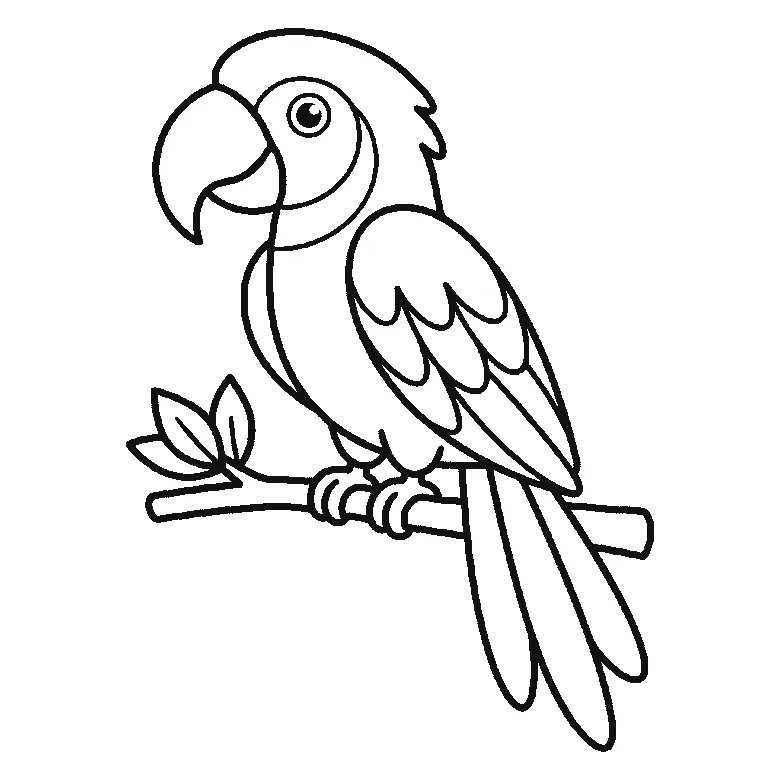
How to draw a parrot
Six frames, one parrot on a leafy branch. The head crest and the breast first, then the beak with the wing, and the eye and the gripping feet last.
Step sequence made by us from a single drawing: each step keeps the lines of the one before it and adds to them.
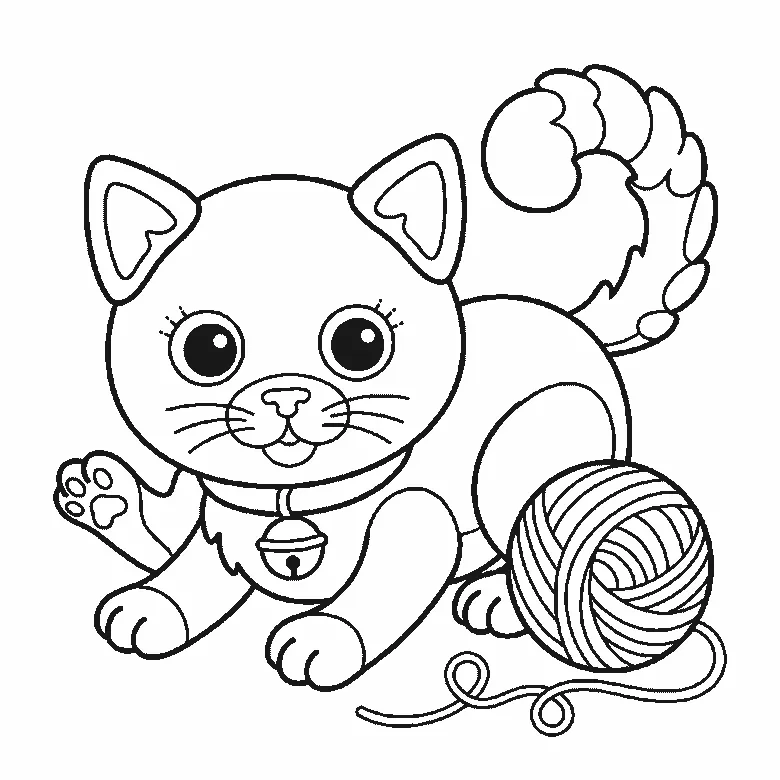
How to draw a kitten
Six frames, one kitten crouching over a ball of wool. The head and collar first, the ears one at a time after it, and the filled pupils near the end.
Step sequence made by us from a single drawing: each step keeps the lines of the one before it and adds to them.
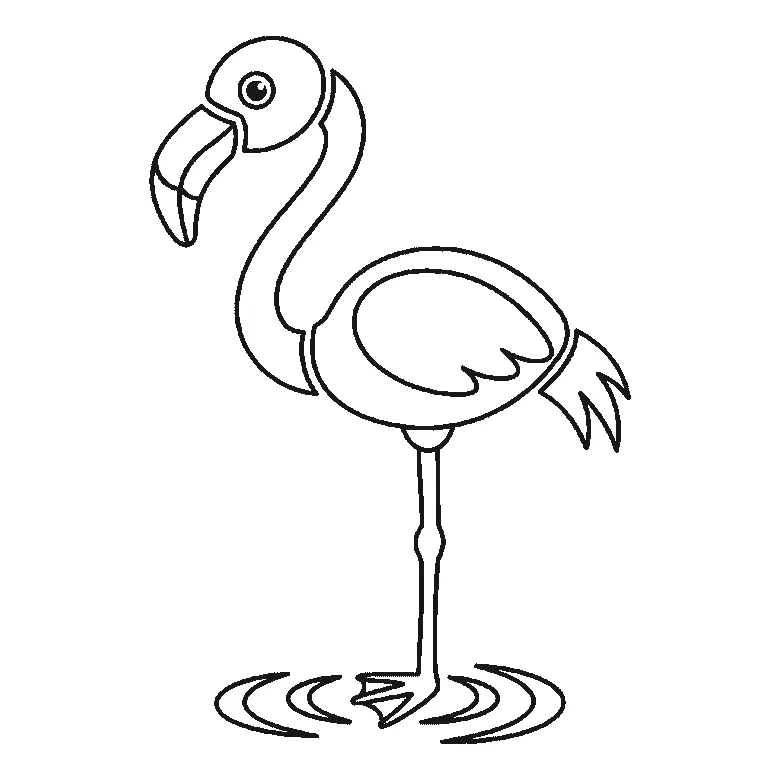
How to draw a flamingo
Six frames, one flamingo standing in shallow water. The body first, the neck second, and the beak — the thing that says flamingo — not until frame five.
Step sequence made by us from a single drawing: each step keeps the lines of the one before it and adds to them.
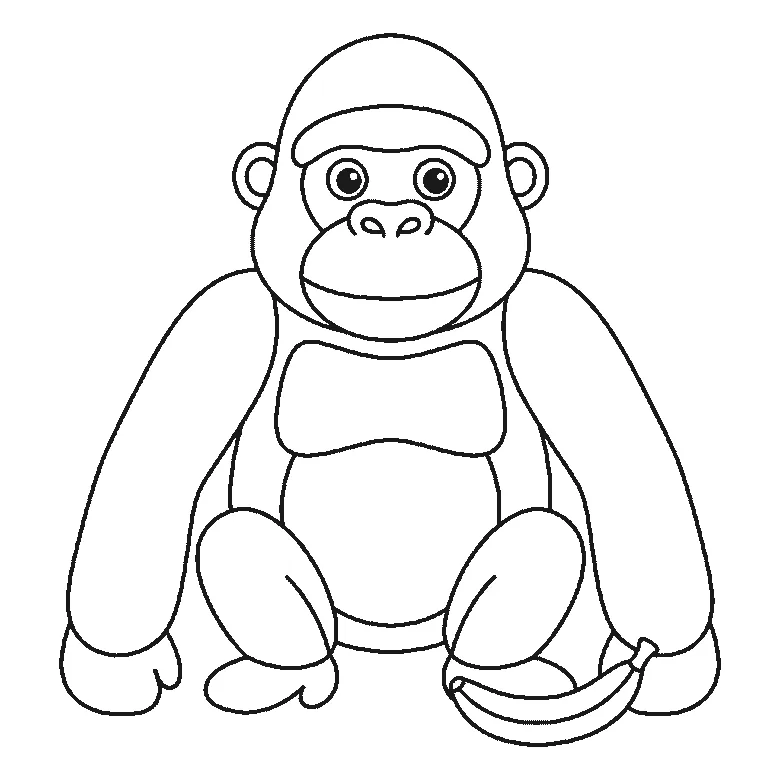
How to draw a gorilla
Six frames, one gorilla sitting with a banana beside it. Frame one is the two arms and nothing else — the head does not arrive until frame two.
Step sequence made by us from a single drawing: each step keeps the lines of the one before it and adds to them.
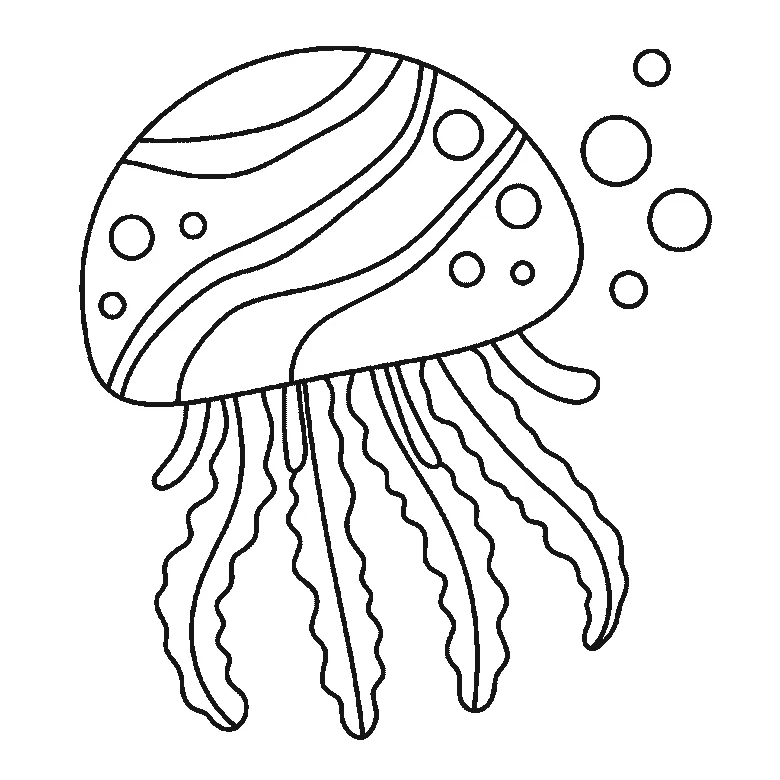
How to draw a jellyfish
Six frames, one jellyfish drifting with bubbles beside it. The bell is built panel by panel, the tentacles arrive a few at a time, and the bubbles are last.
Step sequence made by us from a single drawing: each step keeps the lines of the one before it and adds to them.
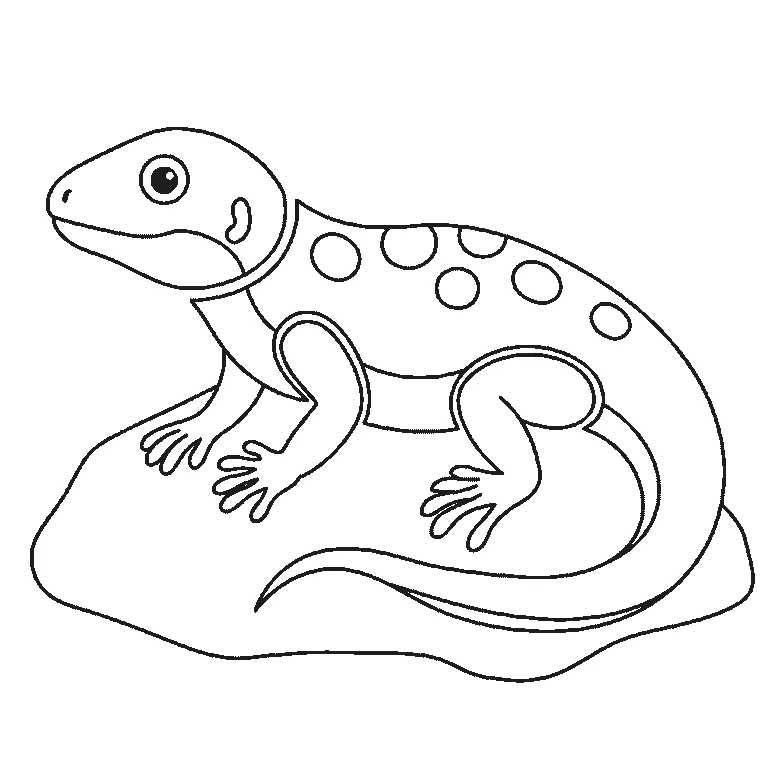
How to draw a lizard
Six frames, one lizard basking on a rock. Frame one is the rock and two legs; the body comes second and the head not until frame three.
Step sequence made by us from a single drawing: each step keeps the lines of the one before it and adds to them.
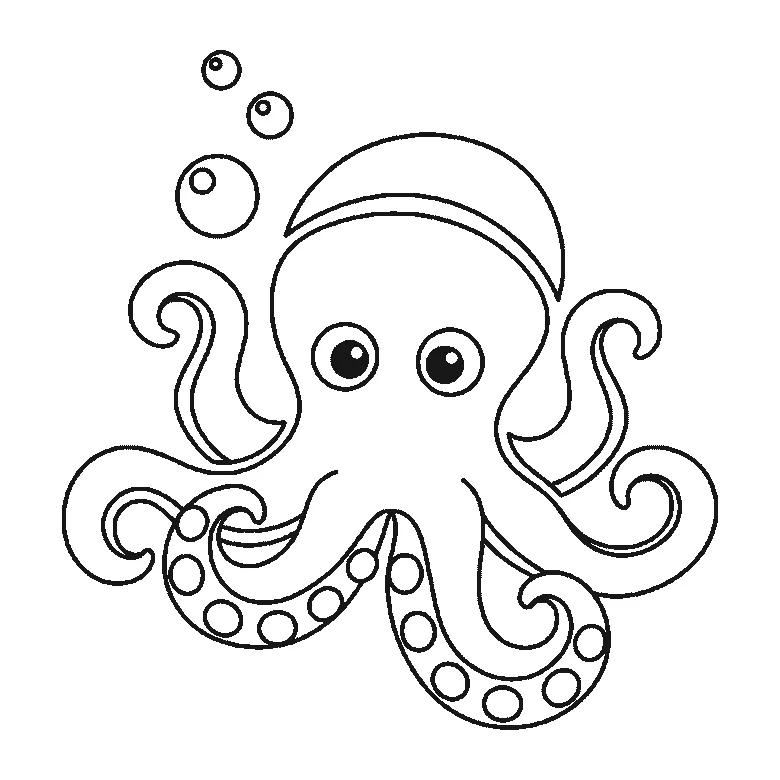
How to draw an octopus
Six frames, one octopus with bubbles rising beside it. The head and two outer arms first, the remaining arms one or two at a time, the pupils last.
Step sequence made by us from a single drawing: each step keeps the lines of the one before it and adds to them.
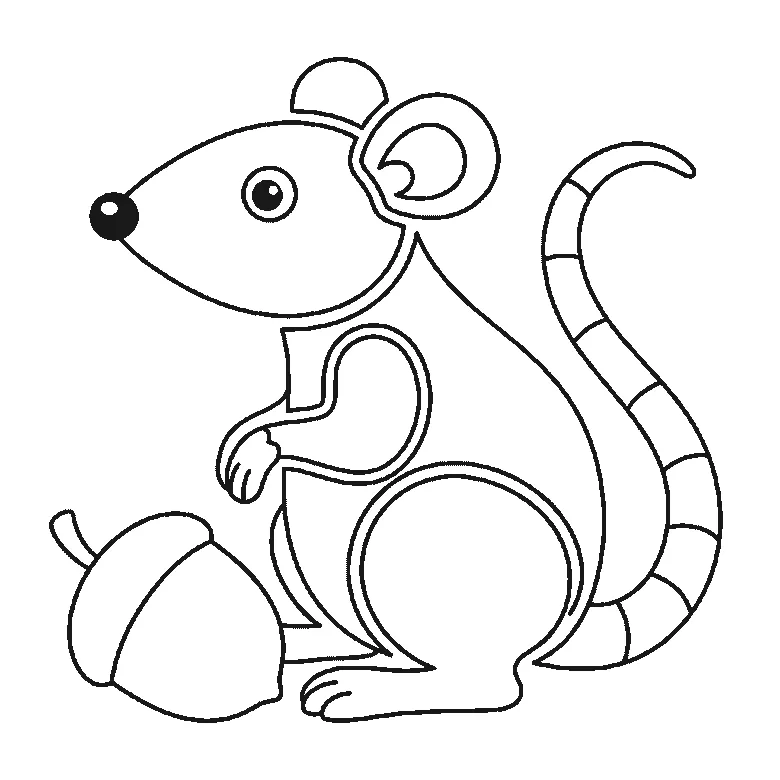
How to draw a rat
Six frames, one rat sitting up beside an acorn. The head and haunch first, the ear third, and the long banded tail not until frame five.
Step sequence made by us from a single drawing: each step keeps the lines of the one before it and adds to them.
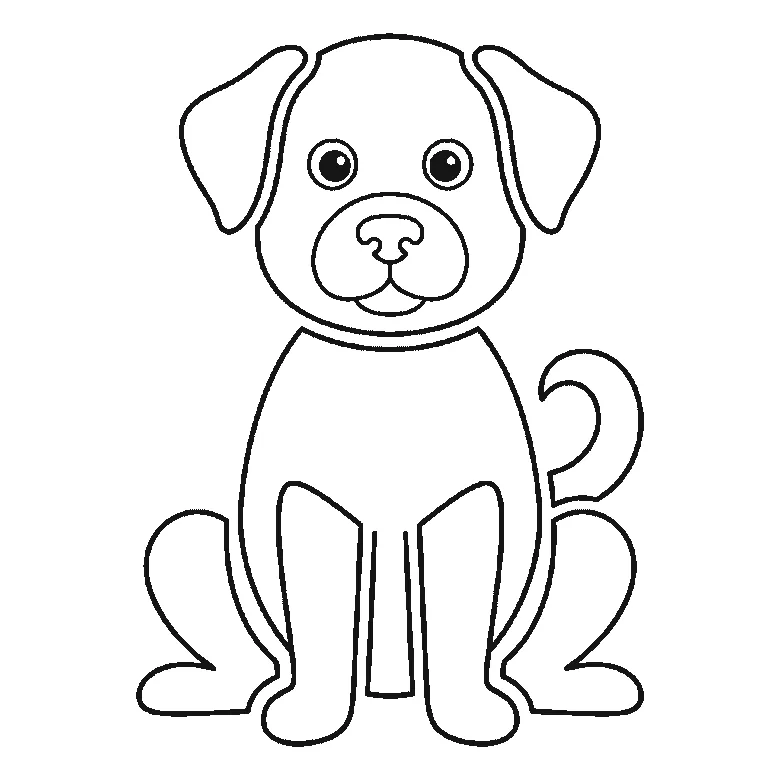
How to draw a dog
Six frames, one dog sitting upright. The head alone first, then the body and front legs, and the ears, tail and eyes last.
Step sequence made by us from a single drawing: each step keeps the lines of the one before it and adds to them.
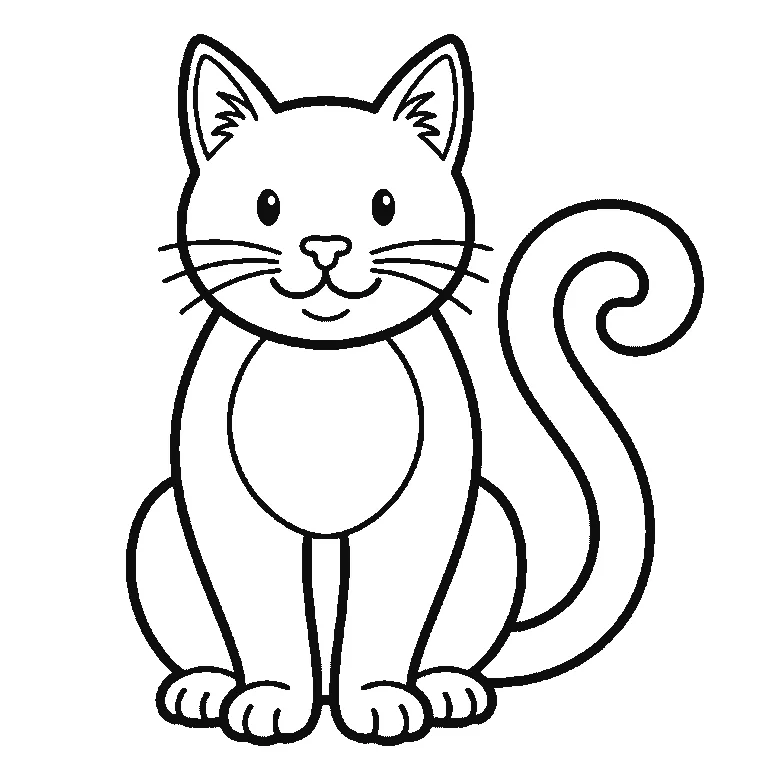
How to draw a cat
Six frames, one cat sitting upright. The whole face first — ears, eyes and whiskers together — then the tail on its own, the body and the legs.
Step sequence made by us from a single drawing: each step keeps the lines of the one before it and adds to them.


