
PDF · A4 · 47 KB · Free, no sign-up. For home and classroom use.
How to draw a dog
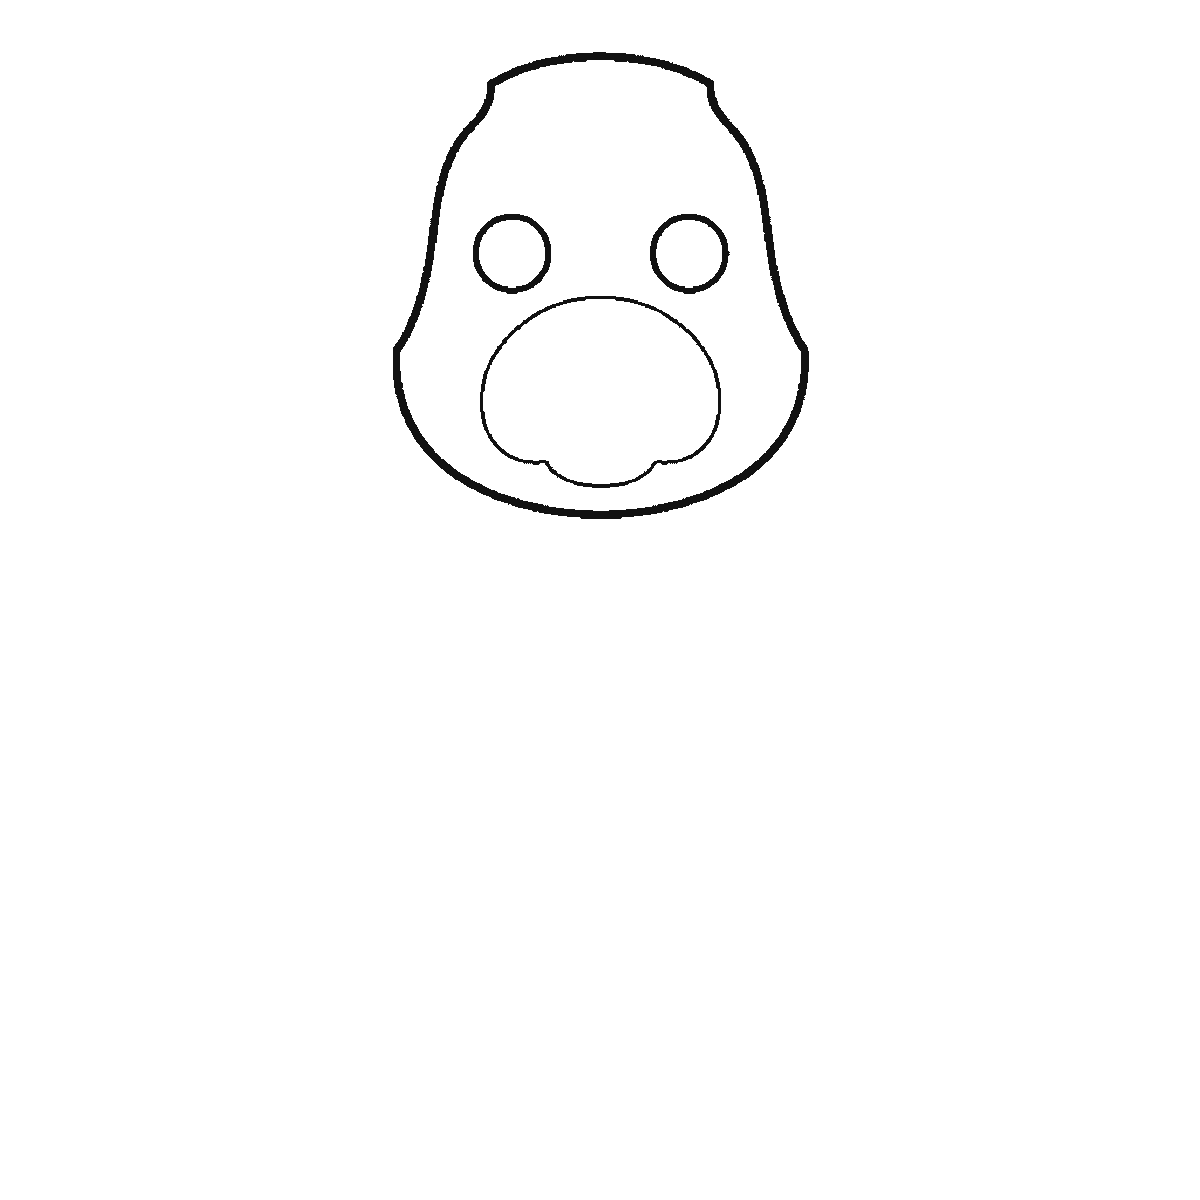
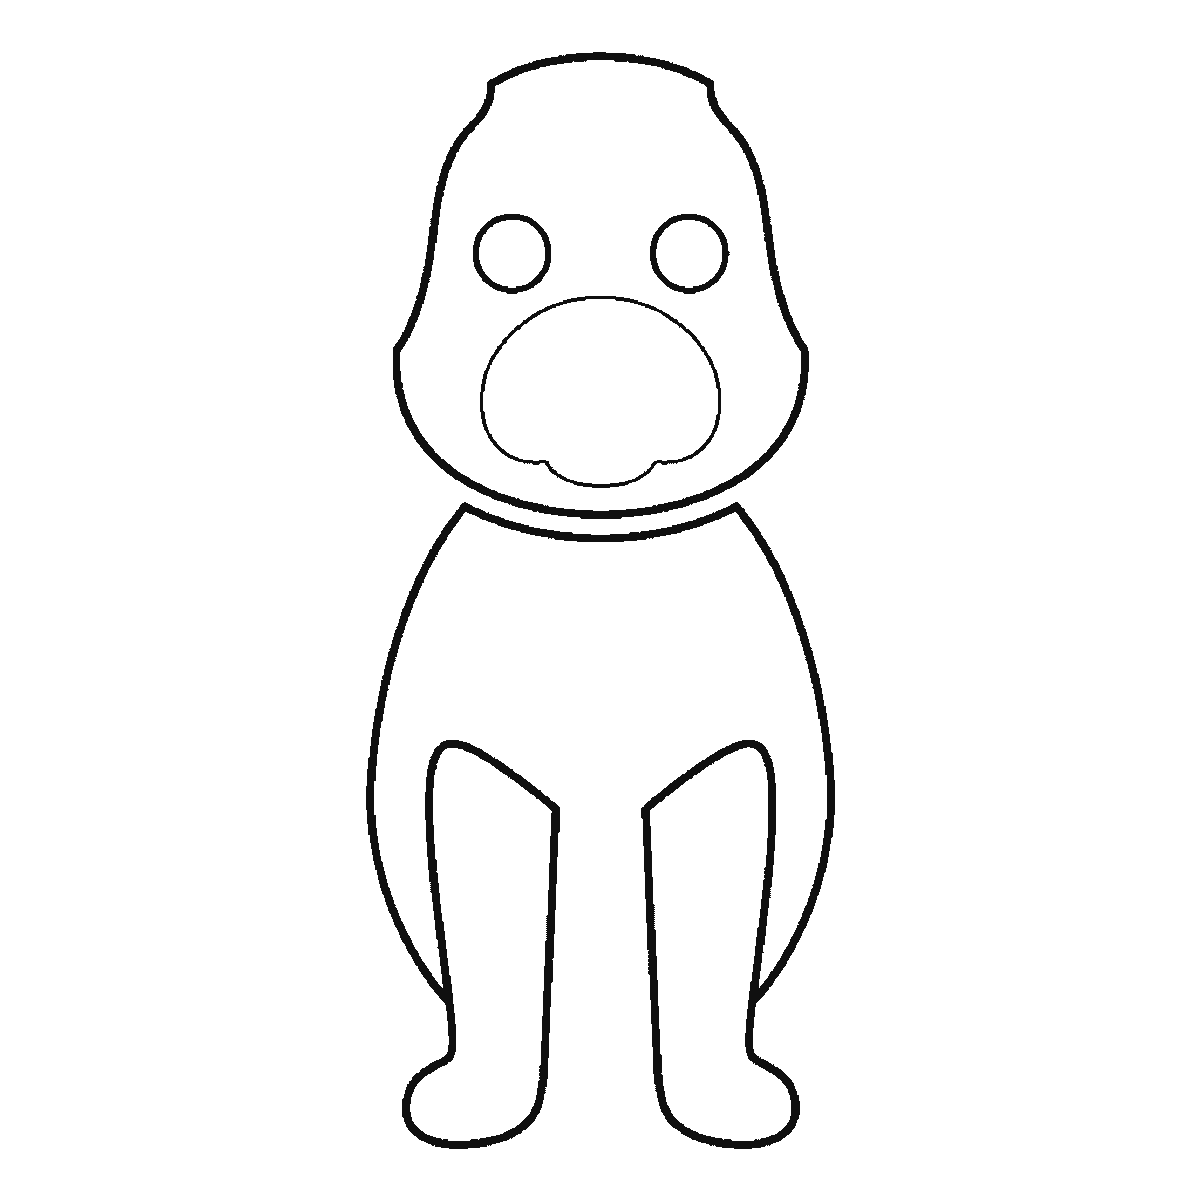
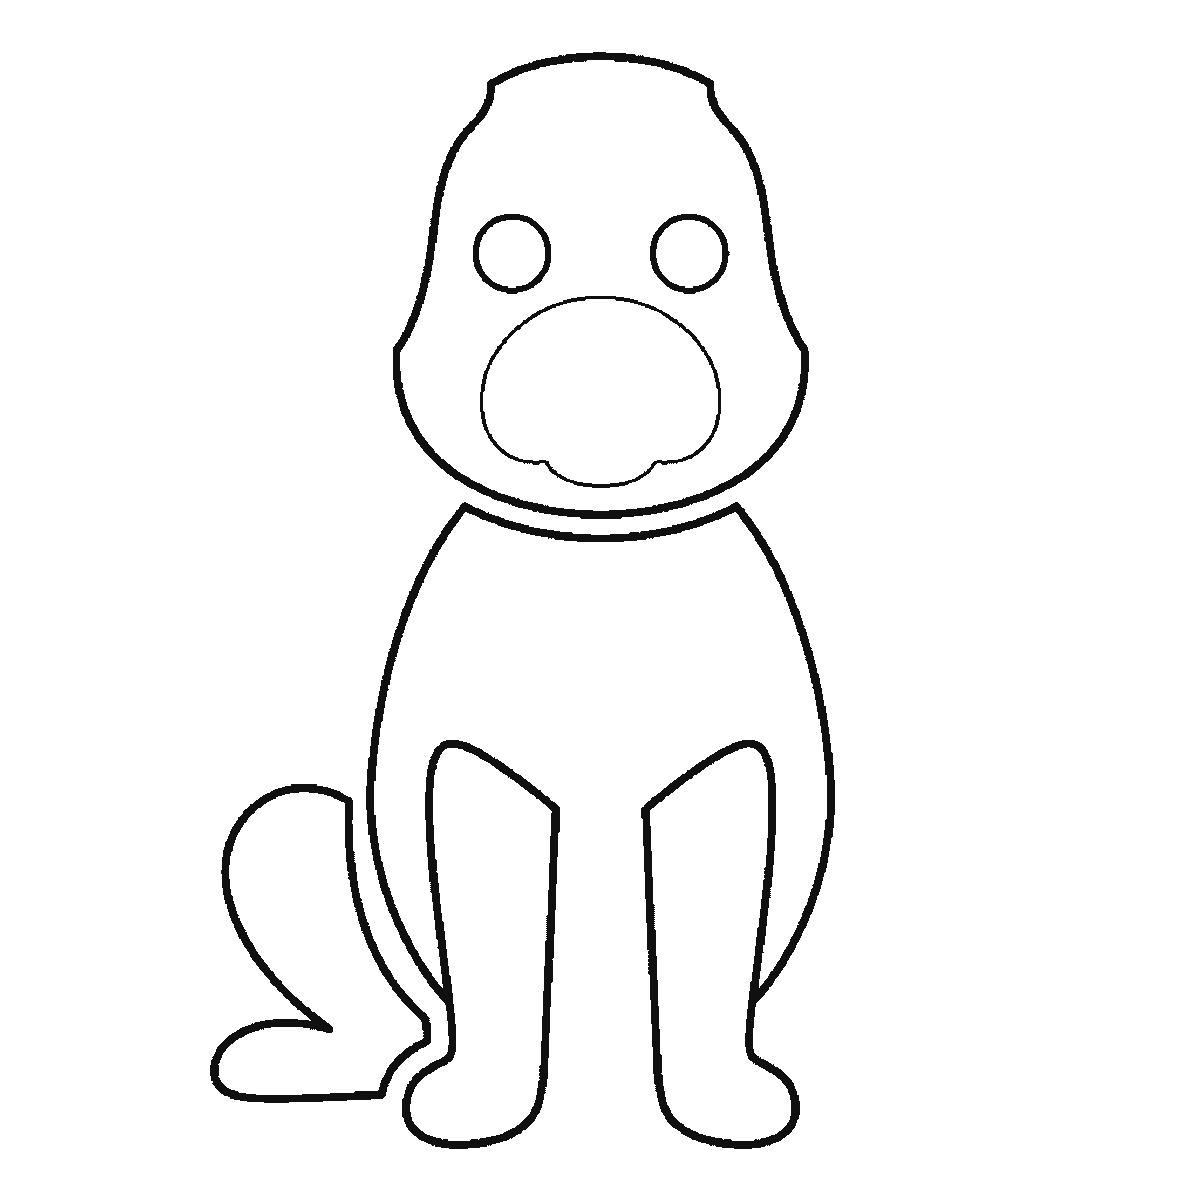
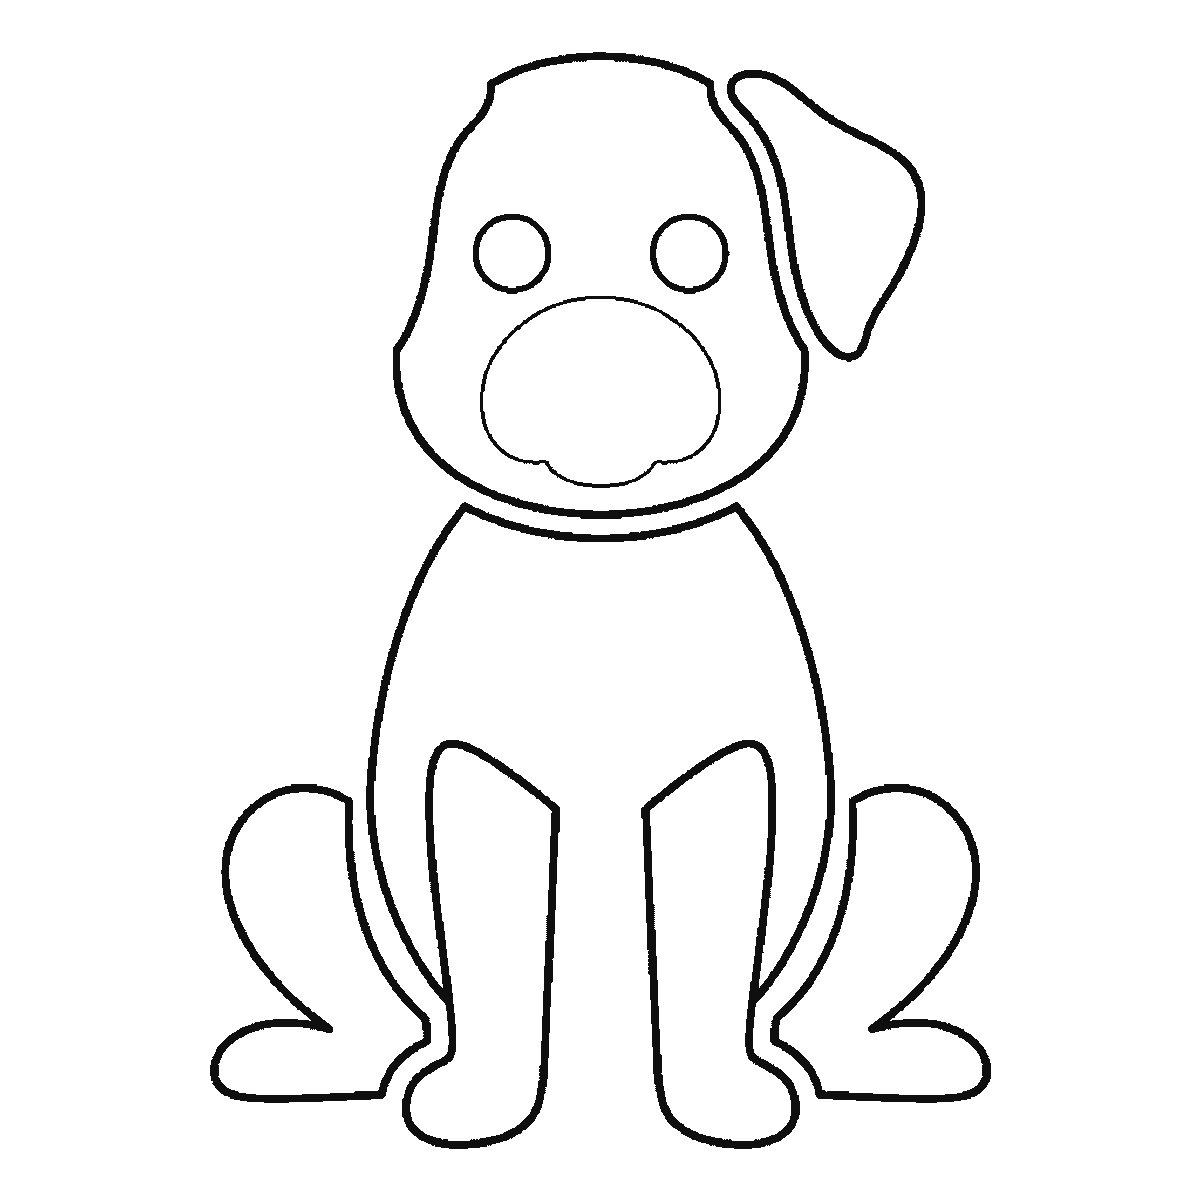
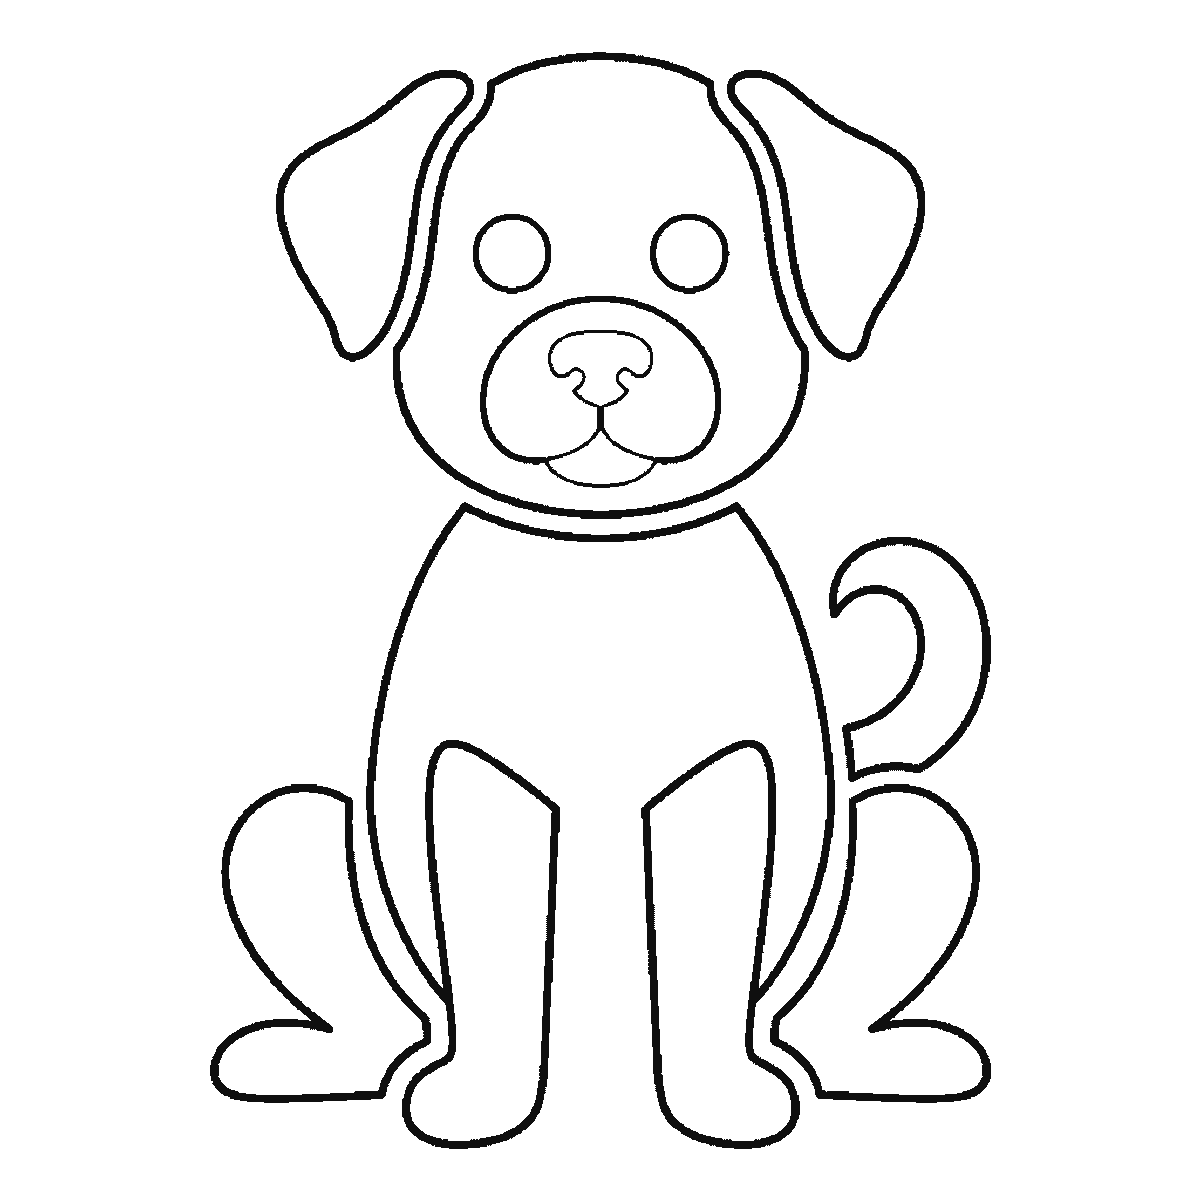
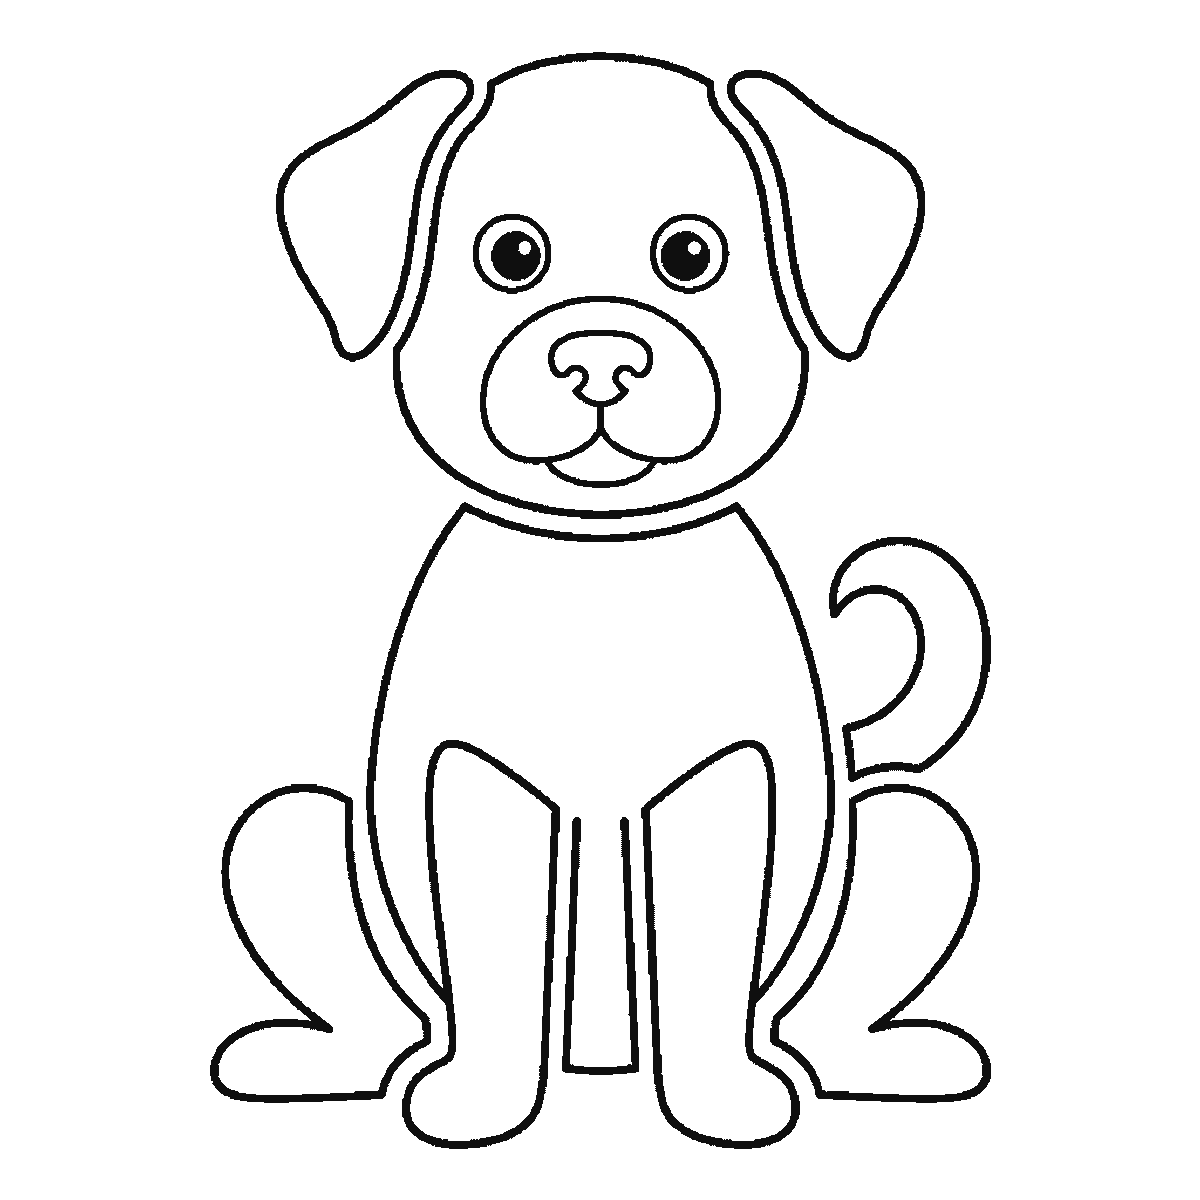
Six frames, one dog sitting upright. The head alone first, then the body and front legs, and the ears, tail and eyes last.
This sheet takes one drawing of a sitting dog and shows it six times, each frame carrying everything the frame before it had and a little more. By the last one you have the whole animal. Print it, put it beside your paper, and copy one frame at a time — the point of the six is that you are never asked to draw the whole dog at once.
The first frame is the head on its own — the rounded skull, the broad muzzle sitting proud of it, and the two eyes already in place. The body does not arrive until the second frame, and the proportion between those two shapes is the one to settle before anything else: get the head and the body the right size relative to each other and the rest of the drawing tends to come out looking like a dog whatever else you do. A head drawn too small is the commonest reason a beginner's dog ends up reading as a horse.
The front legs come with the body in frame two, and the haunches that the sitting pose folds underneath arrive one at a time after it — the left in frame three, the right in frame four. The ears are late rather than early: one in frame four, the other in frame five beside the nose and the mouth. The tail curls up in frame five as well, so the last frame holds nothing but the two pupils, the tongue and the line dividing the front paws. Those small marks are worth waiting for rather than hurrying, because they are the whole difference between an outline and a dog.
Dogs come in shapes that barely look related, which is a gift when you are learning: nobody can tell you your dog is wrong. Lengthen the muzzle and you have something close to a collie. Shorten it and round the head and you are near a pug. Make the ears stand up instead of hang and the same body reads as a shepherd. The sheet gives you one dog; the shapes it is built from give you most of them.
If you want the drawing to feel alive rather than posed, the two places to spend your effort are the eyes and the set of the head. Eyes placed slightly lower than you think, and a head tilted a few degrees off vertical, do more for a drawing than any amount of care spent on fur. Neither costs an extra line.
The six frames are ordered largest shape first and smallest last. That is an order that is easy to copy, and it is not a claim that this is how anyone ought to draw a dog. If you would rather start with an eye and work outwards, the finished drawing is the same drawing, and plenty of people do exactly that.
The download is one A4 page with all six frames on it, so a class can work from a single sheet each rather than six. It is a plain black outline on white and prints on any printer, including a tired one, because there is no shading anywhere on the page to clog up.
A dog drawn from this sheet is a starting point rather than a finished thing. The obvious next step is to draw the same six frames twice more at different sizes: once small enough that you have to simplify, and once large enough that you have room for the fur along the chest and the fold where the ear meets the skull. Copying a drawing three times teaches more than copying three drawings once each, because the third attempt is where you stop tracing and start understanding what you are looking at.
Before you start
- Draw the head and body as two light ovals first and press harder only once they look right together — an outline drawn once at full pressure is very hard to argue with.
- The ears sit on the top corners of the head, not on the sides. It is the fix that makes most beginners' dogs suddenly read as dogs.
- If the legs look stiff, make the front pair slightly different lengths. Perfect symmetry is what makes a drawn animal look like a toy.
- Colouring the finished frame in is a fair use of this sheet — the outlines are wide enough to take a felt tip without closing up.
Published Updated 626 words
The six steps
The steps go from the largest shape to the smallest, which is an easy order to copy. It is not the only order, and it is not a rule — if you would rather start somewhere else on the sheet, do.
Step 1
Step 2
Step 3
Step 4
Step 5
Step 6
More in this section
How to draw a cat
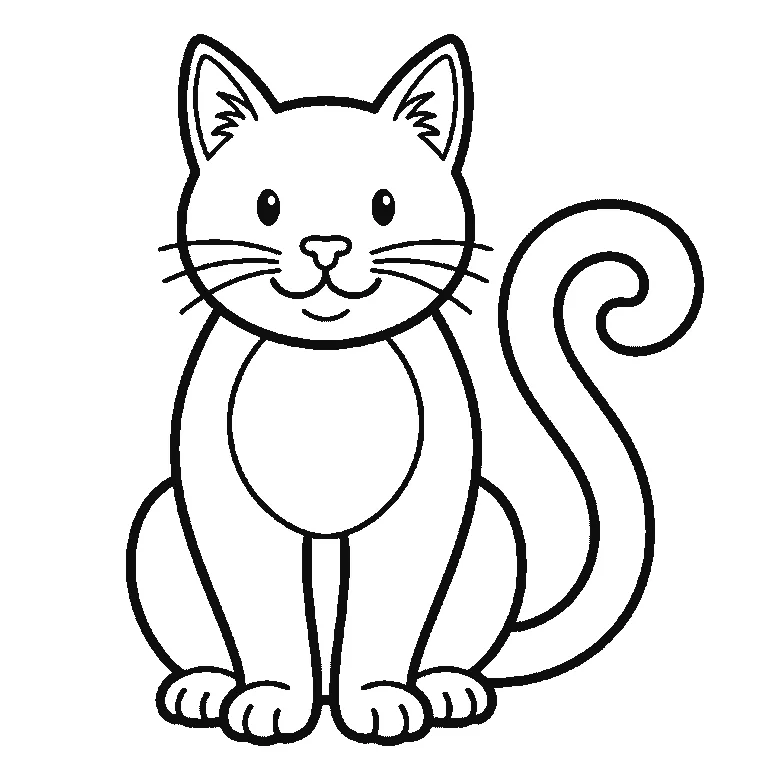
Six frames, one cat sitting upright. The whole face first — ears, eyes and whiskers together — then the tail on its own, the body and the legs.
Step sequence made by us from a single drawing: each step keeps the lines of the one before it and adds to them.
How to draw a horse
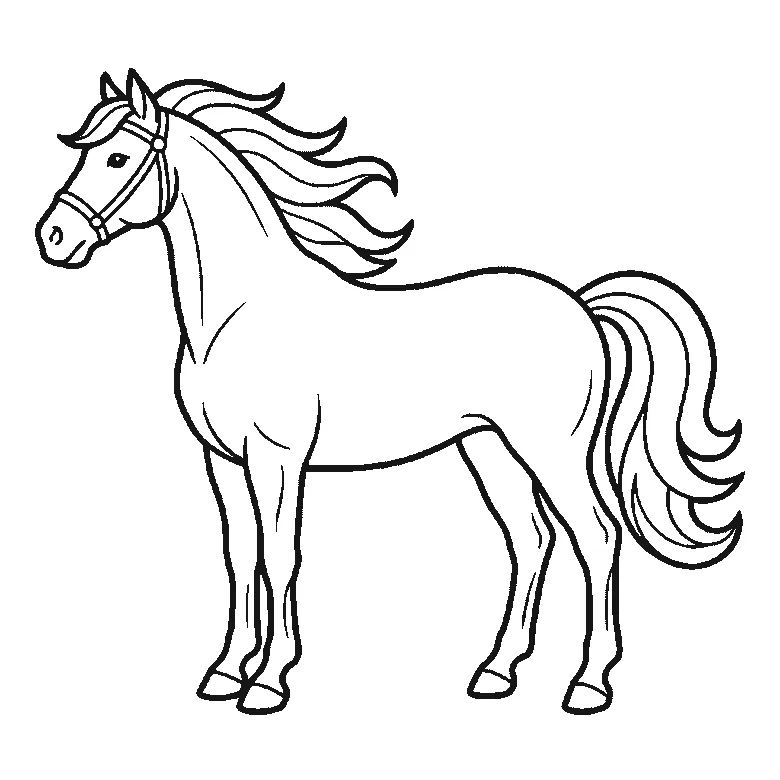
Six frames, one horse in profile. Almost the whole body first, then the far legs, the tail, and the head and mane last.
Step sequence made by us from a single drawing: each step keeps the lines of the one before it and adds to them.
How to draw a bird
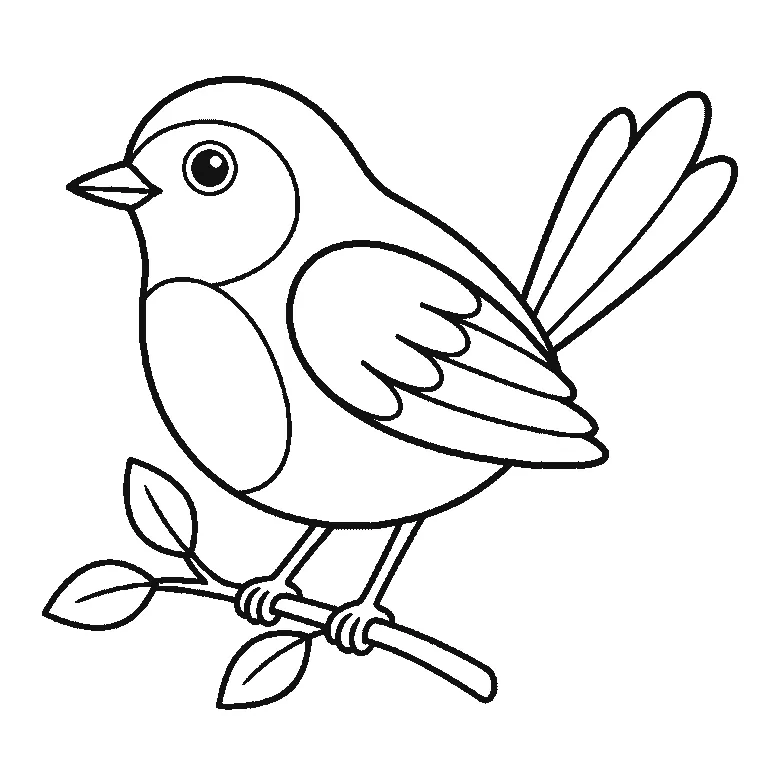
Six frames, one small bird on a branch. The body outline first, then the head, beak and wing together, the tail feathers, the branch, and the feet last.
Step sequence made by us from a single drawing: each step keeps the lines of the one before it and adds to them.
How to draw a butterfly
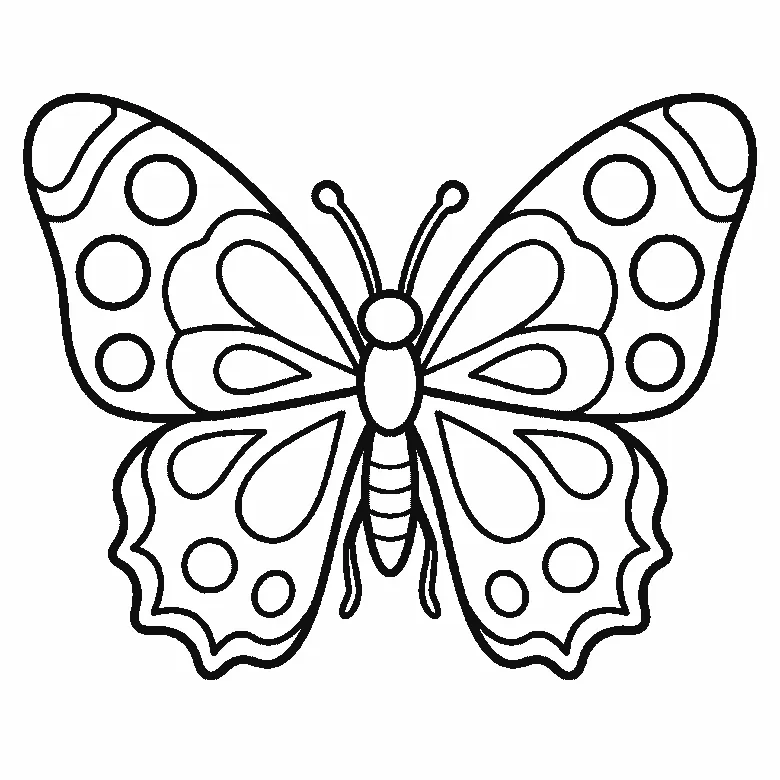
Six frames, one butterfly seen from above. The lower wings first, then the upper pair, their markings, and the body and antennae last.
Step sequence made by us from a single drawing: each step keeps the lines of the one before it and adds to them.
How to draw a capybara
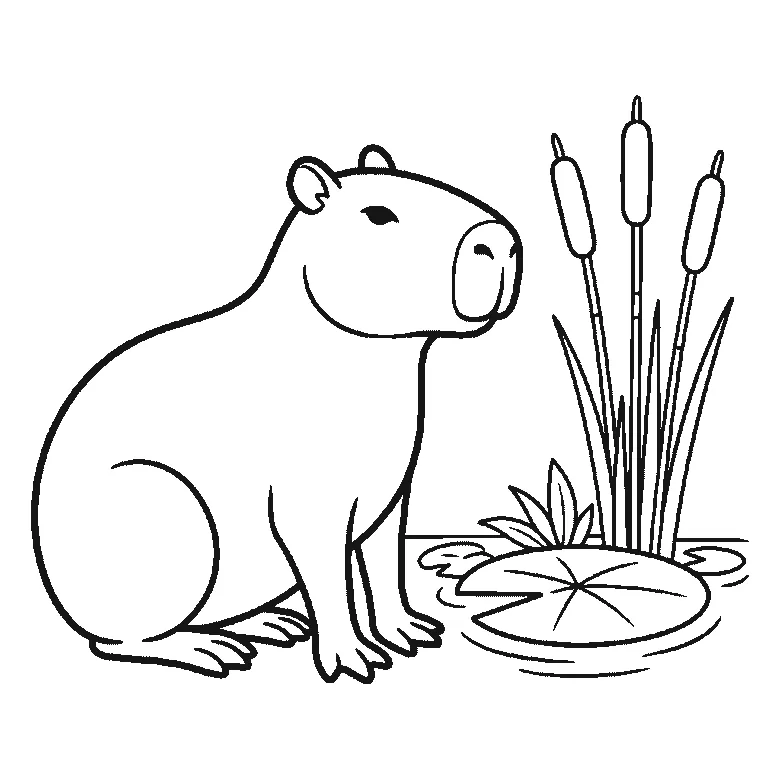
Six frames, one capybara sitting in profile beside water. The whole animal in the first frame, then the lily pad, the bulrushes and the water.
Step sequence made by us from a single drawing: each step keeps the lines of the one before it and adds to them.
How to draw a penguin
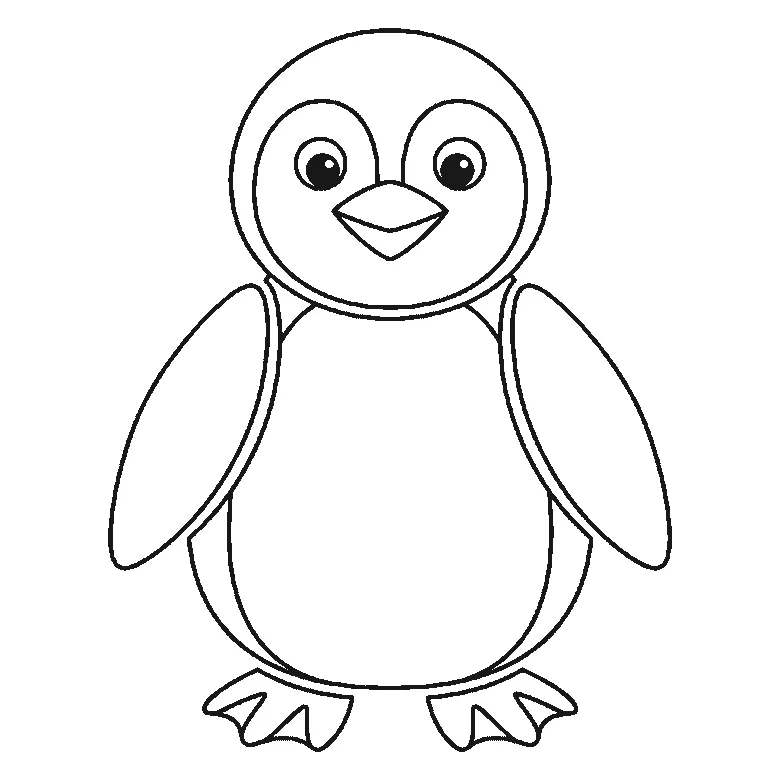
Six frames, one penguin standing and facing you. The body and the whole face first, then the head's outline, one flipper at a time, and the feet.
Step sequence made by us from a single drawing: each step keeps the lines of the one before it and adds to them.
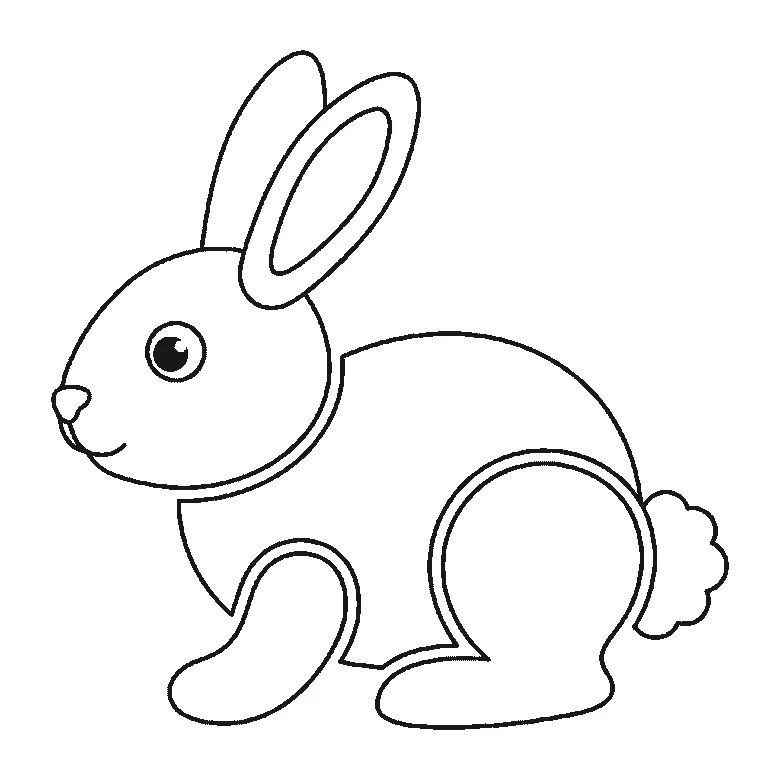
How to draw a rabbit
Six frames, one rabbit in profile. The body first, then the folded hind leg, the head, the front paw, and the ears and tail last.
Step sequence made by us from a single drawing: each step keeps the lines of the one before it and adds to them.
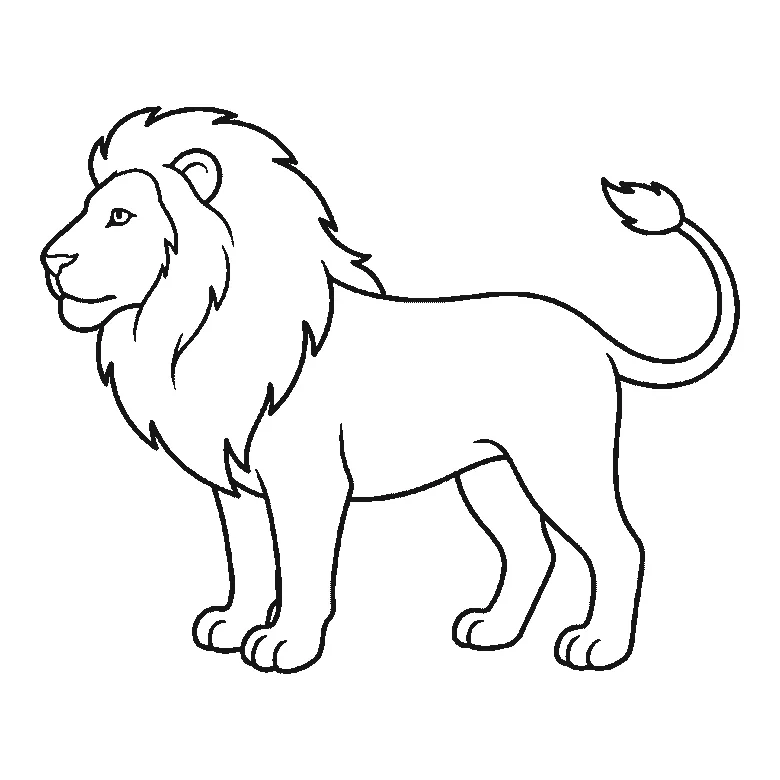
How to draw a lion
Six frames, one lion standing in profile. The body first, then the mane, the face, the two far legs, and the ear and tail tuft last.
Step sequence made by us from a single drawing: each step keeps the lines of the one before it and adds to them.
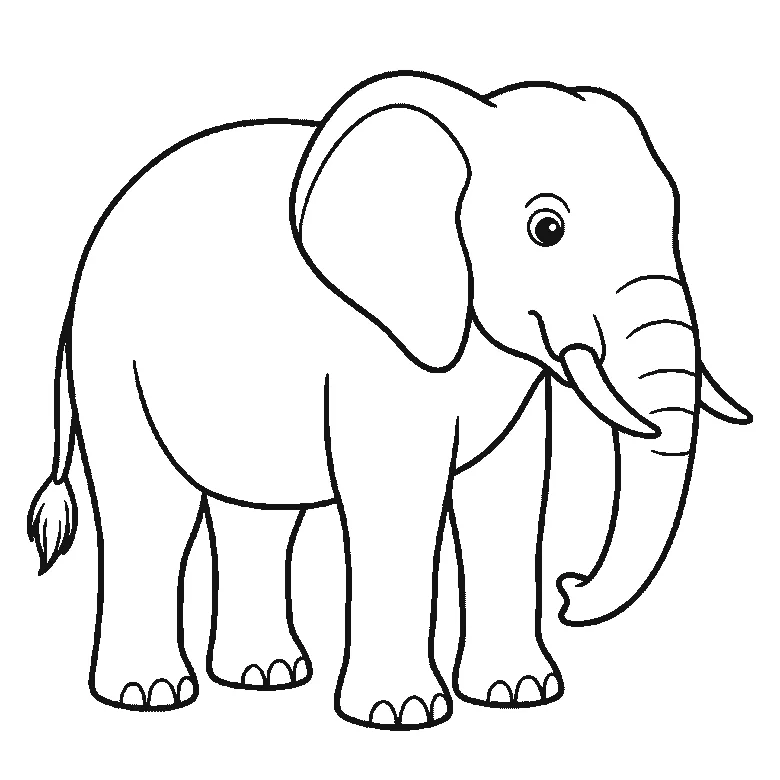
How to draw an elephant
Six frames, one elephant in profile. The body and near legs first, then the head, trunk, tusk and eye together, the big ear, the far legs, and the tail last.
Step sequence made by us from a single drawing: each step keeps the lines of the one before it and adds to them.
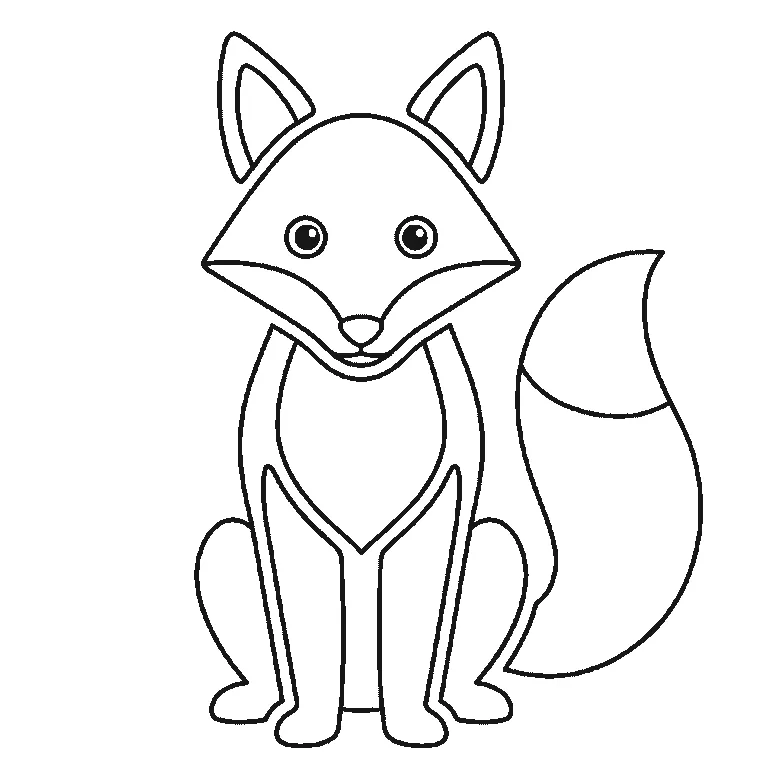
How to draw a fox
Six frames, one fox sitting and facing you. The head and the bushy tail together first, then the chest and legs, and the ears last.
Step sequence made by us from a single drawing: each step keeps the lines of the one before it and adds to them.
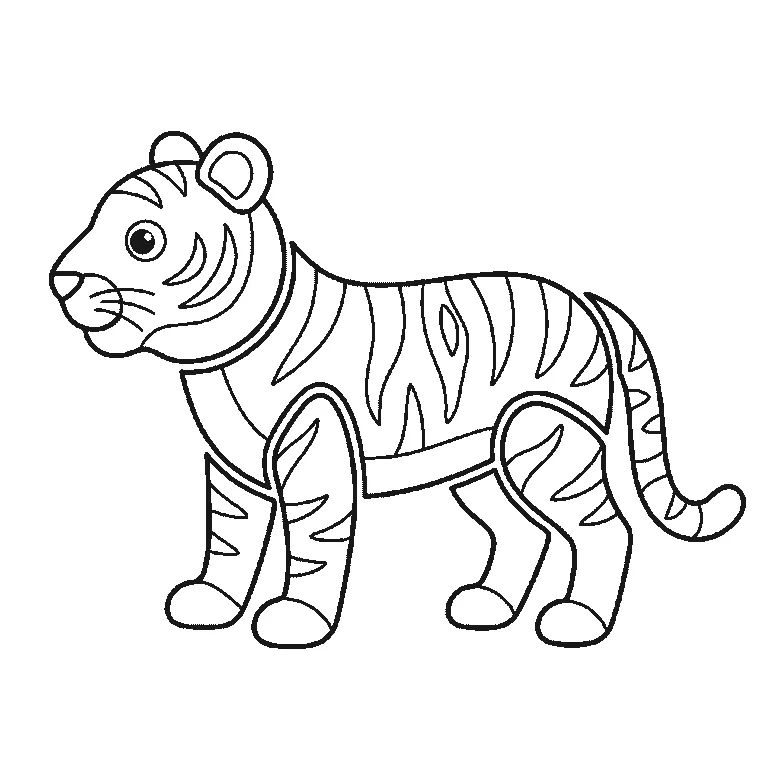
How to draw a tiger
Six frames, one tiger standing in profile. The striped flank first, then the head, the legs one at a time, and the tail last.
Step sequence made by us from a single drawing: each step keeps the lines of the one before it and adds to them.
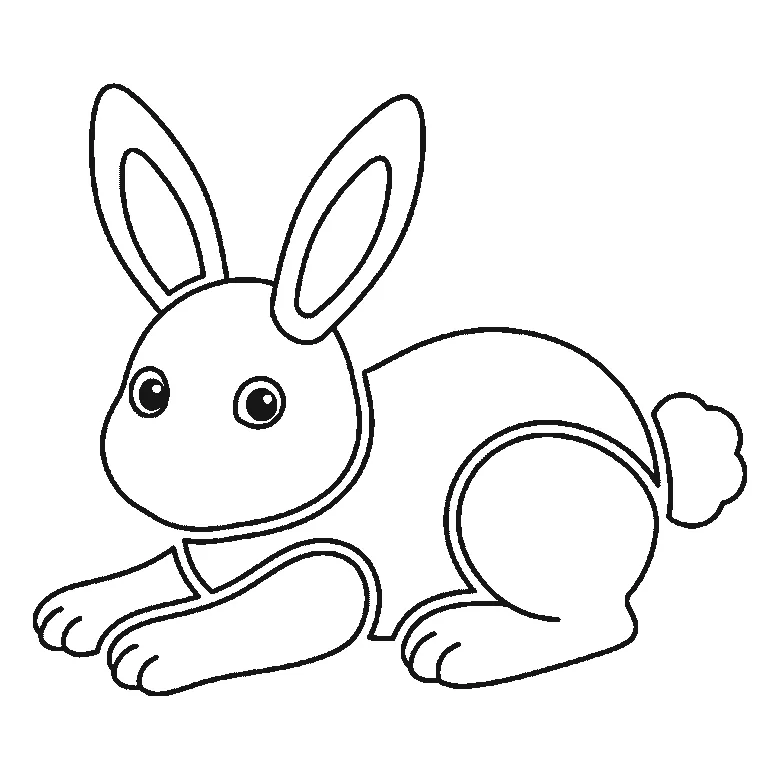
How to draw a bunny
Six frames, one bunny lying down with its paws stretched out. The head first, then the body, the long ears and the fluffy tail.
Step sequence made by us from a single drawing: each step keeps the lines of the one before it and adds to them.


