
PDF · A4 · 54 KB · Free, no sign-up. For home and classroom use.
How to draw a capybara
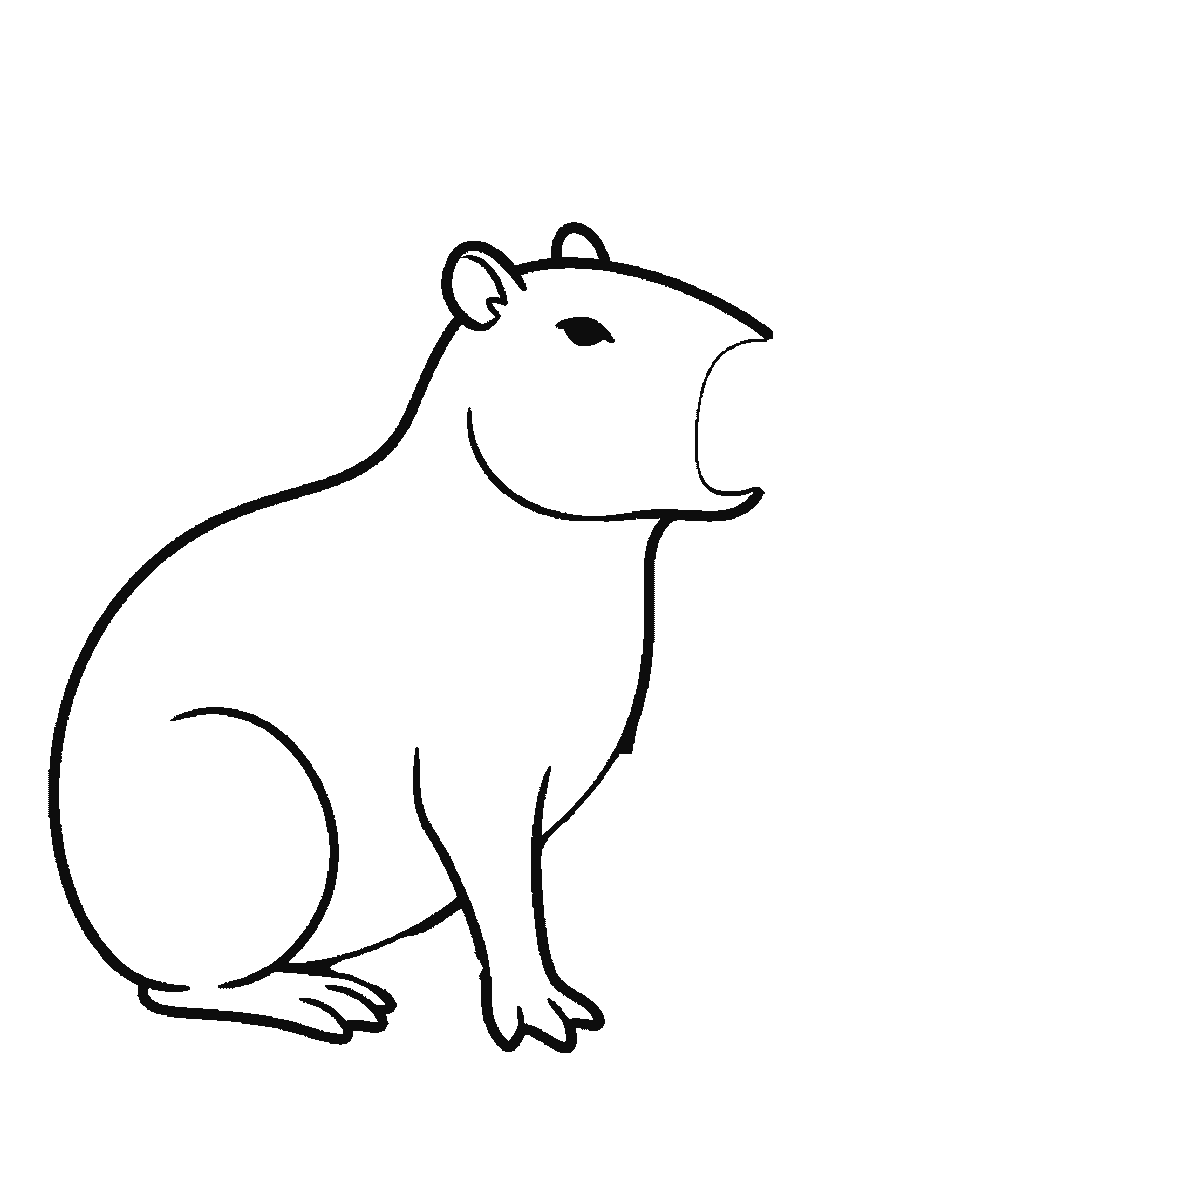
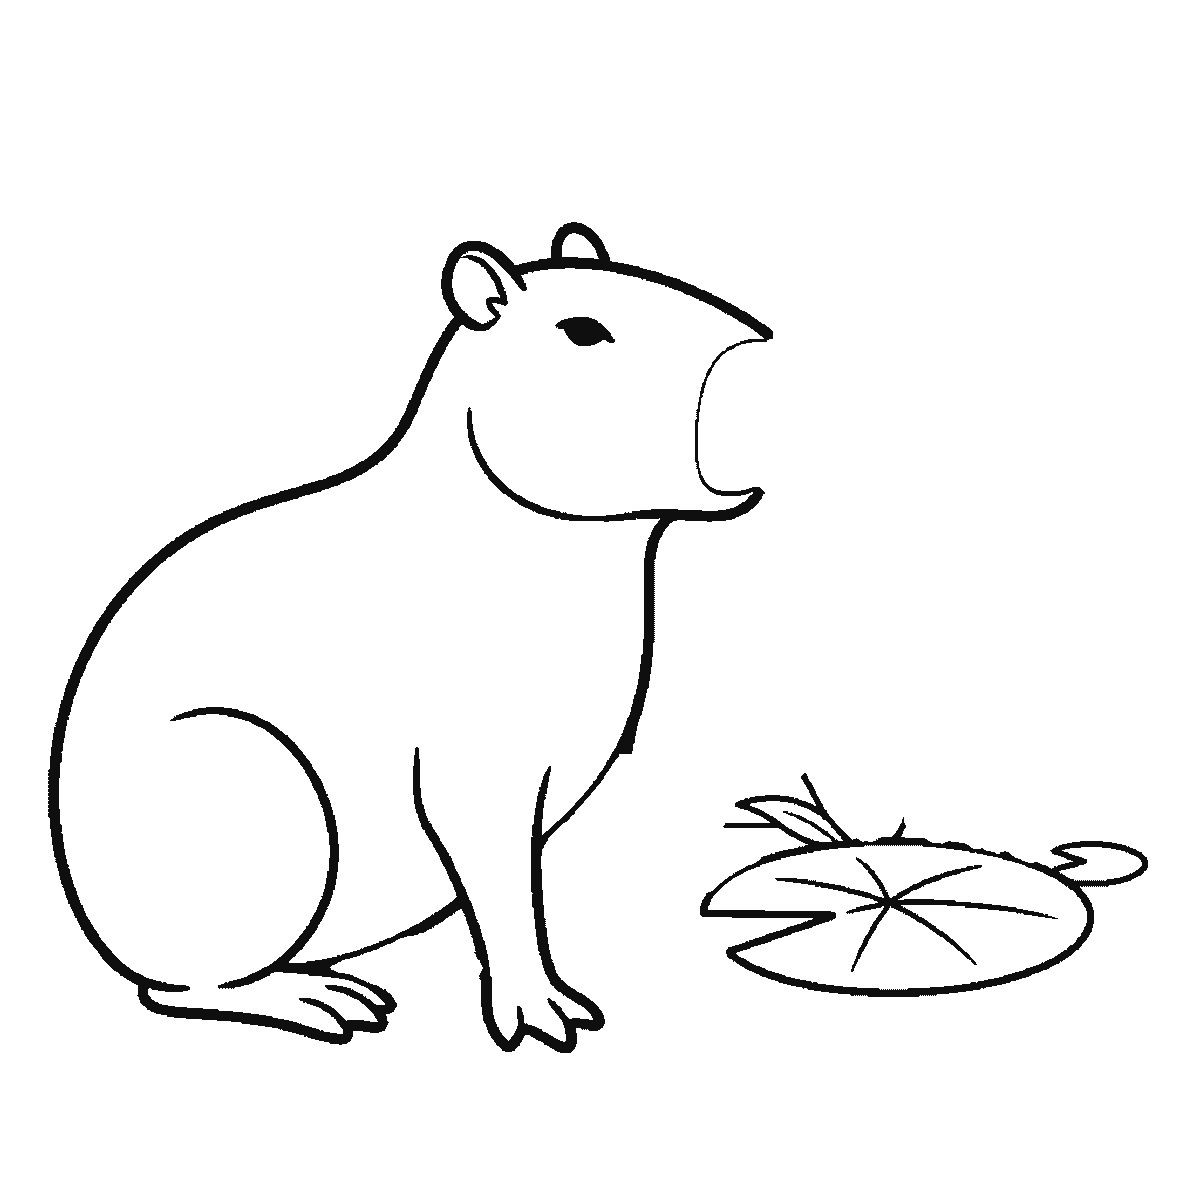
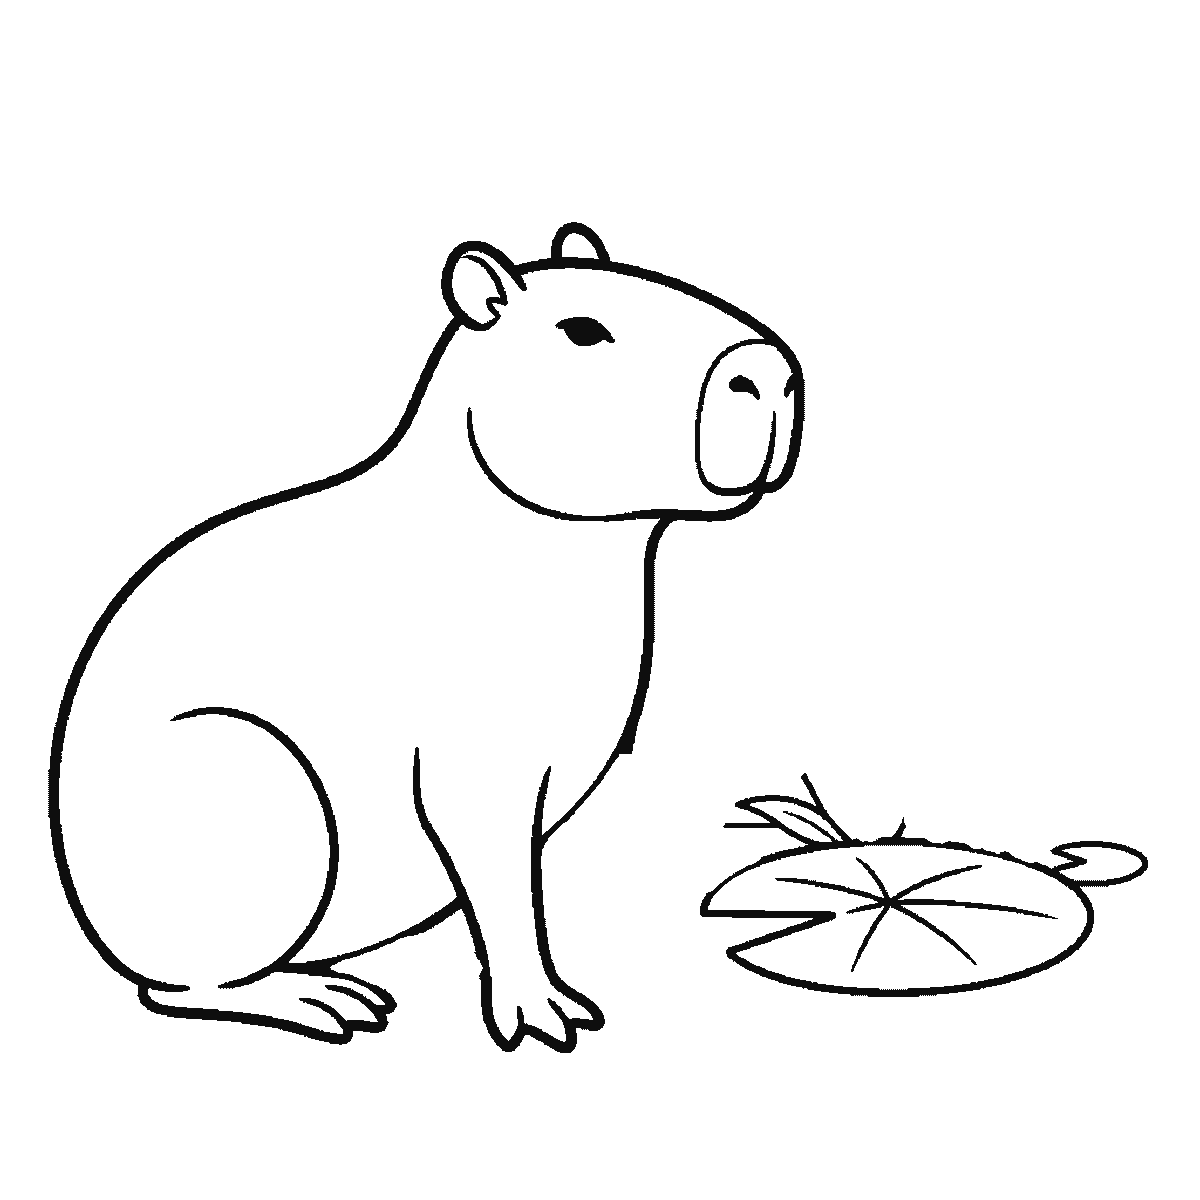
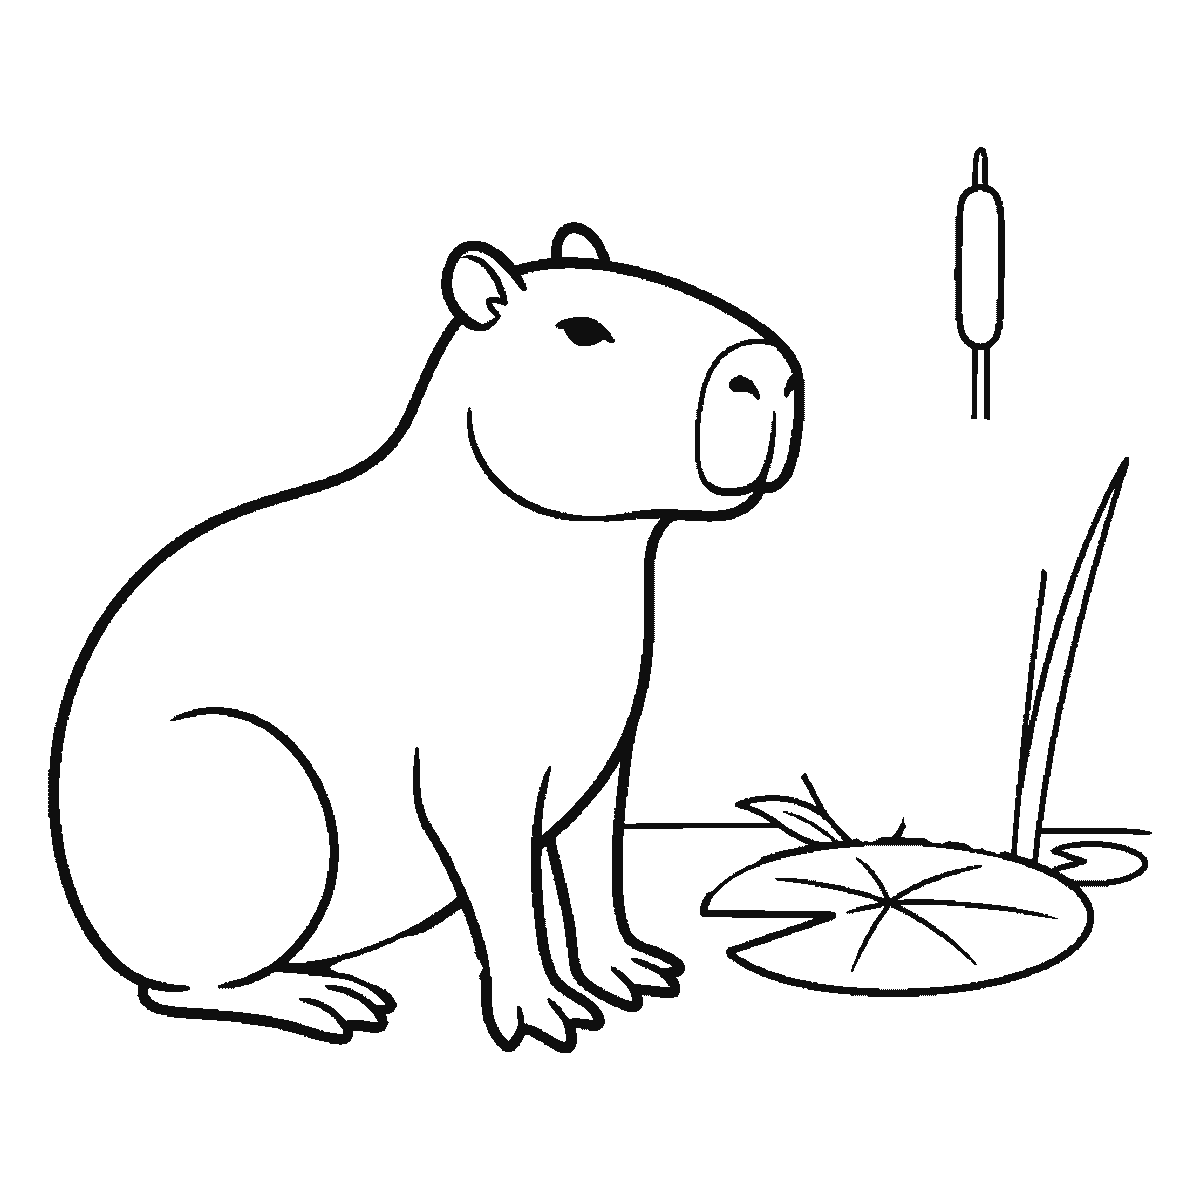
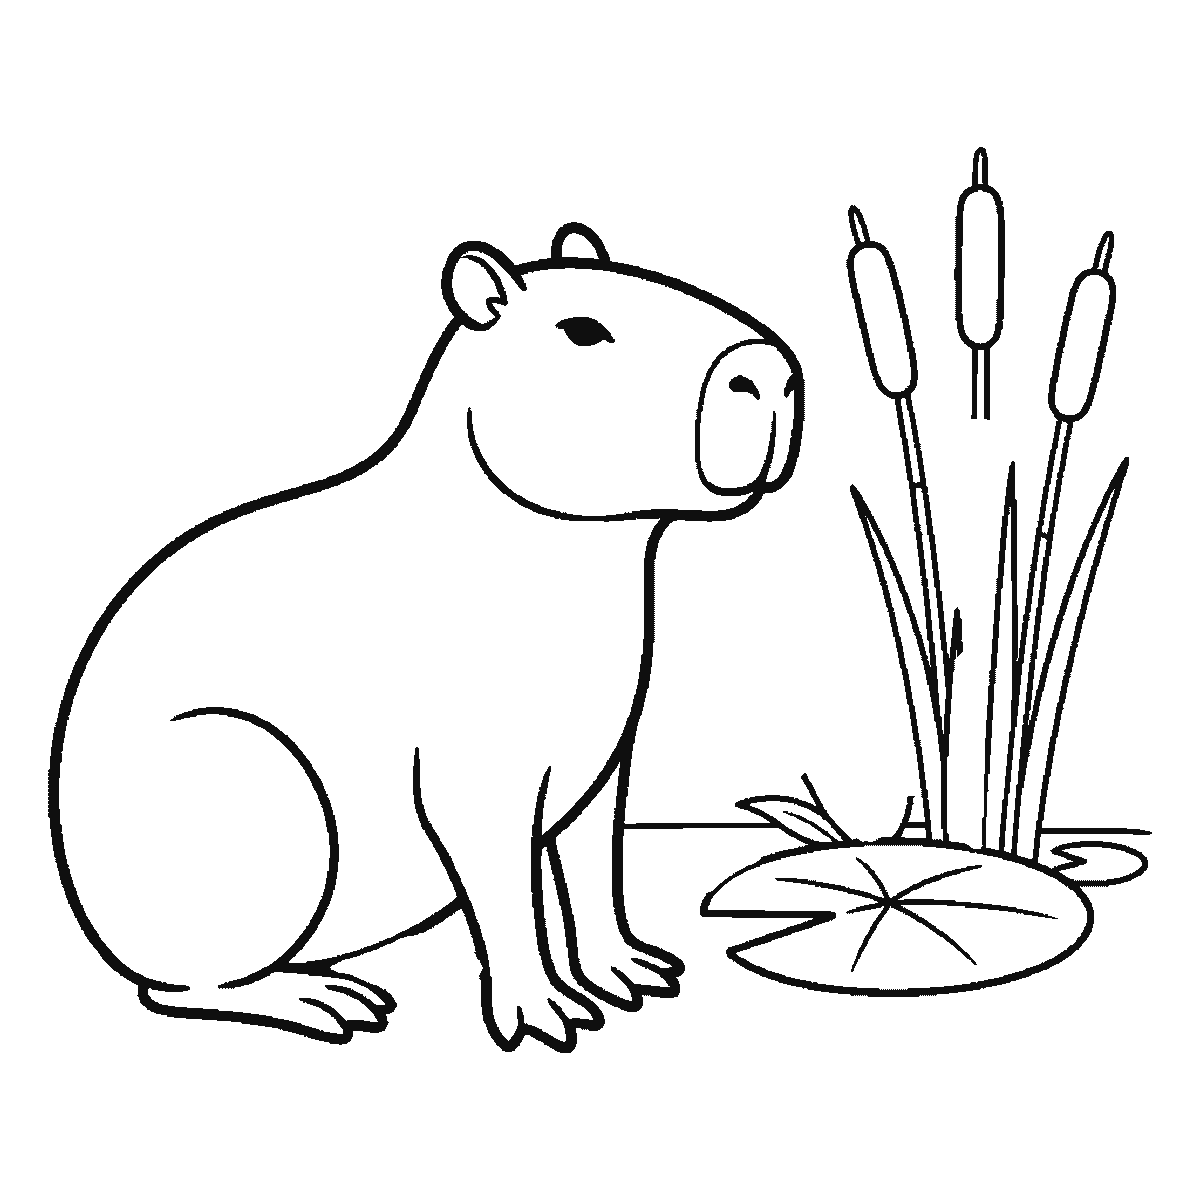
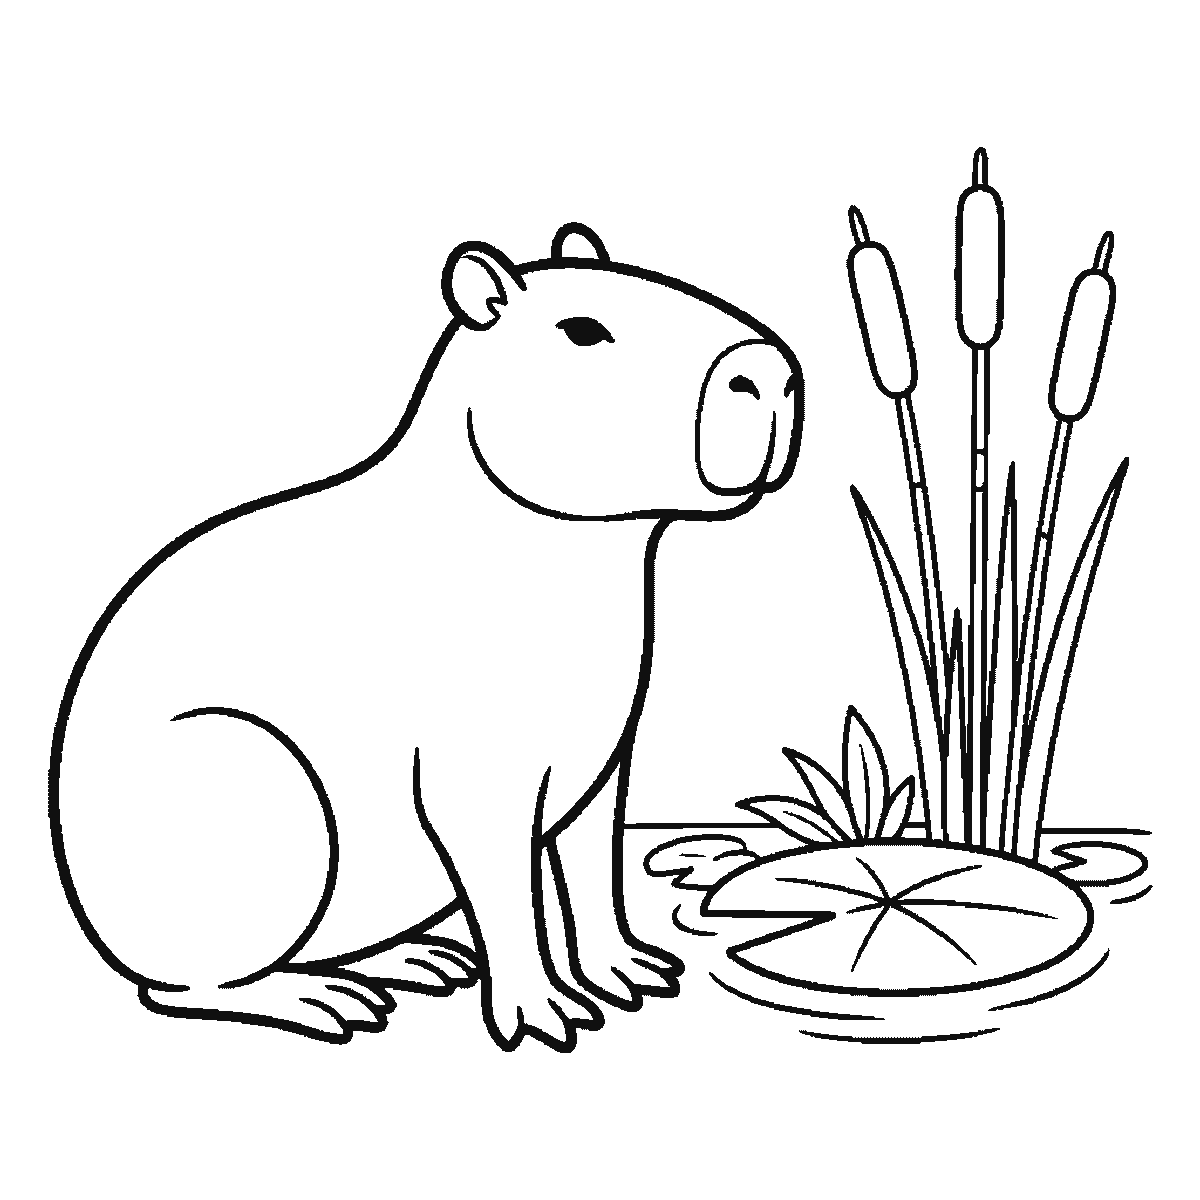
Six frames, one capybara sitting in profile beside water. The whole animal in the first frame, then the lily pad, the bulrushes and the water.
A capybara is a very forgiving animal to draw, because almost every part of it is a soft rounded rectangle. There are no sharp angles, no dramatic proportions and nothing that has to be exactly right. If you have been put off drawing animals by legs and faces, this is a good place to come back.
The whole animal is essentially one large rounded shape, and frame one gives you exactly that — and then everything else as well: the head, the blunt muzzle, the ear, the eye, the mouth and two of the feet are all in the first frame too. The capybara is finished before the sheet is a third of the way through, and what the remaining five frames build is the pond it is sitting beside.
The head is inside that first frame rather than a step of its own, and it is the part that makes a capybara a capybara. It is blunt, almost rectangular, with a squared-off muzzle rather than a pointed one. Draw it as a box with rounded corners set at the front of the body, with very little neck between them. A pointed muzzle turns the animal into a guinea pig immediately. Only the nostril is held back, arriving by itself in frame three.
The ears are small, round and set high and far back on the head — much further back than on a dog or a cat. So are the eyes. That high, rearward arrangement of eyes, ears and nostrils is the whole face, and getting the placement right matters far more than getting the shapes right.
Two feet are in the first frame and the far pair arrive much later, in frames four and six, as short blunt shapes. Capybara legs are short relative to the body, which is part of why the animal reads as calm: there is no visible tension anywhere in the silhouette. Resist the urge to lengthen them for elegance — the shortness is the point.
There is no tail to draw, which surprises people. The back of the animal simply rounds off. If your drawing feels unfinished at that end, the fix is usually to make the hindquarters a little higher and rounder rather than to add something that is not there.
The texture, if you want it, is short and coarse rather than fluffy. A few short strokes along the top of the back and around the cheeks is enough to suggest it. Drawn as long soft fur, a capybara stops looking like itself and starts looking like a very large hamster.
The six frames run from the biggest closed shape to the smallest, which here means the animal carries almost the whole of itself in frame one and the rest of the sheet is scenery. That is easy to copy and it is not a rule; some people prefer to set the head first and build the body back from it.
Capybaras are almost always drawn alone, and they are almost never alone. Once one is easy, put two on a page at different sizes, one slightly behind the other. Overlapping two simple shapes is the cheapest way to make a drawing look composed rather than assembled, and this animal's plain outline makes the overlap easy to read.
The setting is already here, and it is most of the sheet: a lily pad in frame two, bulrushes in frames four and five, and the water lines in frame six. That is worth saying plainly, because a capybara sitting on a bare white page floats and this one does not — the pad, the reeds and the water are the whole reason. If you want the animal on its own, stop after frame one; you already have it.
Before you start
- Keep the muzzle square. A rounded or pointed nose turns the animal into a different rodent entirely.
- Set the eyes and ears high and well back on the head — that placement does more than any other single thing.
- Keep the legs short. Lengthening them for elegance is the commonest way to lose the animal.
- There is no tail. If the back end looks unfinished, round it more rather than adding one.
Published Updated 626 words
The six steps
The steps go from the largest shape to the smallest, which is an easy order to copy. It is not the only order, and it is not a rule — if you would rather start somewhere else on the sheet, do.
Step 1
Step 2
Step 3
Step 4
Step 5
Step 6
More in this section
How to draw a penguin
Six frames, one penguin standing and facing you. The body and the whole face first, then the head's outline, one flipper at a time, and the feet.
Step sequence made by us from a single drawing: each step keeps the lines of the one before it and adds to them.
How to draw a rabbit
Six frames, one rabbit in profile. The body first, then the folded hind leg, the head, the front paw, and the ears and tail last.
Step sequence made by us from a single drawing: each step keeps the lines of the one before it and adds to them.
How to draw a lion
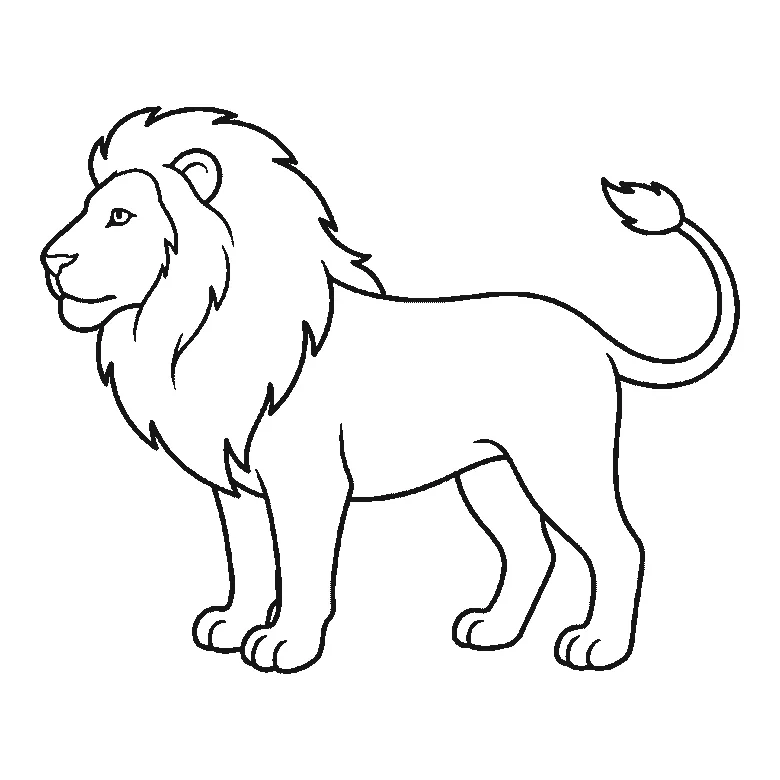
Six frames, one lion standing in profile. The body first, then the mane, the face, the two far legs, and the ear and tail tuft last.
Step sequence made by us from a single drawing: each step keeps the lines of the one before it and adds to them.
How to draw an elephant
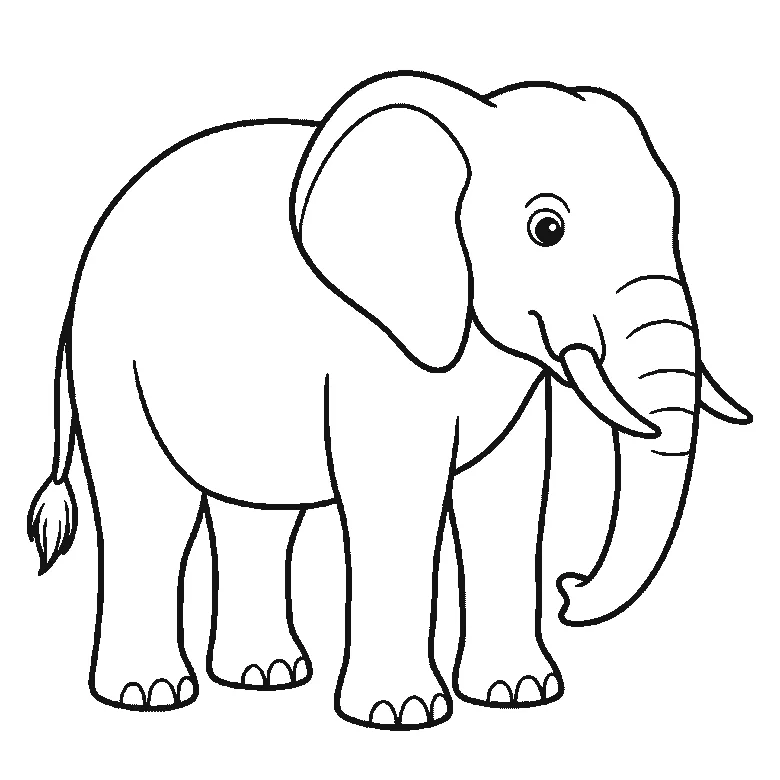
Six frames, one elephant in profile. The body and near legs first, then the head, trunk, tusk and eye together, the big ear, the far legs, and the tail last.
Step sequence made by us from a single drawing: each step keeps the lines of the one before it and adds to them.
How to draw a fox
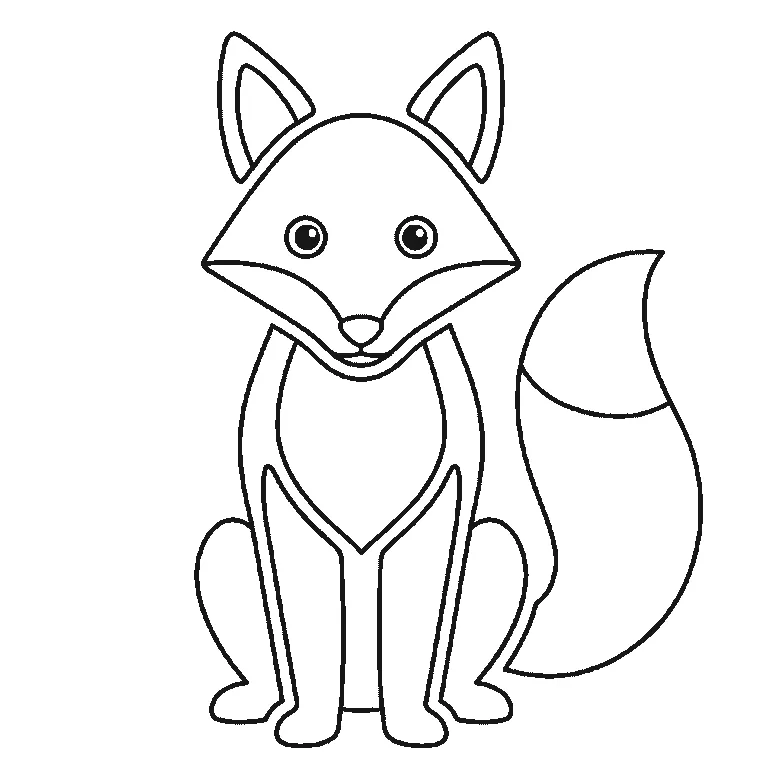
Six frames, one fox sitting and facing you. The head and the bushy tail together first, then the chest and legs, and the ears last.
Step sequence made by us from a single drawing: each step keeps the lines of the one before it and adds to them.
How to draw a tiger
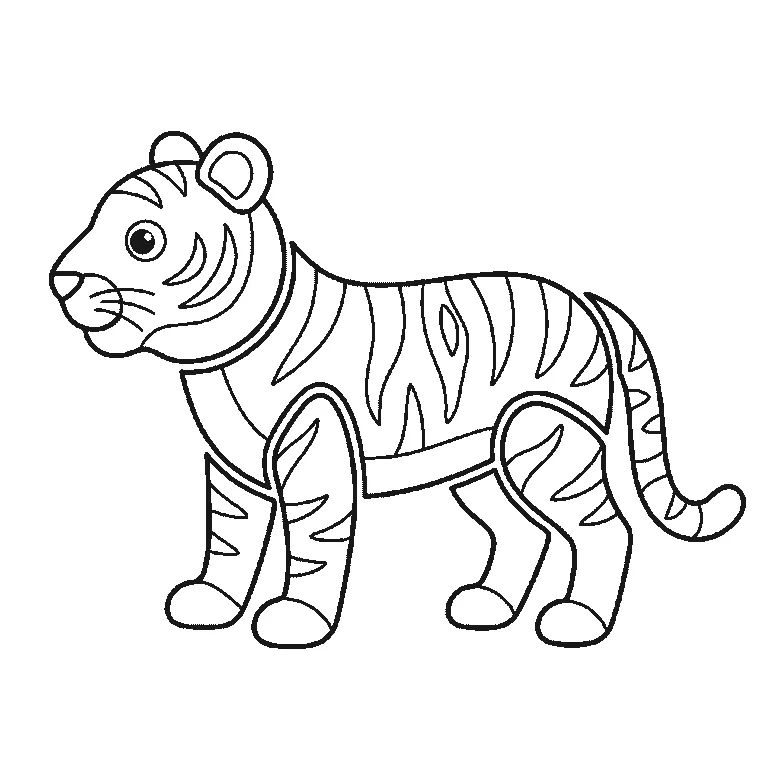
Six frames, one tiger standing in profile. The striped flank first, then the head, the legs one at a time, and the tail last.
Step sequence made by us from a single drawing: each step keeps the lines of the one before it and adds to them.
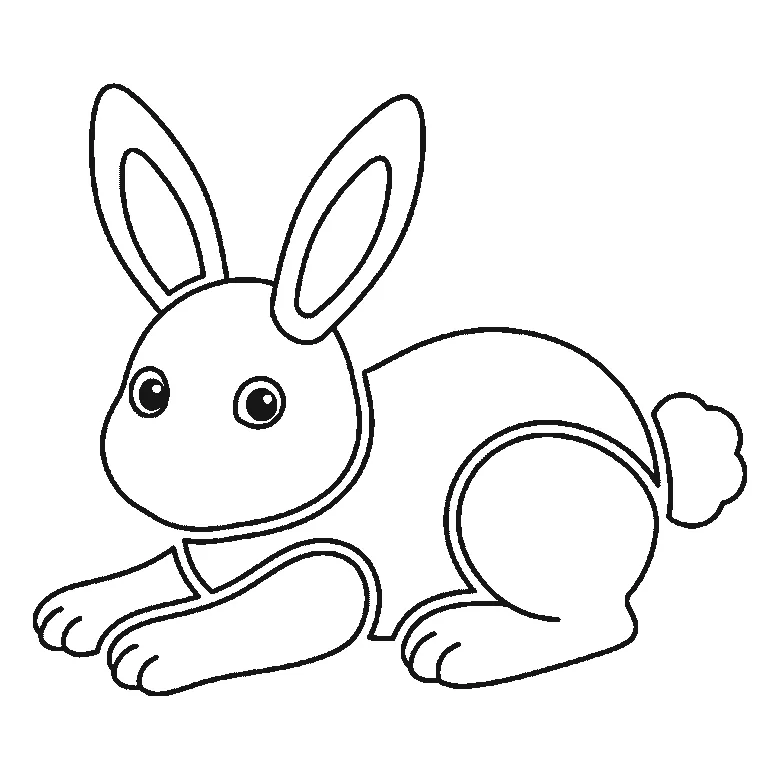
How to draw a bunny
Six frames, one bunny lying down with its paws stretched out. The head first, then the body, the long ears and the fluffy tail.
Step sequence made by us from a single drawing: each step keeps the lines of the one before it and adds to them.
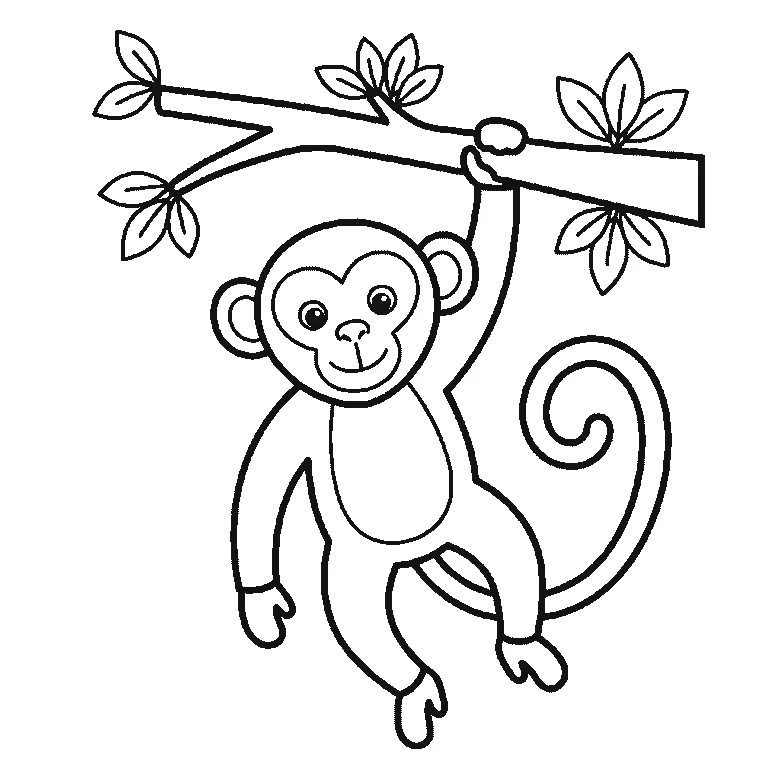
How to draw a monkey
Six frames, one monkey hanging by an arm from a branch. The limbs first, then the branch, the face and the curling tail.
Step sequence made by us from a single drawing: each step keeps the lines of the one before it and adds to them.
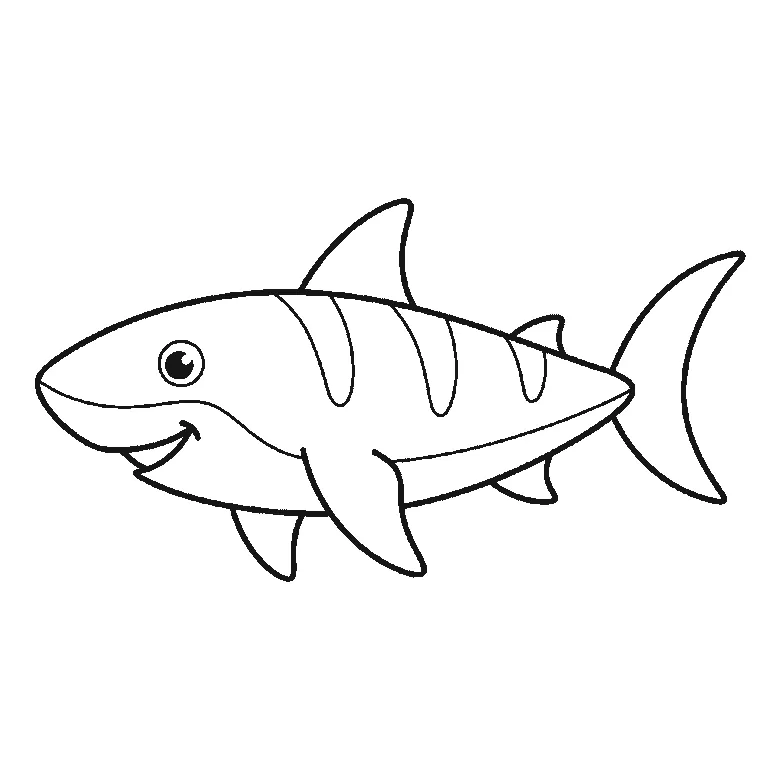
How to draw a shark
Six frames, one shark in profile. The body first, then the dorsal fin, side fins and crescent tail.
Step sequence made by us from a single drawing: each step keeps the lines of the one before it and adds to them.
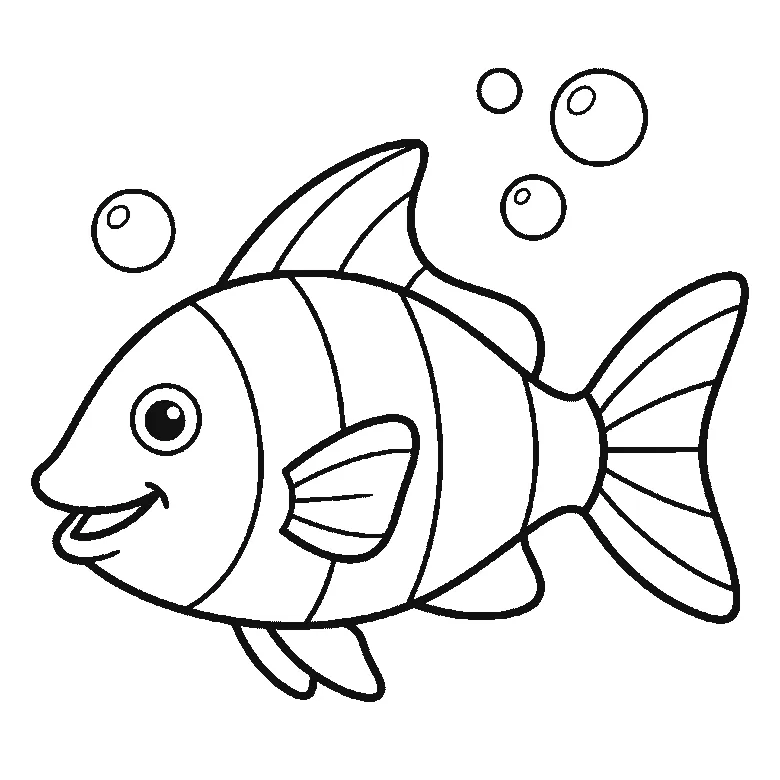
How to draw a fish
Six frames, one striped fish with bubbles. The head first, then the striped body, the fins and the fan tail.
Step sequence made by us from a single drawing: each step keeps the lines of the one before it and adds to them.
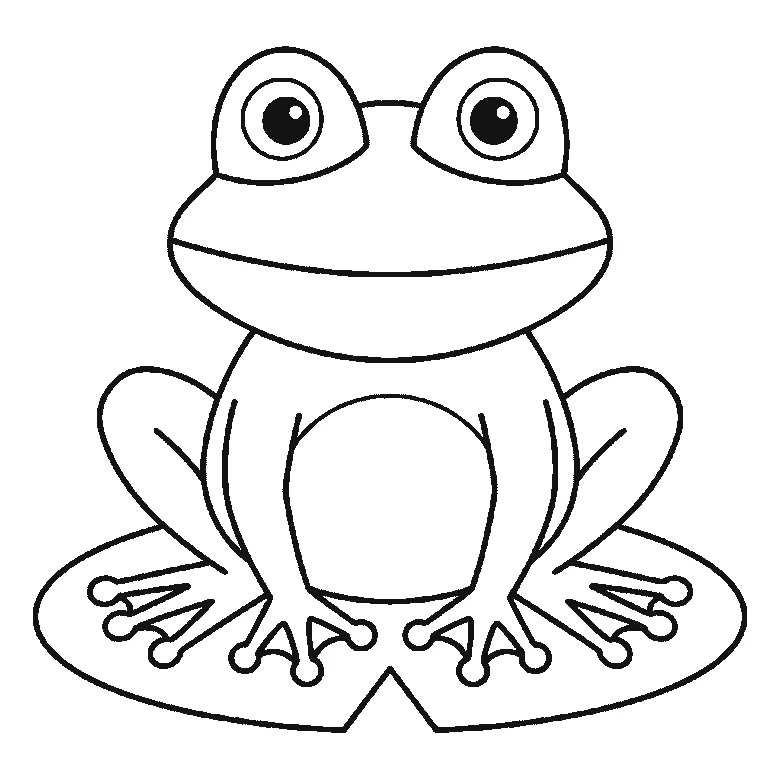
How to draw a frog
Six frames, one frog seen from the front. The lily pad first, then the body, the head and the domed eyes.
Step sequence made by us from a single drawing: each step keeps the lines of the one before it and adds to them.
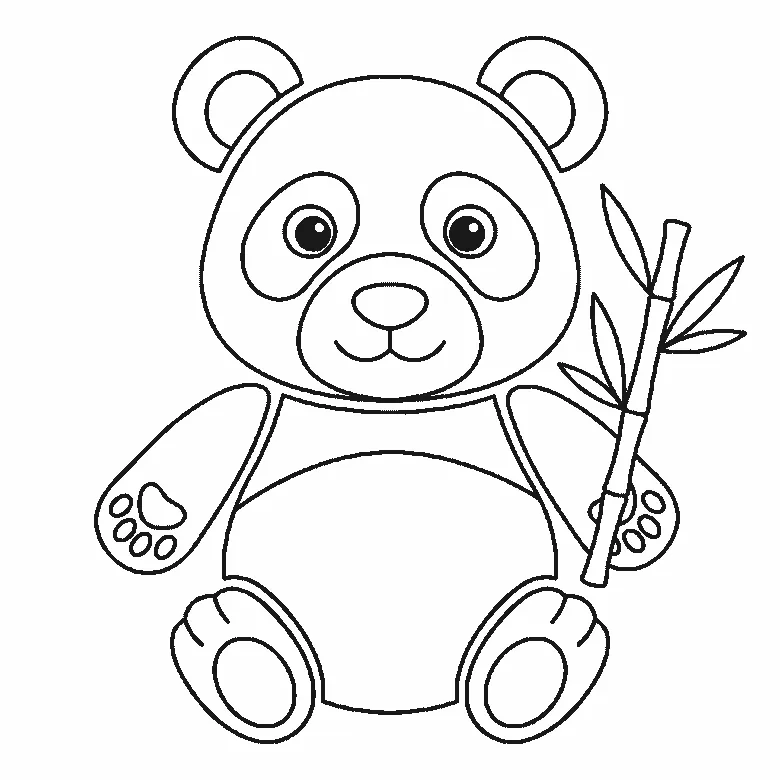
How to draw a panda
Six frames, one panda sitting up with a bamboo stalk. The head and its eye patches first, then the body, the ears and the bamboo.
Step sequence made by us from a single drawing: each step keeps the lines of the one before it and adds to them.


