
PDF · A4 · 49 KB · Free, no sign-up. For home and classroom use.
How to draw a fox
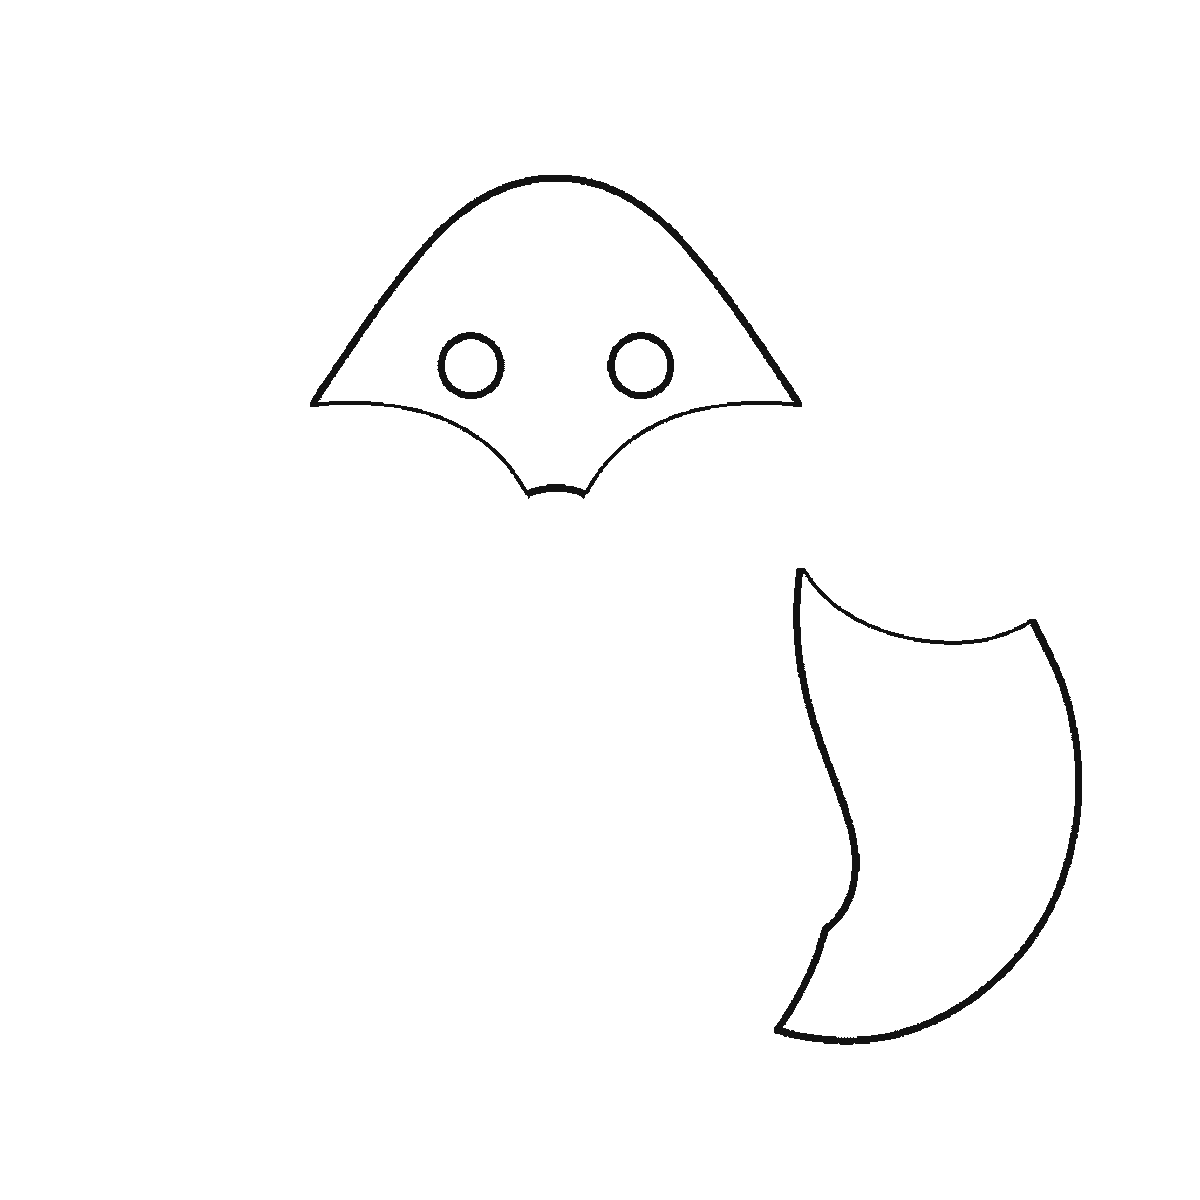
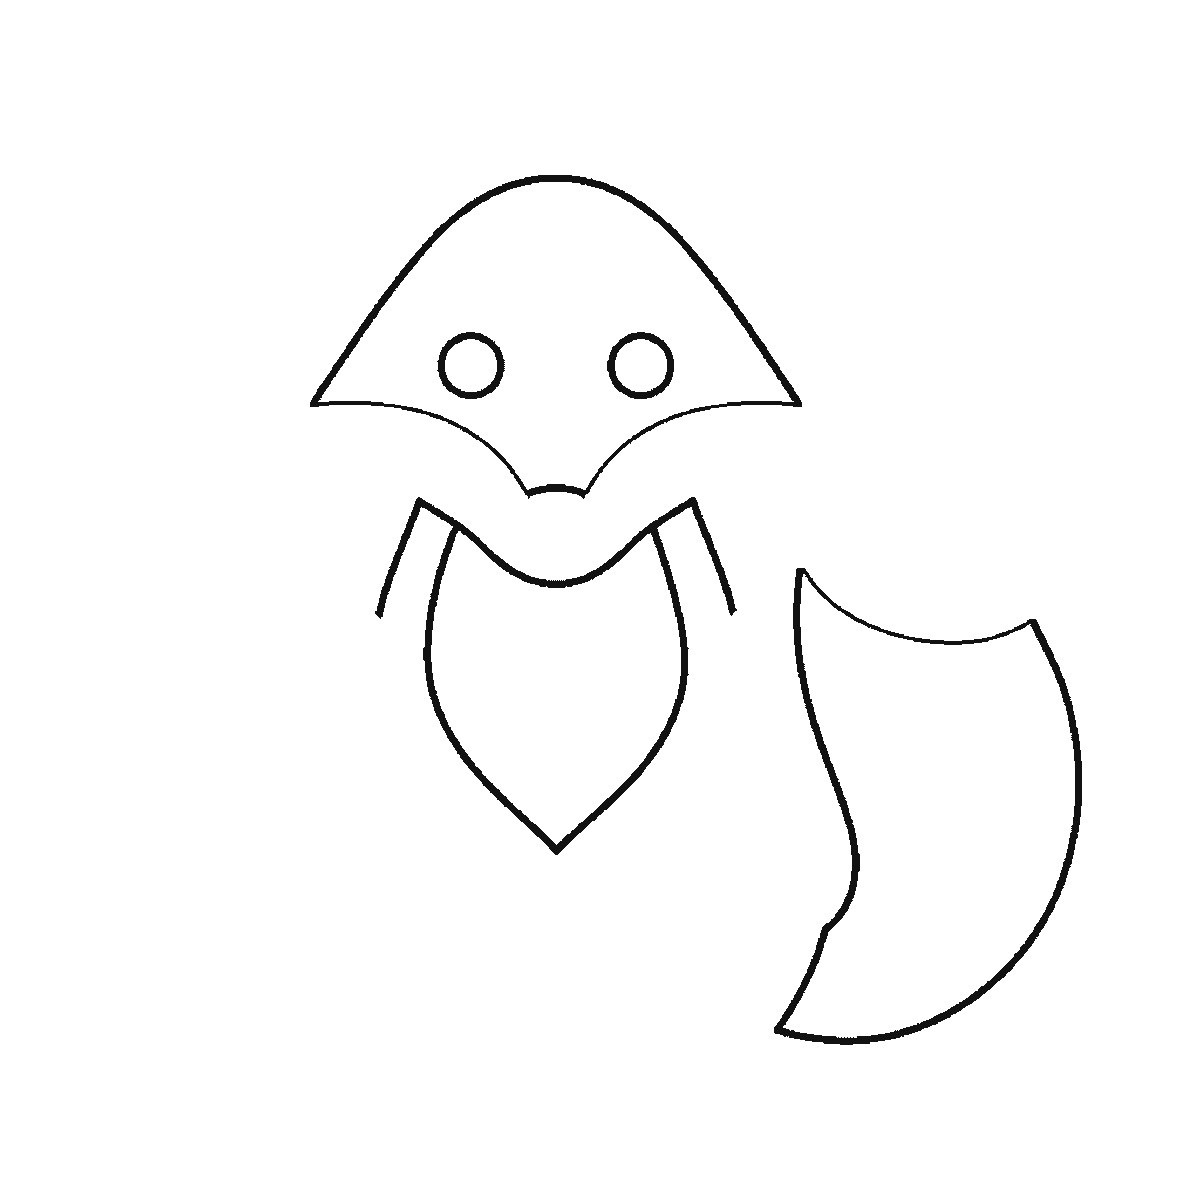
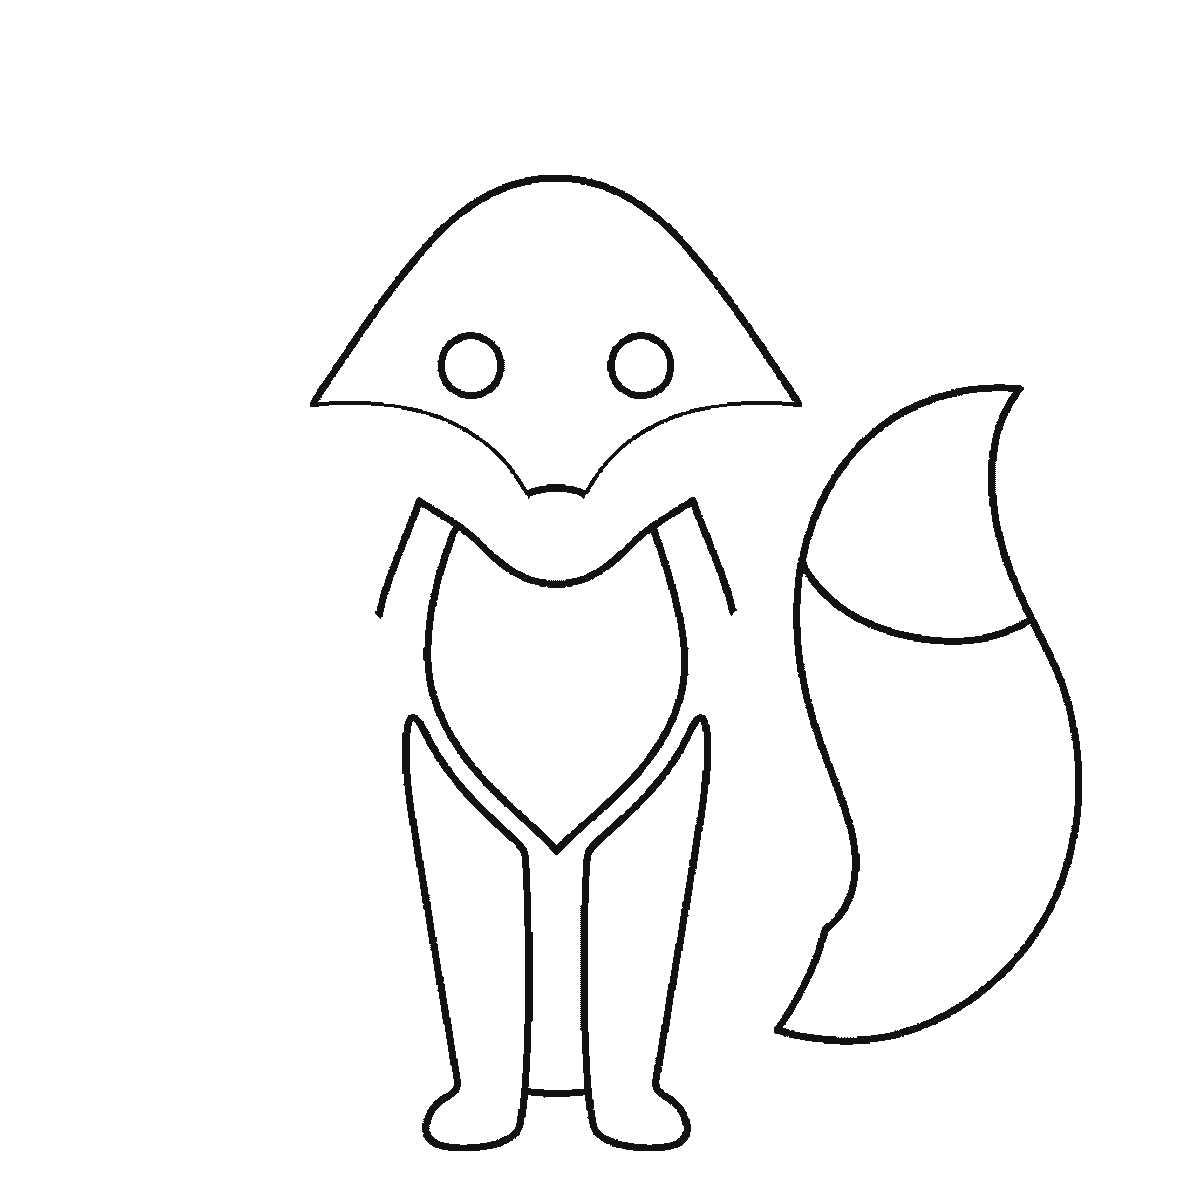
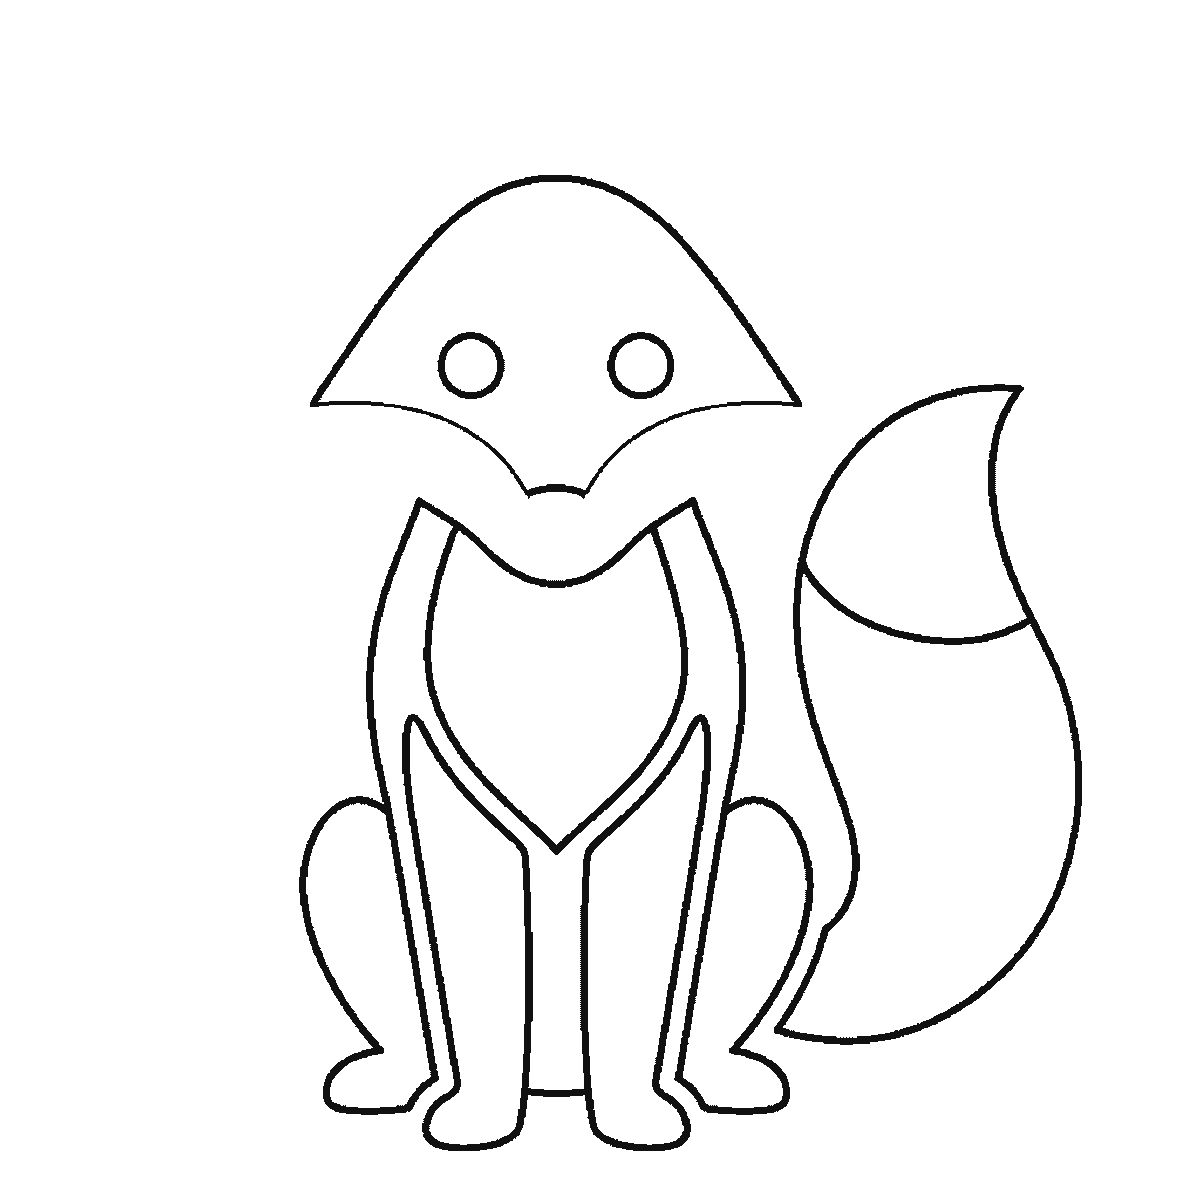
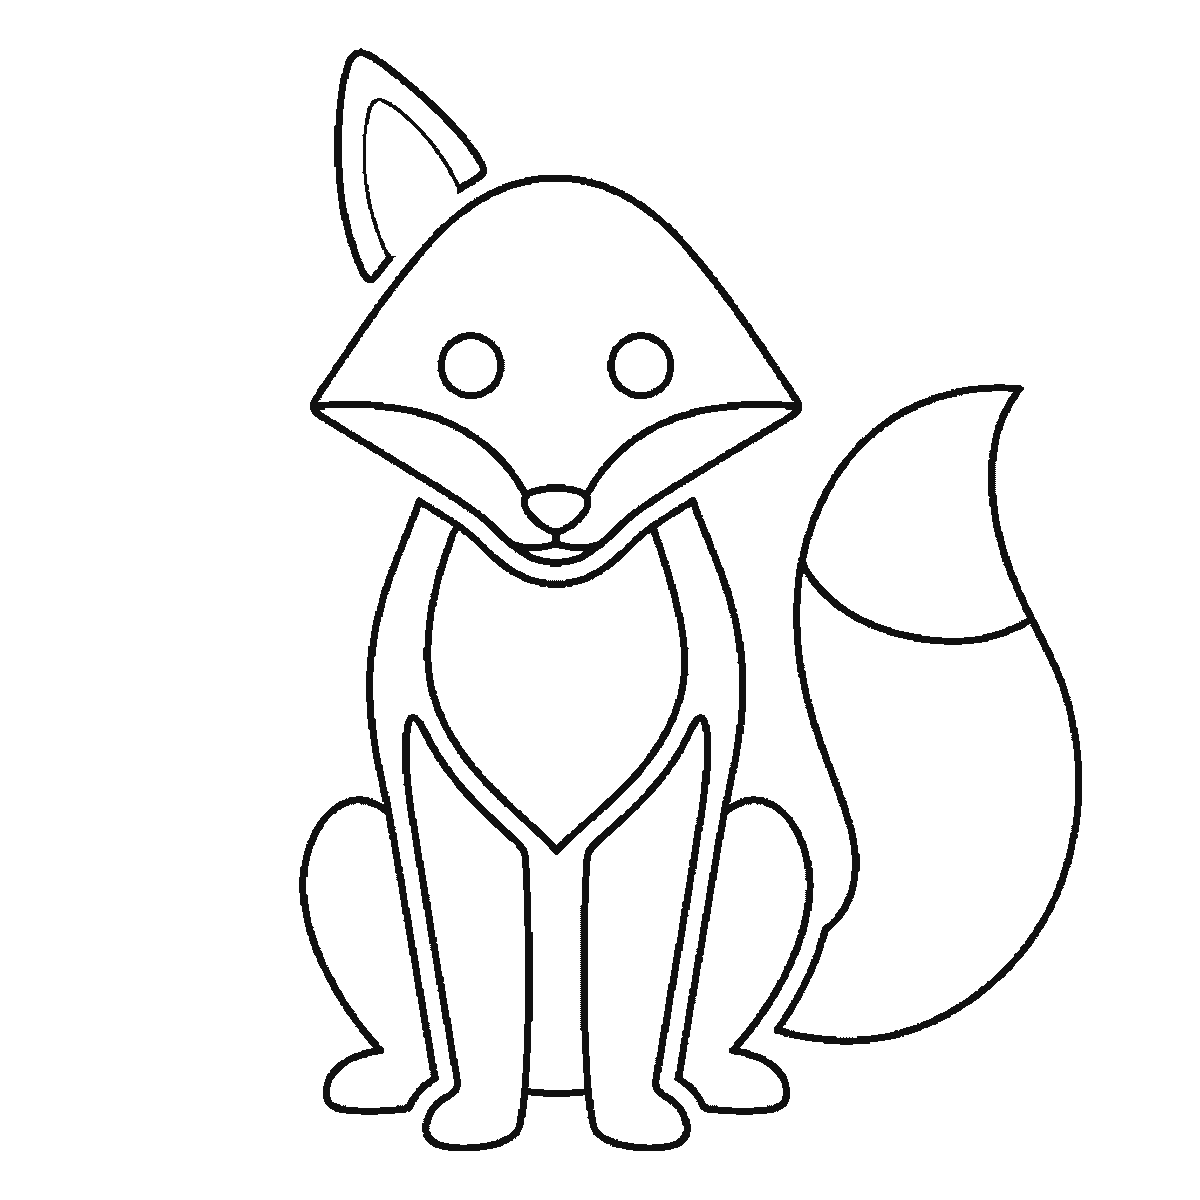
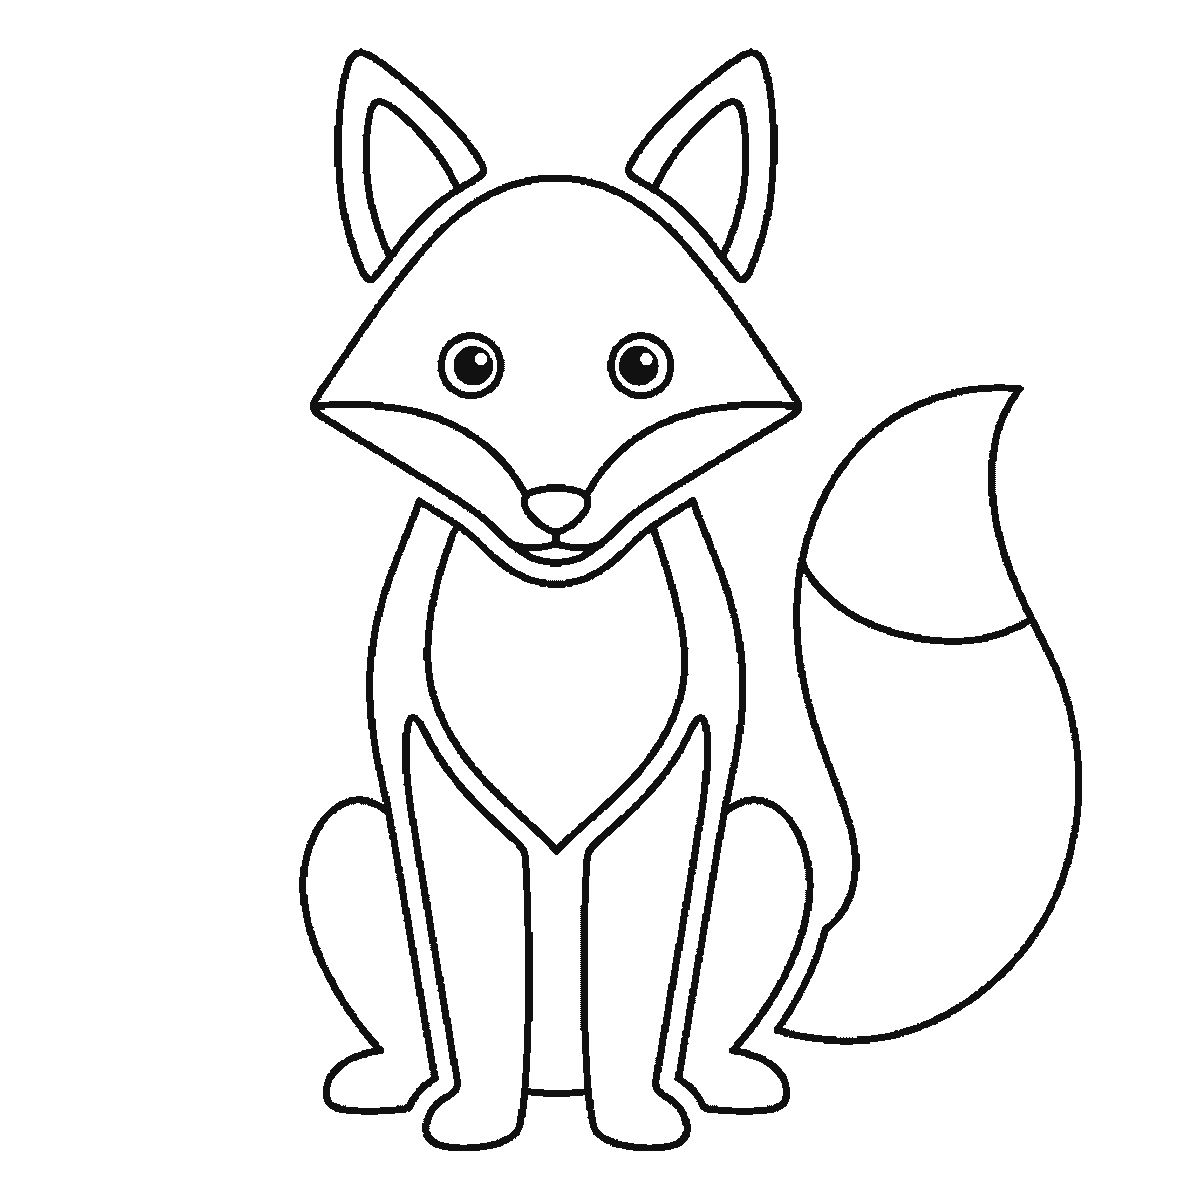
Six frames, one fox sitting and facing you. The head and the bushy tail together first, then the chest and legs, and the ears last.
A fox is a dog drawn with sharper corners and a much better tail, and it is a satisfying subject because the two features that identify it — the triangular face and the enormous brush — are both easy shapes. This sheet builds a fox sitting upright and facing the viewer over six frames.
The head comes first and it is a triangle, not a circle. That is the whole trick of drawing a fox. A wide forehead narrowing to a fine point at the nose reads instantly as a fox; the same animal with a rounded head reads as a small dog no matter what you do to the tail afterwards.
The body follows as a rounded shape below and behind the head, and it should be smaller than instinct suggests. Foxes are much lighter animals than they look in photographs, where thick winter fur does a lot of flattering. A slim body under a broad head is the correct proportion.
The ears go on last, one in frame five and one in frame six, long after the legs. That is useful rather than awkward, because it means the whole head shape is settled before you commit to them: large, triangular, upright, and set wide on the top of the head. Like the cat's, they want to be bigger than feels right. A fox's ears are genuinely oversized relative to its skull, and shrinking them to something more modest is the second commonest way the animal turns back into a dog.
The eyes are in frame one, drawn with the head rather than added to it — two round shapes set fairly close together on the wide part of the triangle. The nose and the cheek ruff wait until frame five, and the pupils that fill the eyes are the very last marks on the sheet. Those cheeks are worth drawing as their own shapes, flaring out below the eyes; that flare is characteristic and it stops the lower half of the face from looking pinched.
The legs come in the middle of the sequence — the straight vertical front pair in frame three, the folded haunches in frame four. They are noticeably thinner than a dog's and they are one of the few places where a fox's lightness shows clearly, so resist thickening them for stability.
The tail is not the reward at the end. It is in frame one, drawn beside the head and floating clear of a fox that does not exist yet — the oddest thing on this sheet and the one most worth being ready for, because it means you are placing the tail before you have a body to place it against. It should be thick, at least as wide as the body, and roughly as long as the head and body together. Curved round the side of the sitting fox it fills a large part of the page, and a fox tail drawn too thin is a genuinely disappointing thing to look at.
The tail tip is traditionally lighter than the rest, which gives you a natural place to stop drawing texture. Leave the last third of the brush clean and put your fur strokes only on the base and along the upper edge — that contrast reads as a fox far more efficiently than covering the whole tail evenly.
The six frames run from the largest closed shape down to the smallest, which is why the head and the tail — the two biggest — share the first frame, and why the ears wait until the last two. That order is easy to copy and it is not a claim about the right way to draw a fox.
Once this one is comfortable, the same shapes lying down make a sleeping fox with almost no changes: the head triangle is unchanged, the body flattens, and the tail comes round the front instead of the side.
Before you start
- Draw the head as a triangle. A round head makes a dog, whatever you do afterwards.
- Keep the ears large and upright and set them wide.
- Make the tail as wide as the body. A thin brush is the commonest disappointment on this subject.
- Leave the tail tip clean and put the fur strokes on the base and upper edge.
Published Updated 654 words
The six steps
The steps go from the largest shape to the smallest, which is an easy order to copy. It is not the only order, and it is not a rule — if you would rather start somewhere else on the sheet, do.
Step 1
Step 2
Step 3
Step 4
Step 5
Step 6
More in this section
How to draw a tiger
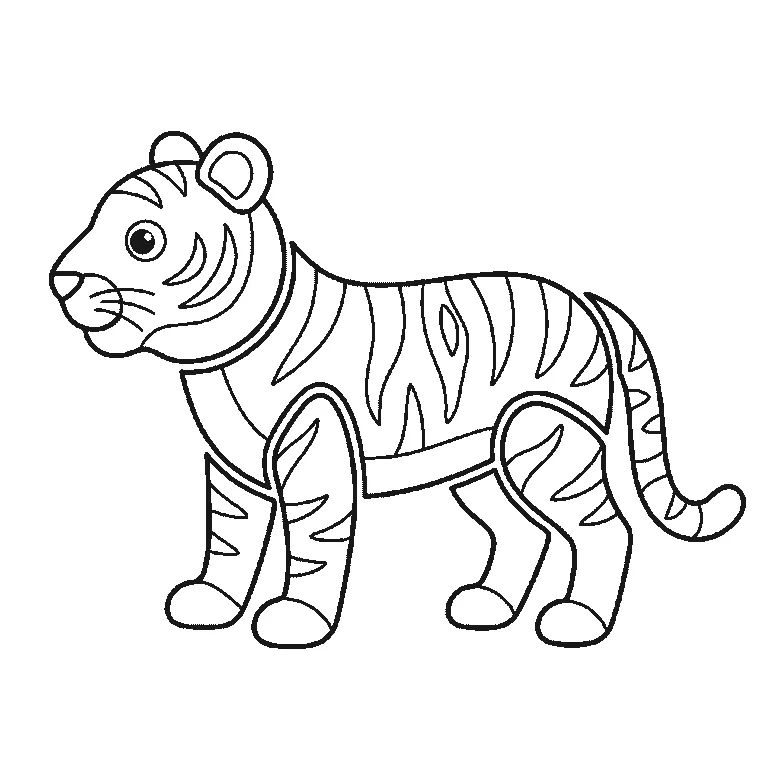
Six frames, one tiger standing in profile. The striped flank first, then the head, the legs one at a time, and the tail last.
Step sequence made by us from a single drawing: each step keeps the lines of the one before it and adds to them.
How to draw a bunny
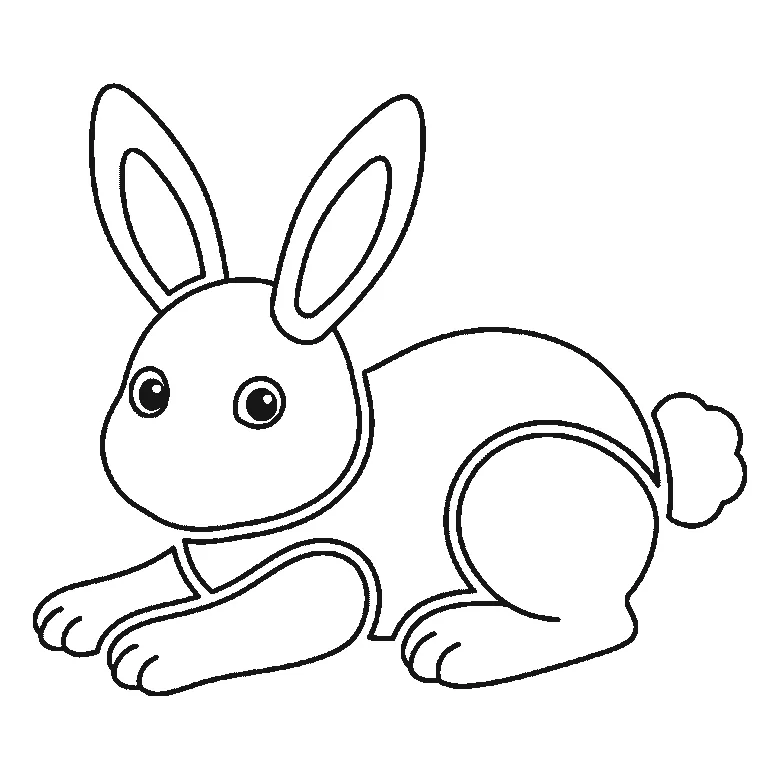
Six frames, one bunny lying down with its paws stretched out. The head first, then the body, the long ears and the fluffy tail.
Step sequence made by us from a single drawing: each step keeps the lines of the one before it and adds to them.
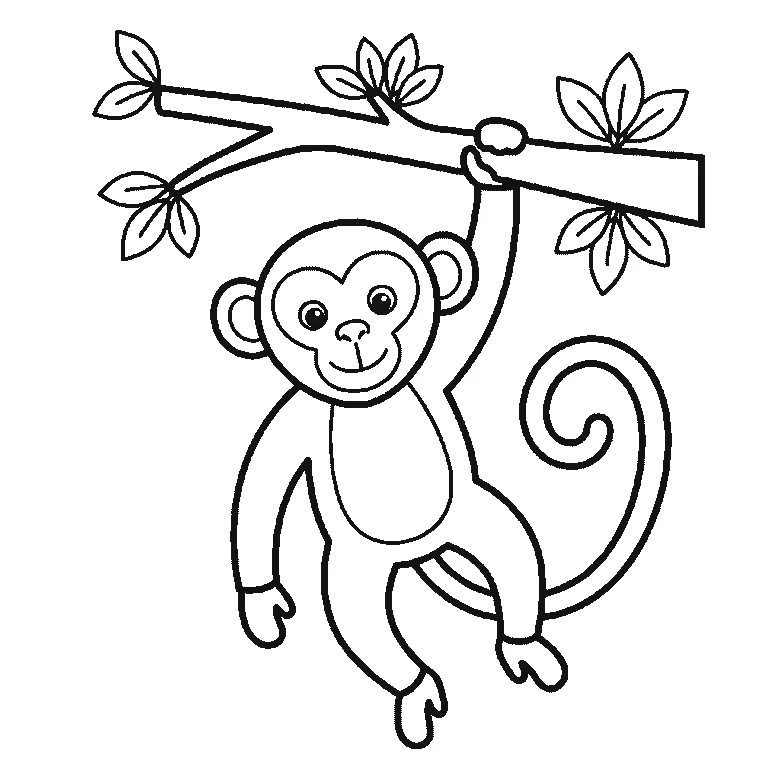
How to draw a monkey
Six frames, one monkey hanging by an arm from a branch. The limbs first, then the branch, the face and the curling tail.
Step sequence made by us from a single drawing: each step keeps the lines of the one before it and adds to them.
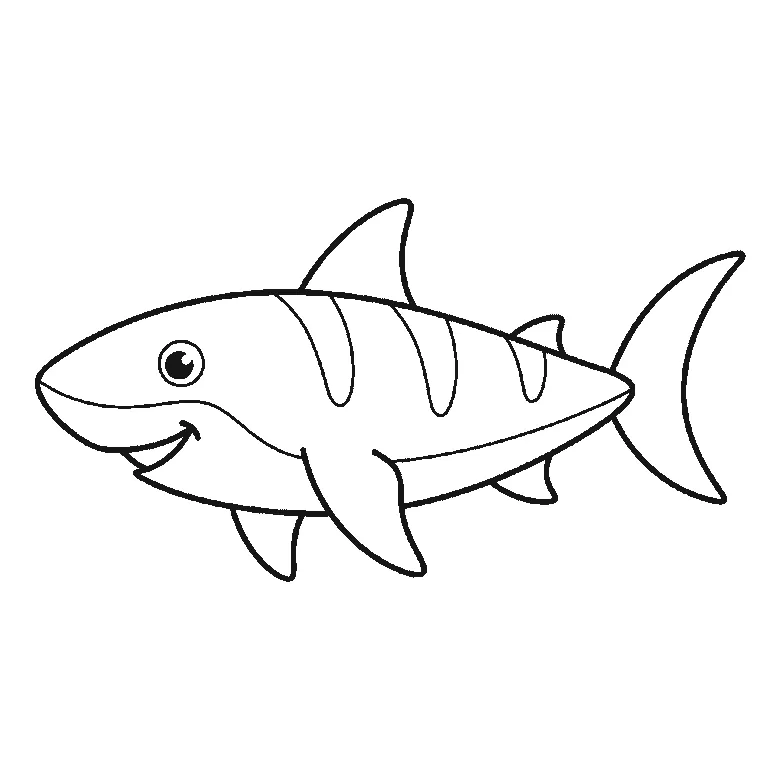
How to draw a shark
Six frames, one shark in profile. The body first, then the dorsal fin, side fins and crescent tail.
Step sequence made by us from a single drawing: each step keeps the lines of the one before it and adds to them.
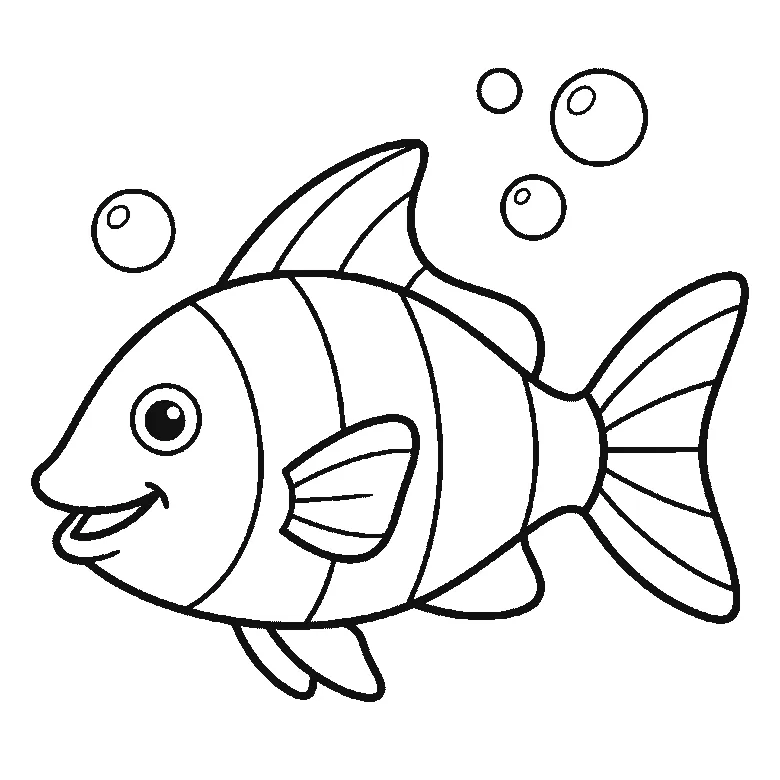
How to draw a fish
Six frames, one striped fish with bubbles. The head first, then the striped body, the fins and the fan tail.
Step sequence made by us from a single drawing: each step keeps the lines of the one before it and adds to them.
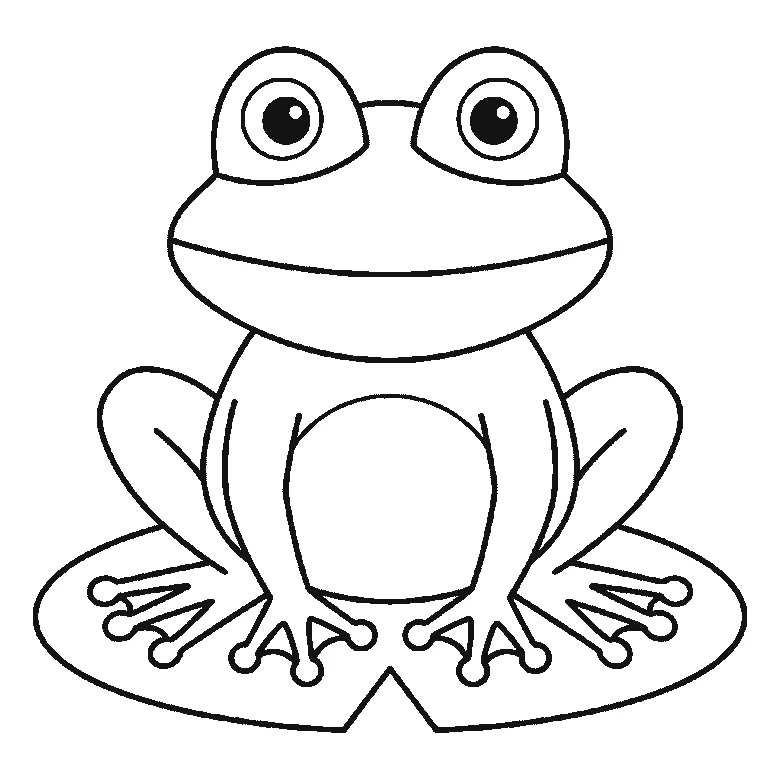
How to draw a frog
Six frames, one frog seen from the front. The lily pad first, then the body, the head and the domed eyes.
Step sequence made by us from a single drawing: each step keeps the lines of the one before it and adds to them.
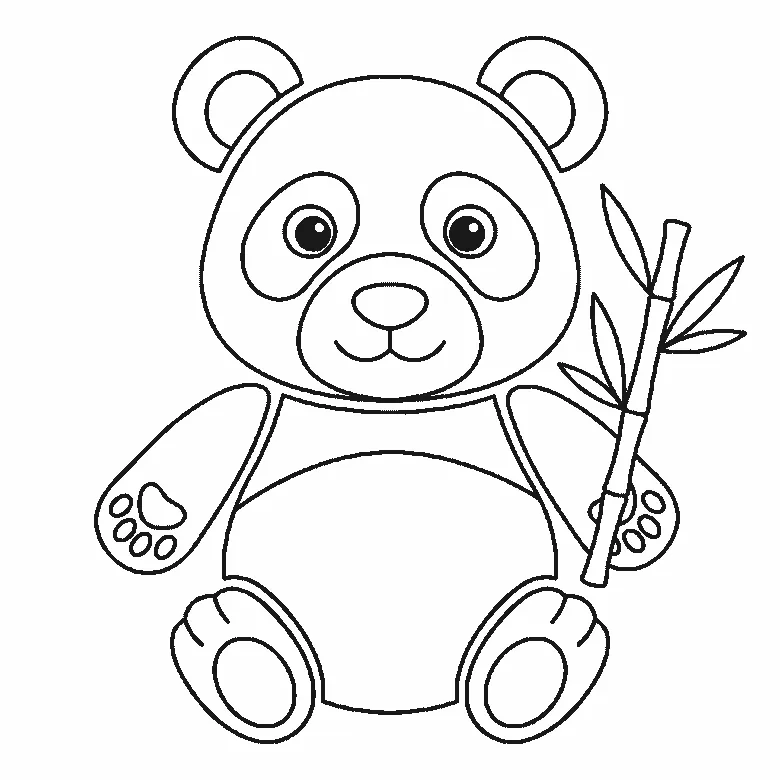
How to draw a panda
Six frames, one panda sitting up with a bamboo stalk. The head and its eye patches first, then the body, the ears and the bamboo.
Step sequence made by us from a single drawing: each step keeps the lines of the one before it and adds to them.
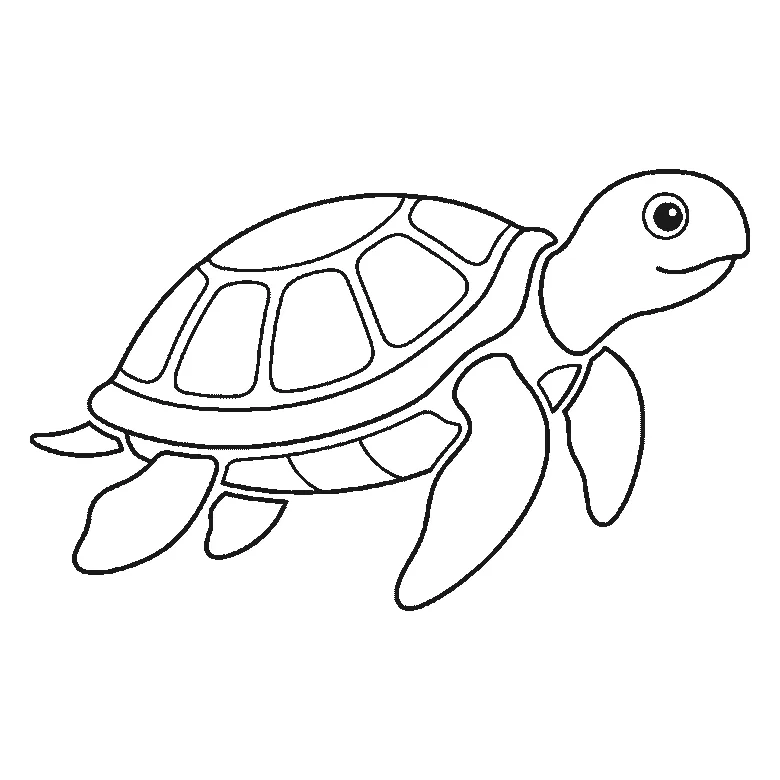
How to draw a turtle
Six frames, one sea turtle swimming in profile. The head and one flipper first, then the shell, the rear flippers and the plates.
Step sequence made by us from a single drawing: each step keeps the lines of the one before it and adds to them.
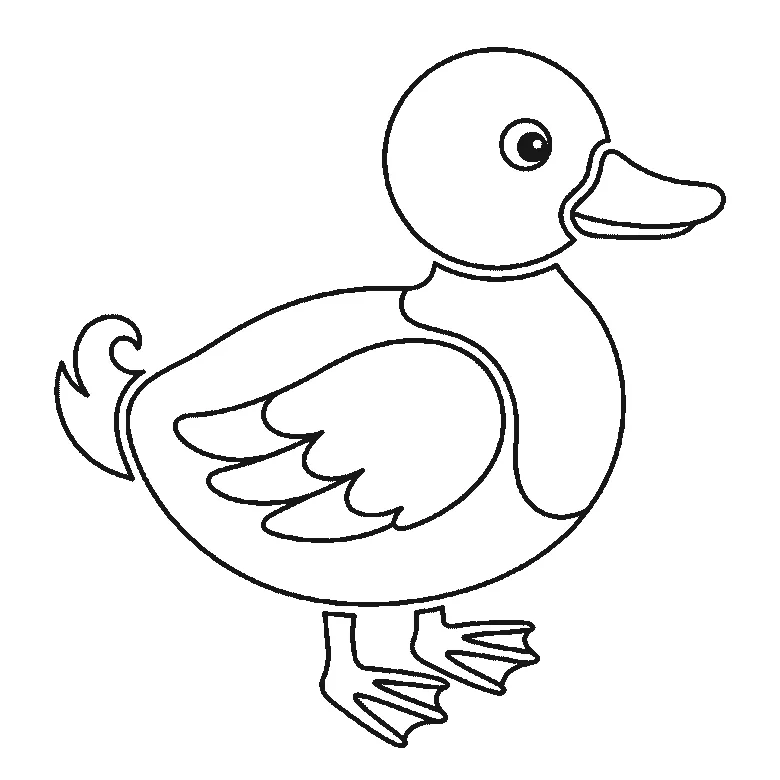
How to draw a duck
Six frames, one duck standing in profile. The folded wing first, then the head, the body, the bill and the webbed feet.
Step sequence made by us from a single drawing: each step keeps the lines of the one before it and adds to them.
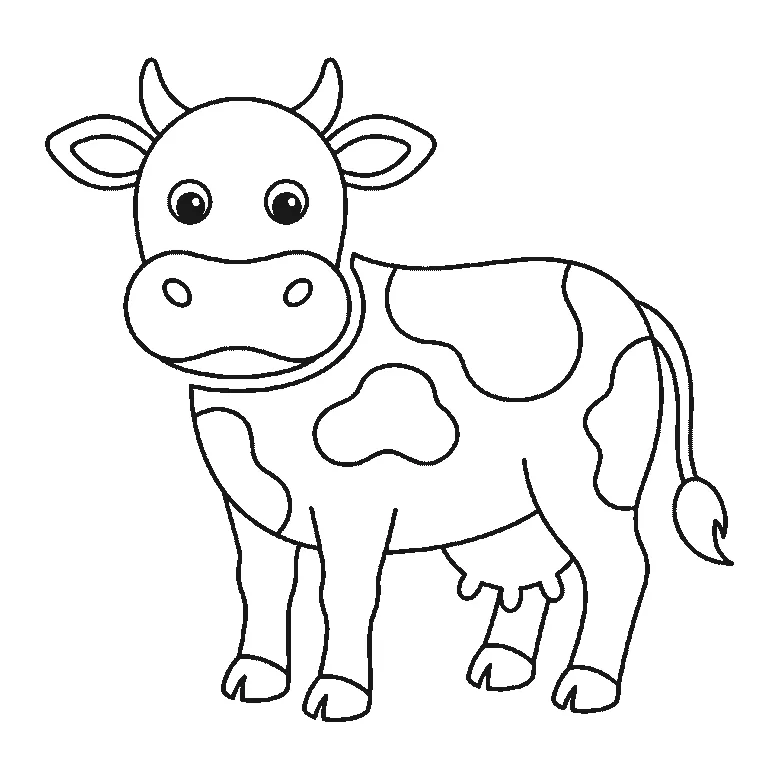
How to draw a cow
Six frames, one cow seen from the front. The patched body and legs first, then the head, the muzzle and the horns.
Step sequence made by us from a single drawing: each step keeps the lines of the one before it and adds to them.

How to draw a dolphin
Six frames, one dolphin leaping over the waves. The whole animal in the first frame, then the waves and the splashes around it.
Step sequence made by us from a single drawing: each step keeps the lines of the one before it and adds to them.
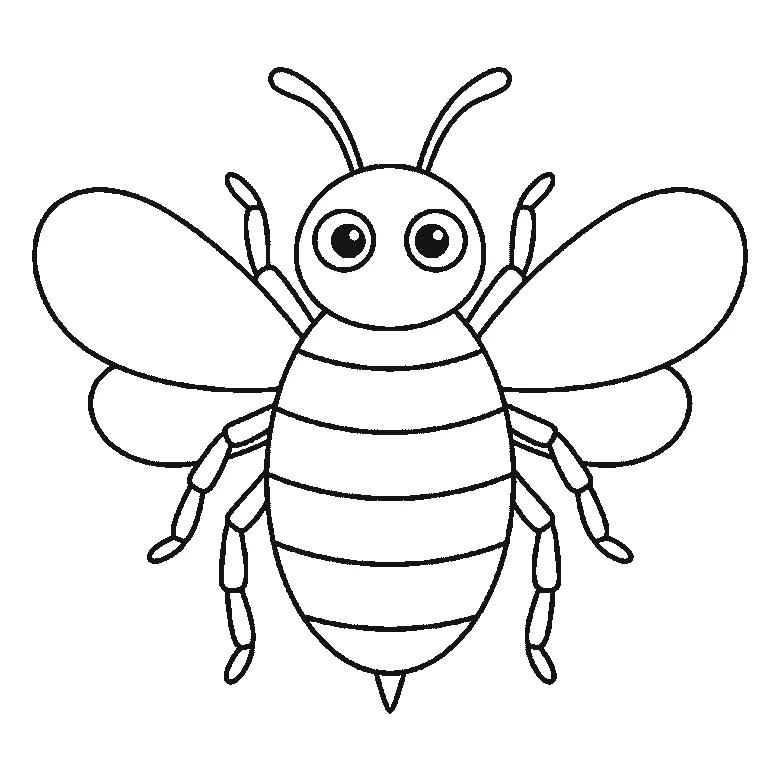
How to draw a bee
Six frames, one bumblebee seen from the front. The wings and head first, then the striped body, the legs and the antennae.
Step sequence made by us from a single drawing: each step keeps the lines of the one before it and adds to them.


