
PDF · A4 · 45 KB · Free, no sign-up. For home and classroom use.
How to draw a turtle
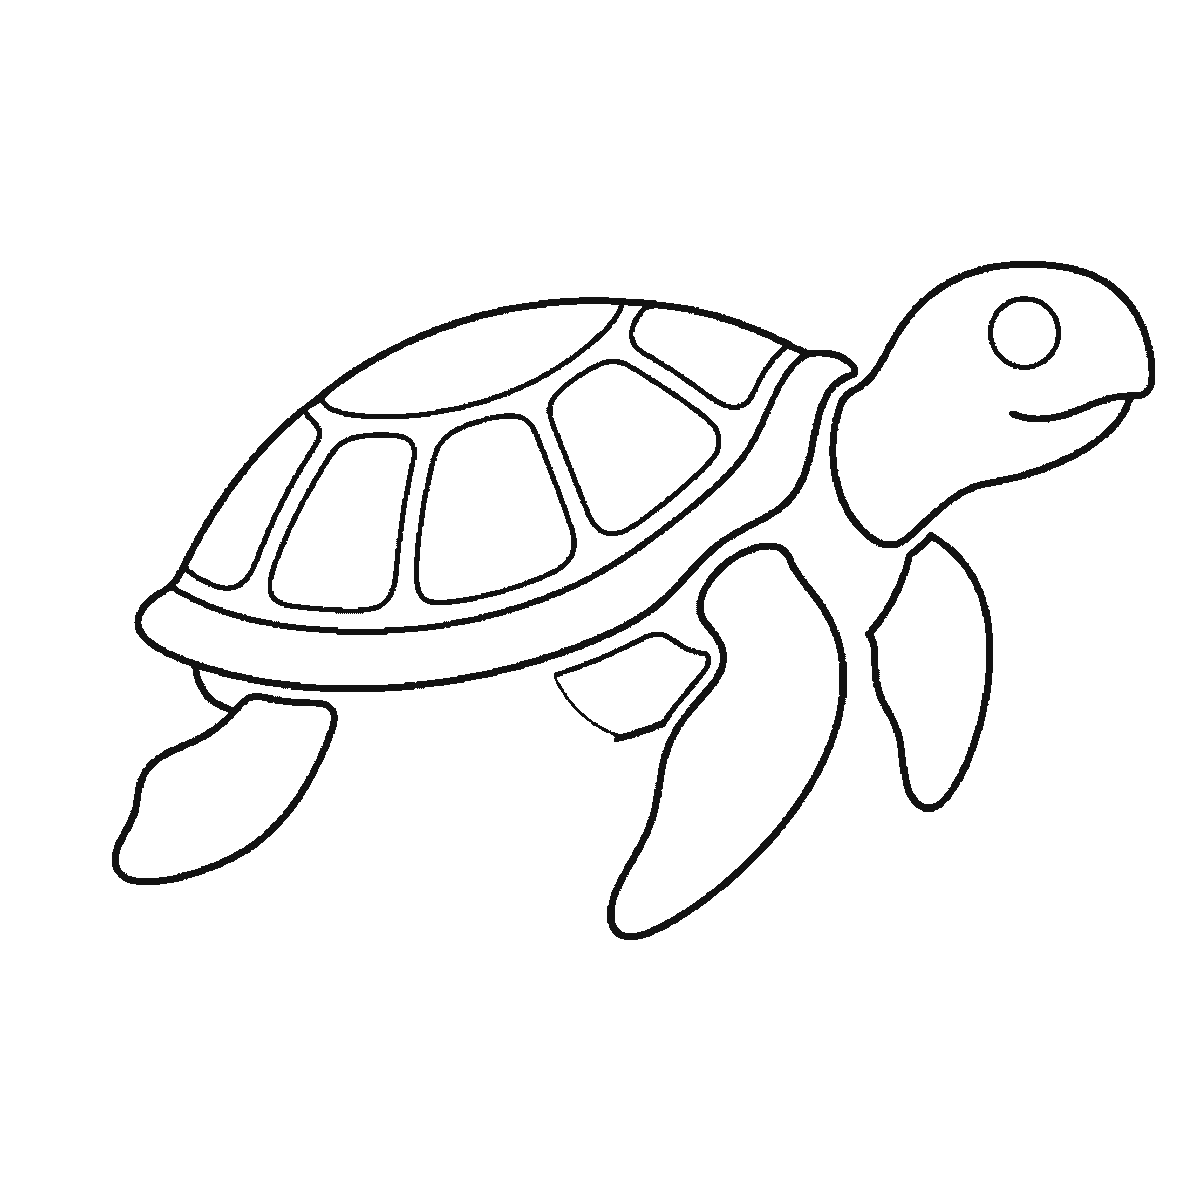
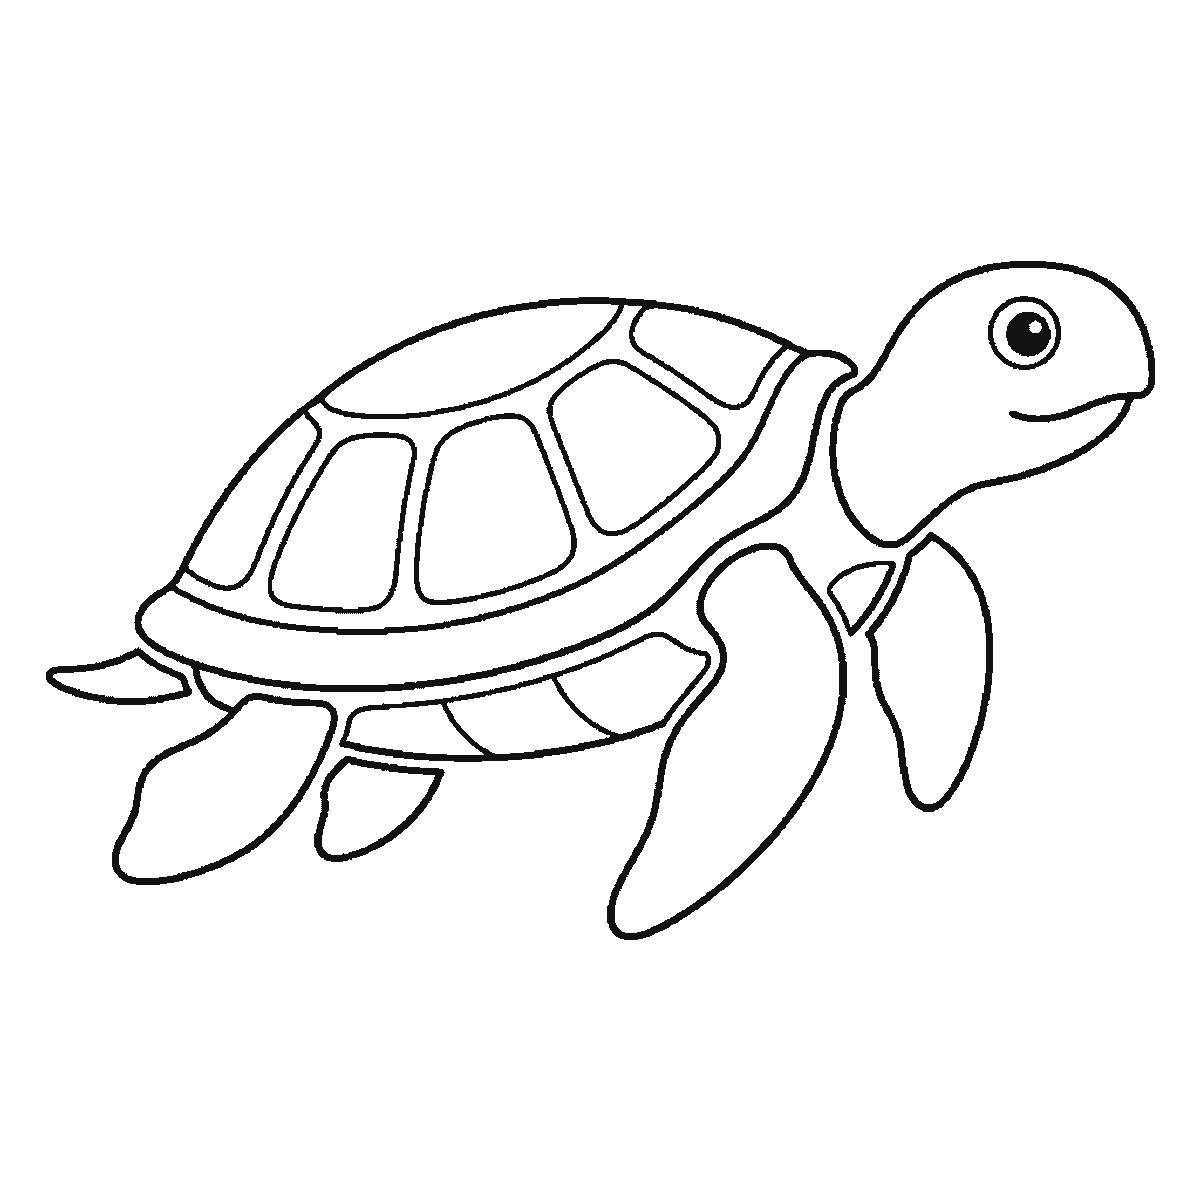
Six frames, one sea turtle swimming in profile. The head and one flipper first, then the shell, the rear flippers and the plates.
The animal on this sheet is a sea turtle, not a tortoise, and the distinction is worth making because it changes every limb on the page. A tortoise walks on stumpy pillars; a sea turtle flies through water on long flattened flippers, and those flippers are most of what makes this drawing interesting.
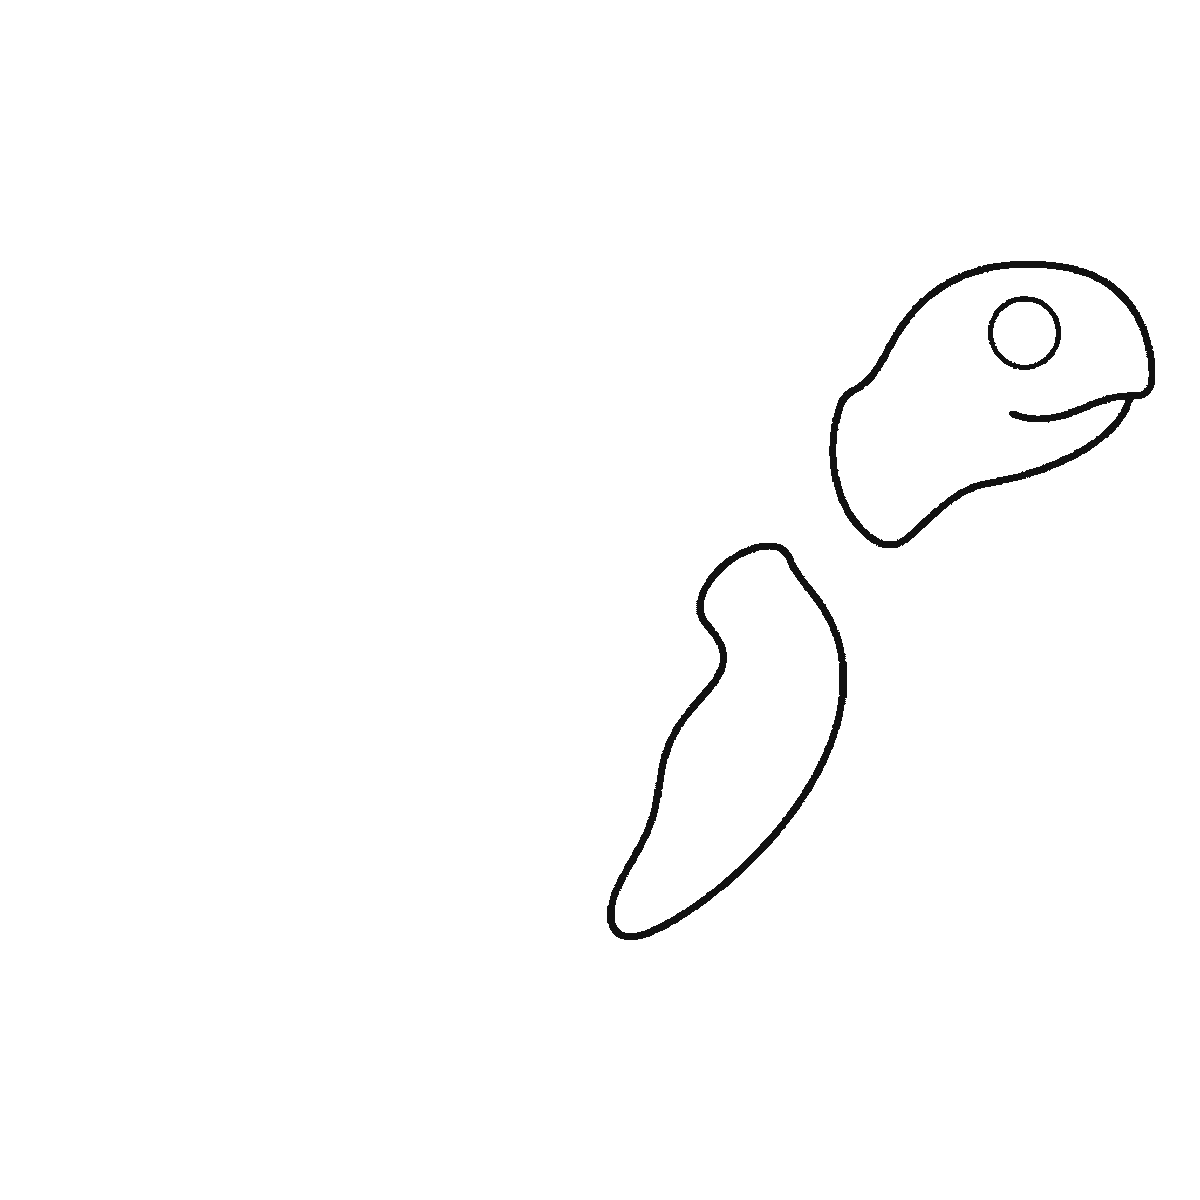
Frame one is the head and one front flipper, drawn as two separate shapes with nothing between them. The shell — the biggest thing on the finished animal — does not appear until the third frame. That is worth reading before you copy, because it means the first thing you commit to is the ANGLE the turtle is swimming at, set by where the head sits relative to that flipper.
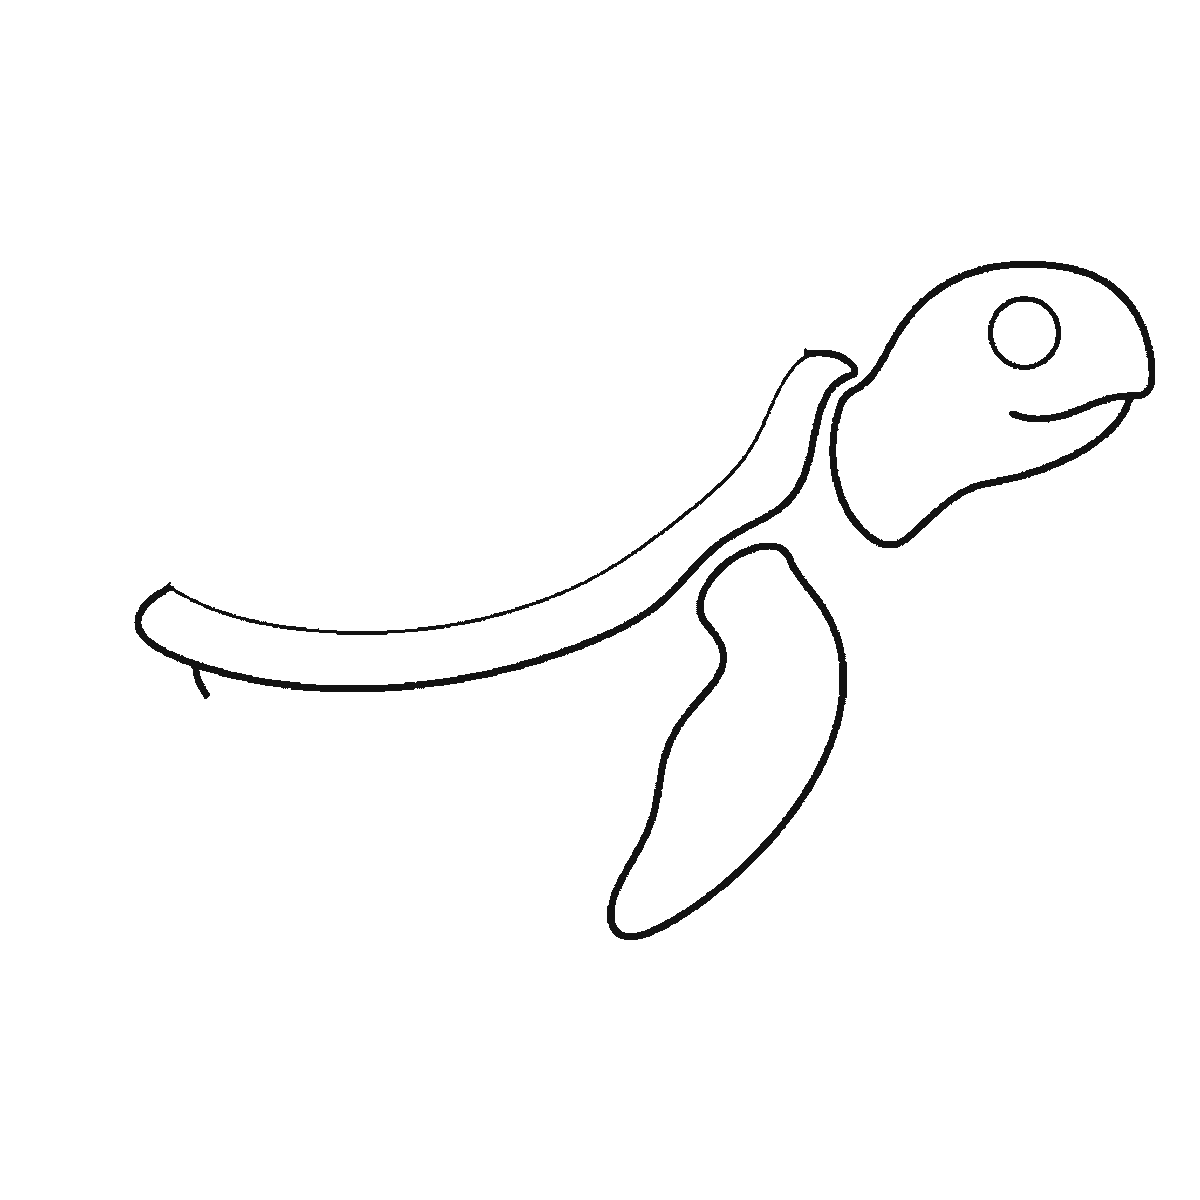
When the shell does arrive, draw it as a broad rounded dome, wider than it is tall, with its highest point slightly forward of centre. A shell drawn as a perfect half-circle looks like a bowl; the forward hump is what makes it look like it belongs to an animal that swims. The neck joining it to the head stays short — sea turtles cannot retract their heads the way land tortoises can, so there is no fold of loose skin to suggest, just a smooth join.
The head itself is a rounded wedge with a blunt snout, one visible eye with a filled pupil high on the side, and a gentle curved mouth. Because the animal is in profile you draw one eye and only one, which is worth stating because the instinct to add a second is strong and it always looks wrong.
The front flippers are the shapes that carry the drawing. They are long, flat and paddle-like, much longer than the back pair, and they sweep back and downwards from just behind the head. Draw them with a slight curve along their length rather than as straight blades — a flipper mid-stroke bends, and a straight one looks like a plank glued on.
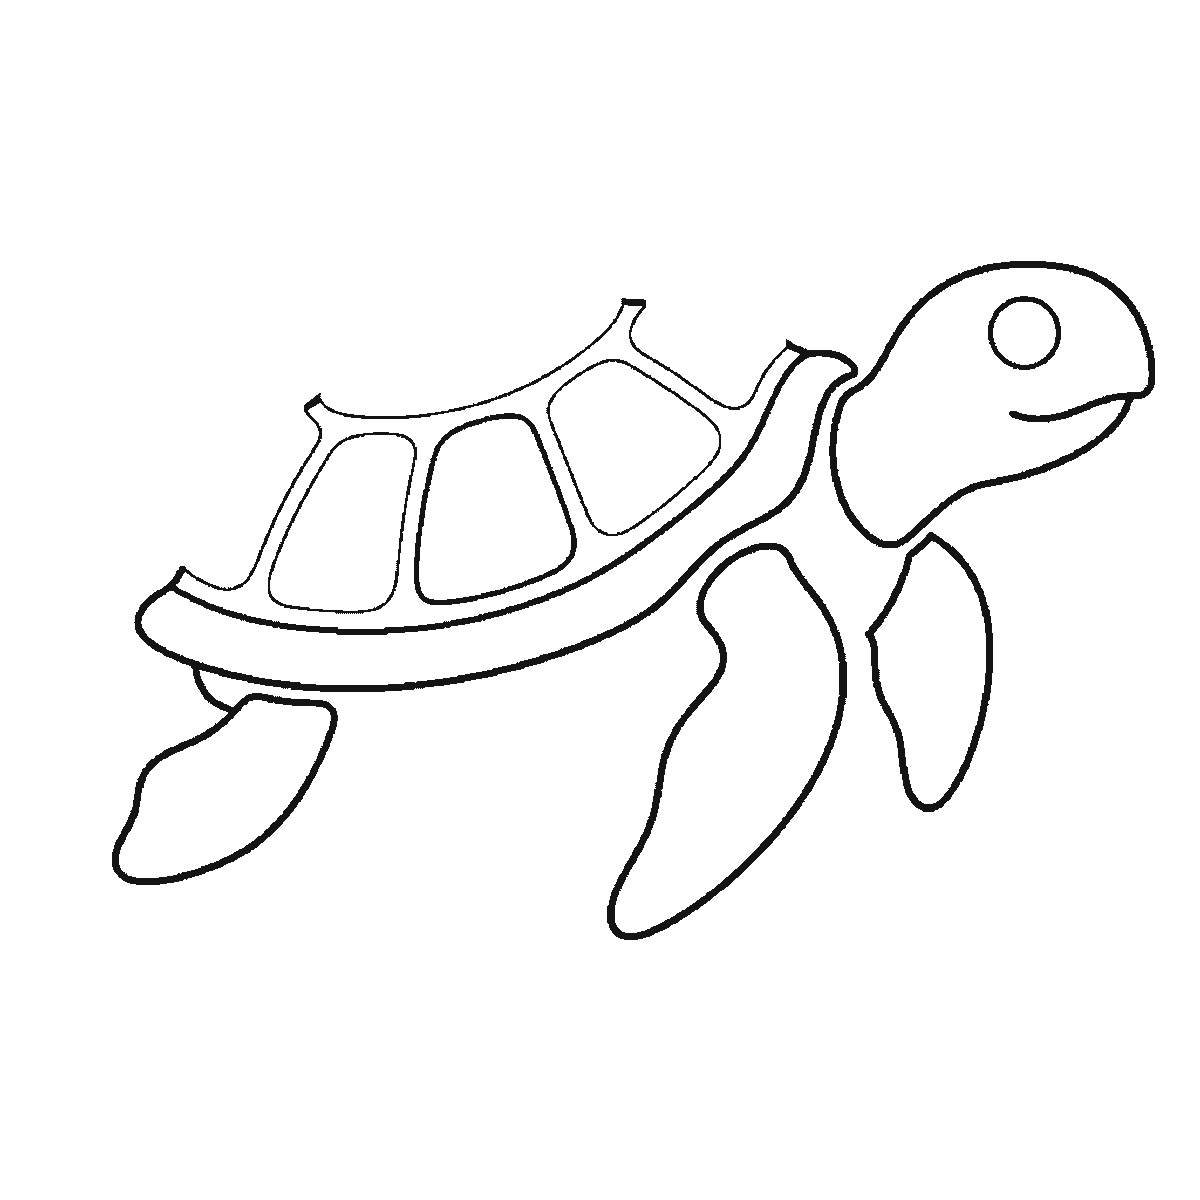
The rear flippers are shorter, wider and blunter, set at the back of the shell. They act as rudders rather than engines, and drawing them noticeably smaller than the front pair is what tells a viewer which way the animal is going.
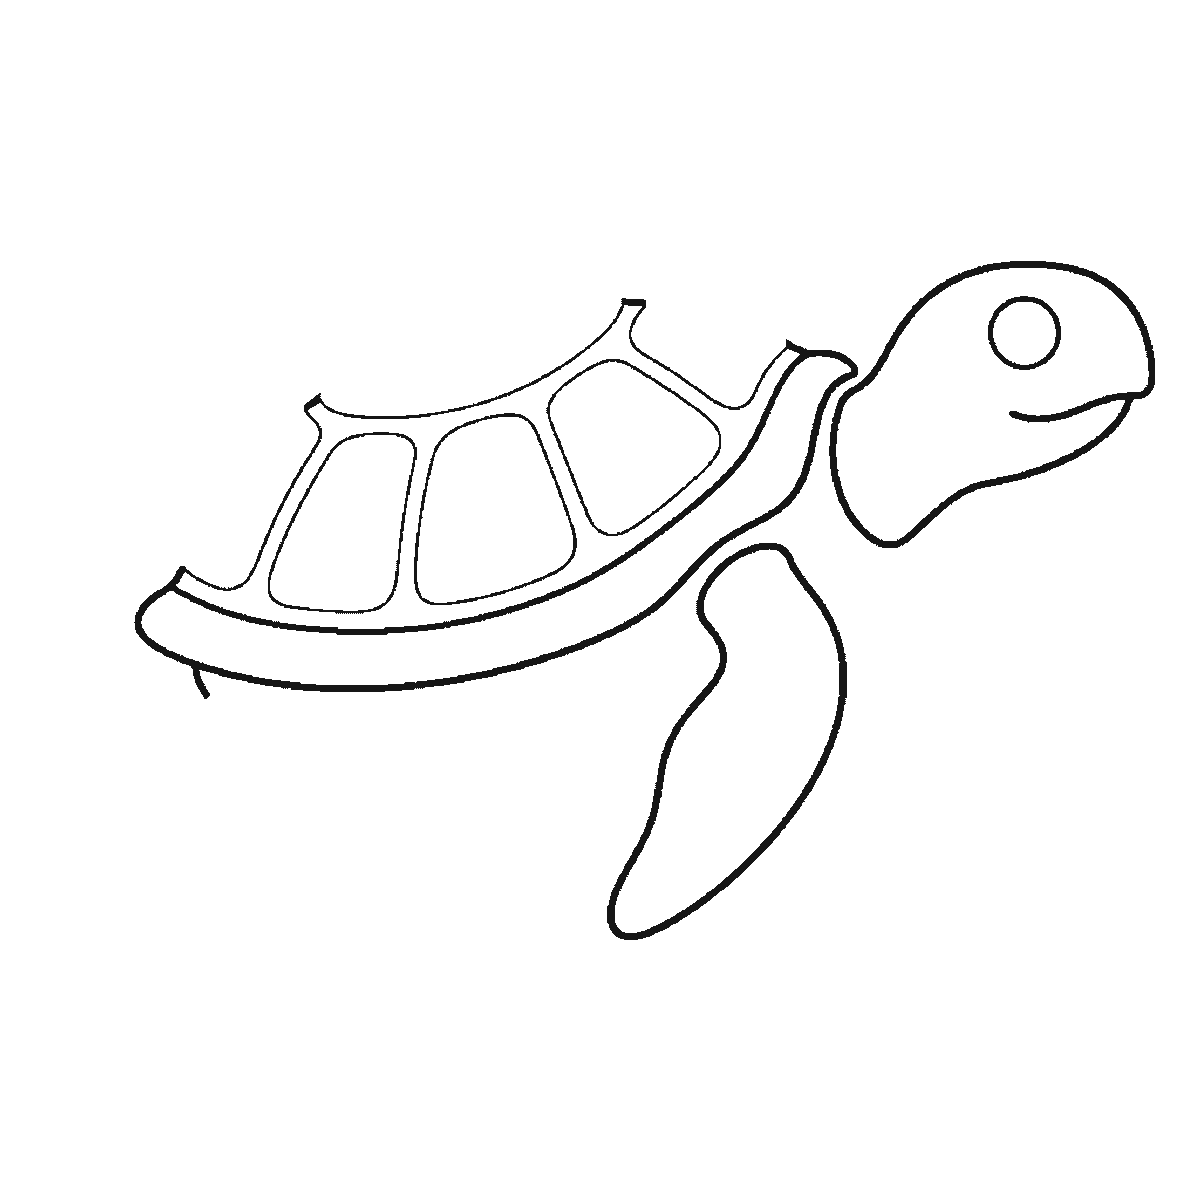
The shell plates arrive in the later frames, and they follow a pattern worth knowing: a row of large plates down the centre of the shell, flanked by rows of smaller ones towards the edges, with a border of small plates all the way round the rim. Drawing them as an even grid is the mistake to avoid, because it makes the shell look tiled rather than grown.
Let the plates get smaller and more squashed as they approach the shell's edge. That gradual compression is what makes a flat pattern sit on a curved surface, and it is exactly the same trick that makes stripes work on a fish or patches work on a giraffe.
The last frame adds the belly plate — a separately outlined band along the lower edge of the shell — and the short tail behind the rear flippers. The belly plate is what stops the shell reading as a shield floating in front of the animal, and it takes one line.
The six frames are ordered from the largest closed shape to the smallest, which here means head and front flipper, then the underside, then the shell with its first plates, then the rear flippers, then the remaining plates, then the eye. It is an easy order to copy, and it is not a claim that this is how anyone ought to draw a turtle. Most people would put the shell down first and hang the rest off it, and that is a perfectly good way to work.
Before you start
- Put the shell's highest point slightly forward of centre. A perfect dome reads as a bowl.
- Make the front flippers clearly longer than the back pair, and curve them along their length.
- Keep the neck short — a sea turtle cannot pull its head in.
- Squash the shell plates as they near the rim rather than drawing them as an even grid.
Published Updated 626 words
The six steps
The steps go from the largest shape to the smallest, which is an easy order to copy. It is not the only order, and it is not a rule — if you would rather start somewhere else on the sheet, do.
Step 1
Step 2
Step 3
Step 4
Step 5
Step 6
More in this section
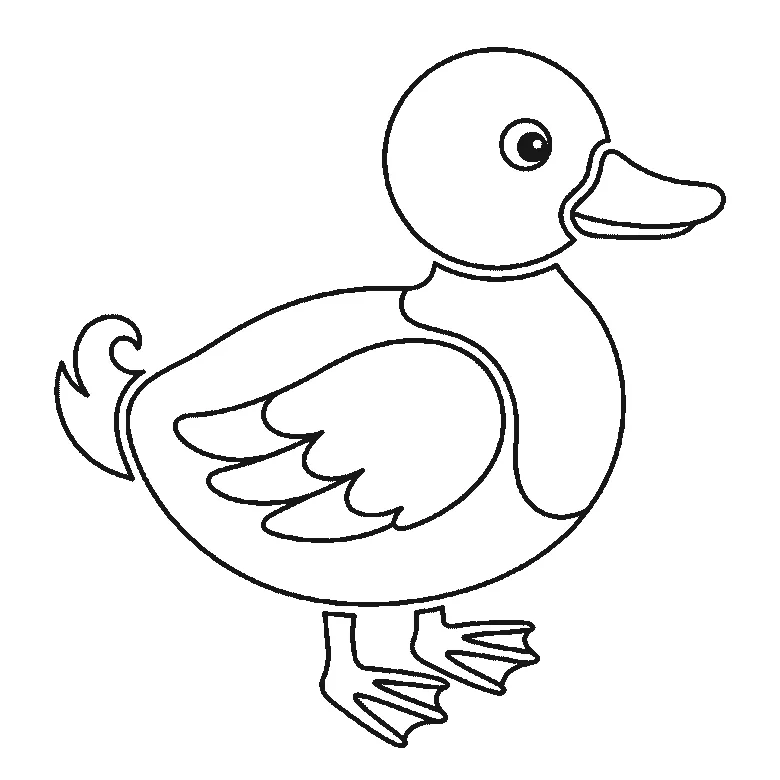
How to draw a duck
Six frames, one duck standing in profile. The folded wing first, then the head, the body, the bill and the webbed feet.
Step sequence made by us from a single drawing: each step keeps the lines of the one before it and adds to them.
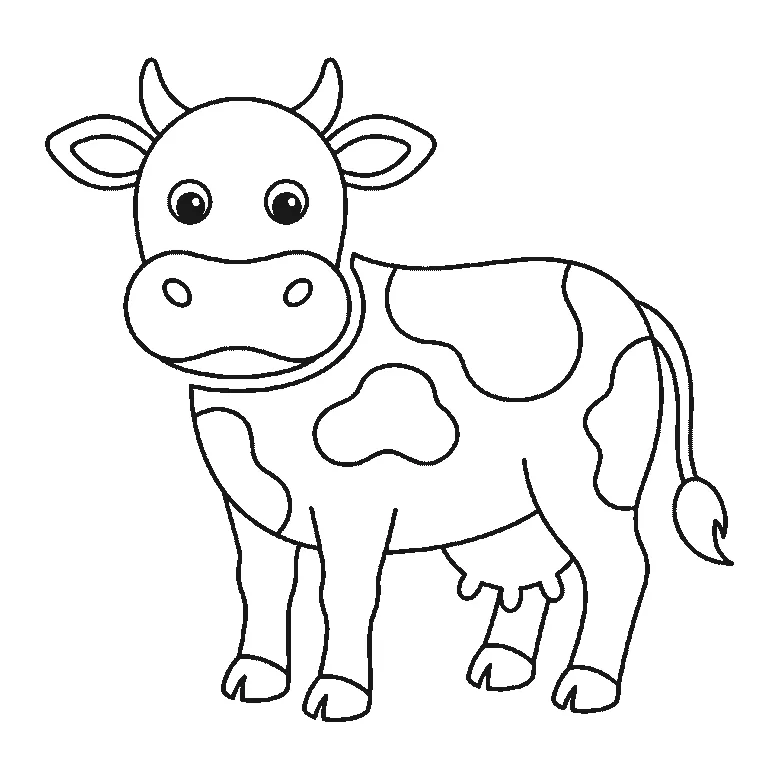
How to draw a cow
Six frames, one cow seen from the front. The patched body and legs first, then the head, the muzzle and the horns.
Step sequence made by us from a single drawing: each step keeps the lines of the one before it and adds to them.
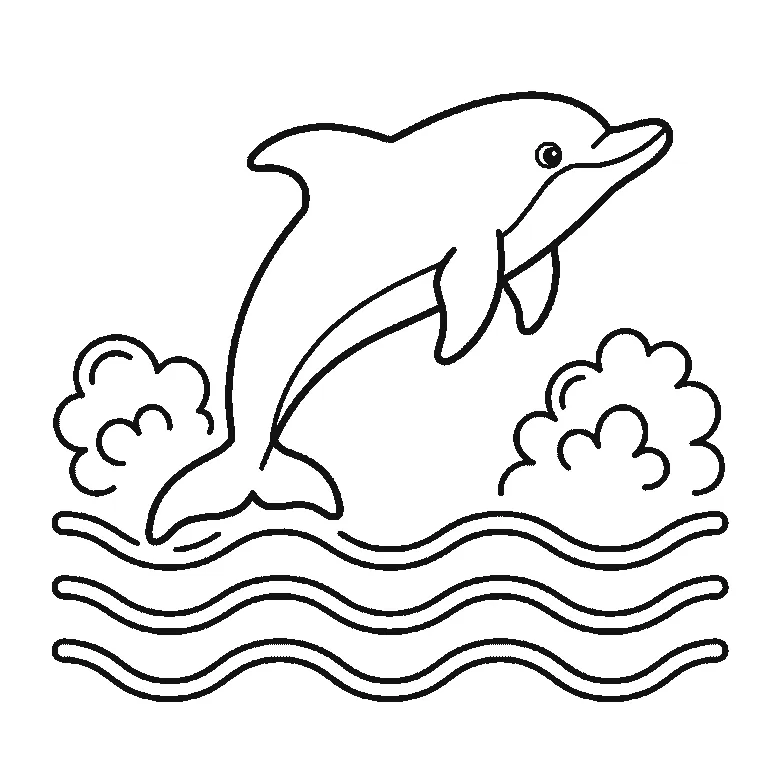
How to draw a dolphin
Six frames, one dolphin leaping over the waves. The whole animal in the first frame, then the waves and the splashes around it.
Step sequence made by us from a single drawing: each step keeps the lines of the one before it and adds to them.
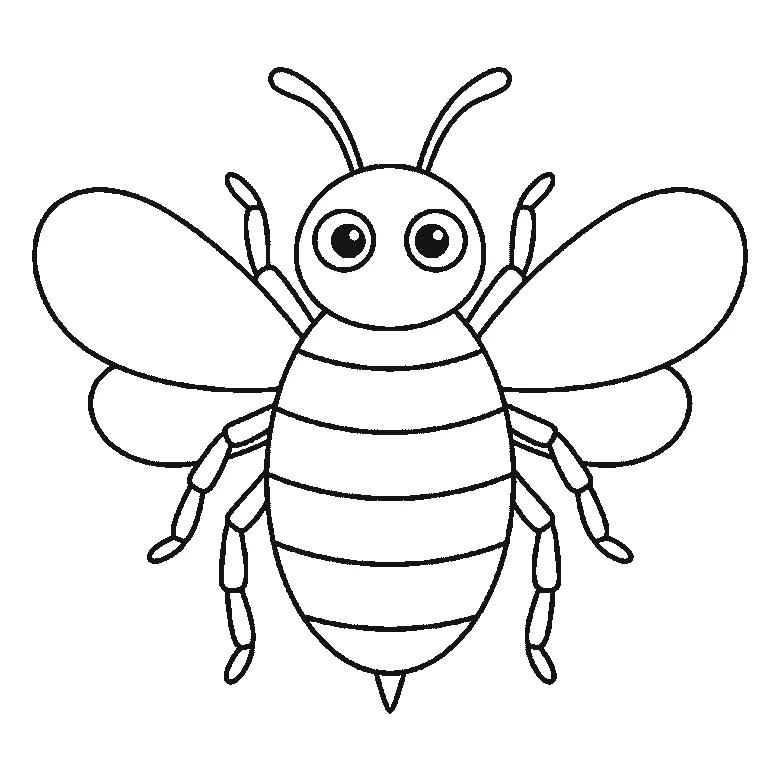
How to draw a bee
Six frames, one bumblebee seen from the front. The wings and head first, then the striped body, the legs and the antennae.
Step sequence made by us from a single drawing: each step keeps the lines of the one before it and adds to them.
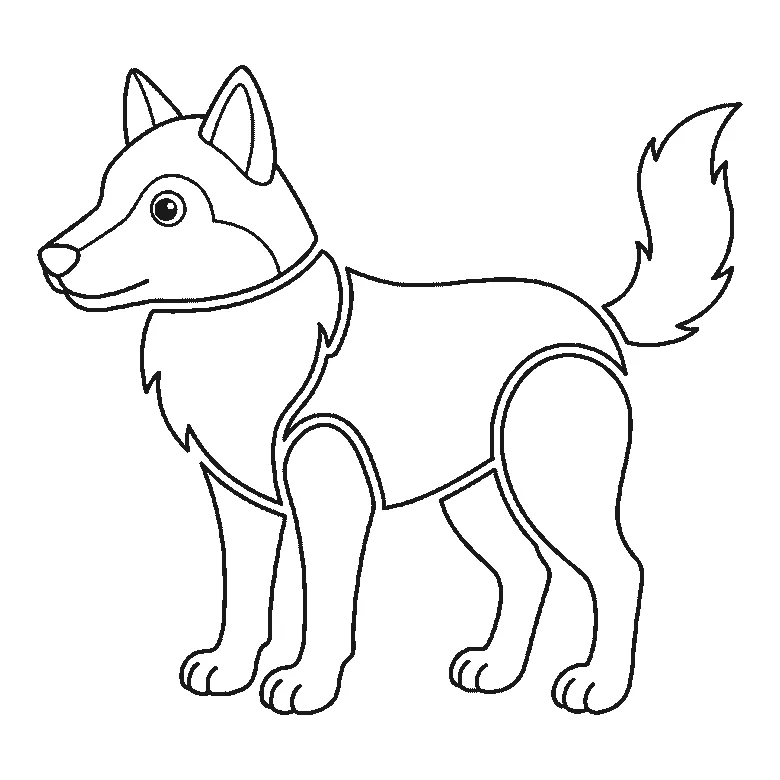
How to draw a wolf
Six frames, one wolf standing in profile. The chest ruff and a hind leg first, then the body, the head and the bushy tail.
Step sequence made by us from a single drawing: each step keeps the lines of the one before it and adds to them.
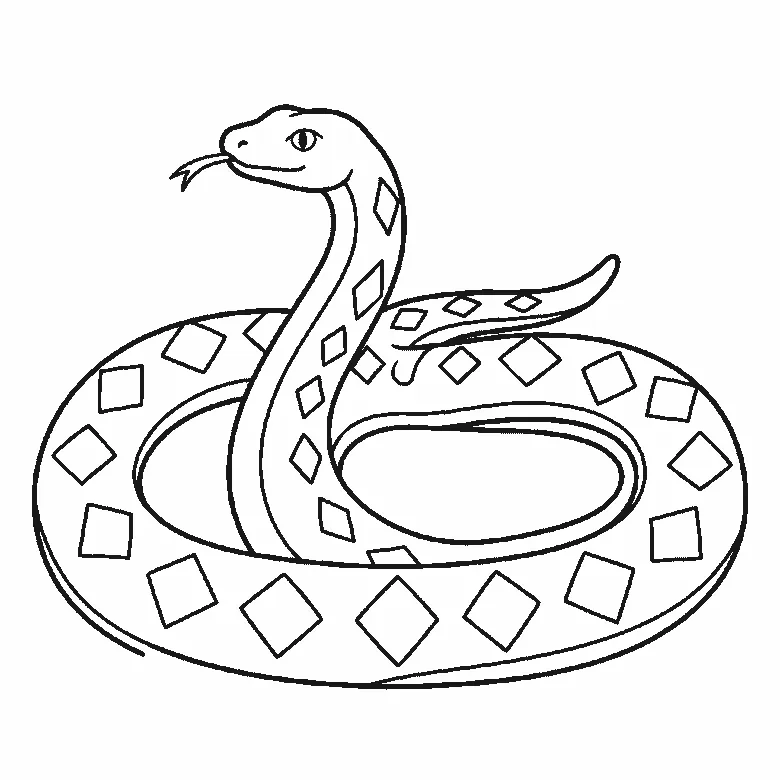
How to draw a snake
Six frames, one snake coiled in two loops with its head raised. Almost the whole coil in the first frame, then the inner edge and the diamonds.
Step sequence made by us from a single drawing: each step keeps the lines of the one before it and adds to them.
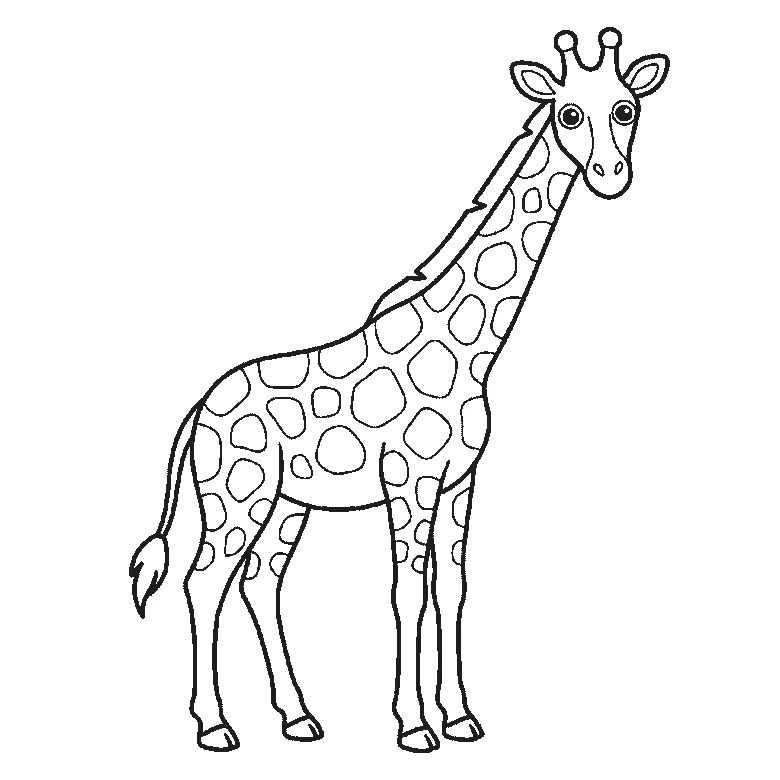
How to draw a giraffe
Six frames, one giraffe in profile with its head turned to you. Body, neck and legs first, then the coat patches and the face.
Step sequence made by us from a single drawing: each step keeps the lines of the one before it and adds to them.
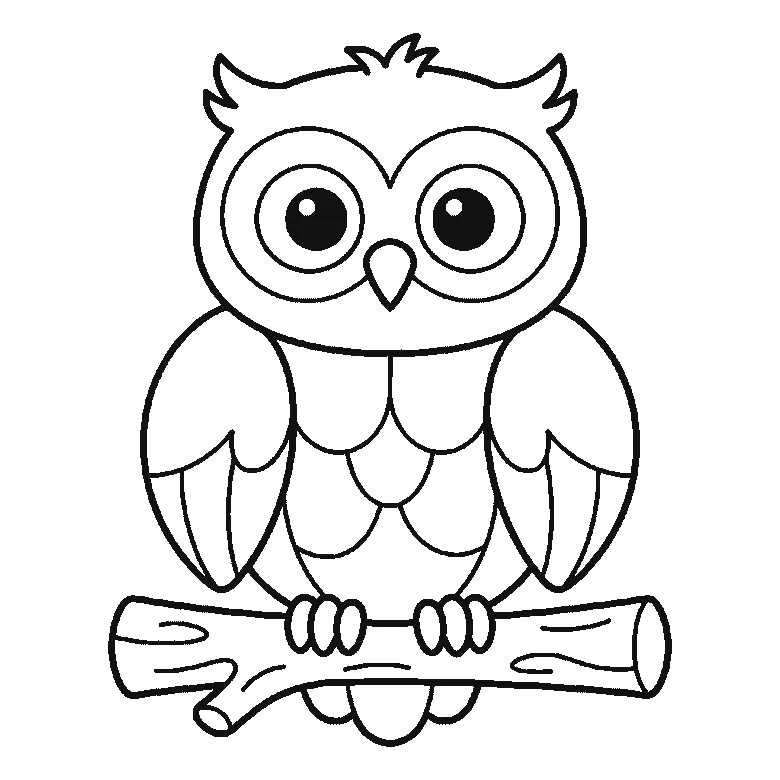
How to draw an owl
Six frames, one owl on a branch. The head and both ear tufts first, then the whole branch, then a wing at a time — and the pupils and the tail last.
Step sequence made by us from a single drawing: each step keeps the lines of the one before it and adds to them.
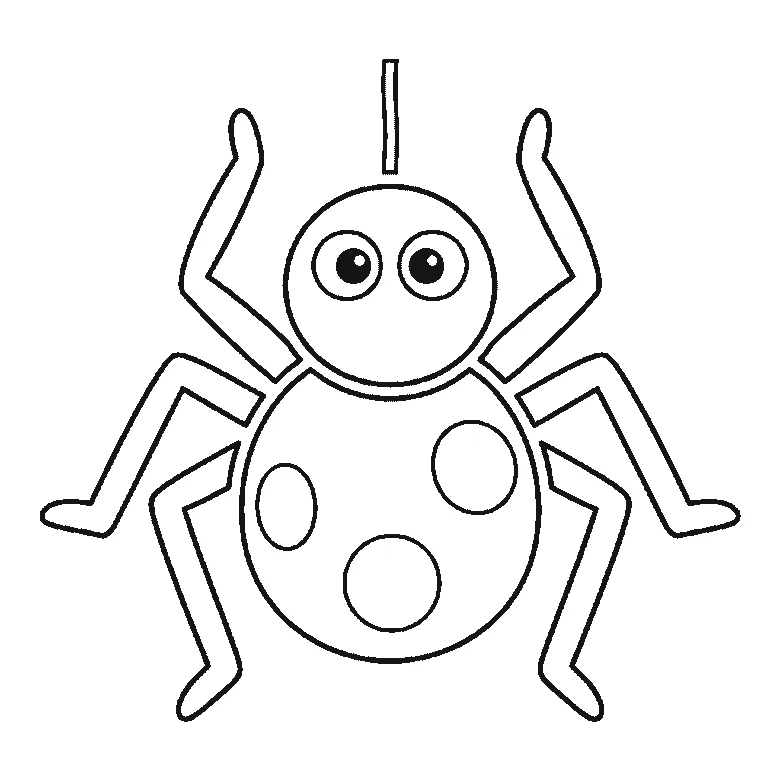
How to draw a spider
Six frames, one friendly spider. The patched round body first, then the head, then the legs two at a time — and the pupils and the thread right at the end.
Step sequence made by us from a single drawing: each step keeps the lines of the one before it and adds to them.
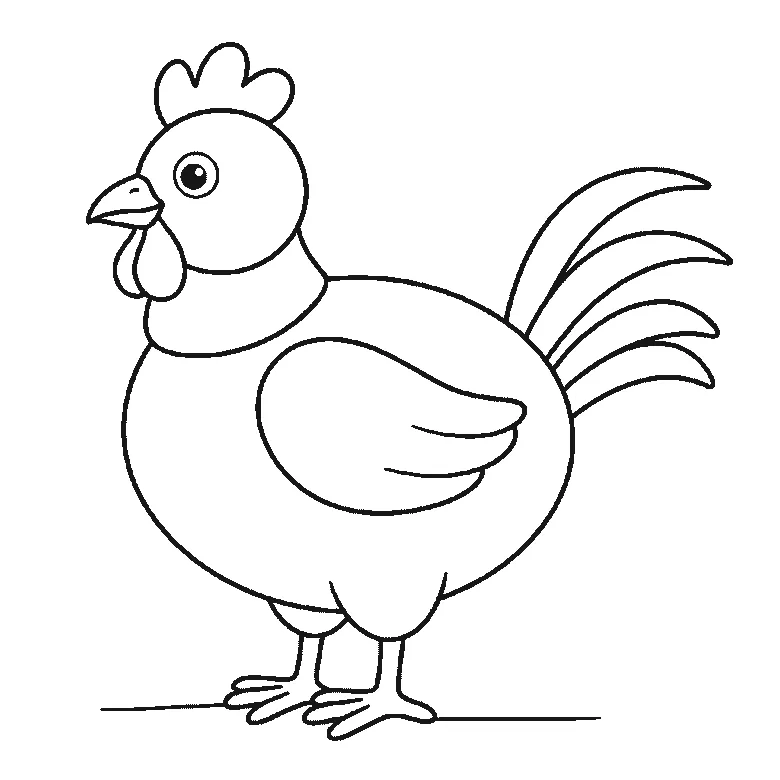
How to draw a chicken
Six frames, one plump hen standing side-on. The body first with no head at all, then the head and the folded wing, and the beak, wattle and eye right at the end.
Step sequence made by us from a single drawing: each step keeps the lines of the one before it and adds to them.
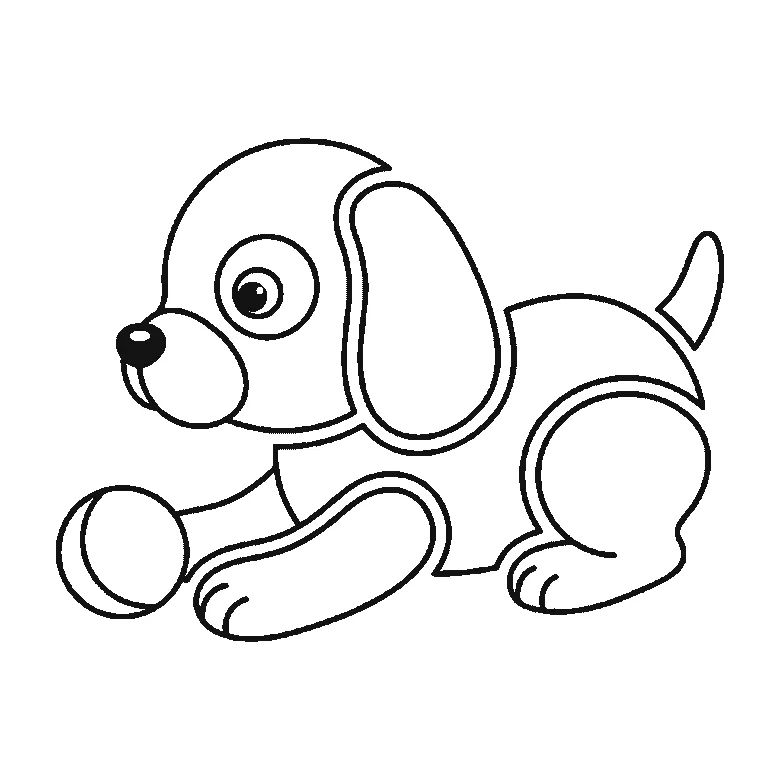
How to draw a puppy
Six frames, one round puppy lying down with a ball. The back and haunch first — no head until the second frame — and the nose, eye and tail last.
Step sequence made by us from a single drawing: each step keeps the lines of the one before it and adds to them.
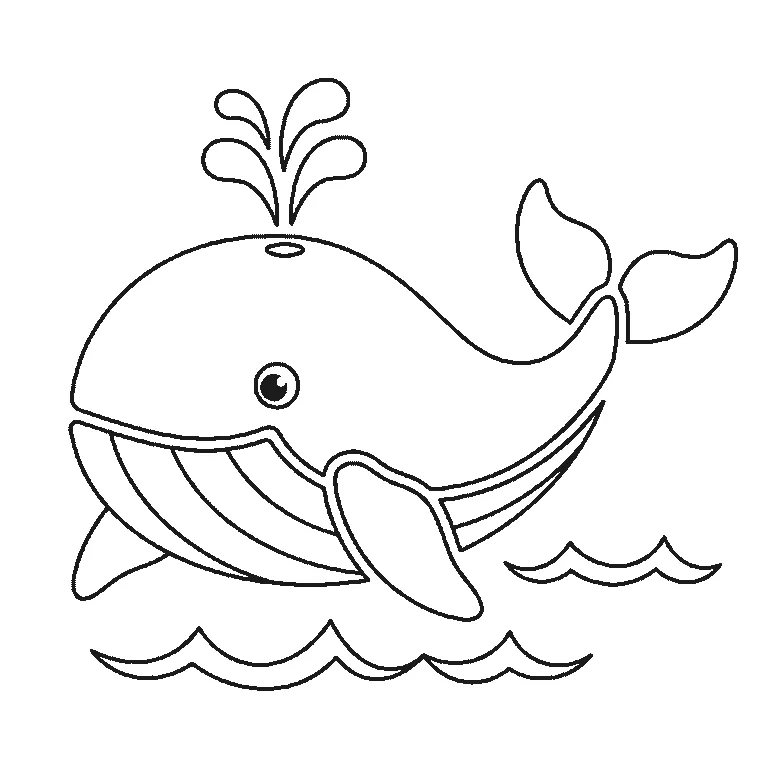
How to draw a whale
Six frames, one whale above the waves. The whole body first with the eye left blank, then the tail and the big flipper, and the spout and the filled pupil last.
Step sequence made by us from a single drawing: each step keeps the lines of the one before it and adds to them.


