
PDF · A4 · 49 KB · Free, no sign-up. For home and classroom use.
How to draw a dolphin
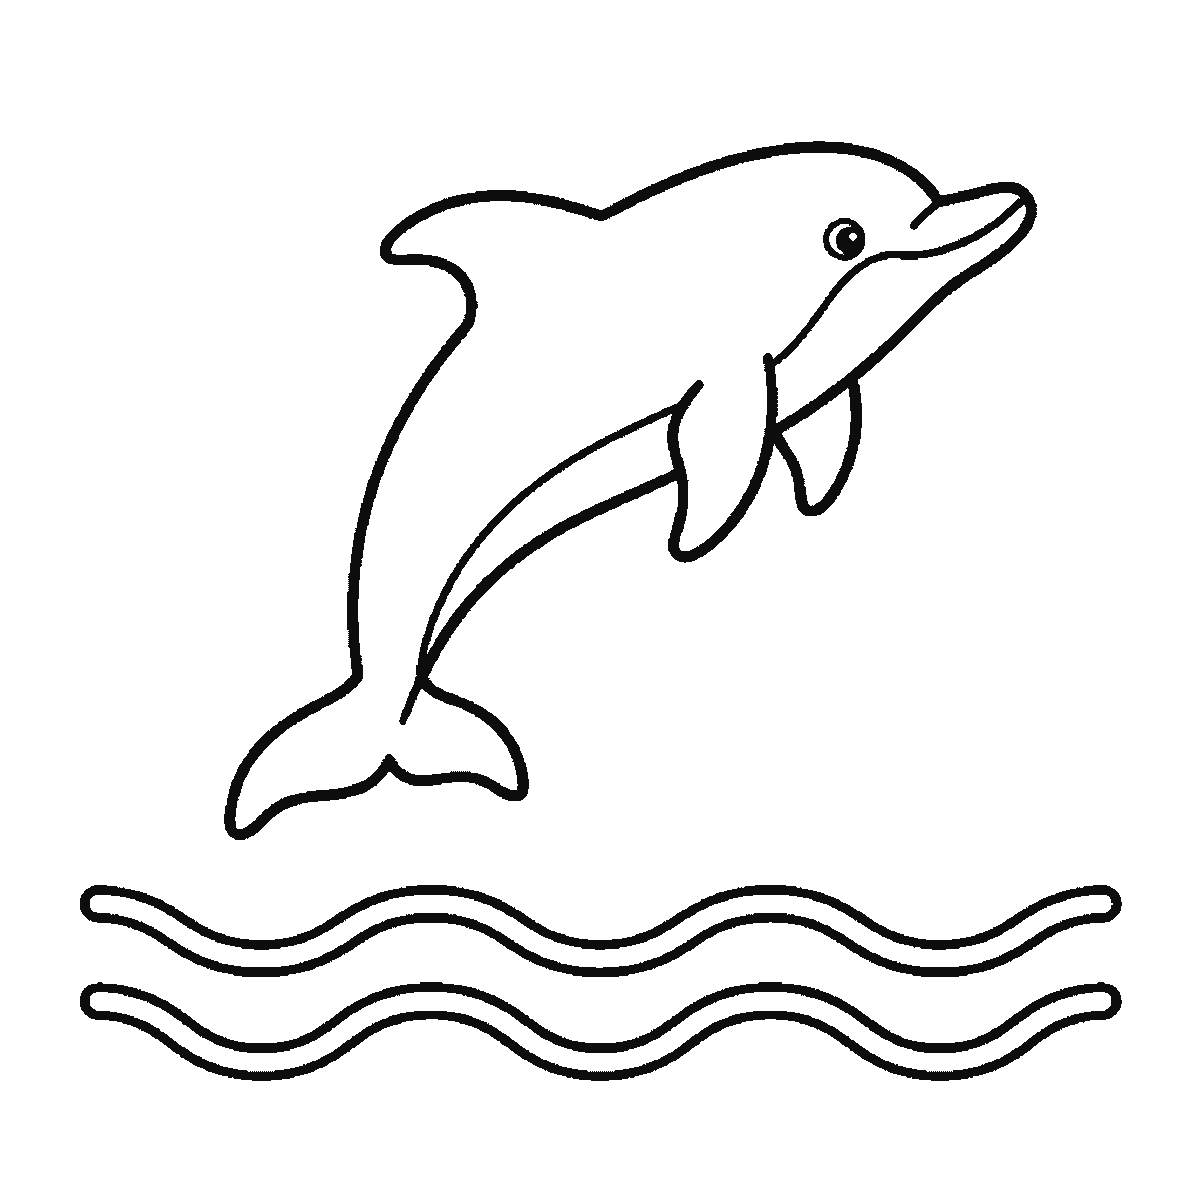
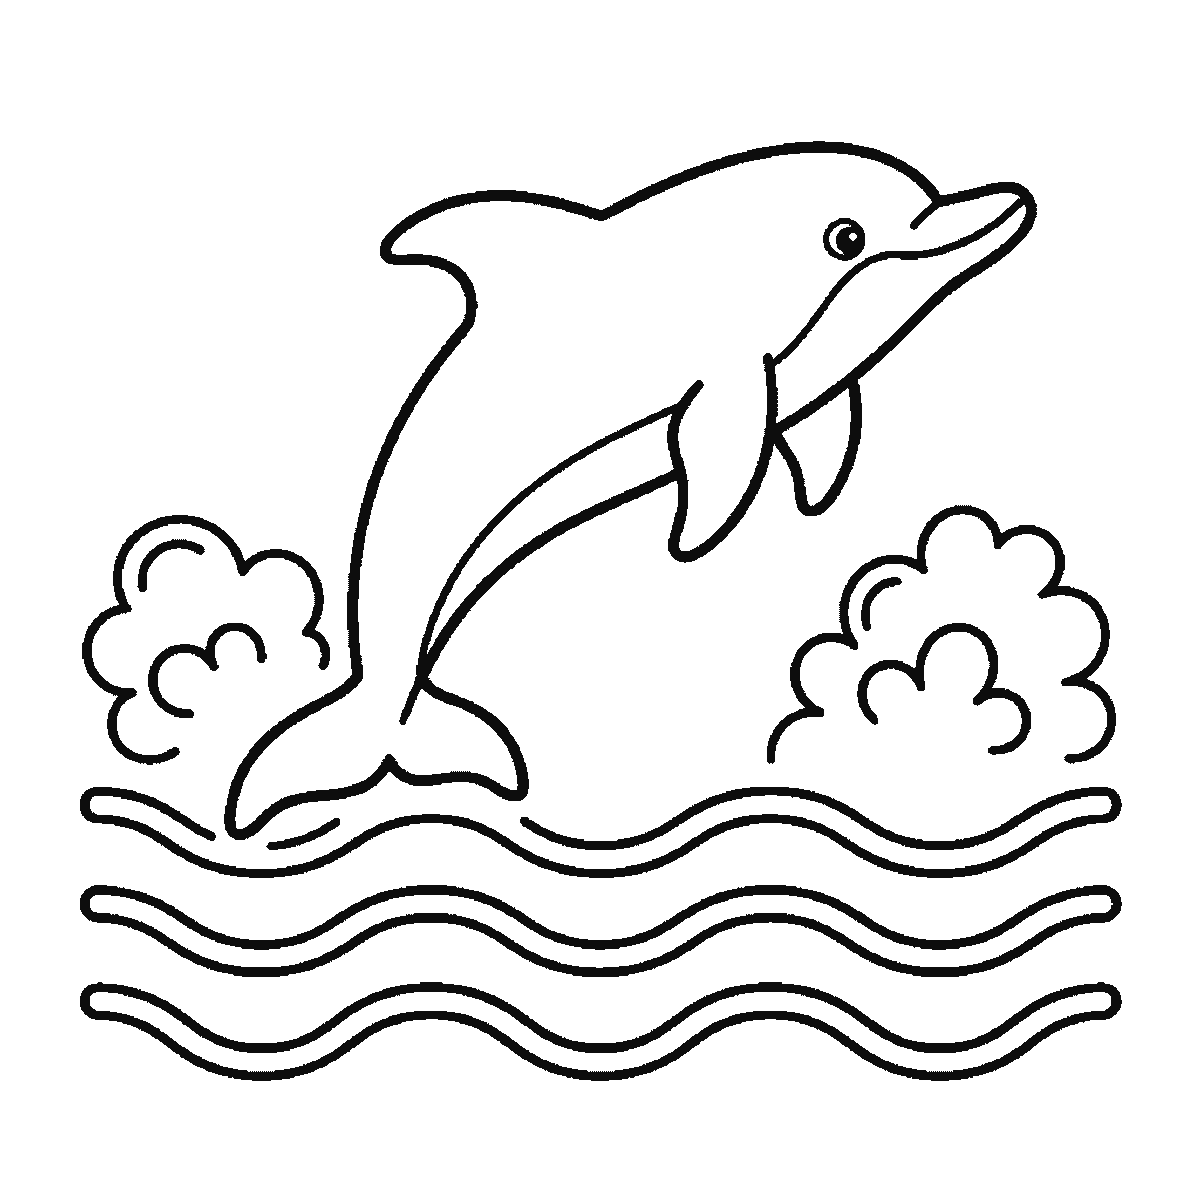
Six frames, one dolphin leaping over the waves. The whole animal in the first frame, then the waves and the splashes around it.
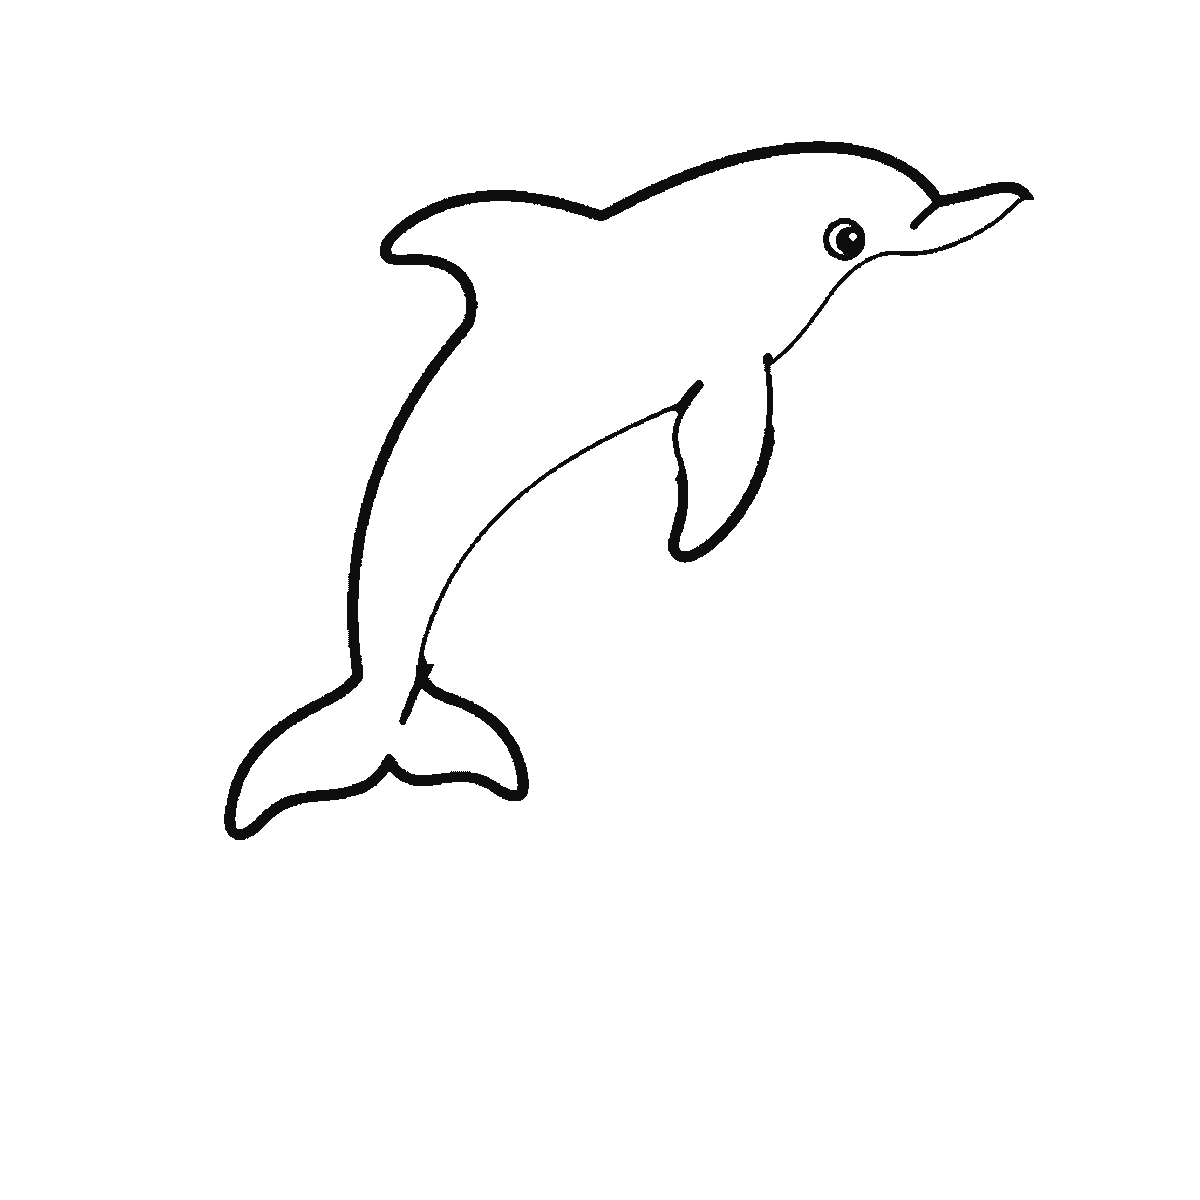
A dolphin is a single smooth curve with a beak at one end and a fluke at the other, and it is one of the few animals where the whole drawing succeeds or fails on one line. That line is the back, and this sheet asks you to commit to it in frame one before anything else exists.
It is also, unusually, almost the whole drawing. This sheet is honest about being a weak sequence: the dolphin arrives essentially complete in frame one and the five frames after it add the sea. That is a consequence of how the frames are derived — by revealing closed shapes largest first — and on an animal drawn as one flowing outline there is simply no smaller piece to hold back. So take frame one slowly. Draw the back as an arc, not a straight body tilted upwards: a leaping dolphin bends, the nose points up and forward, the middle of the back is the highest point, and the tail curls down behind. A straight torpedo at an angle looks launched rather than alive, and nothing added afterwards will fix it.
The body is deepest just behind the head and tapers steadily to a narrow stalk where the tail joins. That taper should be gradual and continuous. A dolphin that stays the same thickness and then suddenly narrows reads as a rubber toy.
The beak comes off the front as a short blunt cone, clearly separated from the forehead by a shallow crease. That crease is one of the most recognisable things about the animal and it takes one small curve. Above it the forehead rises into a rounded dome, and the dome should be generous — a flat forehead turns the dolphin into a small whale.
The mouth line runs back from the tip of the beak in a long shallow curve that lifts very slightly at the end, which is why dolphins always look like they are enjoying themselves. The eye is small, round, with a filled pupil, set just behind and slightly above the corner of the mouth. Both details are tiny and both are the whole expression.
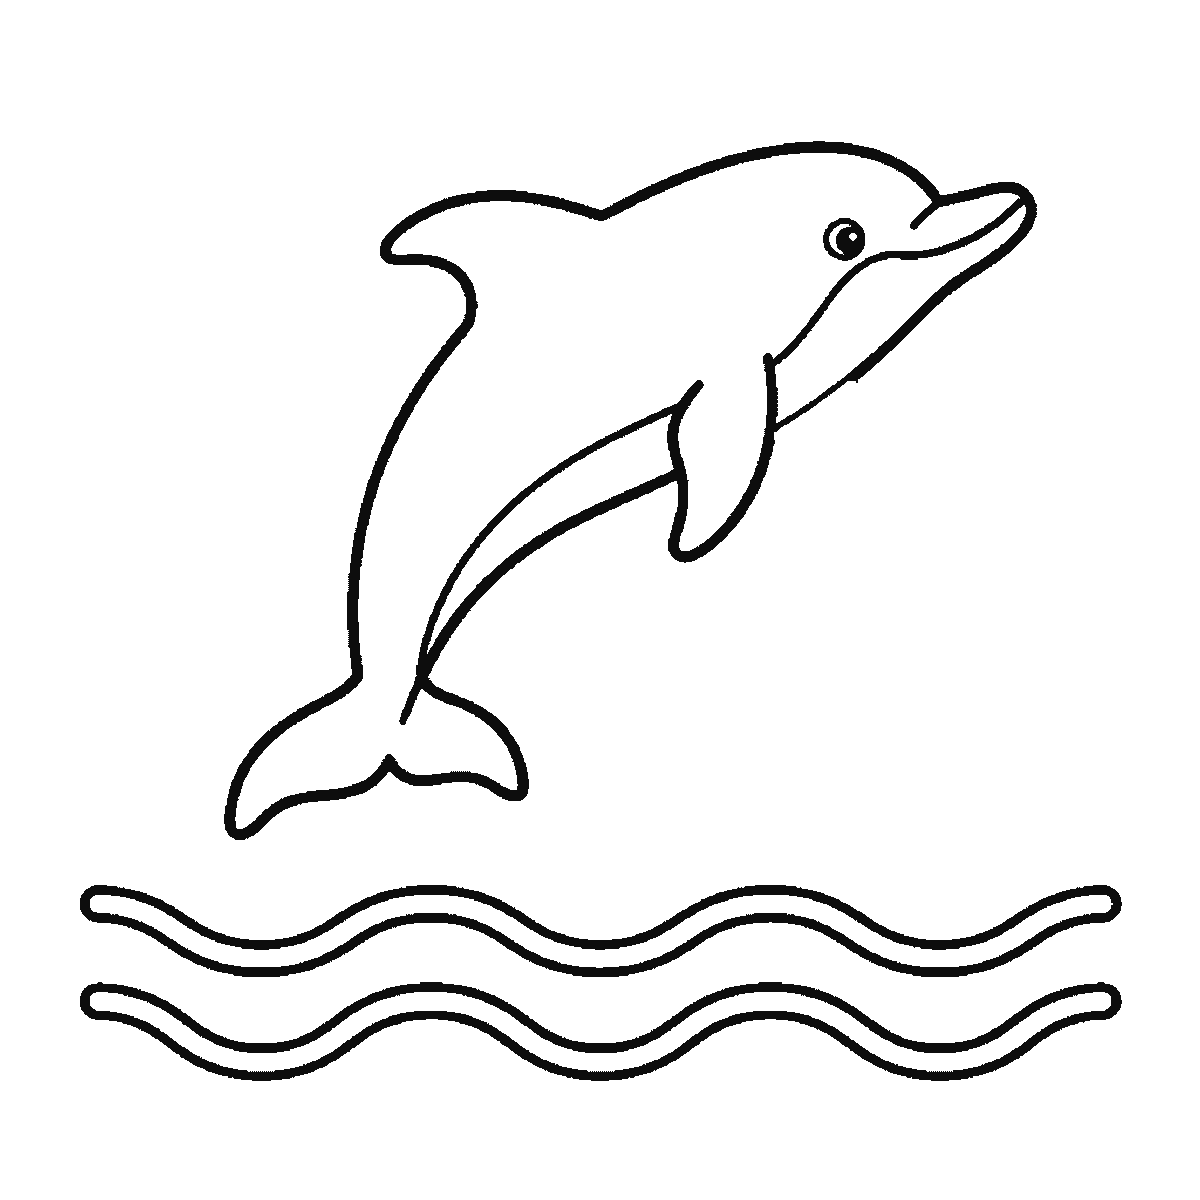
The dorsal fin sits at the top of the arc, curved backwards like a wave about to break, with a long leading edge and a hollowed trailing one. The flippers come off the lower body behind the head, angled back, flattened and slightly curved. Neither should be symmetrical; every fin on this animal sweeps backwards.
The tail fluke is the last big shape and the one worth drawing carefully. It is horizontal, not vertical — a whale or dolphin's tail lies flat, which is the opposite of every fish. Two broad lobes sweeping out sideways with a small notch between them, and the whole thing set at an angle to the body rather than in line with it.
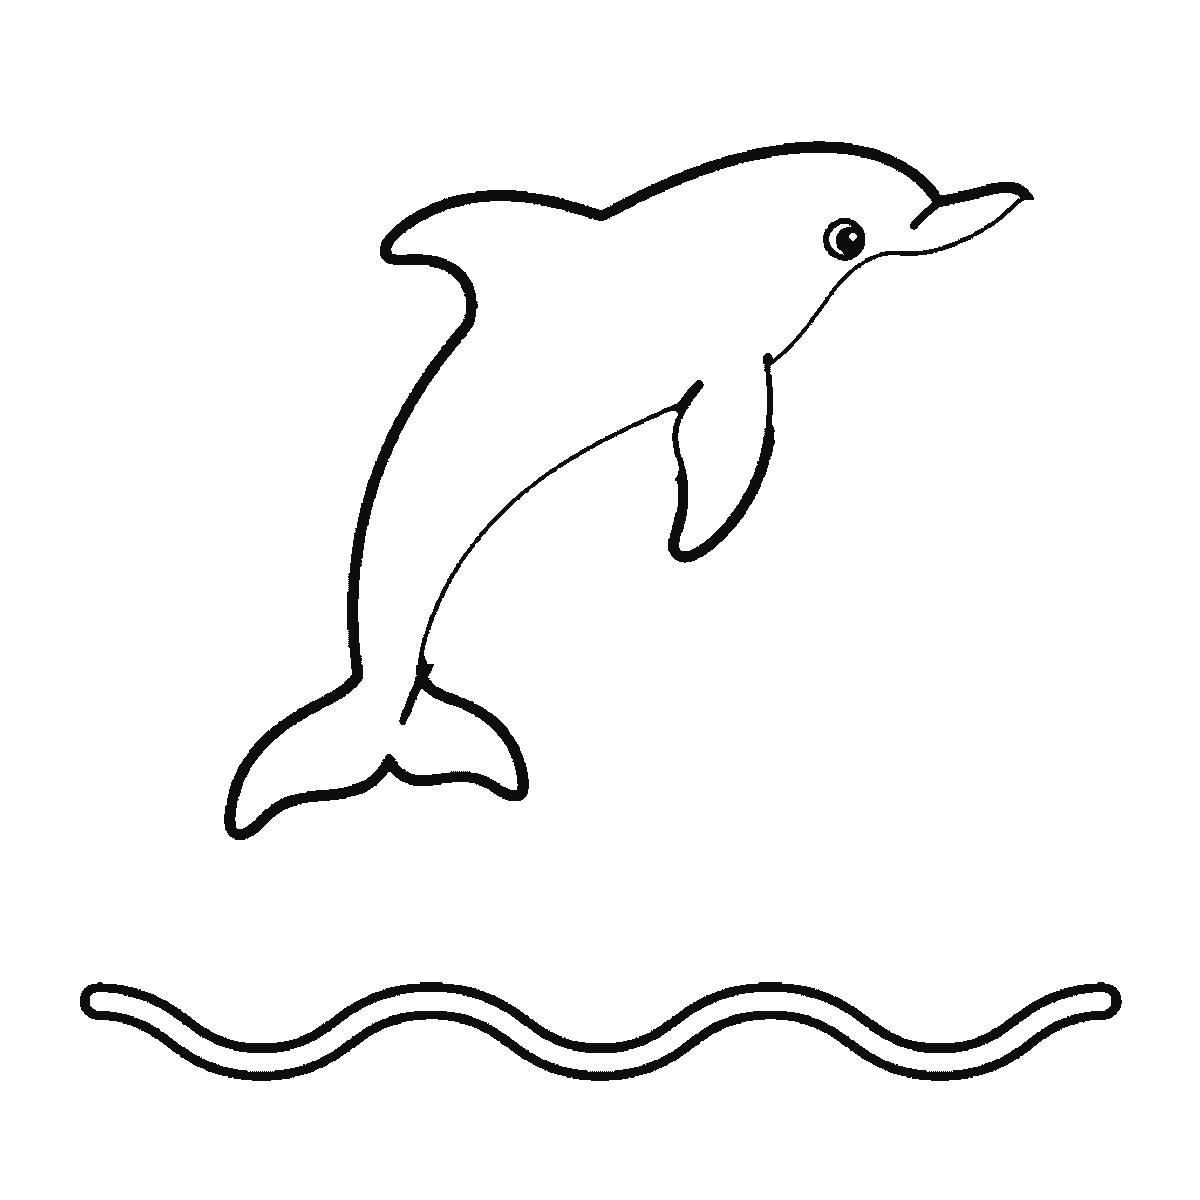
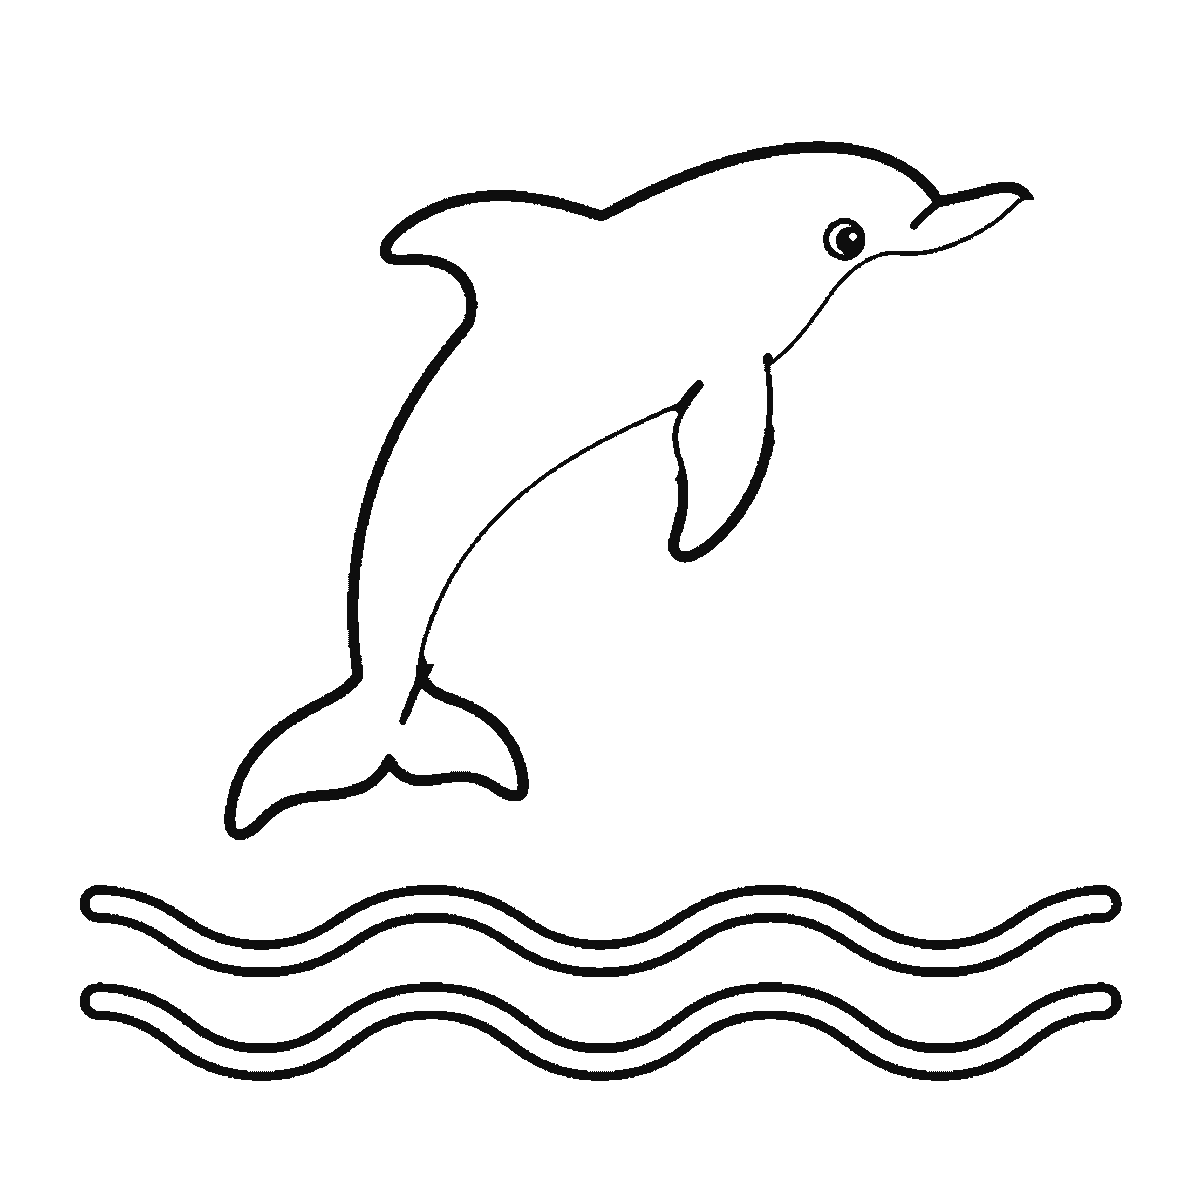
Underneath, three simple wave lines run across the sheet, and the dolphin's tail passes behind them so the animal is coming out of the water rather than floating above it. That overlap is doing real work: without it the waves are a decoration at the bottom of the page and the dolphin is nowhere in particular.
The two splash clouds sit where the animal broke the surface, drawn as rounded bumpy shapes rather than spikes. Water thrown up in a leap is round and heavy, not sharp. Making the two splashes different sizes and setting them at different distances from the tail keeps them from looking like a pair of clouds someone stamped on.
The six frames go from the largest closed shape to the smallest, which for this drawing means the whole dolphin, then the three wave lines one at a time, then a flipper detail, then the two splashes. As a step sequence that is thin, and it is fairer to call it a finished drawing with its setting built up around it than to pretend the animal is being taught in six stages. Nothing here claims this is the order anyone ought to draw a dolphin in.
Before you start
- Draw the back as an arc, not a straight body tilted up. That one line is most of the drawing.
- Put a shallow crease between the beak and the forehead, and keep the forehead domed.
- Lay the tail fluke flat and horizontal. A vertical tail makes it a fish.
- Let the tail pass behind the wave lines so the animal is leaving the water, not hovering.
Published Updated 676 words
The six steps
The steps go from the largest shape to the smallest, which is an easy order to copy. It is not the only order, and it is not a rule — if you would rather start somewhere else on the sheet, do.
Step 1
Step 2
Step 3
Step 4
Step 5
Step 6
More in this section
How to draw a bee
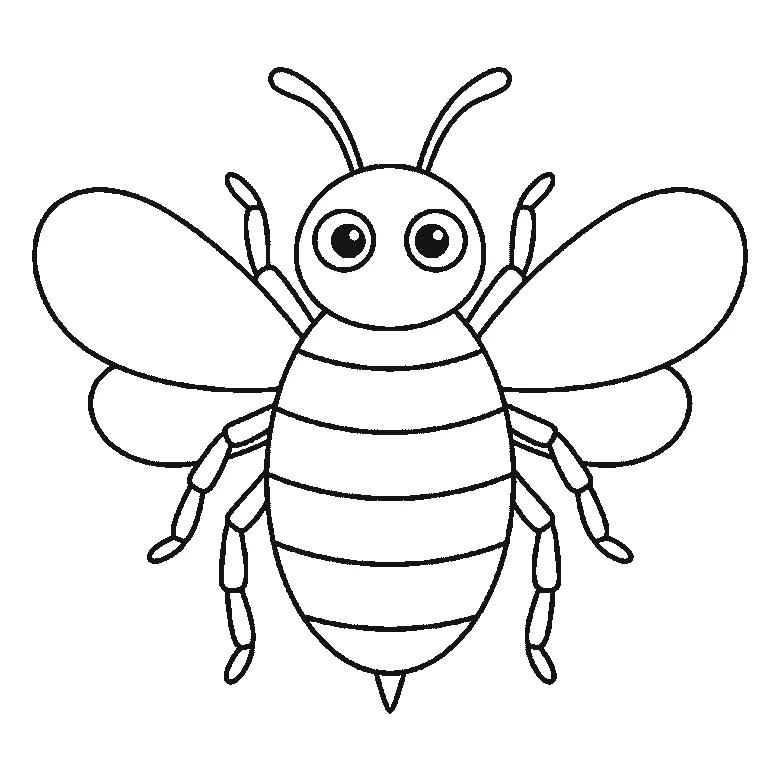
Six frames, one bumblebee seen from the front. The wings and head first, then the striped body, the legs and the antennae.
Step sequence made by us from a single drawing: each step keeps the lines of the one before it and adds to them.
How to draw a wolf
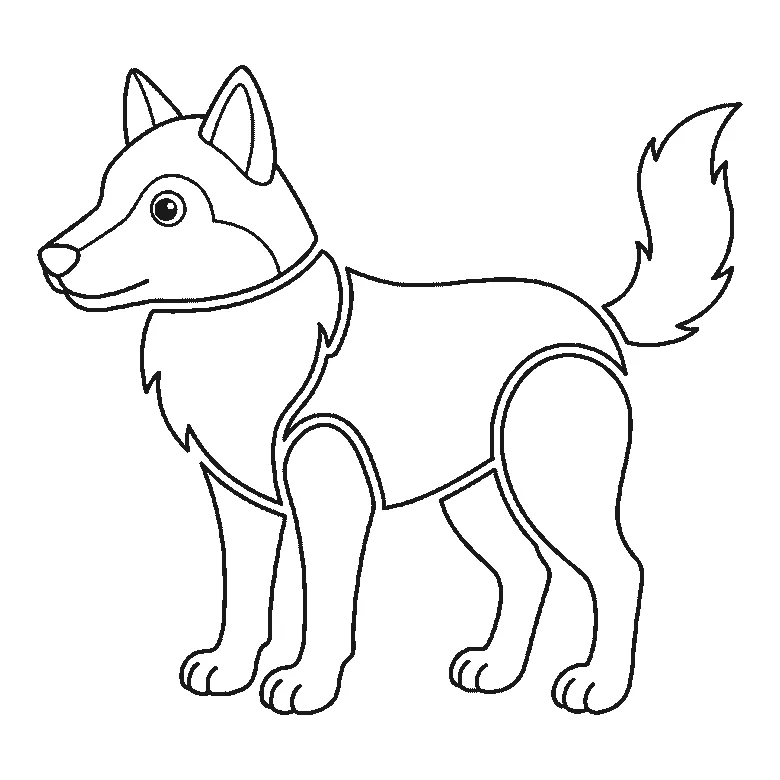
Six frames, one wolf standing in profile. The chest ruff and a hind leg first, then the body, the head and the bushy tail.
Step sequence made by us from a single drawing: each step keeps the lines of the one before it and adds to them.
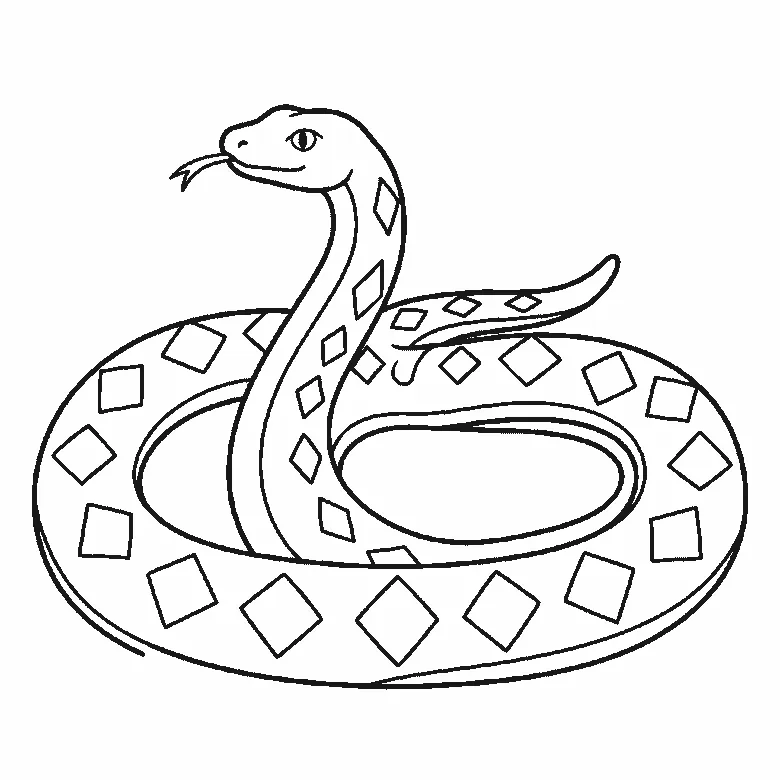
How to draw a snake
Six frames, one snake coiled in two loops with its head raised. Almost the whole coil in the first frame, then the inner edge and the diamonds.
Step sequence made by us from a single drawing: each step keeps the lines of the one before it and adds to them.
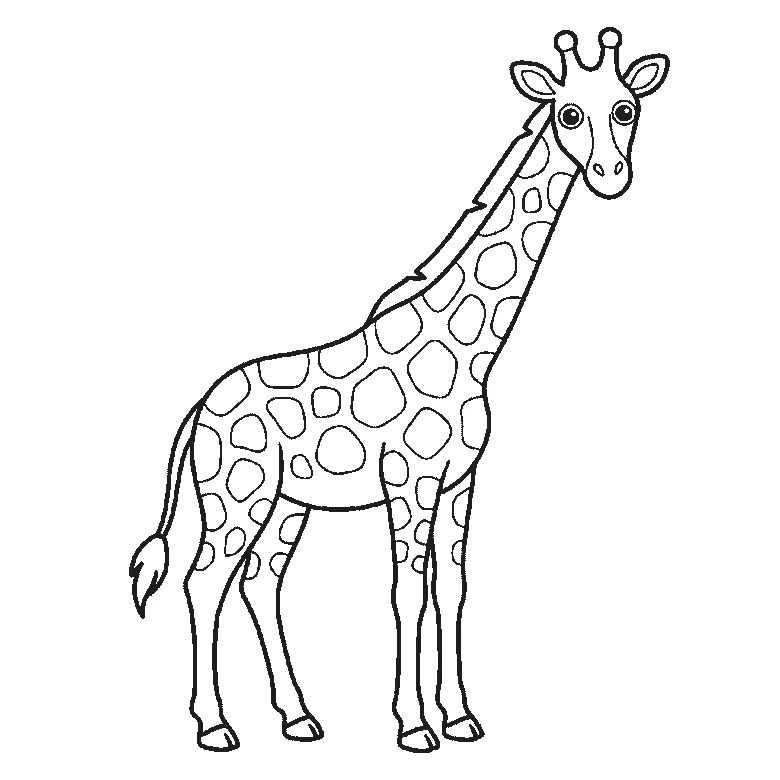
How to draw a giraffe
Six frames, one giraffe in profile with its head turned to you. Body, neck and legs first, then the coat patches and the face.
Step sequence made by us from a single drawing: each step keeps the lines of the one before it and adds to them.
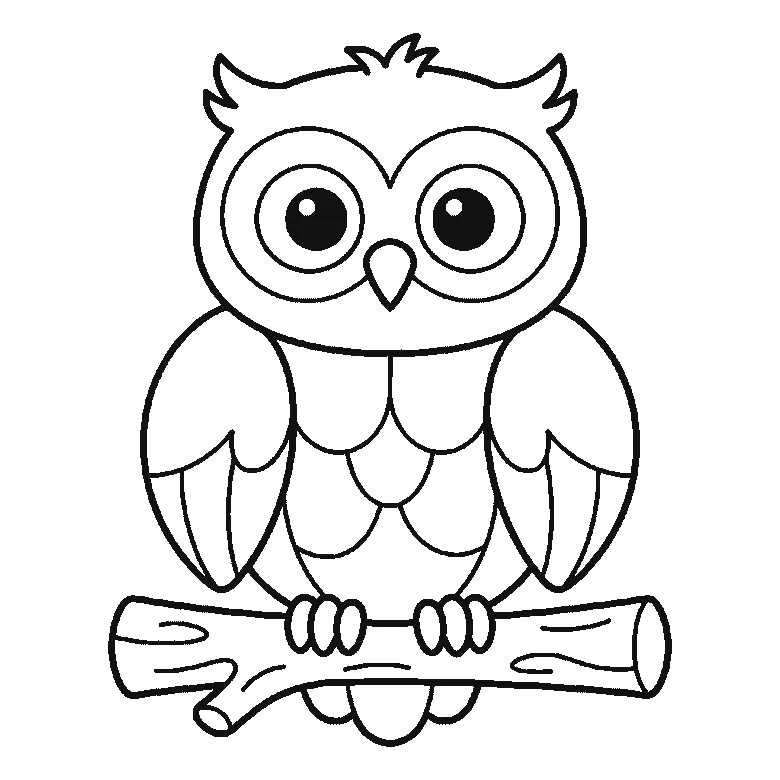
How to draw an owl
Six frames, one owl on a branch. The head and both ear tufts first, then the whole branch, then a wing at a time — and the pupils and the tail last.
Step sequence made by us from a single drawing: each step keeps the lines of the one before it and adds to them.
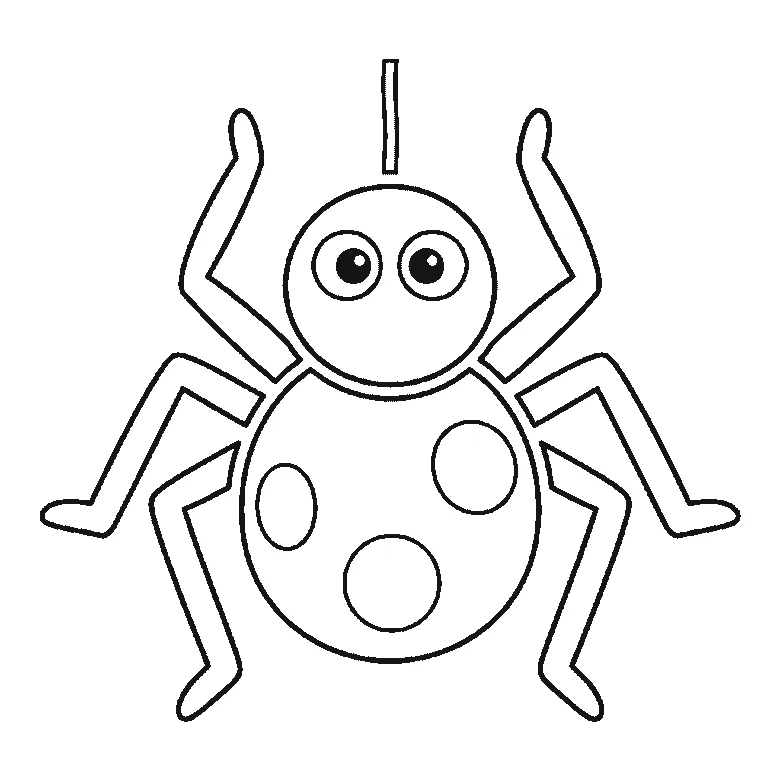
How to draw a spider
Six frames, one friendly spider. The patched round body first, then the head, then the legs two at a time — and the pupils and the thread right at the end.
Step sequence made by us from a single drawing: each step keeps the lines of the one before it and adds to them.
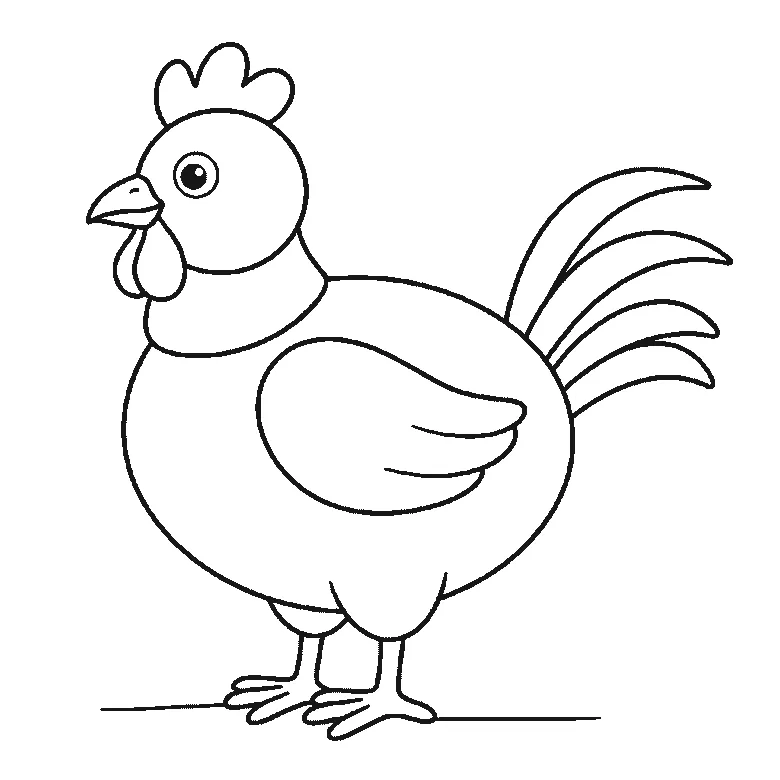
How to draw a chicken
Six frames, one plump hen standing side-on. The body first with no head at all, then the head and the folded wing, and the beak, wattle and eye right at the end.
Step sequence made by us from a single drawing: each step keeps the lines of the one before it and adds to them.
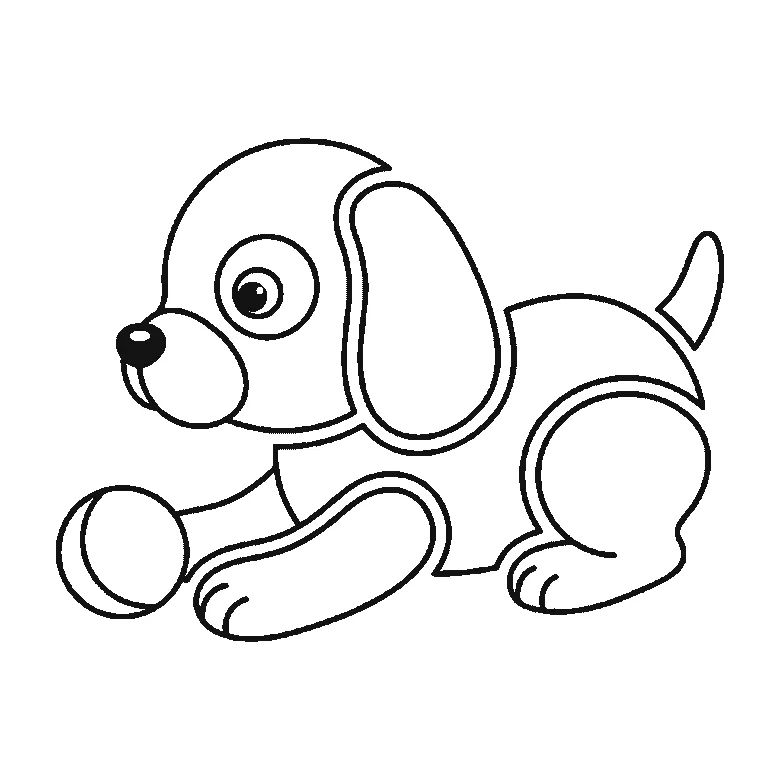
How to draw a puppy
Six frames, one round puppy lying down with a ball. The back and haunch first — no head until the second frame — and the nose, eye and tail last.
Step sequence made by us from a single drawing: each step keeps the lines of the one before it and adds to them.
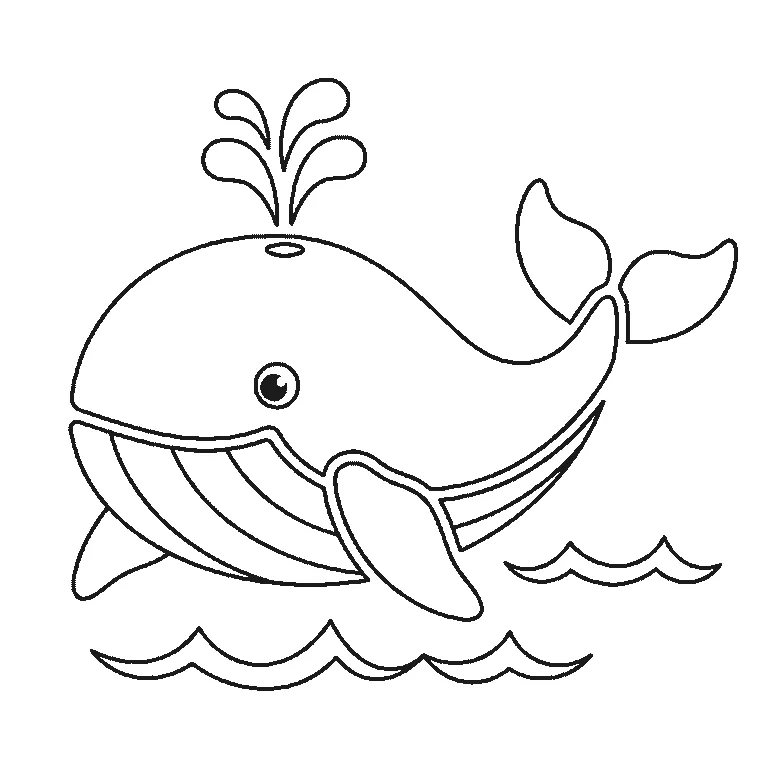
How to draw a whale
Six frames, one whale above the waves. The whole body first with the eye left blank, then the tail and the big flipper, and the spout and the filled pupil last.
Step sequence made by us from a single drawing: each step keeps the lines of the one before it and adds to them.
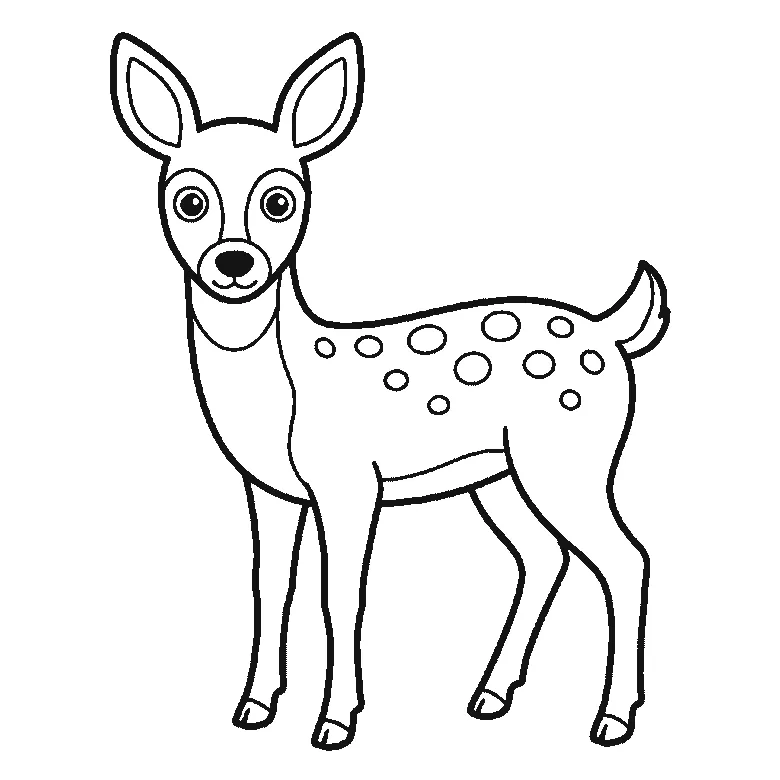
How to draw a deer
Six frames, one young deer standing side-on. The spotted body first with no head at all, then the ears — and the entire face arrives in the last frame.
Step sequence made by us from a single drawing: each step keeps the lines of the one before it and adds to them.
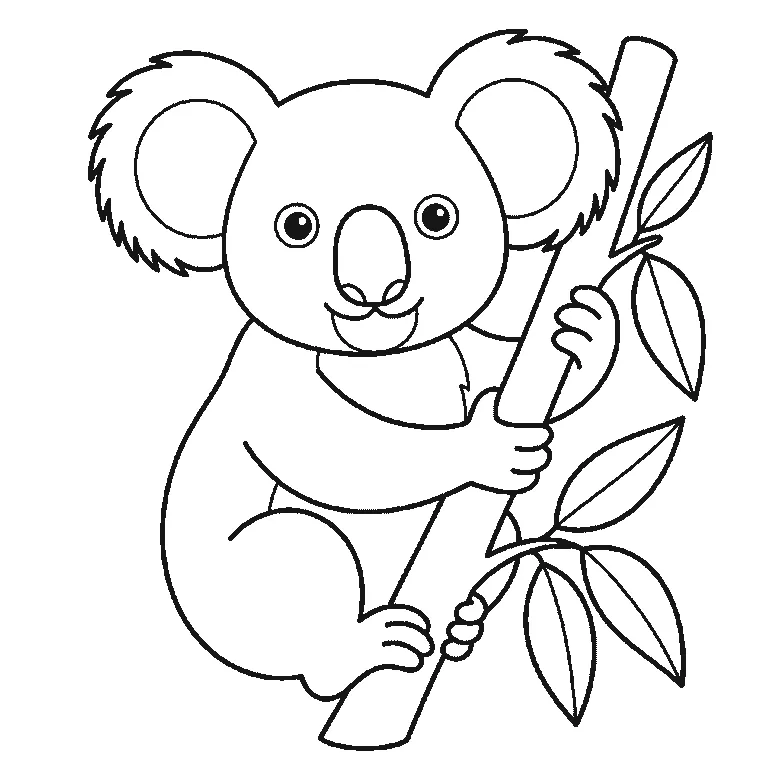
How to draw a koala
Six frames, one koala hugging a branch. The whole head and both fringed ears first, then the body, then the branch — and the eyes and the last leaves at the end.
Step sequence made by us from a single drawing: each step keeps the lines of the one before it and adds to them.
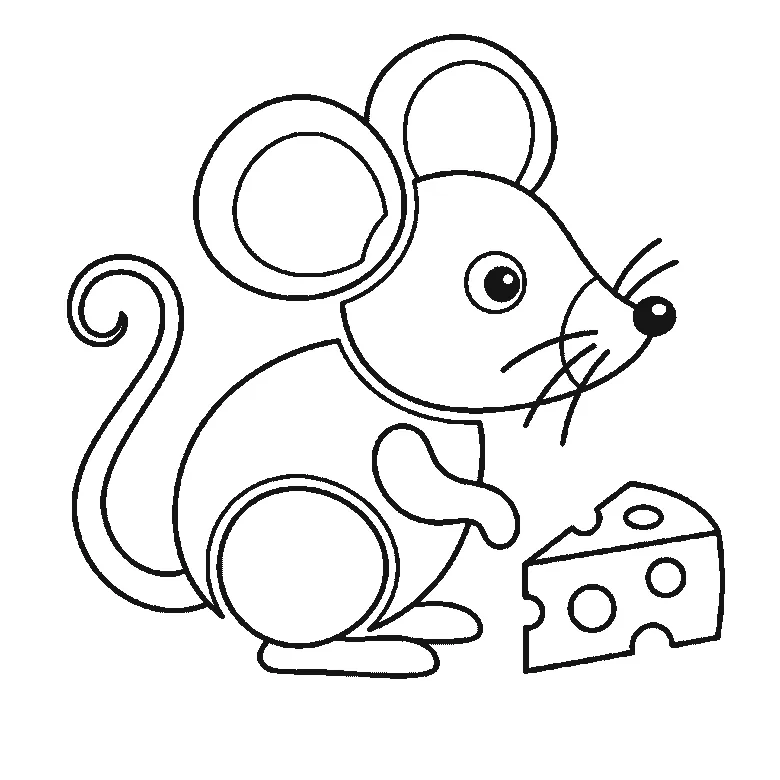
How to draw a mouse
Six frames, one mouse beside a wedge of cheese. The head and the back together first, then the ears, then the cheese — with the tail, whiskers and eye last.
Step sequence made by us from a single drawing: each step keeps the lines of the one before it and adds to them.


