
PDF · A4 · 70 KB · Free, no sign-up. For home and classroom use.
How to draw a koala
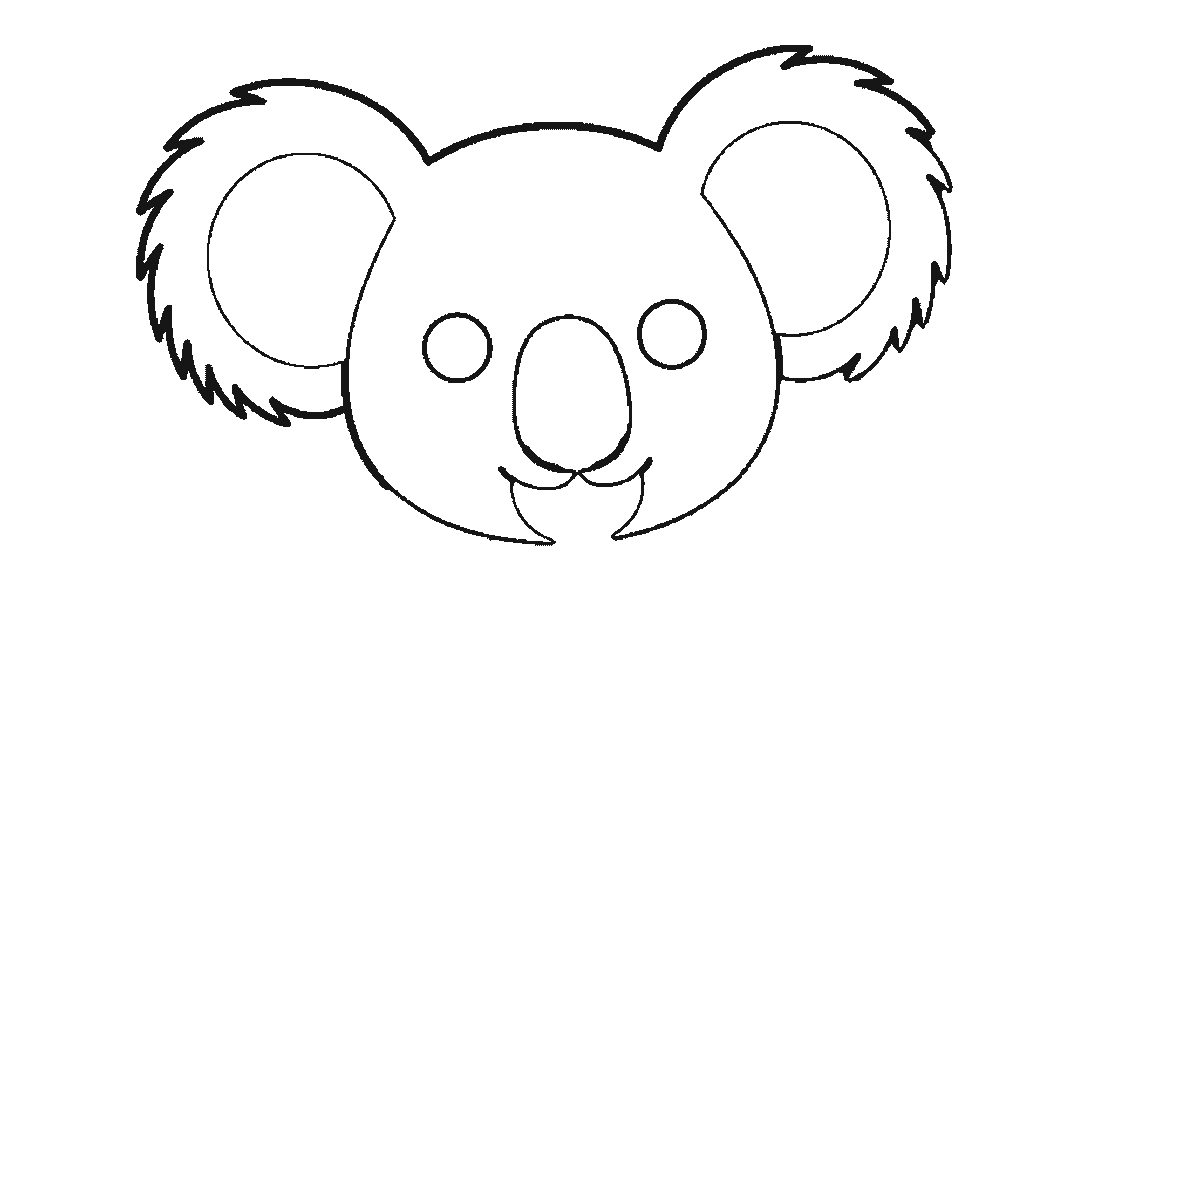
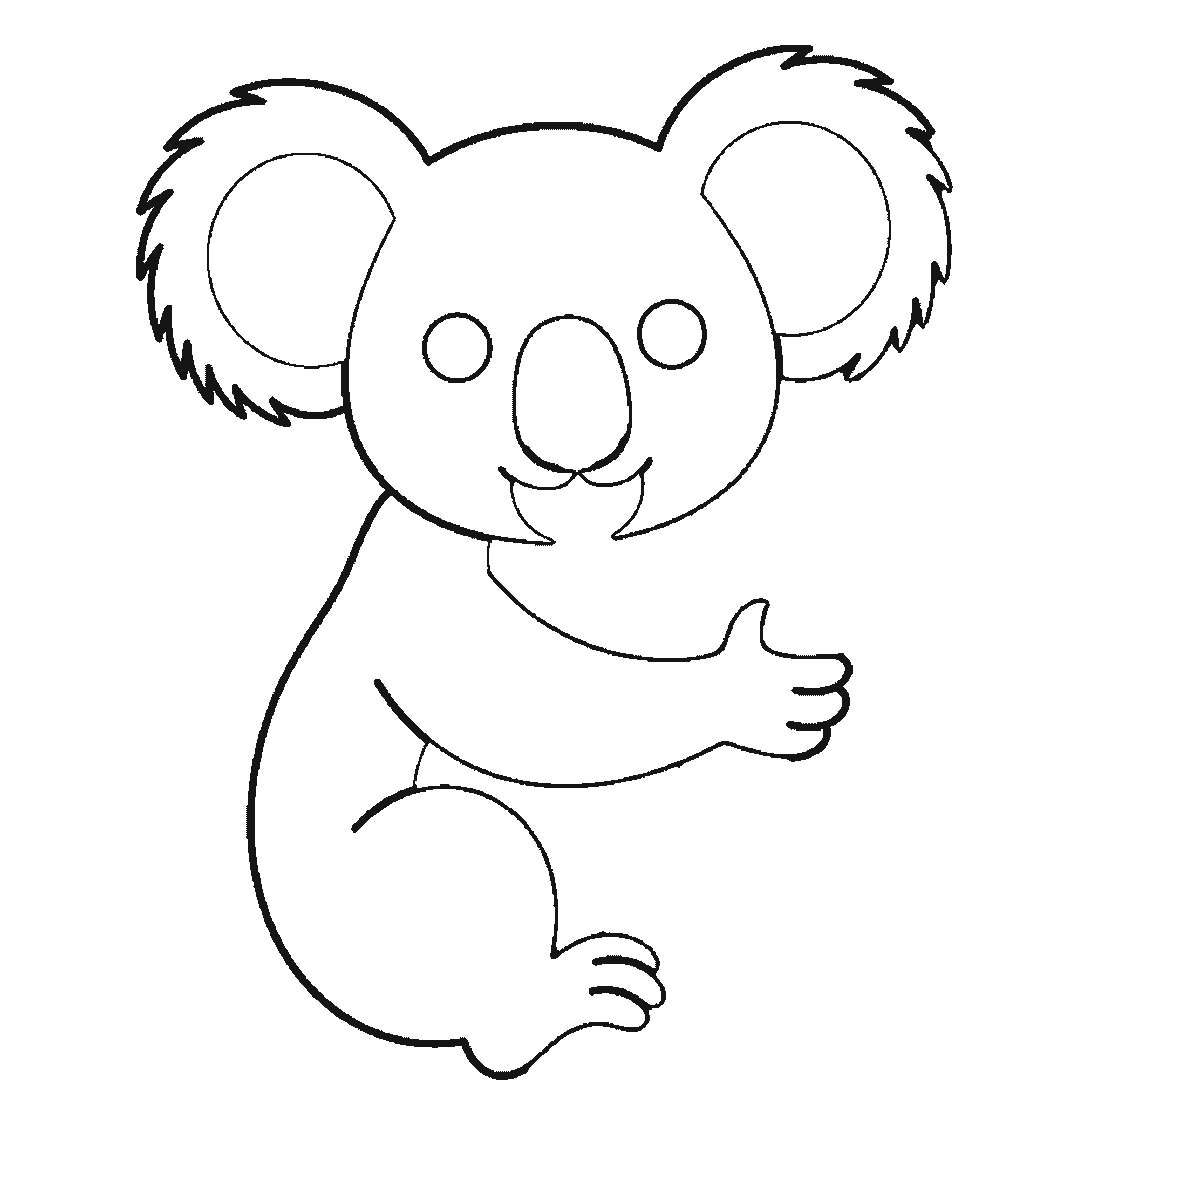
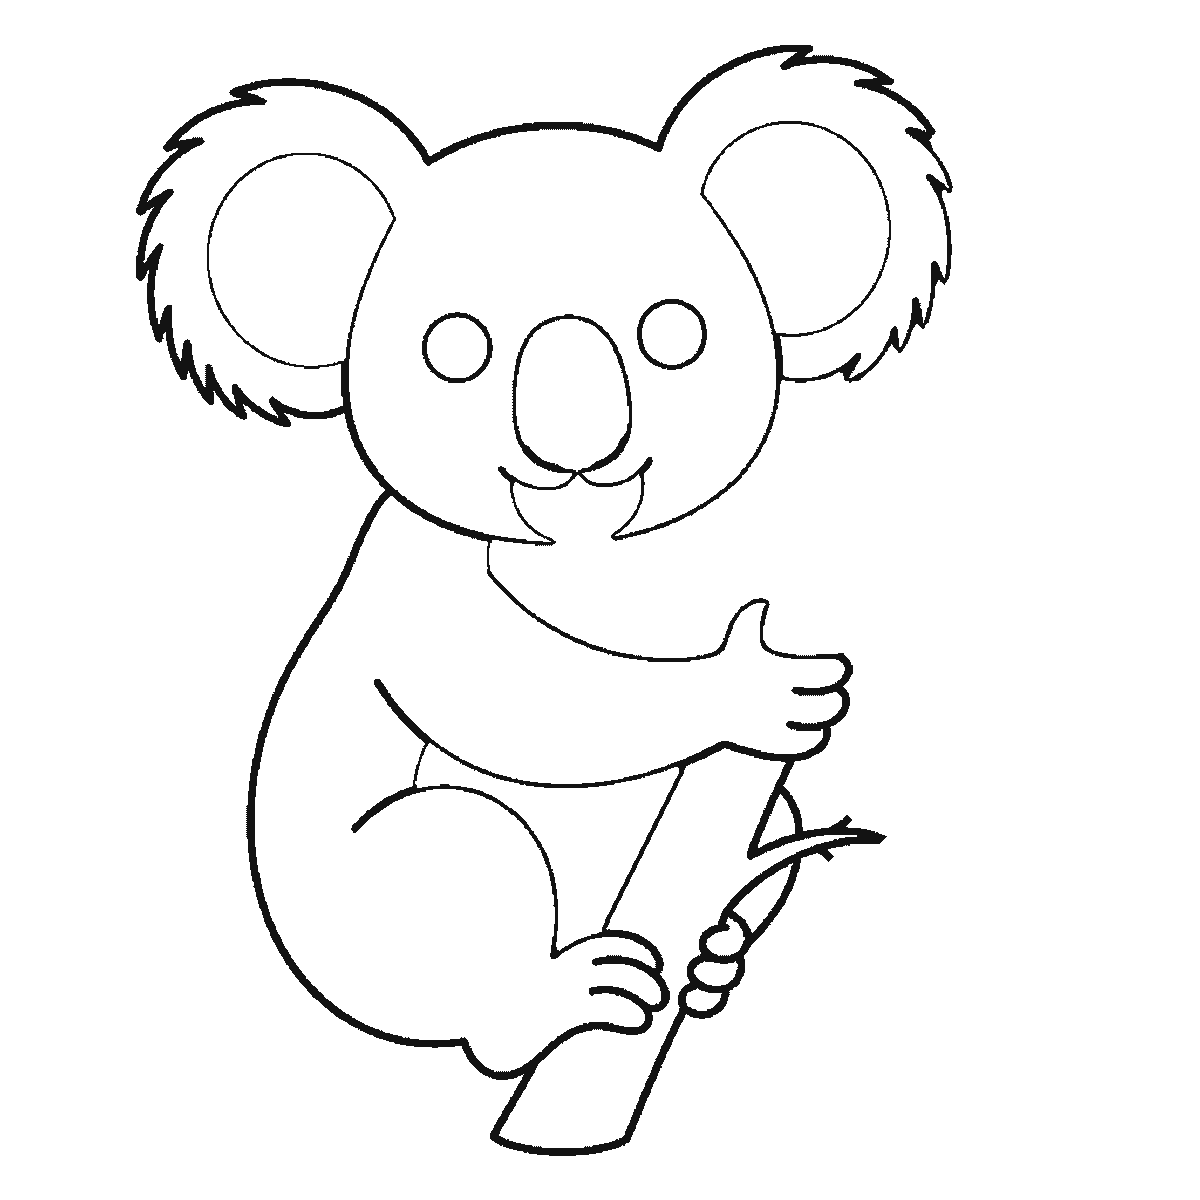
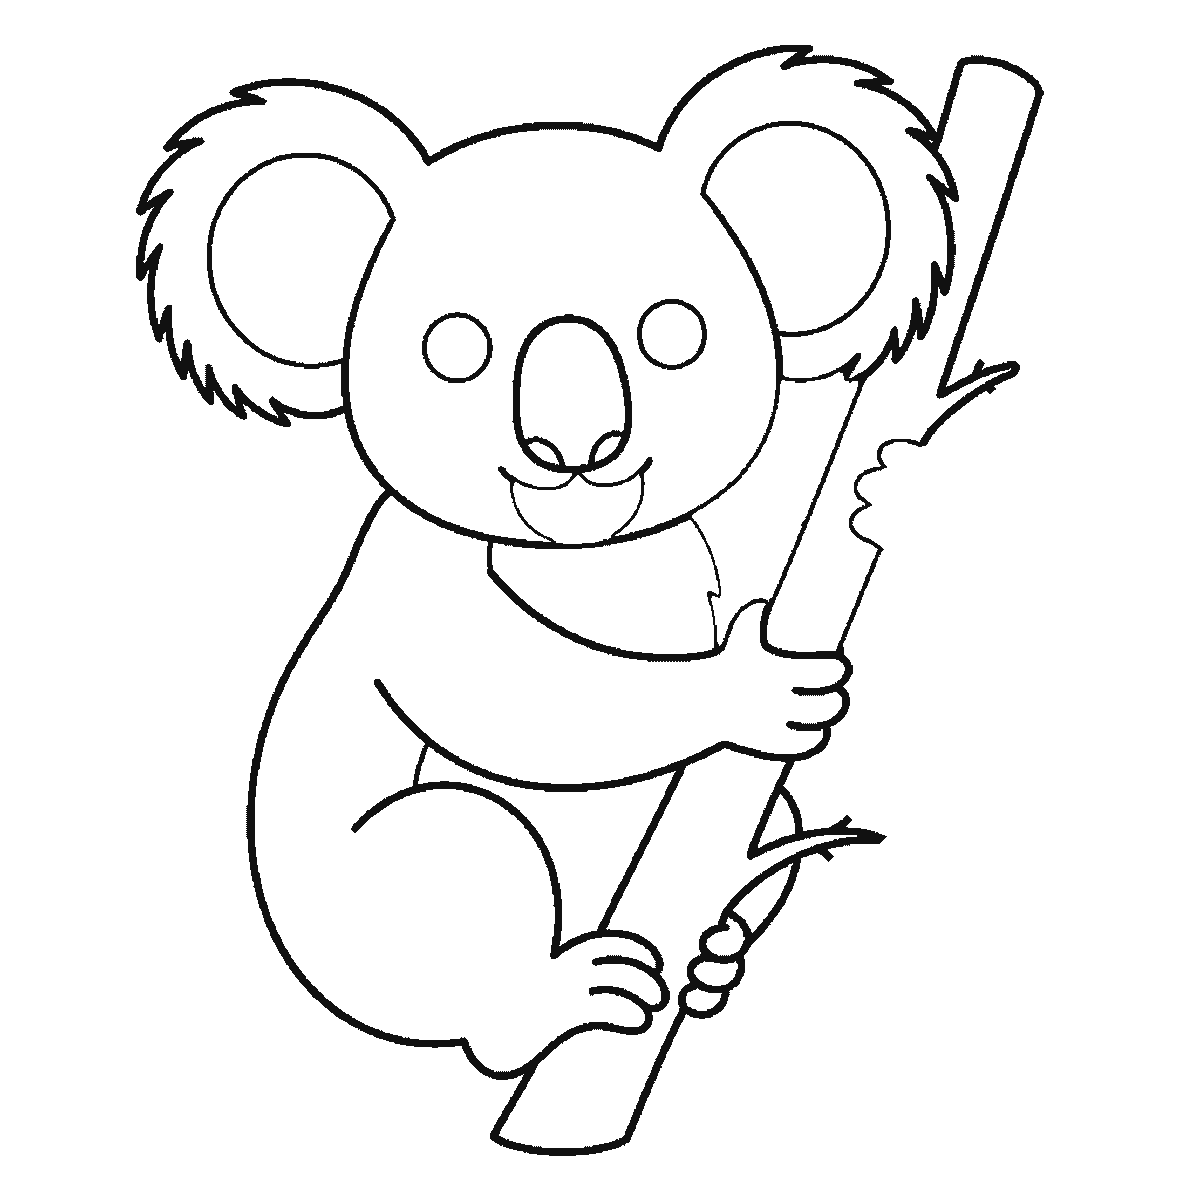
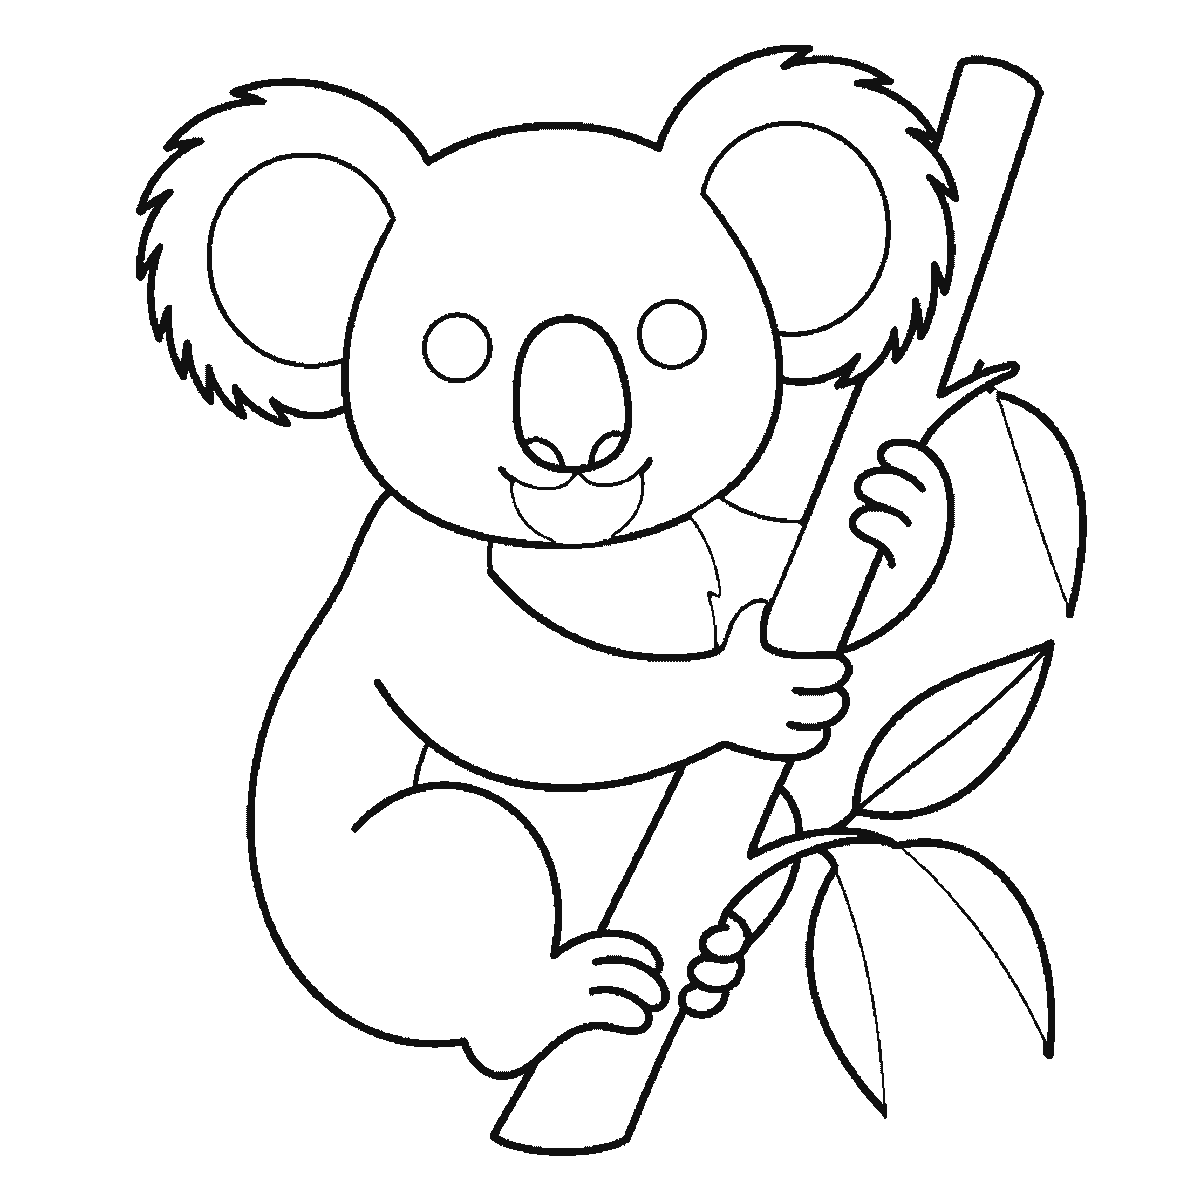
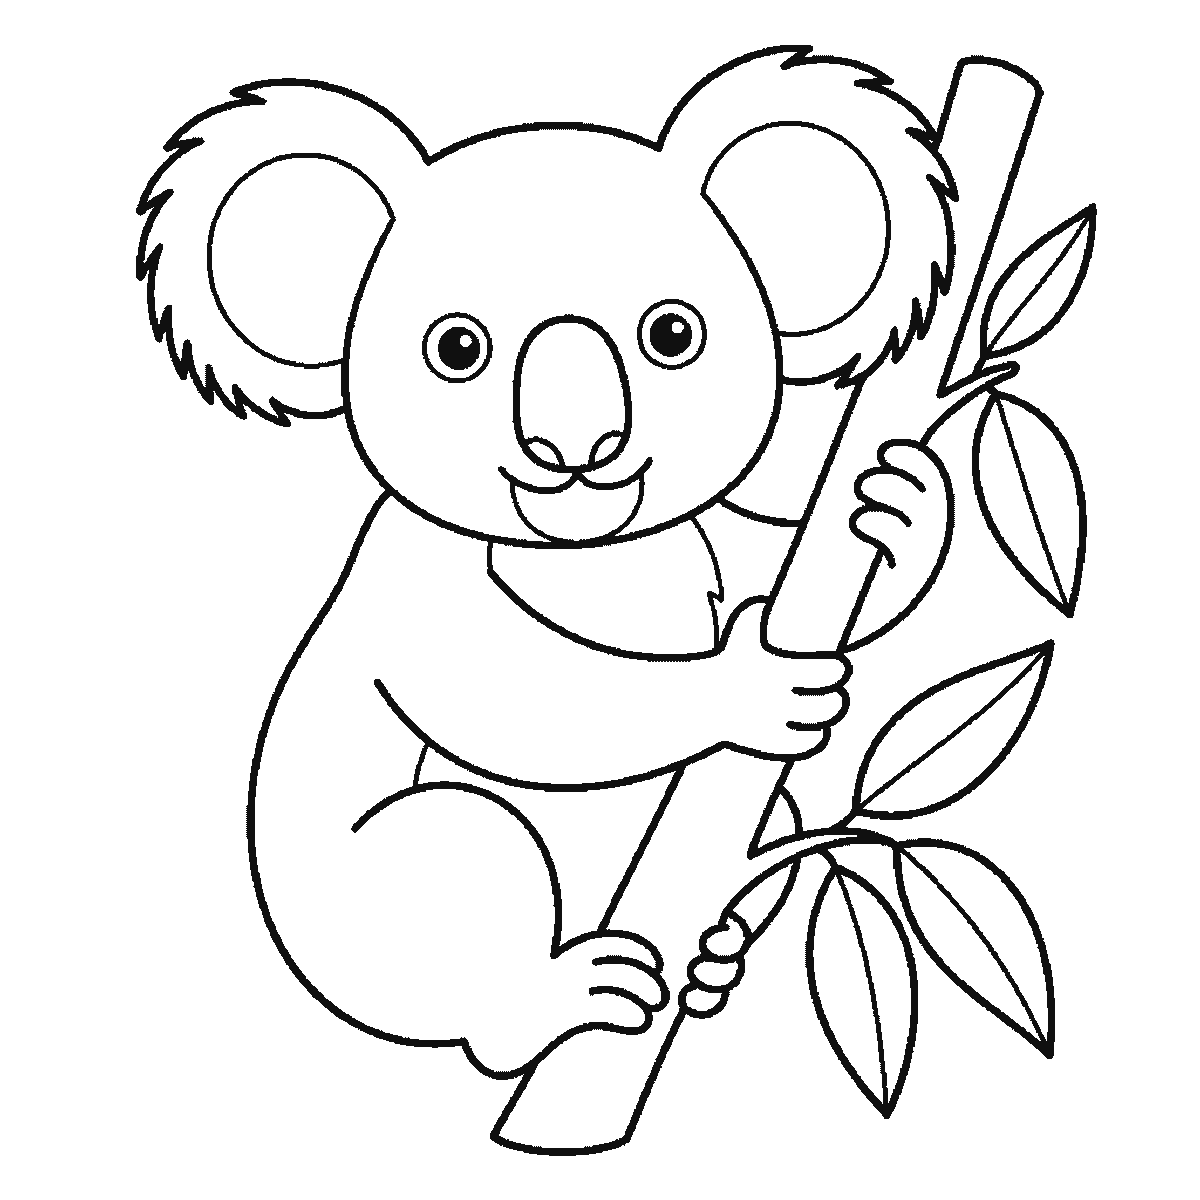
Six frames, one koala hugging a branch. The whole head and both fringed ears first, then the body, then the branch — and the eyes and the last leaves at the end.
This sheet is one drawing of a koala clinging to an upright eucalyptus branch, shown six times, each frame keeping the previous one's lines and adding more. Print it, put it beside your paper and take one frame at a time. A koala is a very forgiving subject because almost all of the recognition sits in two shapes, and both of them are in the first frame.
That first frame is the whole head: the skull, the muzzle, the mouth, the outline of the big nose, and both enormous round ears with their fringe of short strokes around the edge. The eyes are blank at this stage. Draw the ears first and make them far bigger than feels sensible. On a koala the ears are roughly as tall as the face is wide, and every koala drawing that fails has failed because they were drawn to the size of a bear's.
The nose is the other half of it. It is a large rounded shape hanging down the centre of the face, much closer to a spoon than to a triangle, and it should reach well below the level of the eyes. A small nose gives you a bear cub; the big soft nose is the koala.
Frame two brings the body — the curve of the back, the belly, the near arm reaching across to the branch and the near foot. Frames three and four build the branch itself, lower section first and then upper, with a gripping hand on each. The branch runs vertically up the right-hand side of the page, so leave room for it before you commit to where the head goes; a koala drawn centrally has nothing to hold on to.
The five eucalyptus leaves arrive across the last two frames, and the two eyes, filled in black, are in the final frame with them. So once again the face is completed at the very end, on a head that has been sitting there since frame one. Set the eyes low and wide, roughly level with the top of the nose. Eyes placed high on the skull make the animal look startled, and a koala is the least startled-looking creature there is.
The reveal order is largest closed shape first, smallest last, which is how a head arrives before a body and leaves arrive before eyes. It makes a sequence you can copy without ever facing a blank sheet, and this page is not claiming it is the way a koala ought to be drawn. Working from the branch outwards so the animal has something to hang off would be just as sensible.
One A4 page holds all six frames in plain black outline on white. There is no shading, so it prints anywhere and the last frame colours in cleanly with felt tips.
If you want a second one that looks different, change the arms rather than the face. Here both arms wrap forward around the branch; draw the same koala with one arm reaching up to a higher branch and the whole animal reads as climbing rather than resting, with the head, ears and nose completely unchanged. That is a quick way to learn that in animal drawing the limbs carry the action and the face carries the identity, and the two can be worked on separately.
Before you start
- Draw the ears before anything else and make them enormous — as tall as the face is wide. Everything else follows from that.
- The nose is a long rounded spoon shape reaching below the eye line. A small triangular nose gives you a bear.
- Leave a clear vertical strip on one side of your paper for the branch before you place the head.
- The fringe on the ears works best as short strokes of uneven length. Even fringing reads as a gear wheel.
Published Updated 554 words
The six steps
The steps go from the largest shape to the smallest, which is an easy order to copy. It is not the only order, and it is not a rule — if you would rather start somewhere else on the sheet, do.
Step 1
Step 2
Step 3
Step 4
Step 5
Step 6
More in this section
How to draw a mouse
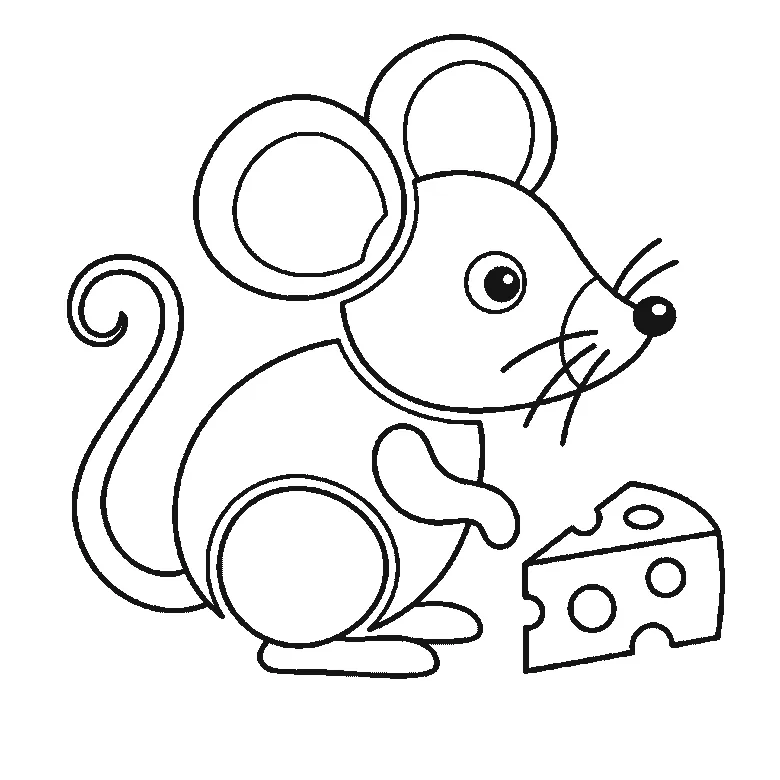
Six frames, one mouse beside a wedge of cheese. The head and the back together first, then the ears, then the cheese — with the tail, whiskers and eye last.
Step sequence made by us from a single drawing: each step keeps the lines of the one before it and adds to them.
How to draw a parrot
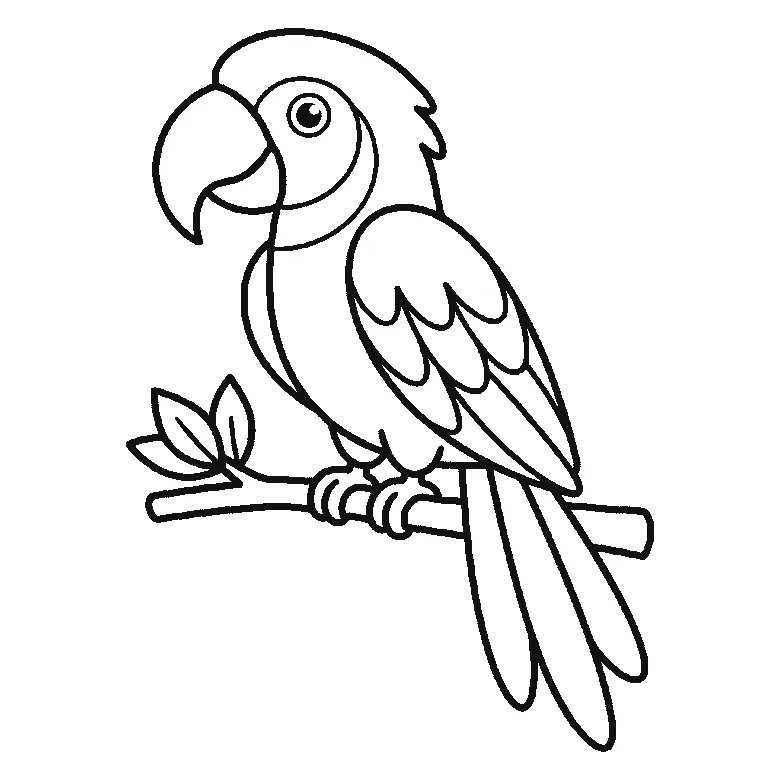
Six frames, one parrot on a leafy branch. The head crest and the breast first, then the beak with the wing, and the eye and the gripping feet last.
Step sequence made by us from a single drawing: each step keeps the lines of the one before it and adds to them.
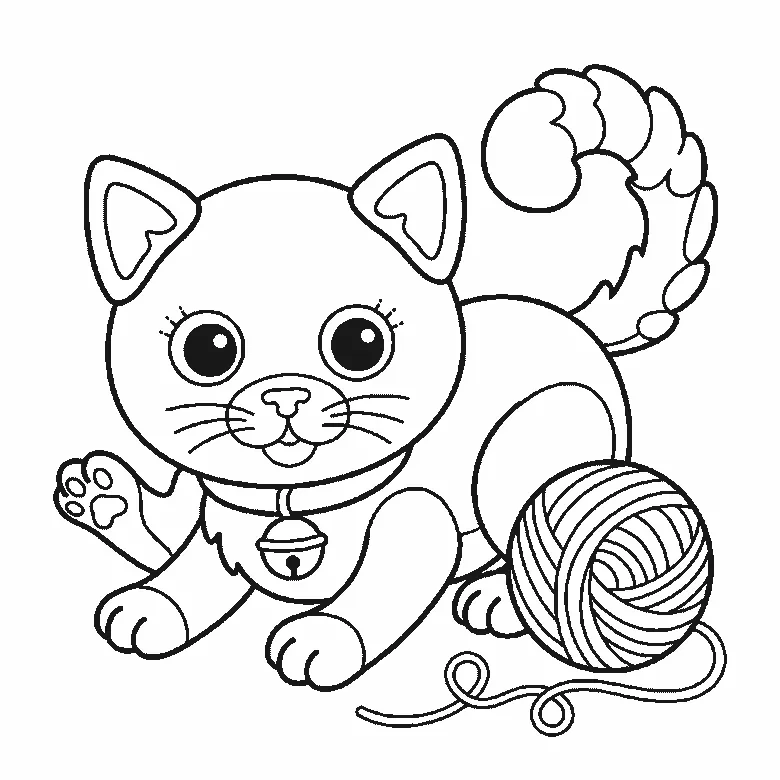
How to draw a kitten
Six frames, one kitten crouching over a ball of wool. The head and collar first, the ears one at a time after it, and the filled pupils near the end.
Step sequence made by us from a single drawing: each step keeps the lines of the one before it and adds to them.
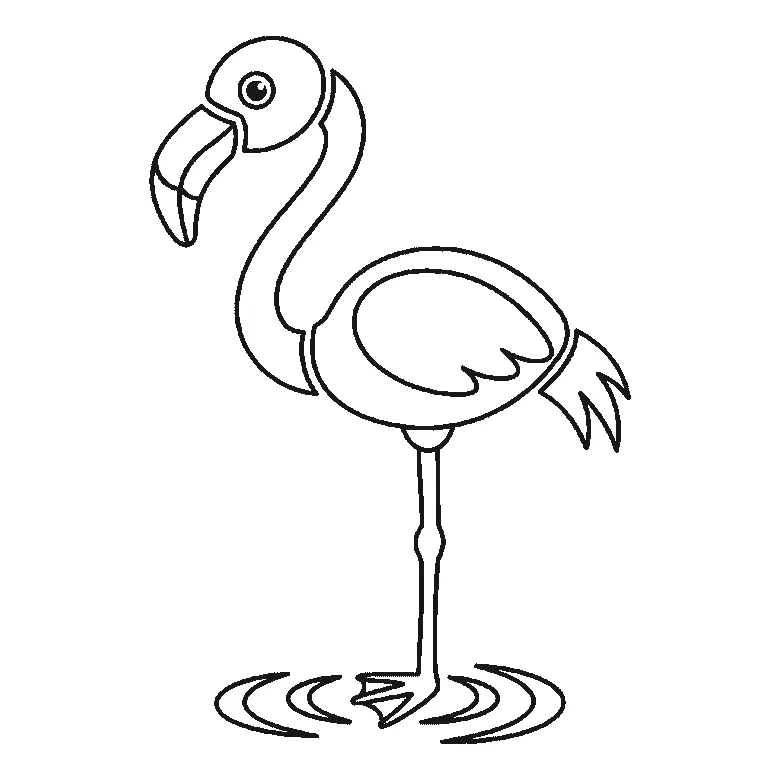
How to draw a flamingo
Six frames, one flamingo standing in shallow water. The body first, the neck second, and the beak — the thing that says flamingo — not until frame five.
Step sequence made by us from a single drawing: each step keeps the lines of the one before it and adds to them.
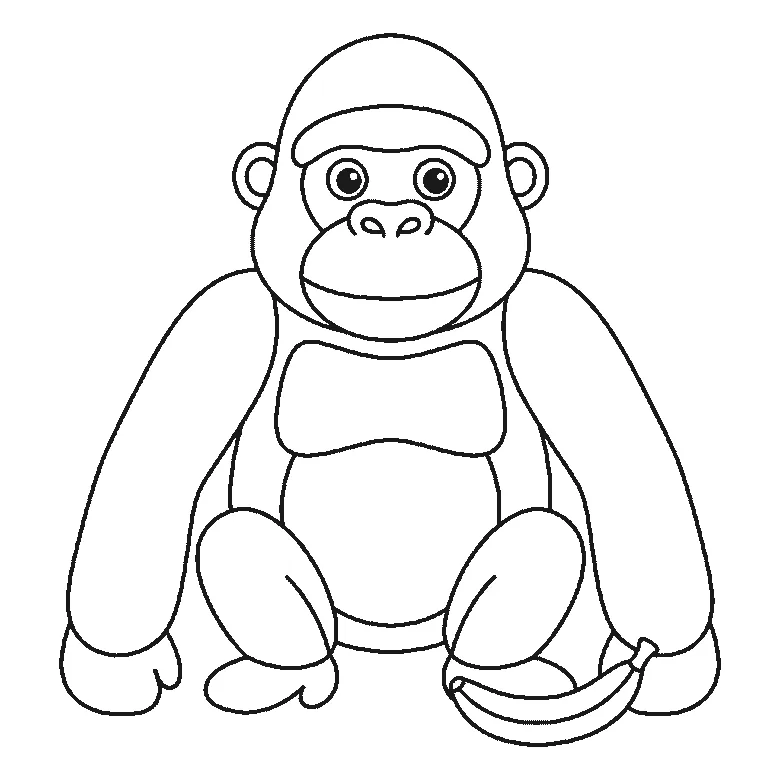
How to draw a gorilla
Six frames, one gorilla sitting with a banana beside it. Frame one is the two arms and nothing else — the head does not arrive until frame two.
Step sequence made by us from a single drawing: each step keeps the lines of the one before it and adds to them.
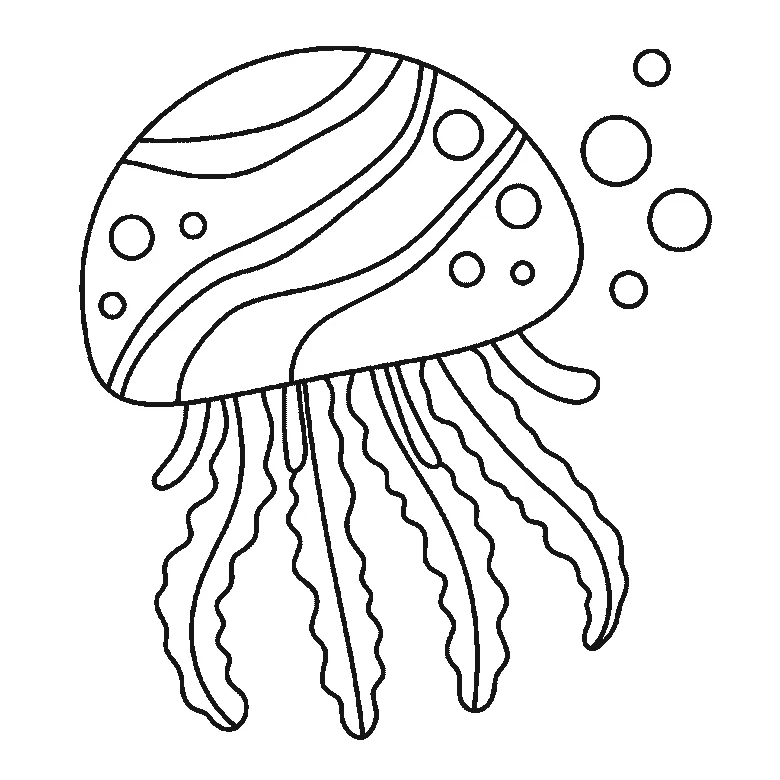
How to draw a jellyfish
Six frames, one jellyfish drifting with bubbles beside it. The bell is built panel by panel, the tentacles arrive a few at a time, and the bubbles are last.
Step sequence made by us from a single drawing: each step keeps the lines of the one before it and adds to them.
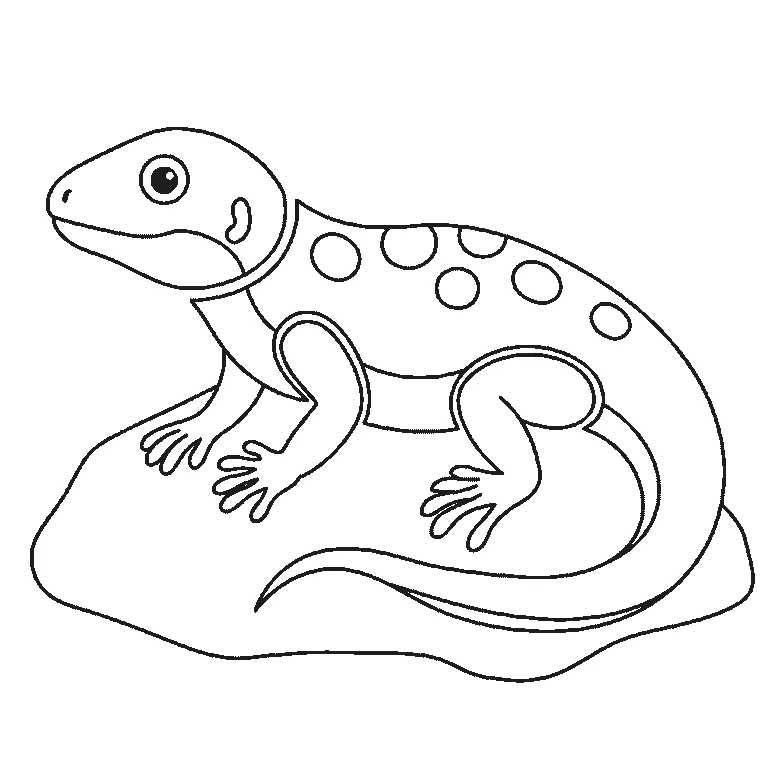
How to draw a lizard
Six frames, one lizard basking on a rock. Frame one is the rock and two legs; the body comes second and the head not until frame three.
Step sequence made by us from a single drawing: each step keeps the lines of the one before it and adds to them.
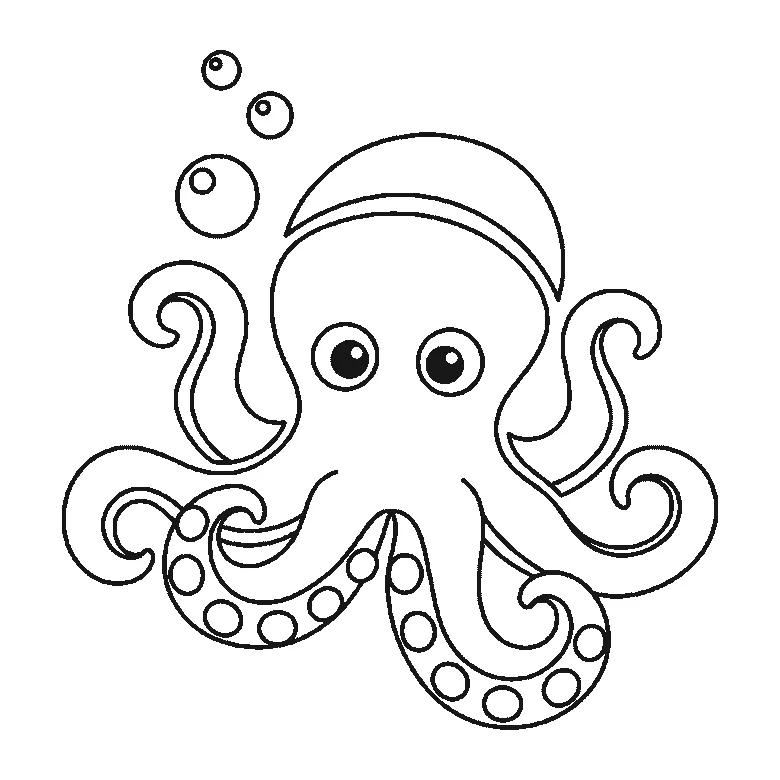
How to draw an octopus
Six frames, one octopus with bubbles rising beside it. The head and two outer arms first, the remaining arms one or two at a time, the pupils last.
Step sequence made by us from a single drawing: each step keeps the lines of the one before it and adds to them.
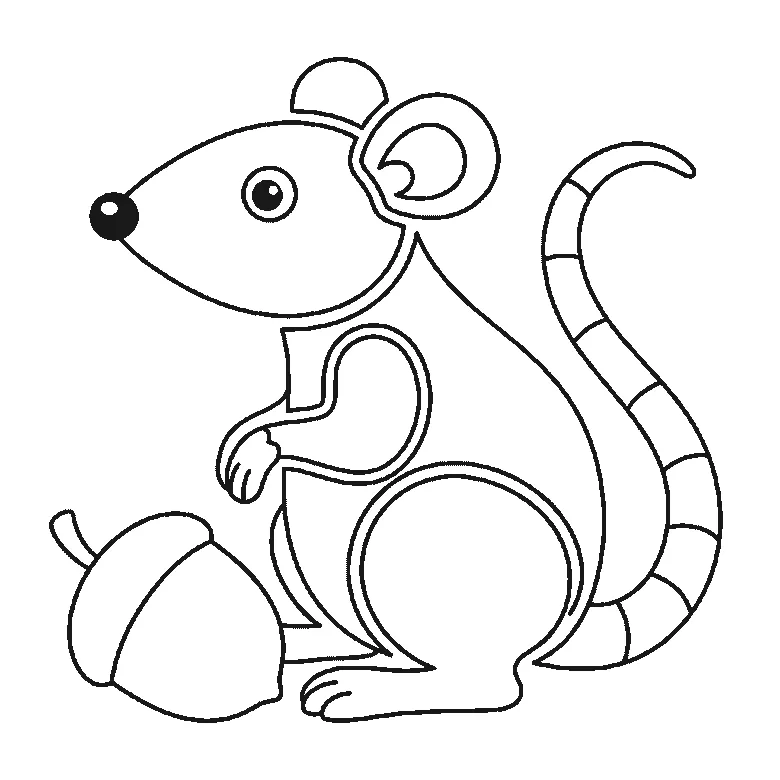
How to draw a rat
Six frames, one rat sitting up beside an acorn. The head and haunch first, the ear third, and the long banded tail not until frame five.
Step sequence made by us from a single drawing: each step keeps the lines of the one before it and adds to them.
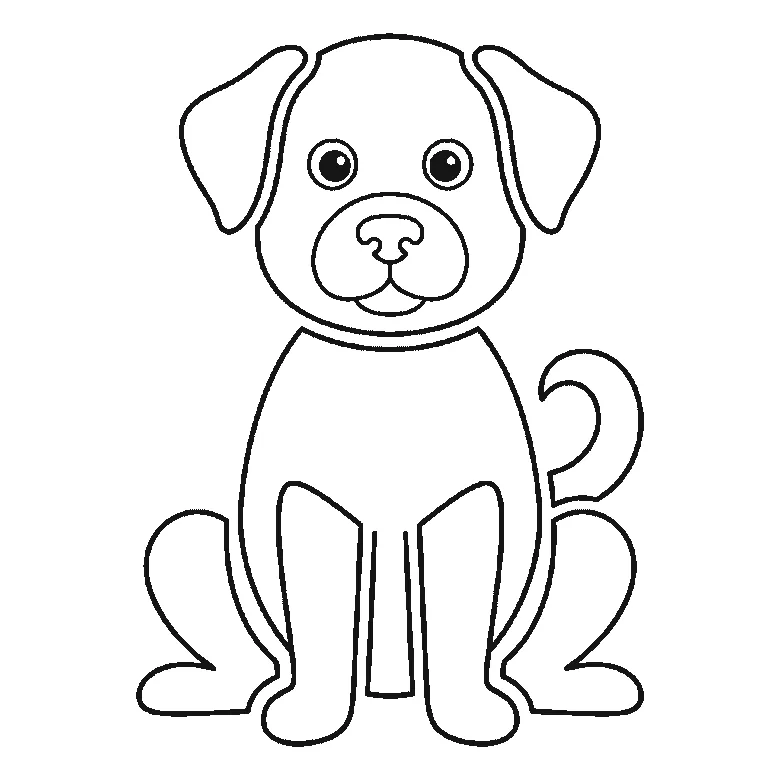
How to draw a dog
Six frames, one dog sitting upright. The head alone first, then the body and front legs, and the ears, tail and eyes last.
Step sequence made by us from a single drawing: each step keeps the lines of the one before it and adds to them.
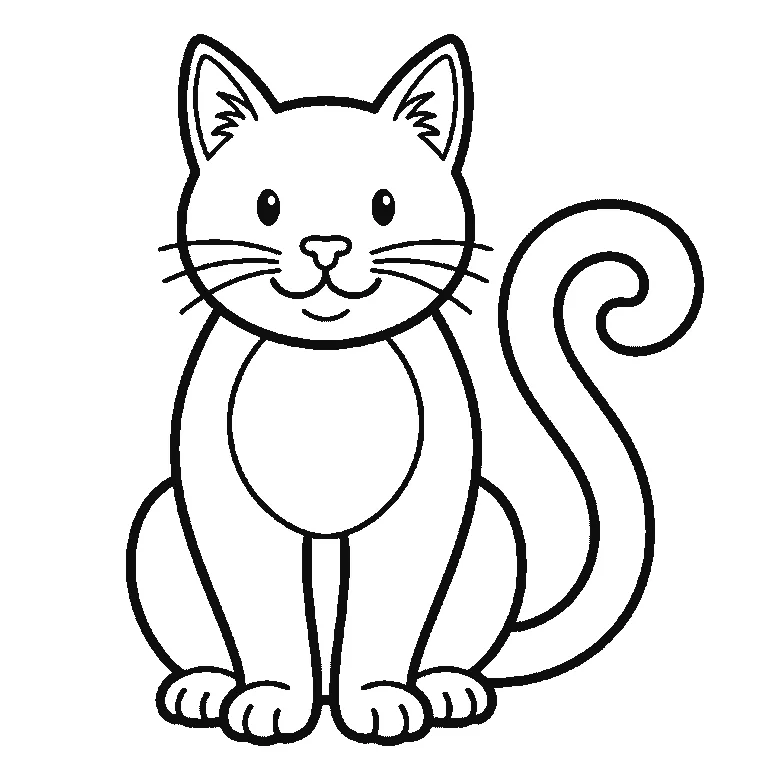
How to draw a cat
Six frames, one cat sitting upright. The whole face first — ears, eyes and whiskers together — then the tail on its own, the body and the legs.
Step sequence made by us from a single drawing: each step keeps the lines of the one before it and adds to them.
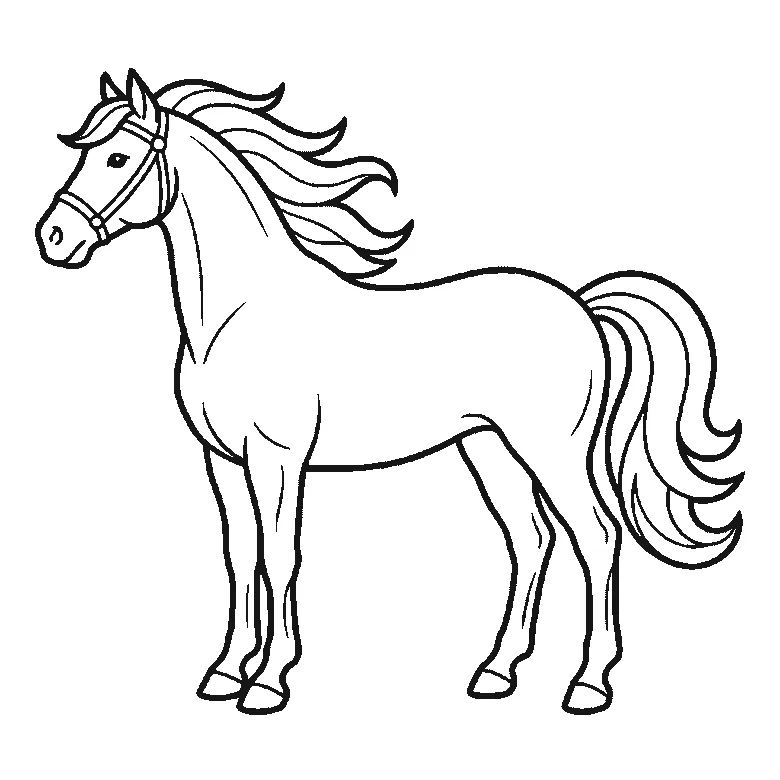
How to draw a horse
Six frames, one horse in profile. Almost the whole body first, then the far legs, the tail, and the head and mane last.
Step sequence made by us from a single drawing: each step keeps the lines of the one before it and adds to them.


