
PDF · A4 · 67 KB · Free, no sign-up. For home and classroom use.
How to draw an octopus
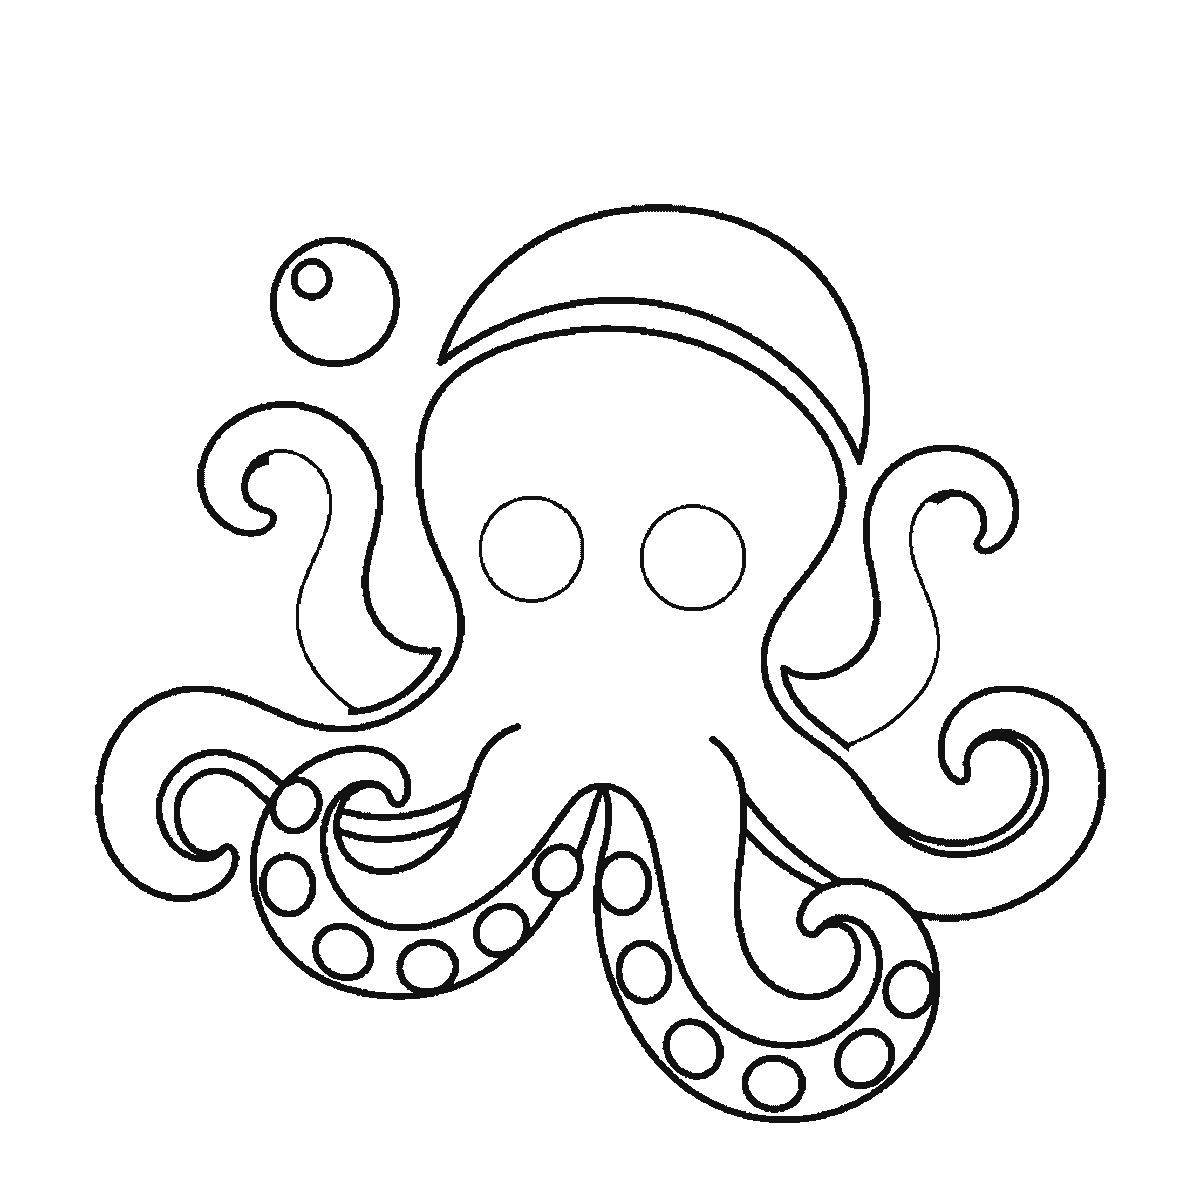
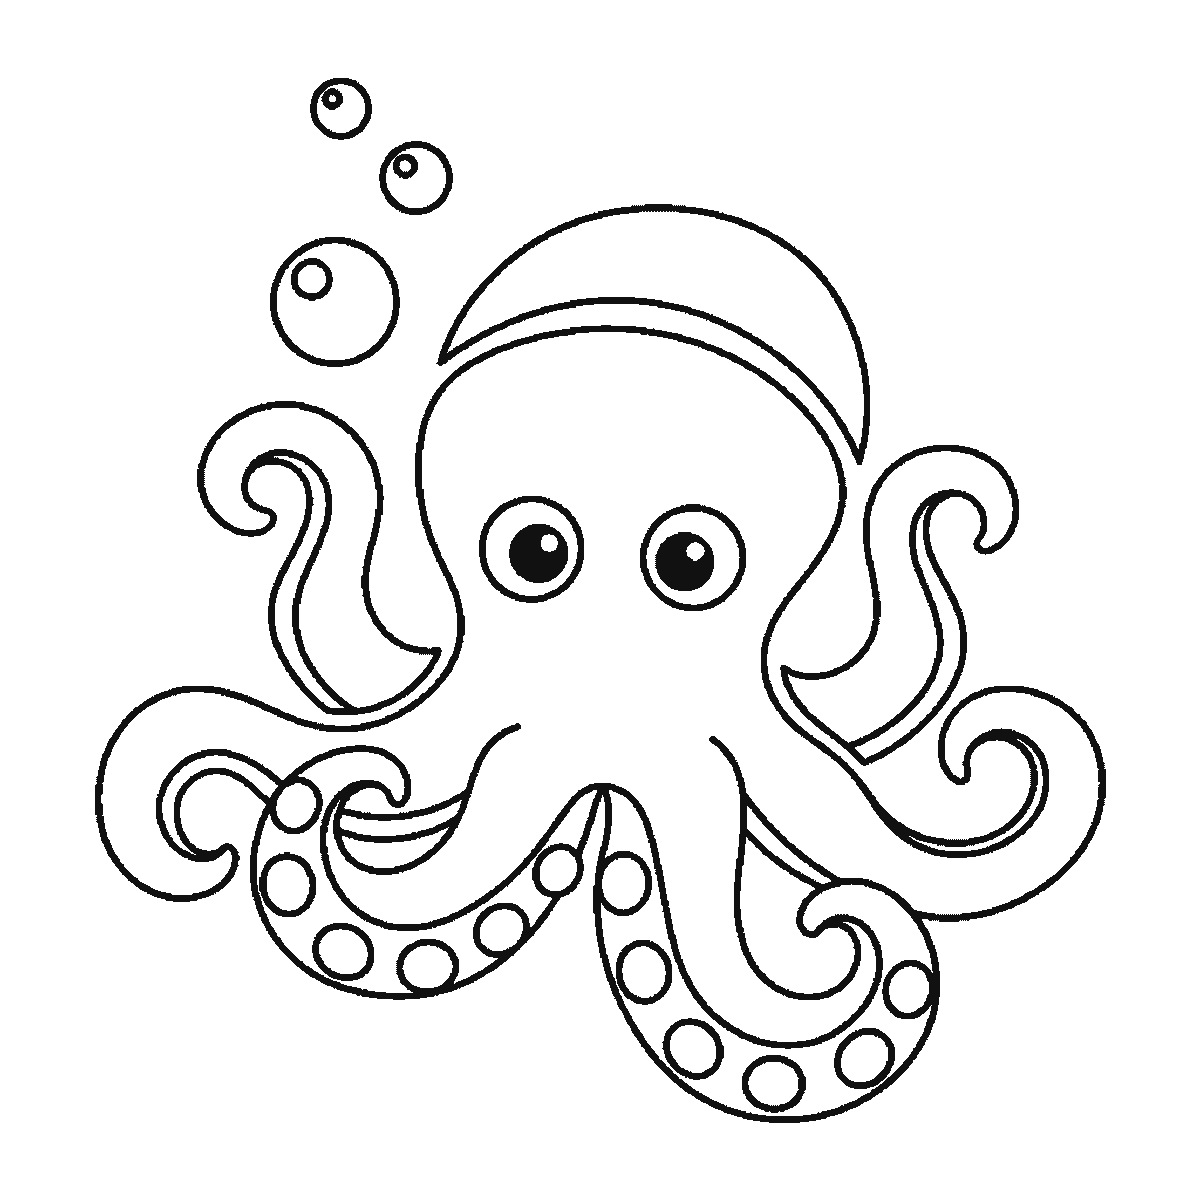
Six frames, one octopus with bubbles rising beside it. The head and two outer arms first, the remaining arms one or two at a time, the pupils last.
This sheet takes one drawing of an octopus and shows it six times, each frame carrying everything the frame before it had and adding a little more. Print it, put it beside your paper, and copy one frame at a time.
Frame one gives you a great deal at once: the domed head and body as a single shape, both eyes already drawn as open rings inside it, and the two outermost arms curling away on either side. It is the largest closed shape in the picture plus the two shapes that set its width, and it means the drawing's whole footprint is decided in the first step. If you are working on a small sheet of paper, copy frame one lightly and check it fits before pressing hard.
Frame two is the curved band across the top of the head — a single crescent that reads as the top of the dome catching light. It is the smallest amount of new ink in the whole sequence and it changes the drawing more than its size suggests, because it turns a plain blob into a head.
The rest of the arms arrive across frames three, four and five: an upper arm on the left in frame three together with the right-hand front arm and its row of suckers, an upper arm on the right in frame four, and in frame five the left front arm with its own suckers. Six arms in total, and the two at the front are the ones that carry the suckers — a row of plain open rings of different sizes following the curve of each arm.
The eyes work the way they do on every animal sheet here: the rings are in frame one, and the filled black pupils not until frame six, alongside three small bubbles and a fourth larger one that arrived in frame five. Four frames separate the eye outlines from the eyes, and it is the easiest thing on this page to describe backwards.
The arms are the whole character of this drawing and they are drawn as tapering ribbons, wide where they leave the head and narrow at the tip, each one curling in a different direction. The mistake to avoid is making them all curl the same way, which turns the animal into a wave pattern. Look at how the sheet varies them: two curl up at the tips, two curl inwards, and the two at the front sweep down and across each other.
The six frames are ordered by which closed shape is largest, biggest first and smallest last. That is why the head and two arms arrive together and the pupils come at the end, and it is not a claim that this is how anybody ought to draw an octopus. If you would rather draw all eight arms and hang a head on them, the finished drawing is the same drawing.
The download is one A4 page with all six frames on it, so a class can work from a single sheet each. It is a plain black outline on white and prints on any printer, because there is no shading anywhere on the page. The suckers are the best part to colour, and they are drawn generously large precisely so that a felt tip can get into them without closing them up.
Before you start
- Draw the head as a dome with a flat-ish bottom, not as a circle. A round head gives you a squid.
- Vary the curl of every arm. Arms that all bend the same way read as a pattern rather than as an animal.
- Taper each arm from the head outwards. An arm of even width looks like a rope.
- Keep the two pupils the same size and put them in the same place inside each ring. It is the difference between a friendly octopus and a startled one.
Published Updated 558 words
The six steps
The steps go from the largest shape to the smallest, which is an easy order to copy. It is not the only order, and it is not a rule — if you would rather start somewhere else on the sheet, do.
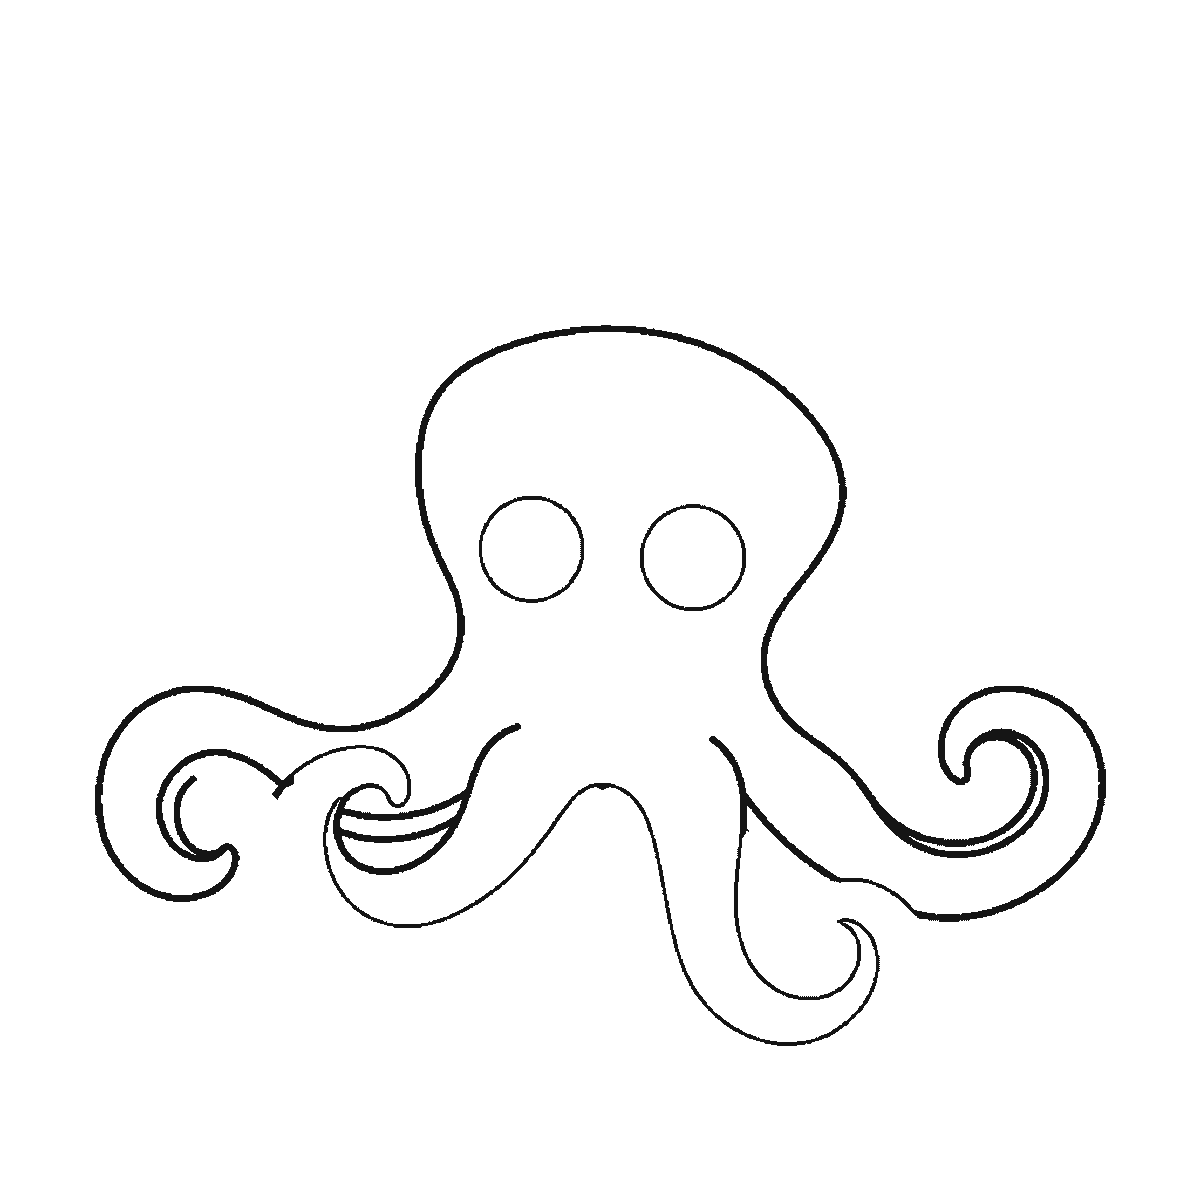
Step 1
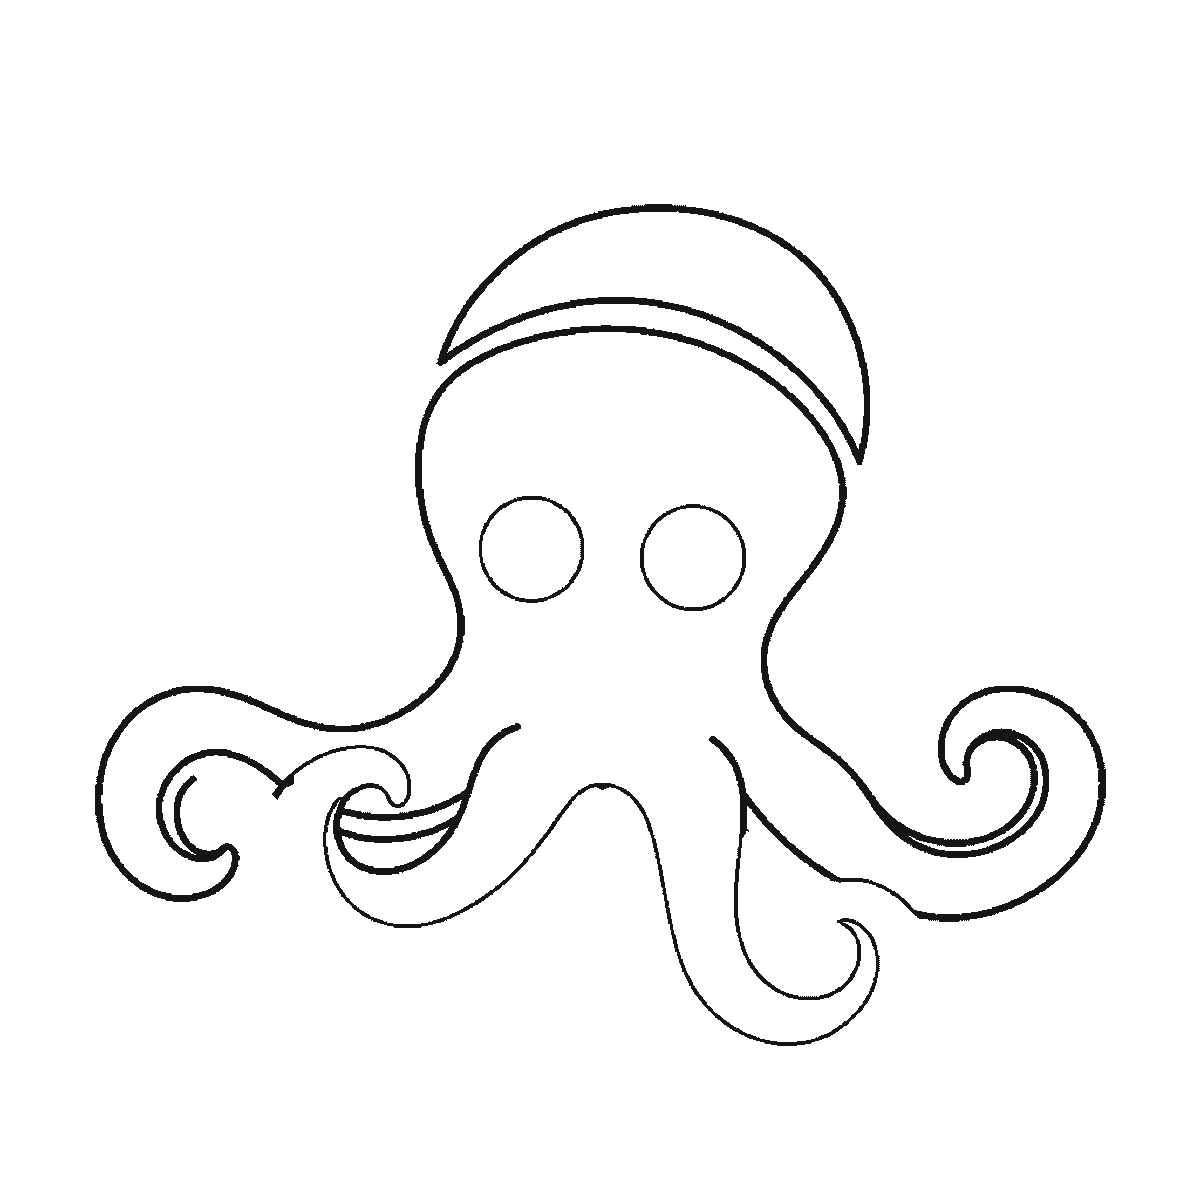
Step 2
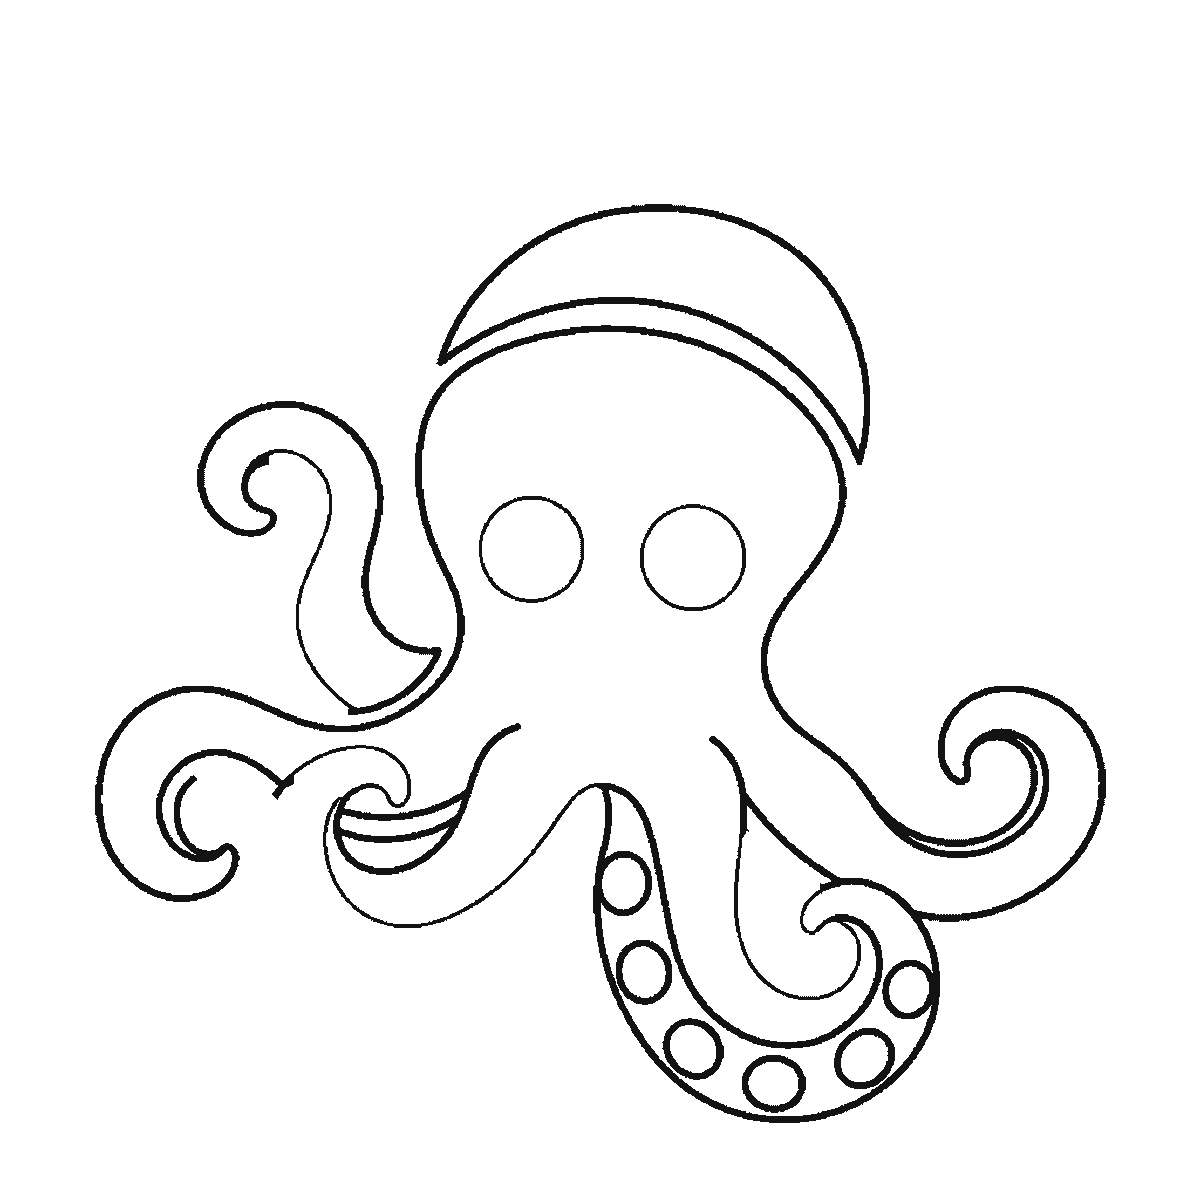
Step 3
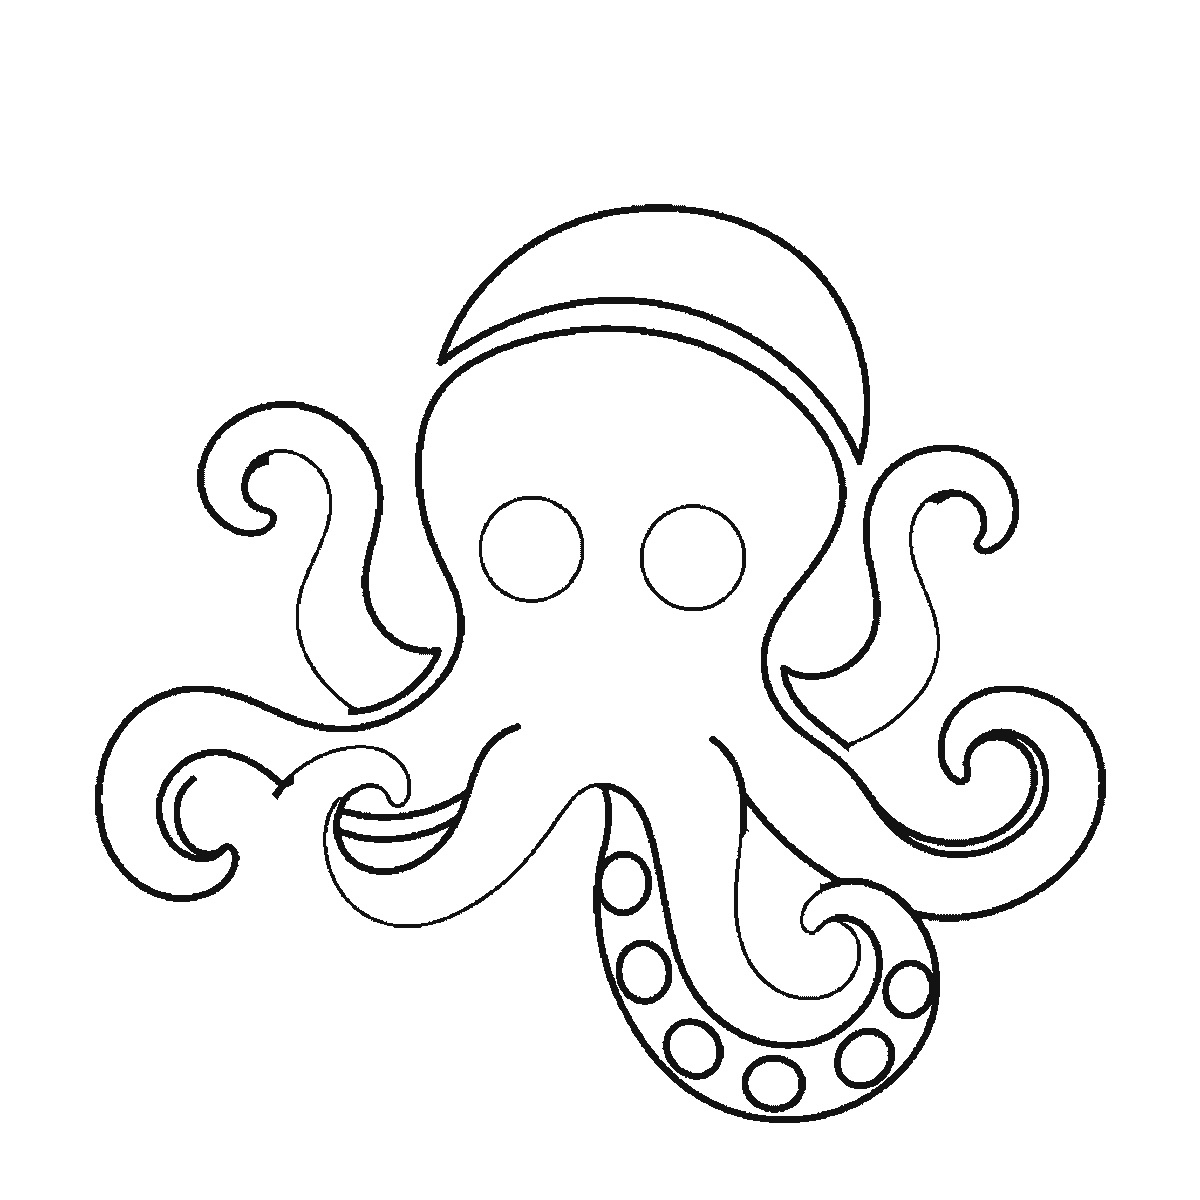
Step 4
Step 5
Step 6
More in this section
How to draw a rat
Six frames, one rat sitting up beside an acorn. The head and haunch first, the ear third, and the long banded tail not until frame five.
Step sequence made by us from a single drawing: each step keeps the lines of the one before it and adds to them.
How to draw a dog
Six frames, one dog sitting upright. The head alone first, then the body and front legs, and the ears, tail and eyes last.
Step sequence made by us from a single drawing: each step keeps the lines of the one before it and adds to them.
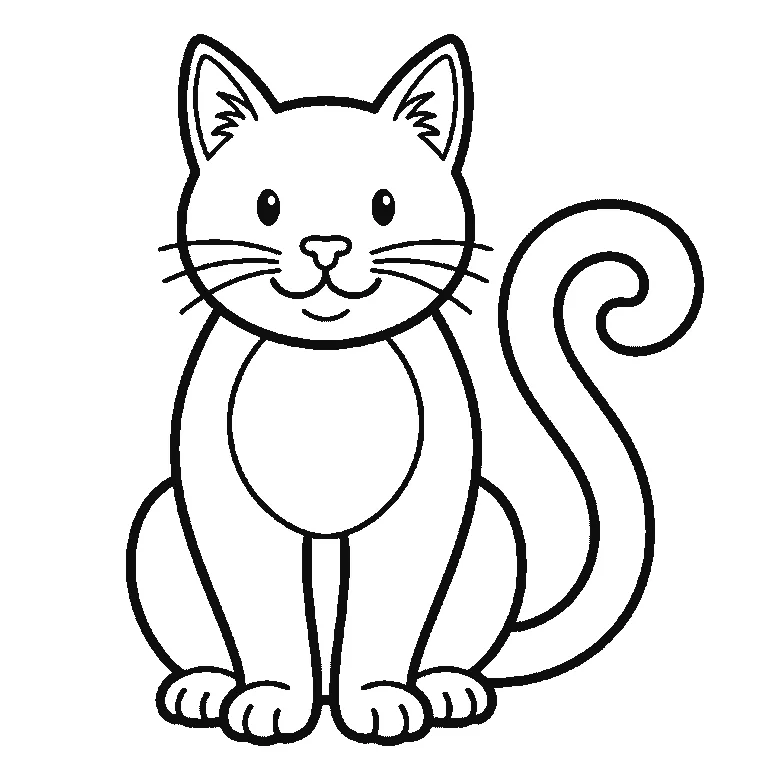
How to draw a cat
Six frames, one cat sitting upright. The whole face first — ears, eyes and whiskers together — then the tail on its own, the body and the legs.
Step sequence made by us from a single drawing: each step keeps the lines of the one before it and adds to them.
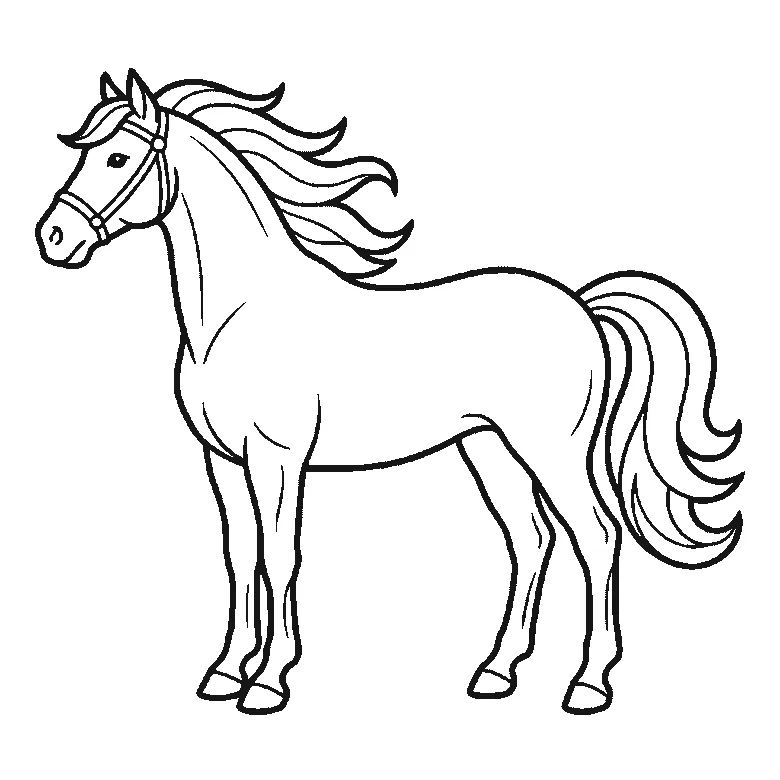
How to draw a horse
Six frames, one horse in profile. Almost the whole body first, then the far legs, the tail, and the head and mane last.
Step sequence made by us from a single drawing: each step keeps the lines of the one before it and adds to them.
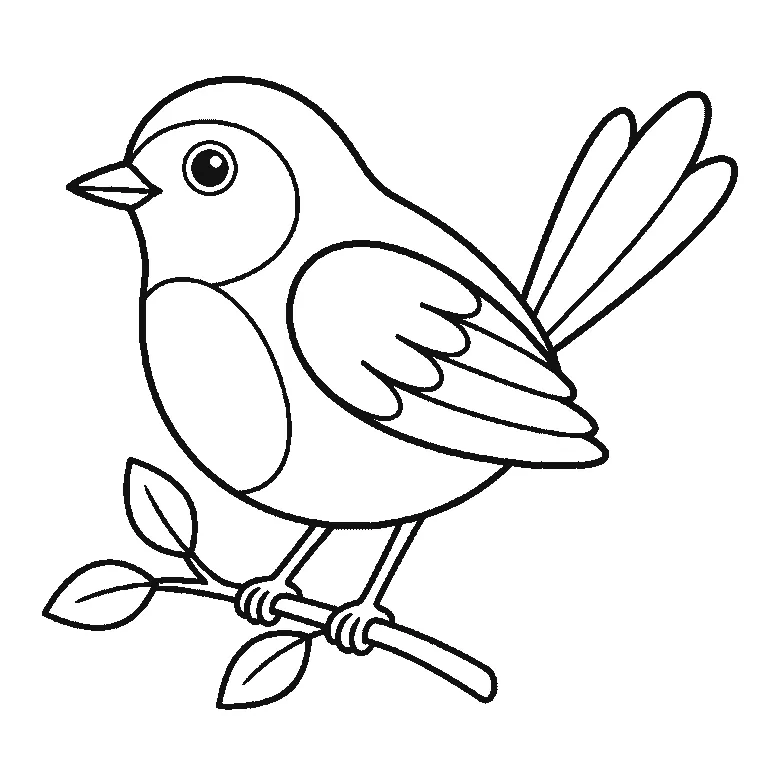
How to draw a bird
Six frames, one small bird on a branch. The body outline first, then the head, beak and wing together, the tail feathers, the branch, and the feet last.
Step sequence made by us from a single drawing: each step keeps the lines of the one before it and adds to them.
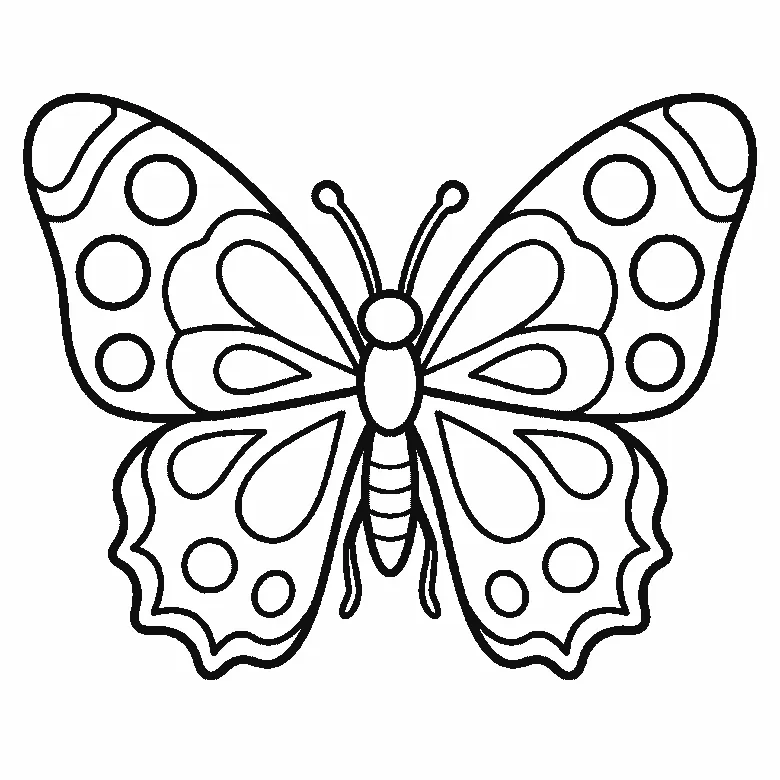
How to draw a butterfly
Six frames, one butterfly seen from above. The lower wings first, then the upper pair, their markings, and the body and antennae last.
Step sequence made by us from a single drawing: each step keeps the lines of the one before it and adds to them.
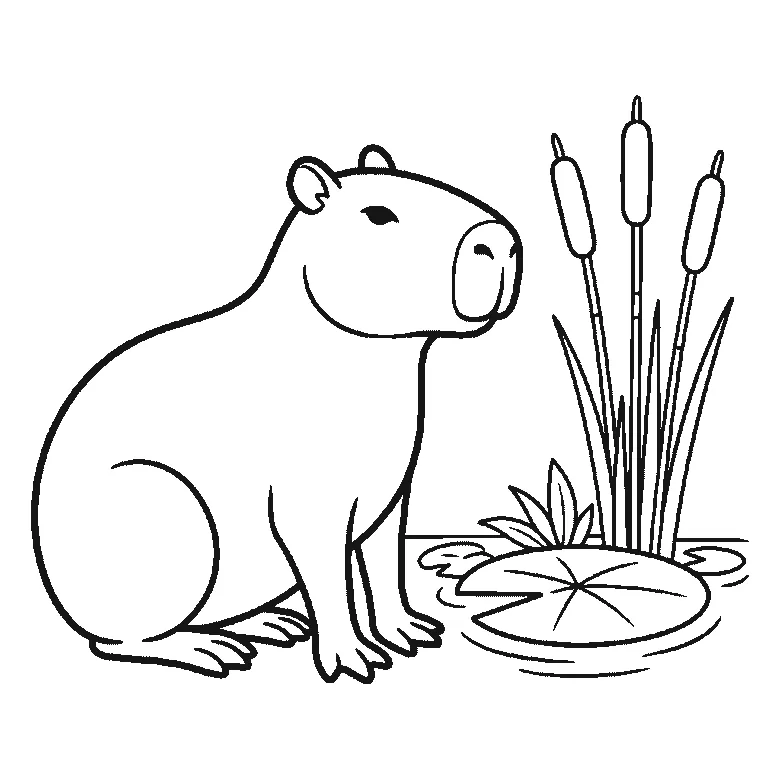
How to draw a capybara
Six frames, one capybara sitting in profile beside water. The whole animal in the first frame, then the lily pad, the bulrushes and the water.
Step sequence made by us from a single drawing: each step keeps the lines of the one before it and adds to them.
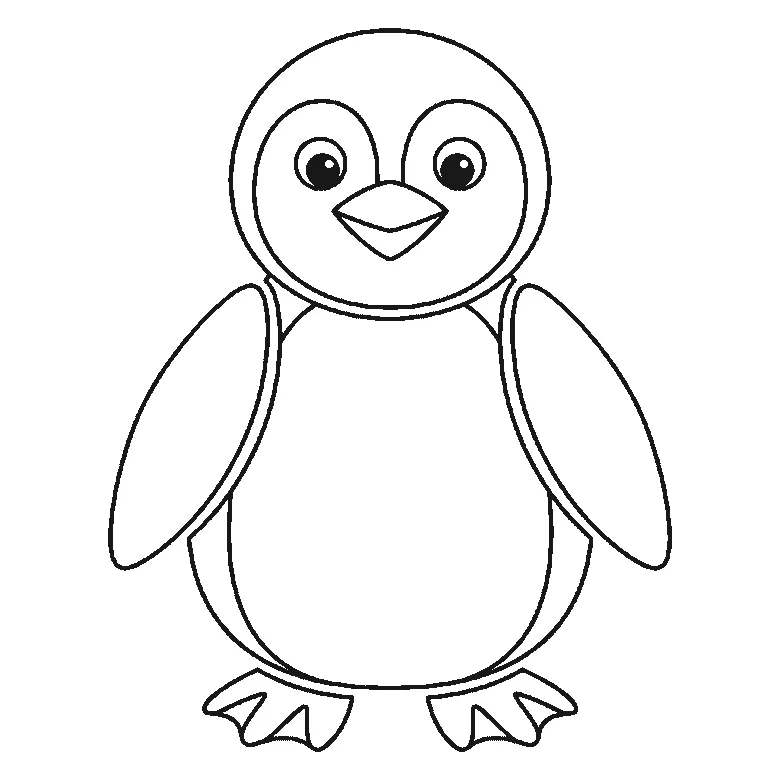
How to draw a penguin
Six frames, one penguin standing and facing you. The body and the whole face first, then the head's outline, one flipper at a time, and the feet.
Step sequence made by us from a single drawing: each step keeps the lines of the one before it and adds to them.
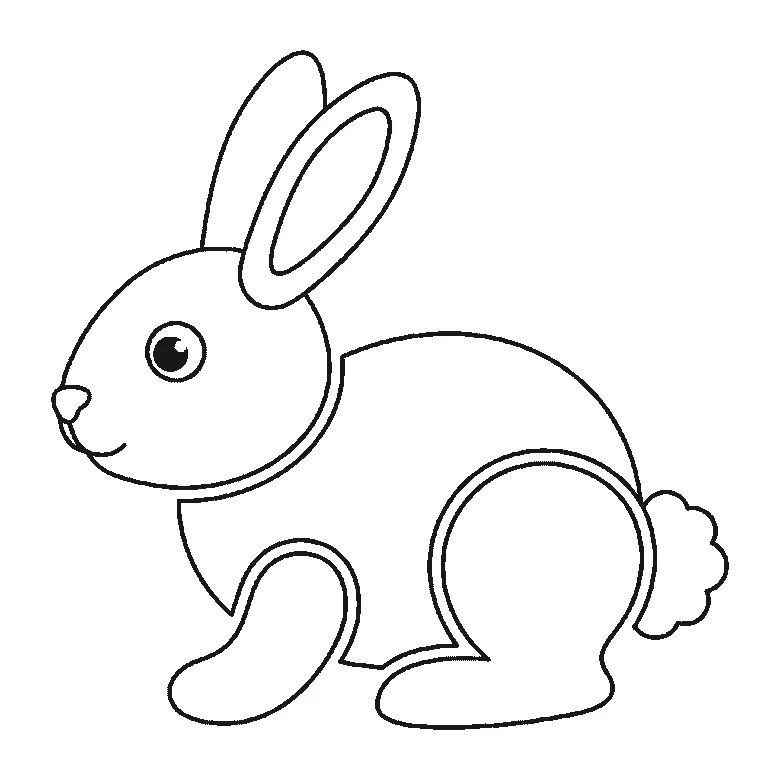
How to draw a rabbit
Six frames, one rabbit in profile. The body first, then the folded hind leg, the head, the front paw, and the ears and tail last.
Step sequence made by us from a single drawing: each step keeps the lines of the one before it and adds to them.
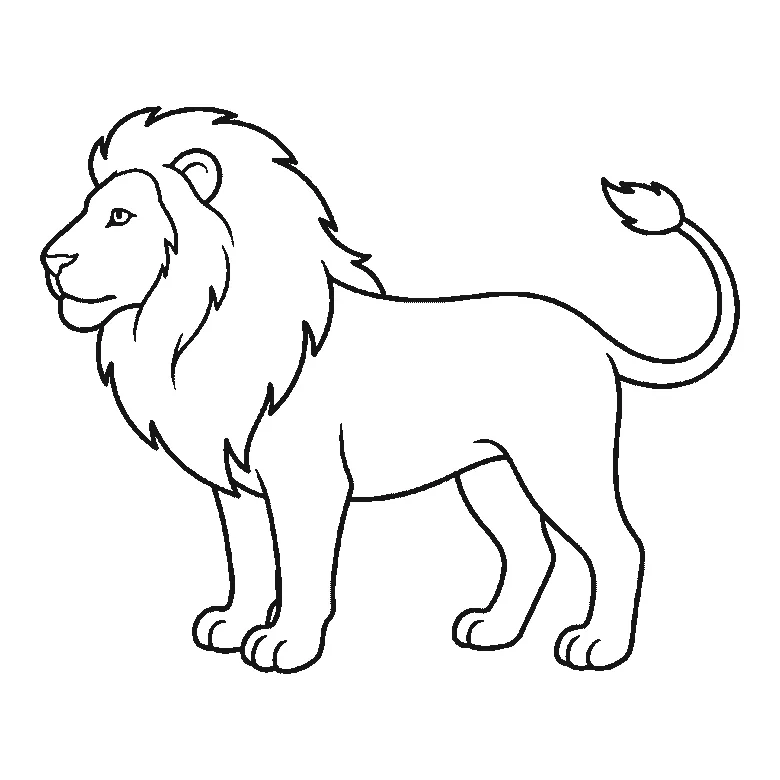
How to draw a lion
Six frames, one lion standing in profile. The body first, then the mane, the face, the two far legs, and the ear and tail tuft last.
Step sequence made by us from a single drawing: each step keeps the lines of the one before it and adds to them.
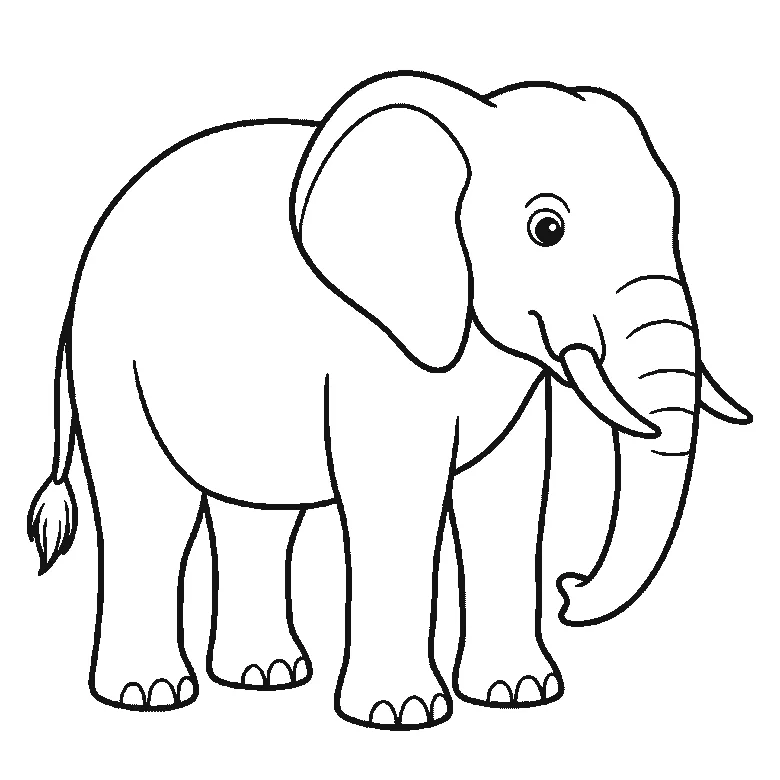
How to draw an elephant
Six frames, one elephant in profile. The body and near legs first, then the head, trunk, tusk and eye together, the big ear, the far legs, and the tail last.
Step sequence made by us from a single drawing: each step keeps the lines of the one before it and adds to them.
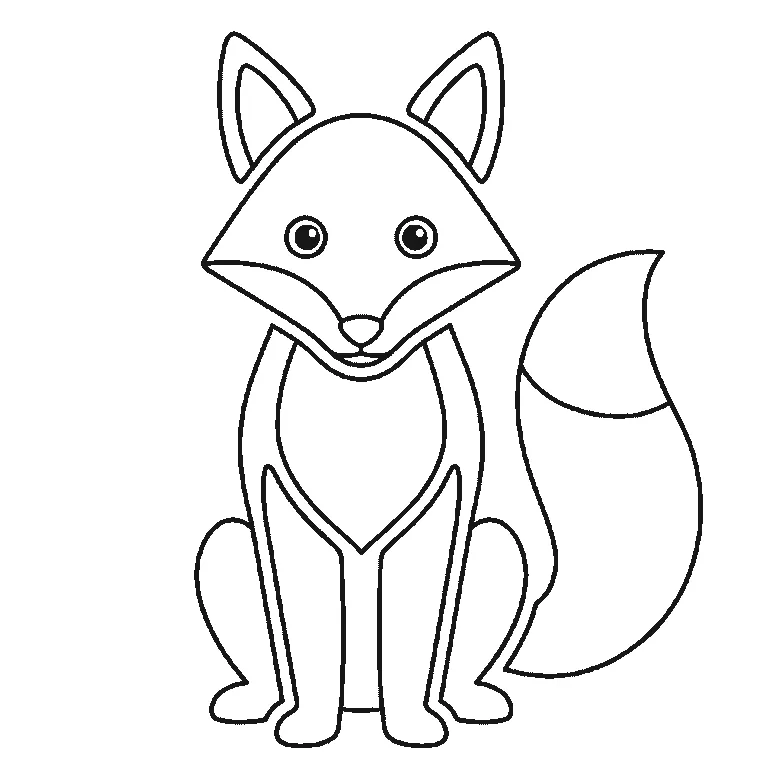
How to draw a fox
Six frames, one fox sitting and facing you. The head and the bushy tail together first, then the chest and legs, and the ears last.
Step sequence made by us from a single drawing: each step keeps the lines of the one before it and adds to them.


