
PDF · A4 · 51 KB · Free, no sign-up. For home and classroom use.
How to draw a lion
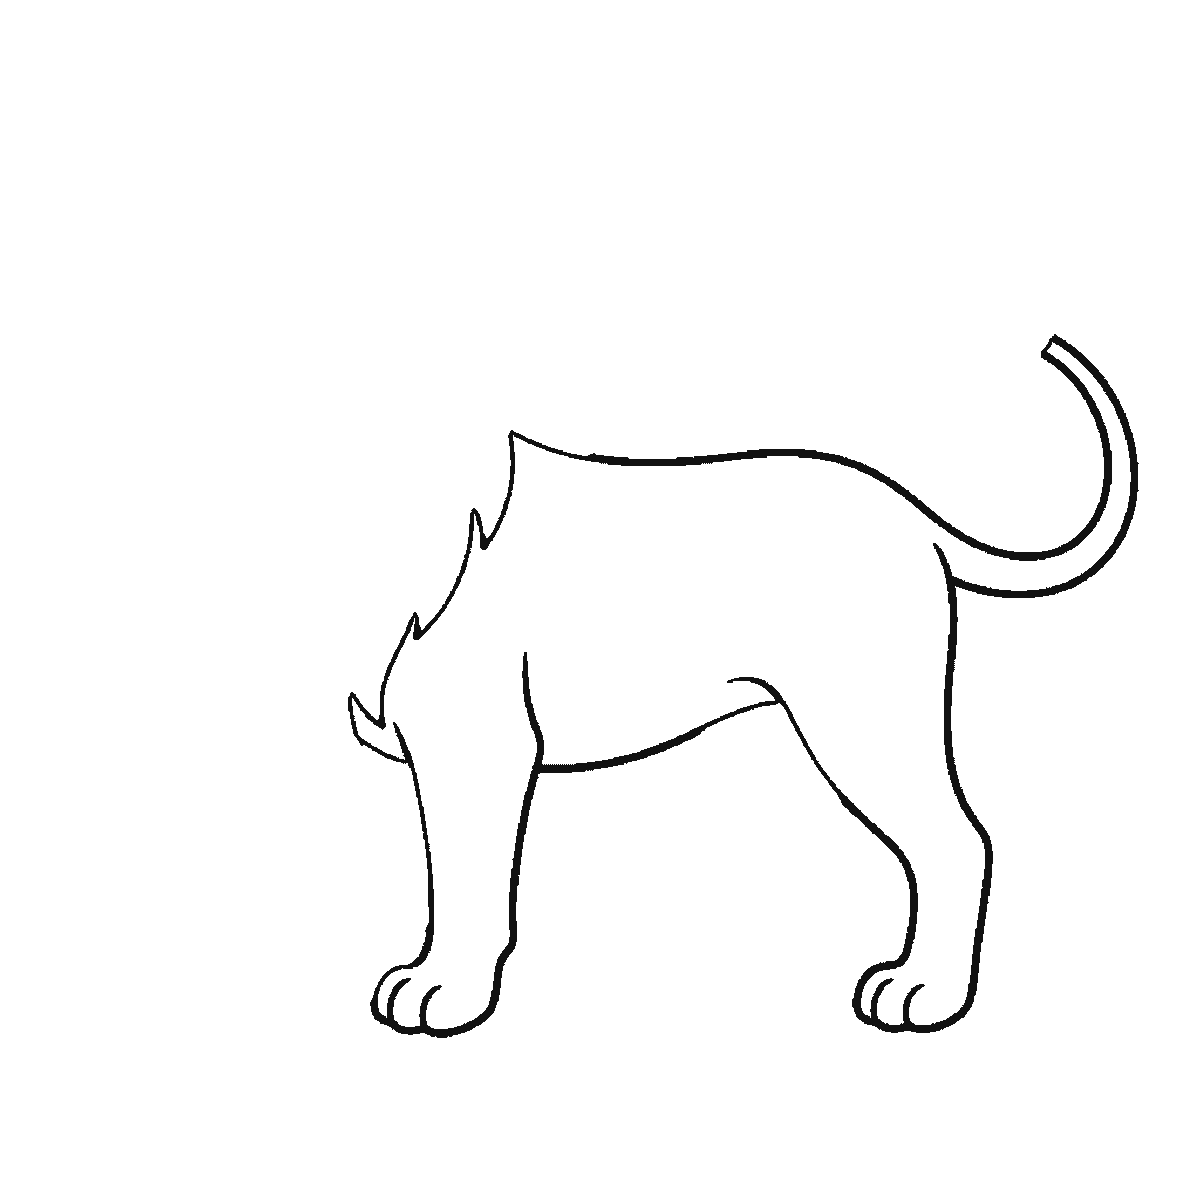
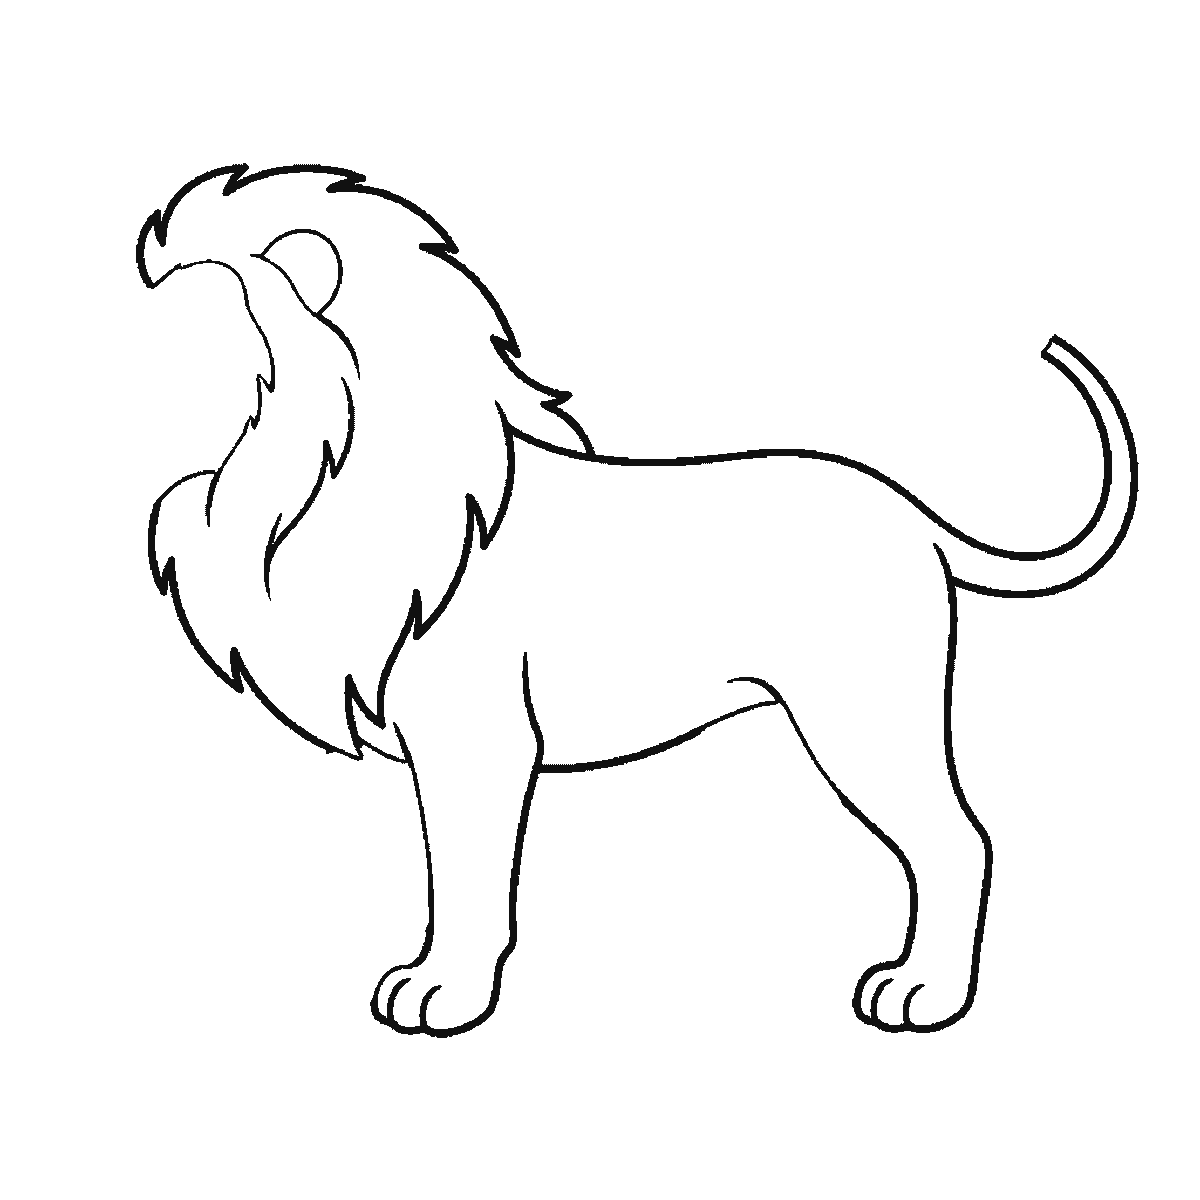
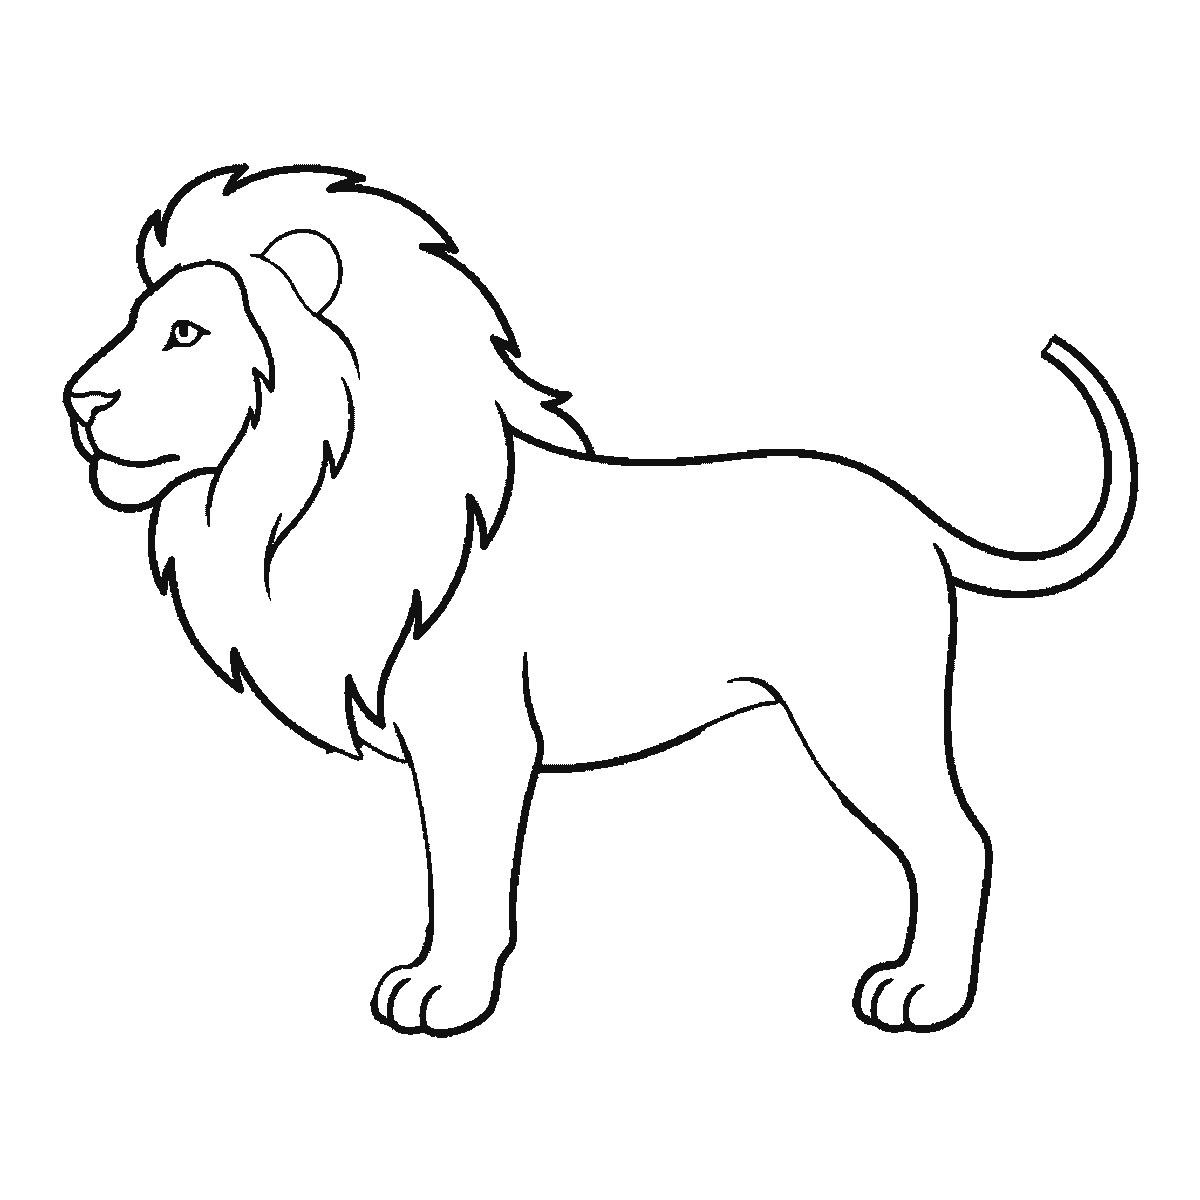
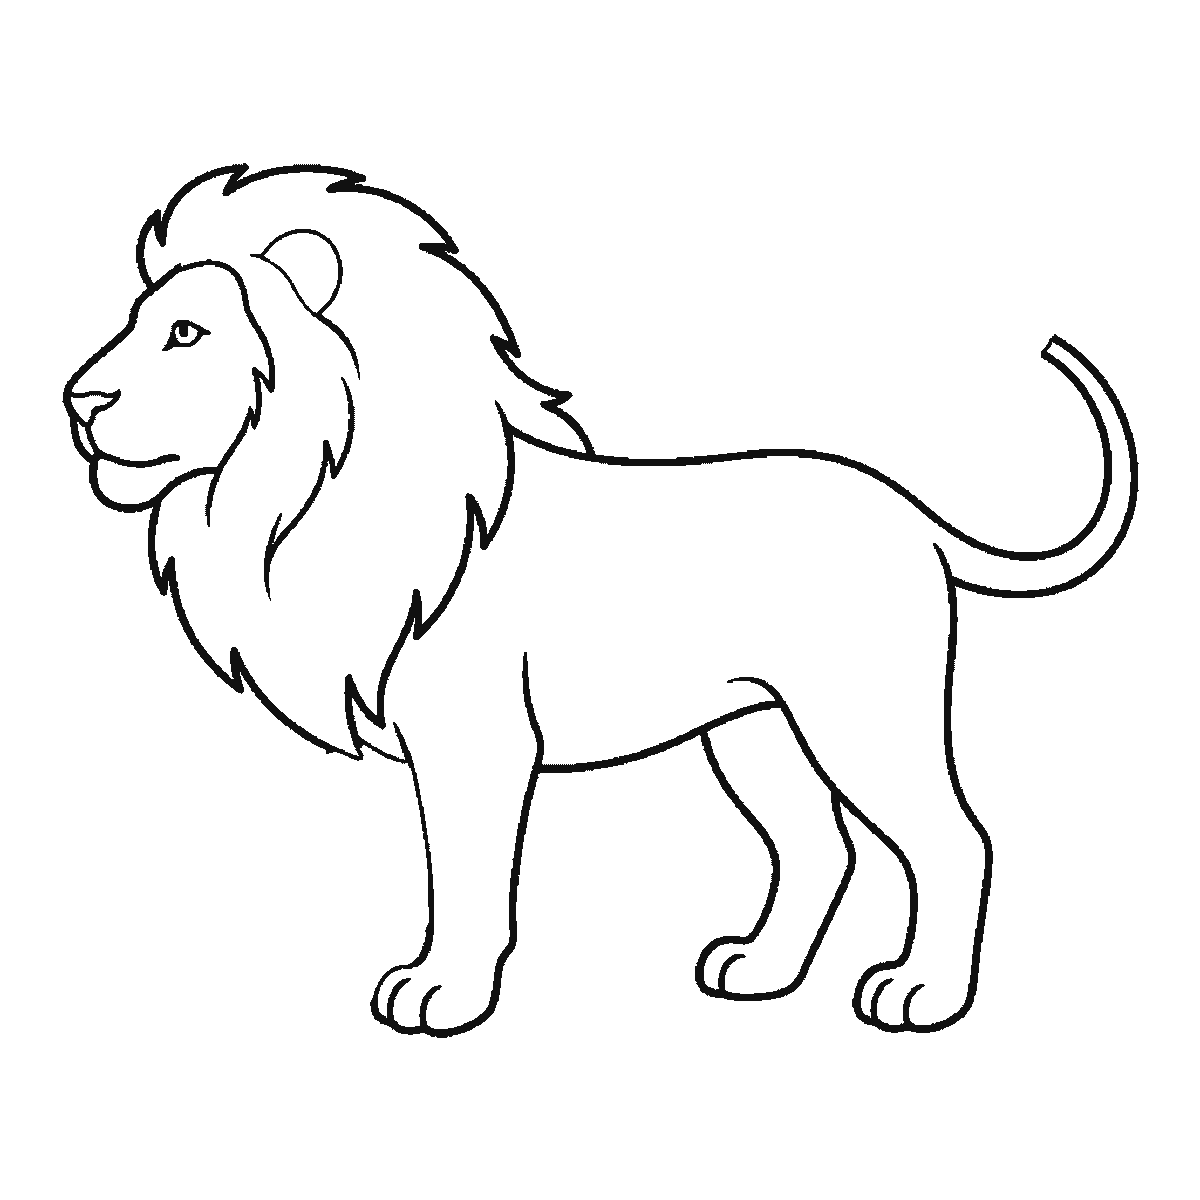
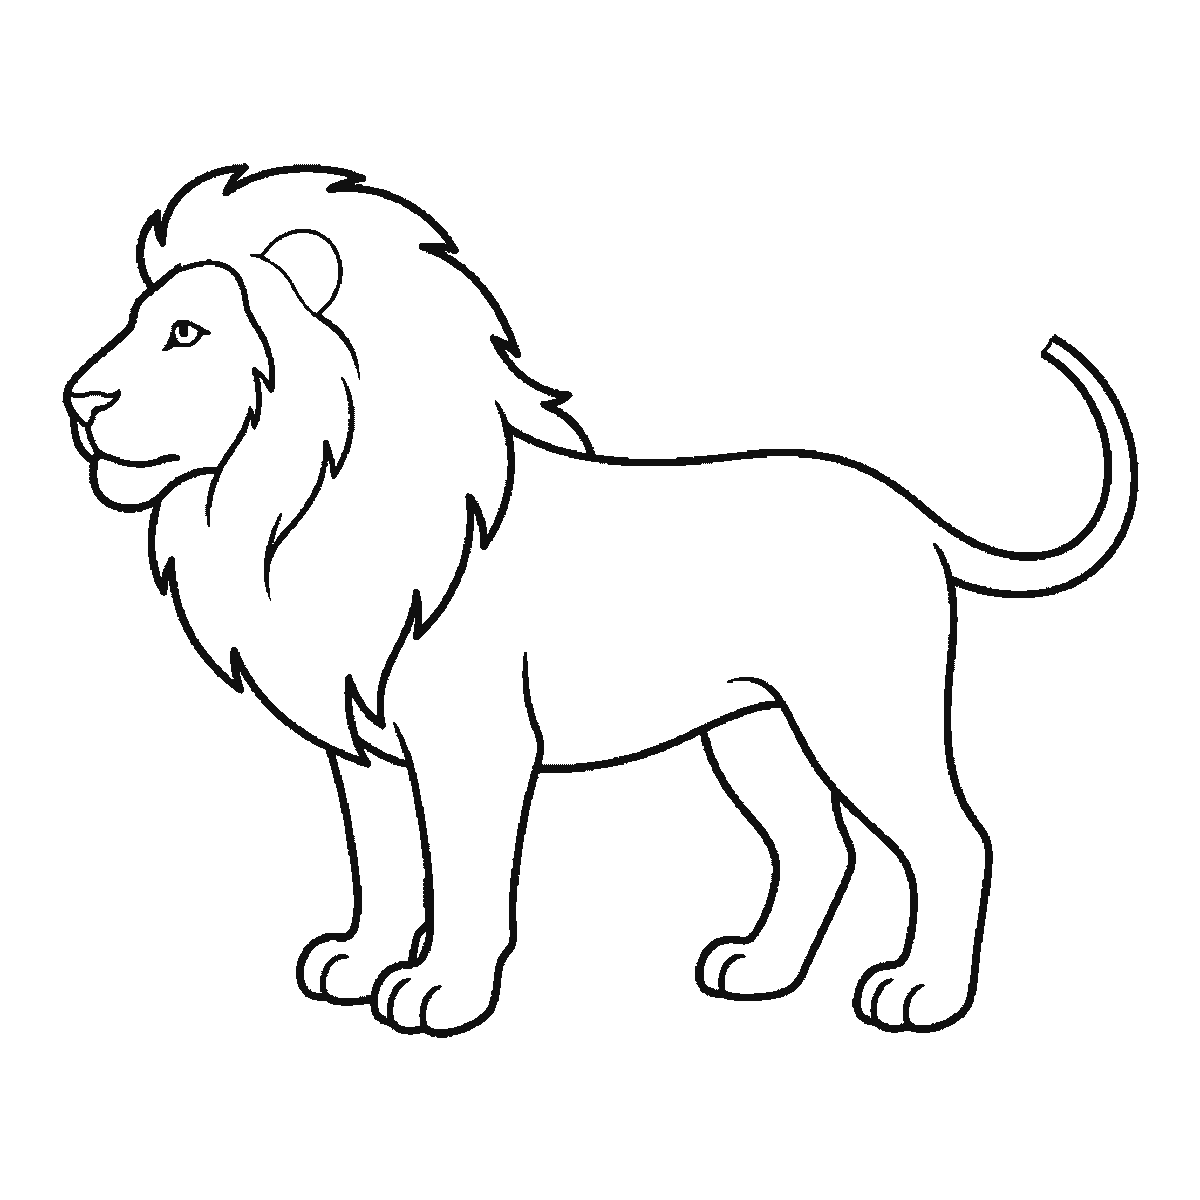
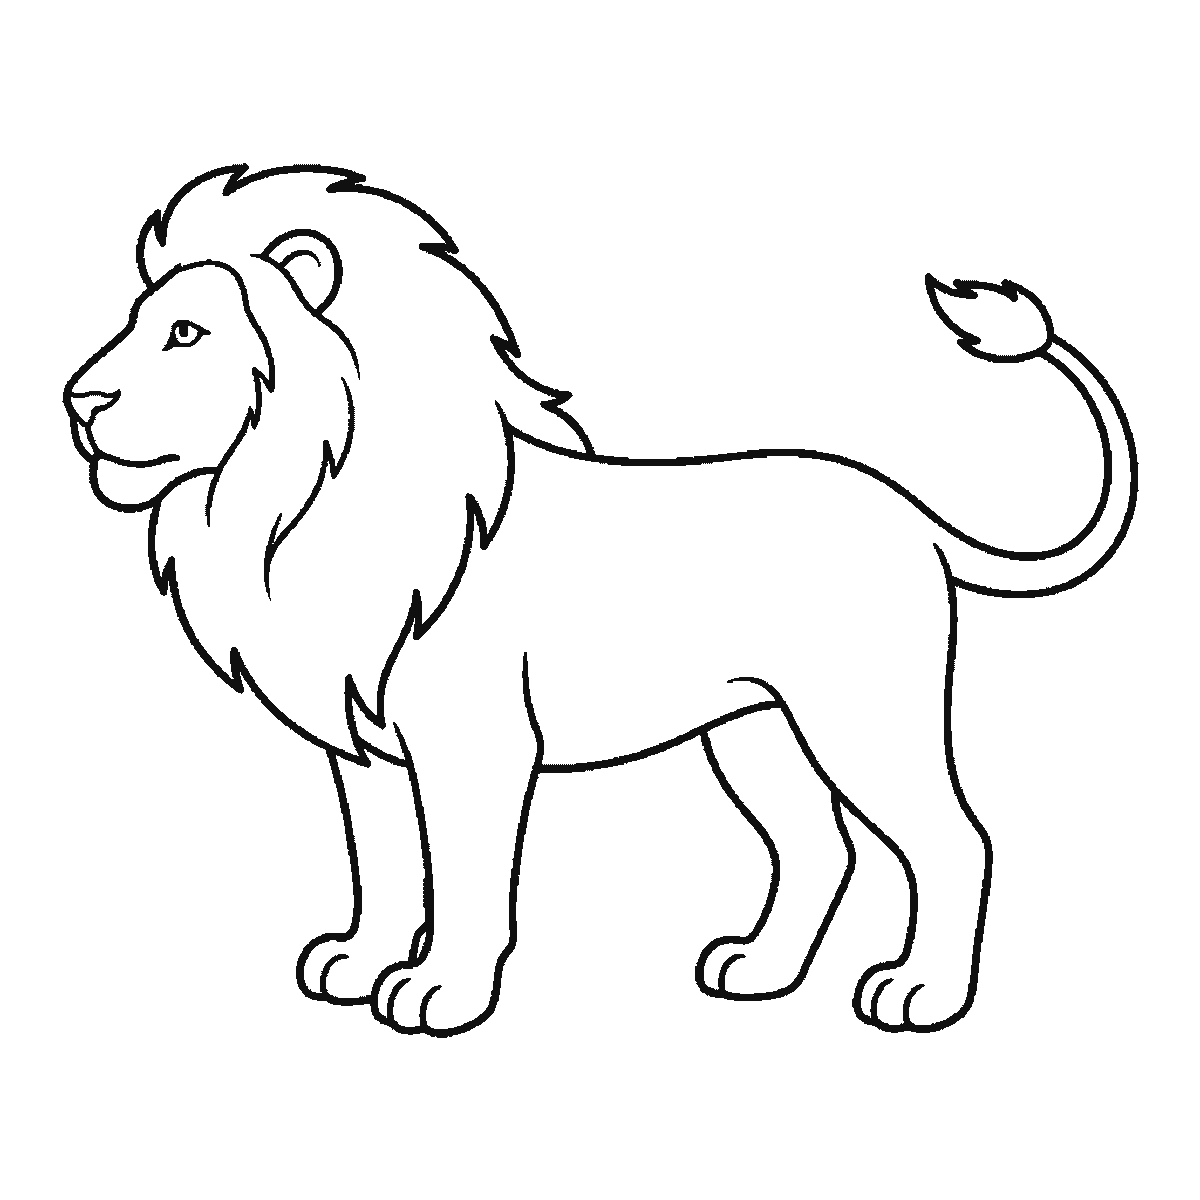
Six frames, one lion standing in profile. The body first, then the mane, the face, the two far legs, and the ear and tail tuft last.
A lion is a cat with a very large hat, and drawing one is mostly about the hat. This sheet builds a lion standing in profile — side on, all four feet on the ground, the tail curving up behind — and it puts the body down first. The mane arrives second, and it is still the thing that decides whether the animal reads as a lion at all.
Frame one is the body: the long back, the deep chest, the belly, the near foreleg and hind leg down to their paws, and the curve of the tail. There is no head in it at all. Frame two is the mane, and seen from the side it is not a ring but a shaggy shield covering the chest and the whole side of the head, dipping lowest under the throat. Beginners usually draw the face first and then try to fit a mane around it, and the mane always comes out too small.
The face arrives in frame three, and here is the useful proportion: seen from the side, the muzzle and the eye occupy only the front third of the mane's mass. A face drawn to fill it produces a very hairy domestic cat. Leave more room than feels comfortable and the drawing will thank you.
The features themselves are a cat's, and in profile you draw one of each. One eye with a heavy brow above it, a broad nose wider than a house cat's, and a mouth line running down from the nose and splitting into two curves. The muzzle is a rounded shape sitting proud of the face, and drawing it as a distinct closed area rather than as lines is what gives the face its weight.
The two far legs come after the face, one to a frame, which is how the sheet builds the standing pose in depth rather than all at once. The paws are large and blunt. The tail's curve is already there in frame one, but the tuft at its end is held back to frame six — a detail worth waiting for, because the tuft is one of the few things that separates a lion silhouette from any other big cat.
The mane's texture is drawn with the mane itself in frame two rather than added at the end, and less is more even so. A run of shortish strokes around the outer edge of the mass, denser under the throat than over the skull, reads as fur. Filling the whole mane with strokes reads as scribble and buries the shape you have just committed to.
If you want a lioness instead, the answer is simply to leave frame two out. The body, face, legs and paws on this sheet are unchanged; only the shaggy shield disappears, and the head and chest become noticeably narrower without it.
The frames go from the largest shape to the smallest, which is why the mane arrives before the face it surrounds. That order is easy to copy, and it is not a claim that this is how a lion ought to be drawn — plenty of people work outward from the nose and get there just as well.
The mane's outline is worth thinking about rather than accepting. An even fringe of equal-length points reads as a cartoon; an edge that falls in ragged uneven points, deeper under the throat than over the skull, reads as an animal. The difference is a few millimetres of decision made in frame two, and it costs no extra effort at all.
A lion is also a good subject for learning to stop. There is always more mane to add, and the drawing gets steadily worse after a certain point. A useful discipline is to put the pencil down while you still feel the drawing is slightly unfinished — that is very often the moment it was actually at its best.
Before you start
- The body comes first here and the mane second — but draw the mane bigger than feels right. Almost every disappointing lion is a good cat with an undersized mane.
- In profile, keep the muzzle and eye inside the front third of the mane's mass.
- Put the mane texture only around the outer edge. Filling it in buries the drawing.
- The tail tuft is worth the two lines — it is one of the few marks that says lion rather than big cat.
Published Updated 654 words
The six steps
The steps go from the largest shape to the smallest, which is an easy order to copy. It is not the only order, and it is not a rule — if you would rather start somewhere else on the sheet, do.
Step 1
Step 2
Step 3
Step 4
Step 5
Step 6
More in this section
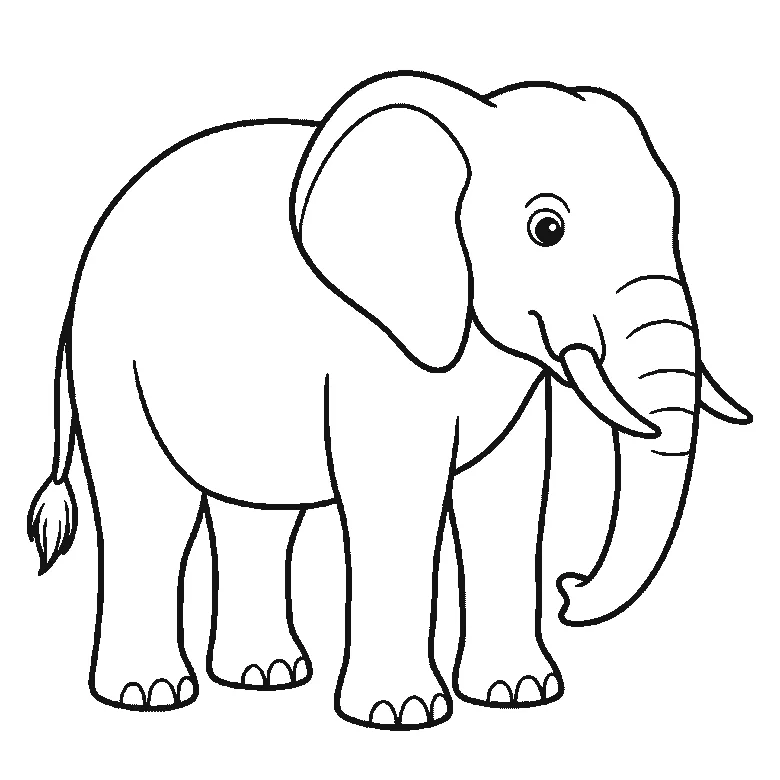
How to draw an elephant
Six frames, one elephant in profile. The body and near legs first, then the head, trunk, tusk and eye together, the big ear, the far legs, and the tail last.
Step sequence made by us from a single drawing: each step keeps the lines of the one before it and adds to them.
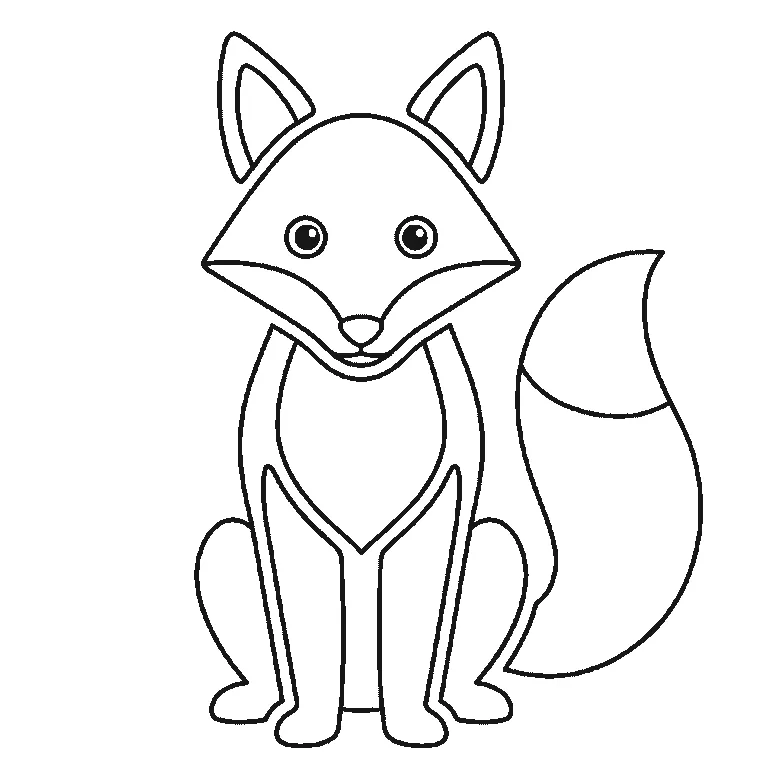
How to draw a fox
Six frames, one fox sitting and facing you. The head and the bushy tail together first, then the chest and legs, and the ears last.
Step sequence made by us from a single drawing: each step keeps the lines of the one before it and adds to them.
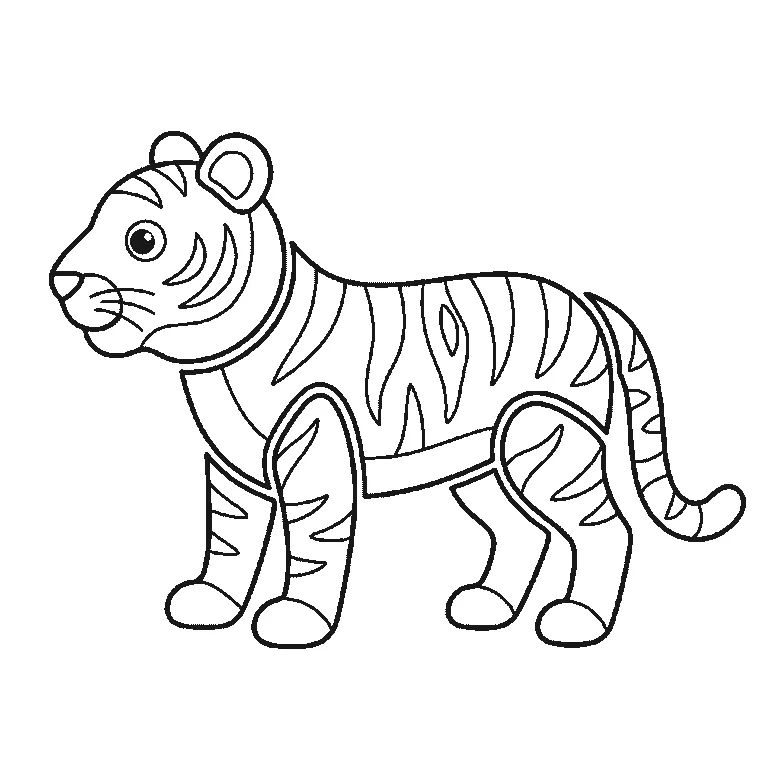
How to draw a tiger
Six frames, one tiger standing in profile. The striped flank first, then the head, the legs one at a time, and the tail last.
Step sequence made by us from a single drawing: each step keeps the lines of the one before it and adds to them.
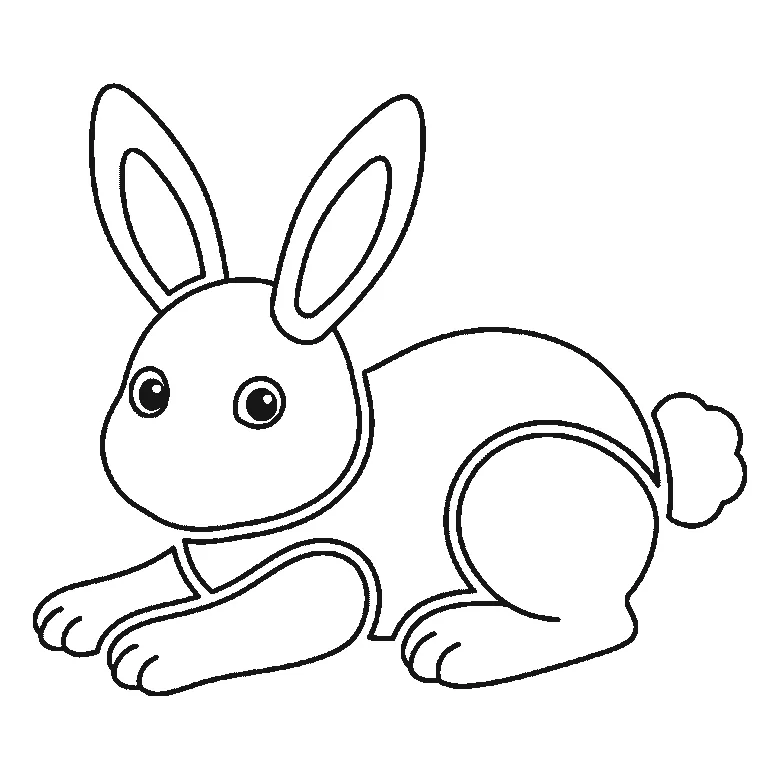
How to draw a bunny
Six frames, one bunny lying down with its paws stretched out. The head first, then the body, the long ears and the fluffy tail.
Step sequence made by us from a single drawing: each step keeps the lines of the one before it and adds to them.
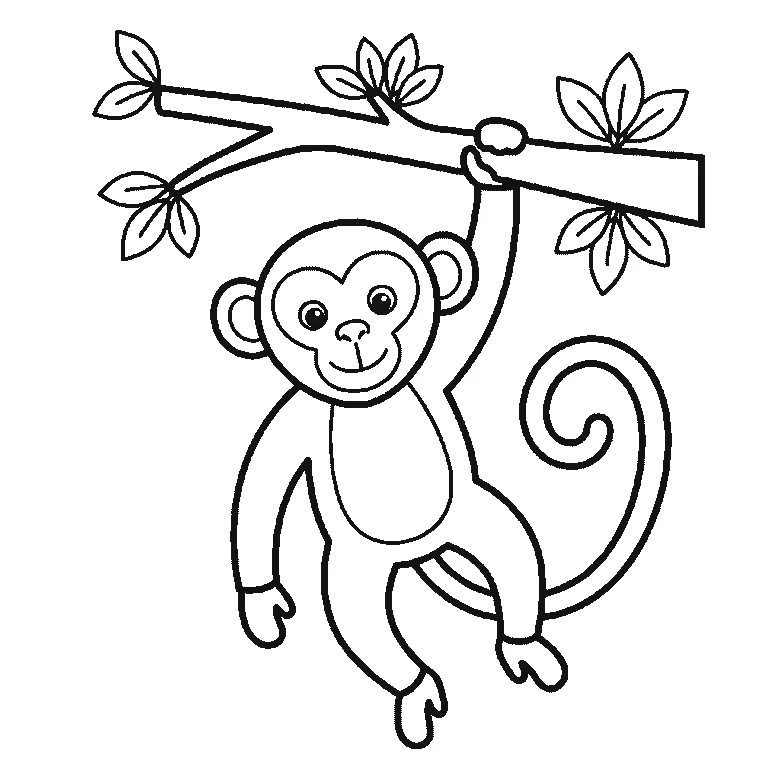
How to draw a monkey
Six frames, one monkey hanging by an arm from a branch. The limbs first, then the branch, the face and the curling tail.
Step sequence made by us from a single drawing: each step keeps the lines of the one before it and adds to them.
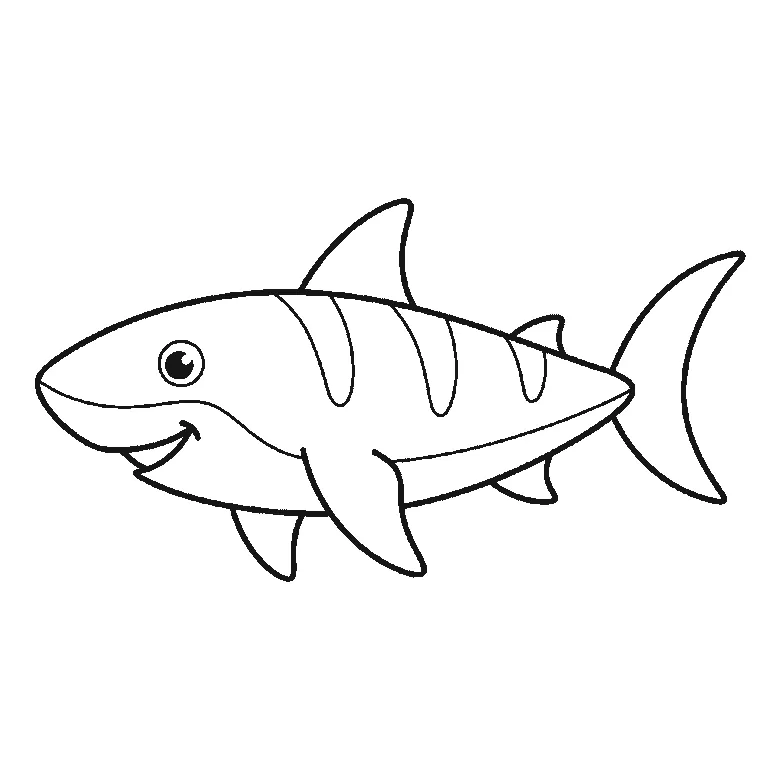
How to draw a shark
Six frames, one shark in profile. The body first, then the dorsal fin, side fins and crescent tail.
Step sequence made by us from a single drawing: each step keeps the lines of the one before it and adds to them.
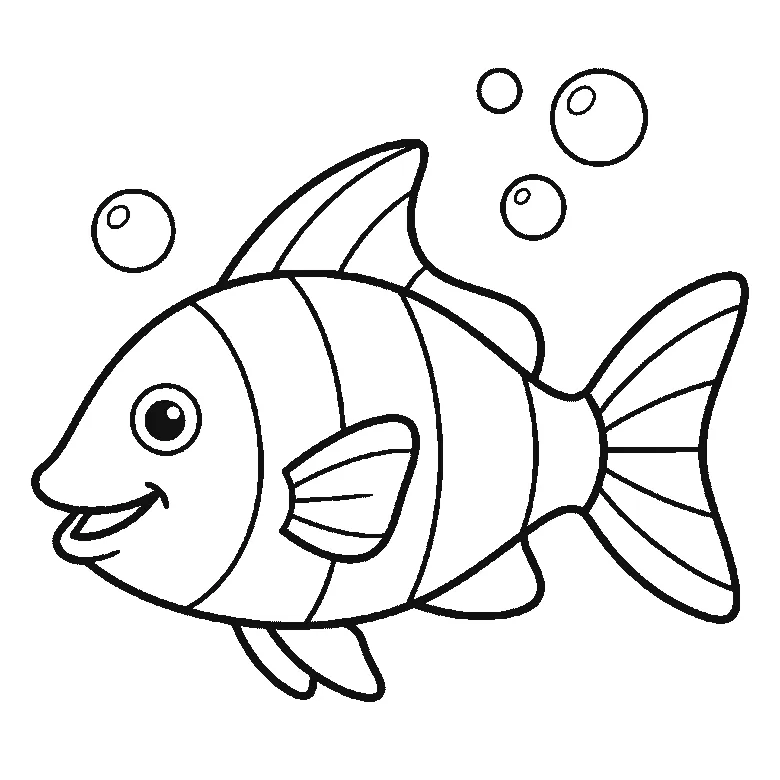
How to draw a fish
Six frames, one striped fish with bubbles. The head first, then the striped body, the fins and the fan tail.
Step sequence made by us from a single drawing: each step keeps the lines of the one before it and adds to them.
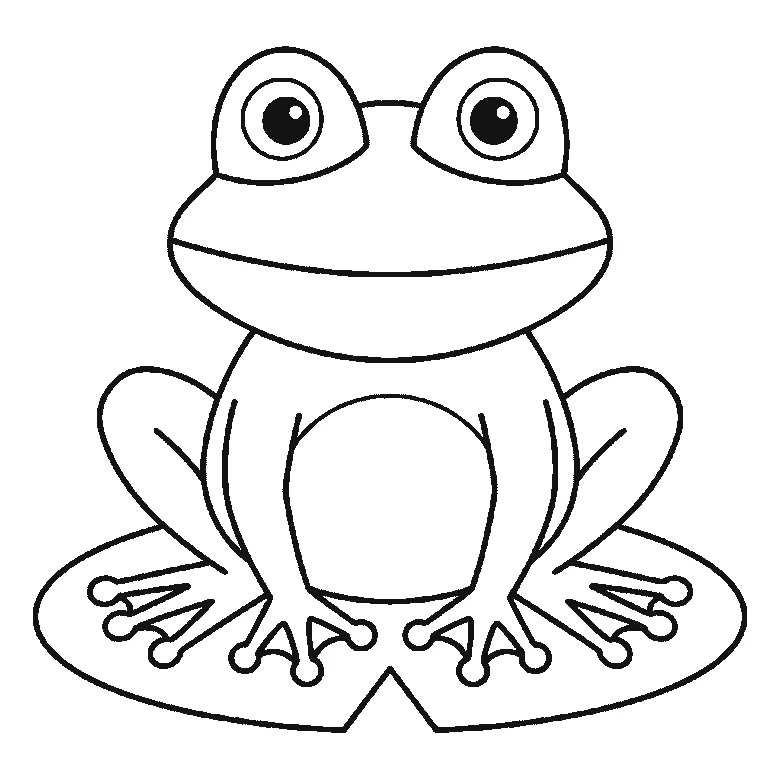
How to draw a frog
Six frames, one frog seen from the front. The lily pad first, then the body, the head and the domed eyes.
Step sequence made by us from a single drawing: each step keeps the lines of the one before it and adds to them.
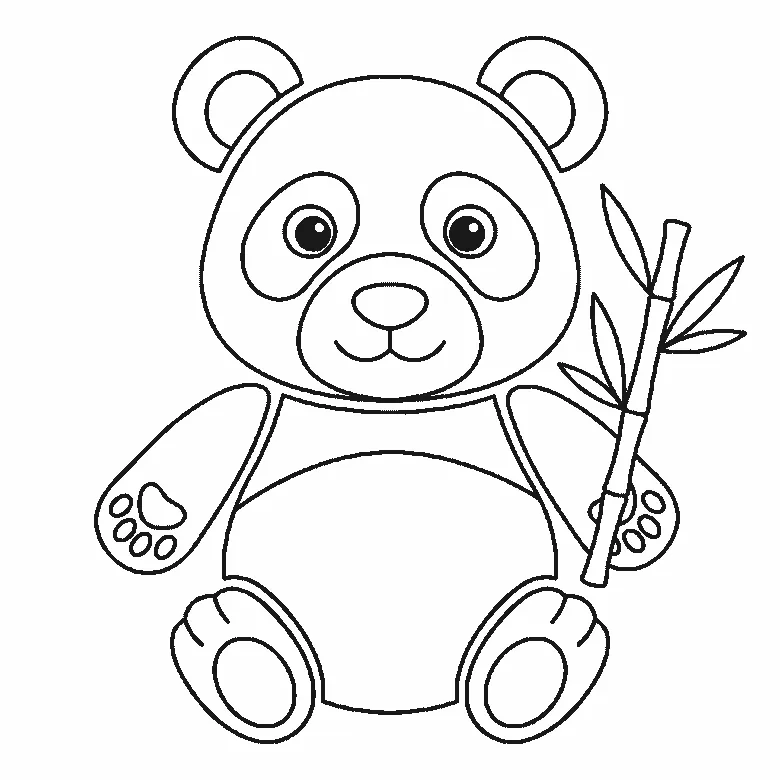
How to draw a panda
Six frames, one panda sitting up with a bamboo stalk. The head and its eye patches first, then the body, the ears and the bamboo.
Step sequence made by us from a single drawing: each step keeps the lines of the one before it and adds to them.
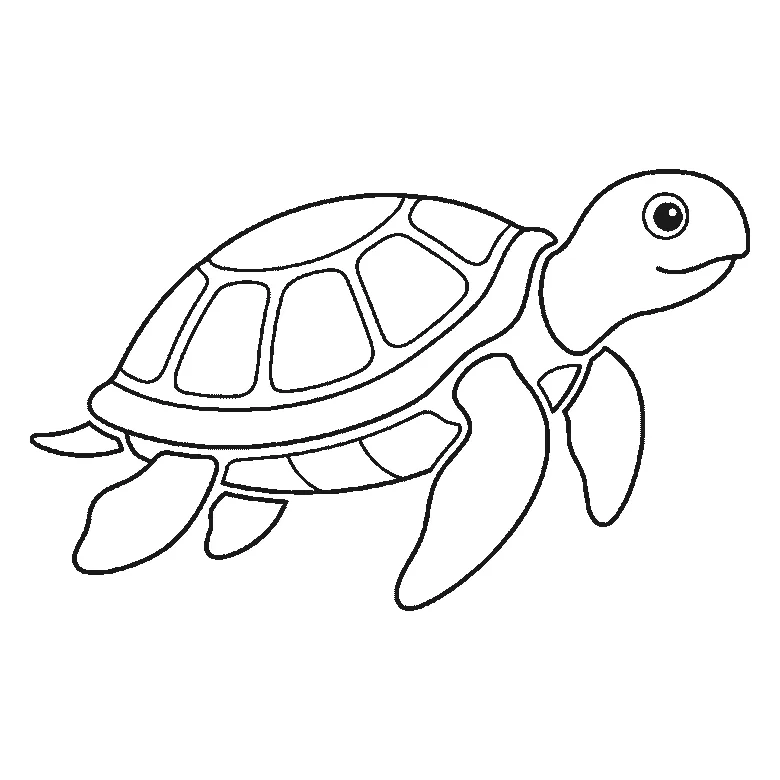
How to draw a turtle
Six frames, one sea turtle swimming in profile. The head and one flipper first, then the shell, the rear flippers and the plates.
Step sequence made by us from a single drawing: each step keeps the lines of the one before it and adds to them.
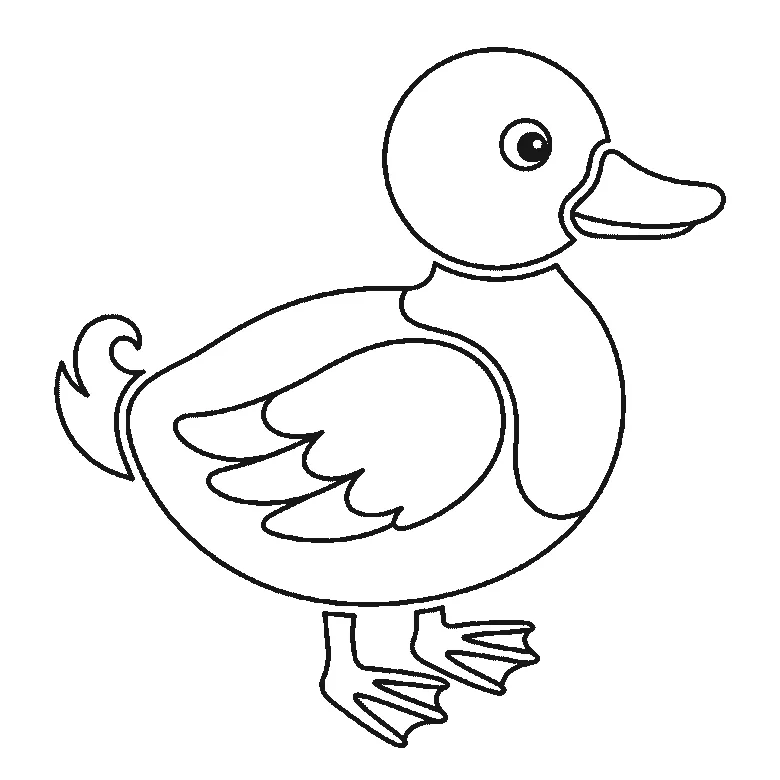
How to draw a duck
Six frames, one duck standing in profile. The folded wing first, then the head, the body, the bill and the webbed feet.
Step sequence made by us from a single drawing: each step keeps the lines of the one before it and adds to them.
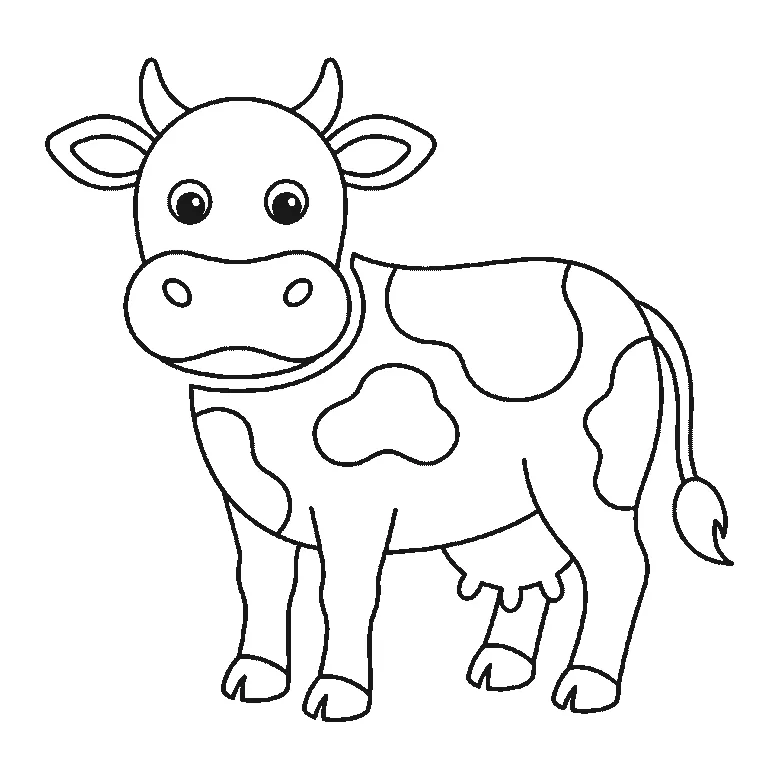
How to draw a cow
Six frames, one cow seen from the front. The patched body and legs first, then the head, the muzzle and the horns.
Step sequence made by us from a single drawing: each step keeps the lines of the one before it and adds to them.


