
PDF · A4 · 59 KB · Free, no sign-up. For home and classroom use.
How to draw a monkey
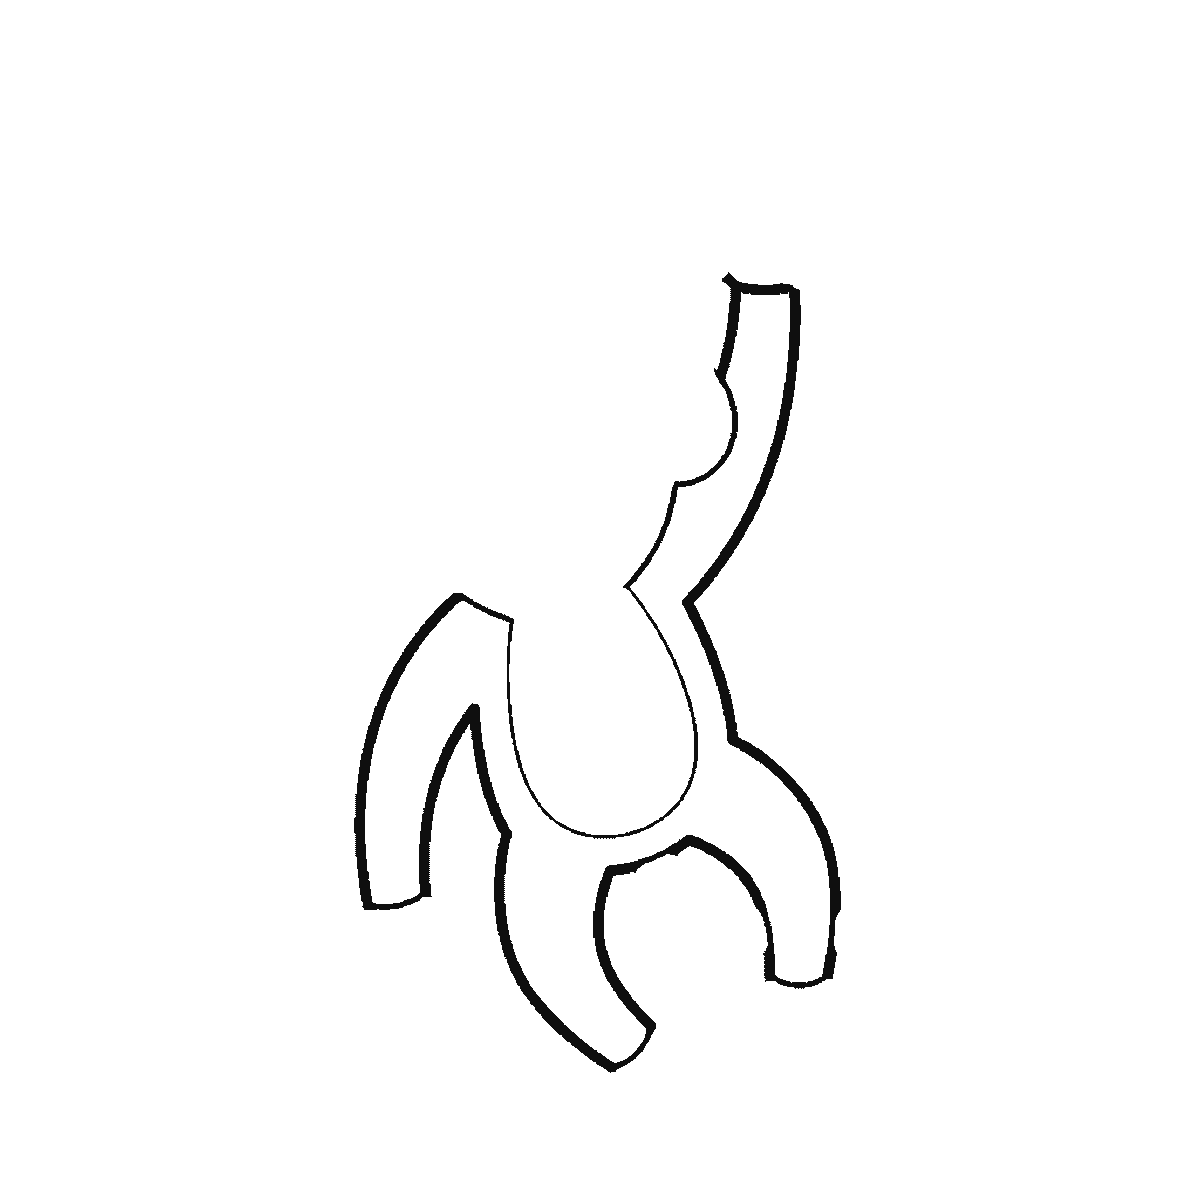
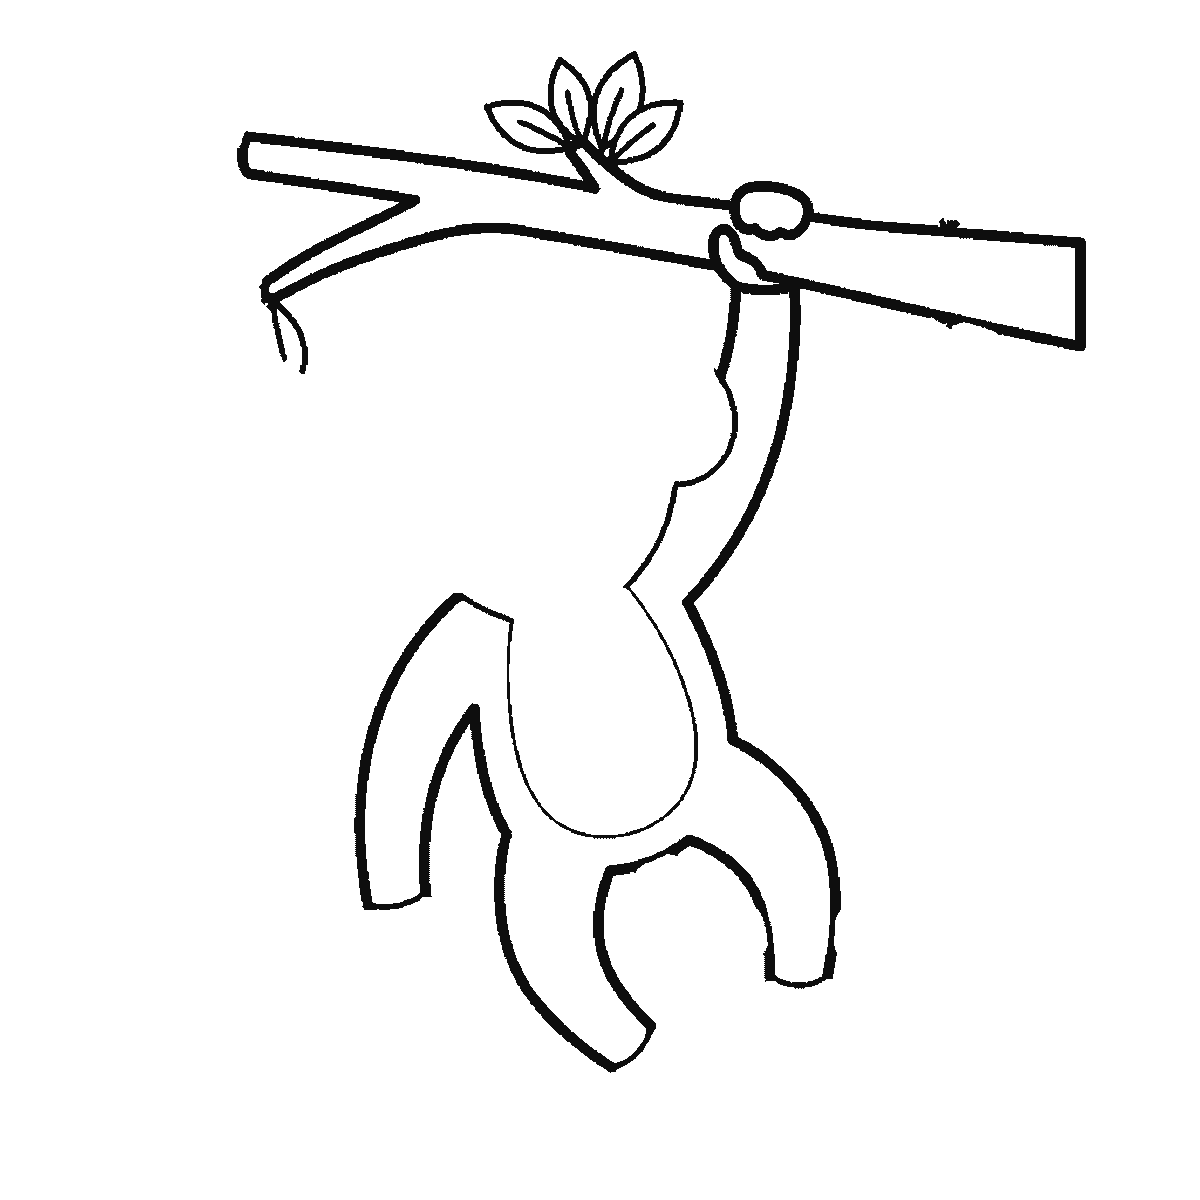
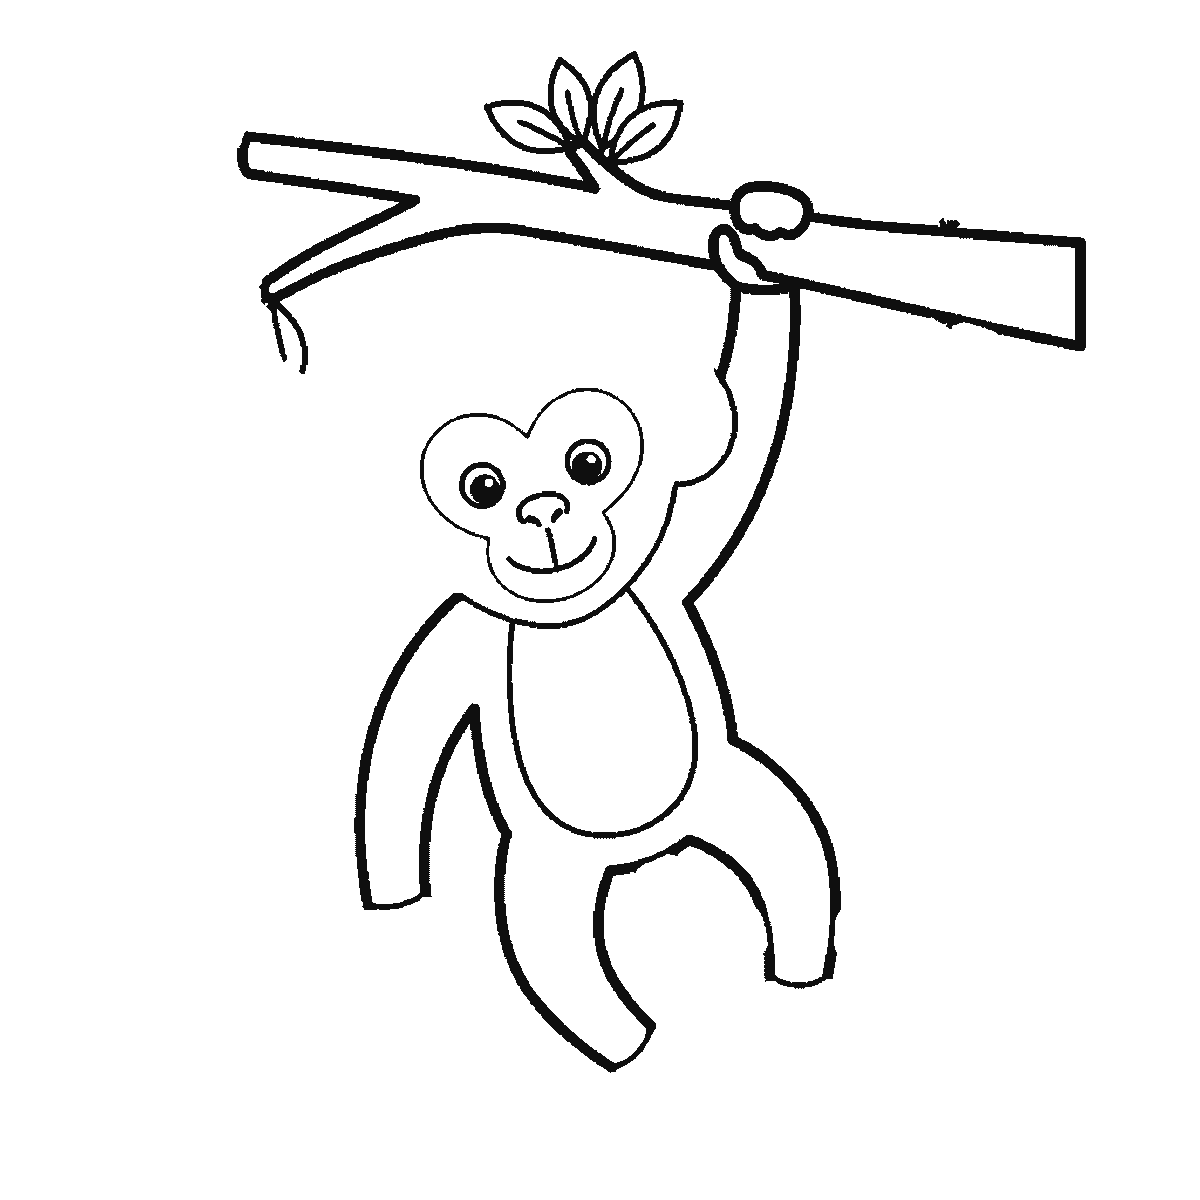
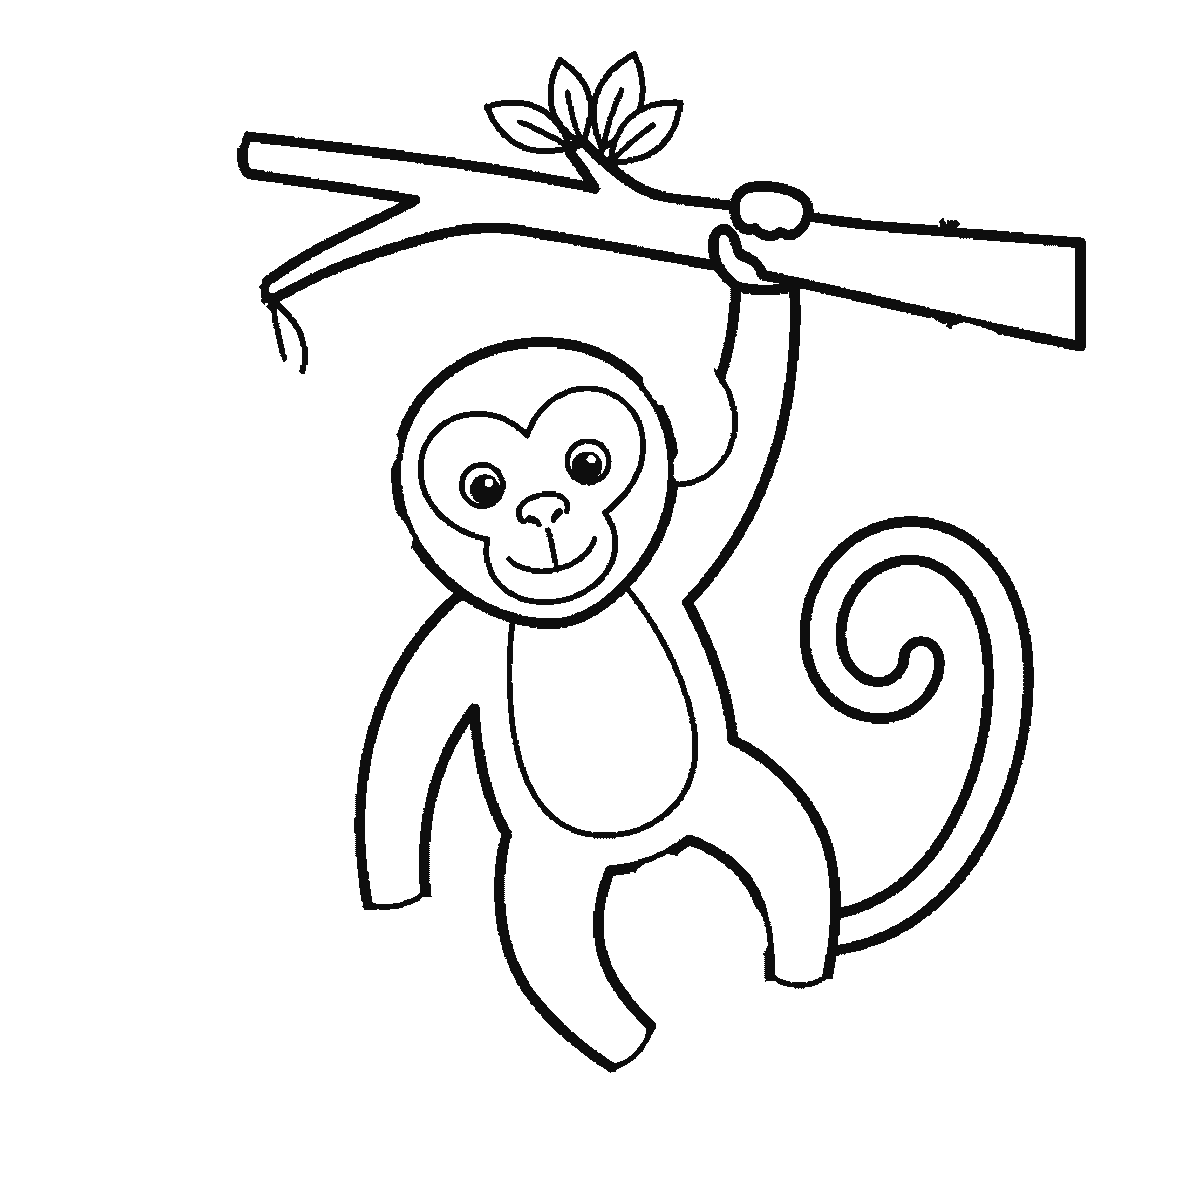
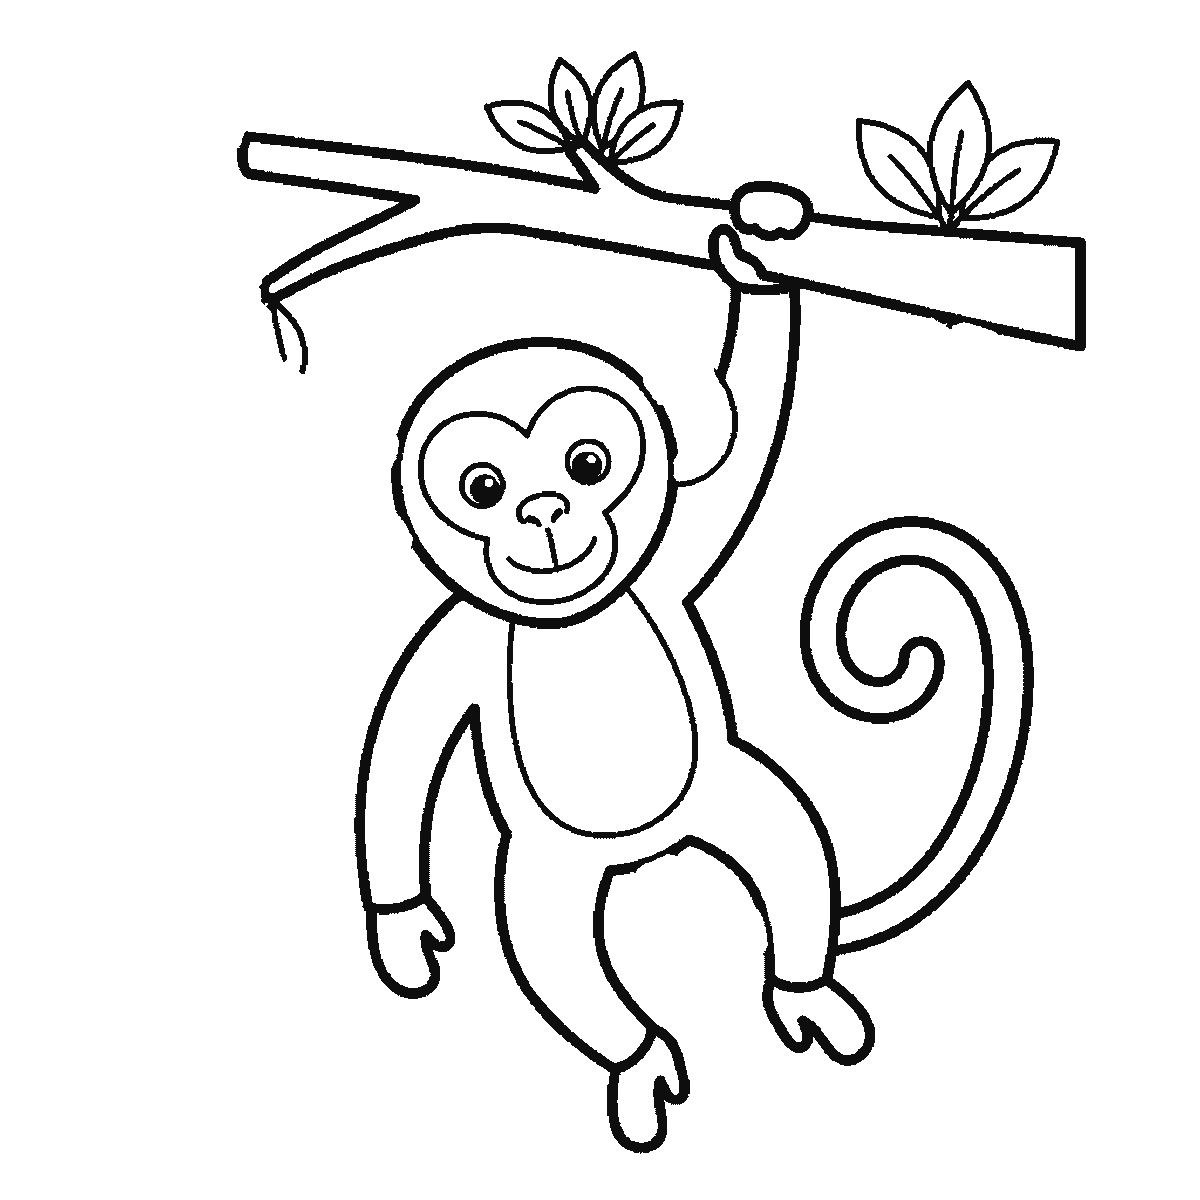
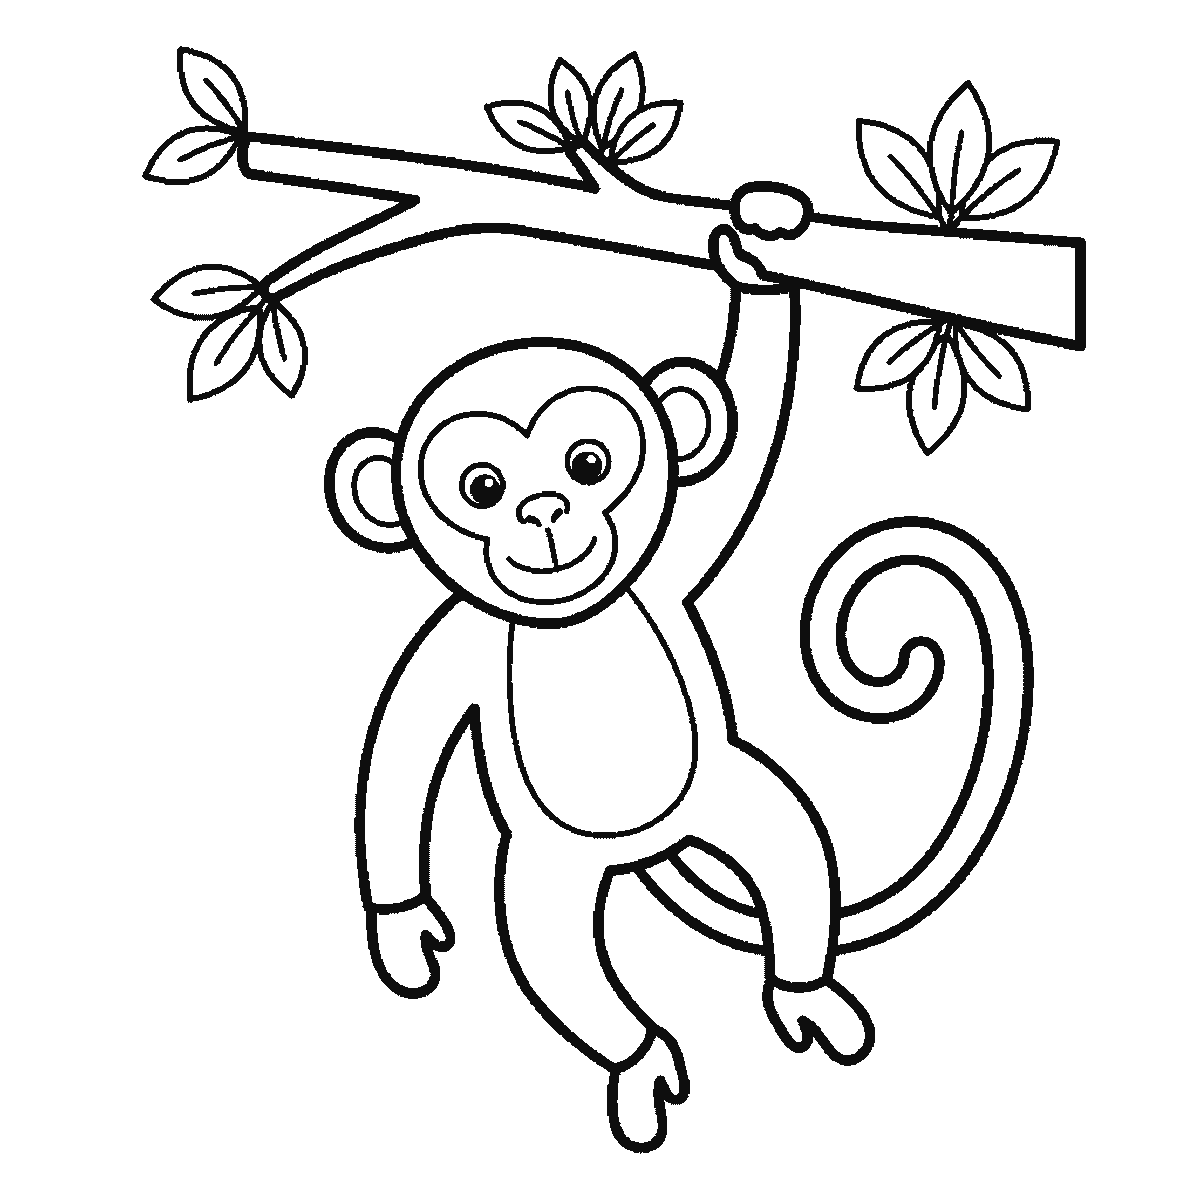
Six frames, one monkey hanging by an arm from a branch. The limbs first, then the branch, the face and the curling tail.
The monkey on this sheet is hanging from a leafy branch by one arm, which makes it a much better drawing lesson than a monkey standing still would be. Hanging puts the whole body on a diagonal, and a diagonal is the cheapest way to make any animal drawing look alive rather than posed.
Frame one is not the body. It is the raised arm and the two dangling legs, drawn as one long connected run of shapes with a gap where the torso will go — which looks strange on its own and is the most useful frame on the sheet, because it fixes the LEAN before anything else exists. Everything after it hangs off the angle you set here. Draw those limbs too upright and the finished animal looks like it is standing in mid-air.
The branch comes second, before the animal has a head, and then the head itself: roughly circular, tipped slightly to one side, with a heart-shaped face patch inside it — a rounded outline covering the eyes, nose and mouth area, separate from the outline of the skull. That patch does an enormous amount of work. It is what makes the drawing read as a monkey rather than a bear or a cat, and it is the first thing to check if the finished face looks wrong.
The ears are big, round and set low on the sides of the head, sticking out clearly rather than lying flat. Draw each as a circle with a smaller curve inside it. Undersized ears are the commonest reason a drawn monkey stops looking like one, and there is very little risk in making them too large.
The face itself is simple: two round eyes with filled pupils inside the patch, a small nose with two nostrils, and a wide curved mouth. Set the eyes about a third of the way down the patch and leave a clear gap between them. A monkey's face is expressive because the features sit close together in the middle of a large face, not because of any detail in them.
The limbs come next, and the arm doing the hanging is the important one. It reaches up and its hand wraps over the top of the branch, with the fingers curling round and down the far side. Drawing the hand in front of the branch instead of around it is the mistake that breaks the illusion instantly — the monkey stops hanging and starts hovering.
The other arm hangs loose, and both legs dangle with the feet relaxed. Nothing about a hanging animal should look tense. Let the free limbs curve slightly rather than hanging as straight lines, and let them be at different angles from each other.
The tail is the last big shape and the most fun to draw: it comes off the hips and curls into a spiral at the end. Make the spiral loosen as it goes round rather than coiling evenly like a spring, and let it curl away from the body rather than across it, so it reads as a tail and not as a rope.
The branch and its leaves finish the sheet. The leaves are grouped in small sprays rather than dotted evenly along the branch, which is how leaves actually grow, and the branch itself tapers towards its thin end. A branch of constant thickness reads as a pole.
The frames are ordered by size, largest closed shape first and smallest last, which here means limbs, then branch, then head, then tail, then the body's inner shapes, then the leaves. That order is easy to copy and it is not a claim about the right way to draw a monkey — building the face first and hanging the body off it is a perfectly good alternative, and probably a more natural one.
Before you start
- Set the body on a diagonal in the first frame. An upright hanging monkey looks like it is hovering.
- Draw the heart-shaped face patch as a separate outline inside the head — it is what says «monkey».
- Wrap the hand over and around the branch, never in front of it.
- Let the tail spiral loosen as it goes, and curl it away from the body.
Published Updated 639 words
The six steps
The steps go from the largest shape to the smallest, which is an easy order to copy. It is not the only order, and it is not a rule — if you would rather start somewhere else on the sheet, do.
Step 1
Step 2
Step 3
Step 4
Step 5
Step 6
More in this section
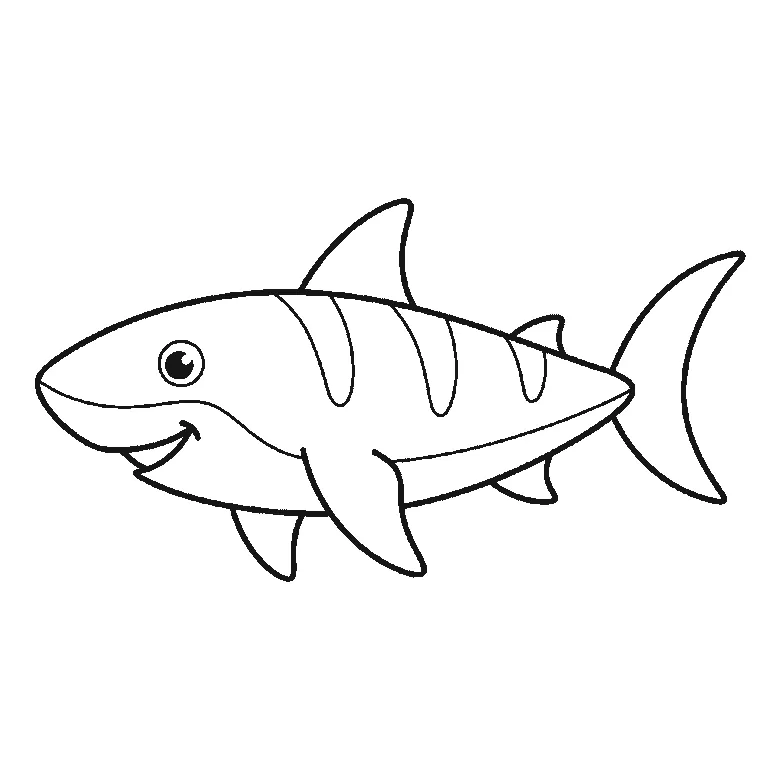
How to draw a shark
Six frames, one shark in profile. The body first, then the dorsal fin, side fins and crescent tail.
Step sequence made by us from a single drawing: each step keeps the lines of the one before it and adds to them.
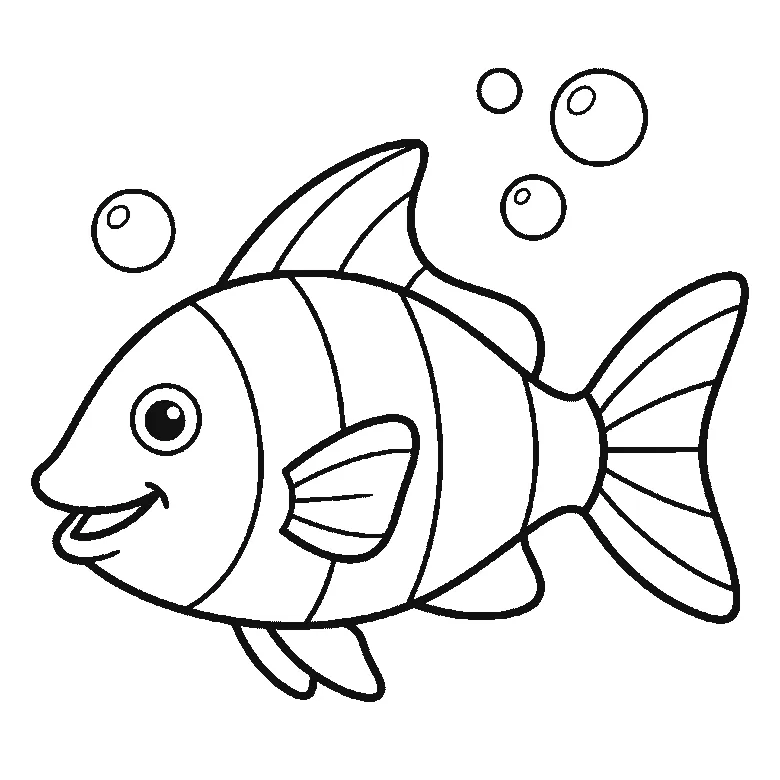
How to draw a fish
Six frames, one striped fish with bubbles. The head first, then the striped body, the fins and the fan tail.
Step sequence made by us from a single drawing: each step keeps the lines of the one before it and adds to them.
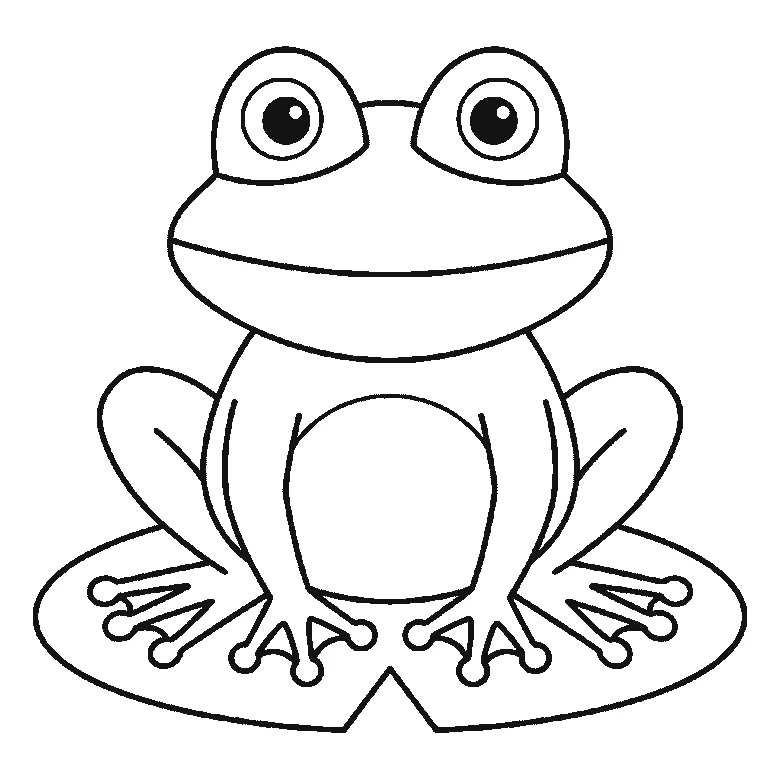
How to draw a frog
Six frames, one frog seen from the front. The lily pad first, then the body, the head and the domed eyes.
Step sequence made by us from a single drawing: each step keeps the lines of the one before it and adds to them.
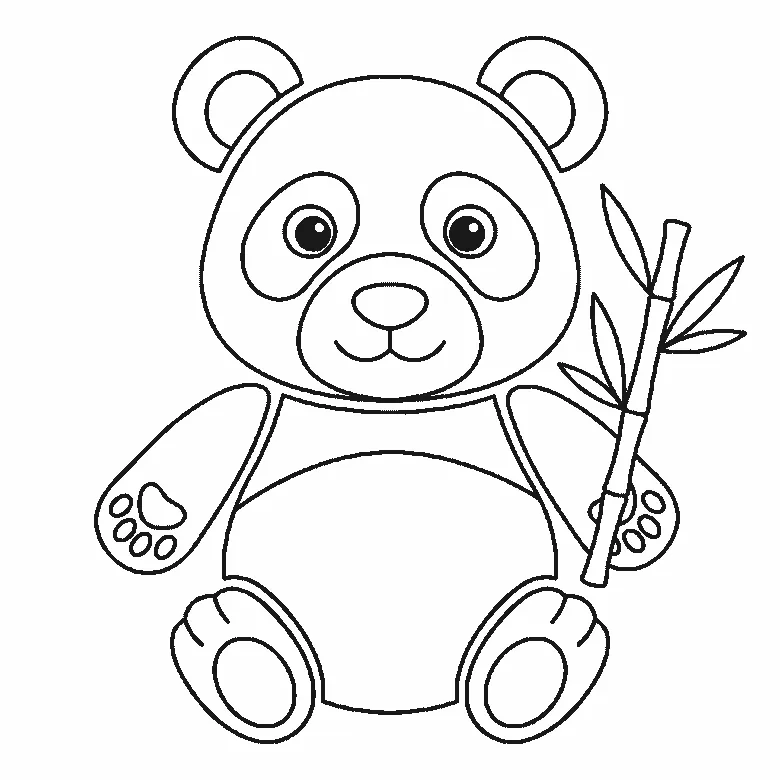
How to draw a panda
Six frames, one panda sitting up with a bamboo stalk. The head and its eye patches first, then the body, the ears and the bamboo.
Step sequence made by us from a single drawing: each step keeps the lines of the one before it and adds to them.
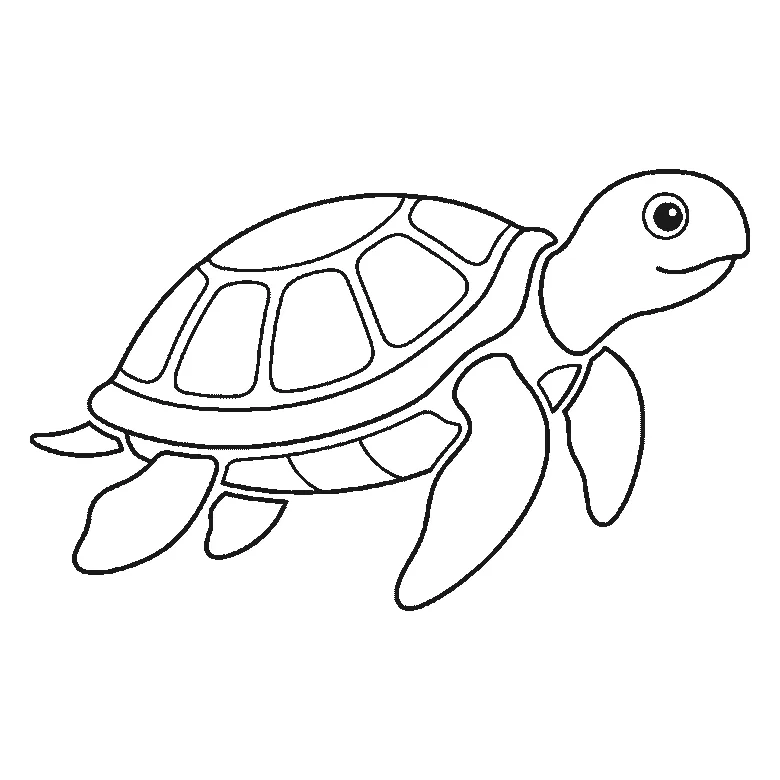
How to draw a turtle
Six frames, one sea turtle swimming in profile. The head and one flipper first, then the shell, the rear flippers and the plates.
Step sequence made by us from a single drawing: each step keeps the lines of the one before it and adds to them.
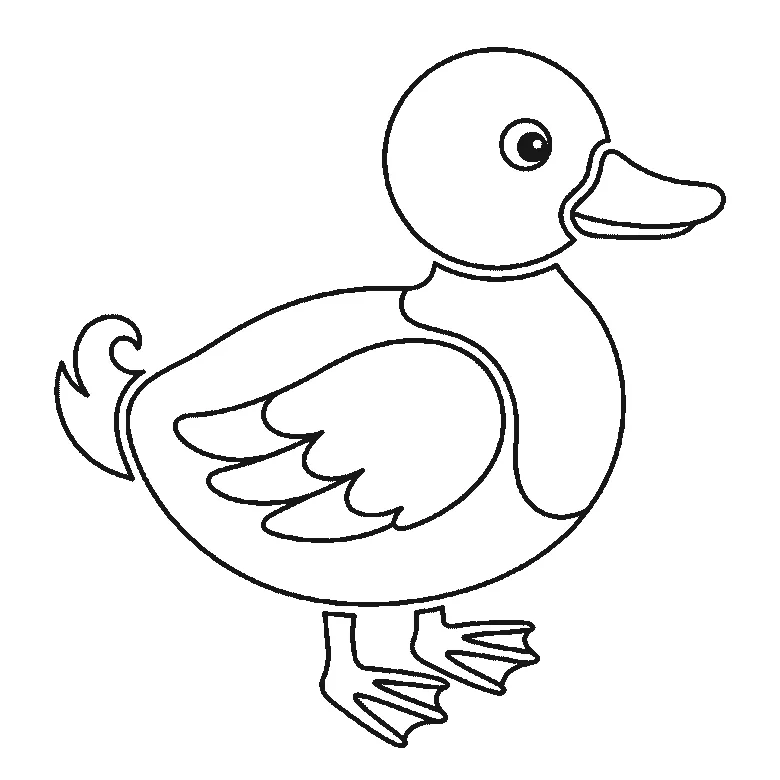
How to draw a duck
Six frames, one duck standing in profile. The folded wing first, then the head, the body, the bill and the webbed feet.
Step sequence made by us from a single drawing: each step keeps the lines of the one before it and adds to them.
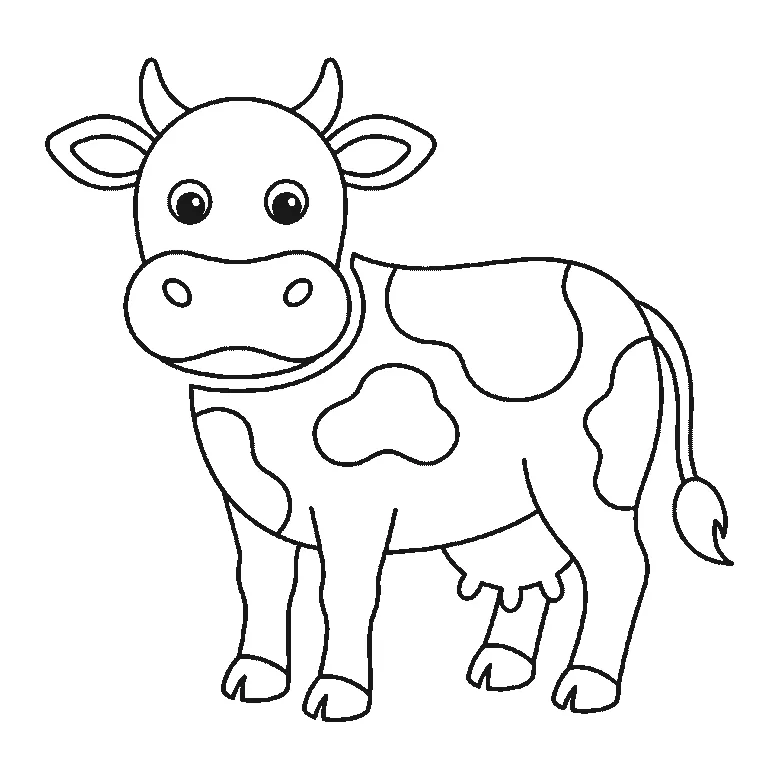
How to draw a cow
Six frames, one cow seen from the front. The patched body and legs first, then the head, the muzzle and the horns.
Step sequence made by us from a single drawing: each step keeps the lines of the one before it and adds to them.
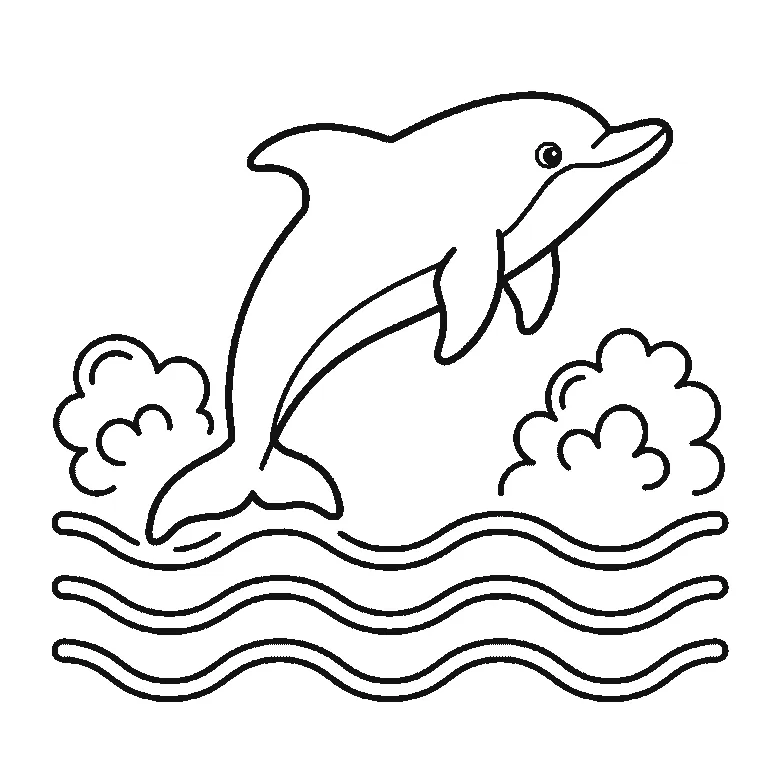
How to draw a dolphin
Six frames, one dolphin leaping over the waves. The whole animal in the first frame, then the waves and the splashes around it.
Step sequence made by us from a single drawing: each step keeps the lines of the one before it and adds to them.
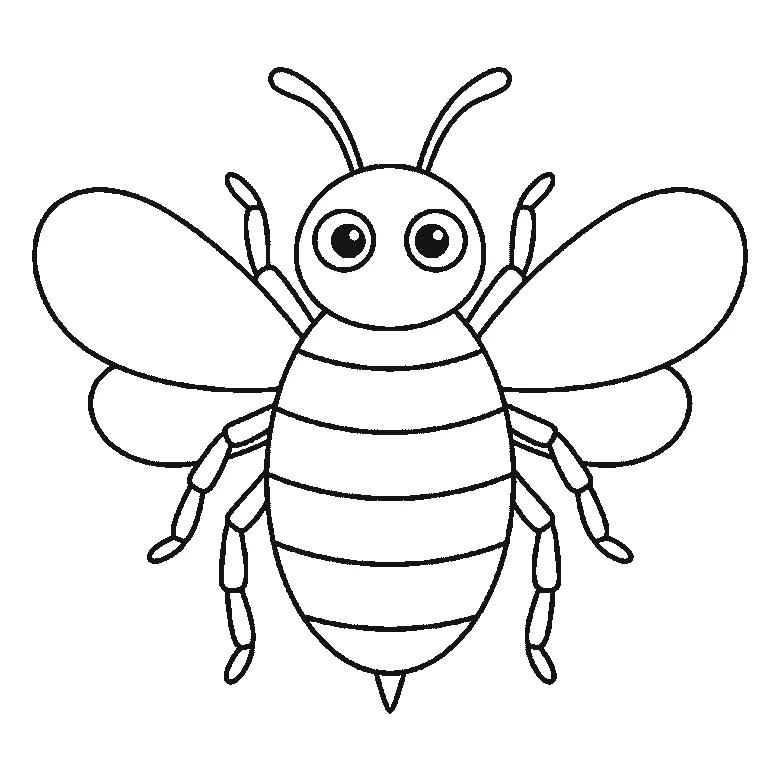
How to draw a bee
Six frames, one bumblebee seen from the front. The wings and head first, then the striped body, the legs and the antennae.
Step sequence made by us from a single drawing: each step keeps the lines of the one before it and adds to them.
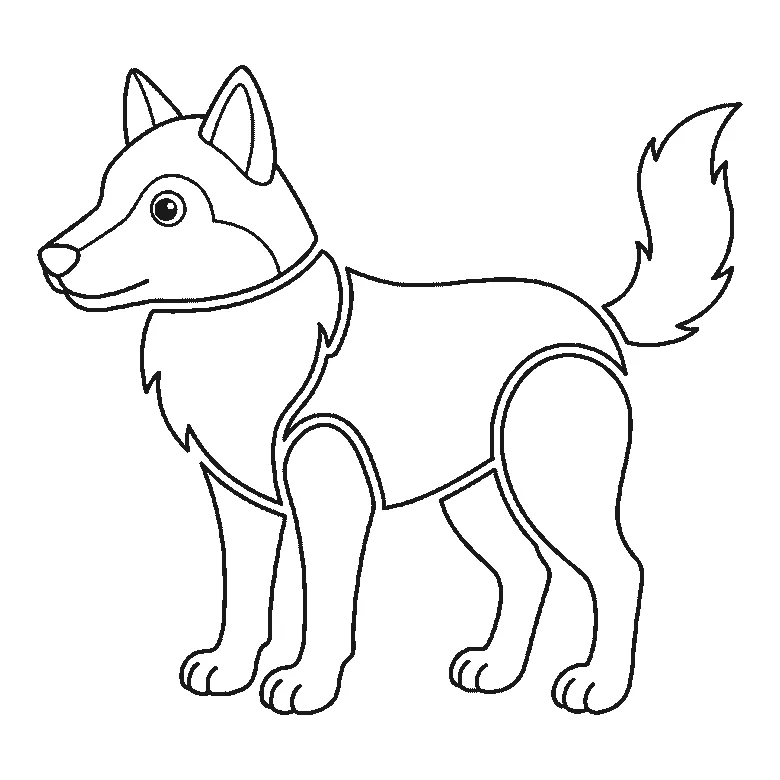
How to draw a wolf
Six frames, one wolf standing in profile. The chest ruff and a hind leg first, then the body, the head and the bushy tail.
Step sequence made by us from a single drawing: each step keeps the lines of the one before it and adds to them.
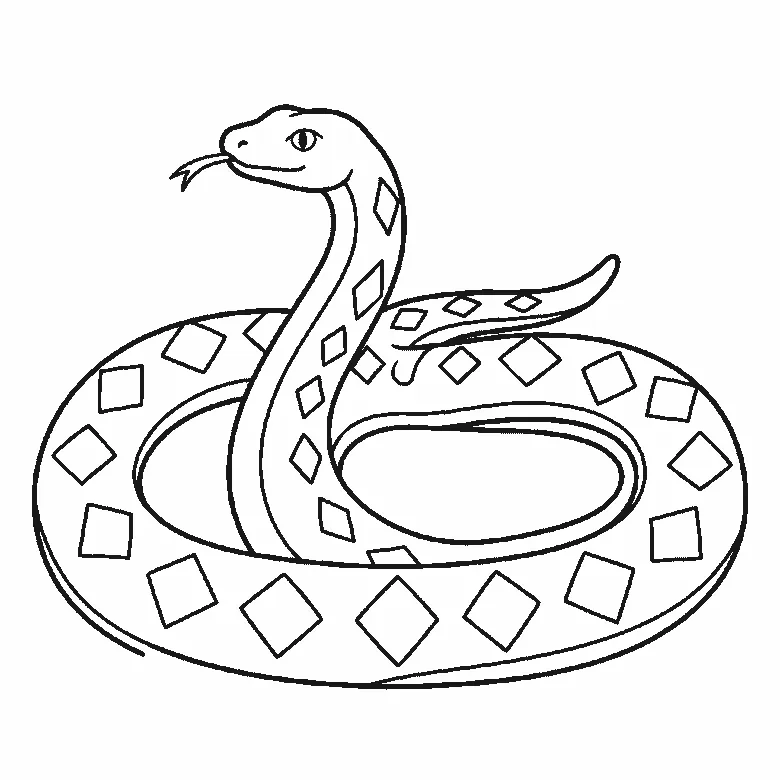
How to draw a snake
Six frames, one snake coiled in two loops with its head raised. Almost the whole coil in the first frame, then the inner edge and the diamonds.
Step sequence made by us from a single drawing: each step keeps the lines of the one before it and adds to them.
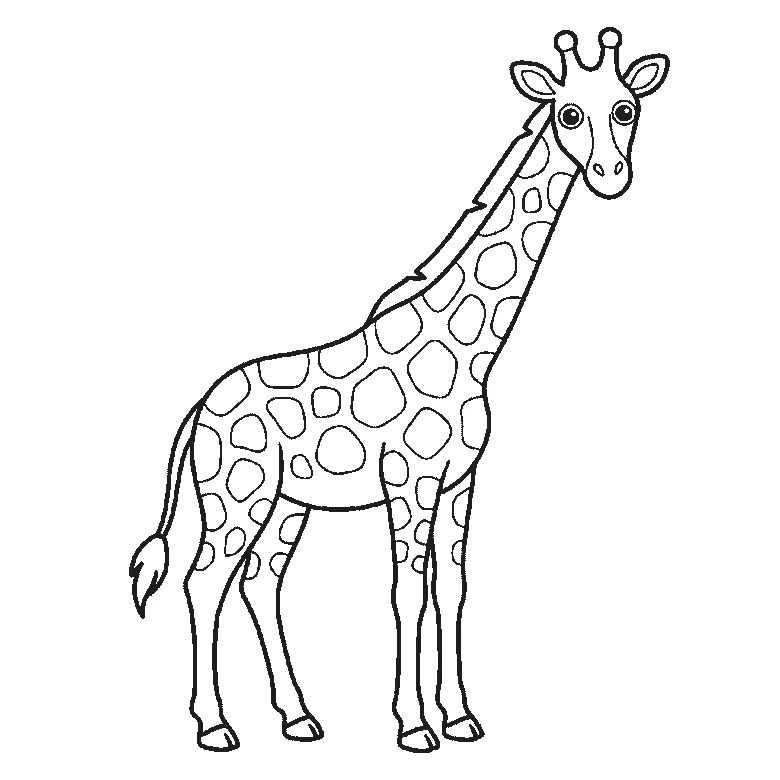
How to draw a giraffe
Six frames, one giraffe in profile with its head turned to you. Body, neck and legs first, then the coat patches and the face.
Step sequence made by us from a single drawing: each step keeps the lines of the one before it and adds to them.


