
PDF · A4 · 60 KB · Free, no sign-up. For home and classroom use.
How to draw a frog
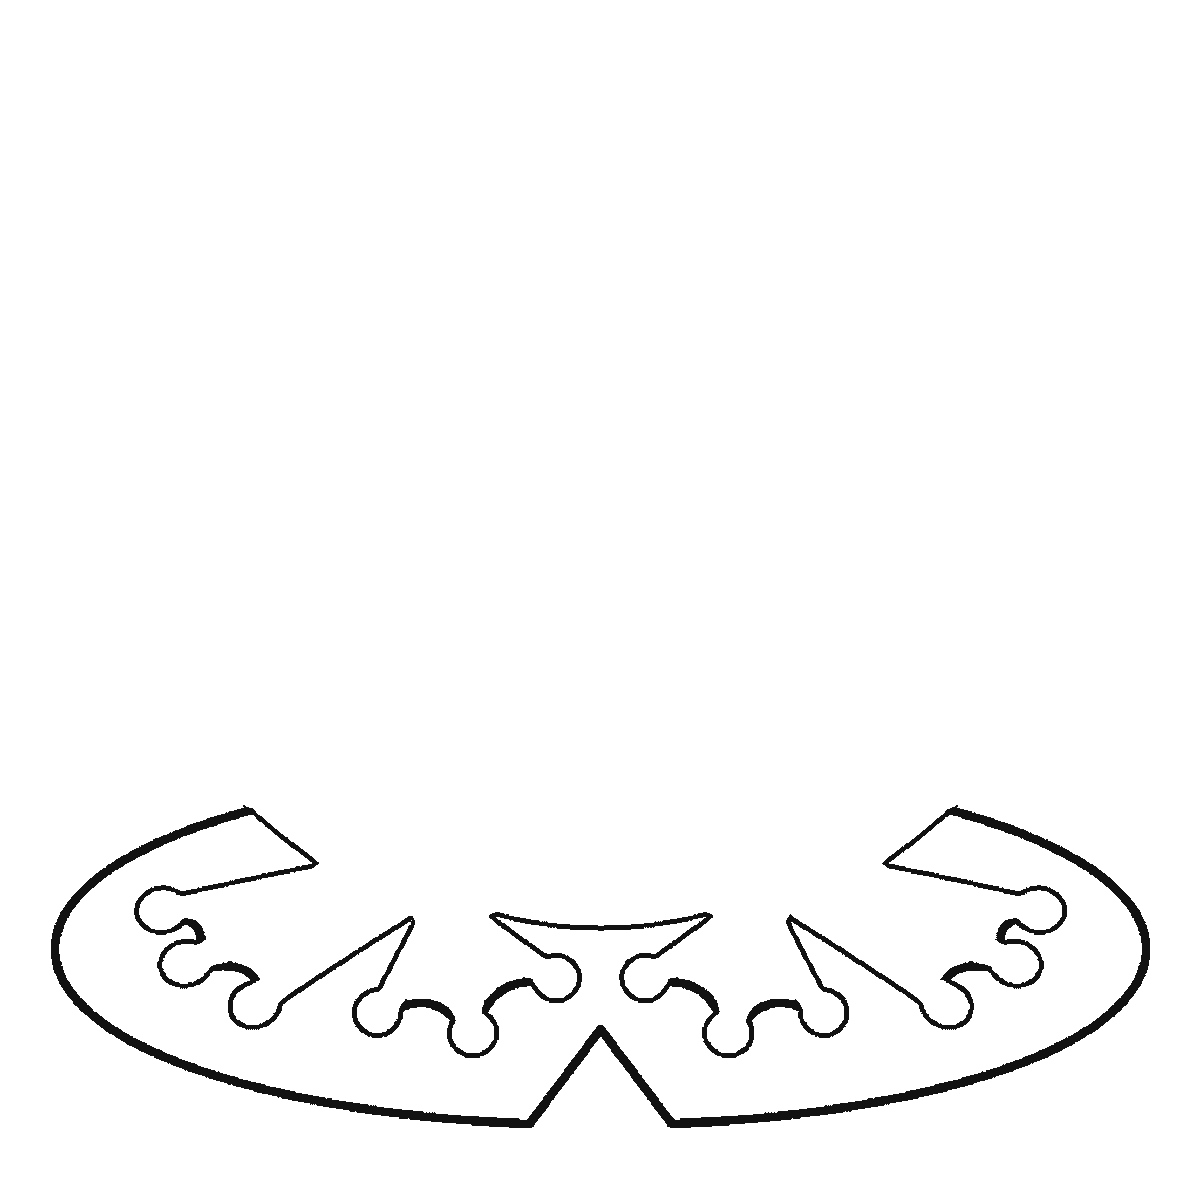
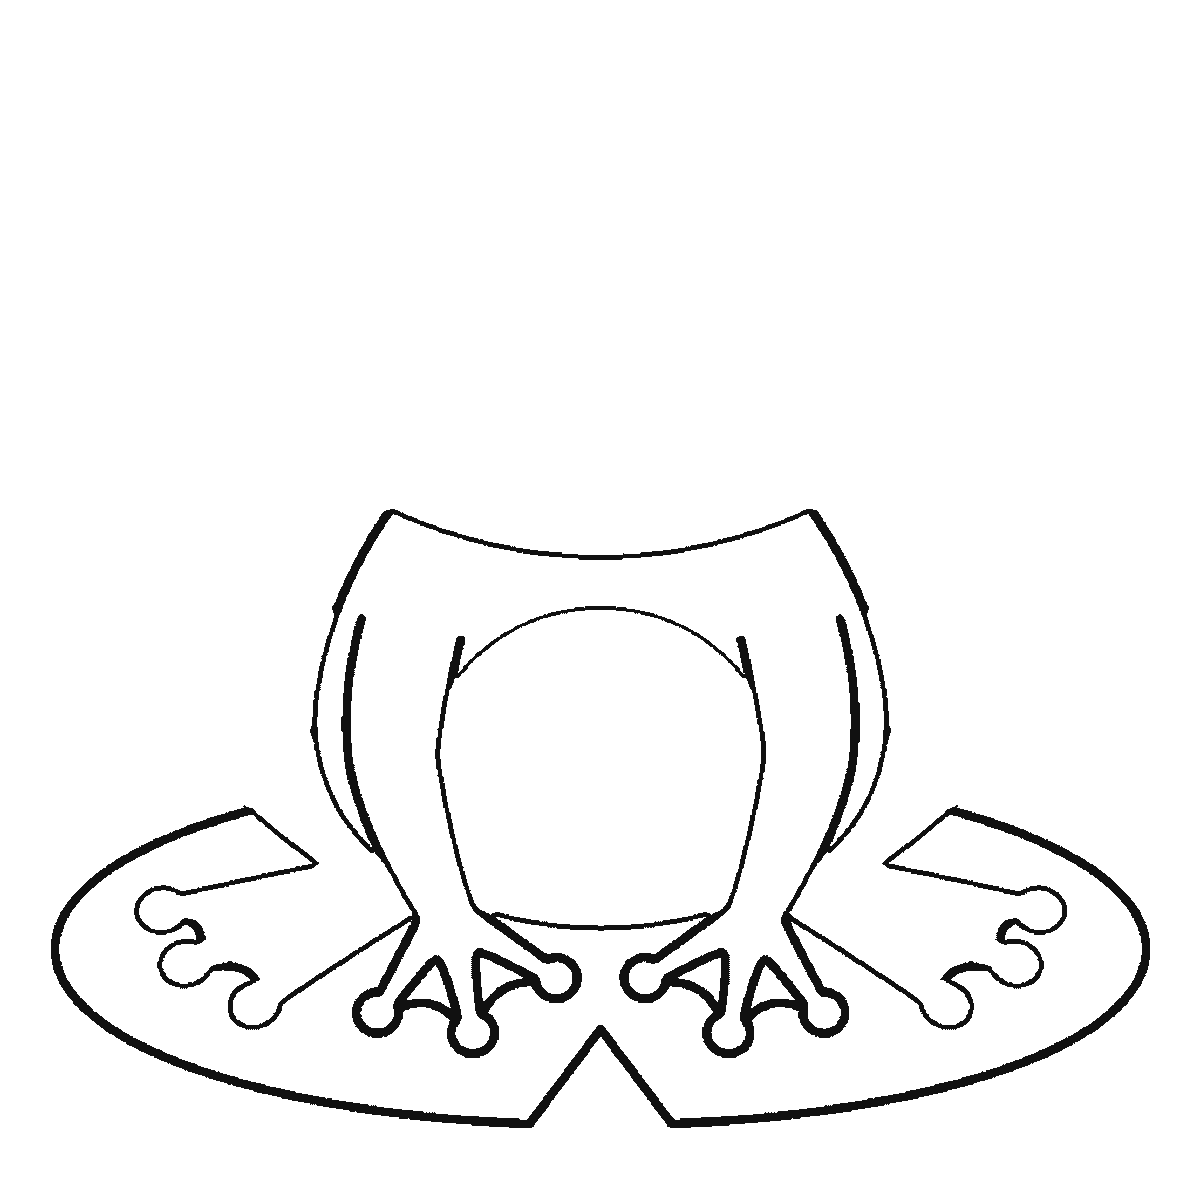
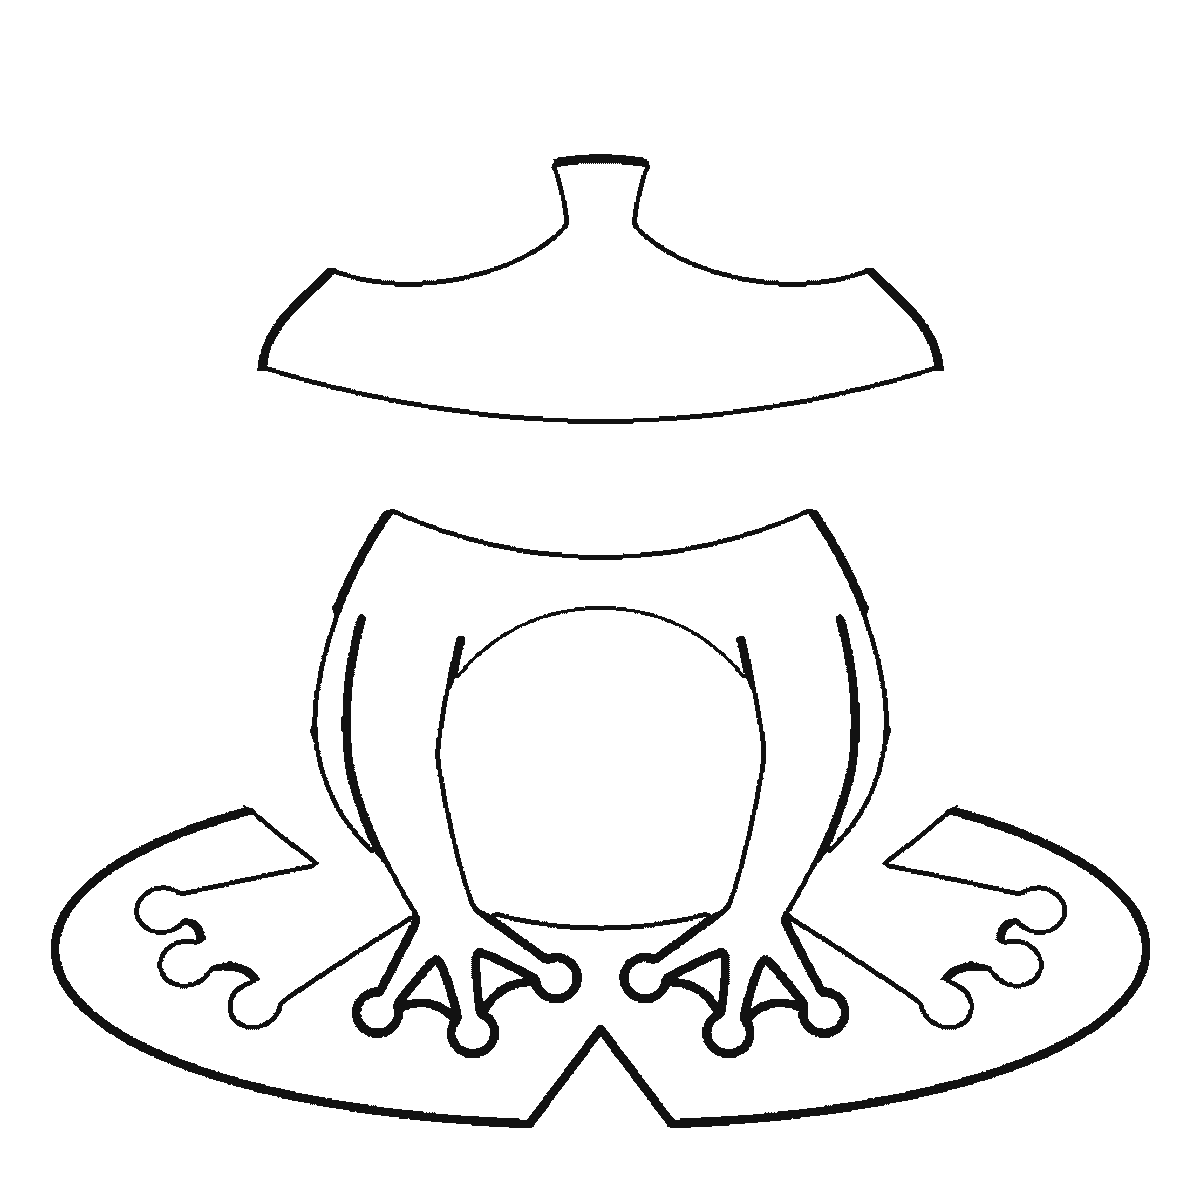
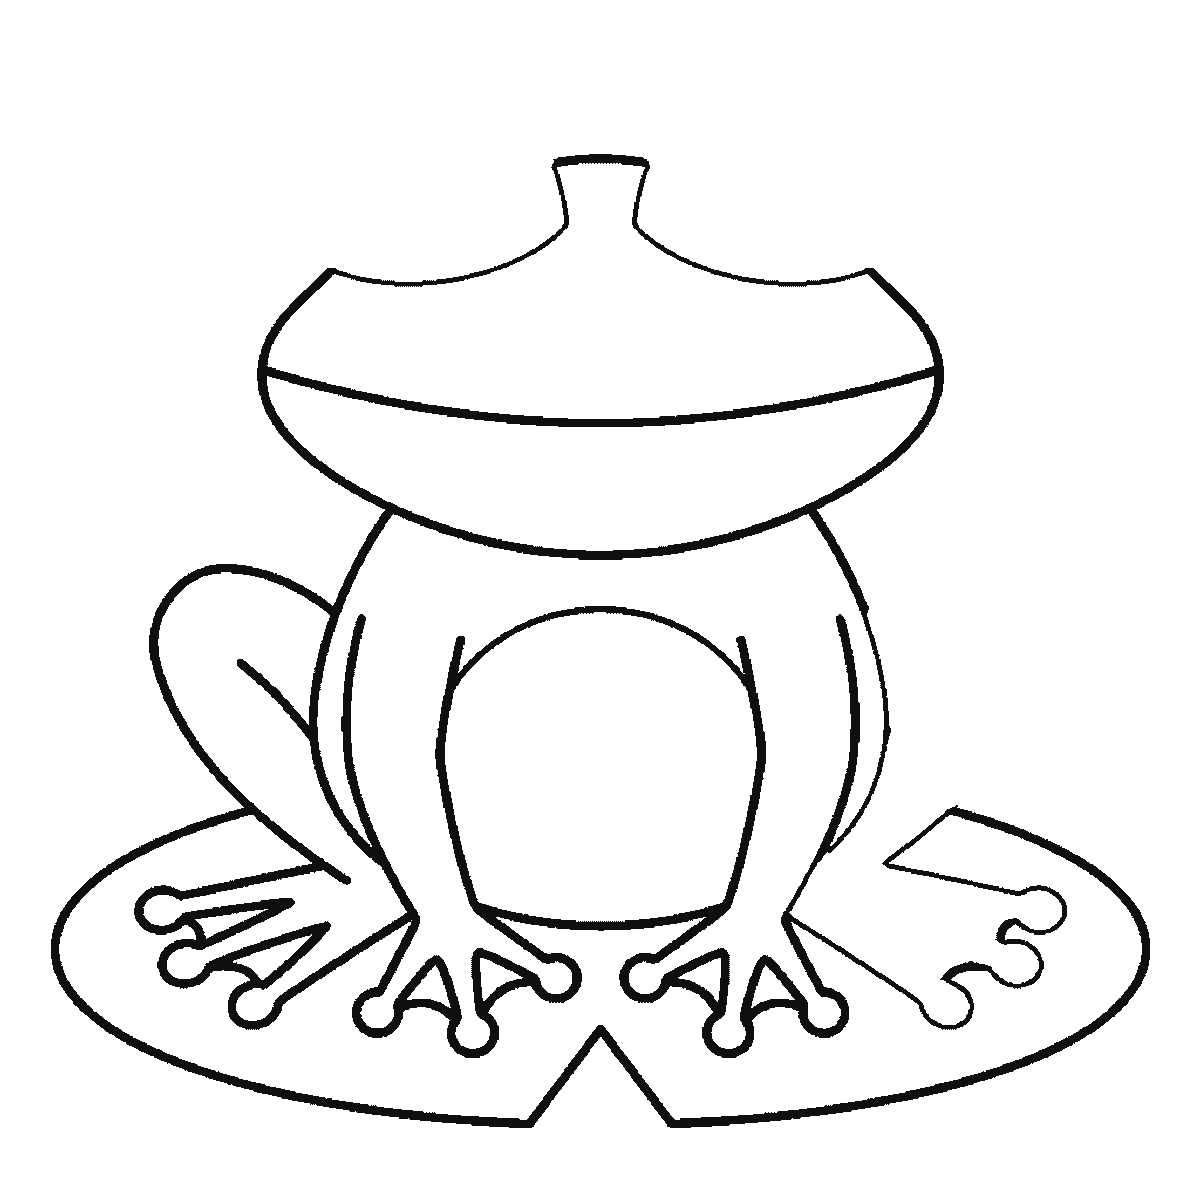
Six frames, one frog seen from the front. The lily pad first, then the body, the head and the domed eyes.
A frog seen head-on is one of the most rewarding animals a beginner can attempt, because almost everything about it is symmetrical and the parts are large. There is no fur to suggest, no mane to fudge and no subtle proportion that will betray you. What there is instead is a shape with real character, and it comes almost entirely from two decisions.
The first is a warning about frame one, which contains no frog at all: it is the LILY PAD, a wide flat oval with a wedge cut out of the front and the toes already notched into its edge. It is the largest closed shape on the page, so the sheet hands it over first. Copy it as the stage the animal will stand on, and leave the middle empty.
The frog then builds upwards. The body and the hind feet arrive in frame two, the head in frame three, and only in the last two frames do the eyes appear — first as two domes, then as the eyes themselves. That late arrival is worth noticing, because the eyes are the decision the whole drawing turns on: they do not sit IN the head, they sit ON TOP of it, in two domes that break the line of the skull and rise above it. Drawing them inside the head outline is what stops a frog looking like a frog, and it is the mistake nearly everybody makes first time.
The head itself is enormously wide relative to the body — wider than feels right. A frog is essentially a mouth with an animal attached, and drawing the head at the same width as the body, which is what instinct suggests, produces something that reads as a toad-shaped lump. Each eye dome then carries one large round eye with a filled pupil and a ring around it. Leave a small unfilled highlight in the pupil if you want the animal to look alive rather than glassy; that is one tiny white gap and it does a startling amount of work.
The mouth is a single wide curve running almost the full width of the head, turning up gently at the ends. Because it is so wide, its curvature is the whole expression: flatten it and the frog looks patient, curve it more and it looks delighted. There is no in-between worth aiming for, so pick one deliberately.
The body follows as a rounded shape below and behind the head, with a separate belly panel outlined inside it. That inner panel is worth including — it gives the drawing a front and a back, and it is where a colourist puts the pale underside every frog has.
The legs arrive folded, which is the pose a resting frog actually holds and the one that looks most like the animal. The front pair come down from under the chin, short and slightly bowed. The back pair fold up alongside the body with the knee sitting high, above the level of the back, and the foot flat on the ground below. That high knee is the shape that says the animal could jump.
The feet are webbed, drawn as three or four long toes with the web stretched between them and a small round pad at each tip. Draw the web as a shallow curve between toe and toe rather than filling the whole gap, or the foot turns into a paddle.
The lily pad underneath is a wide flat oval with a narrow wedge cut out of the front, which is exactly what a lily pad looks like from above. Let the frog's feet overlap onto it rather than sitting inside its outline, so the animal is on the pad rather than floating above a green shape.
The six frames go from the largest closed shape to the smallest, which for this drawing means lily pad, then body and hind feet, then head, then front legs, then eye domes, then eyes and mouth. It is an easy order to copy, and it is a description of how this sheet was built rather than a claim about how a frog should be drawn. Starting at the eyes, which are the best bit, is entirely reasonable.
Before you start
- Make the head much wider than the body. Equal widths give you a lump, not a frog.
- Put the eyes in domes that rise above the skull line, never inside the head outline.
- Set the back knees high, above the level of the back — that is the shape that says «jump».
- Draw the web as a shallow curve between the toes rather than filling the gap.
Published Updated 705 words
The six steps
The steps go from the largest shape to the smallest, which is an easy order to copy. It is not the only order, and it is not a rule — if you would rather start somewhere else on the sheet, do.
Step 1
Step 2
Step 3
Step 4
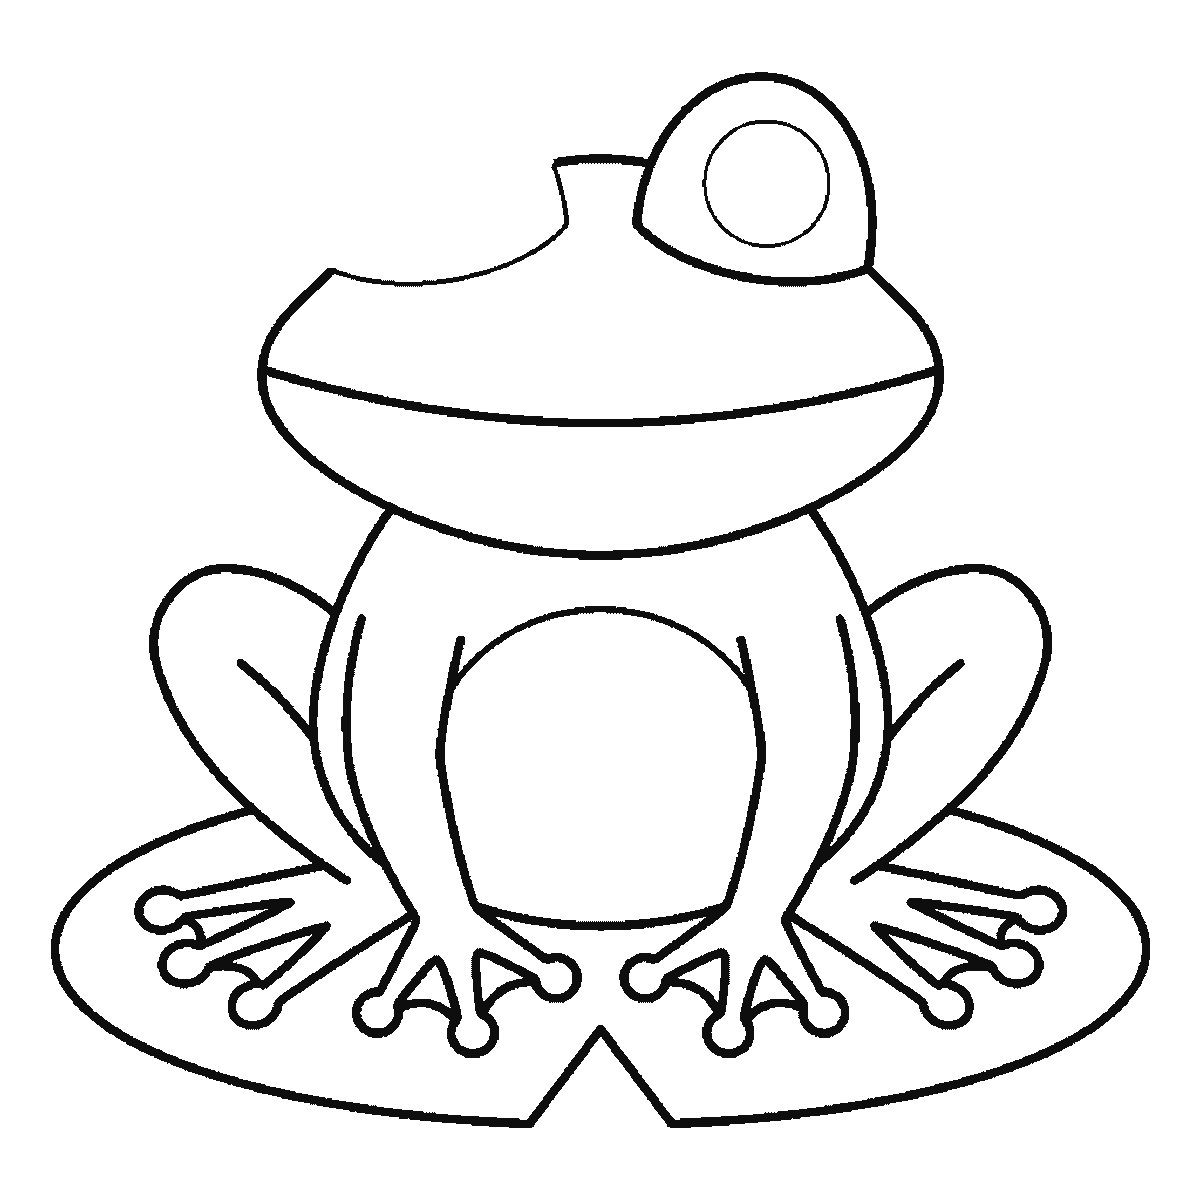
Step 5
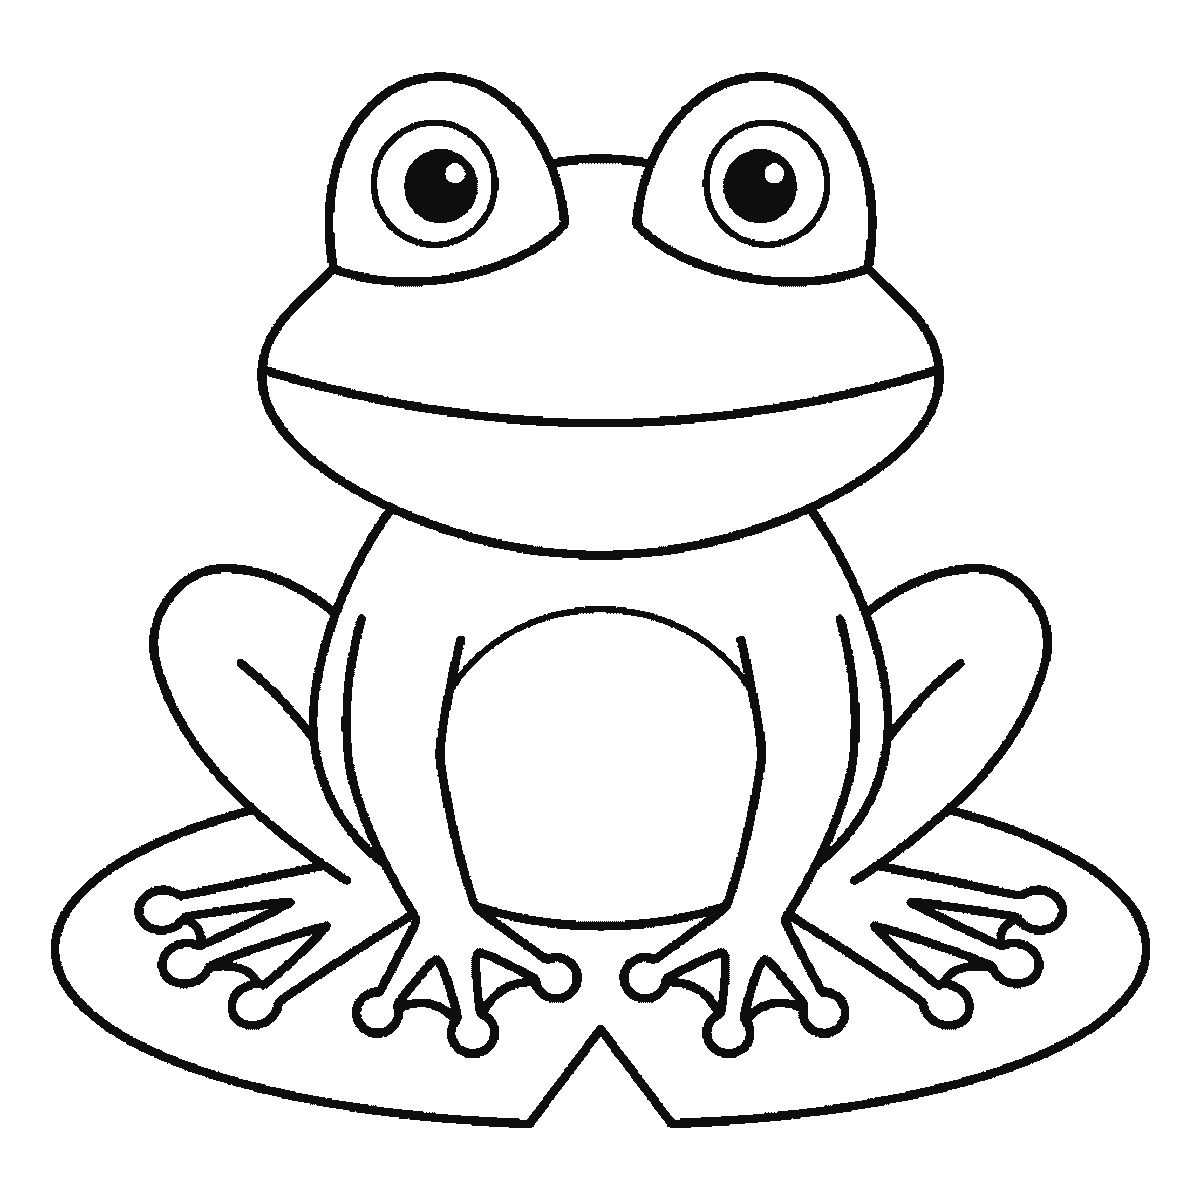
Step 6
More in this section
How to draw a panda
Six frames, one panda sitting up with a bamboo stalk. The head and its eye patches first, then the body, the ears and the bamboo.
Step sequence made by us from a single drawing: each step keeps the lines of the one before it and adds to them.
How to draw a turtle
Six frames, one sea turtle swimming in profile. The head and one flipper first, then the shell, the rear flippers and the plates.
Step sequence made by us from a single drawing: each step keeps the lines of the one before it and adds to them.
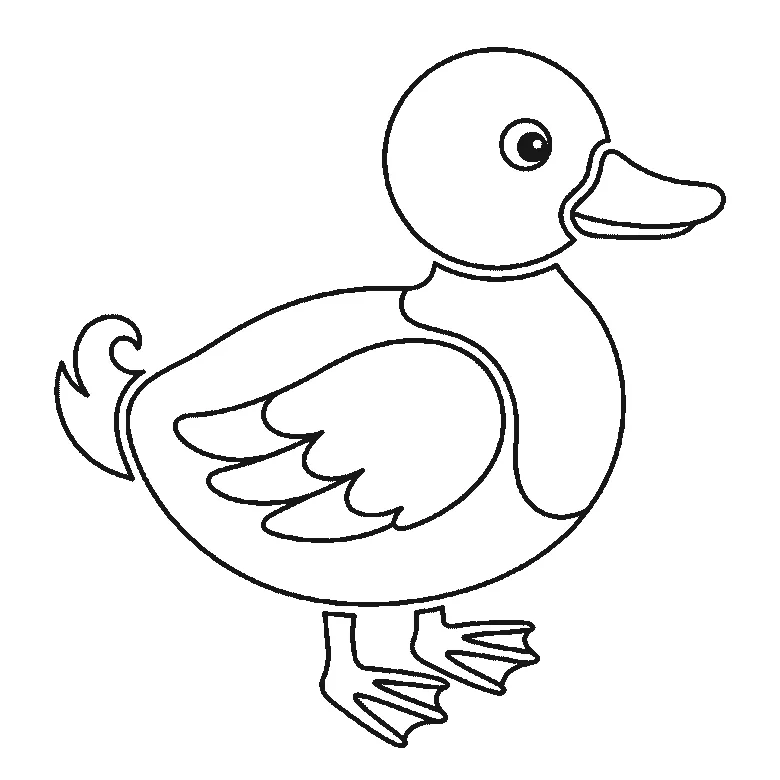
How to draw a duck
Six frames, one duck standing in profile. The folded wing first, then the head, the body, the bill and the webbed feet.
Step sequence made by us from a single drawing: each step keeps the lines of the one before it and adds to them.
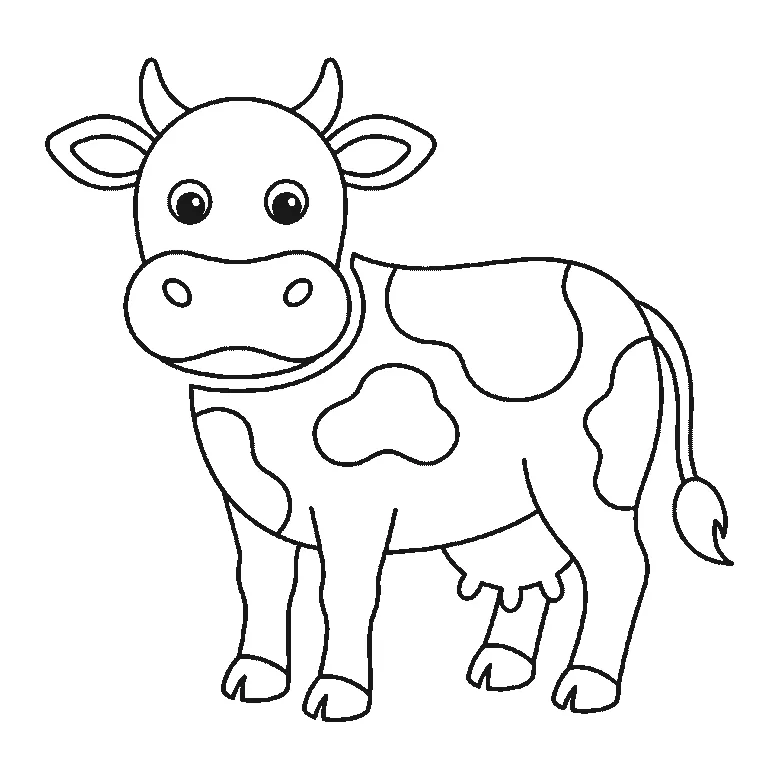
How to draw a cow
Six frames, one cow seen from the front. The patched body and legs first, then the head, the muzzle and the horns.
Step sequence made by us from a single drawing: each step keeps the lines of the one before it and adds to them.
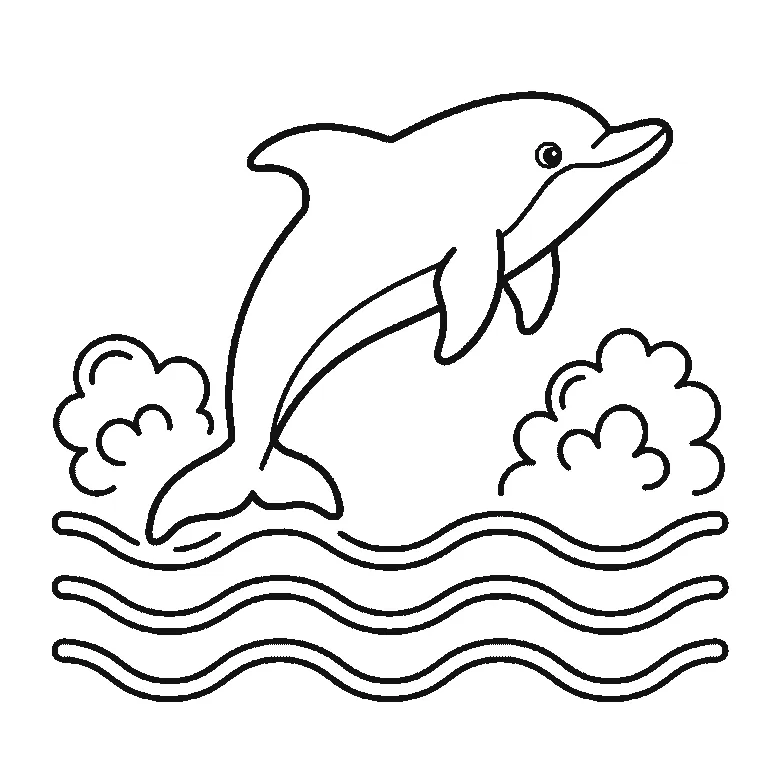
How to draw a dolphin
Six frames, one dolphin leaping over the waves. The whole animal in the first frame, then the waves and the splashes around it.
Step sequence made by us from a single drawing: each step keeps the lines of the one before it and adds to them.
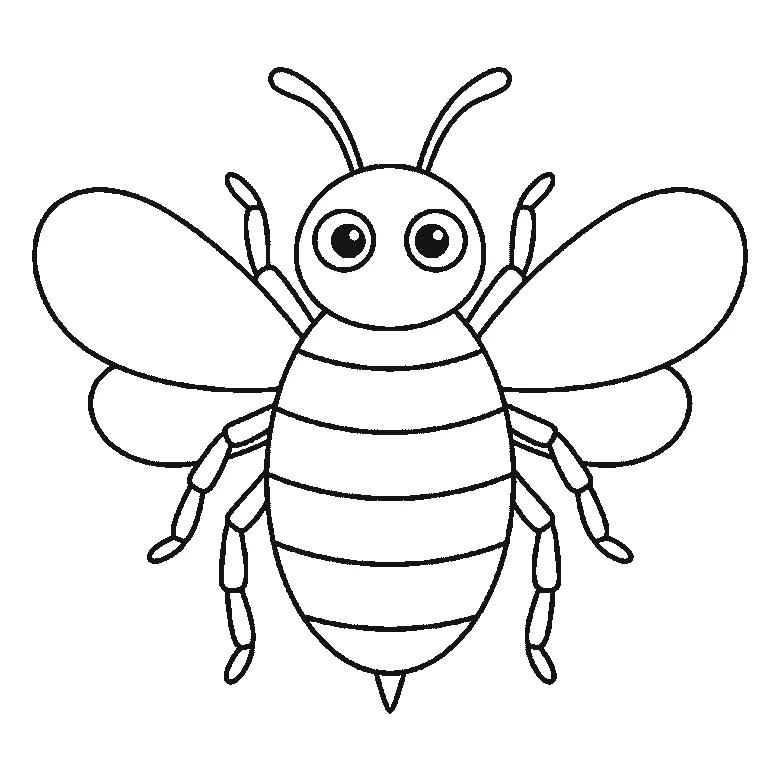
How to draw a bee
Six frames, one bumblebee seen from the front. The wings and head first, then the striped body, the legs and the antennae.
Step sequence made by us from a single drawing: each step keeps the lines of the one before it and adds to them.
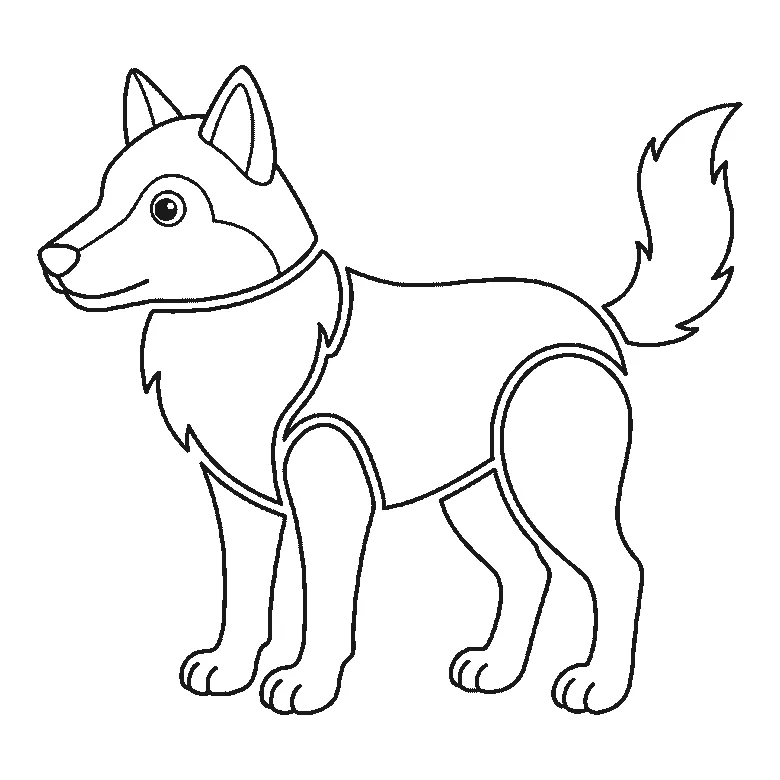
How to draw a wolf
Six frames, one wolf standing in profile. The chest ruff and a hind leg first, then the body, the head and the bushy tail.
Step sequence made by us from a single drawing: each step keeps the lines of the one before it and adds to them.
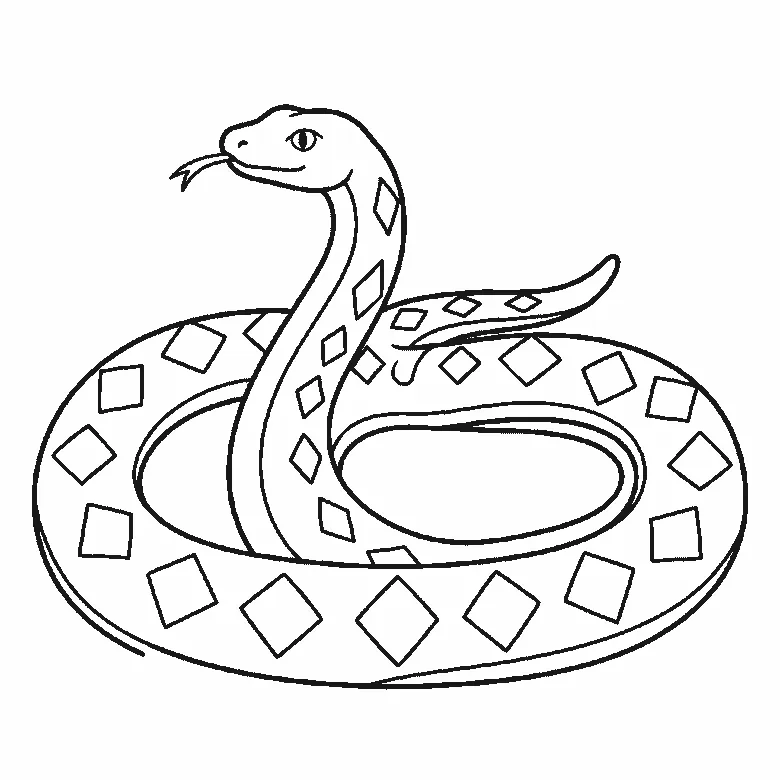
How to draw a snake
Six frames, one snake coiled in two loops with its head raised. Almost the whole coil in the first frame, then the inner edge and the diamonds.
Step sequence made by us from a single drawing: each step keeps the lines of the one before it and adds to them.
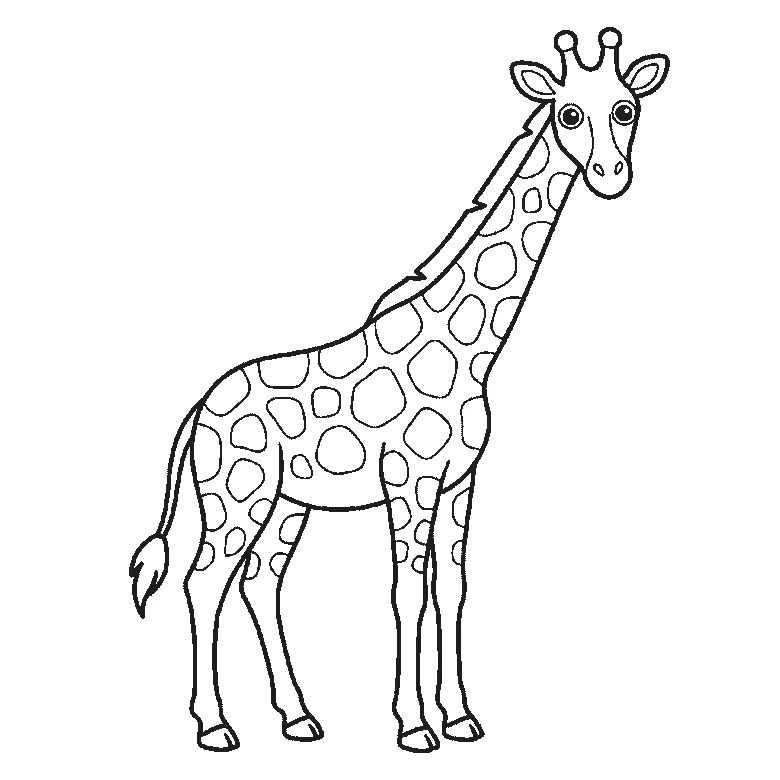
How to draw a giraffe
Six frames, one giraffe in profile with its head turned to you. Body, neck and legs first, then the coat patches and the face.
Step sequence made by us from a single drawing: each step keeps the lines of the one before it and adds to them.
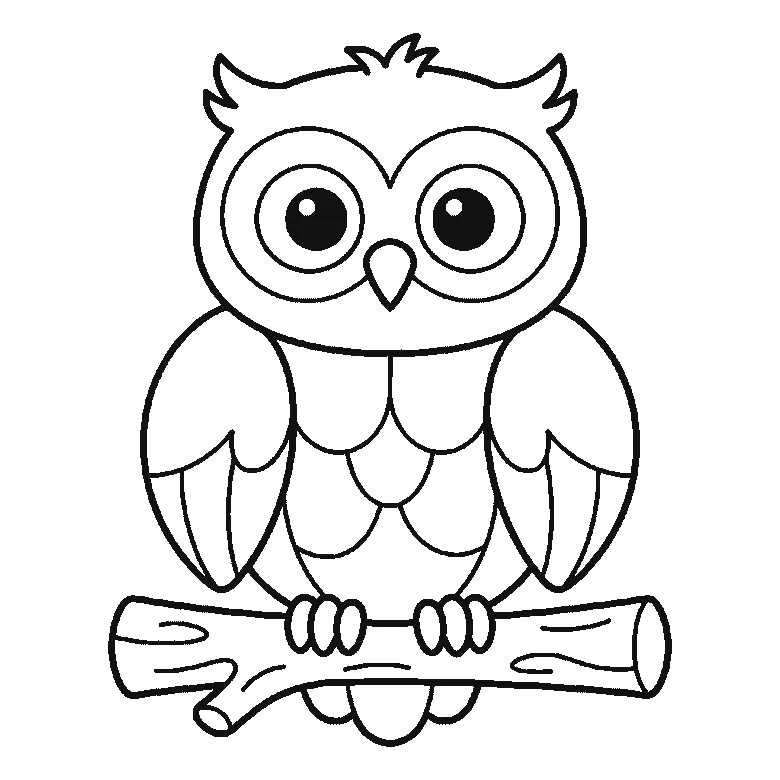
How to draw an owl
Six frames, one owl on a branch. The head and both ear tufts first, then the whole branch, then a wing at a time — and the pupils and the tail last.
Step sequence made by us from a single drawing: each step keeps the lines of the one before it and adds to them.
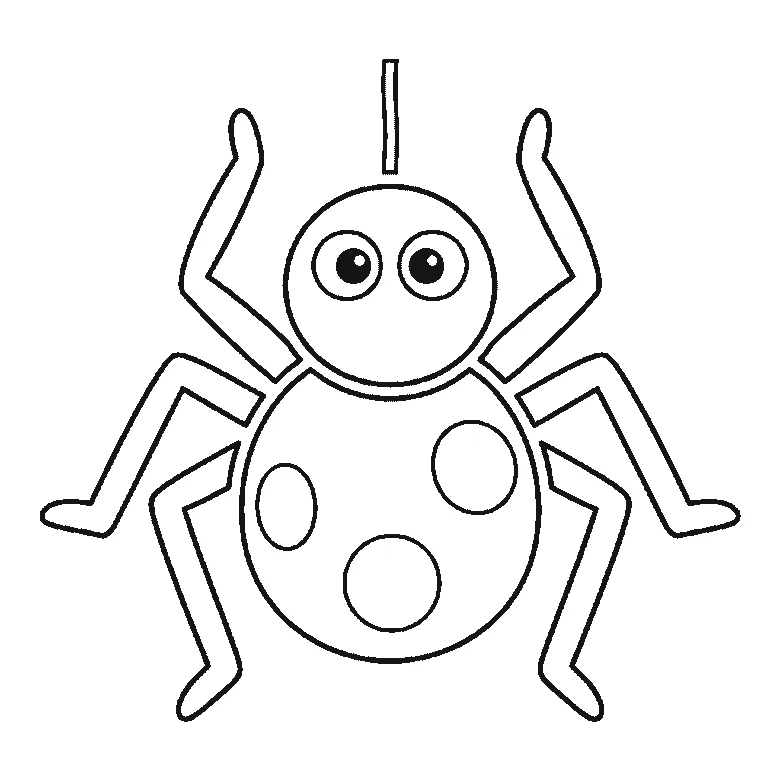
How to draw a spider
Six frames, one friendly spider. The patched round body first, then the head, then the legs two at a time — and the pupils and the thread right at the end.
Step sequence made by us from a single drawing: each step keeps the lines of the one before it and adds to them.
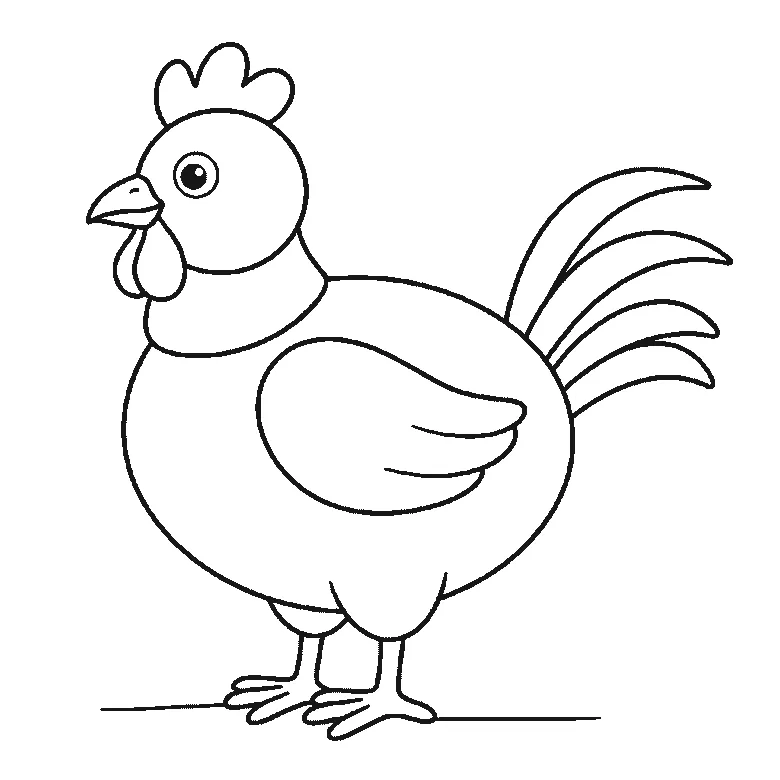
How to draw a chicken
Six frames, one plump hen standing side-on. The body first with no head at all, then the head and the folded wing, and the beak, wattle and eye right at the end.
Step sequence made by us from a single drawing: each step keeps the lines of the one before it and adds to them.


