
PDF · A4 · 60 KB · Free, no sign-up. For home and classroom use.
How to draw a tiger
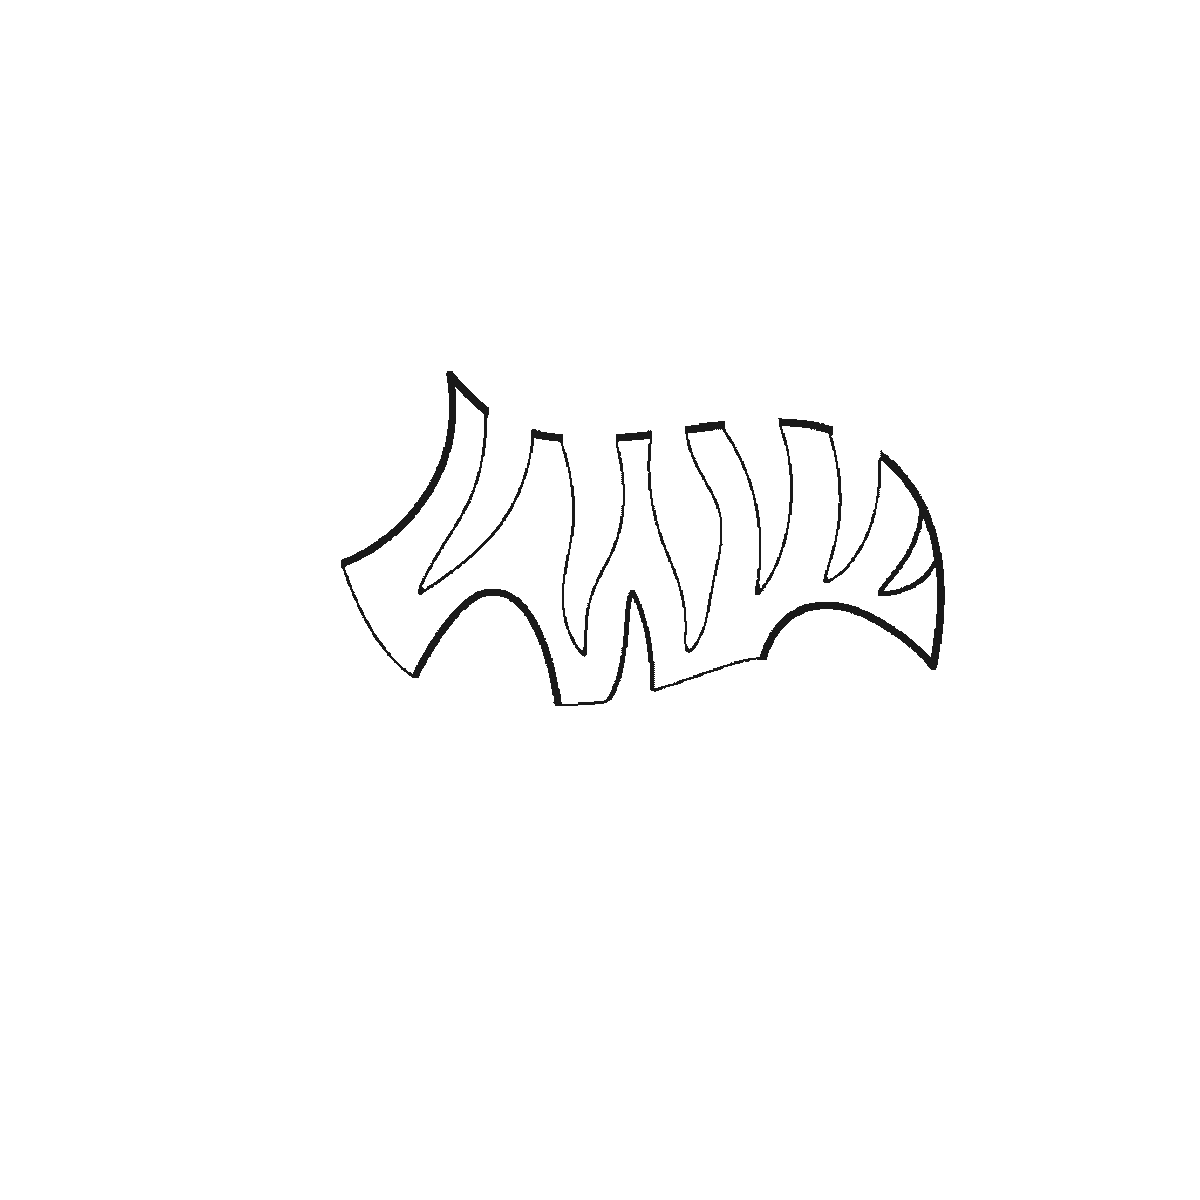
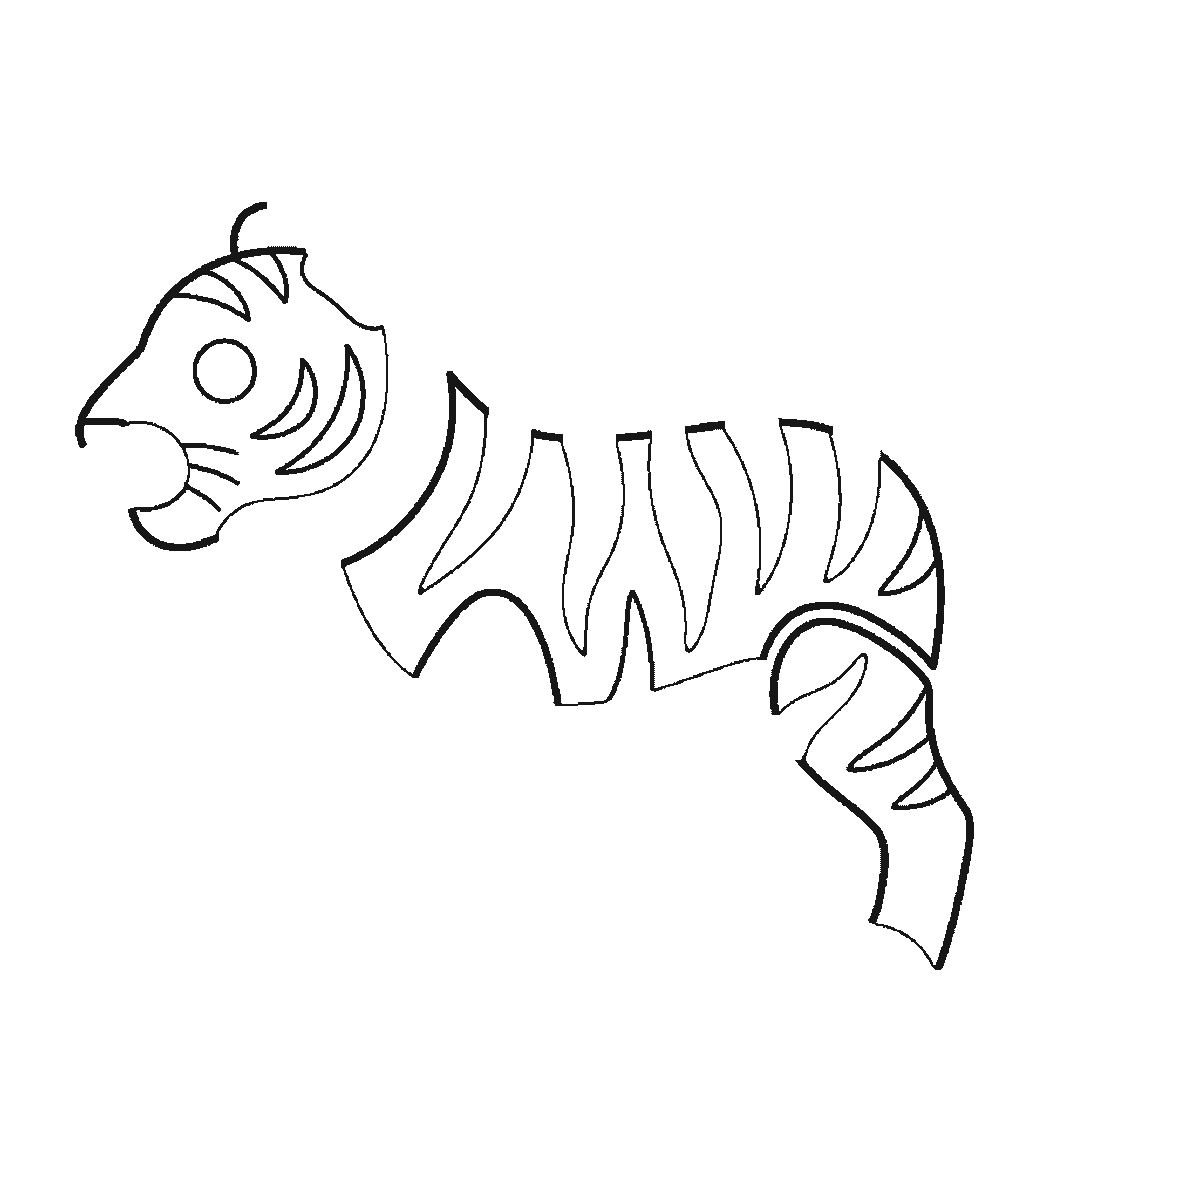
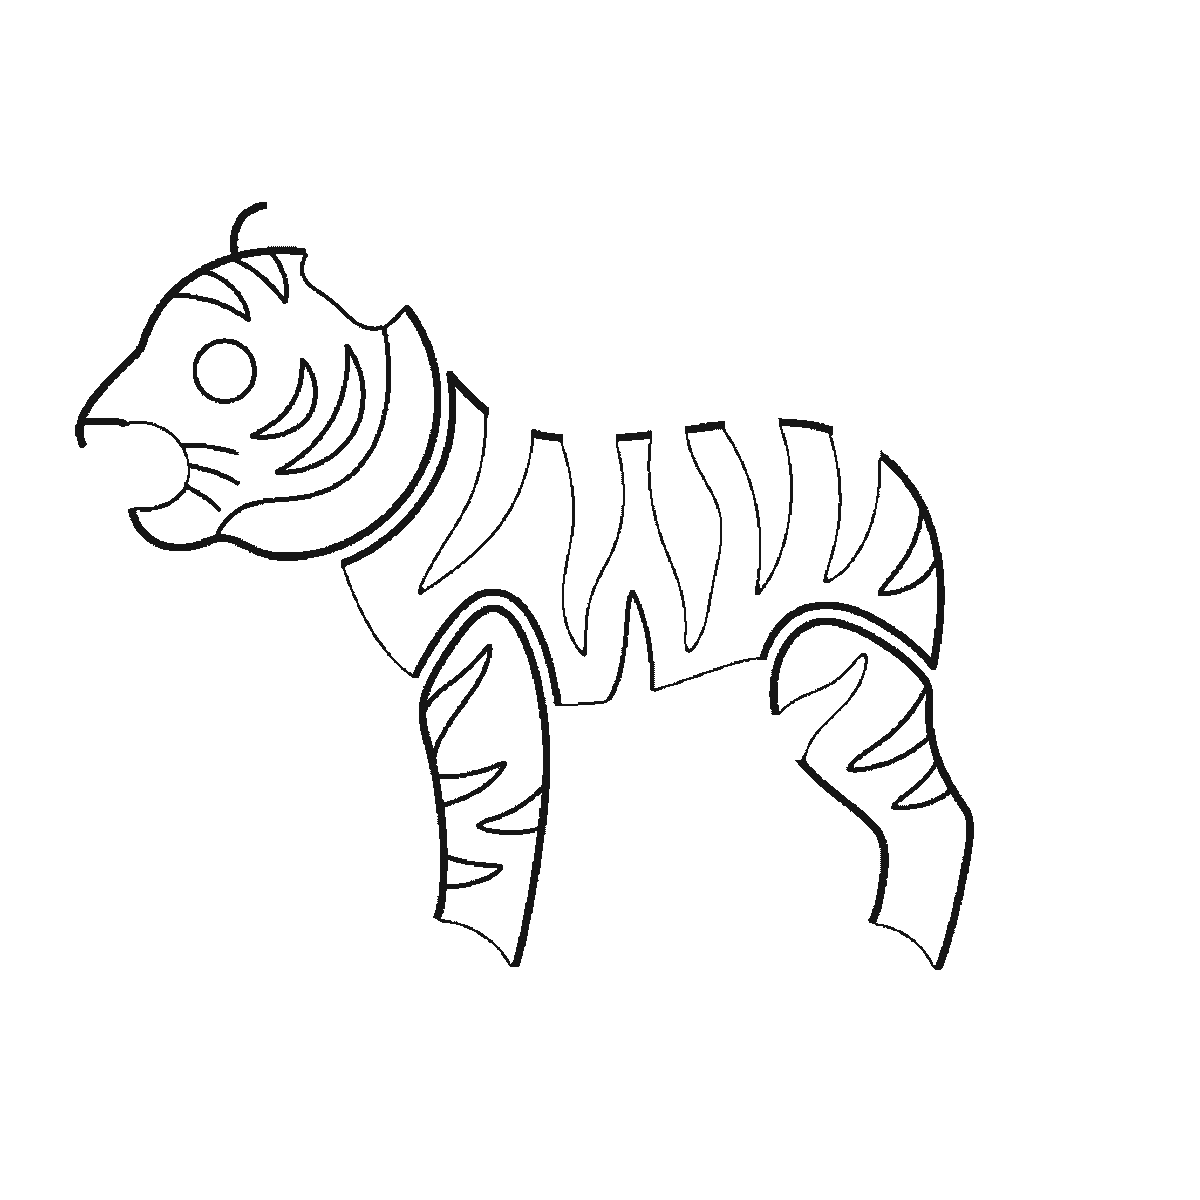
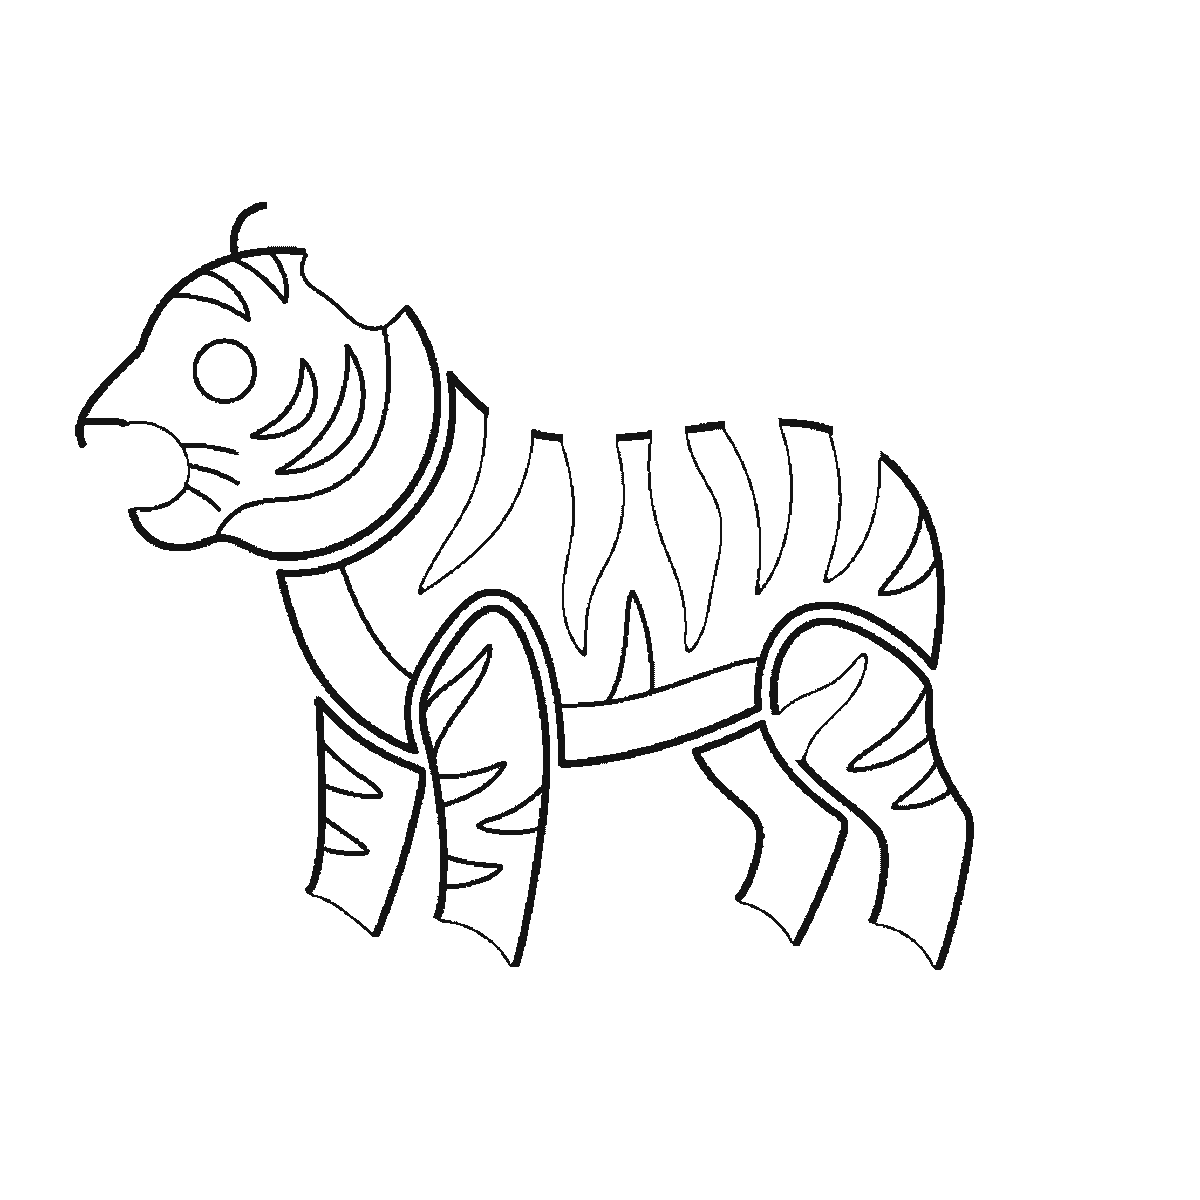
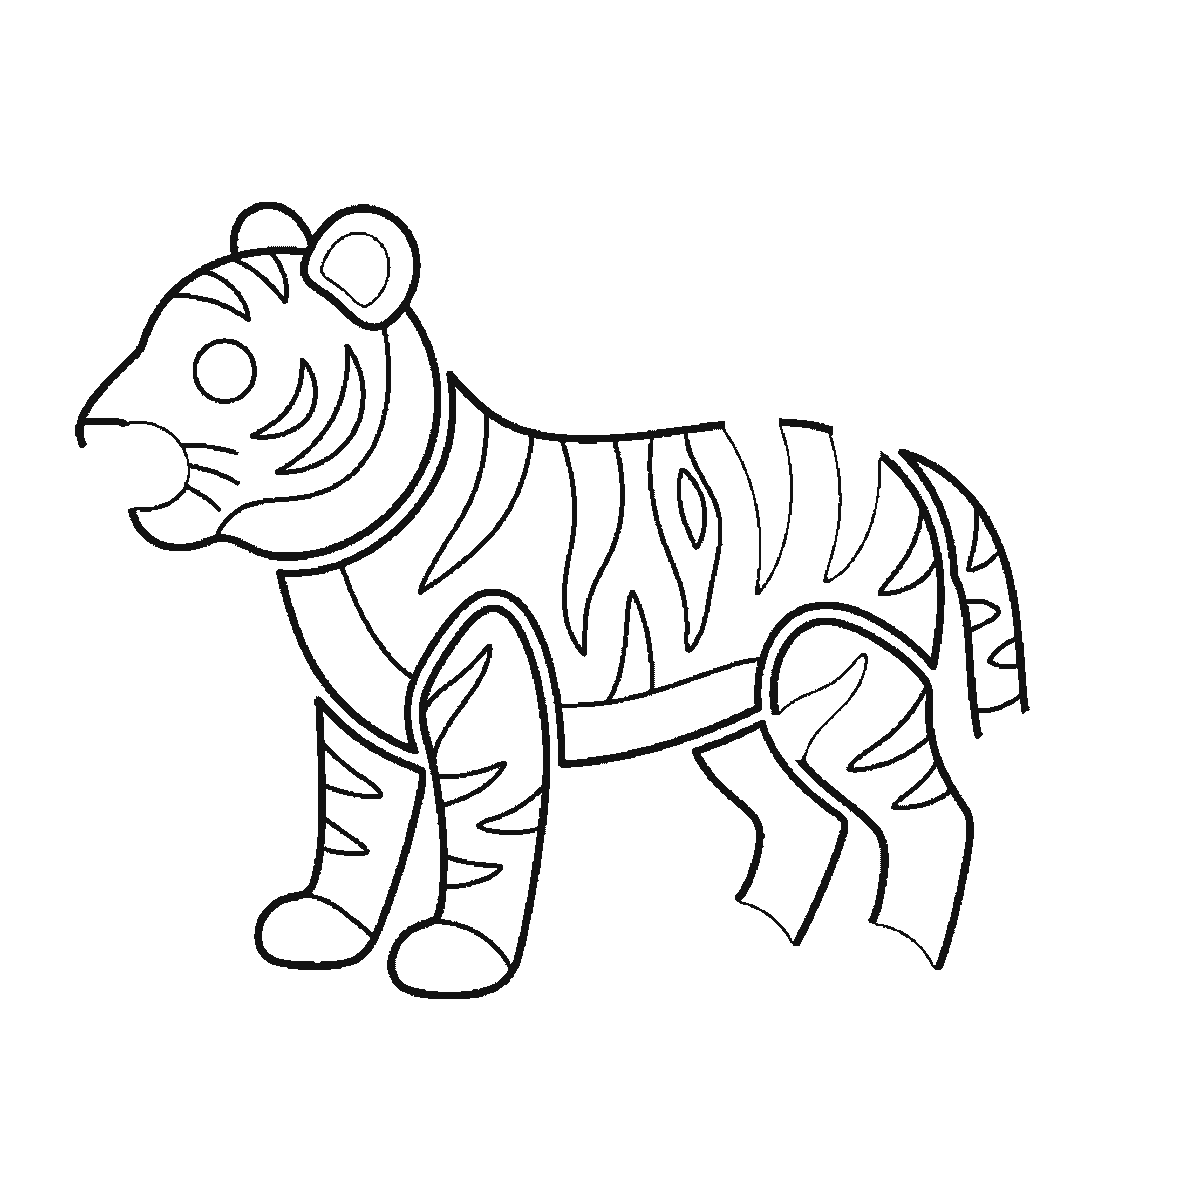
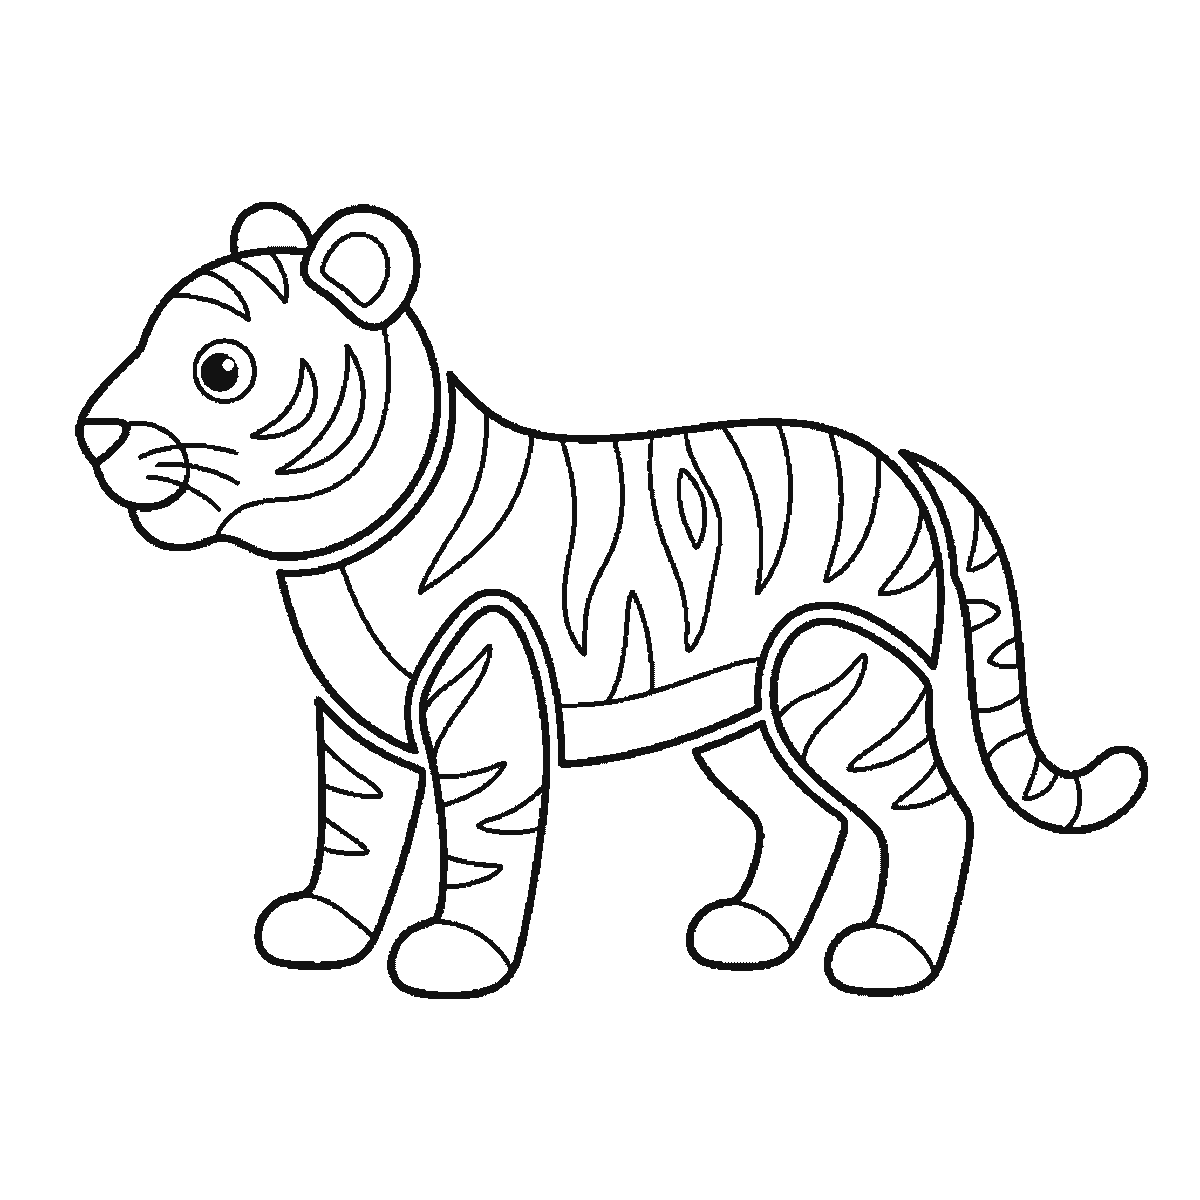
Six frames, one tiger standing in profile. The striped flank first, then the head, the legs one at a time, and the tail last.
The stripes are not the last thing on this sheet — they are the first, and it is worth knowing that before you start copying. Frame one is the flank with its stripes already on it, and every frame after it brings a new part of the cat with that part's own stripes attached. So this is not a sheet that lets you build the whole animal and decorate it afterwards; it asks you to draw each piece striped as you go. If you would rather work the other way round, copy each frame's outlines first, get the entire cat down, and put every stripe on at the end. The finished drawing is the same one.
Frame one is the flank: a long horizontal mass running from shoulder to hip, already carrying its stripes, with the chest, the head and every leg still to come. A tiger is a heavy animal and the body should look like it takes some carrying. Drawn too slim it reads as a domestic cat that has been stretched.
The head is next, and it is round rather than triangular, set low and forward on a thick neck. The muzzle is broad and blunt. Where a fox is all angles, a tiger is all curves, and drawing this head with a fox's geometry produces something that looks like neither.
The ear is small and rounded and set well back on the top of the head — nothing like the tall triangles of a domestic cat. In profile only one of them shows, and it does not appear until frame five, after most of the legs are down. Getting it small is one of the quiet details that makes the scale of the animal read correctly.
The legs arrive one at a time across frames two, three and four rather than as a set: four thick columns, the front pair heavier than the back, with the broad paws drawn separately again in frames five and six. Tigers walk on heavy front limbs and the drawing should show it. The paws are worth drawing as distinct rounded shapes rather than as the ends of the legs, because they carry a lot of the animal's weight visually.
The tail is frame six, the genuine last thing on the sheet: long, thick, roughly the length of the body, held low and hooking up at the tip. It should not taper much until near the end. A thin or short tail makes the whole animal look like a large cub rather than an adult.
The rule for the stripes, wherever in the sequence you choose to draw them, is that every one wraps around the form rather than lying across it. On the body they run down the flank and curve underneath. On the legs they curve around the limb like a bracelet. On the face they follow the cheek. A stripe drawn as a straight line across the shape flattens the animal instantly — and this drawing gets it right on every limb, which is why copying the stripe shapes as they are drawn is worth more here than inventing your own.
Stripes are also not evenly spaced, and this matters. Real ones cluster more densely over the shoulder and hindquarters and thin out along the middle of the body. Drawing them at regular intervals produces something closer to a deckchair than a cat, and the fix costs nothing except the decision to vary them.
In profile only one eye is visible, which is a mercy on a face this complicated. Keep it fairly small and set it well up the head — a big round eye turns an adult tiger into a kitten, which is a nice drawing but a different one.
The frames run largest closed shape first and smallest last, and because each stripe is a closed shape sitting inside a limb, the stripes travel with the limb they belong to rather than arriving together at the end. The tail is the one part genuinely held back to frame six. That order is easy to copy and it is not a rule; it is simply the order in which the sheet was built.
Before you start
- The sheet draws each part with its stripes already on it. If you would rather outline the whole cat first and stripe it afterwards, you finish at the same drawing.
- Wrap every stripe around the form — down the flank and under the body, round the leg like a bracelet.
- Vary the spacing. Evenly spaced stripes look like a deckchair.
- Keep the ears small and rounded, and the eye small. Both mistakes turn an adult tiger into a cub.
Published Updated 697 words
The six steps
The steps go from the largest shape to the smallest, which is an easy order to copy. It is not the only order, and it is not a rule — if you would rather start somewhere else on the sheet, do.
Step 1
Step 2
Step 3
Step 4
Step 5
Step 6
More in this section
How to draw a bunny
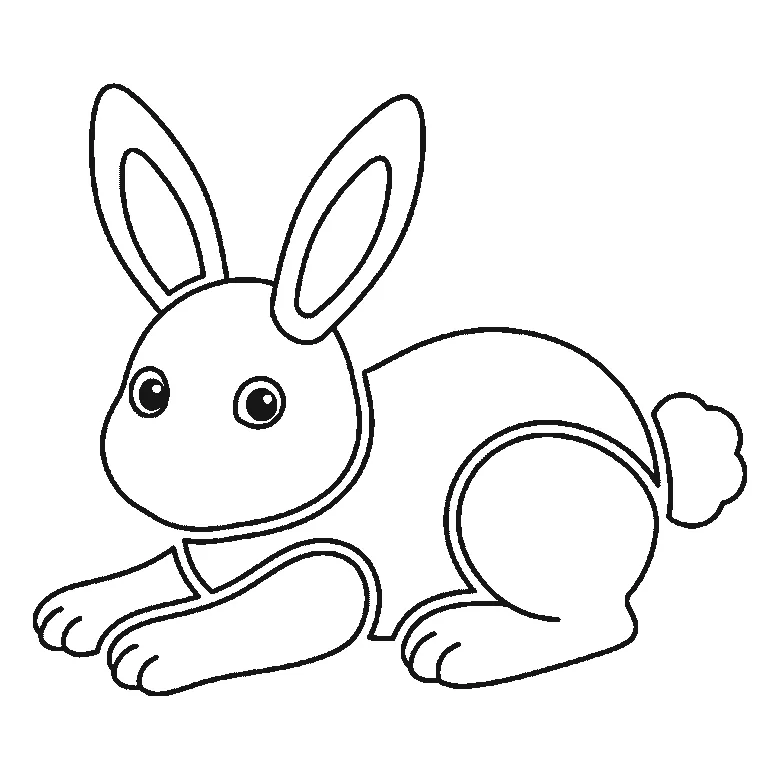
Six frames, one bunny lying down with its paws stretched out. The head first, then the body, the long ears and the fluffy tail.
Step sequence made by us from a single drawing: each step keeps the lines of the one before it and adds to them.
How to draw a monkey
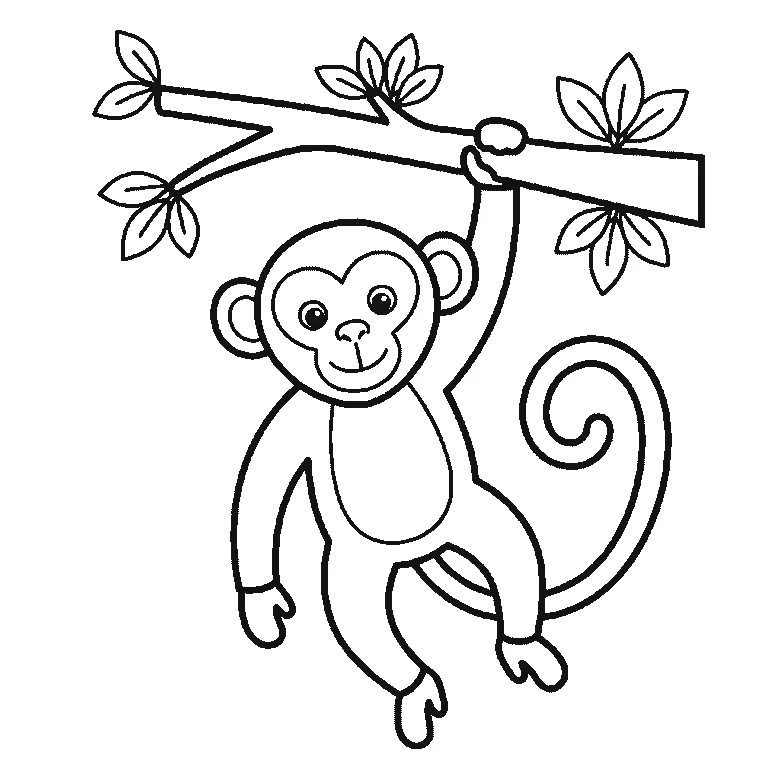
Six frames, one monkey hanging by an arm from a branch. The limbs first, then the branch, the face and the curling tail.
Step sequence made by us from a single drawing: each step keeps the lines of the one before it and adds to them.
How to draw a shark
Six frames, one shark in profile. The body first, then the dorsal fin, side fins and crescent tail.
Step sequence made by us from a single drawing: each step keeps the lines of the one before it and adds to them.
How to draw a fish
Six frames, one striped fish with bubbles. The head first, then the striped body, the fins and the fan tail.
Step sequence made by us from a single drawing: each step keeps the lines of the one before it and adds to them.
How to draw a frog
Six frames, one frog seen from the front. The lily pad first, then the body, the head and the domed eyes.
Step sequence made by us from a single drawing: each step keeps the lines of the one before it and adds to them.
How to draw a panda
Six frames, one panda sitting up with a bamboo stalk. The head and its eye patches first, then the body, the ears and the bamboo.
Step sequence made by us from a single drawing: each step keeps the lines of the one before it and adds to them.
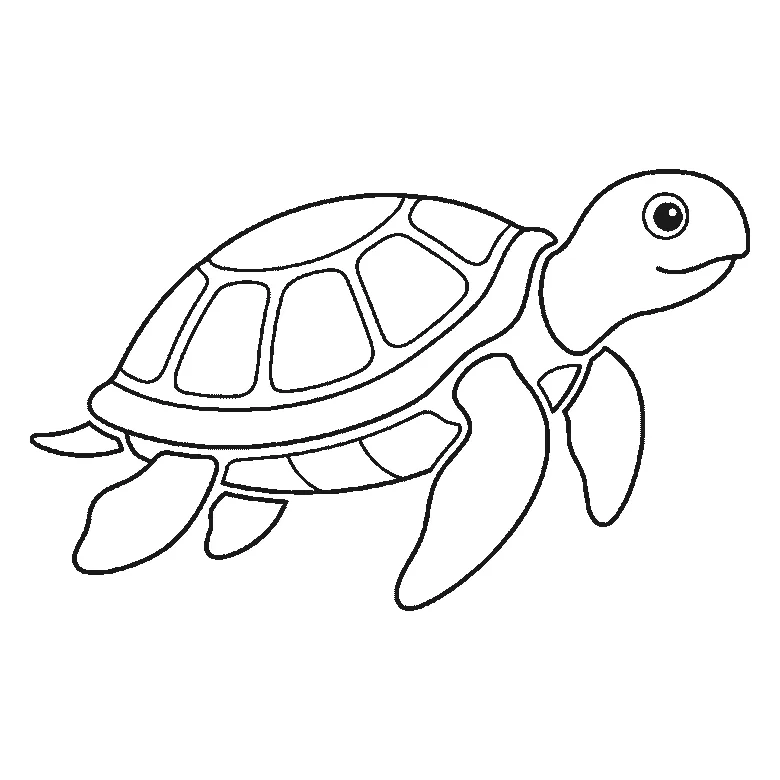
How to draw a turtle
Six frames, one sea turtle swimming in profile. The head and one flipper first, then the shell, the rear flippers and the plates.
Step sequence made by us from a single drawing: each step keeps the lines of the one before it and adds to them.
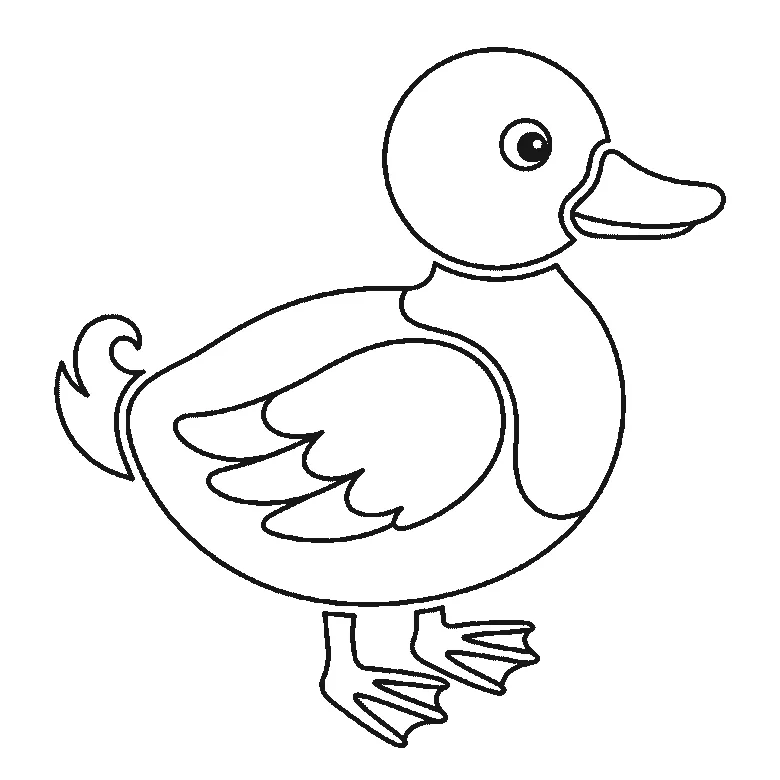
How to draw a duck
Six frames, one duck standing in profile. The folded wing first, then the head, the body, the bill and the webbed feet.
Step sequence made by us from a single drawing: each step keeps the lines of the one before it and adds to them.
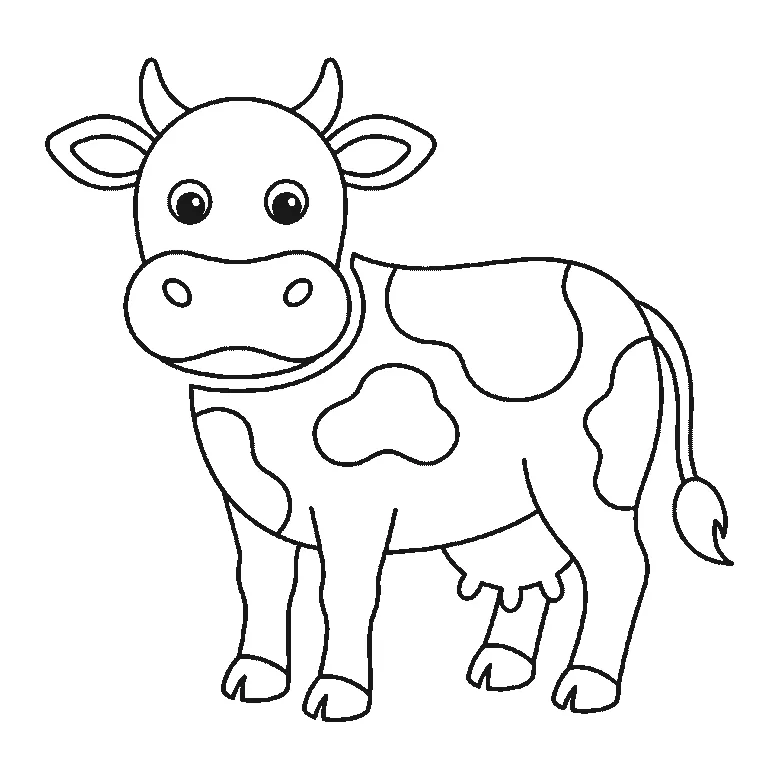
How to draw a cow
Six frames, one cow seen from the front. The patched body and legs first, then the head, the muzzle and the horns.
Step sequence made by us from a single drawing: each step keeps the lines of the one before it and adds to them.
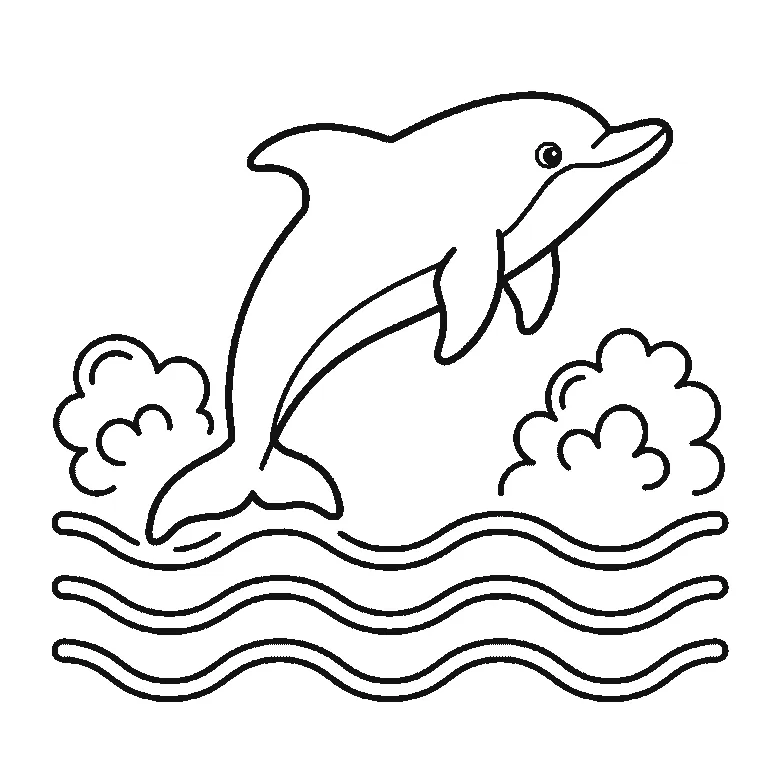
How to draw a dolphin
Six frames, one dolphin leaping over the waves. The whole animal in the first frame, then the waves and the splashes around it.
Step sequence made by us from a single drawing: each step keeps the lines of the one before it and adds to them.
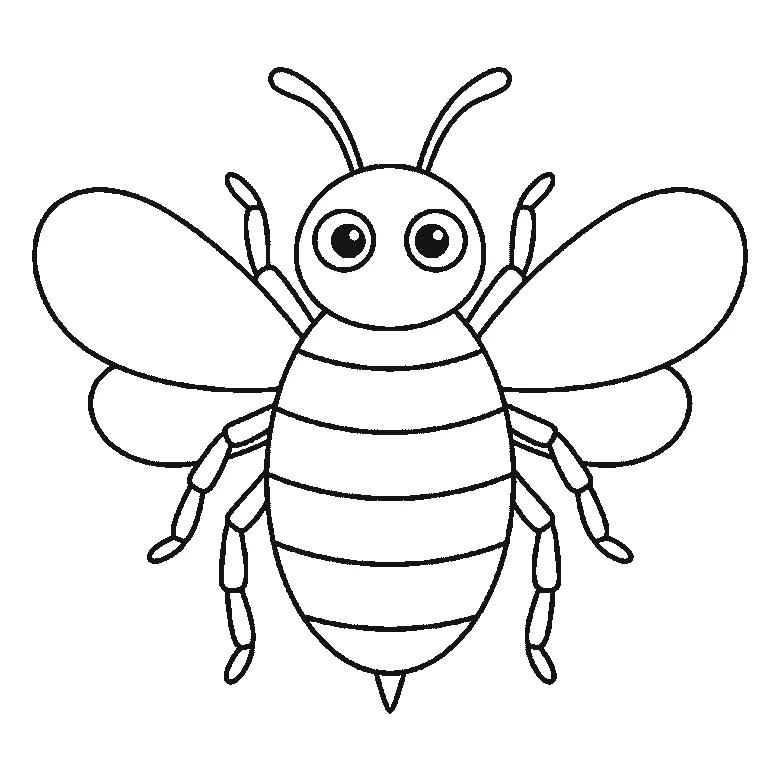
How to draw a bee
Six frames, one bumblebee seen from the front. The wings and head first, then the striped body, the legs and the antennae.
Step sequence made by us from a single drawing: each step keeps the lines of the one before it and adds to them.
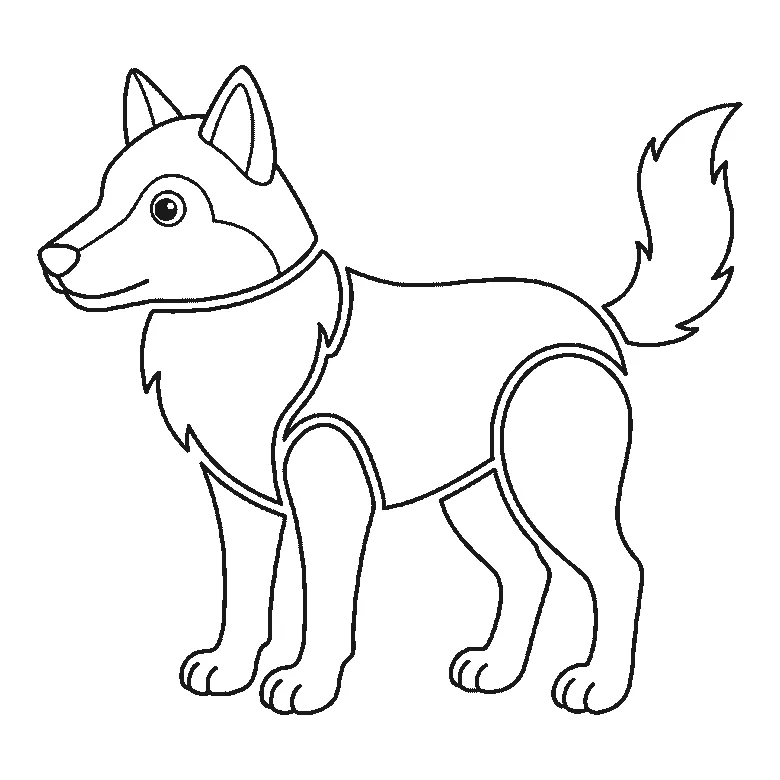
How to draw a wolf
Six frames, one wolf standing in profile. The chest ruff and a hind leg first, then the body, the head and the bushy tail.
Step sequence made by us from a single drawing: each step keeps the lines of the one before it and adds to them.


