
PDF · A4 · 56 KB · Free, no sign-up. For home and classroom use.
How to draw a bird
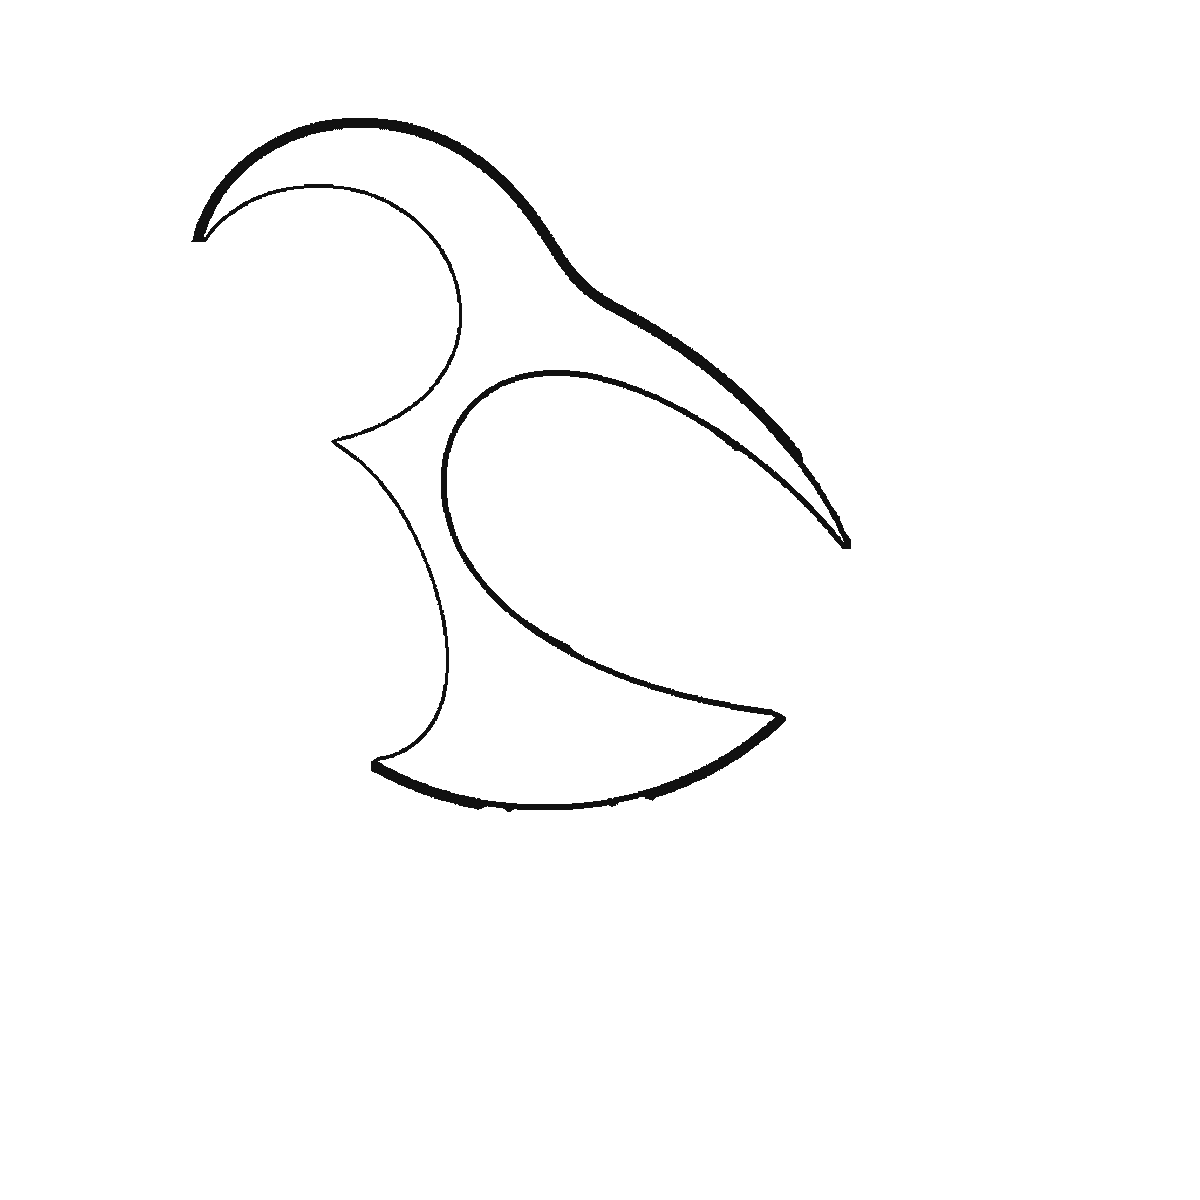
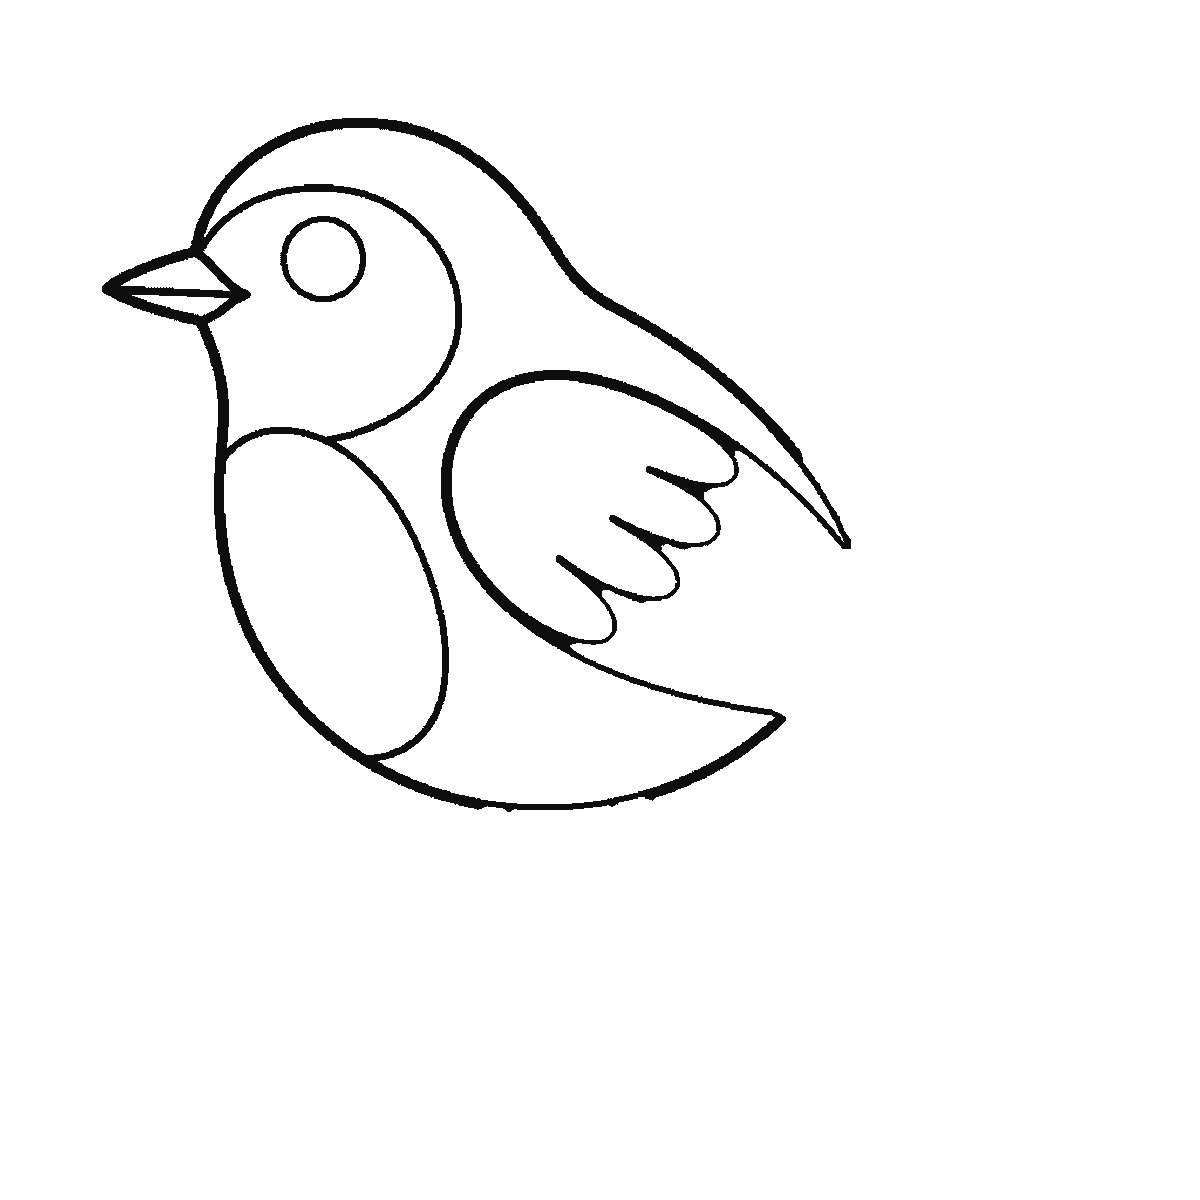
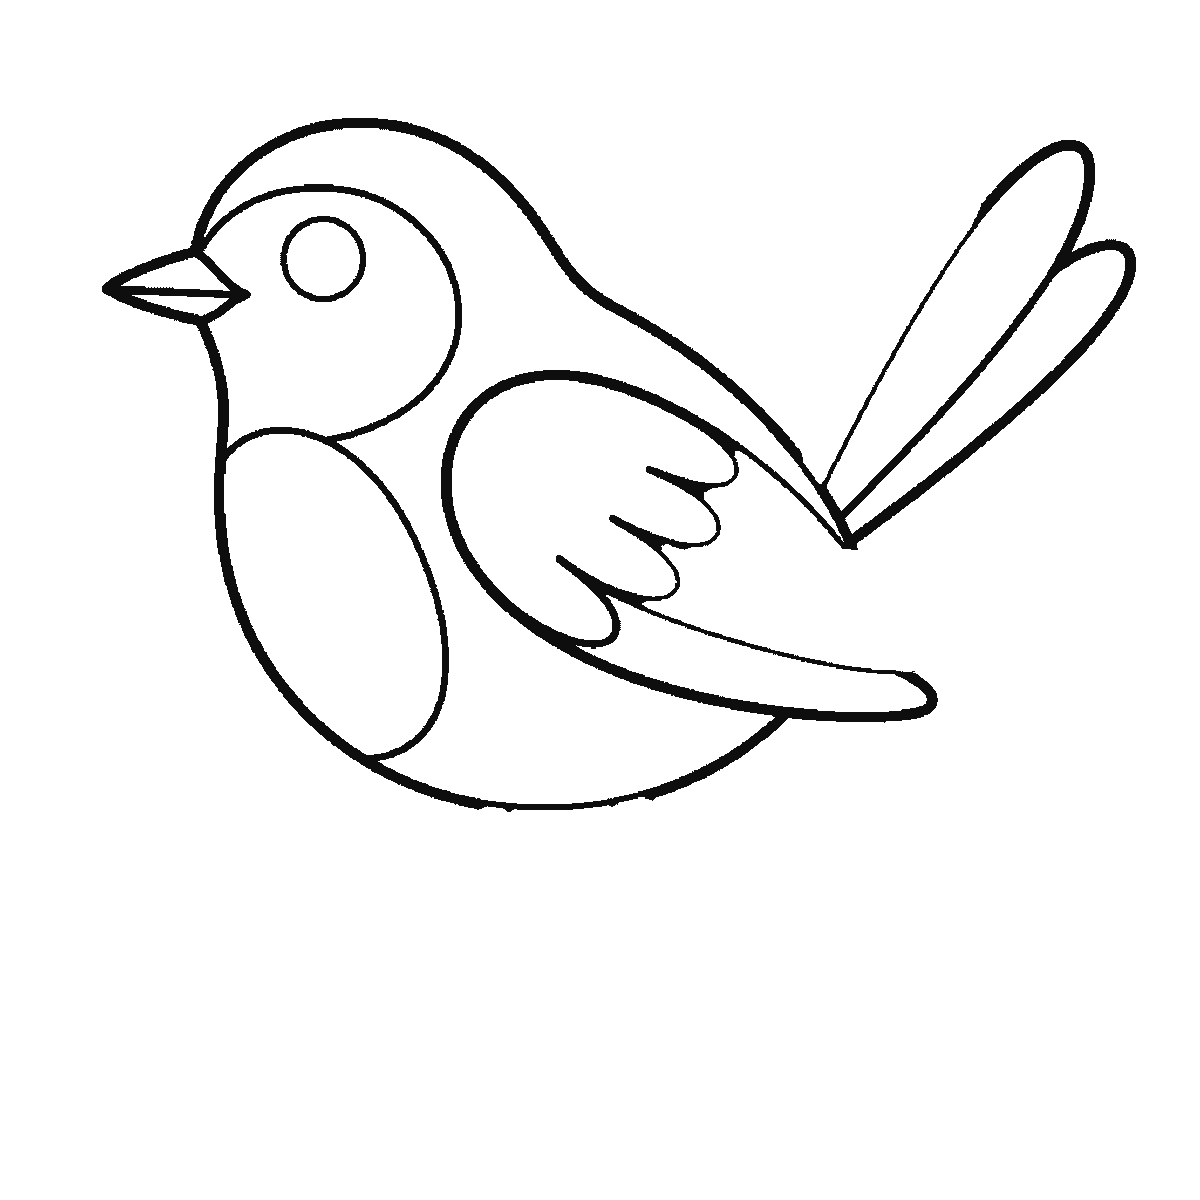
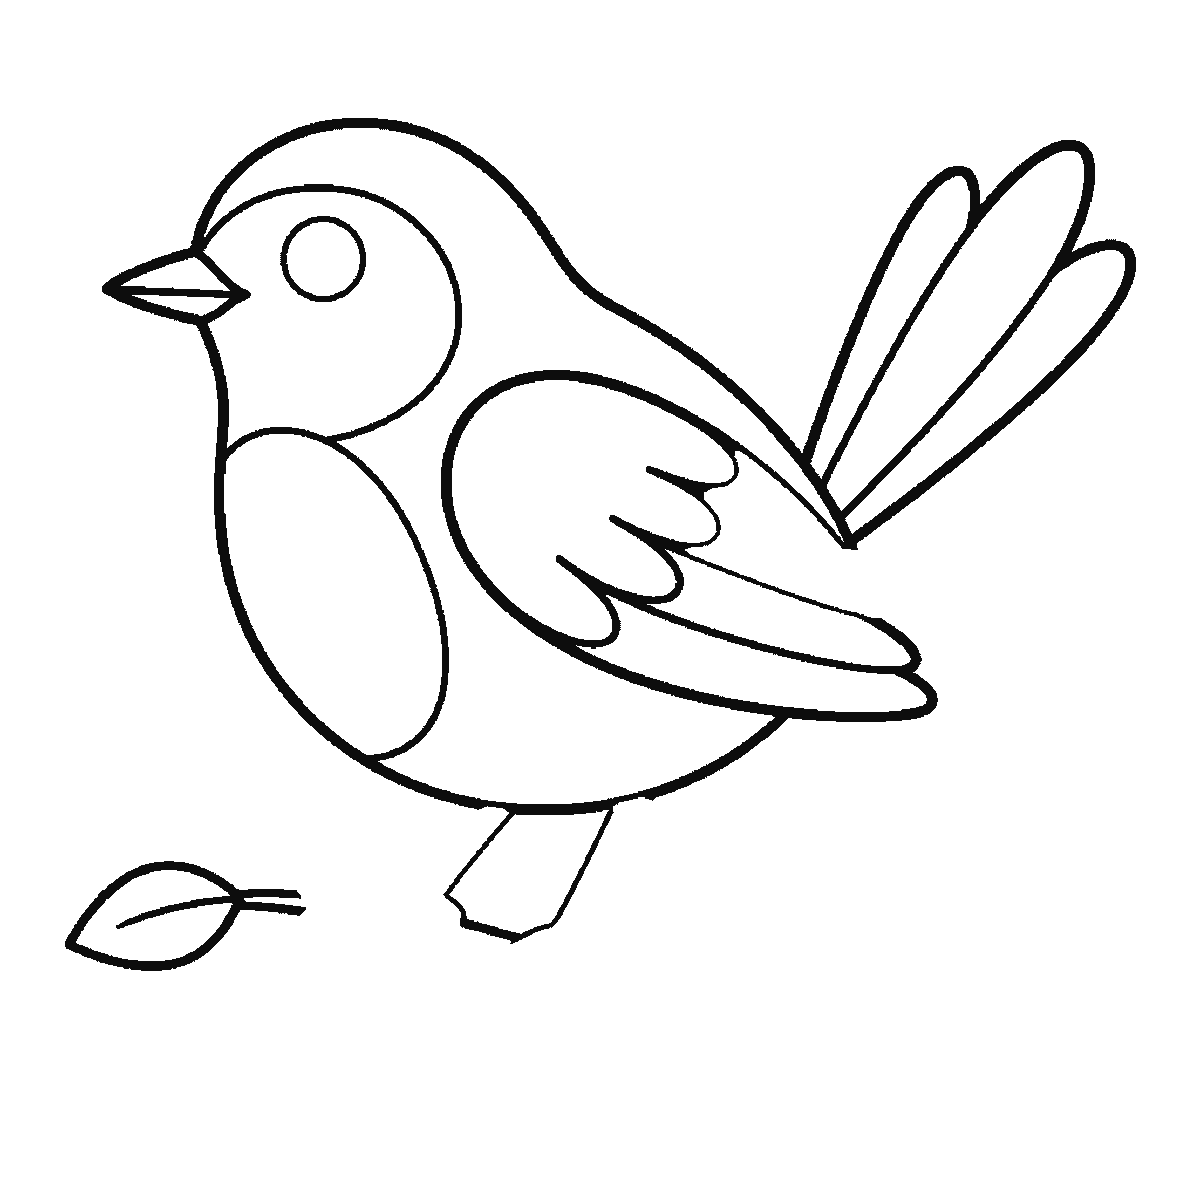
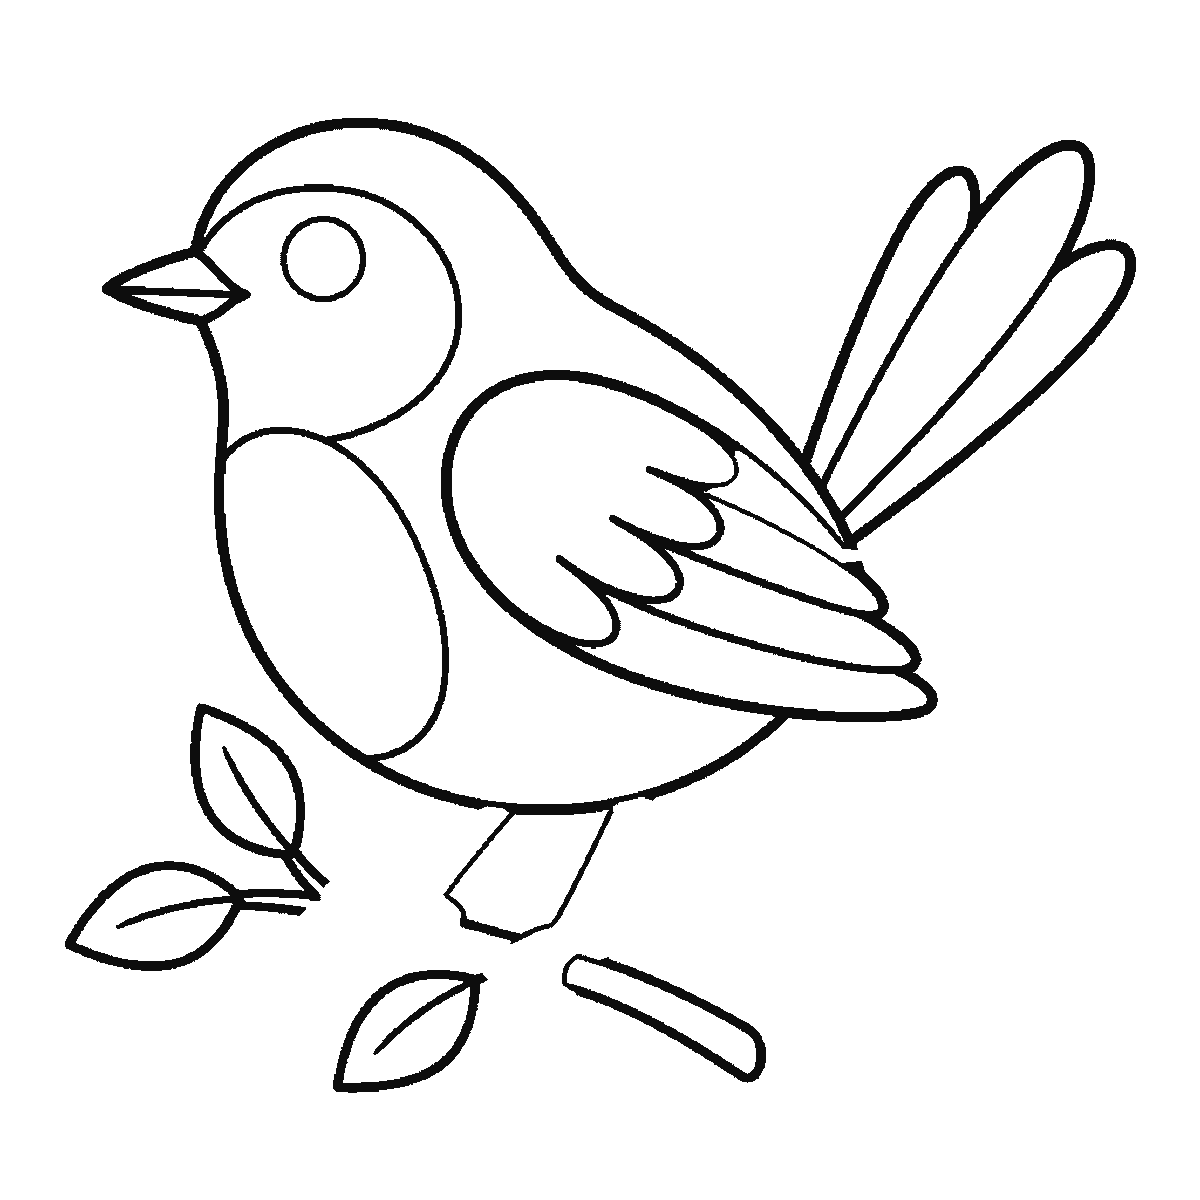
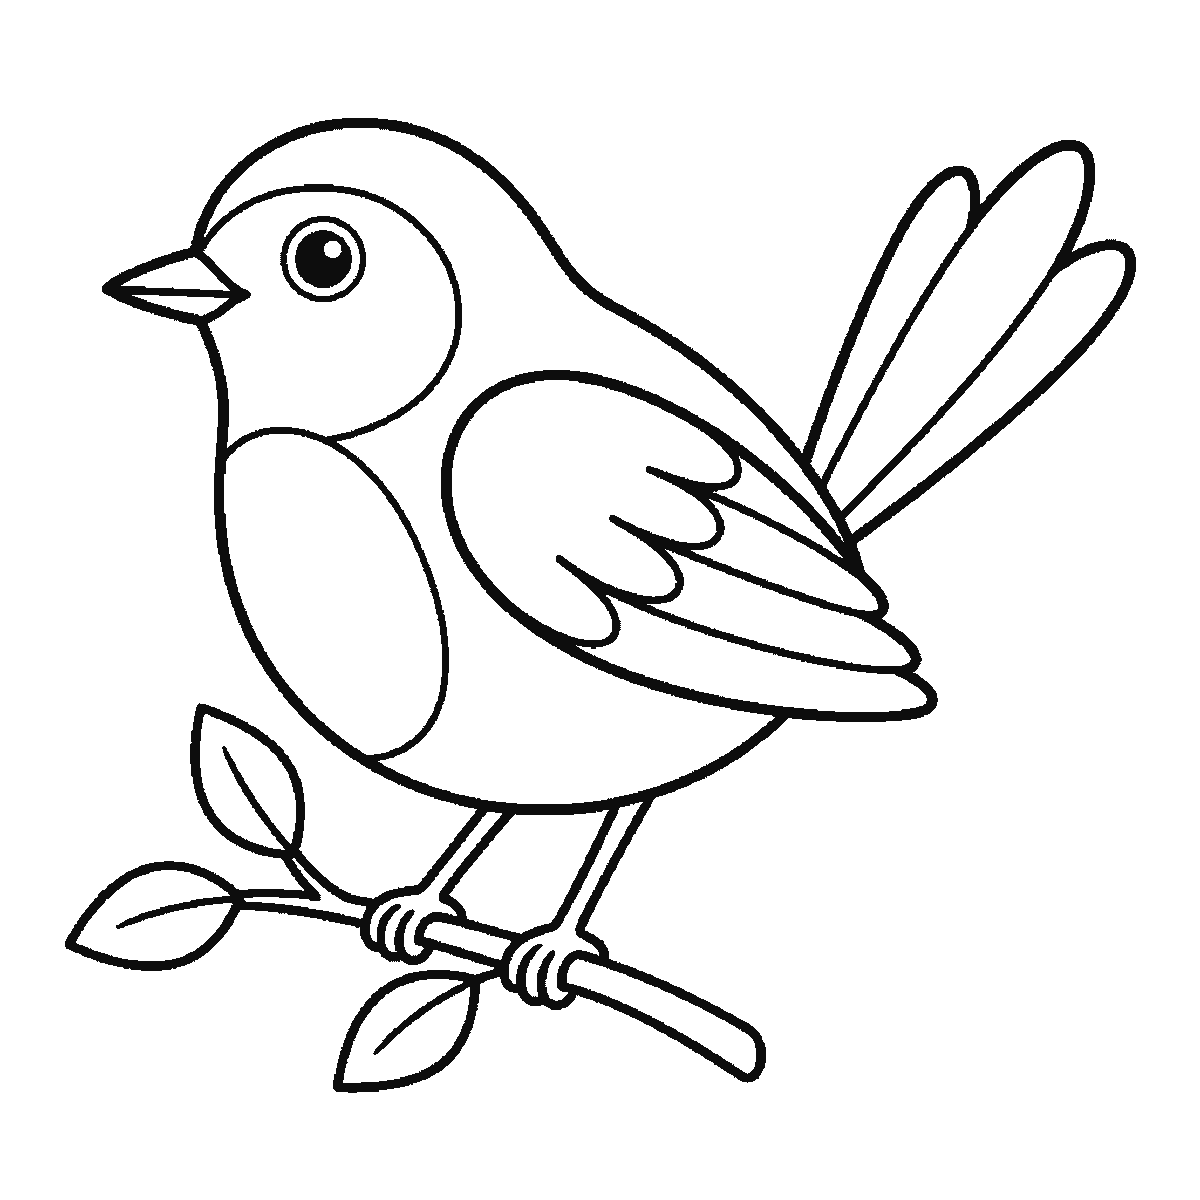
Six frames, one small bird on a branch. The body outline first, then the head, beak and wing together, the tail feathers, the branch, and the feet last.
Almost every small bird is the same drawing with the proportions moved around, which is why this is a good subject to learn once. The sheet builds a perched bird in six frames, starting from the single rounded shape that is most of the animal and finishing with the details that decide which bird it is.
Frame one is that rounded body, drawn slightly egg-shaped and tilted forward a little. A bird at rest is not upright; it leans. Getting that lean in at the very first frame saves you from a drawing that looks like a feathered skittle, and it costs nothing because you are drawing the shape anyway.
The head follows as a smaller circle overlapping the top of the body — overlapping, not sitting on top. Most small birds have very little neck to speak of, and a visible gap between head and body is what turns a robin into a goose. The beak is a short triangle straight off the front of the head.
The wing arrives in that same second frame rather than later, sitting as one closed shape along the side of the body rather than sticking out, with its feather divisions already drawn into it. The eye's outline comes with it, and the pupil that fills it is held back to the very last frame. On a small bird the eye is proportionally enormous, so draw it larger than feels right. An undersized eye is the reason a lot of beginner birds look mean.
The tail comes in the middle, one long feather at a time across frames three and four, angled down and back from the base of the body rather than drawn as a single wedge. The two legs and the feet are genuinely last, in frame six, and they grip the branch by wrapping round it — three toes forward and one behind is the arrangement most perching birds actually use, and drawing the back toe is a detail that repays the two seconds it takes.
Change three things and you change the species. A longer, heavier beak moves you towards a finch. A longer tail and a slimmer body moves you towards a wagtail. A rounder body with a shorter tail gives you something wren-shaped. None of it needs a new drawing, only different measurements on this one.
The frames run from the largest closed shape to the smallest, which here means the body outline, then the head, beak and wing together, then the tail feathers, then the branch and the feet. That order is easy to copy and it is not the only sensible one — starting at the beak and working back is a perfectly good way to draw a bird.
When the perched bird is easy, the interesting move is to draw the same bird twice on one page — one facing left, one facing right. Most people find one direction dramatically harder than the other, and which one it is depends on which hand you draw with. Working deliberately in the awkward direction for a while is the fastest way to stop your drawings all facing the same way, which is a habit that is very hard to see in yourself until somebody points at a sketchbook and says so.
The branch matters more than it looks, and this sheet gives it three of its six frames: two leaves, a twig and the branch itself all arrive before the bird has any feet to stand with. A bird drawn in mid-air has nothing to grip and the eye notices, even when it cannot say why. It is also the one part of the drawing where you can invent freely — a different number of leaves, or a thicker branch, changes nothing else on the page.
Before you start
- Tilt the body forwards from the very first shape. An upright bird looks stuffed.
- Make the eye bigger than you think it should be, and place it close to the beak rather than centred on the head.
- Draw the wing as one closed shape lying along the body, not as separate feathers. Feathers can go on afterwards if you want them.
- The branch is worth drawing before the feet, so the toes have something to wrap around rather than hanging in space.
Published Updated 630 words
The six steps
The steps go from the largest shape to the smallest, which is an easy order to copy. It is not the only order, and it is not a rule — if you would rather start somewhere else on the sheet, do.
Step 1
Step 2
Step 3
Step 4
Step 5
Step 6
More in this section
How to draw a butterfly
Six frames, one butterfly seen from above. The lower wings first, then the upper pair, their markings, and the body and antennae last.
Step sequence made by us from a single drawing: each step keeps the lines of the one before it and adds to them.
How to draw a capybara
Six frames, one capybara sitting in profile beside water. The whole animal in the first frame, then the lily pad, the bulrushes and the water.
Step sequence made by us from a single drawing: each step keeps the lines of the one before it and adds to them.
How to draw a penguin
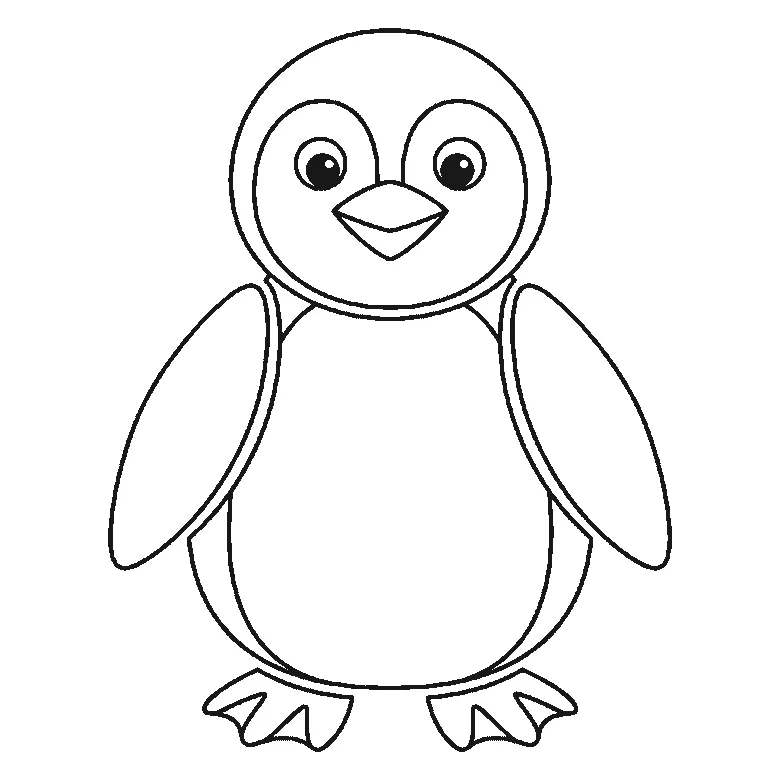
Six frames, one penguin standing and facing you. The body and the whole face first, then the head's outline, one flipper at a time, and the feet.
Step sequence made by us from a single drawing: each step keeps the lines of the one before it and adds to them.
How to draw a rabbit
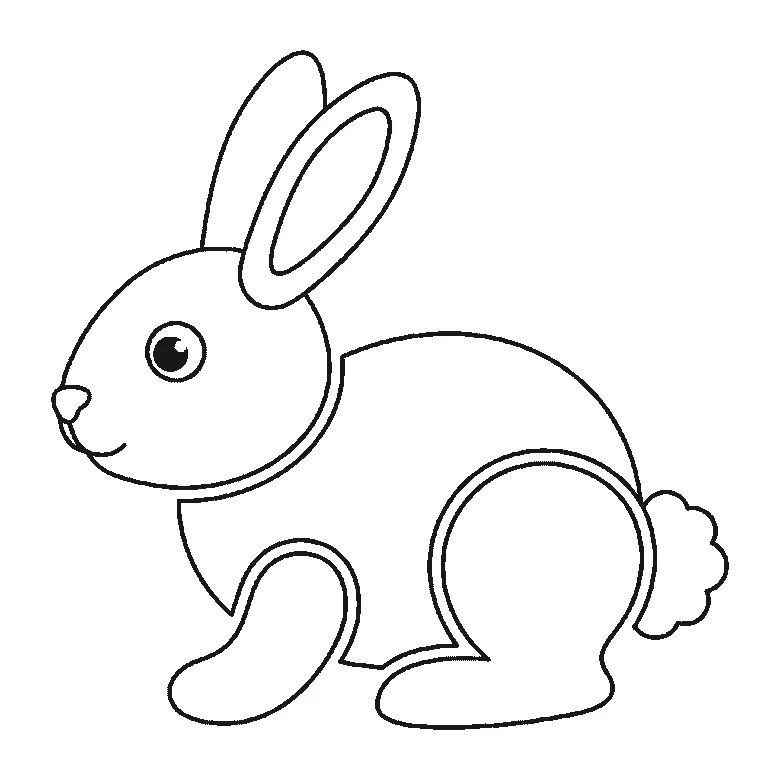
Six frames, one rabbit in profile. The body first, then the folded hind leg, the head, the front paw, and the ears and tail last.
Step sequence made by us from a single drawing: each step keeps the lines of the one before it and adds to them.
How to draw a lion
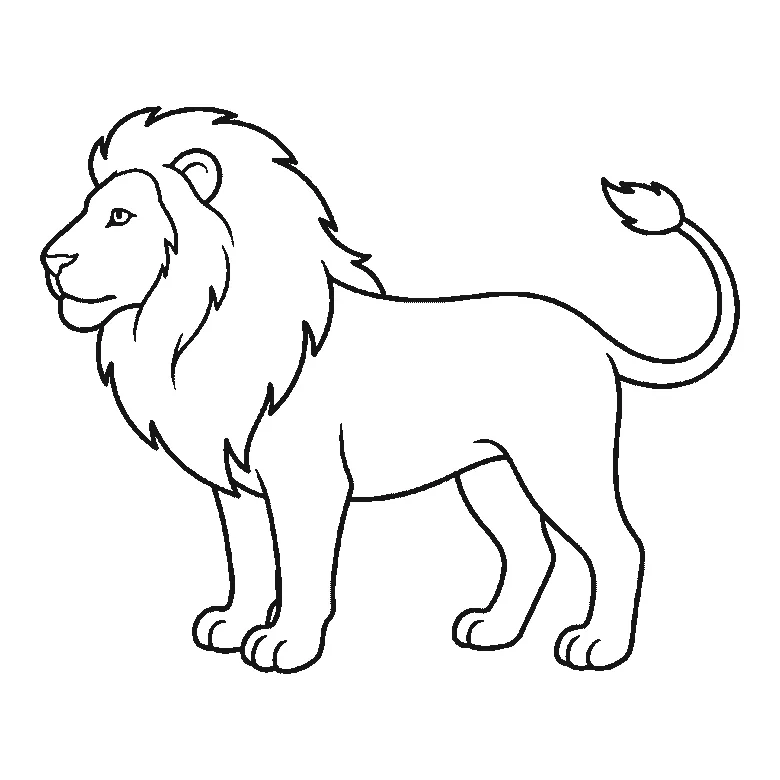
Six frames, one lion standing in profile. The body first, then the mane, the face, the two far legs, and the ear and tail tuft last.
Step sequence made by us from a single drawing: each step keeps the lines of the one before it and adds to them.
How to draw an elephant
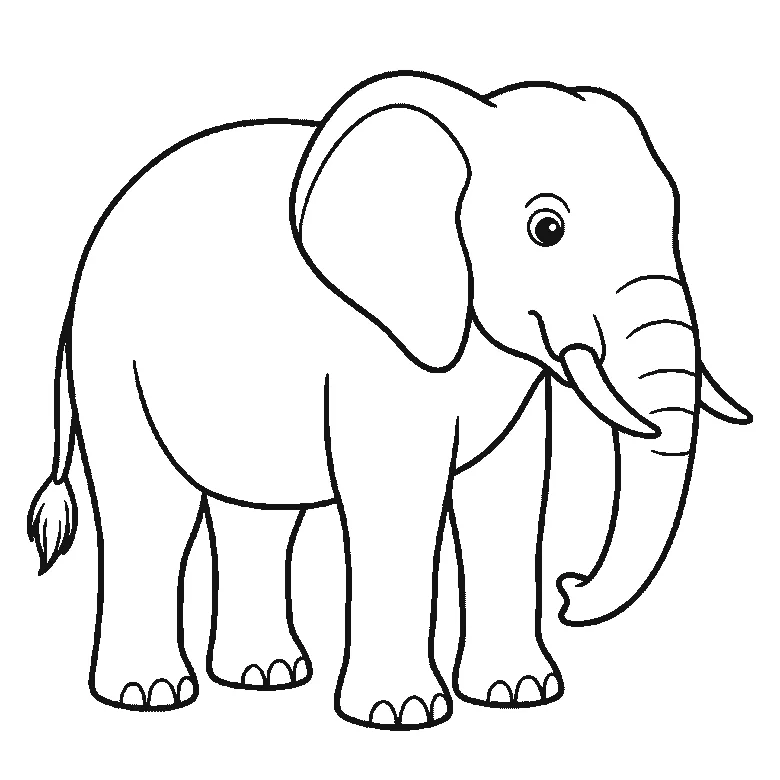
Six frames, one elephant in profile. The body and near legs first, then the head, trunk, tusk and eye together, the big ear, the far legs, and the tail last.
Step sequence made by us from a single drawing: each step keeps the lines of the one before it and adds to them.
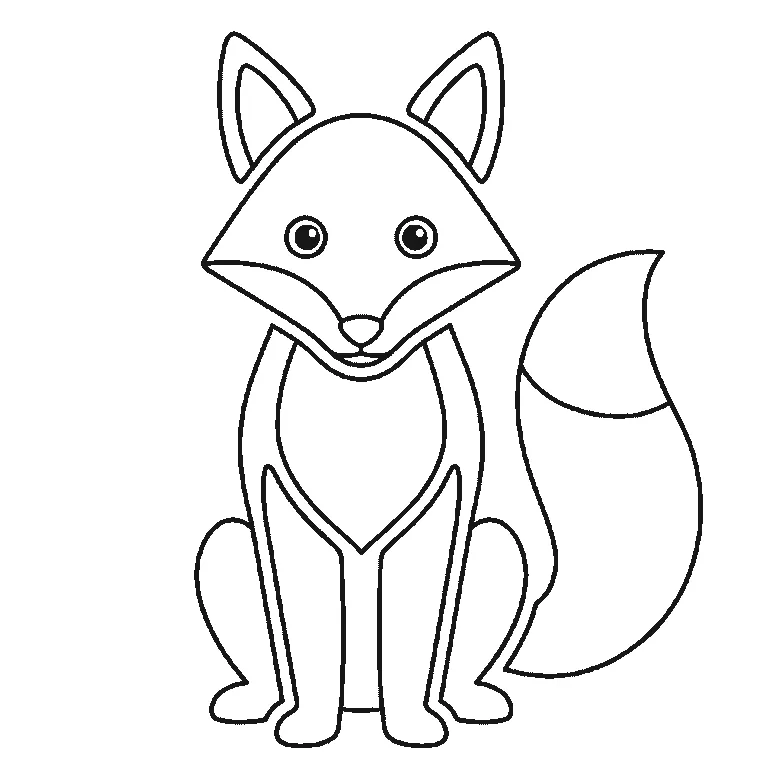
How to draw a fox
Six frames, one fox sitting and facing you. The head and the bushy tail together first, then the chest and legs, and the ears last.
Step sequence made by us from a single drawing: each step keeps the lines of the one before it and adds to them.
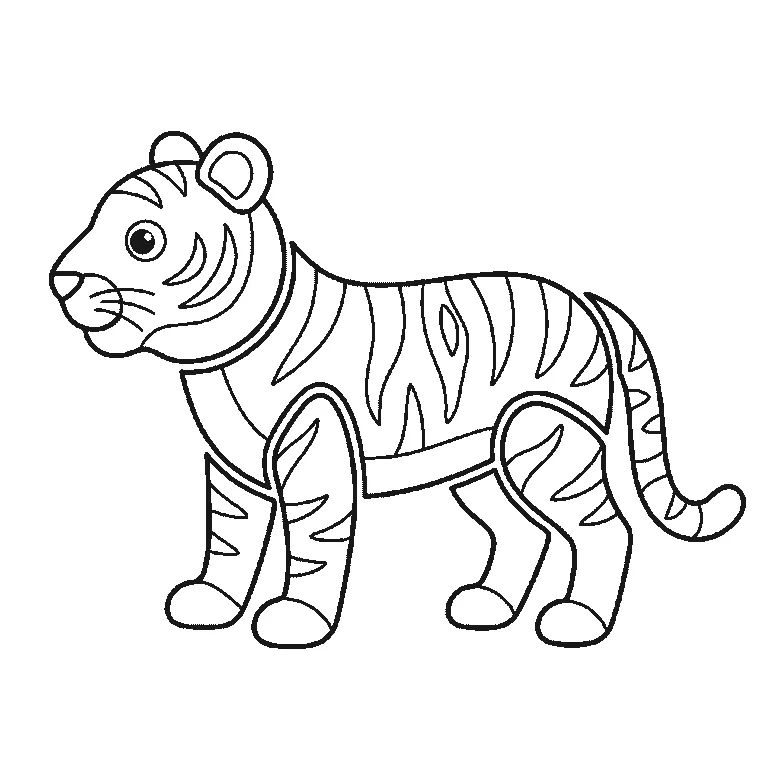
How to draw a tiger
Six frames, one tiger standing in profile. The striped flank first, then the head, the legs one at a time, and the tail last.
Step sequence made by us from a single drawing: each step keeps the lines of the one before it and adds to them.
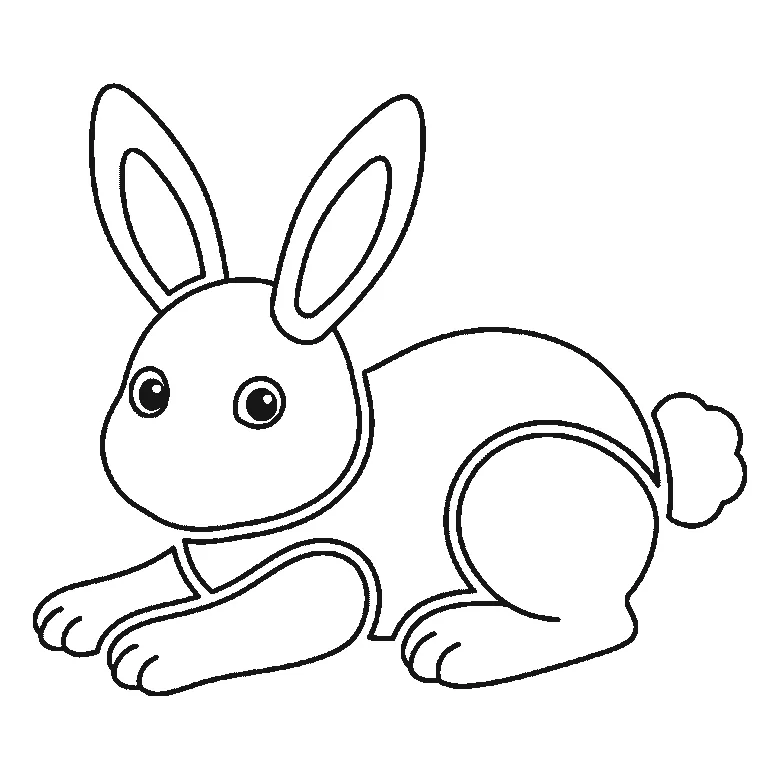
How to draw a bunny
Six frames, one bunny lying down with its paws stretched out. The head first, then the body, the long ears and the fluffy tail.
Step sequence made by us from a single drawing: each step keeps the lines of the one before it and adds to them.
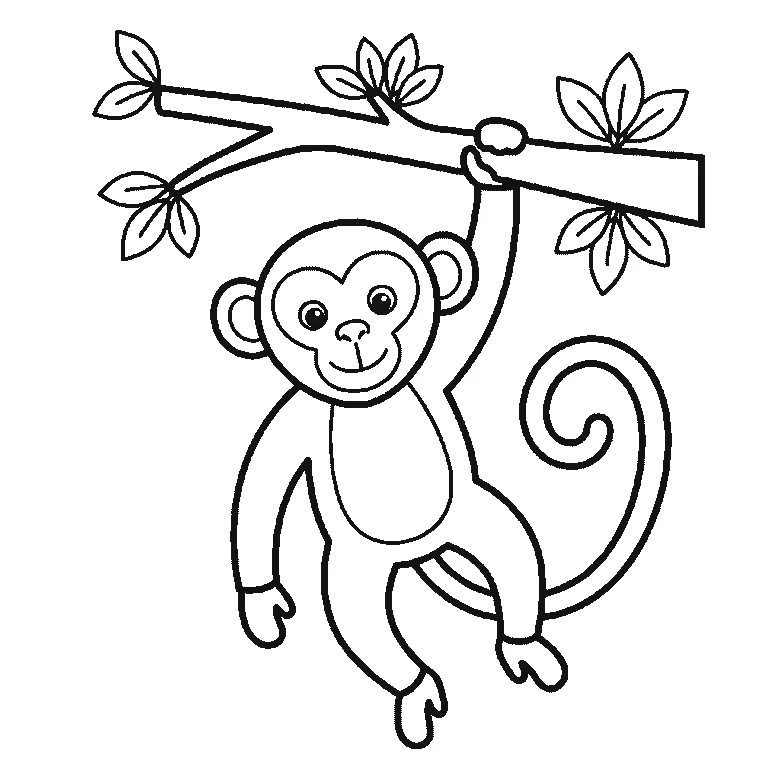
How to draw a monkey
Six frames, one monkey hanging by an arm from a branch. The limbs first, then the branch, the face and the curling tail.
Step sequence made by us from a single drawing: each step keeps the lines of the one before it and adds to them.
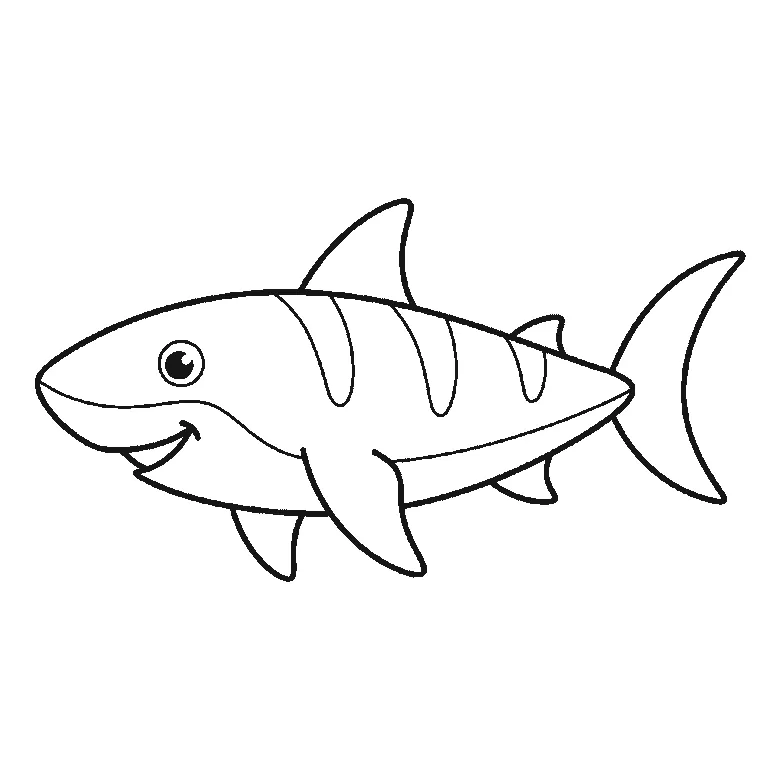
How to draw a shark
Six frames, one shark in profile. The body first, then the dorsal fin, side fins and crescent tail.
Step sequence made by us from a single drawing: each step keeps the lines of the one before it and adds to them.
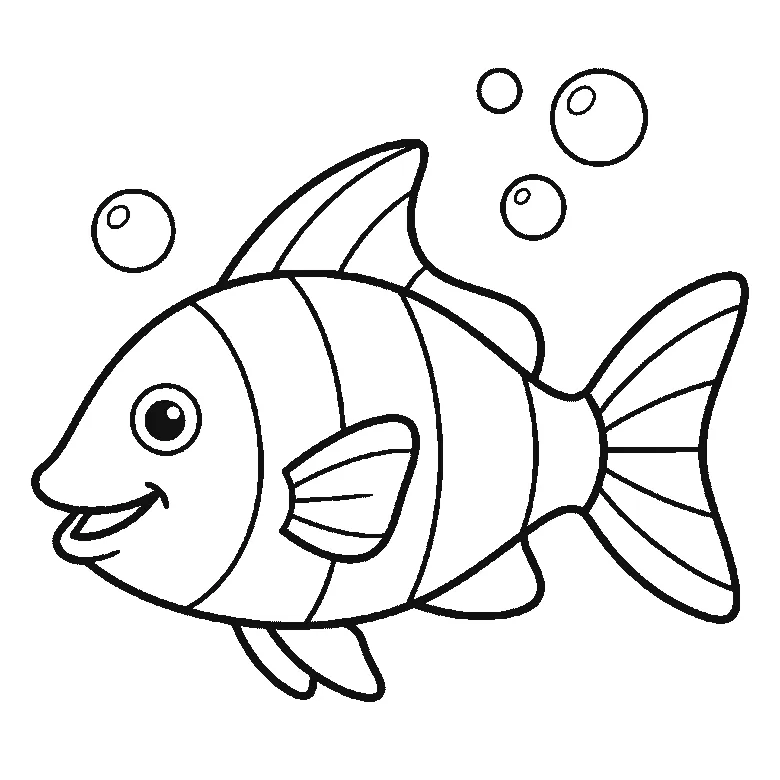
How to draw a fish
Six frames, one striped fish with bubbles. The head first, then the striped body, the fins and the fan tail.
Step sequence made by us from a single drawing: each step keeps the lines of the one before it and adds to them.


