
PDF · A4 · 73 KB · Free, no sign-up. For home and classroom use.
How to draw an apple
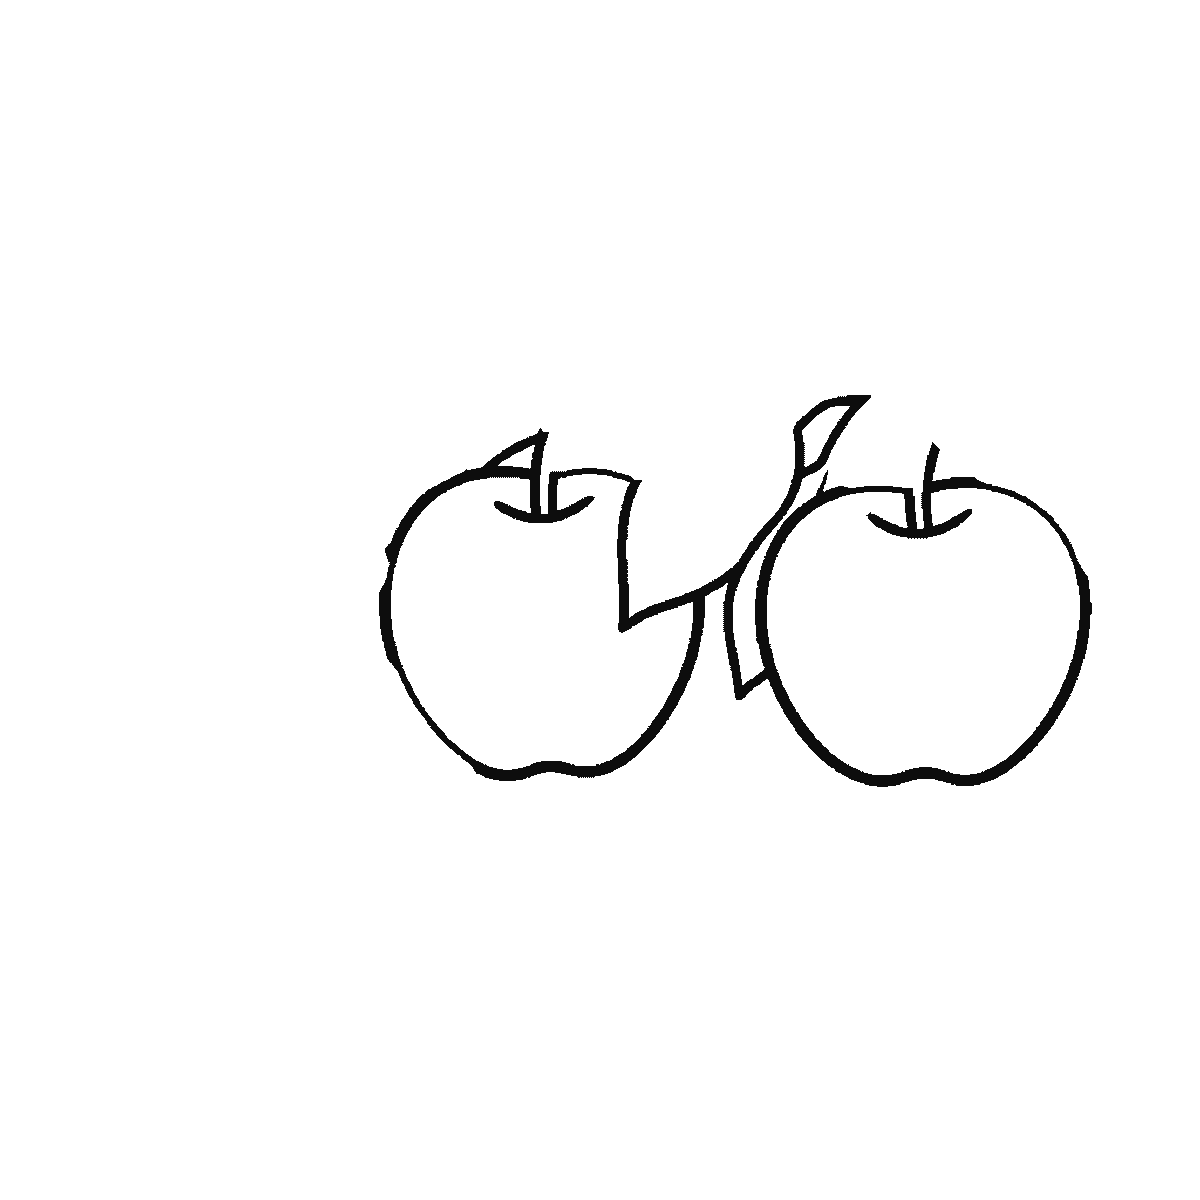
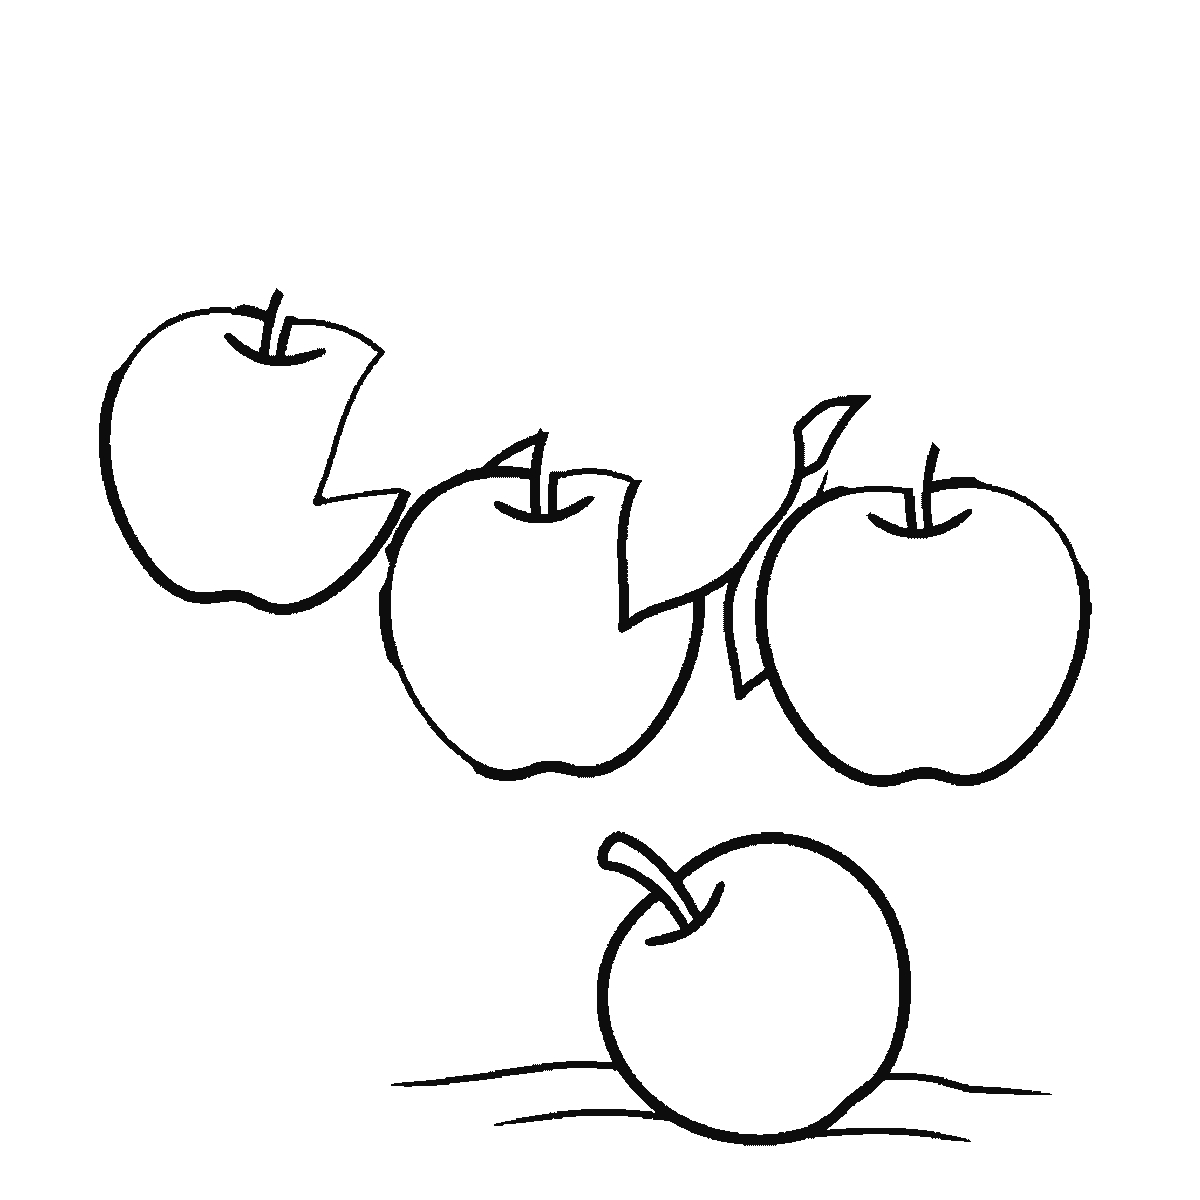
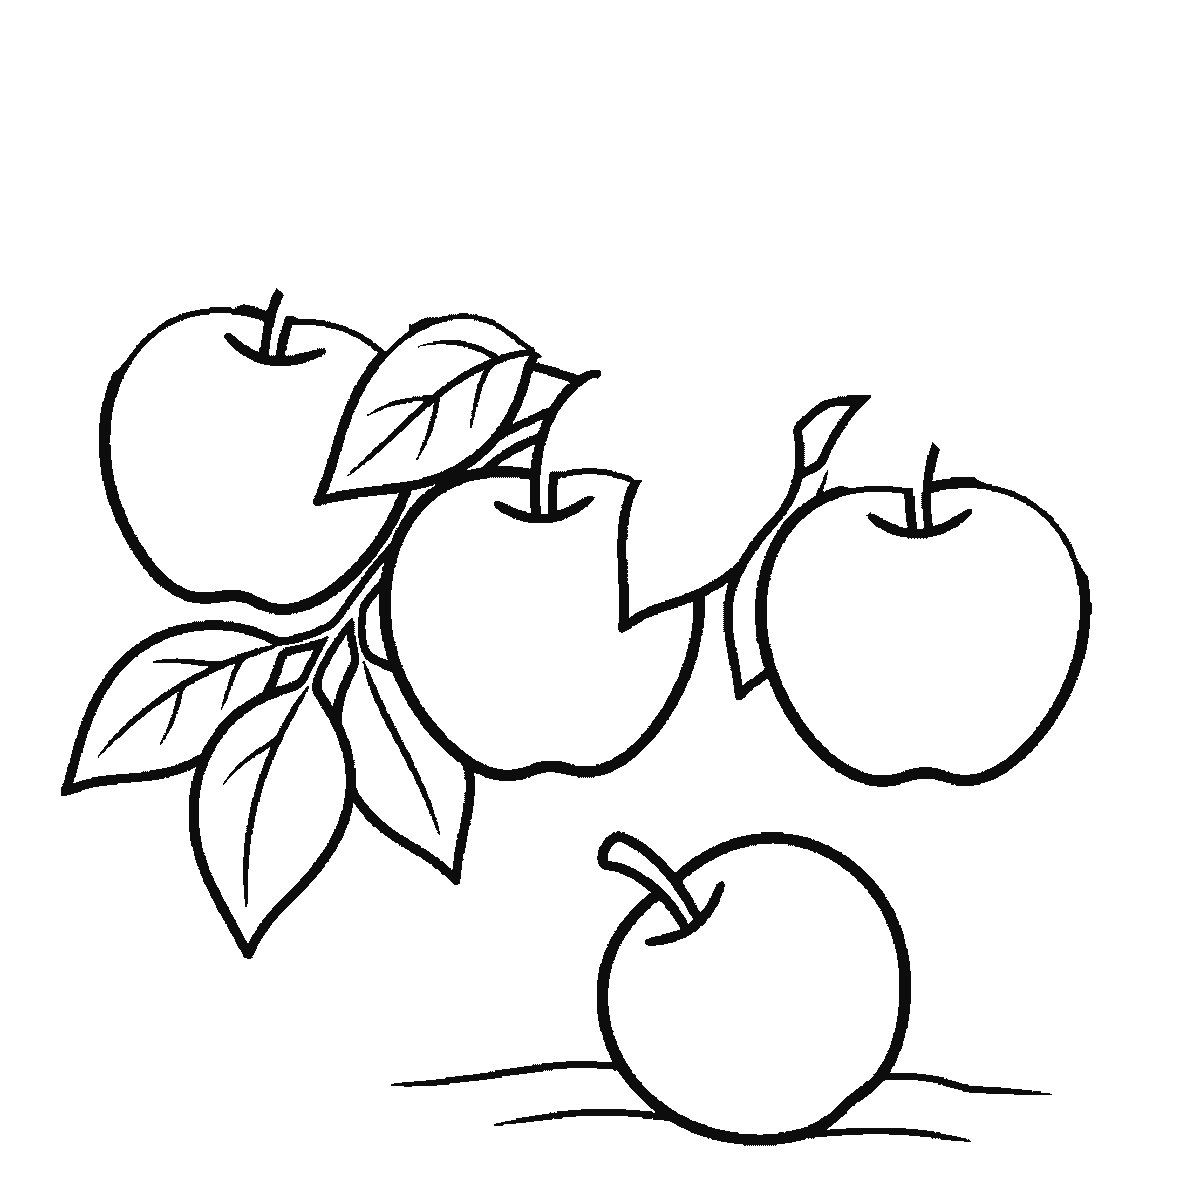
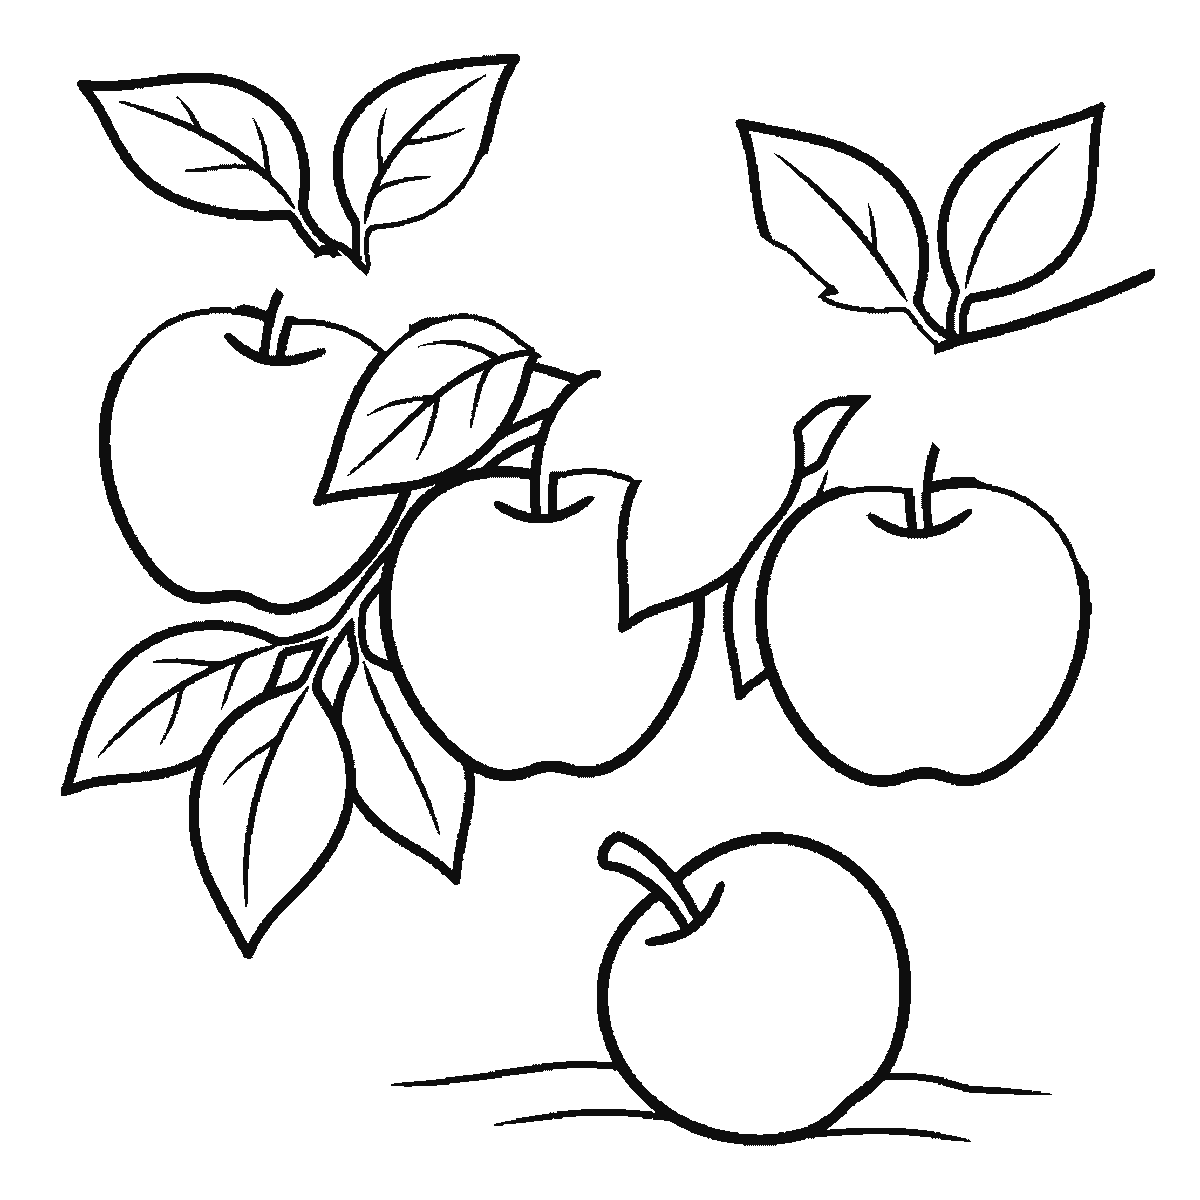
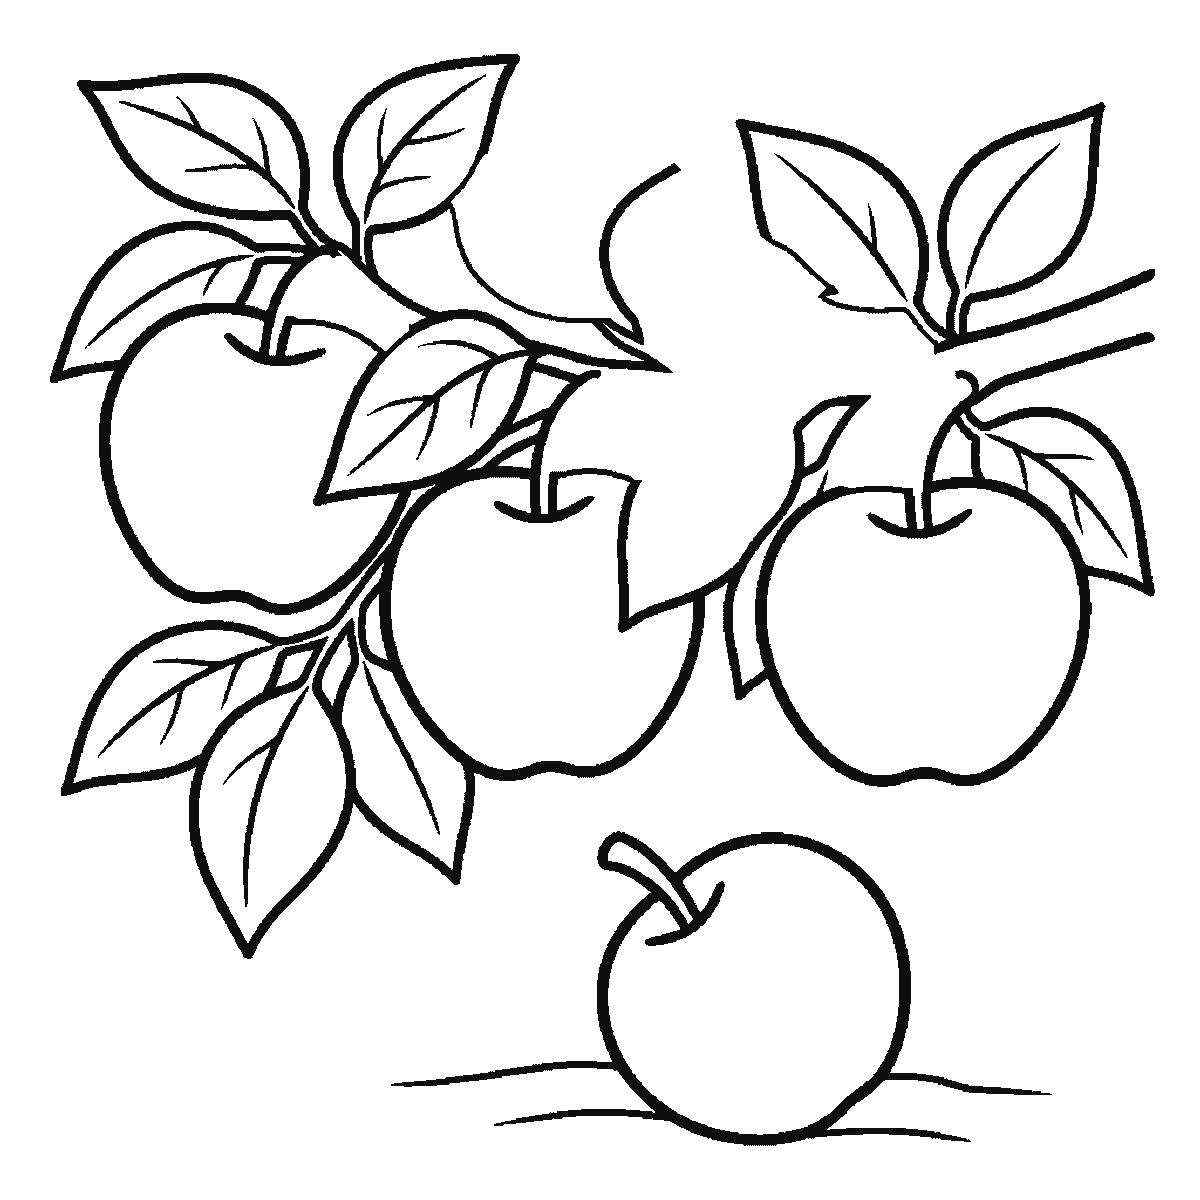
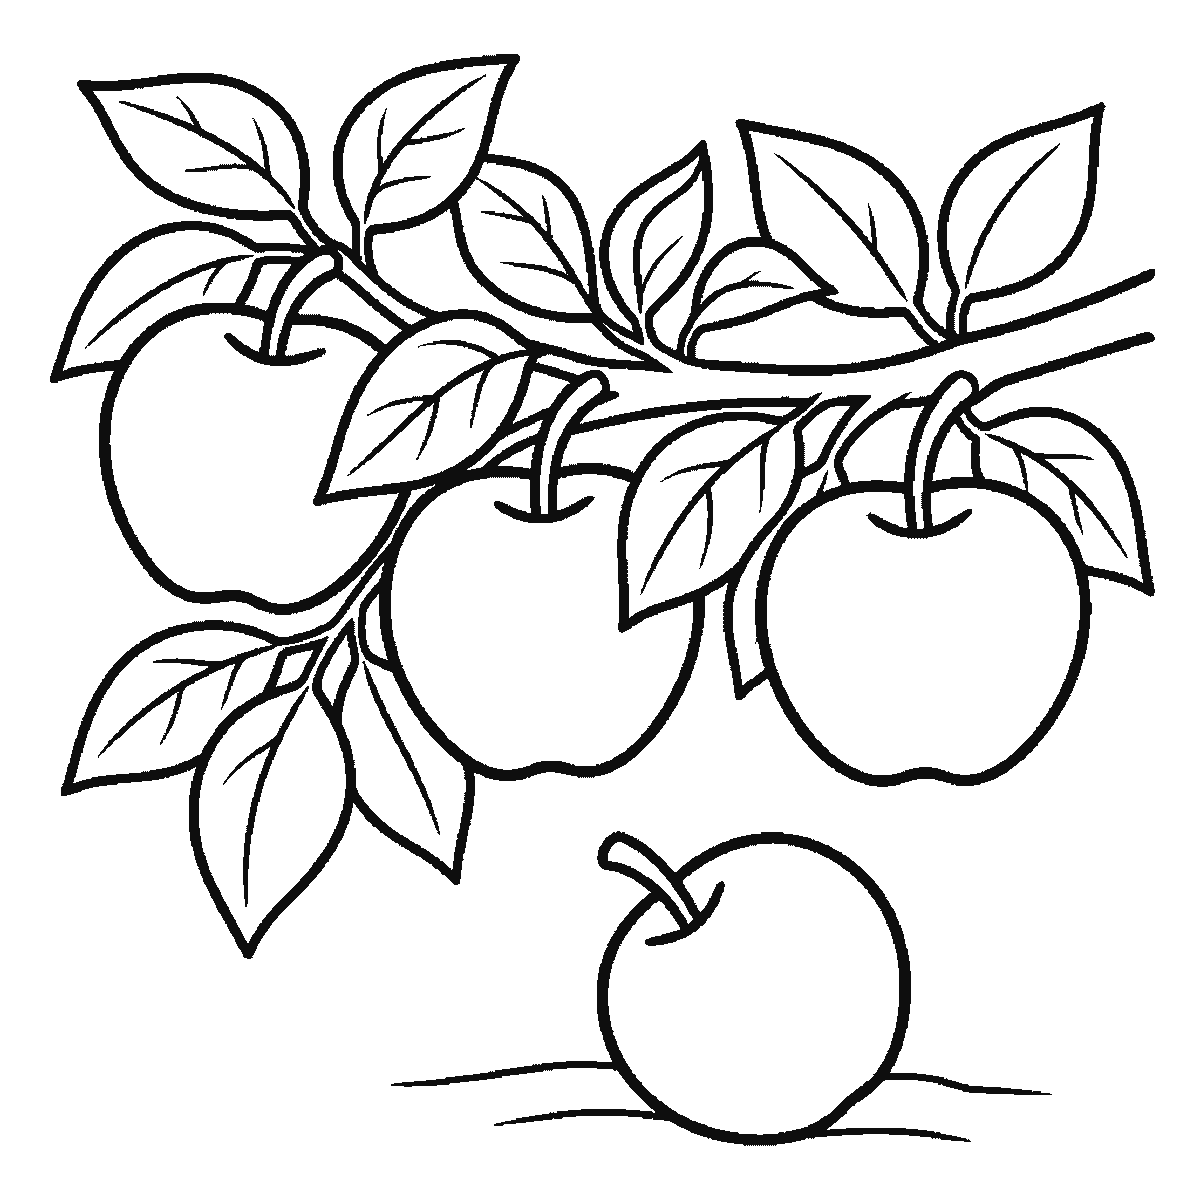
Six frames, four apples on a leafy branch — three hanging and one on the ground. Two apples first, then the other two, then leaf after leaf.
An apple is the traditional first object in every drawing class, and there is a good reason for it: it is a simple shape that is nevertheless not a circle, and learning to see that difference is most of what early drawing practice is for. This sheet draws four of them on a branch, which is more useful than one — the same shape repeated at four sizes and angles is the exercise, and the leaves around them are the rest of it.
Frame one is two apples at once, side by side in the middle of the branch, each with its stalk already attached. The shape to aim for is a slightly squashed sphere that is wider than it is tall, with a dip at the top where the stalk goes and a subtler dip underneath. Drawn as a plain circle it reads as a ball; those two dips are what make it fruit.
The two sides are also not identical. Real apples lean slightly, sit a little heavier on one side, and are rarely symmetrical about a vertical axis. Deliberately making one shoulder higher than the other is a small act that separates a drawn apple from a drawn logo.
Two more apples arrive in frame two: a third at the left end of the branch, and a fourth lying on the ground below it with a line underneath. The overlap between the hanging ones is the whole reason there is more than one — a single object on a page is a study, several overlapping ones are a composition, and the overlap immediately tells the eye which is nearer. Do not let their outlines merely touch; a real overlap reads far better.
The stalks are not a later step: each one arrives with its own apple, in frames one and two. Each should sit in the dip rather than on top of the fruit, and none of them is vertical. A short stalk leaning to one side, slightly thicker where it meets the fruit, looks right; a straight upright stick looks like it has been posted into the top.
The leaves are the last four frames, and there are about fifteen of them rather than one — they are most of this sheet by area and by effort. They grow from the branch rather than from the fruit, and each wants a central vein and a slight twist. A flat leaf drawn face-on is fine, but a leaf turned slightly so you see it at an angle is much more convincing and costs only a curve.
If you want to take the drawing further, the obvious next step is light. Decide which side the light comes from, keep the highlight as a small untouched area on that side, and let the shading gather on the opposite side and underneath. An apple is the classic subject for this exercise precisely because the form is so simple that the shading has nowhere to hide.
The cast shadow is worth adding, and this sheet gives you exactly one place to put it: the fallen apple already has a ground line under it and nothing else. A shape on the ground away from the light, wider than you expect and darkest right beneath the fruit, sits that apple somewhere. The three on the branch do not need one, because a branch is already a place to be.
For variation, the same six frames will carry almost any round fruit. A slightly taller shape with a longer stalk goes towards a pear. A rounder one with a dimple at both ends goes towards a peach. The construction does not change at all.
The frames run from the largest closed shape to the smallest, which here means two apples, then two more, then leaf after leaf after leaf. Easy to copy, and not the only sensible order — some people prefer to place every outline before committing to any of them.
Before you start
- Aim for a squashed sphere with a dip at the top and bottom, not a circle.
- Make the two sides different. A perfectly symmetrical apple reads as a logo.
- Overlap the hanging apples properly rather than letting their outlines merely touch.
- Grow the leaves from the branch, not from the fruit, and turn each one slightly.
Published Updated 658 words
The six steps
The steps go from the largest shape to the smallest, which is an easy order to copy. It is not the only order, and it is not a rule — if you would rather start somewhere else on the sheet, do.
Step 1
Step 2
Step 3
Step 4
Step 5
Step 6
More in this section
How to draw a rose
Six frames, one open rose. The centre cluster first, then the leaves, the outer petals and the stem.
Step sequence made by us from a single drawing: each step keeps the lines of the one before it and adds to them.
How to draw a star
Six frames, one faceted five-pointed star and four smaller ones, built one facet panel at a time.
Step sequence made by us from a single drawing: each step keeps the lines of the one before it and adds to them.
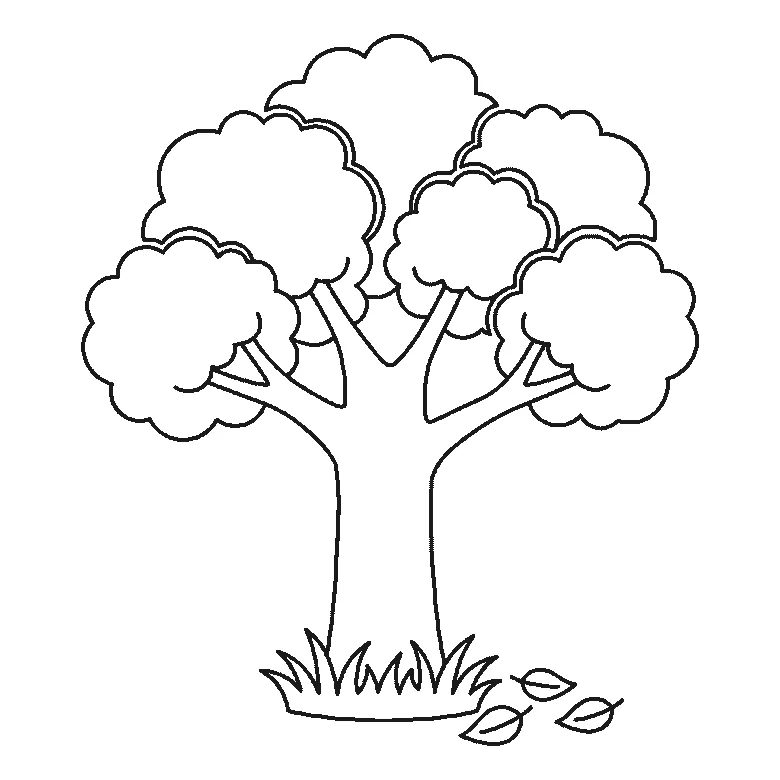
How to draw a tree
Six frames, one broad-leaved tree. Trunk first, then the branches, then the foliage in separate clumps.
Step sequence made by us from a single drawing: each step keeps the lines of the one before it and adds to them.
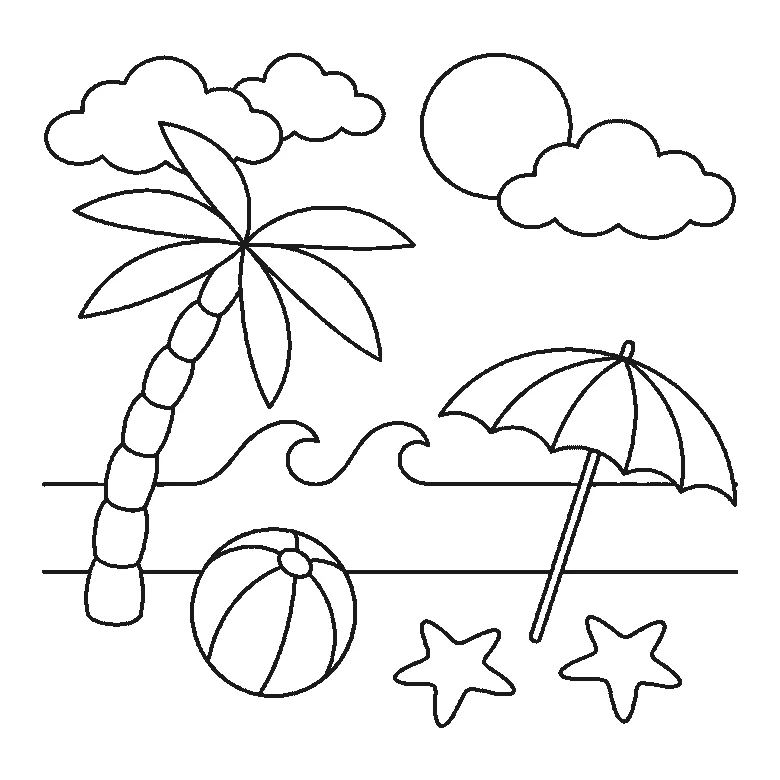
How to draw a beach
Six frames, one beach scene. The sea and its three waves first, then the sun and clouds — and the palm trunk and the parasol pole right at the end.
Step sequence made by us from a single drawing: each step keeps the lines of the one before it and adds to them.
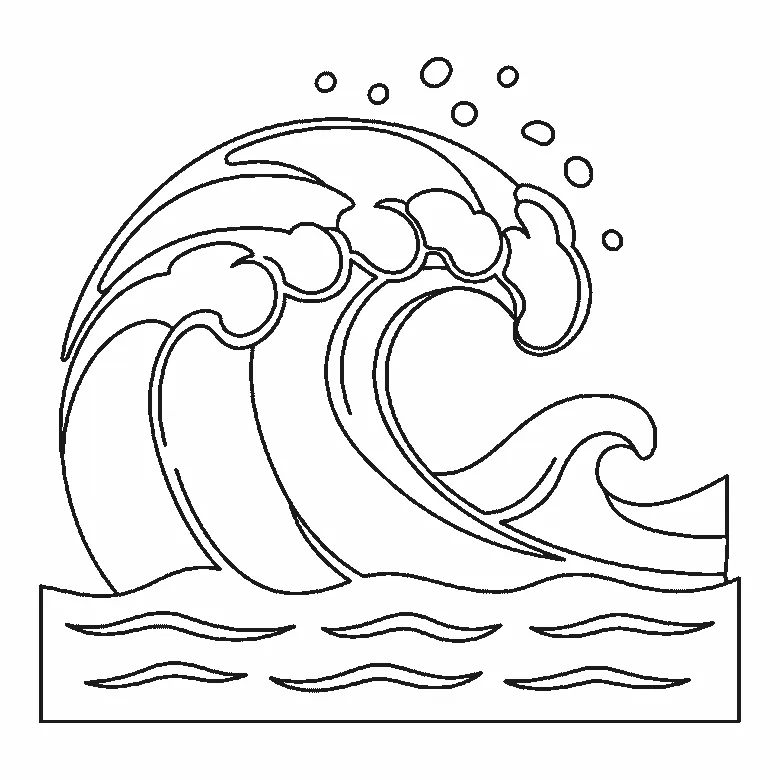
How to draw a wave
Six frames, one big breaking wave. The inside of the curl first, not the outline — and all the spray droplets in the very last frame.
Step sequence made by us from a single drawing: each step keeps the lines of the one before it and adds to them.
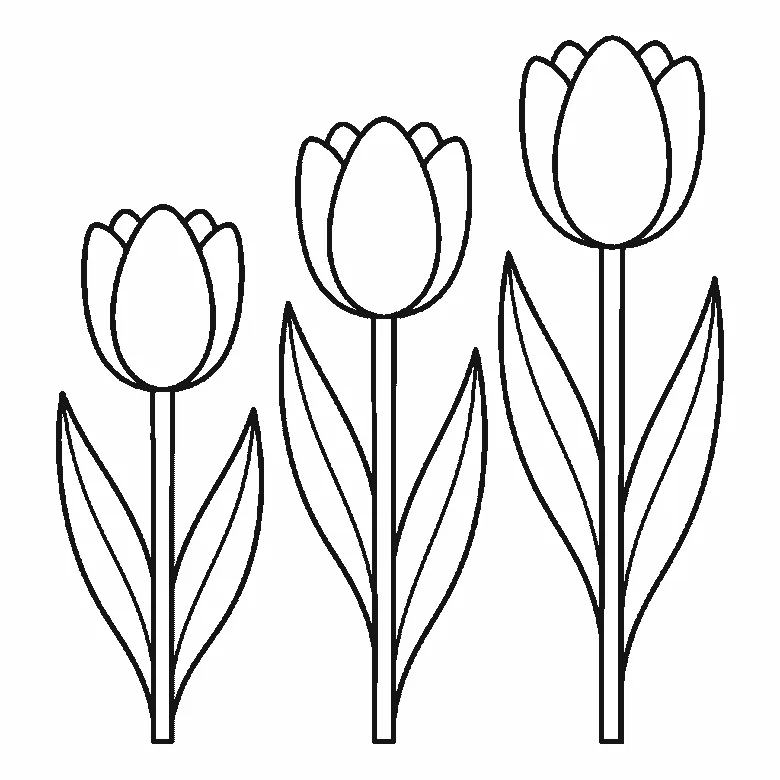
How to draw tulips
Six frames, three tulips of different heights. All three flower cups arrive together in the first frame — and the lines that split each cup into petals come last.
Step sequence made by us from a single drawing: each step keeps the lines of the one before it and adds to them.
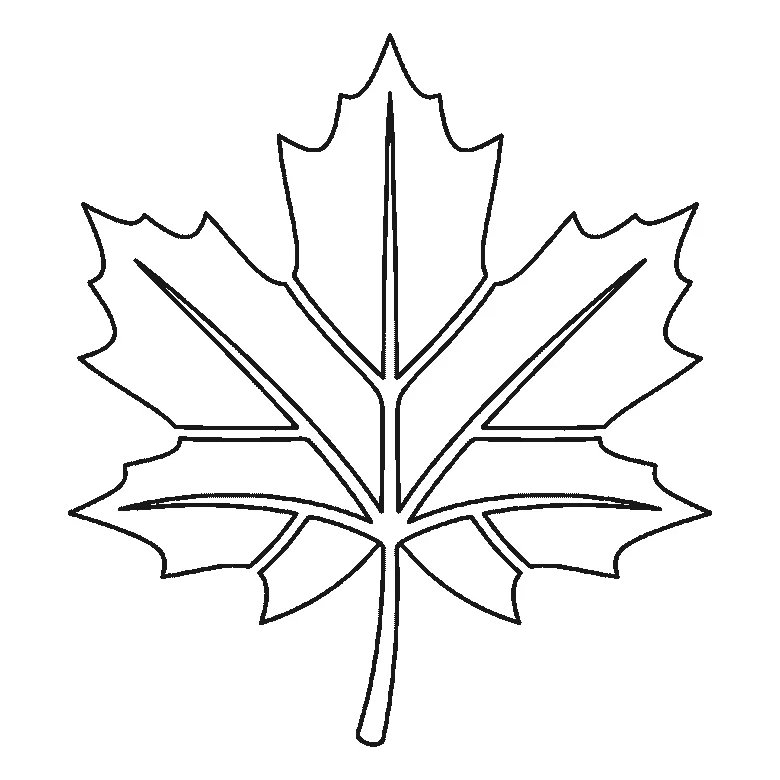
How to draw a leaf
Six frames, one maple leaf — and this sheet is the tidiest on the site: one lobe per frame, each with its own vein, and the stem last.
Step sequence made by us from a single drawing: each step keeps the lines of the one before it and adds to them.
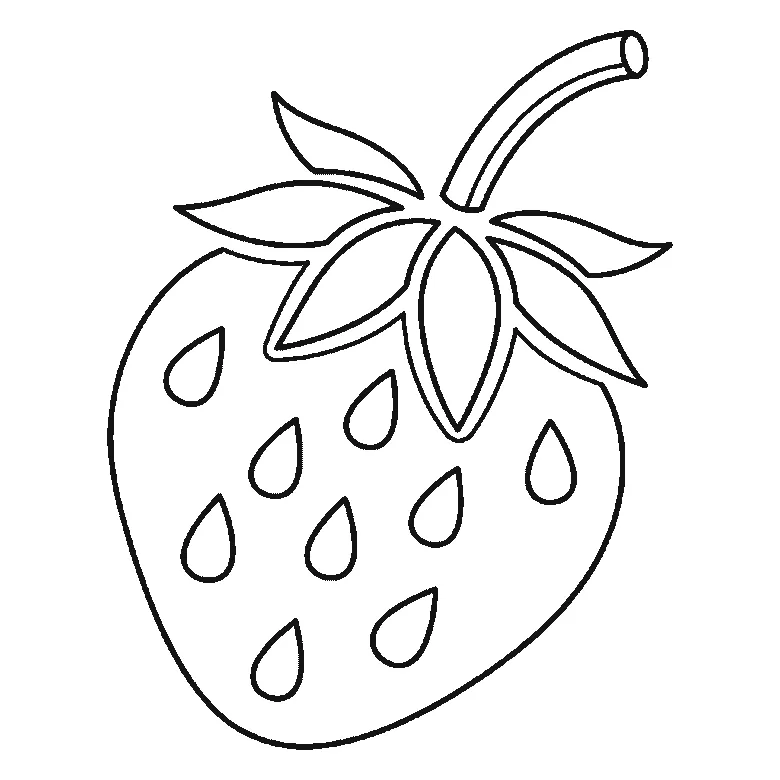
How to draw a strawberry
Six frames, one strawberry. The whole berry outline arrives in the first frame — a big first step — then a calyx leaf at a time, with all eleven seeds at the end.
Step sequence made by us from a single drawing: each step keeps the lines of the one before it and adds to them.
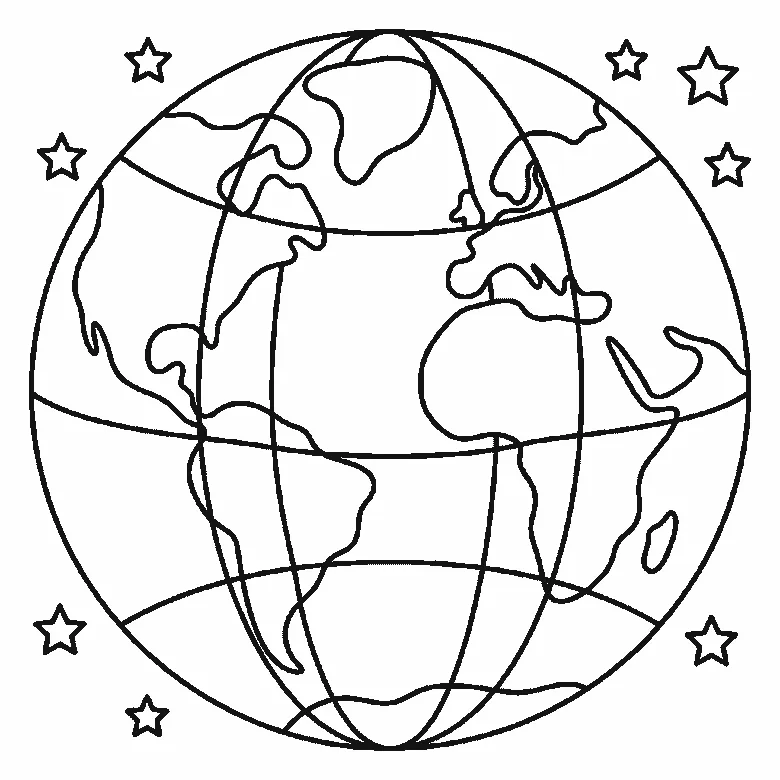
How to draw Earth
Six frames, one globe, revealed ocean-panel by ocean-panel rather than continent by continent. The land emerges as the white left behind, and the stars come last.
Step sequence made by us from a single drawing: each step keeps the lines of the one before it and adds to them.
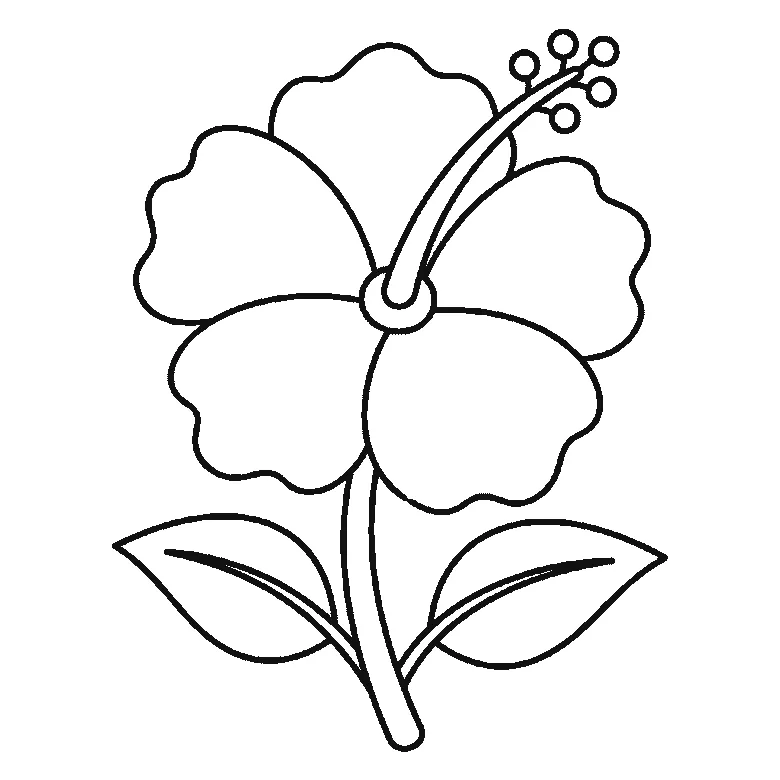
How to draw a hibiscus flower
Six frames, one open hibiscus. Three petals first and the other two next, so the flower head is done by frame two — and the stamen column arrives at frame five.
Step sequence made by us from a single drawing: each step keeps the lines of the one before it and adds to them.
How to draw a lily
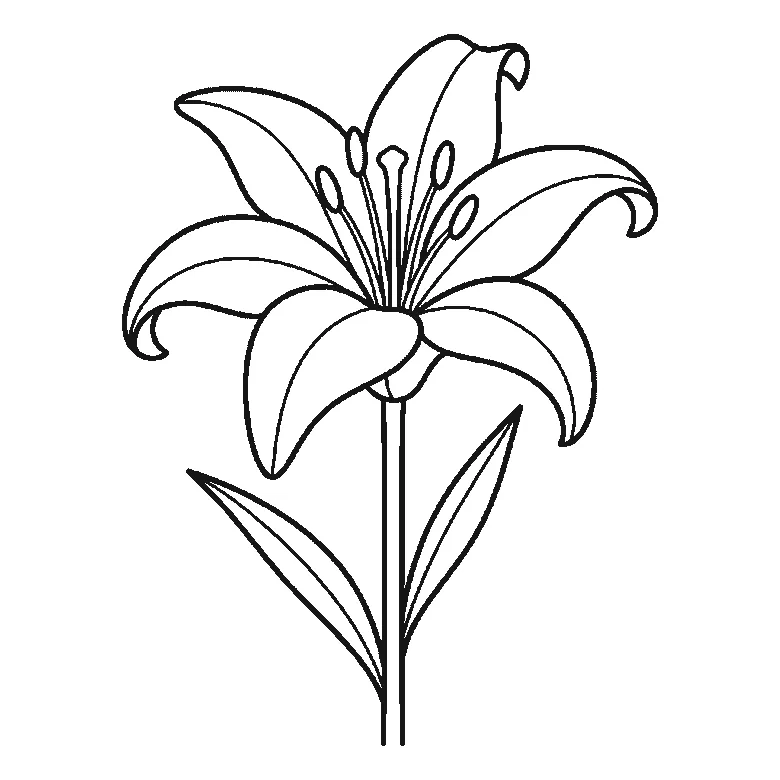
Six frames, one open lily. Three petals in the first frame, the rest two at a time — and the stem, the leaves and the central stamens right at the end.
Step sequence made by us from a single drawing: each step keeps the lines of the one before it and adds to them.
How to draw the moon
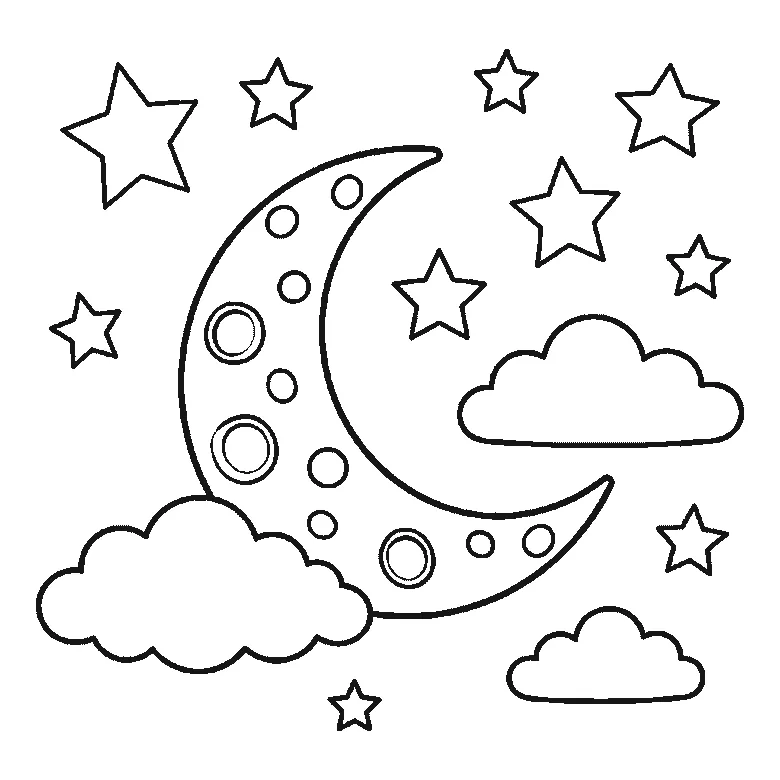
Six frames, a crescent moon in a night sky. The whole moon and every crater arrive in frame one; the five frames after it are clouds and stars.
Step sequence made by us from a single drawing: each step keeps the lines of the one before it and adds to them.


